boogerboy72
Well-known member
- Joined
- Aug 30, 2009
- Messages
- 212
holy cow @ the barrel tool.

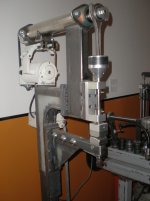
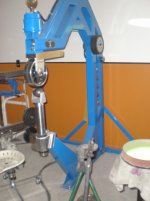
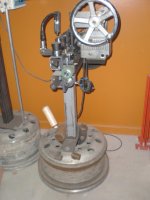
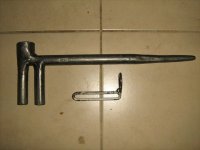
This tool was made to pull dents out of wheels


This tool was made to pull dents out of wheels


I love tools, but when you don't have a lot of money you improvise.
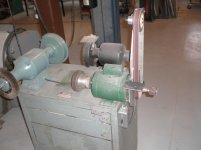
My beadroller:
I like the driven bead roller,not sure the safety board would approve though.
I love tools, but when you don't have a lot of money you improvise.
Hammer and clamp farm:

I like your bead roller as well... but be sure no inspectors come around that, they'll drop dead on the spot from the nonexistant guards


I love tools, but when you don't have a lot of money you improvise.
My beadroller:


I was replacing some of the hand railing on my deck, and I was having some trouble getting the deck nails(the twisted shank kind) out on the 1x1's that support the hand rail without breaking the 1x1's, so I made this out of some pipe, angle iron, washers and a piston pin out of a 50 liter Cummins:
Worked great.


.jpg")

.jpg") I especially like the plenishing hammers.
I especially like the plenishing hammers.
Ahhh ... but can you flip it with the "car" doors open?I can flip a complete '71 'Cuda body *inside my 2 car garage* *with the garage door open*.
Now that would be impressive. Nice shop btw. 


I didn't make these, but some one did.
He apparently didn't have a welder, because all connections are threaded.
The spark plug ends are A/C, but have no part numbers. I suspect 1920's or 1930's, based on the other items in this auction lot.
The handles and the spark plug bases are threaded on, rather than welded.
They appear to be cylinder head holders/stands. Probably to put a head on the bench for de-carbonizing, etc.
This tool was made to pull dents out of wheels

 )
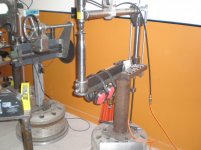
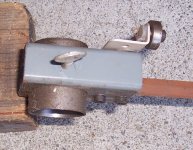
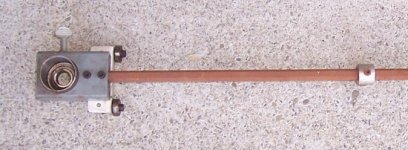
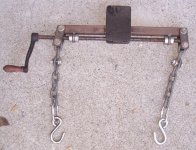
)one of my homemade tools.


one of my homemade tools.