Vividlyvintage
Well-known member
- Joined
- Dec 25, 2011
- Messages
- 128
The wires are razor sharp and spinning, and they are a lot wider than a cutoff wheel.
It did hurt like all get out, but it looks worse than it is. Took a while for the skin to fill back in, and I still have discoloration in the same place and shape. The photo is from March of this year.
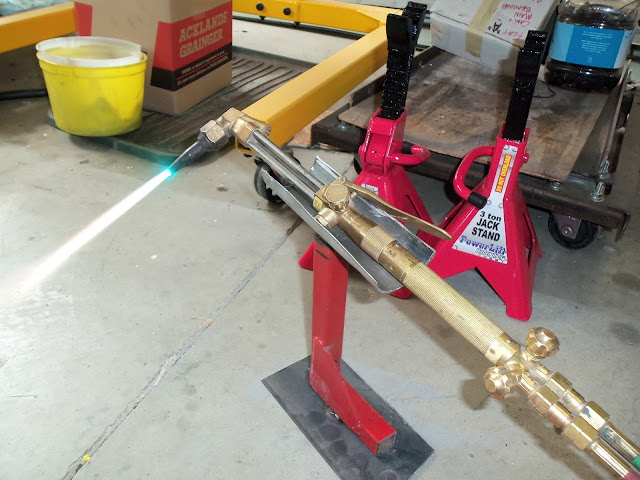
BTW, I was cleaning a small metal tool box. Those sheet metal edges can REALLY catch the brush and throw the tool around. The grinder is a 15yr old Makita 4 inch angle grinder. Wheel was a medium steel knotted twist. It just hit me for the instant it took to jump and hit my arm.
Moral of the story, be careful!
zuk
Ouch! I hate these electric grinders.. they scare the **** out of me. I wish i could afford an air compressor.. even though they are equally dangerous, once you let go of the throttle it at least starts to drop in rpm. But that looks like it hurt man... ouch.
thanks,
Douglas Johnson
"Skrach"
www.VividlyVintage.com


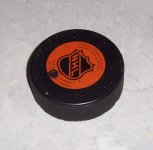
") Hockey pucks are usually frozen for a week or so before they are used in "big league" games. They perform better when frozen.
Hockey pucks are usually frozen for a week or so before they are used in "big league" games. They perform better when frozen.