So - either my tool OCD has kicked in, or I'm really
REALLY bored. I'm hoping its the latter.

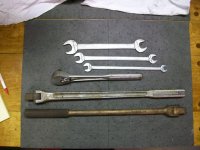
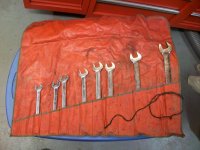
I picked up some wrench rolls w/wrenches last week that were covered in grime. They came from a working garage, so it was to be expected.
I thought I'd just clean them up a little bit so that I didn't have to wash my hands everytime I touched them. BUT NO - I had to obsess over the dirt inside the pockets. Damn you clear vinyl.

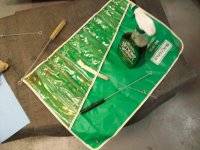
So, out came the bottle brushes, simple green, and paper towels. 2 hours later, I no longer have to worry about spreading the old grease and oil all over everything the rolls touch.
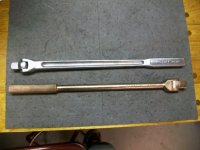
To get into the bottom of the pockets I rolled a 1/4 sheet of paper towel around a thin bottle brush to swab with.
Now I only need to find a way to get over the fact that the SAE rolls don't match the Metric wrenches that came with them.

Before, After - Before, During


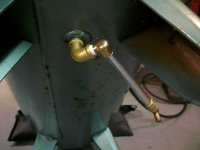
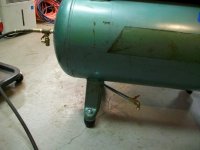
 Weeeell .................... S#!T !!!