I think we had about $100 into the larger bench we did, and another $60 in
the smaller one, using some of the scrap plywood from the first one.
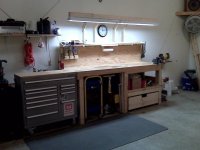
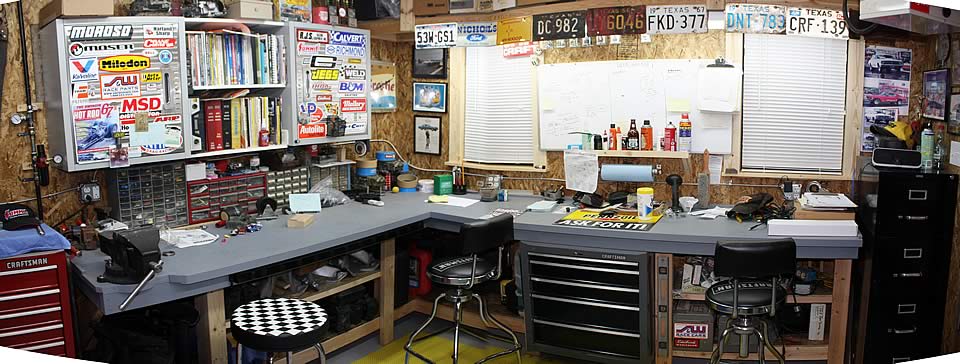
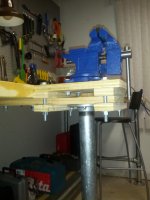
My bench is built of kiln-dried 2x4s and the benchtop is doubled-up 3/4" plywood. Everything is bolted
together with 1/4" bolts, except the center legs which are screwed and the benchtop itself,
which is connected using steel Z-clips seated in a grove on the inside of the upper stretchers.
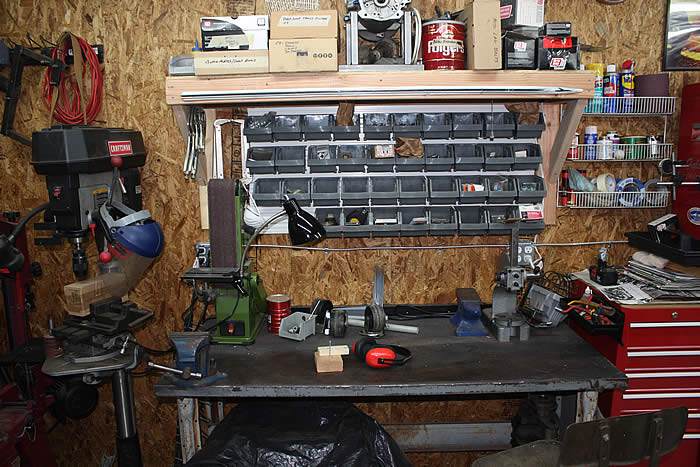
This sucker is built to outlive me. I hadn't yet added plywood shelving underneath when I took
this photo, but it has since been installed.
The benchtop is 6' long and is made from two AC grade 3/4" plywood sheets
glued and screwed together (1.5" total thickness). It's rock solid. I'd really prefer
to add a sheet metal top to it, though. Since this photo, I added a wooden strip
to the edges to clean up that raw plywood face.
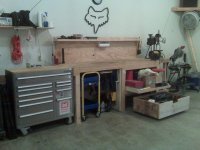
Here's an interior shot, showing the doubled 2x4 legs (though-bolted) and
the rabbit groove that houses the Z-clips holding on the benchtop. We
didn't have the best router to work with, but we got the job done.
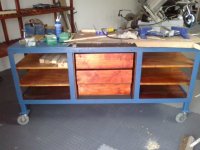
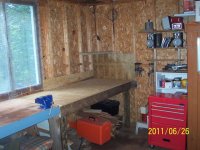
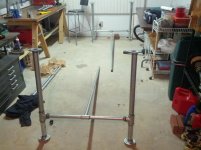
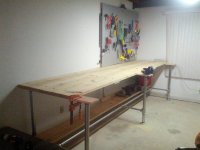
I built workbench number two (2' x 4') using some of the leftover materials from
workbench number one. I only used single 2x4s for the legs on this one,
as it's got a smaller horizontal span and I don't intend it to be used for as
much heavy use. It's still strong enough for me to jump on.


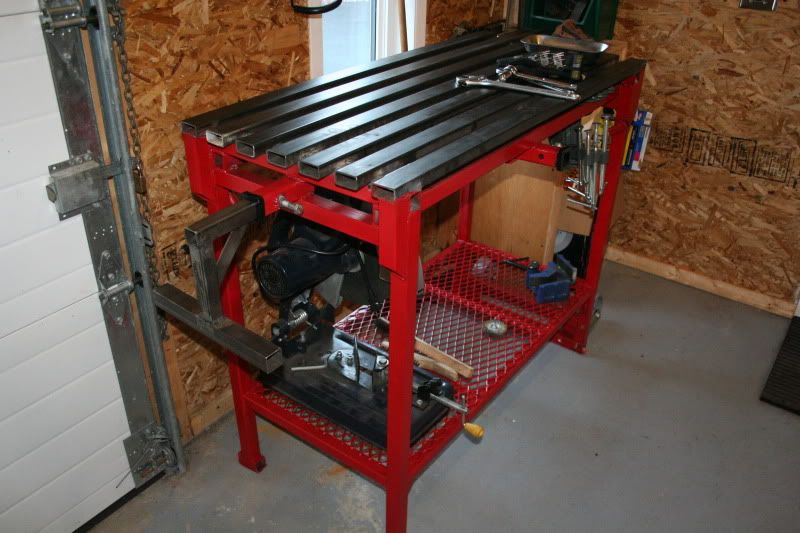


 Sweet.
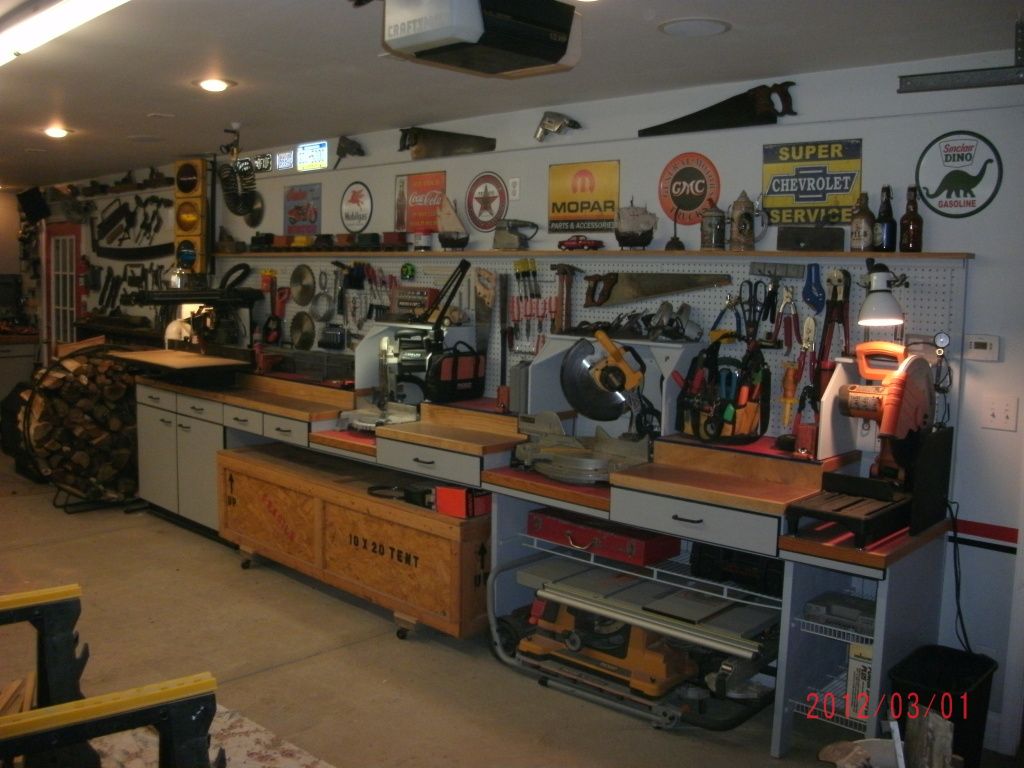


 Where did this thread come from ? I don't believe I have ever seen it and it's been around since '05.