Ign
Well-known member
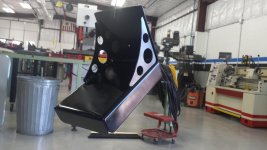
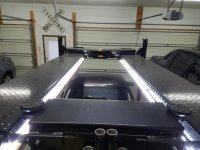
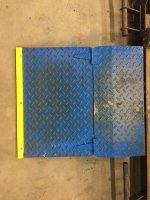
Used this again recently on my new little 5x8' and a 16' car hauler (the latter shown):


Just thinking how great it would be to be able to lift my 4 wheelers and motorcycle with my 2 post lift. Has any one modified theirs to accomadate those types of vehicles?


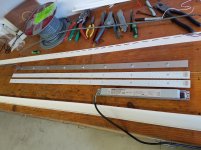
This isn't a good pic but, here is my hose reel, trouble light and pull down ext cord that I added.
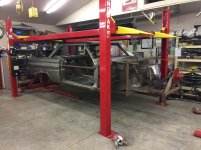
At my previous house I converted my 2 post hoist into a motorcycle lift.


I wanted to make an adapter for my 2 post that could raise motorcycles.
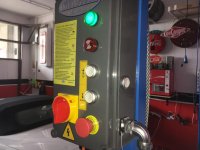
At least you didn't put the buttons at opposite cornersI added a second button in series for safety. Now both buttons need to be pressed to operate.
")

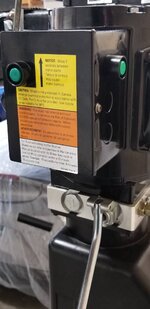
I added a second button in series for safety. Now both buttons need to be pressed to operate. I had a button stick once, and this will prevent that exciting experience from happening again...

I added a second button in series for safety. Now both buttons need to be pressed to operate. I had a button stick once, and this will prevent that exciting experience from happening again...
I added a second button in series for safety. Now both buttons need to be pressed to operate. I had a button stick once, and this will prevent that exciting experience from happening again...
I like it! Tell me about the tubular bits. are there pins or bolts dropped into the holes to index with the arms?
I've heard of that.
Seen some people install a panic shut off button. And some of those use that button to keep their grandkids or tourist from operating the lift.
Where did you get the matching buttons?
When the button got stuck originally, DirectLift sent out a new switch/button. I examined the old one and found how it got hung up and by bending some of the metal/adding a washer for a spacer, etc. I got it to where I didn't think it would hang up again. I re-used it as the 2nd button. I just drilled a hole in a knockout to fit it, and I can reach both no problem with one hand.

If the debate whether it was safe to store a car on a 2 post was settled and decided to be safe by all, I would say this is the design that I would want. I would just add casters to roll the sled wherever I wanted.
I added a second button in series for safety. Now both buttons need to be pressed to operate. I had a button stick once, and this will prevent that exciting experience from happening again...
The issue is those momentary buttons are pretty much junk. Adding another junk button is an interesting approach.
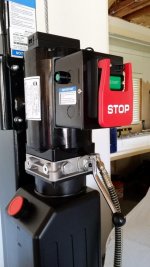
Adding a kill switch is a better approach.... something obvious.
That's what I did on my DirectLift.
Added bonus is the lockout feature.
Ok! Looks like we have emergency switches covered, emergency shut off switches covered, Dual activating switches covered and Dual lowering switches covered.
Now lets move on to OTHER lift mods!!
Reminded me of this device:a hanging stuffed duck to show me the center of the lift and a spray painted outline on the floor where my front tire needs to be.
I had shared this back in 2014 when I first put the lift in service. I believe it to be a good improvement to any floating reservoir. I also built some frame cradles for lifting truck.
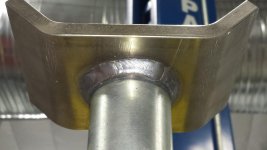
Made from one piece of 1/8" scrap. The gussets where added mainly for looks.

^^^^^^THIS^^^^^^^
is why I don't show y'all my junky stuff, here
I had shared this back in 2014 when I first put the lift in service. I believe it to be a good improvement to any floating reservoir. I also built some frame cradles for lifting truck.
Made from one piece of 1/8" scrap. The gussets where added mainly for looks.


Post of the dayI'm looking at the first pic and said to my self.......
"That is one HUGE bracket. How could that even be used on a lift??"
 Laughing so hard my eyes watered..
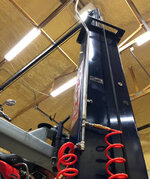
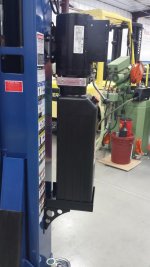
I like it.. but why not run the steel all the way up to protect the reservoir? I hate the plastic reservoirs... imagine banging into it and dumping gallons of fluid on the slab
FWIW... Here' what I did.

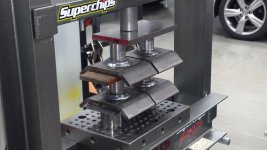
Not a mod really, but I've used this method to get my engine in and out of my bed a couple of times.


Dang...this is an old thread....