

Relax
Well-known member
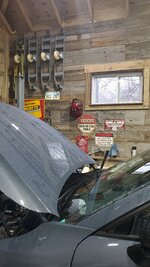
That is 9ft4 inch to the ceiling... even less with the garage door in the way. I was in the garage attic the other day though after posting this and I think there just may be a way to get 3 extra ft. I would have to have the door closed when working though. At least there is some hope though.
A high lift garage door conversion will also buy you additional height, and depending on how close your lift is to the garage opening, the portion of the door that's horizontal when open might fit between your hood, windshield, and ceiling. It's mostly the traditional garage door opener hanging in the middle of the ceiling that's in the way.


![IMG_8097[1].JPG](https://www.garagejournal.com/forum/data/attachments/1646/1646697-4afcb70bd157425065a5ddb0414ad948.jpg "IMG_8097[1].JPG")


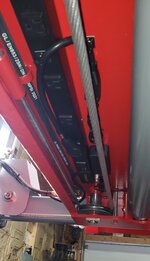
") That said, when working on my 2012 Yukon XL, I'm not sure they would have helped much if any. Seems like I recall spacing was off, so I just used the high density foam 6" thick foam pads they included and they did the job. Excellent job though!
That said, when working on my 2012 Yukon XL, I'm not sure they would have helped much if any. Seems like I recall spacing was off, so I just used the high density foam 6" thick foam pads they included and they did the job. Excellent job though!


