OP
Motorman55
Well-known member
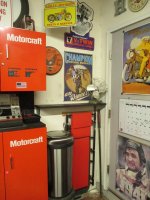
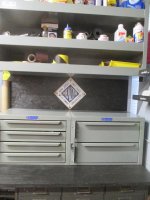
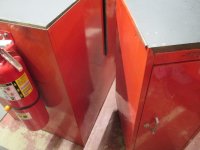
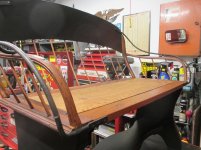
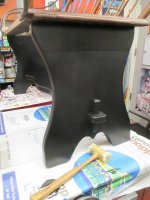
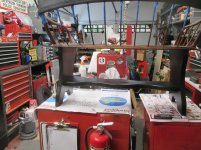
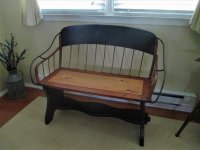
Re-hung the Motorcraft boxes in the garage (again.) Had to, it was kind of becoming a dumping ground for things that don't belong there.
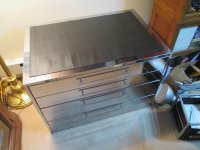
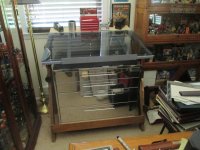
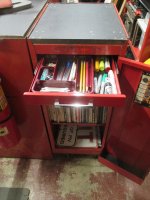
Anyway, I lowered the bottom box back down so that there's still just enough space to slide the two HF mechanics seats under it. After that I added a 3/4" smooth plywood top and a 1/4" backboard and painted them black.
Can always use more shelf/work space in this small garage.
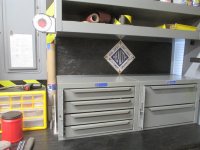
Anyway, I lowered the bottom box back down so that there's still just enough space to slide the two HF mechanics seats under it. After that I added a 3/4" smooth plywood top and a 1/4" backboard and painted them black.
Can always use more shelf/work space in this small garage.


")