To avoid these ads, REGISTER NOW!

MP&C Shop Projects

shortykorte

Well-known member
Joined
Sep 1, 2014
Messages
8,034
Location
Tallahassee, Fl
Wow! And what they said.

Definitely show more mod the trial pieces because it does show the reality.

Question about when you did the media blasting. I would think that would be done first so you know what you're dealing with up front as evidenced by the post blast pictures.
 
To avoid these ads, REGISTER NOW!
OP
M

MP&C

Well-known member
Joined
Oct 21, 2009
Messages
4,396
Location
Leonardtown, MD
Our first blasting session was soda blasting, so it removed paint and that's about it. (Those pits along the cowl did not appear that far along) It's been collecting surface rust from palm prints, etc since, and given the nooks and crannies on the underside we opted for another media blasting session, this time using garnet......what we should have used the first time..

Thanks for the comments and questions!
 

EdT

Well-known member
Joined
Sep 21, 2010
Messages
1,104
Location
North Georgia
My guess would be that making the tool, testing on scrap, and executing 3 times on the real part took the better part of an evening or two. Not 3 minutes.
 
OP
M

MP&C

Well-known member
Joined
Oct 21, 2009
Messages
4,396
Location
Leonardtown, MD
I spent about two hours total in the shop the other night. Part of this was spent in fit-up, marking locations of existing relief areas and transferring to new part, etc.

The time to cut out the Phenolic block, fine tune, hammer out one practice piece, and then hammer out 4 relief areas on the new piece took just over an hours time (estimated).. The three minutes or so shown on the "full length" video was merely to do that area for the video, and didn't include all the other aspects.. It was longer to cut out and fine tune the hammer form die than to hammer out all of the relief areas..
 
OP
M

MP&C

Well-known member
Joined
Oct 21, 2009
Messages
4,396
Location
Leonardtown, MD
Thanks!


Had a visitor in the shop today, one of the guys that attended Peter's class at the shop last fall came by. He is a machinist by trade and had made a couple parts for me..

I don't have a 4 jaw chuck for the South Bend to be able to turn any of the square tooling for the Lennox, so he made me a collet to hold 3/4 square stock. Has a drive dog and set screws for the material. Should be able to make some more tooling now..

Picture%204563.jpg


Picture%204566.jpg


Picture%204564.jpg


Picture%204565.jpg


Also brought along a clamping fixture for welding tooling for the Lennox, looks like it will work much better than the one I have. Has some nice relief holes for clamping to both the work pieces and the workbench..

Picture%204567.jpg


Picture%204568.jpg


Charlie does some real nice work!
 
OP
M

MP&C

Well-known member
Joined
Oct 21, 2009
Messages
4,396
Location
Leonardtown, MD
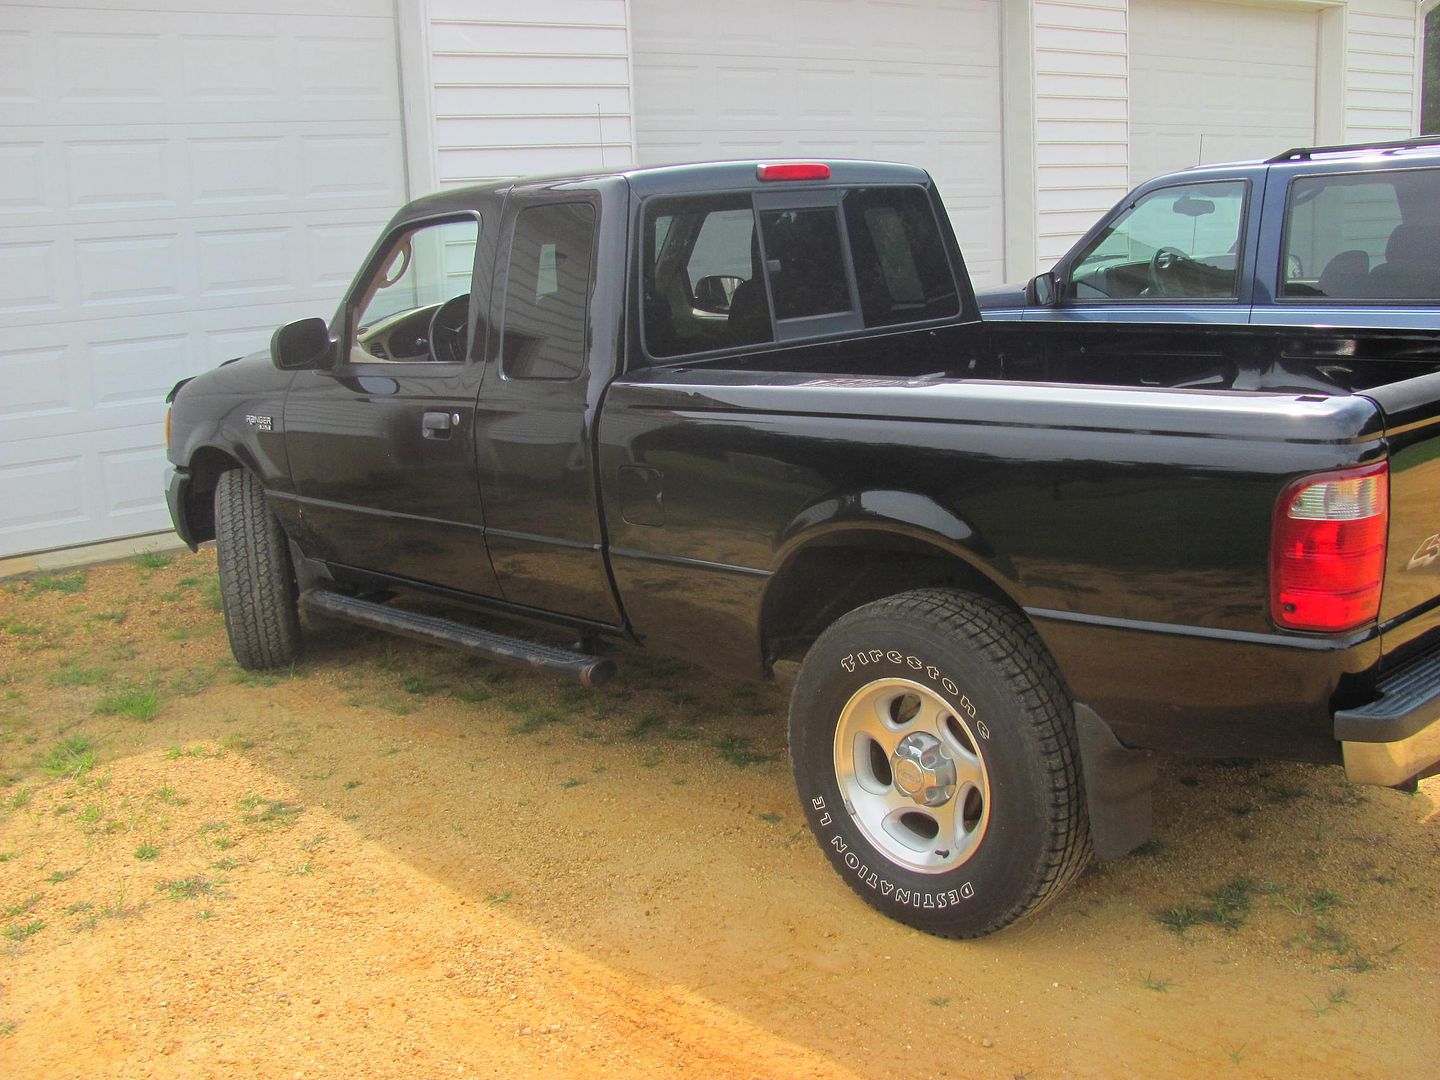
Spent this past weekend replacing the floor in my Niece's Ford Ranger pickup.. To recap, the truck was very solid other than an area of the bed that showed some repairs had occurred:


Picture%202991.jpg


Picture%202992.jpg


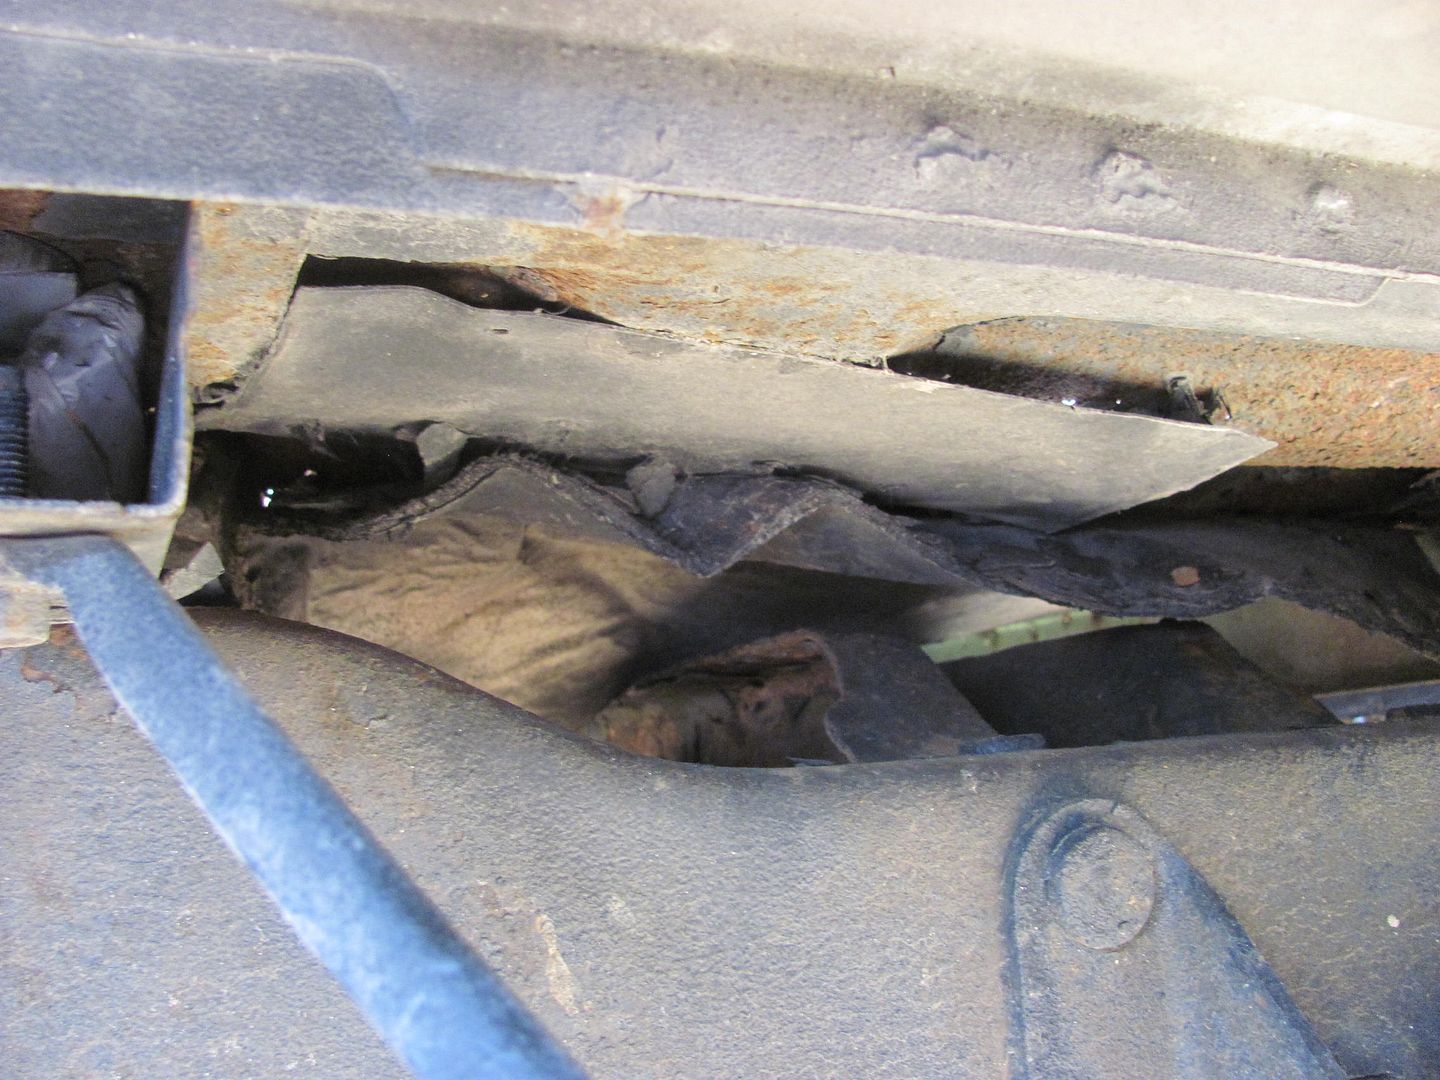
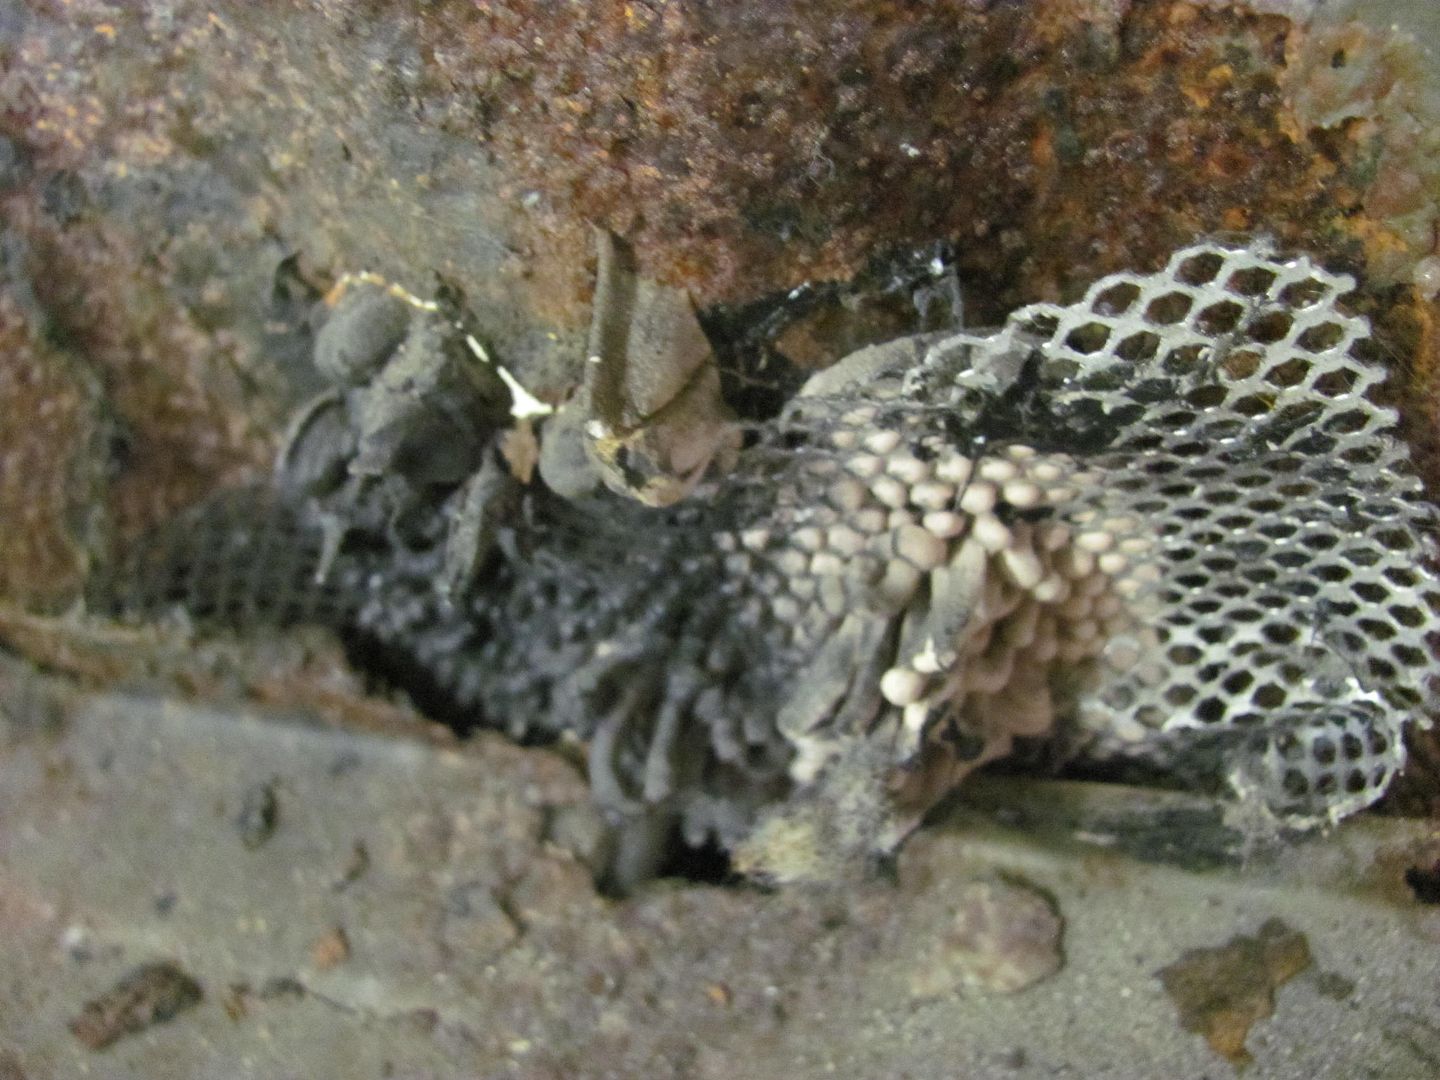
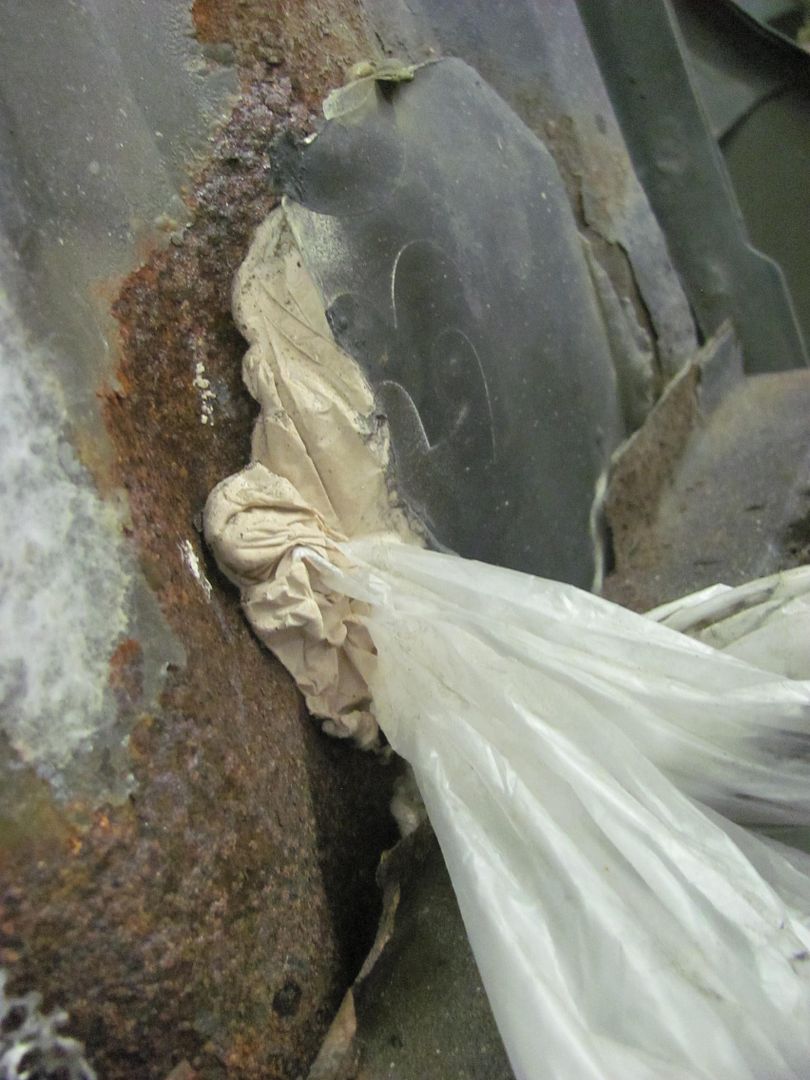
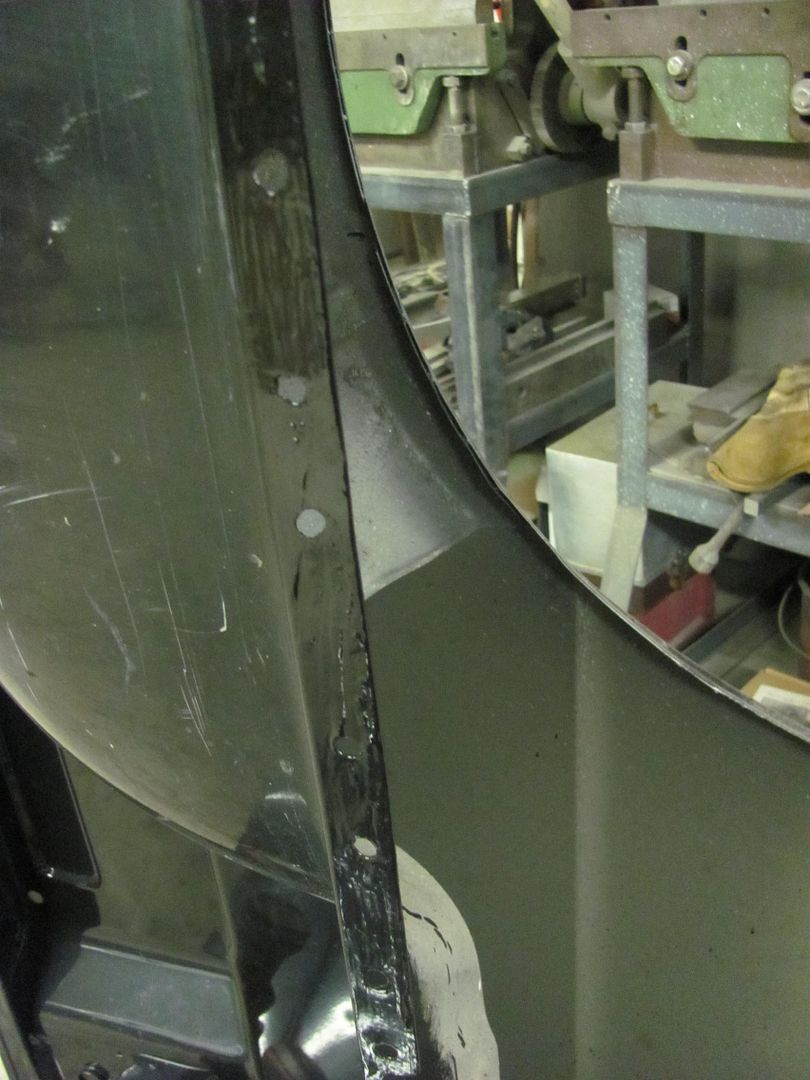
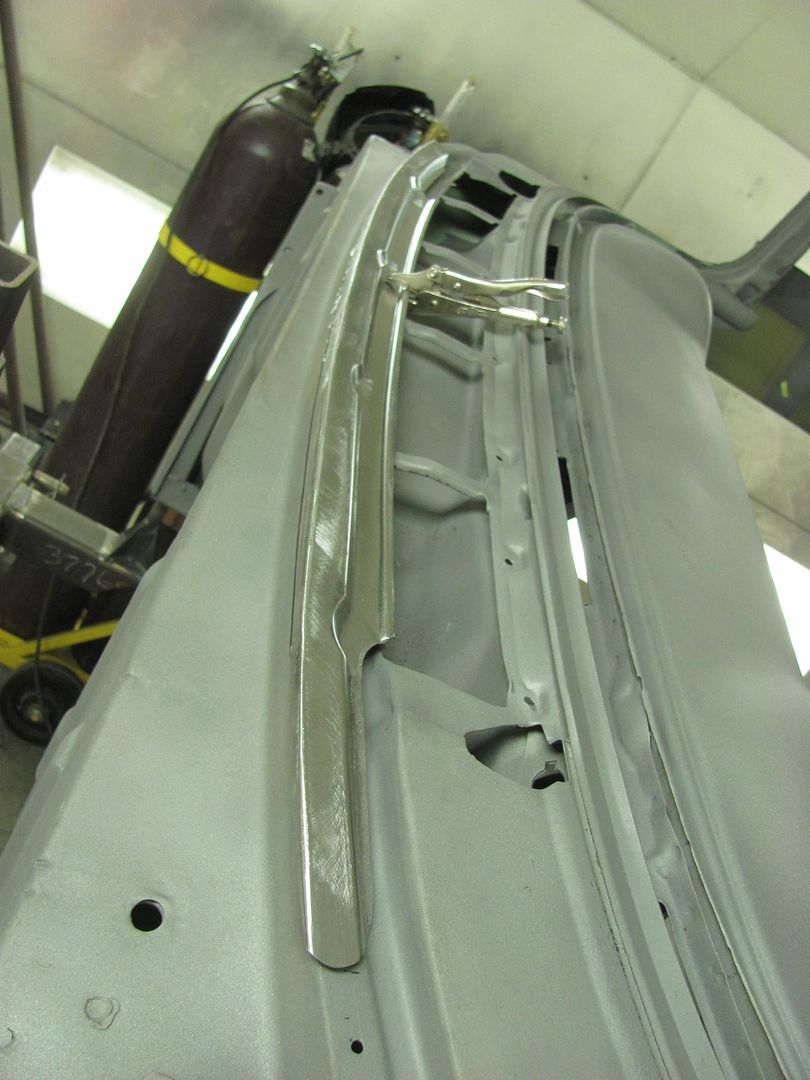
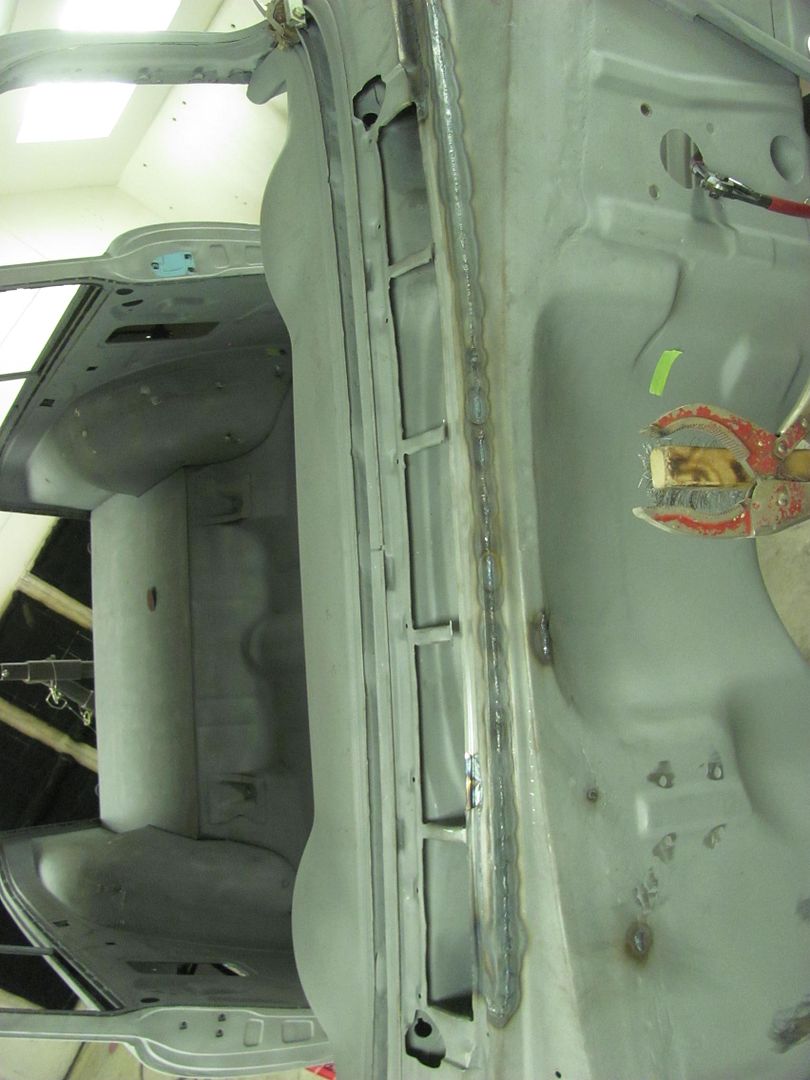
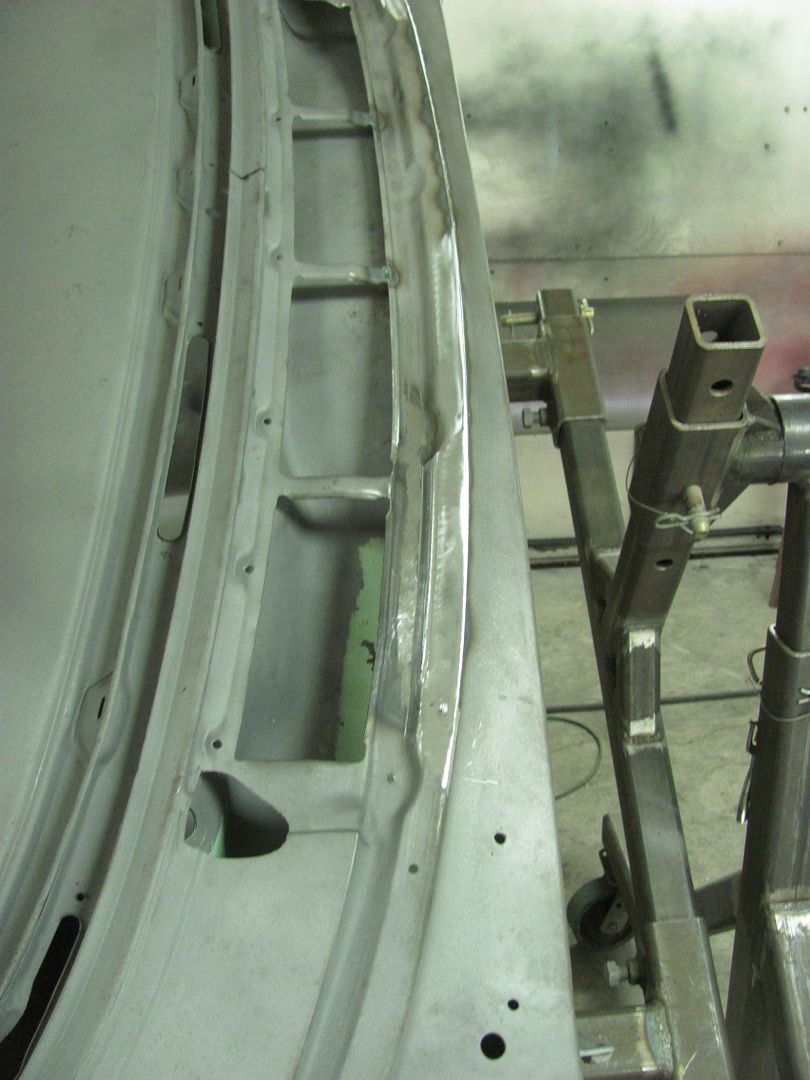
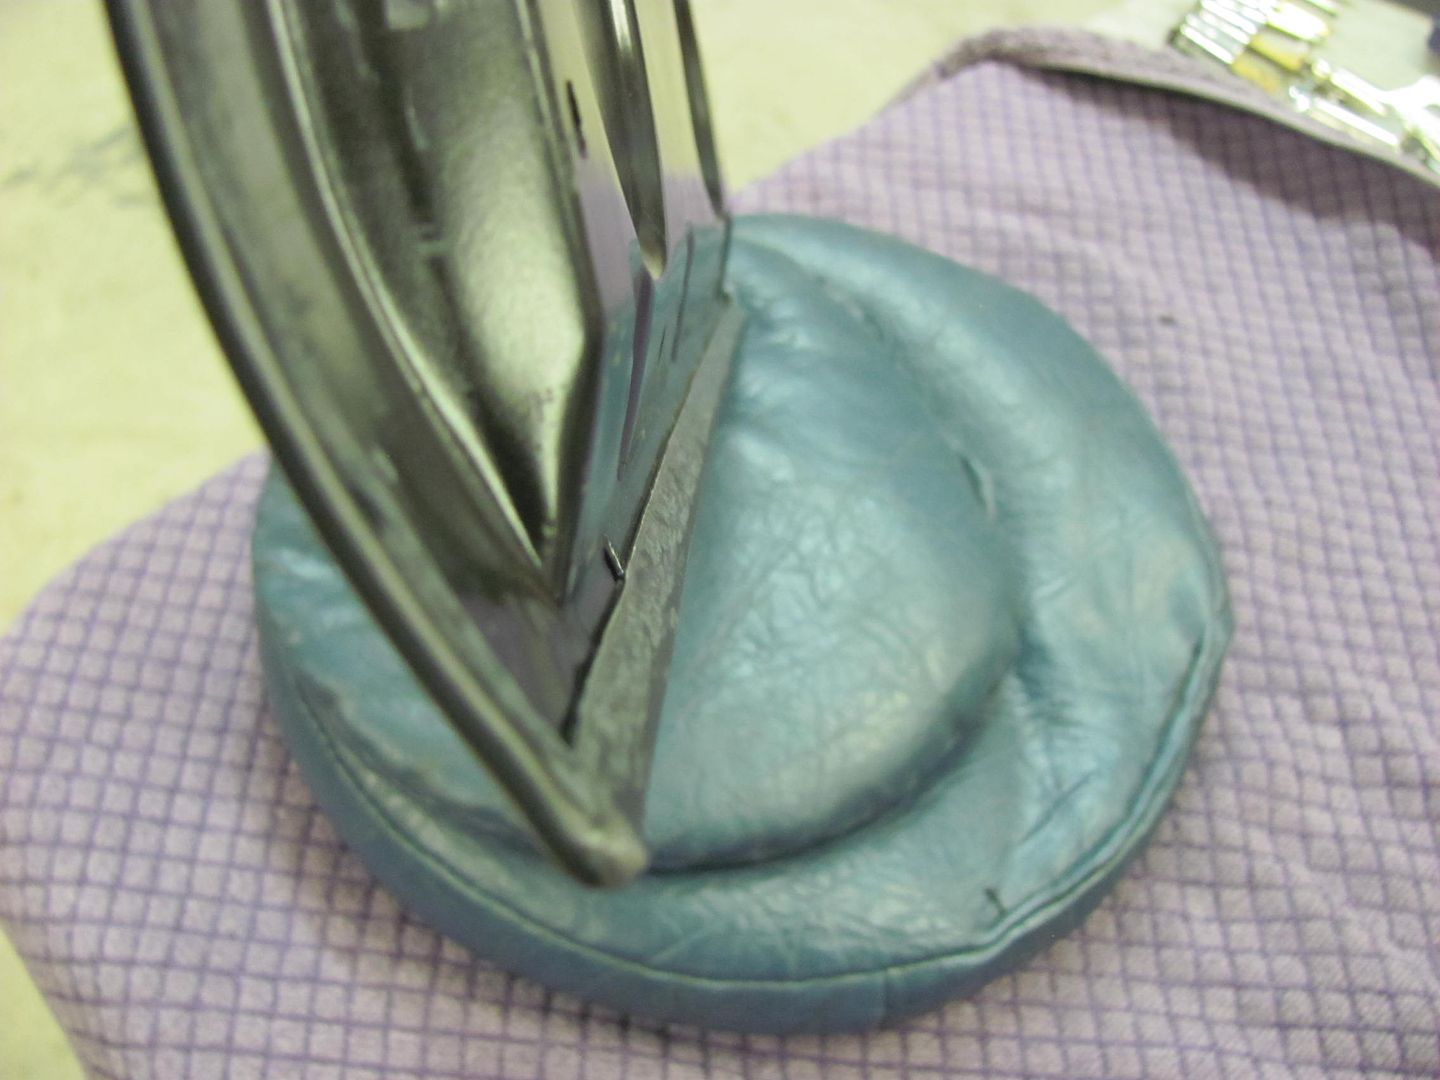
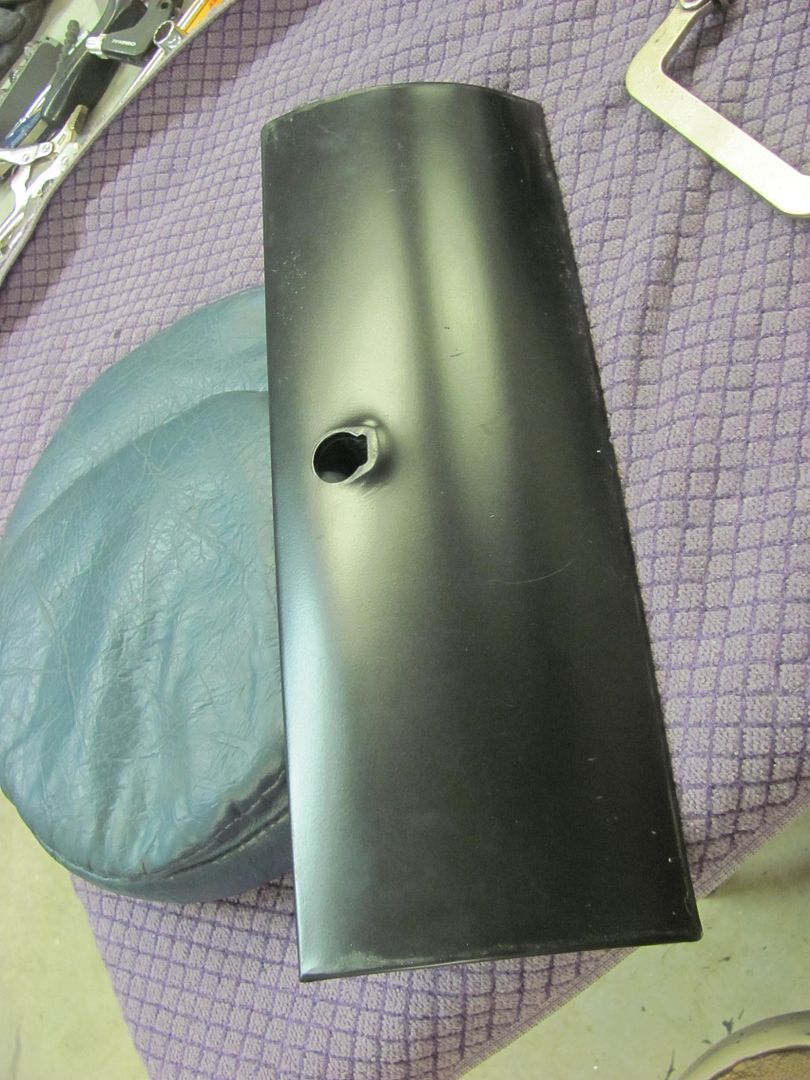
Looking at this area from the bottom side, in addition to the sign material added by the last hack (owner?) as a platform for Bondo, we see that one of the manufacturer's bright ideas of heat control above the muffler also was of a nice fibrous textile that also retained moisture well..


Picture%202993.jpg


They had researched many used beds, most the wrong color, others rusted farther along, or salvage yards that liked to set beds on the ground to roll the quarters under nicely. Further research reveals that the bed floor was still available, so it was bought from the local dealer, along with one of the cross members. (the only cross member still available) I figured we had enough technical know-how to fabricate any of the others, if needed. Plus, since they were talking about getting Line-X installed, there was no need for a finish coat, SPI epoxy should serve fine by itself.

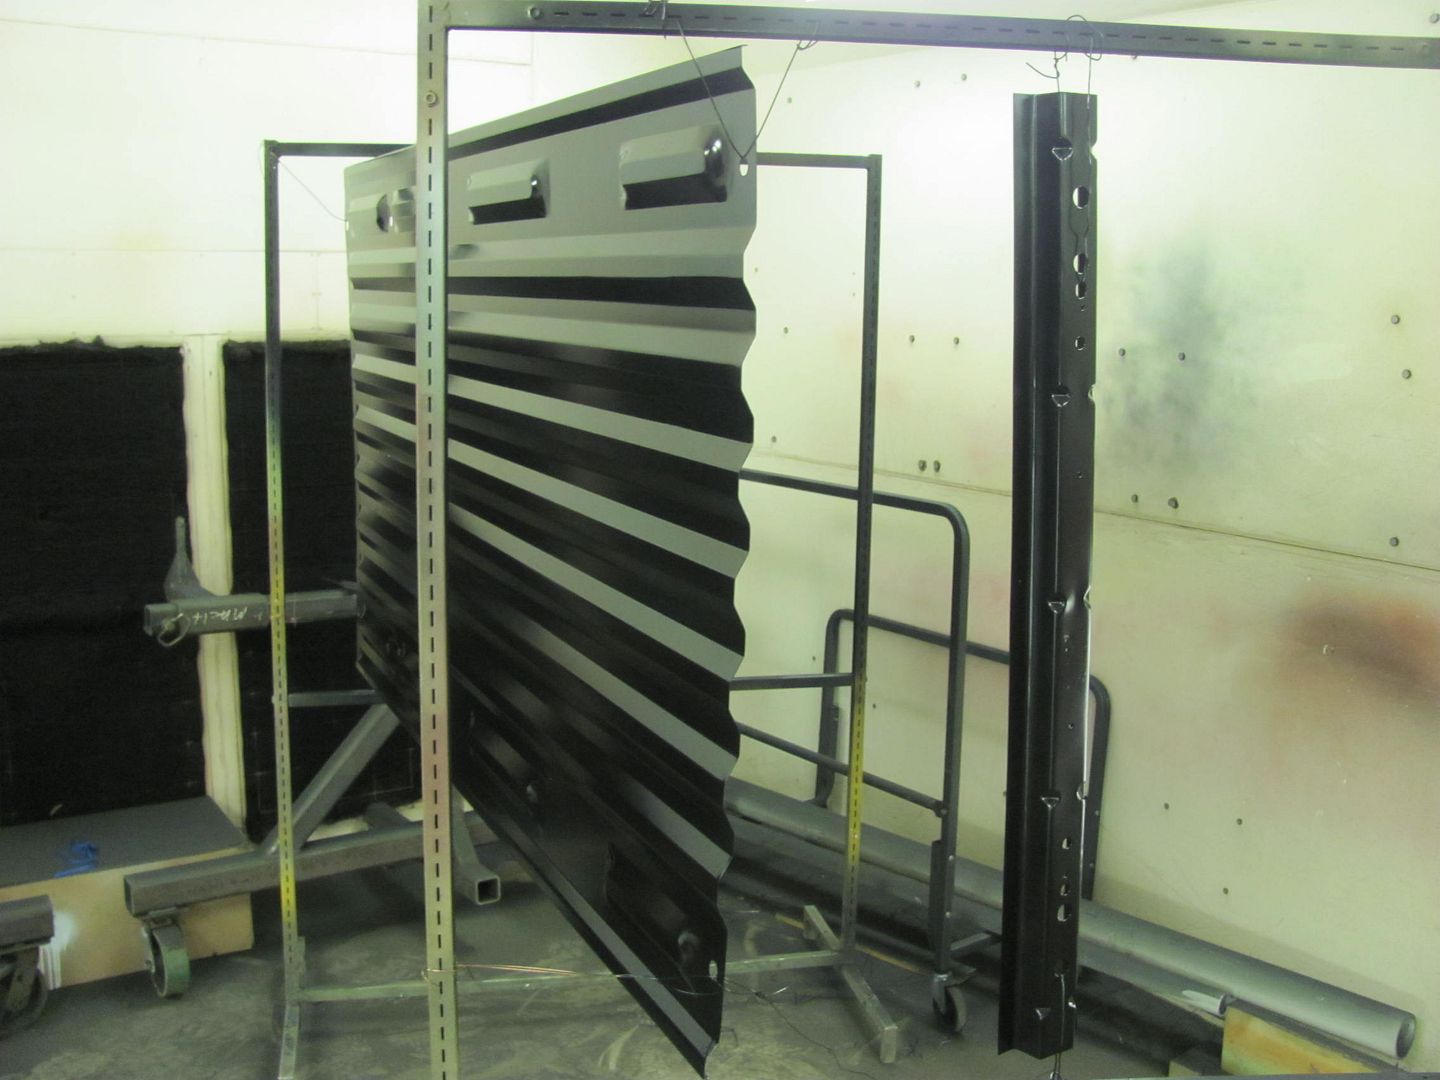
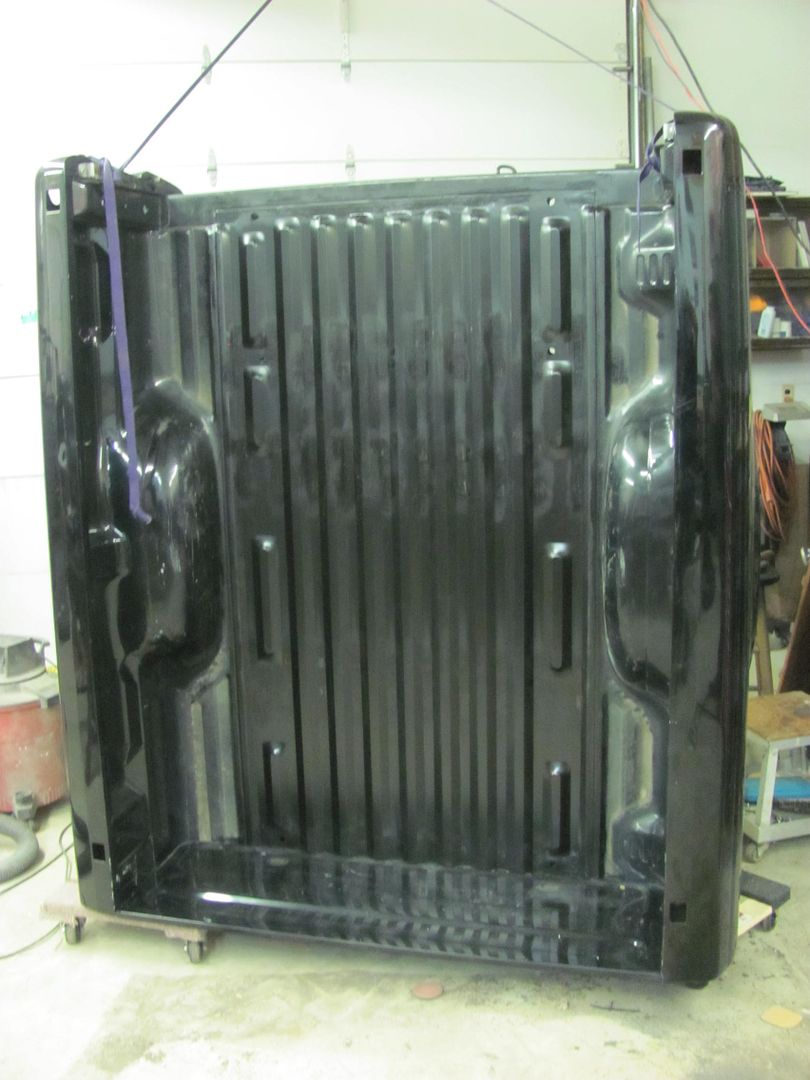
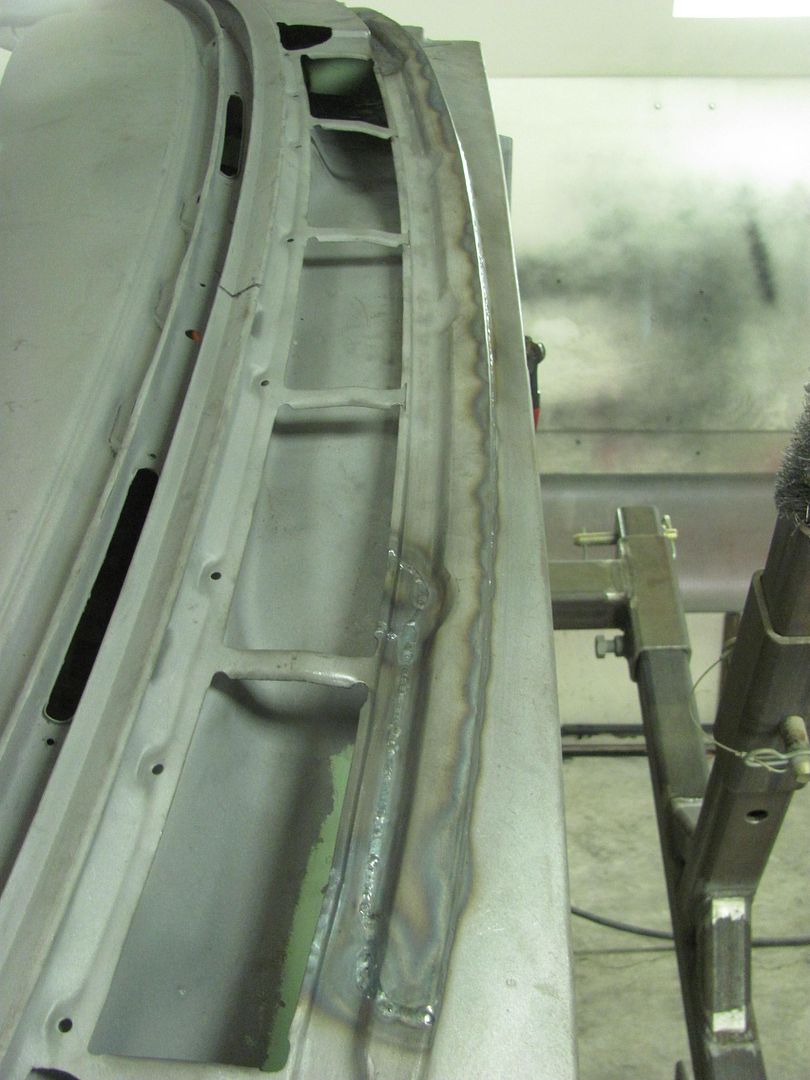
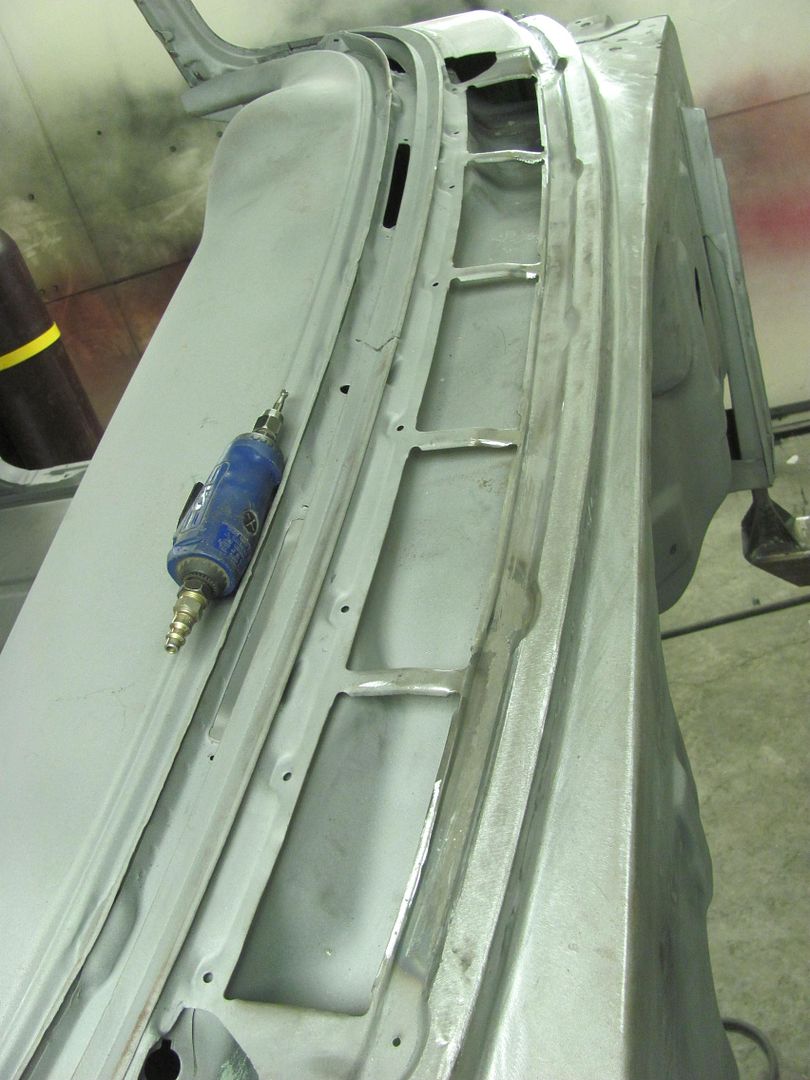
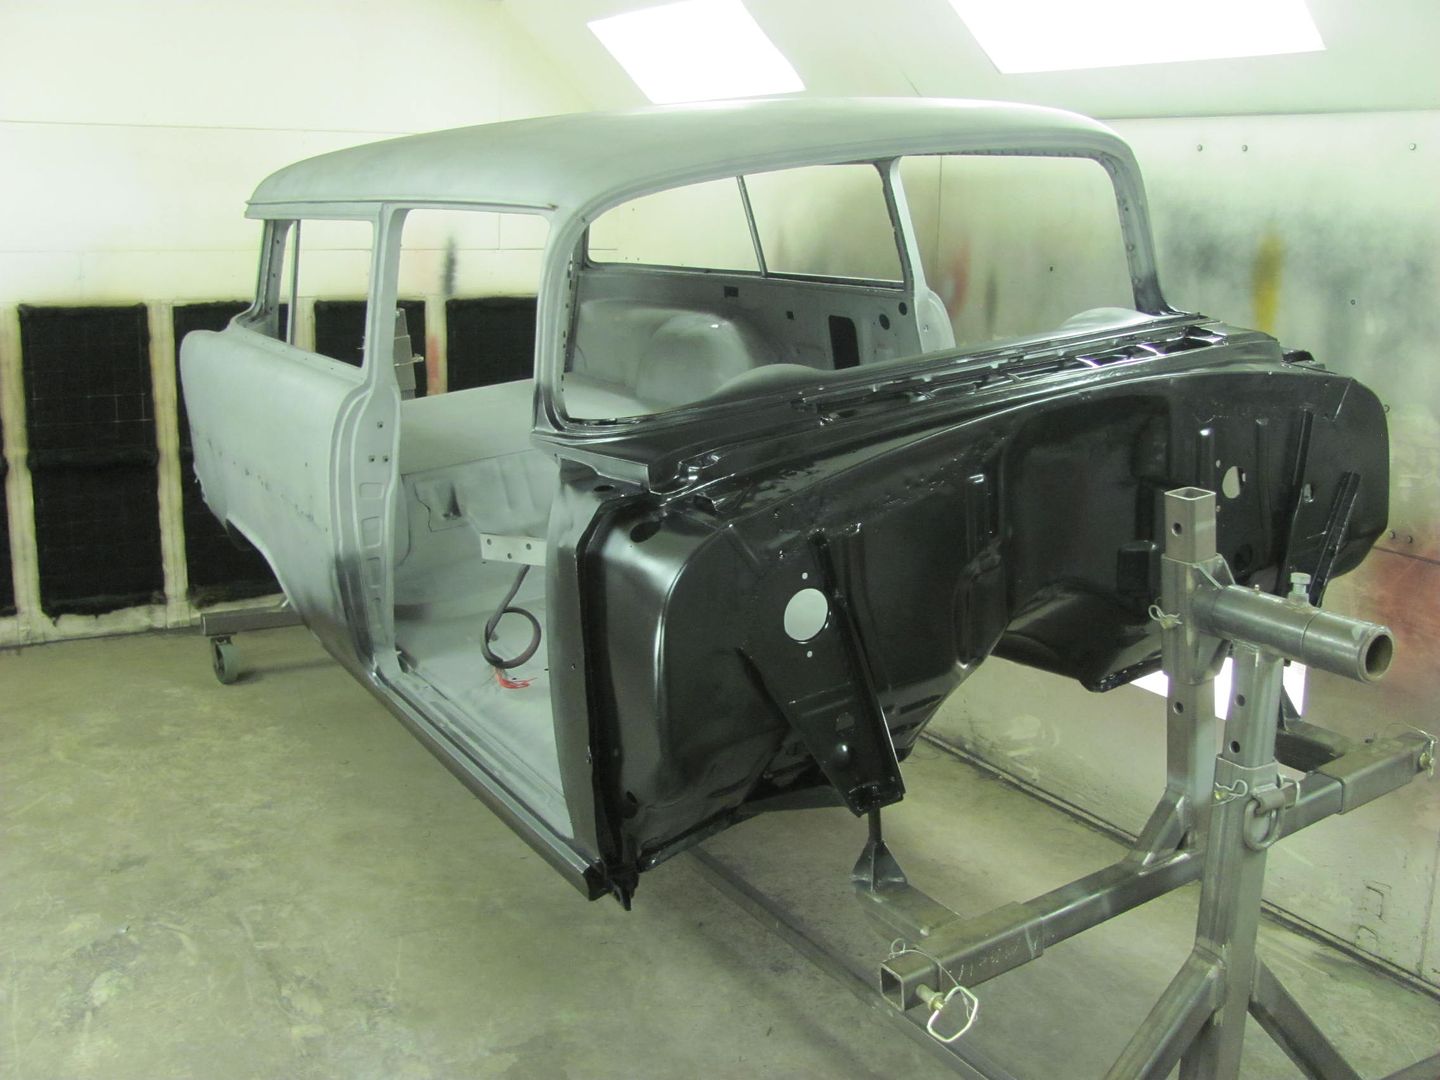
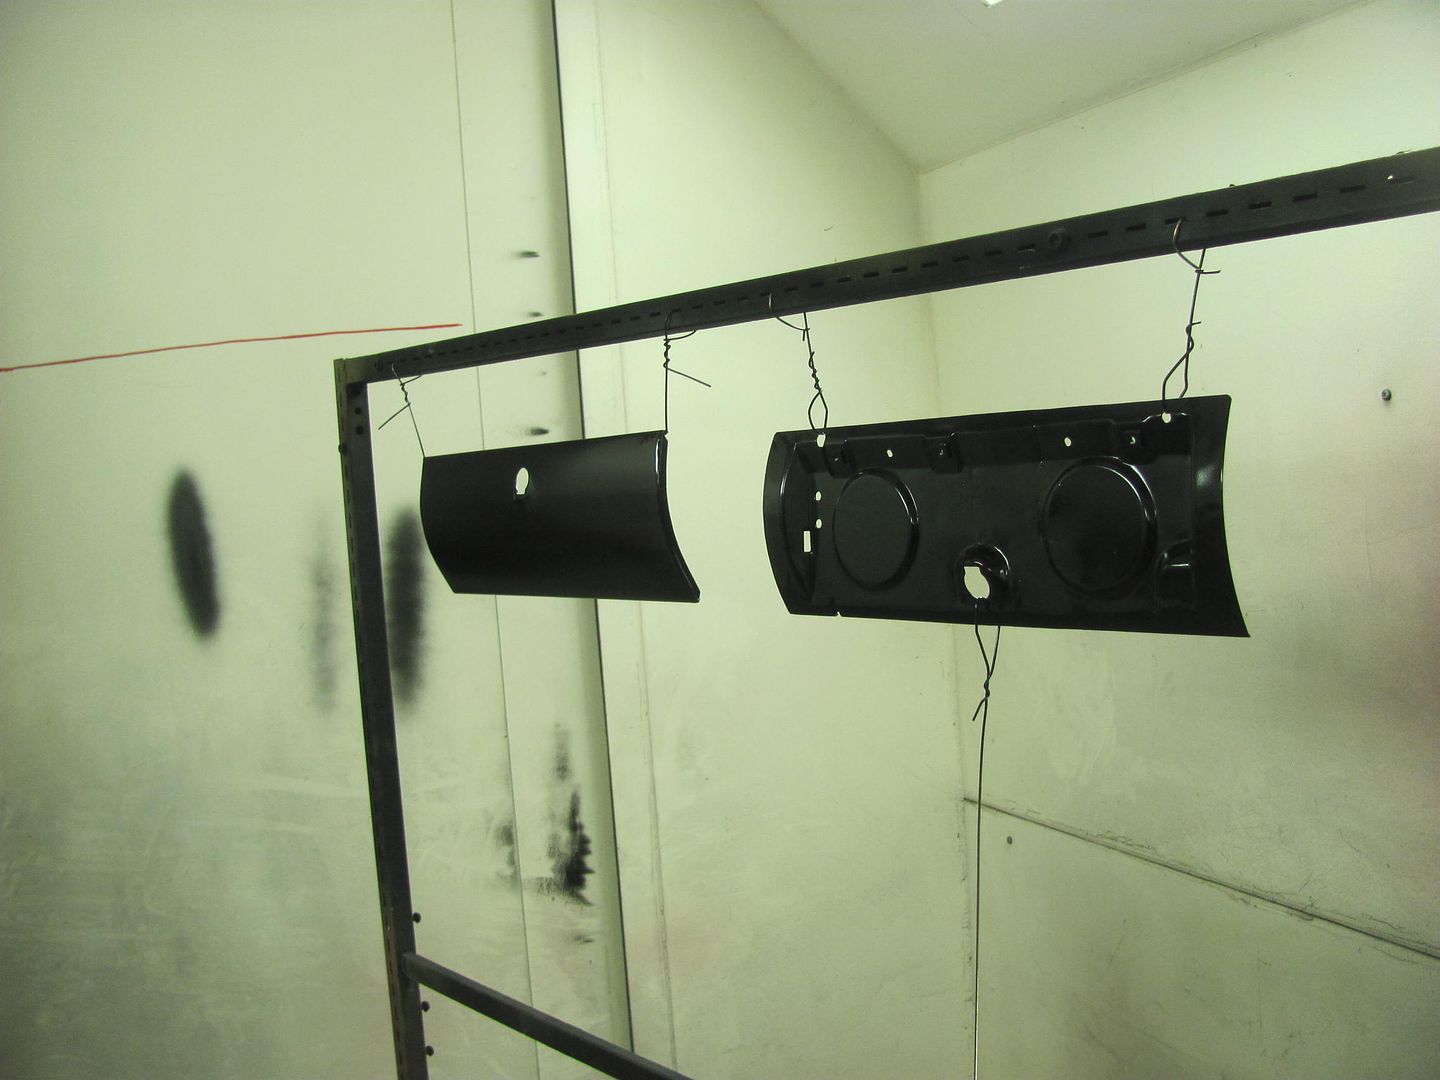
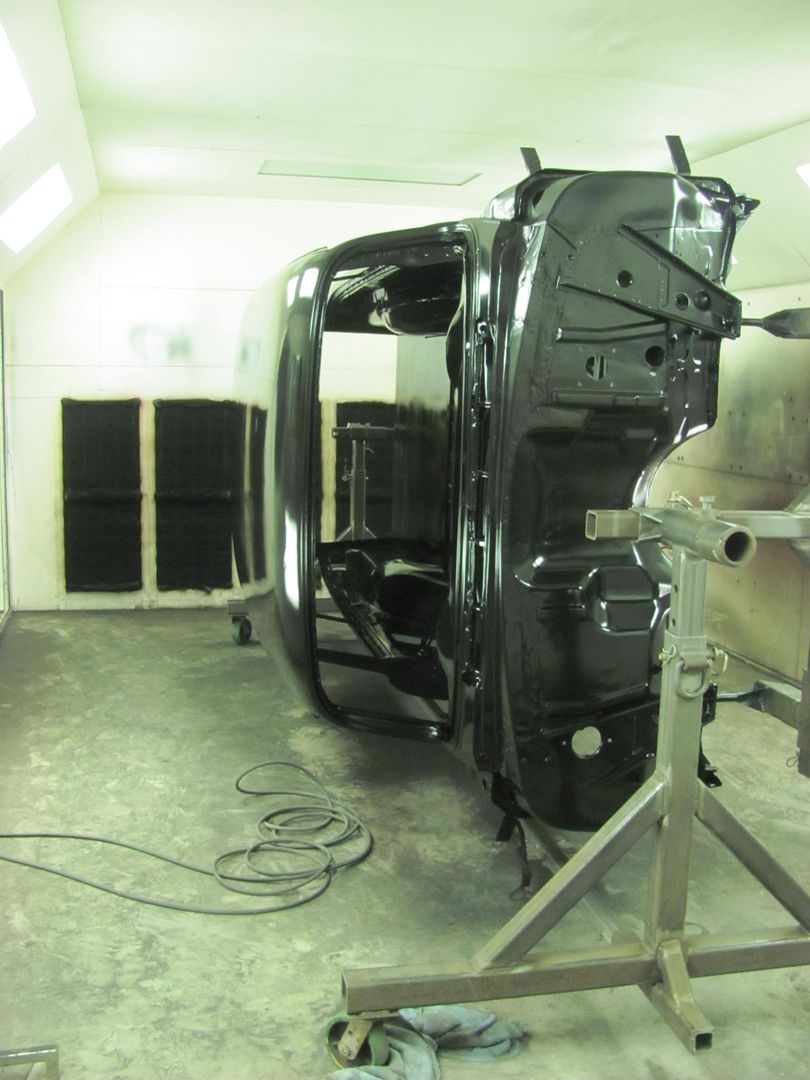
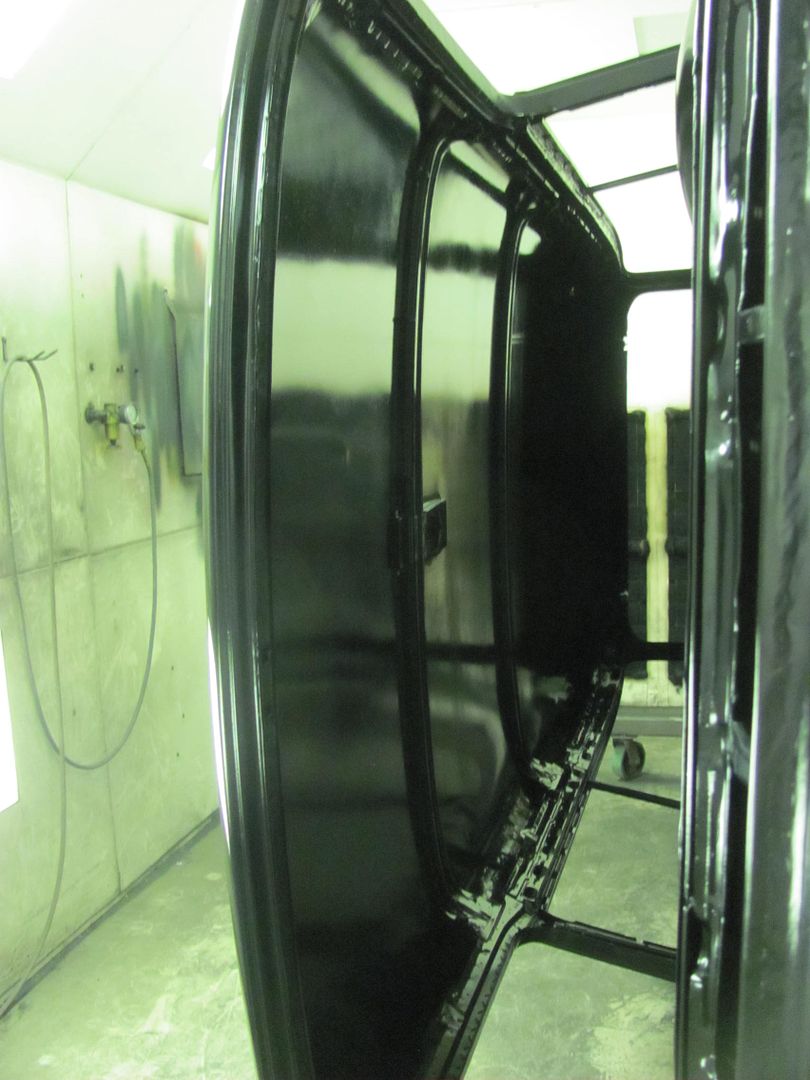
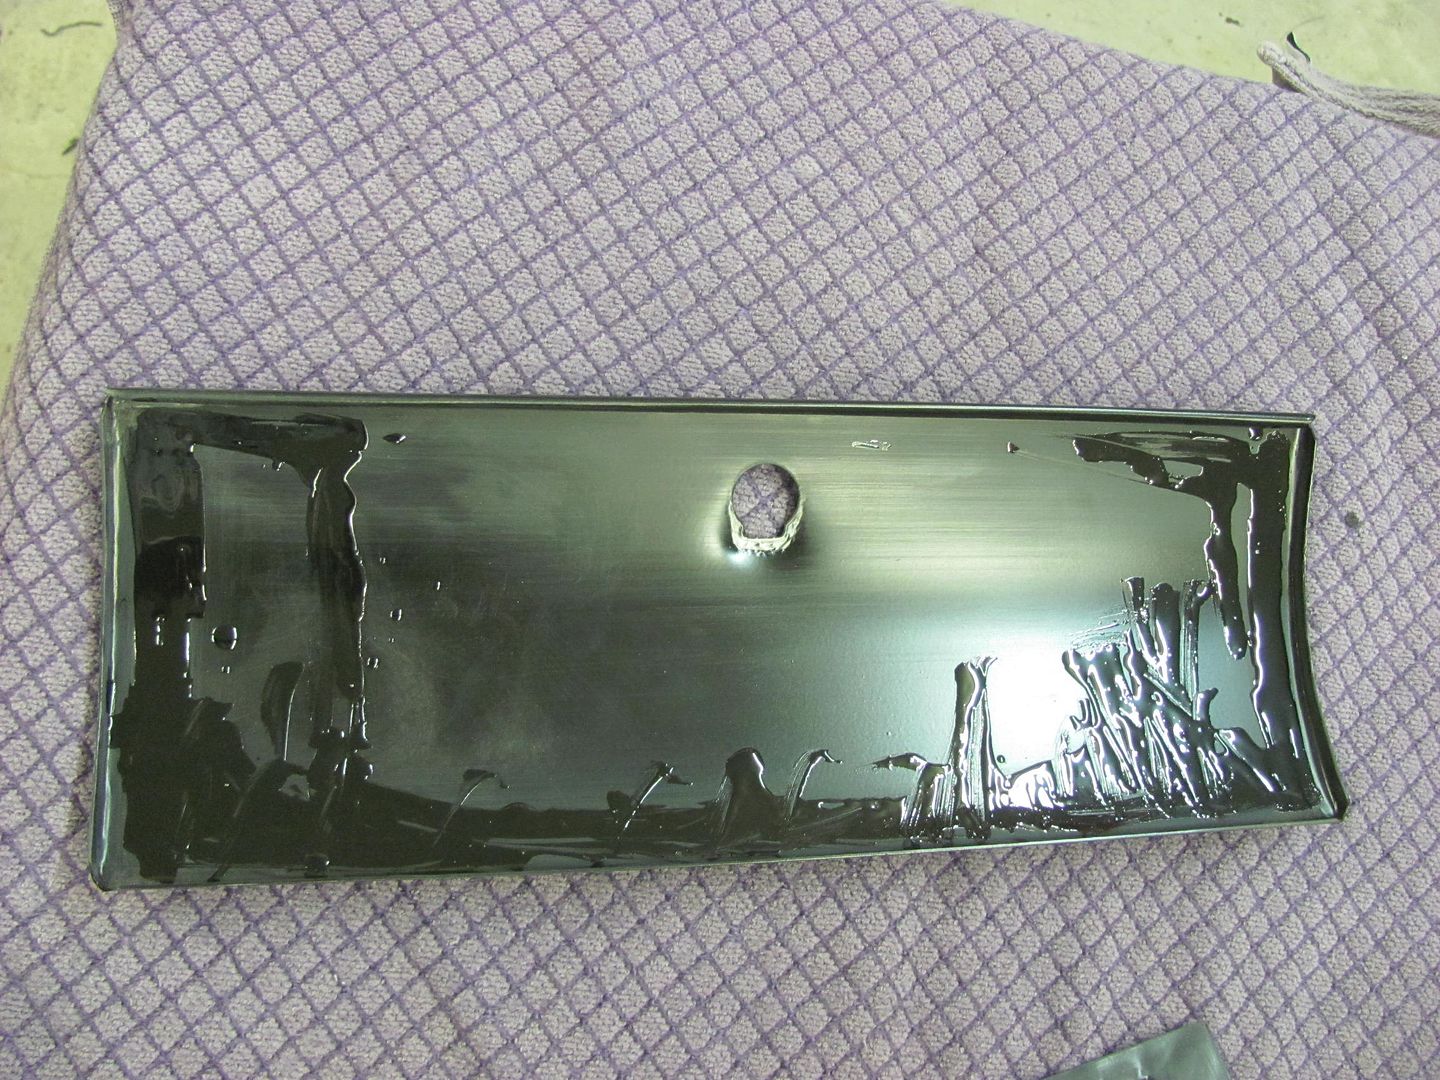
Bed floor and OEM cross member sprayed in Epoxy..


Picture%203010.jpg


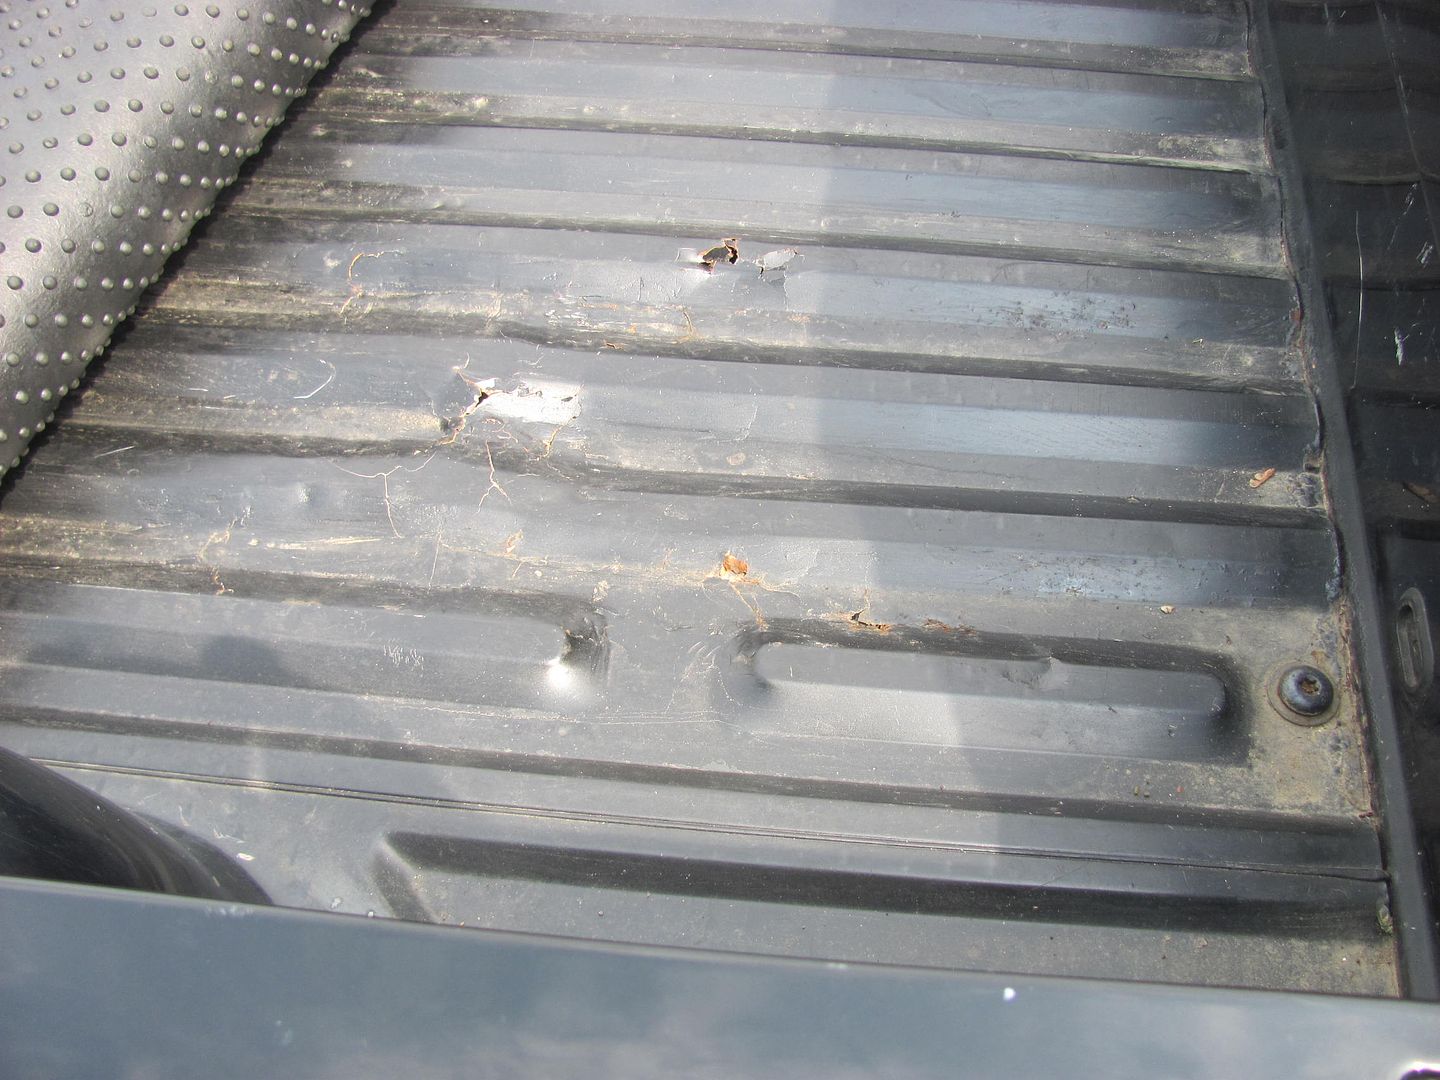
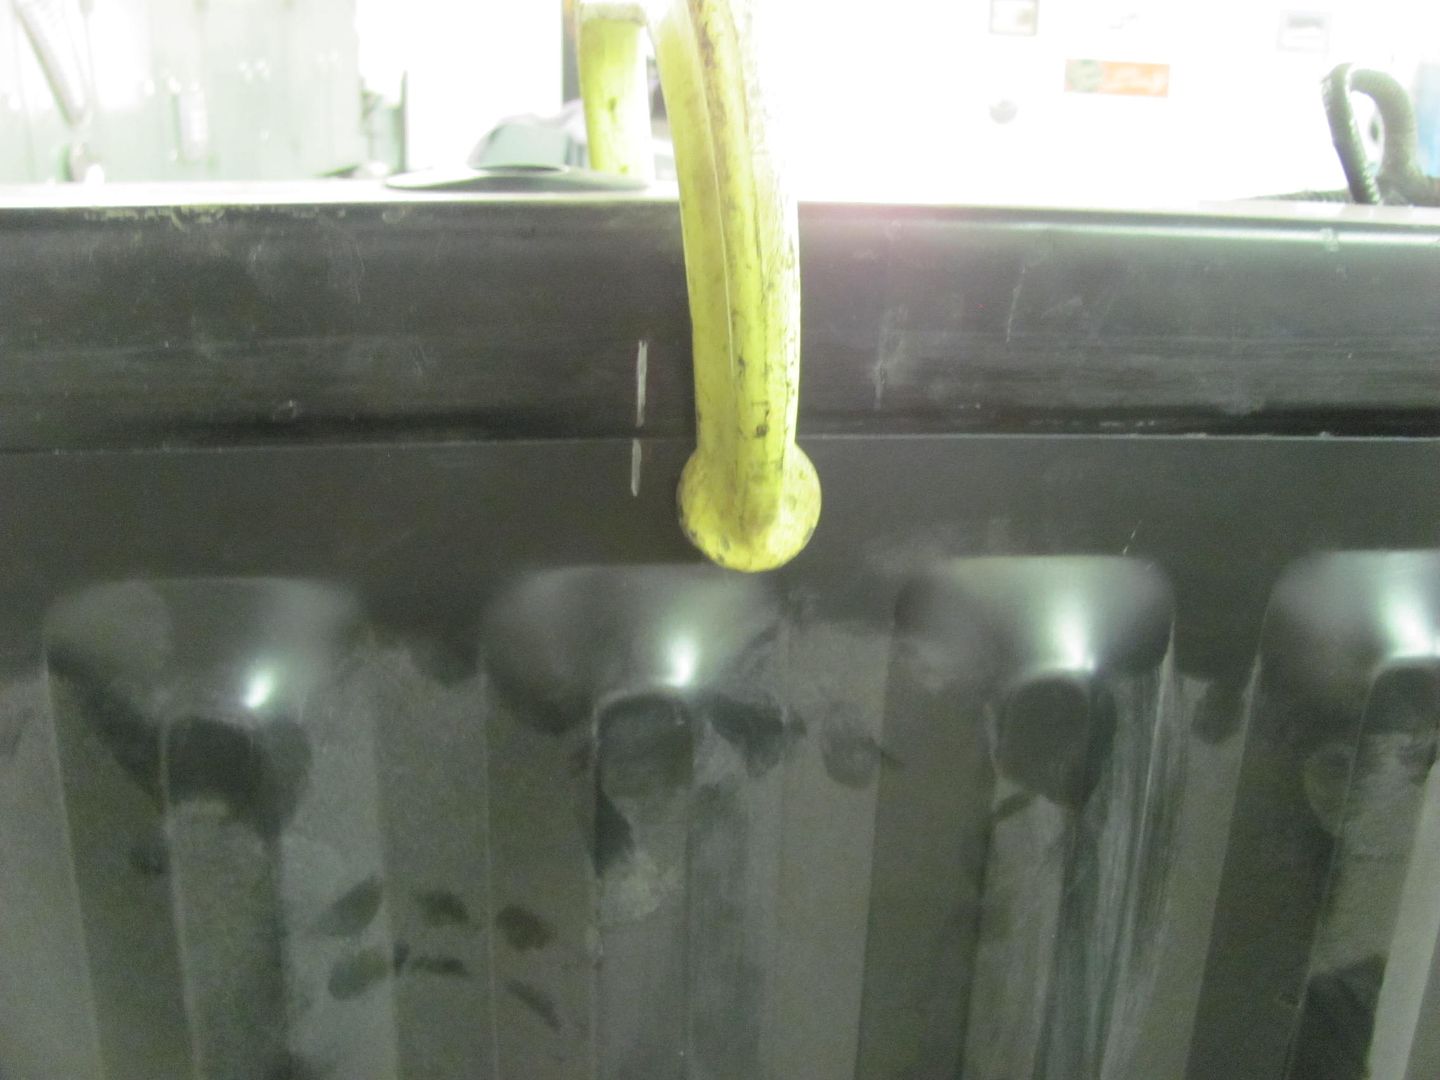
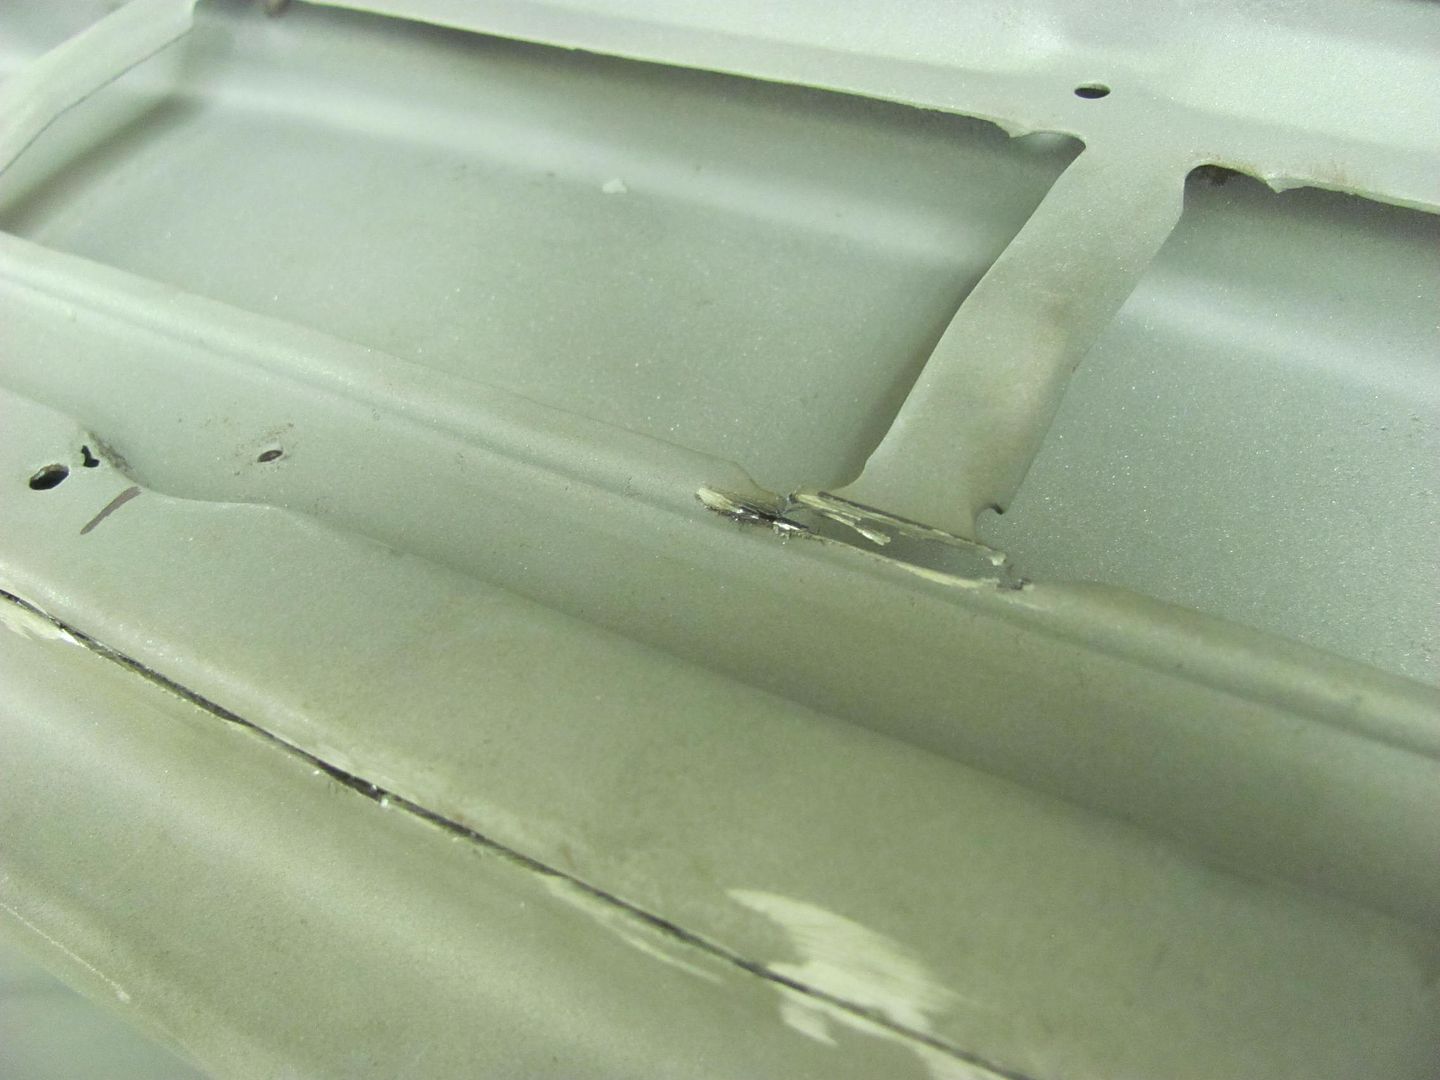
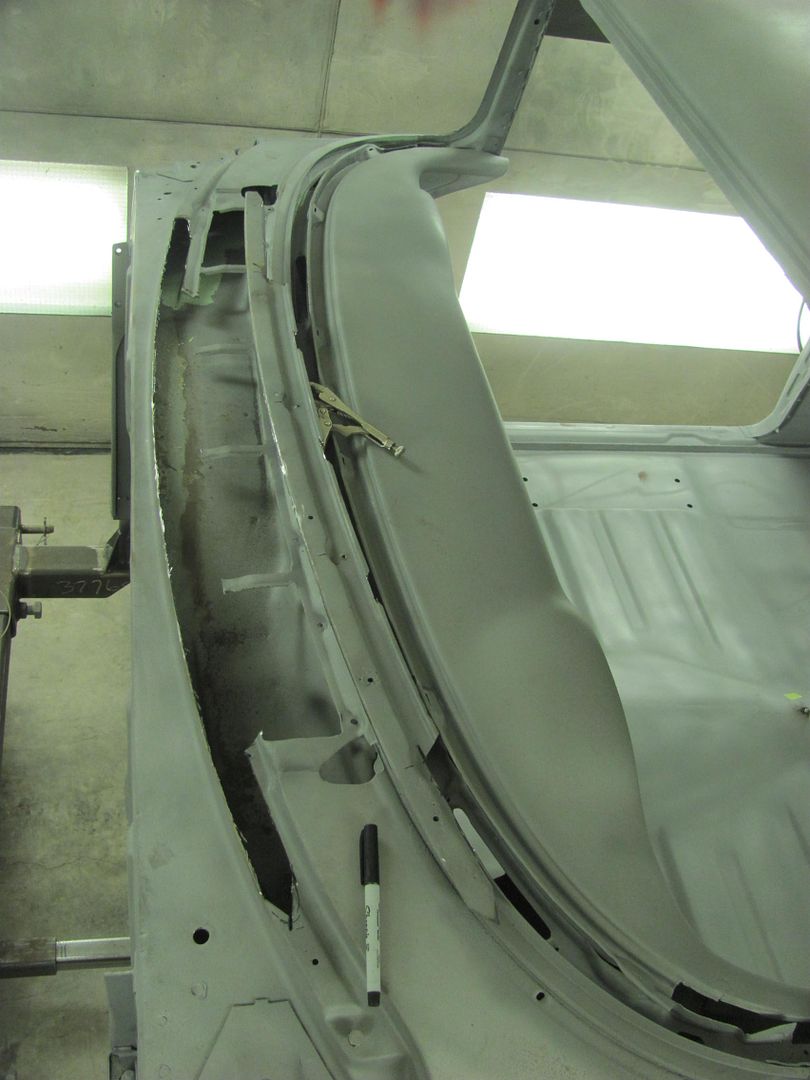
Taking a better look just prior to removing the bed, looks like this was just shy of Flintstone status.
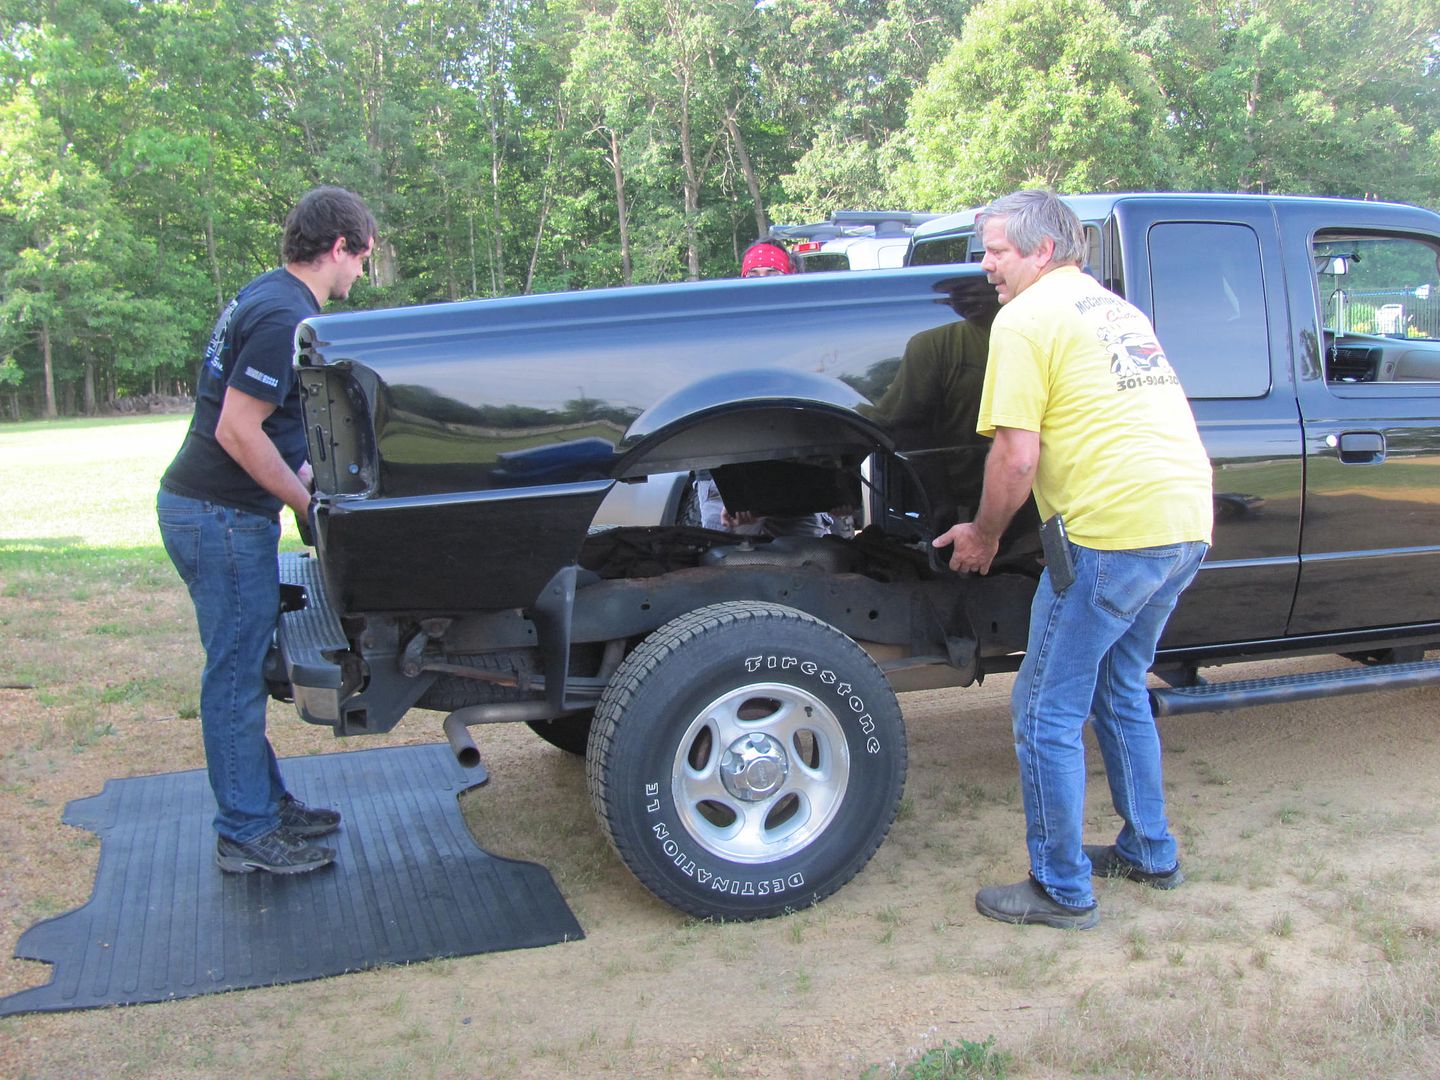
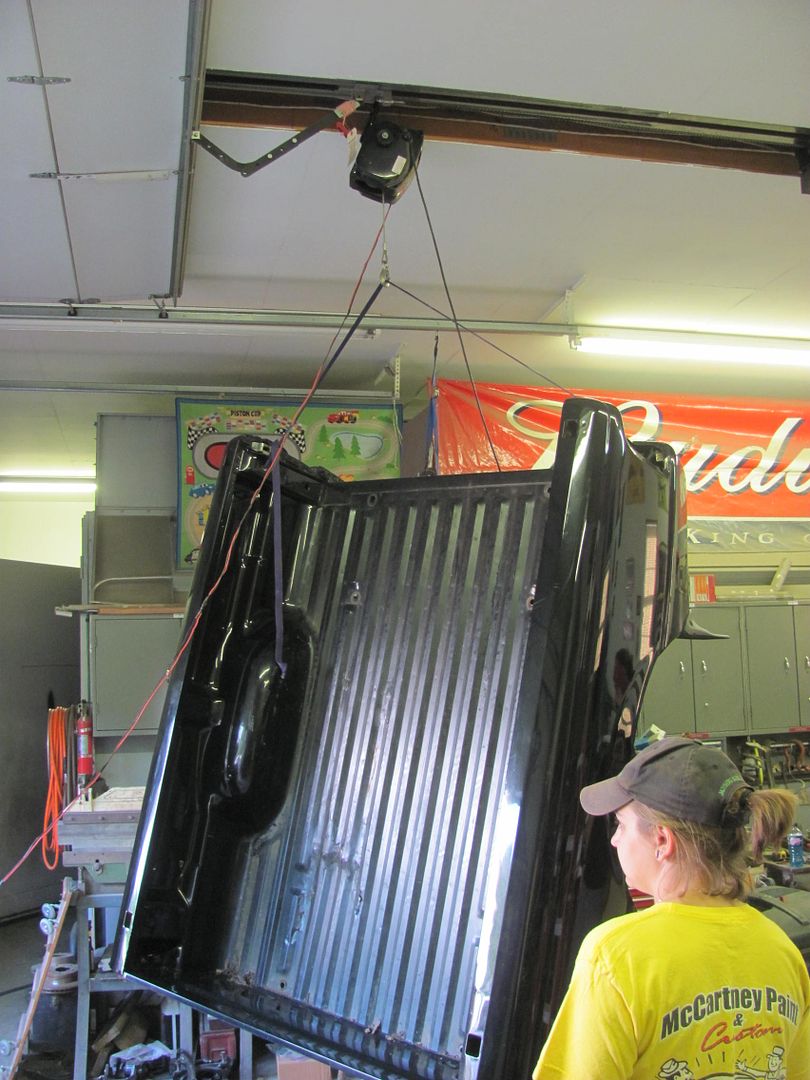
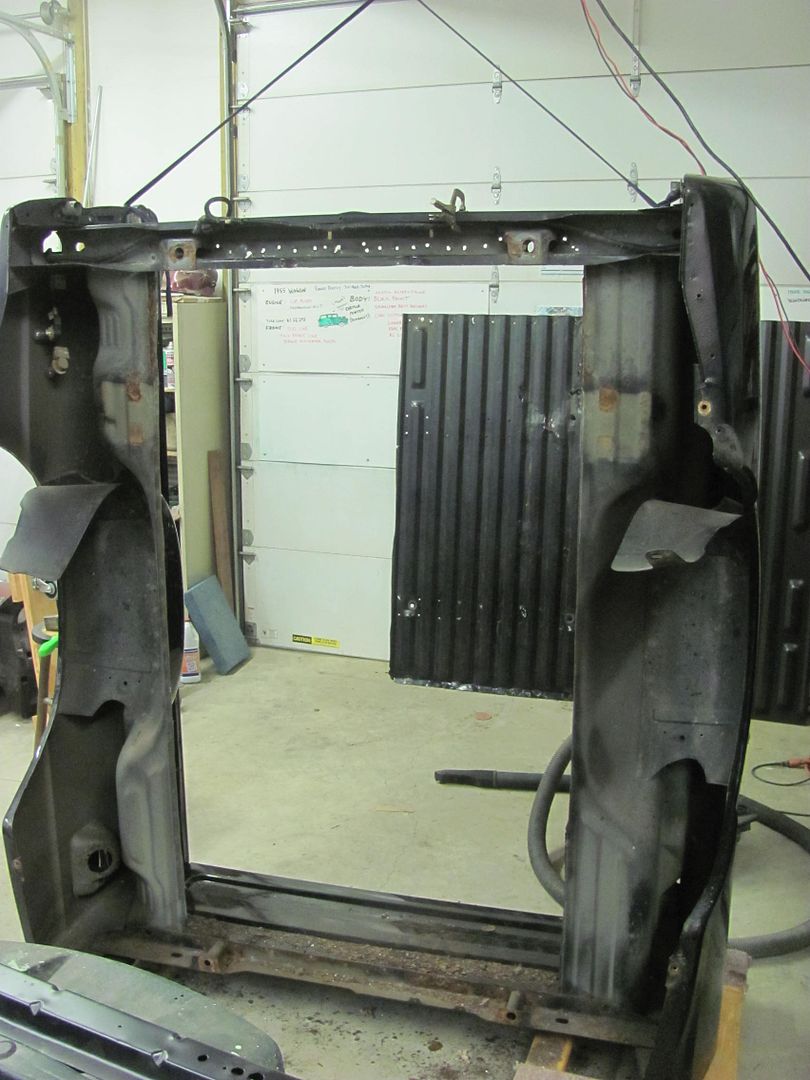
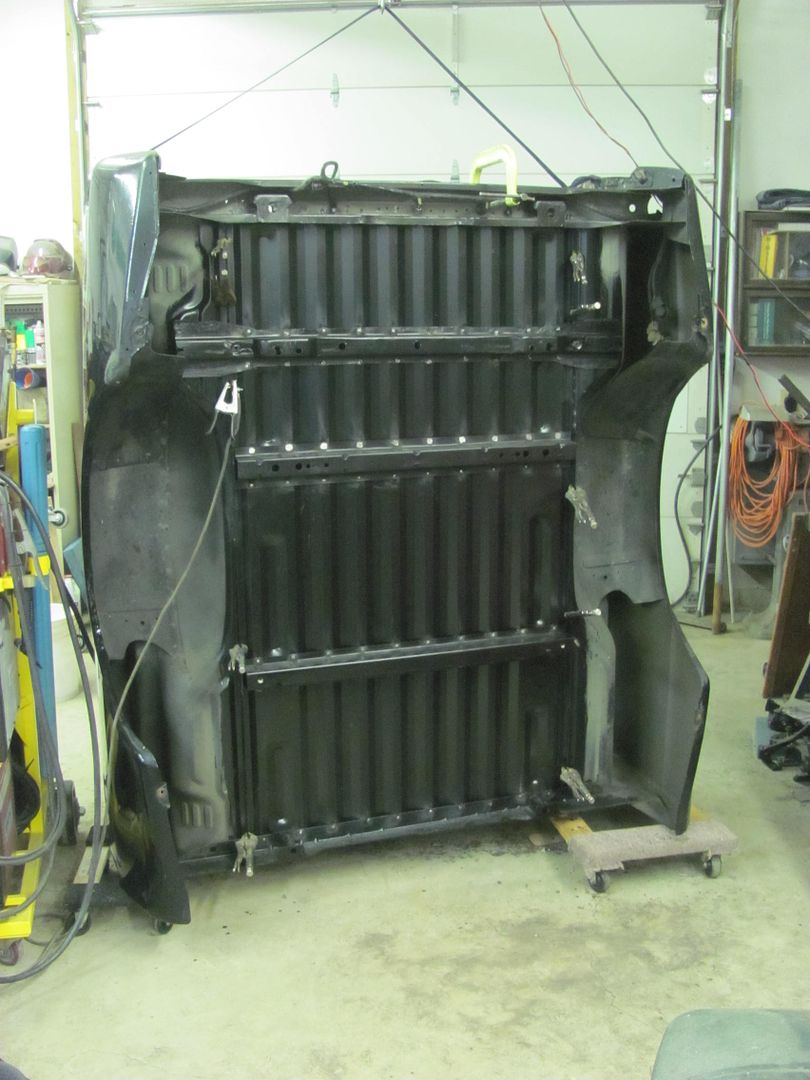

Picture%204526.jpg


Bed removal


Picture%204527.jpg


Temporarily placed on sawhorses, then lifted with a winch, lowered onto furniture dollies, and left tension on the winch for safety precaution..


Picture%204529.jpg


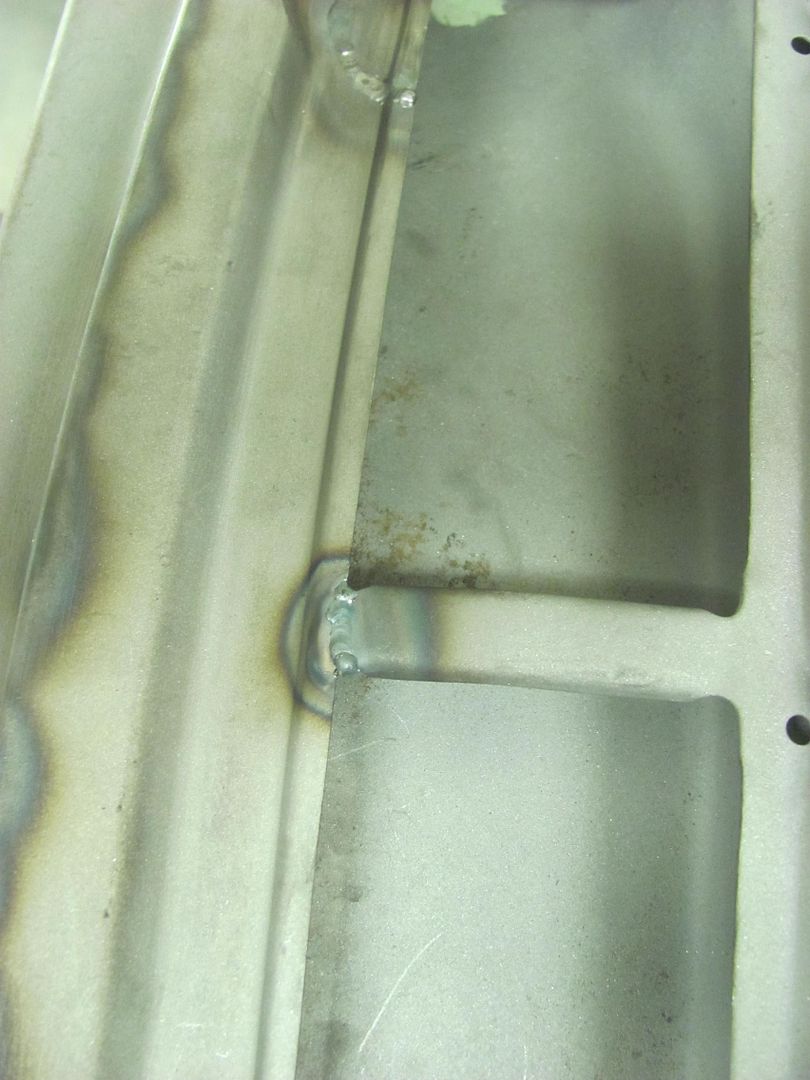
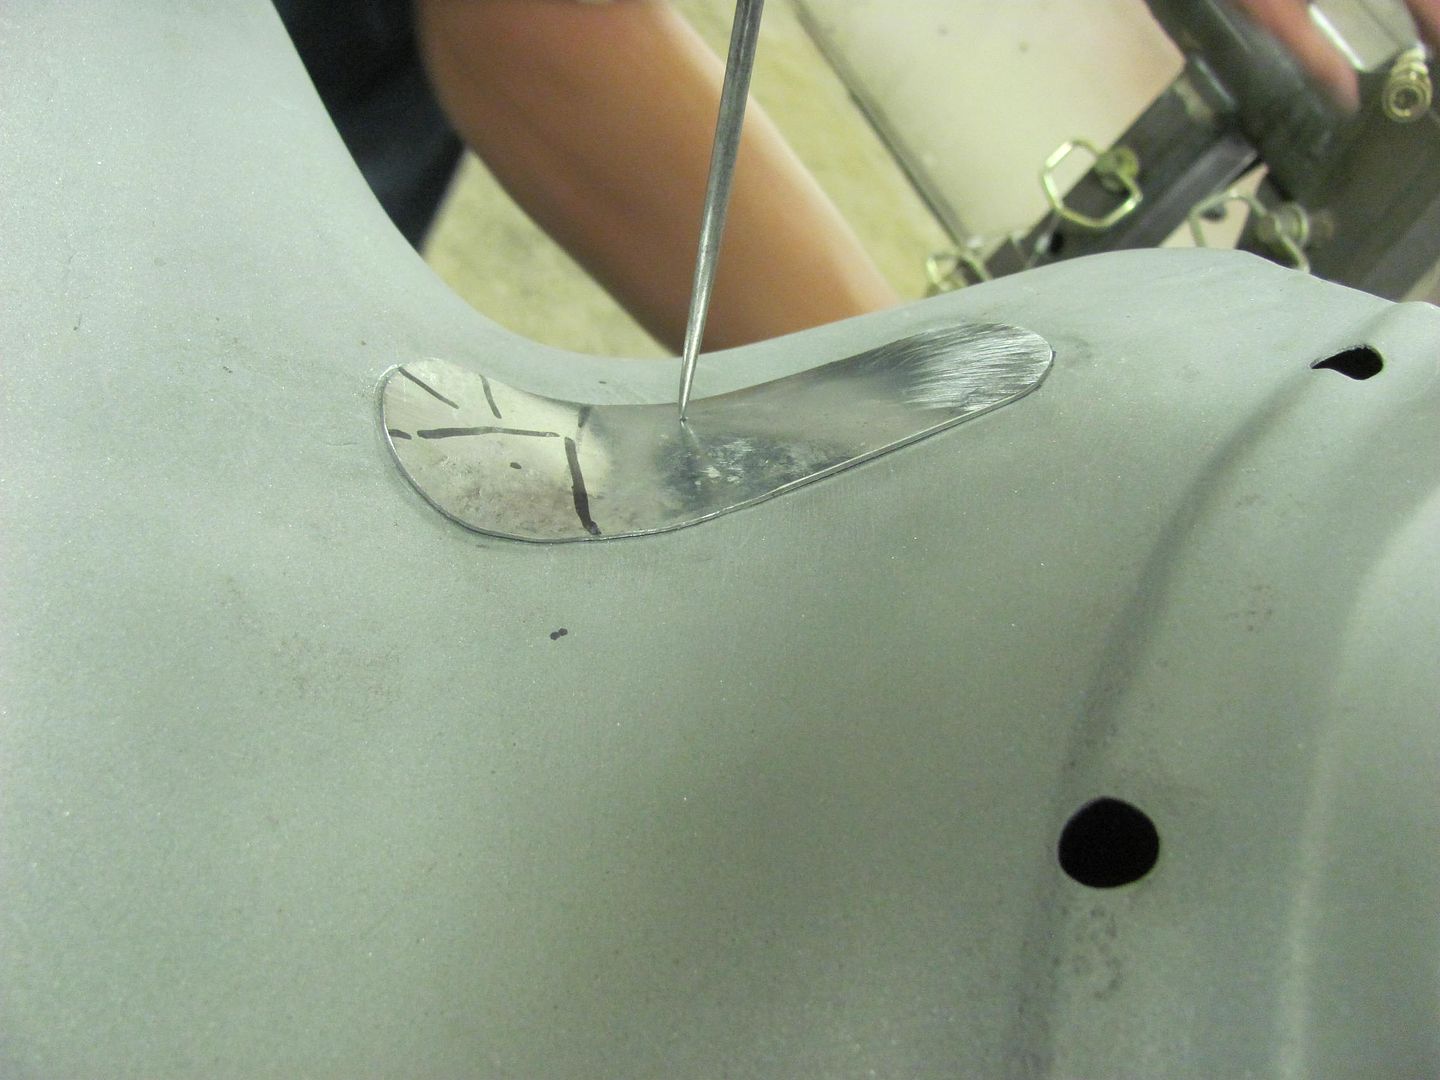
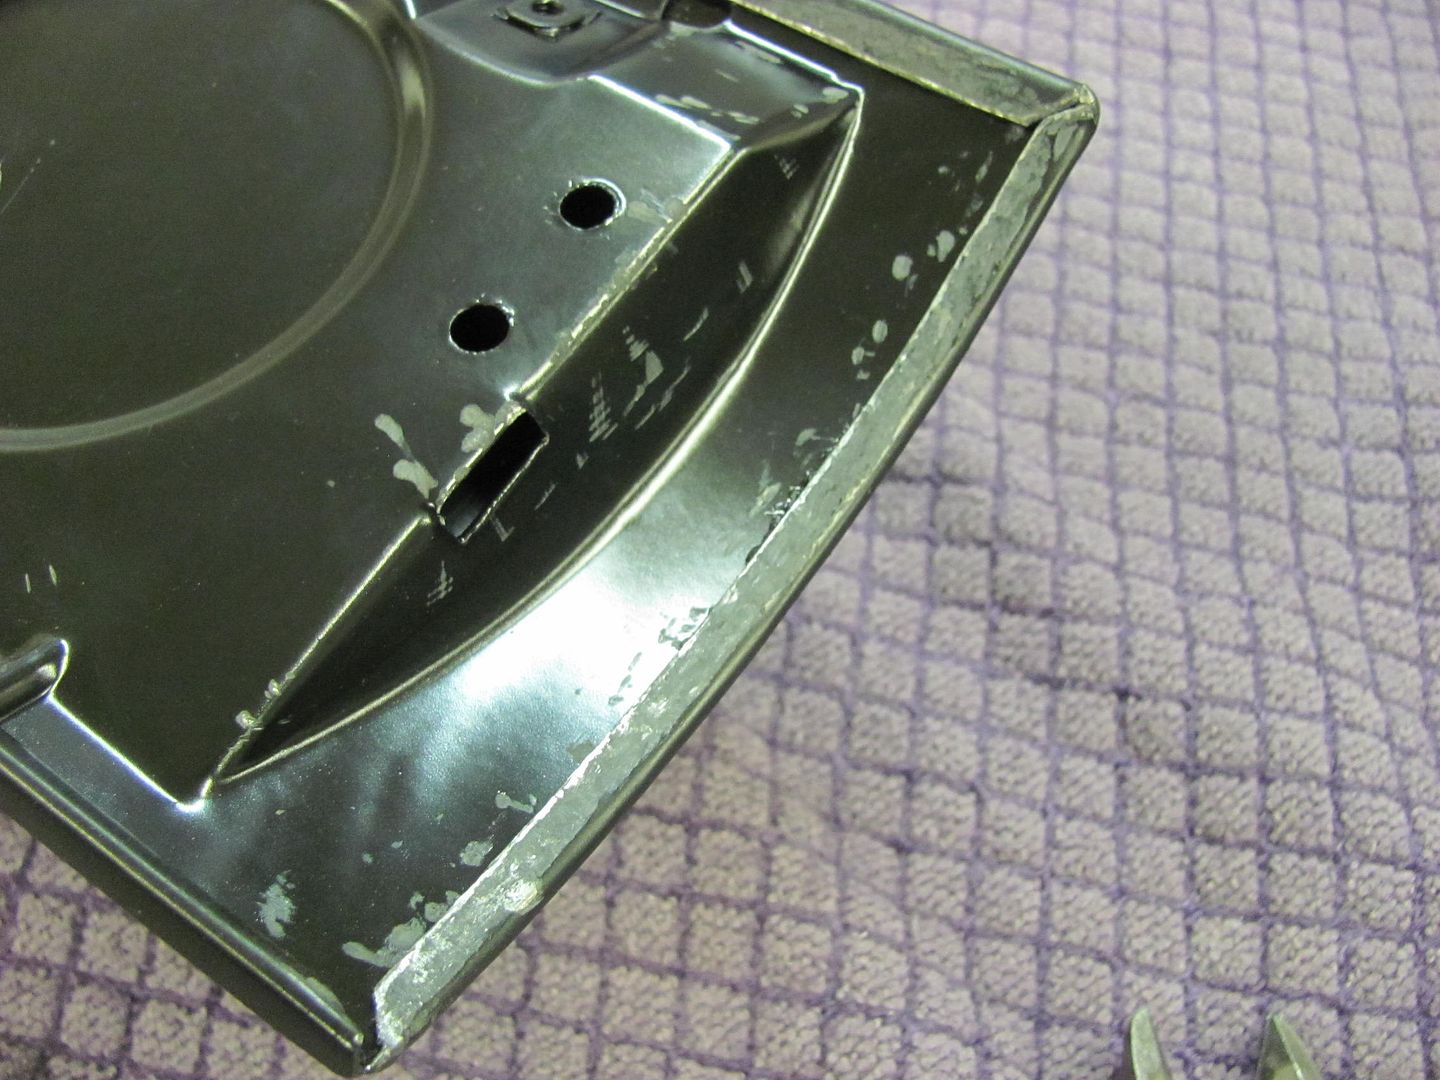
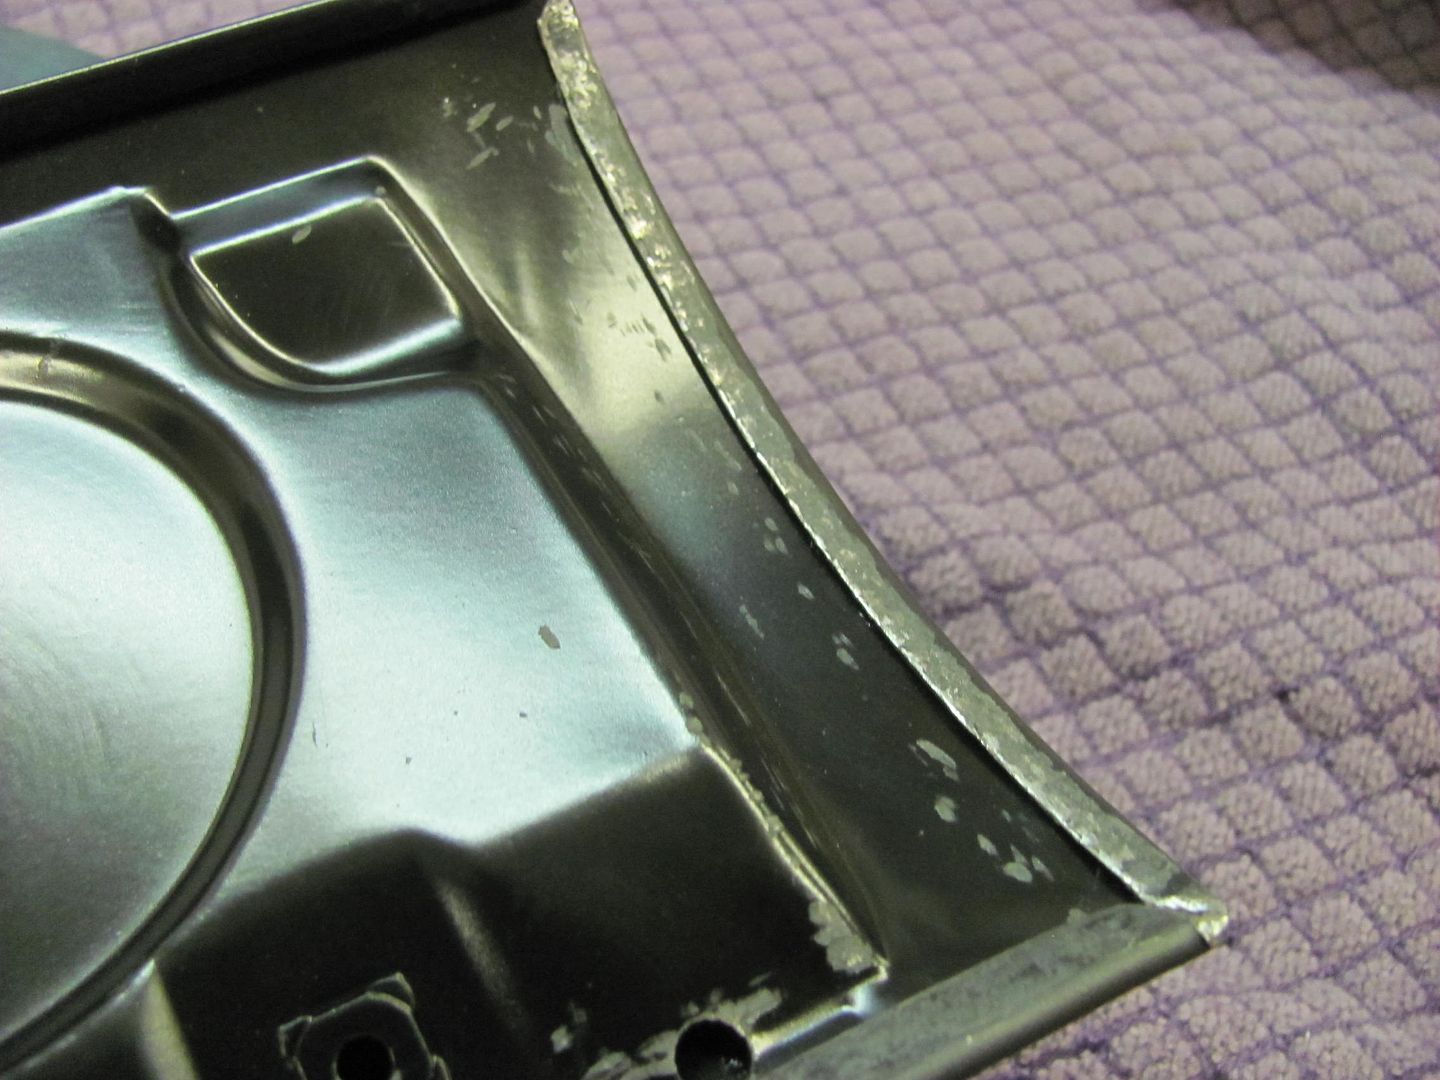
More of the fine repairs previously done. It's hack work like this that makes a job that much harder...


Picture%204530.jpg


Picture%204531.jpg


Picture%204532.jpg


Picture%204534.jpg


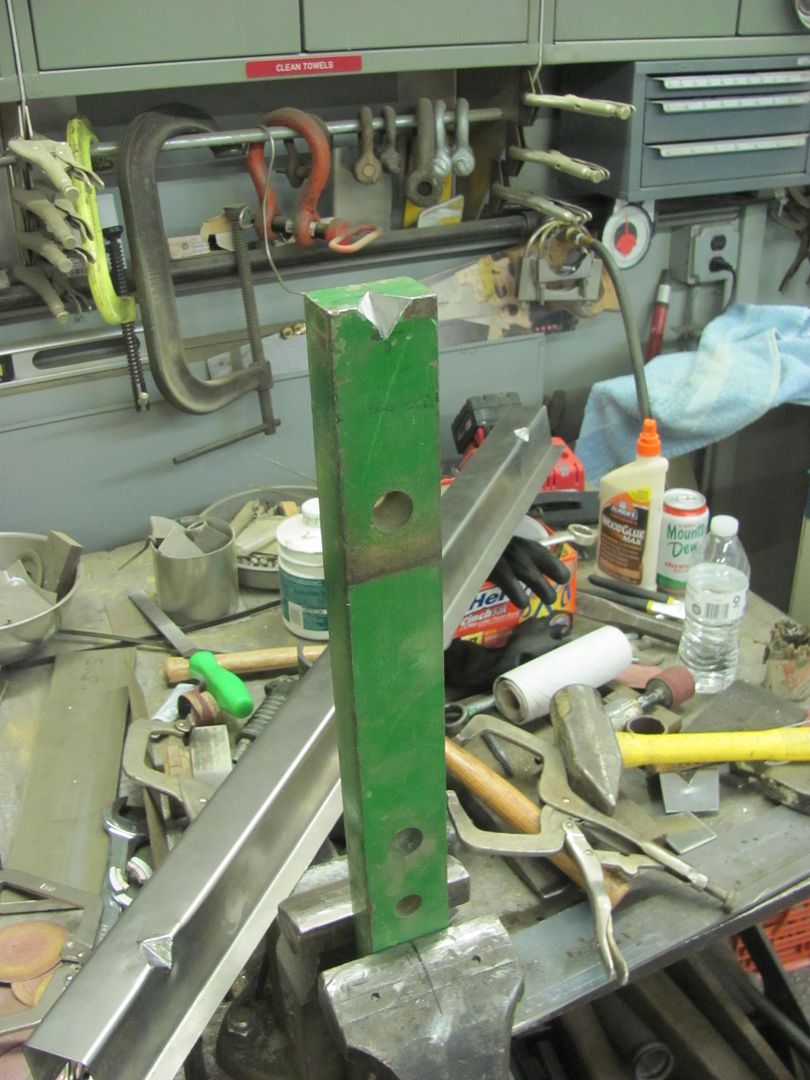
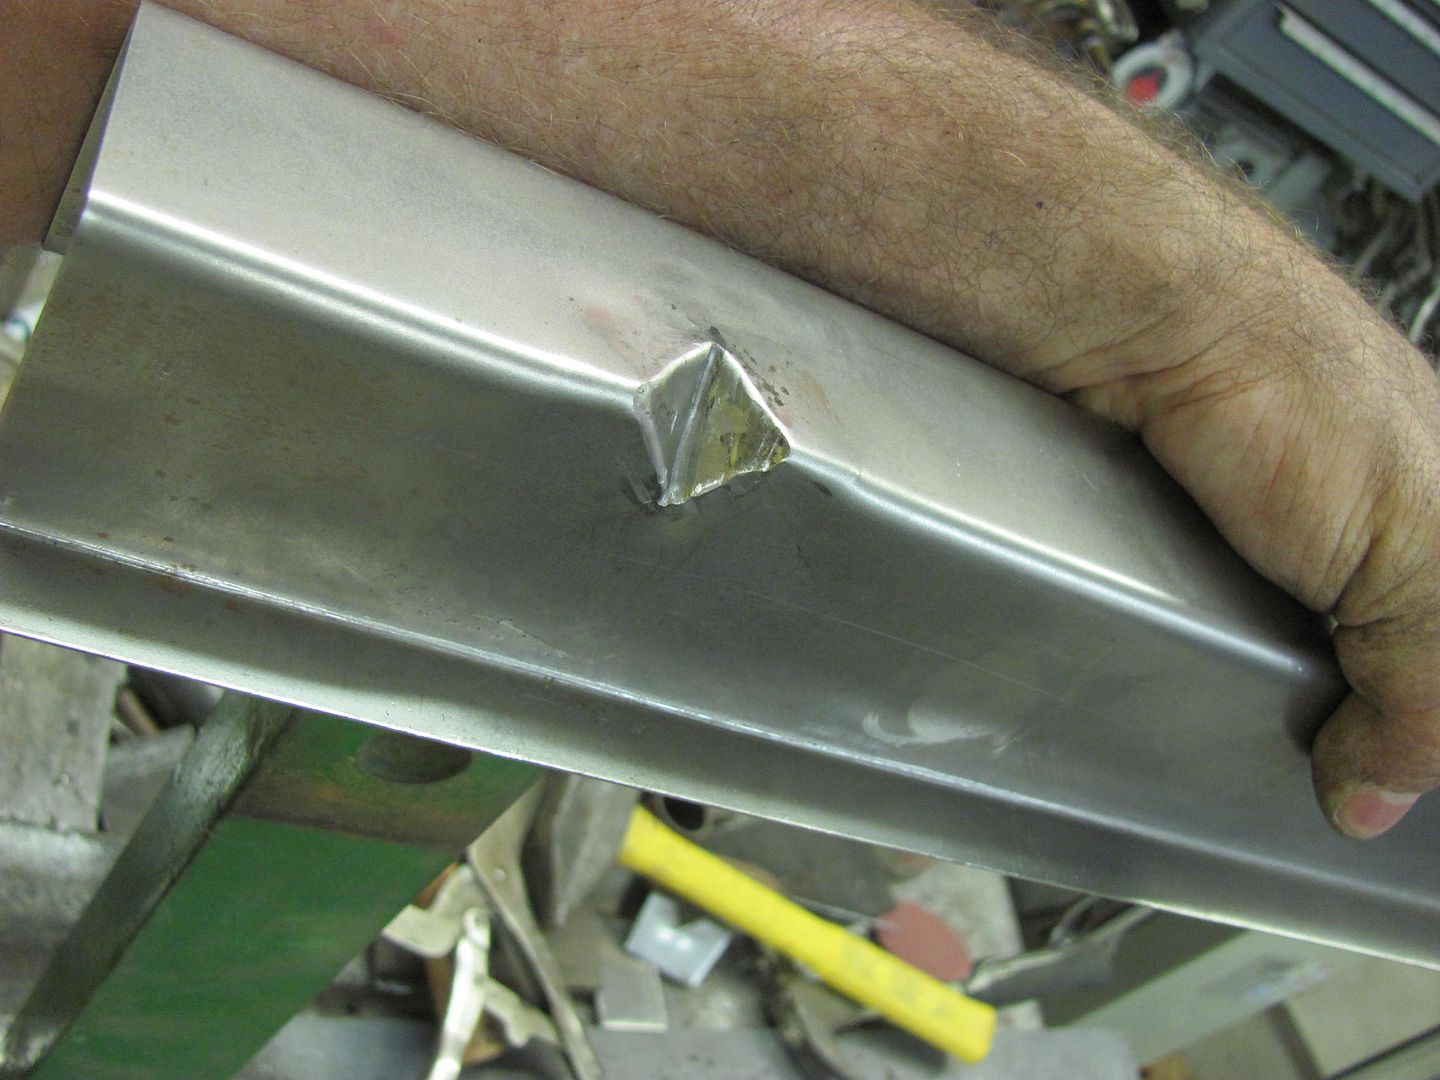
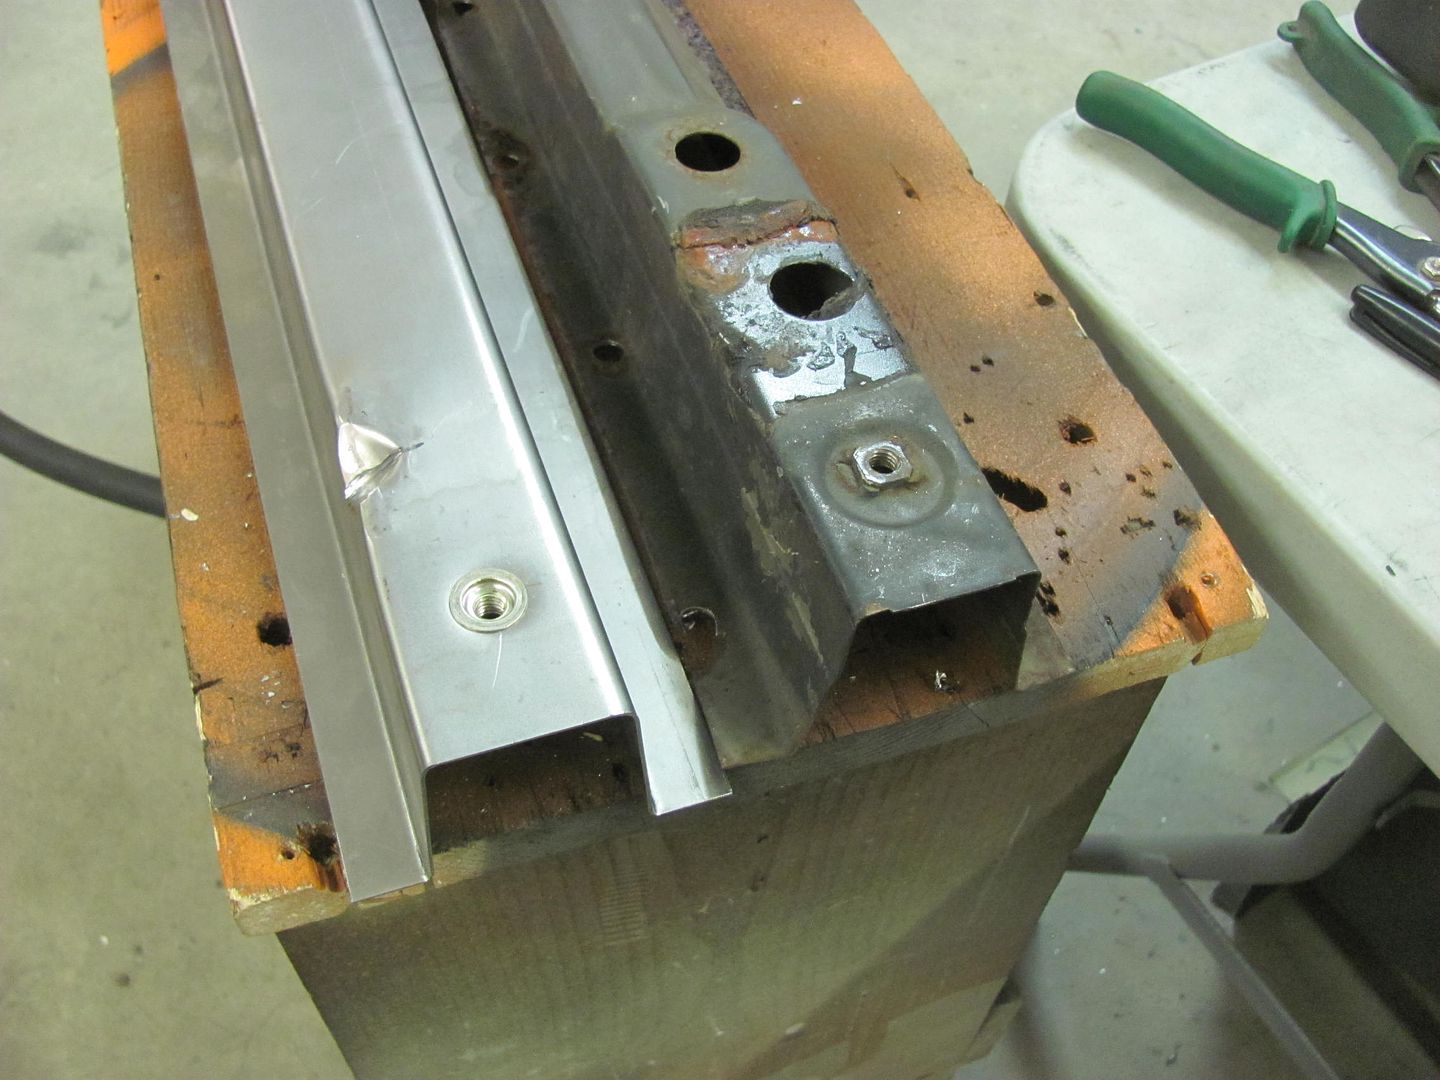
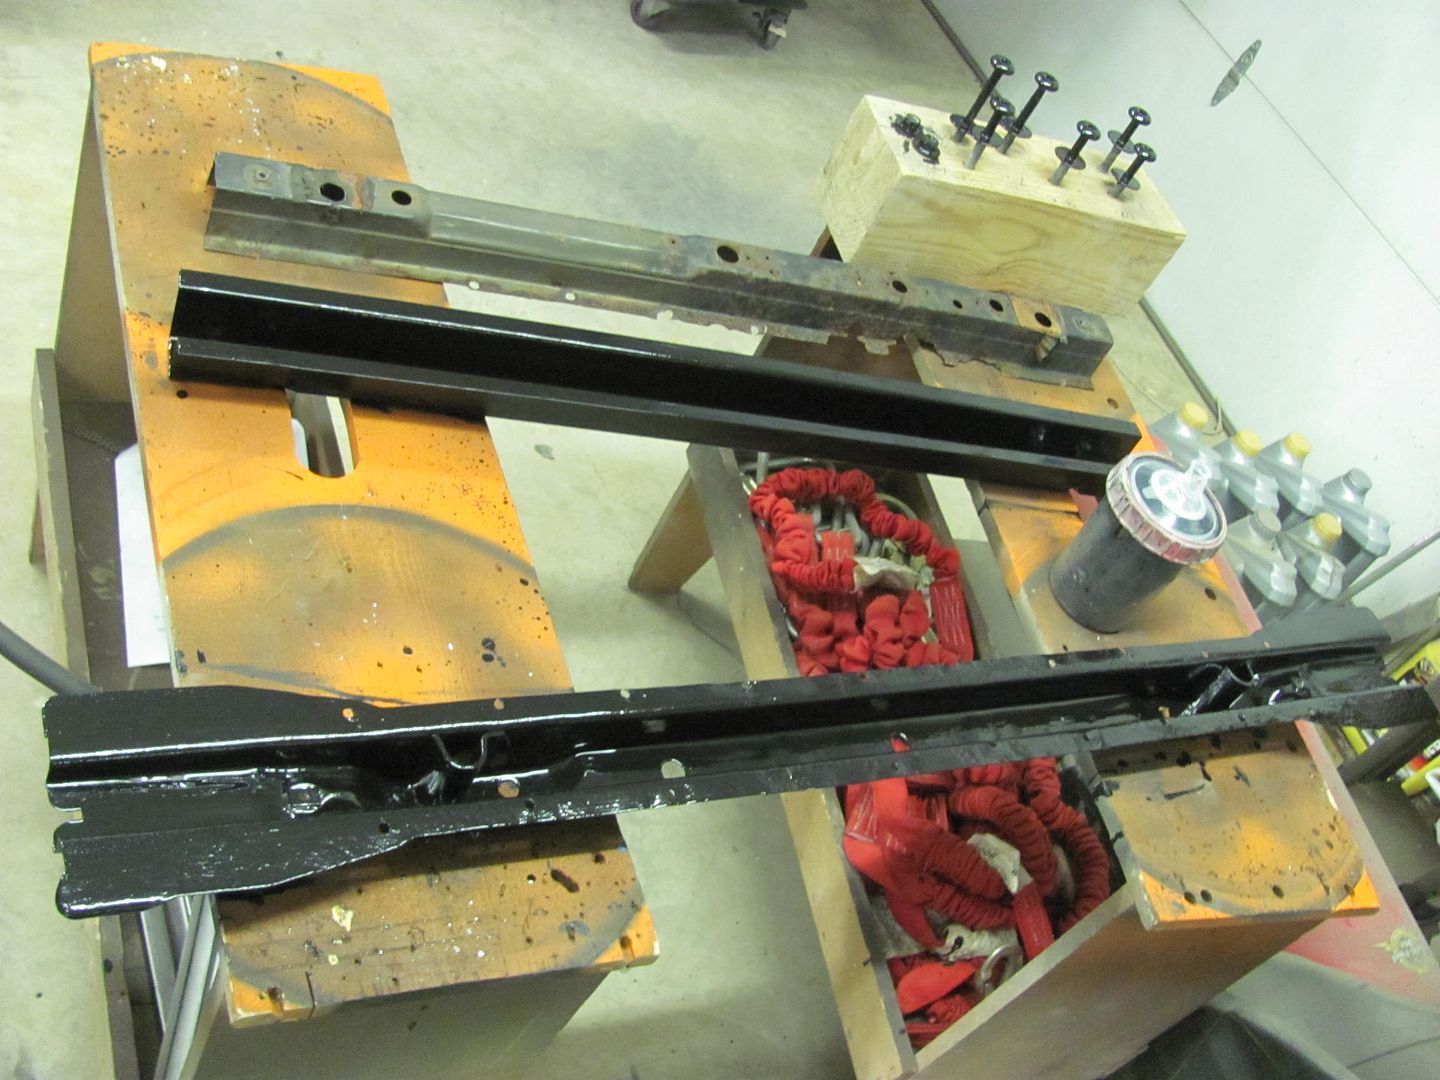
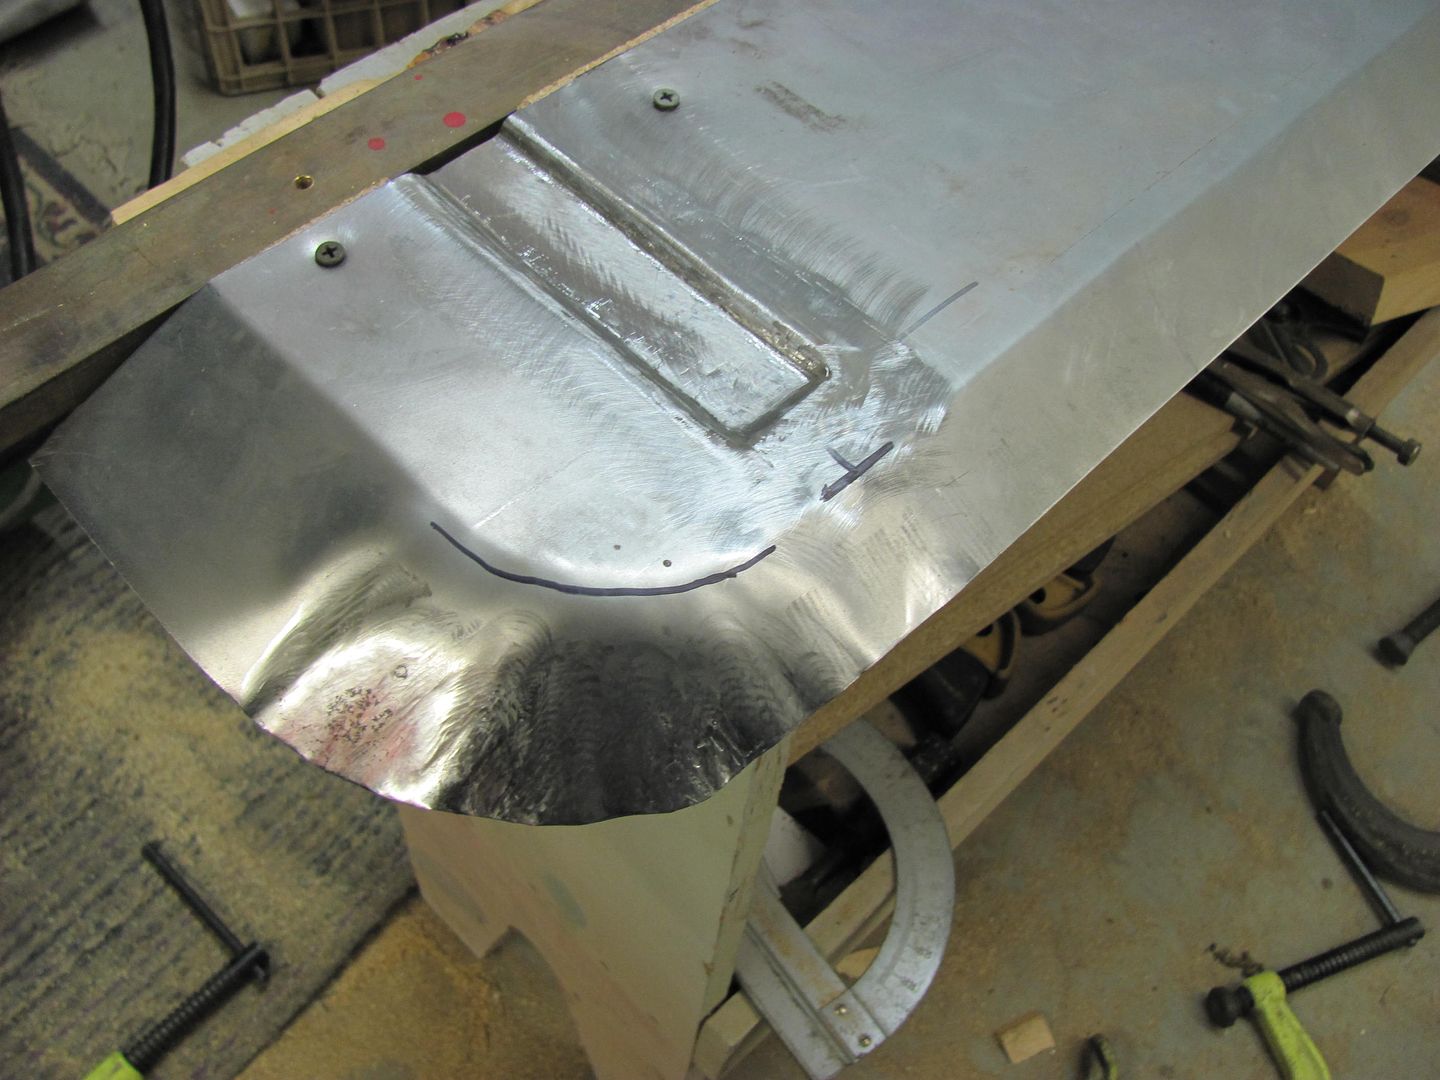
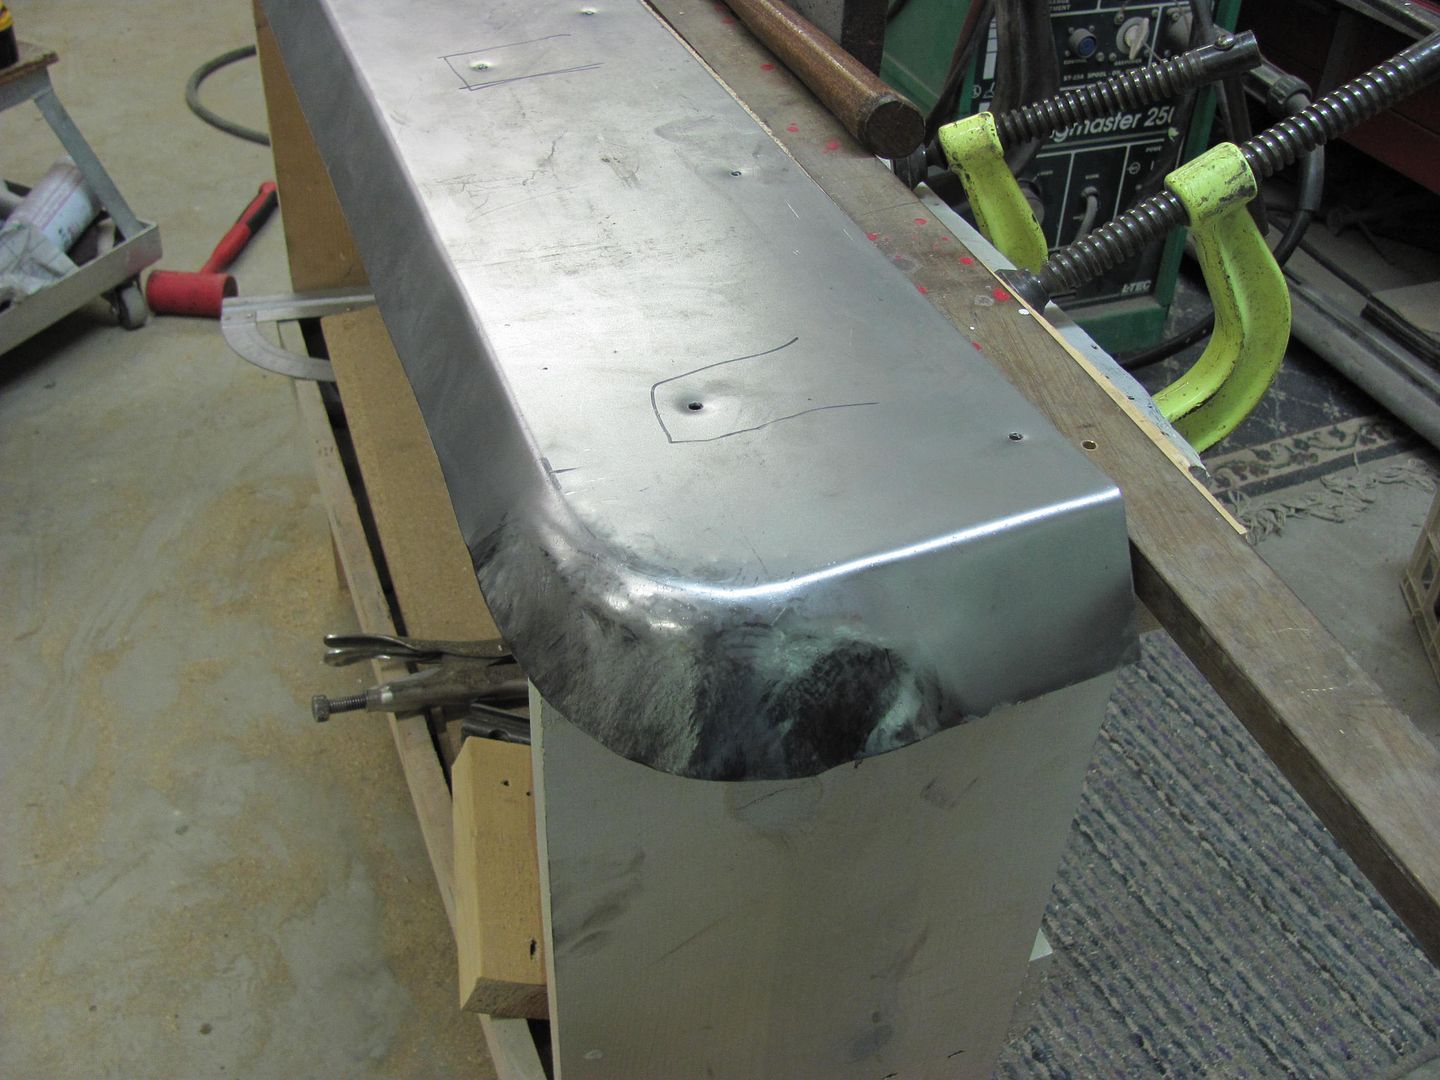
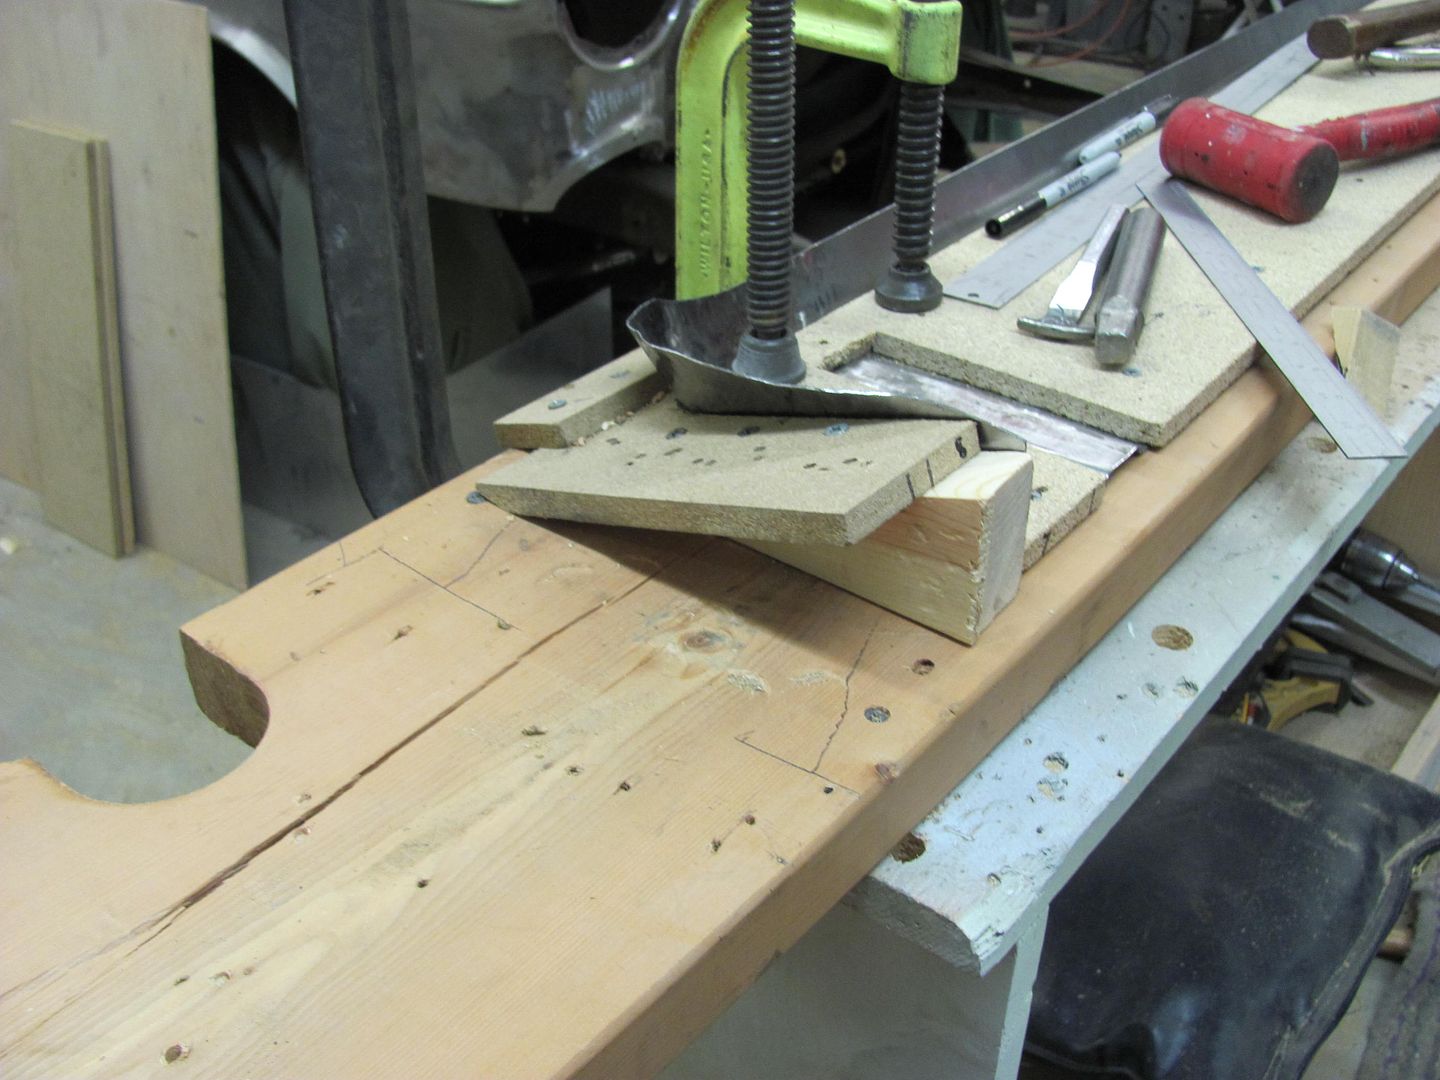
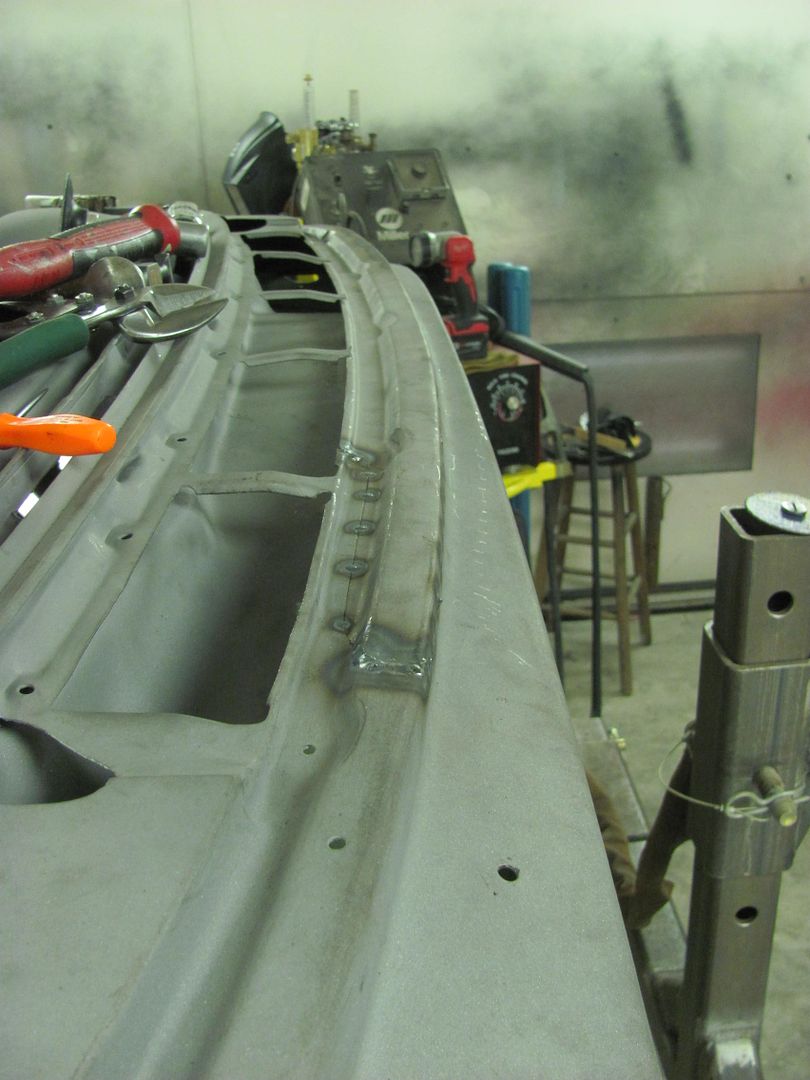
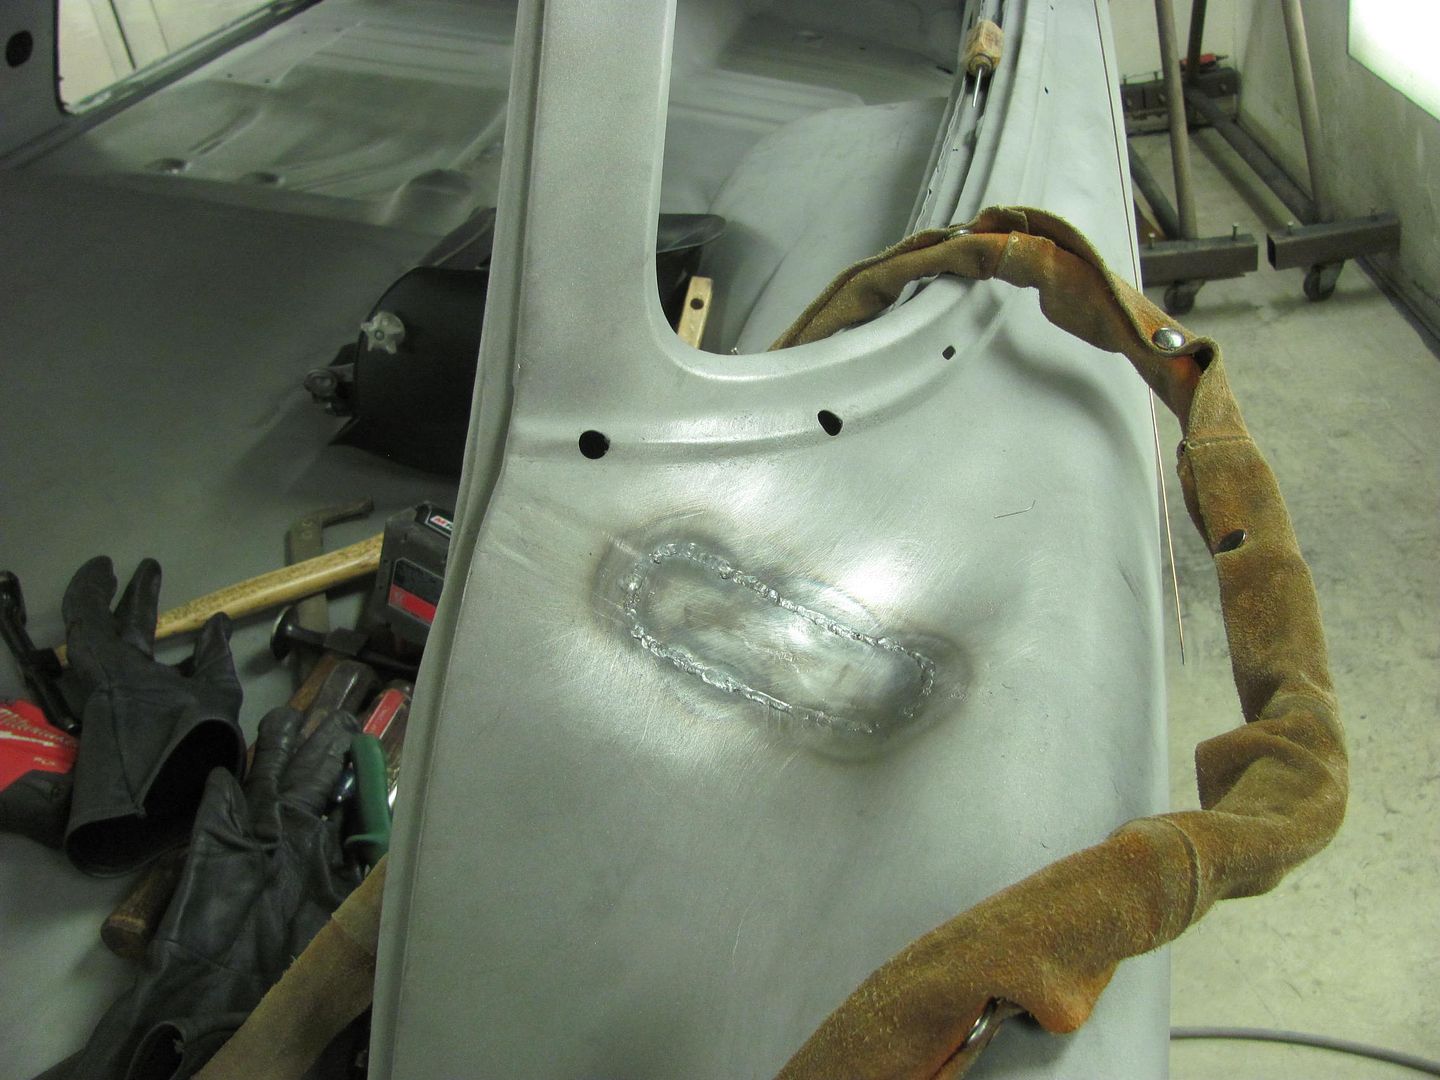
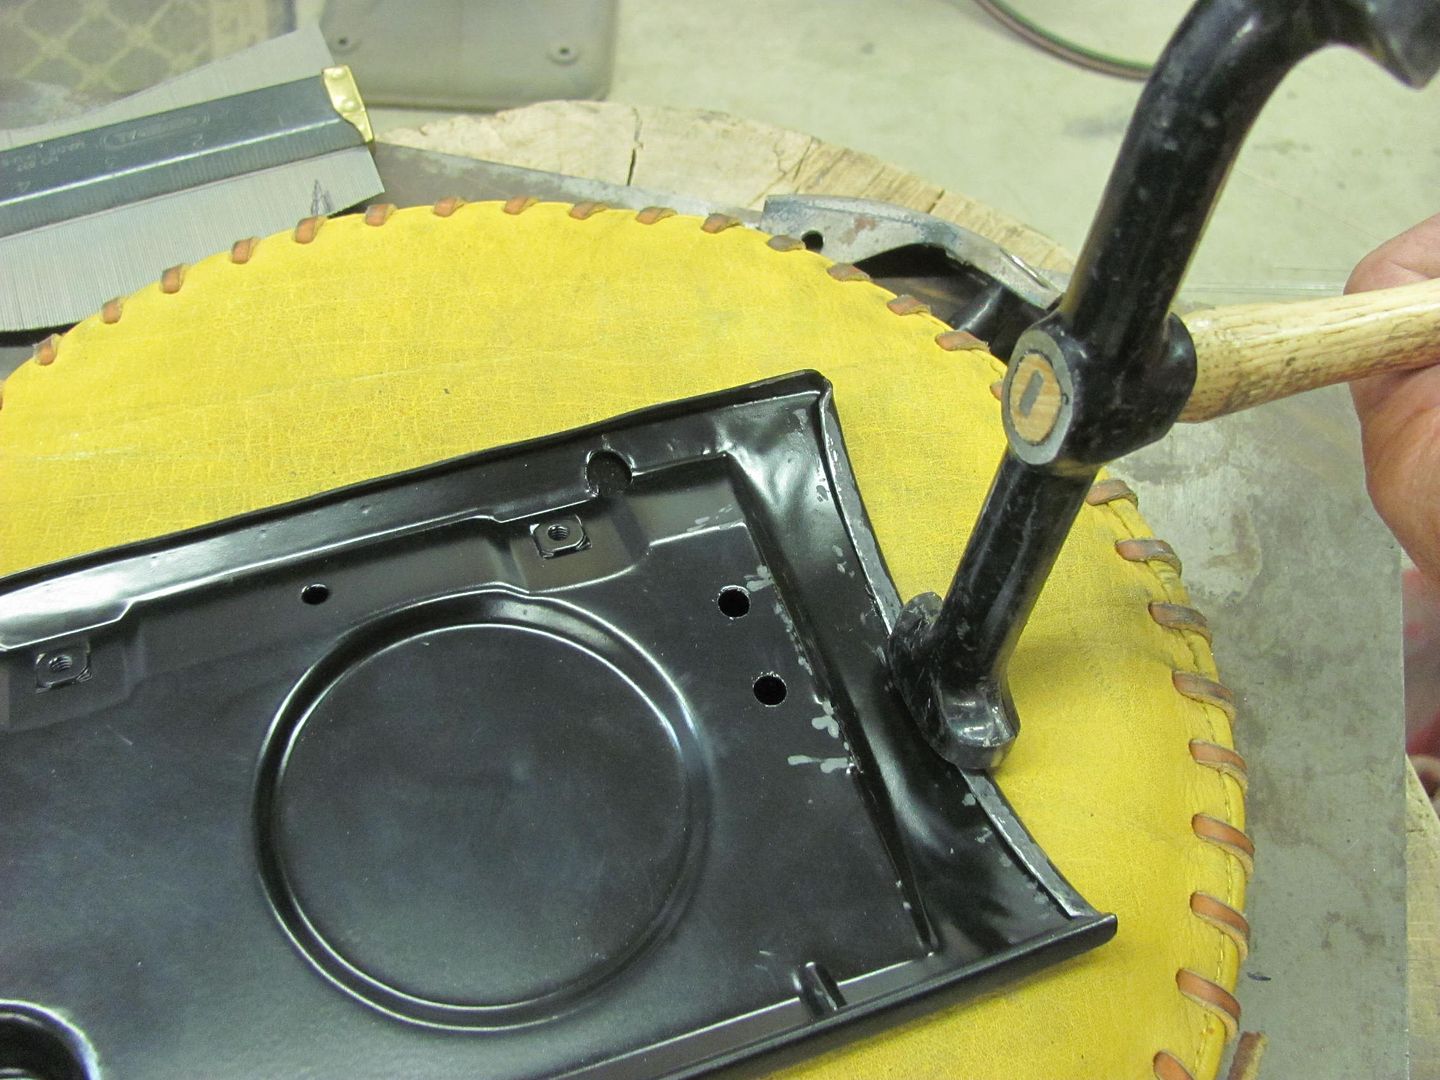
We had one cross member we needed to fabricate, and the drawbar for the JD is modified to add some stiffening/strengthening details..


Picture%204535.jpg


Picture%204537.jpg


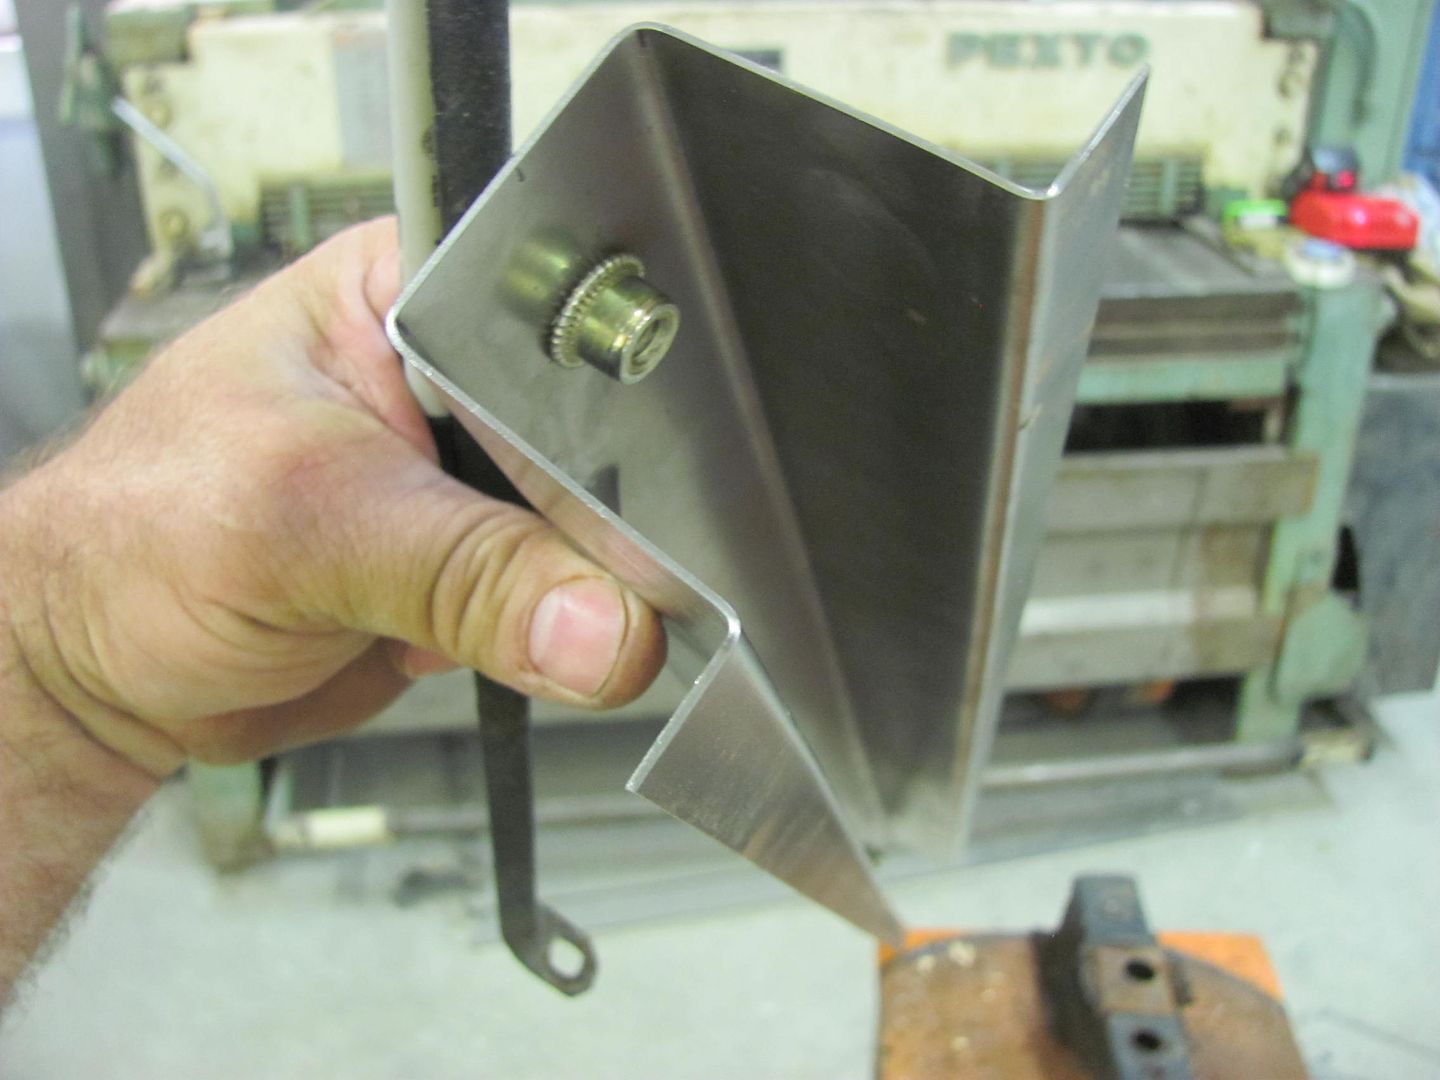
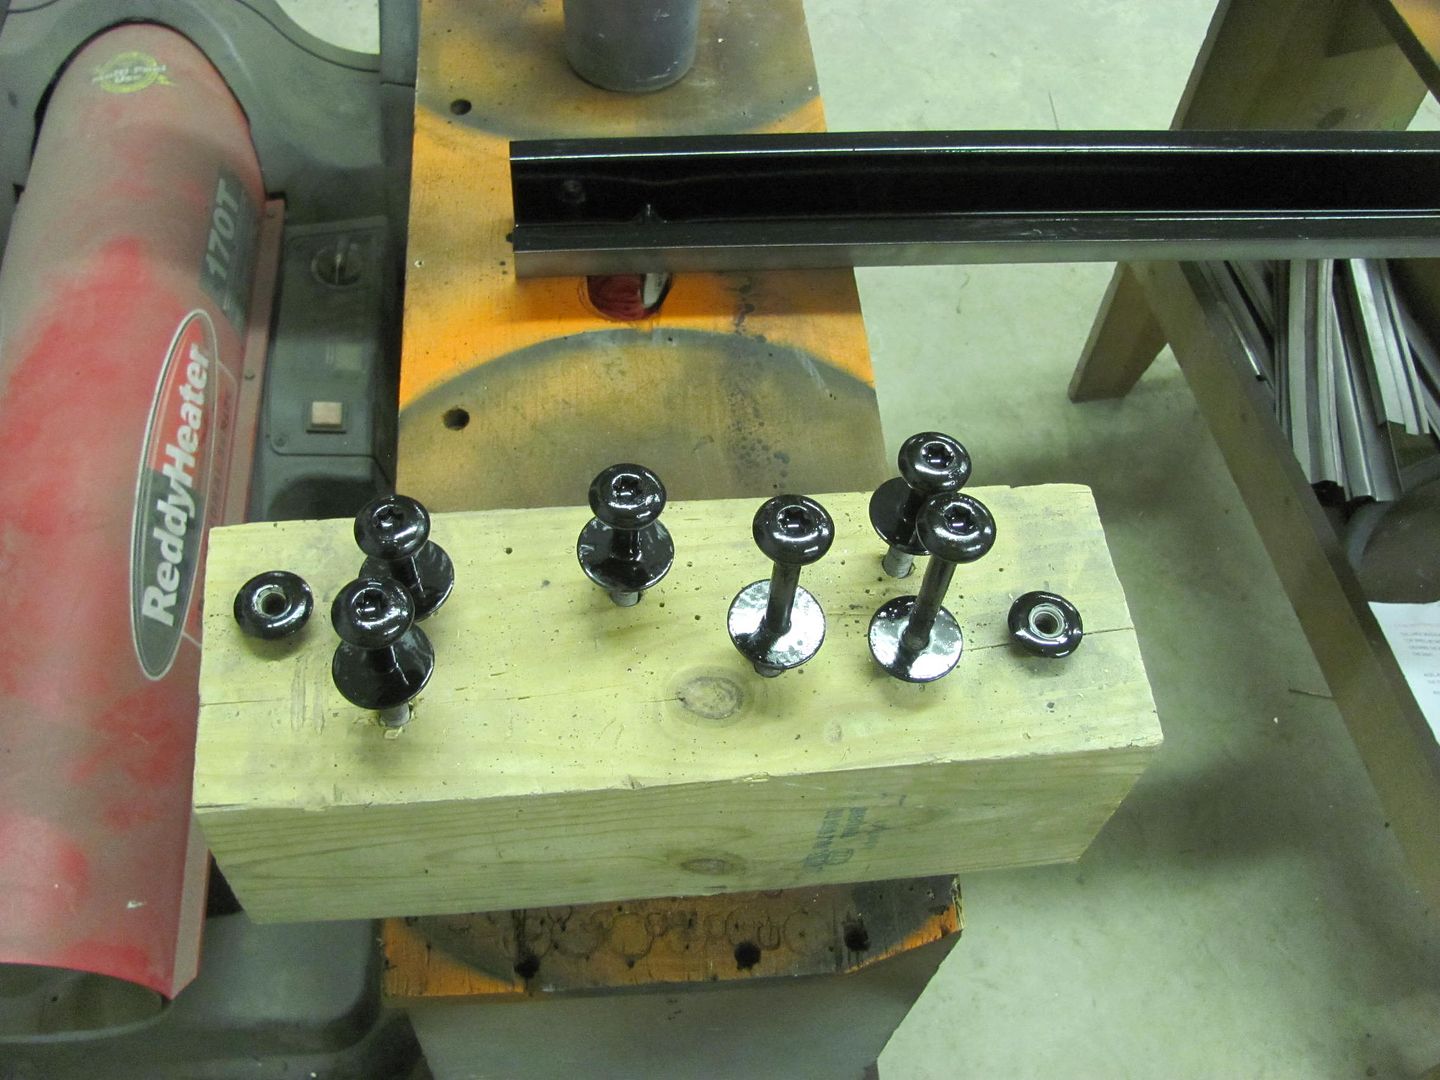
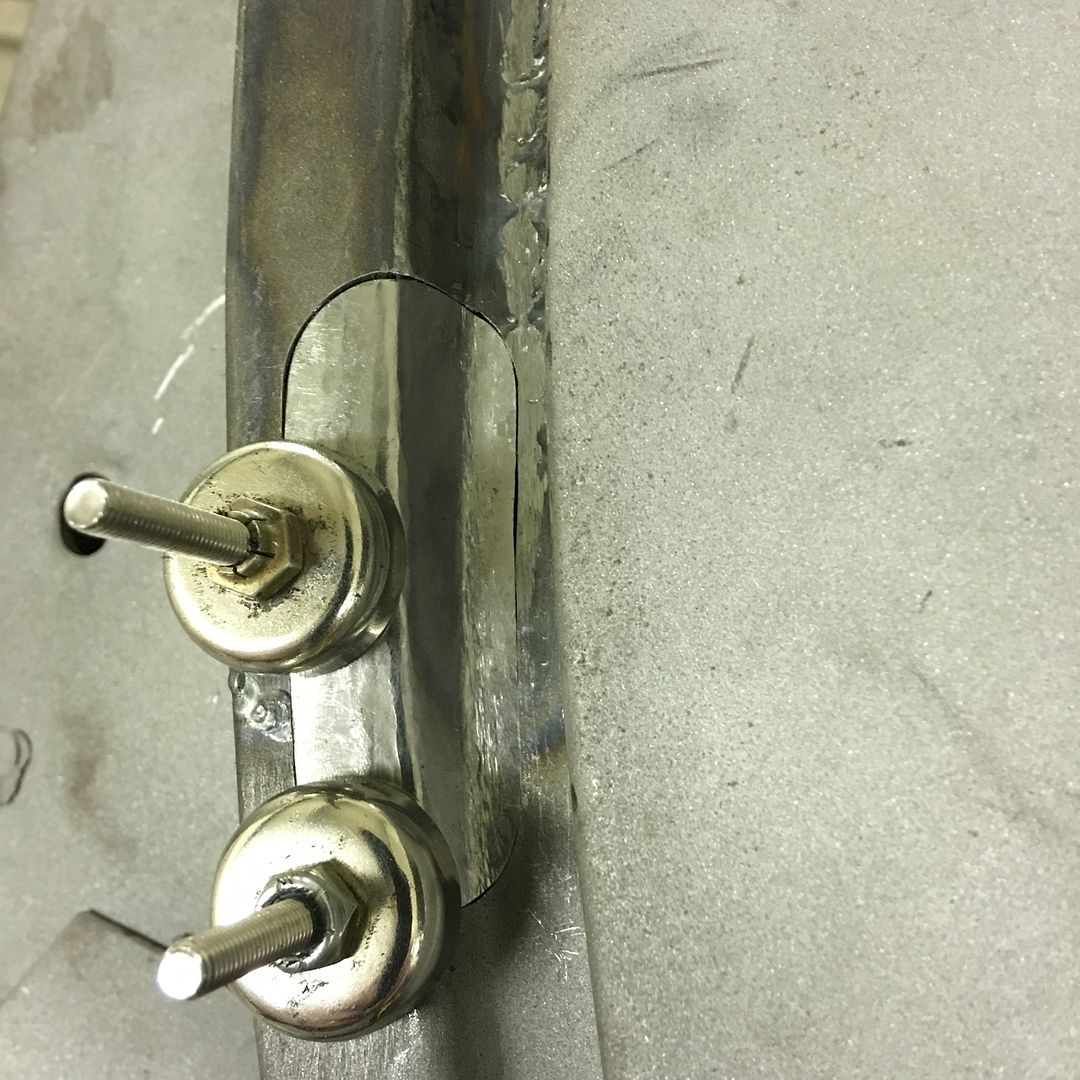
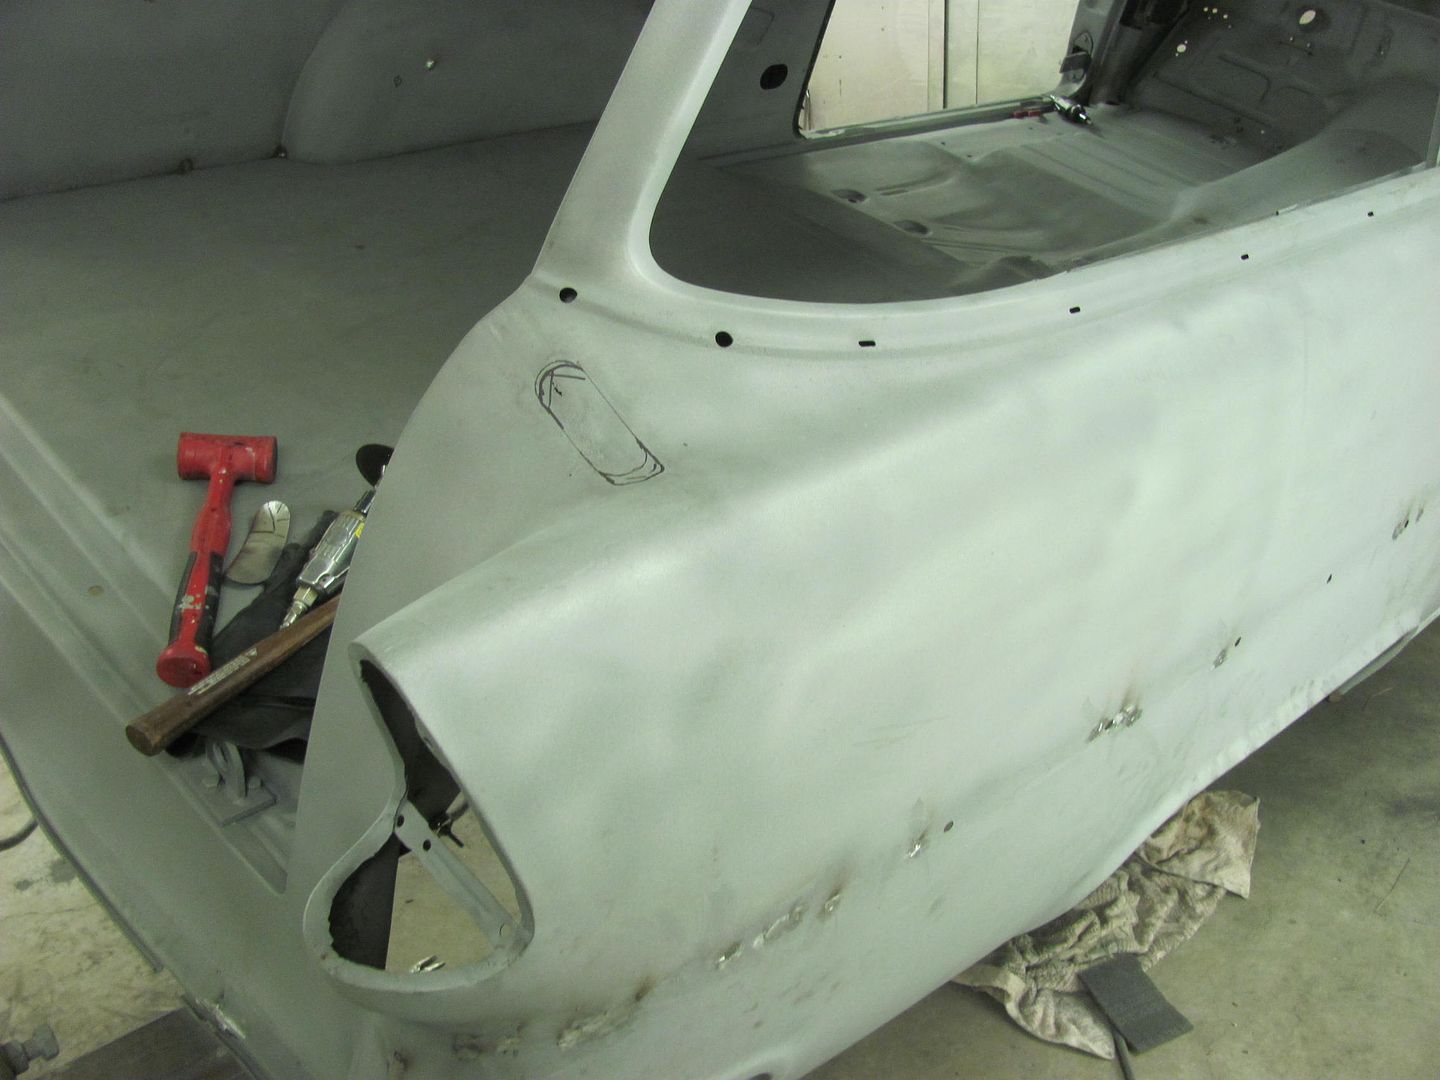
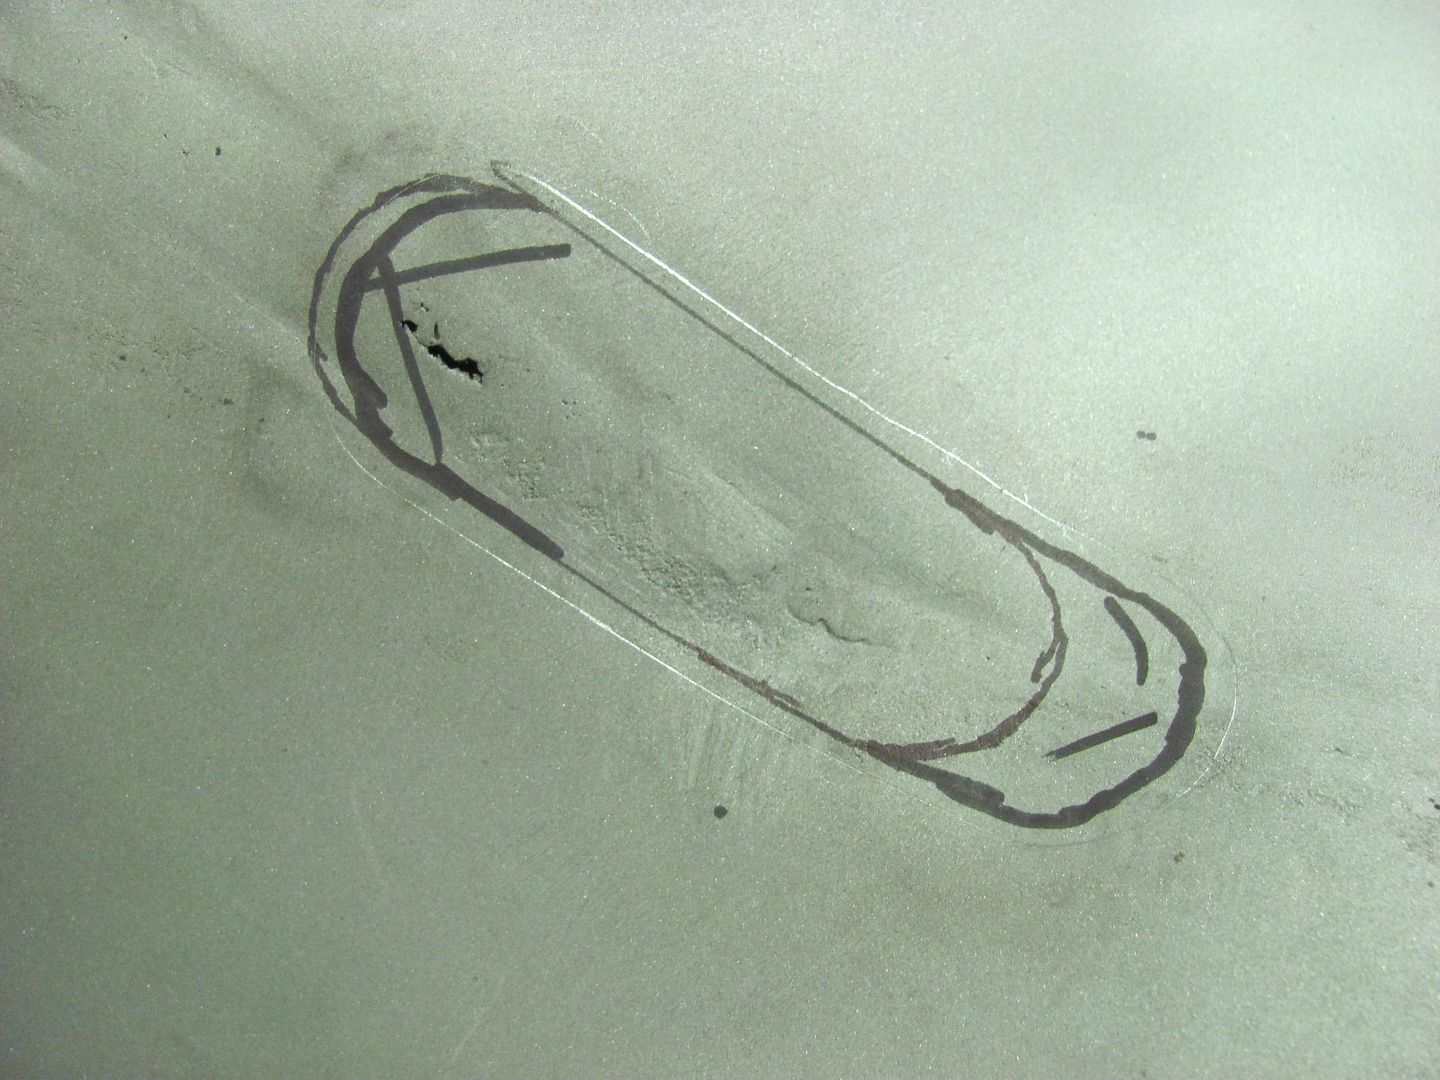
Used some AVK style rivet-nut fasteners for anchoring the wheel opening braces..


Picture%204538.jpg


Picture%204539.jpg


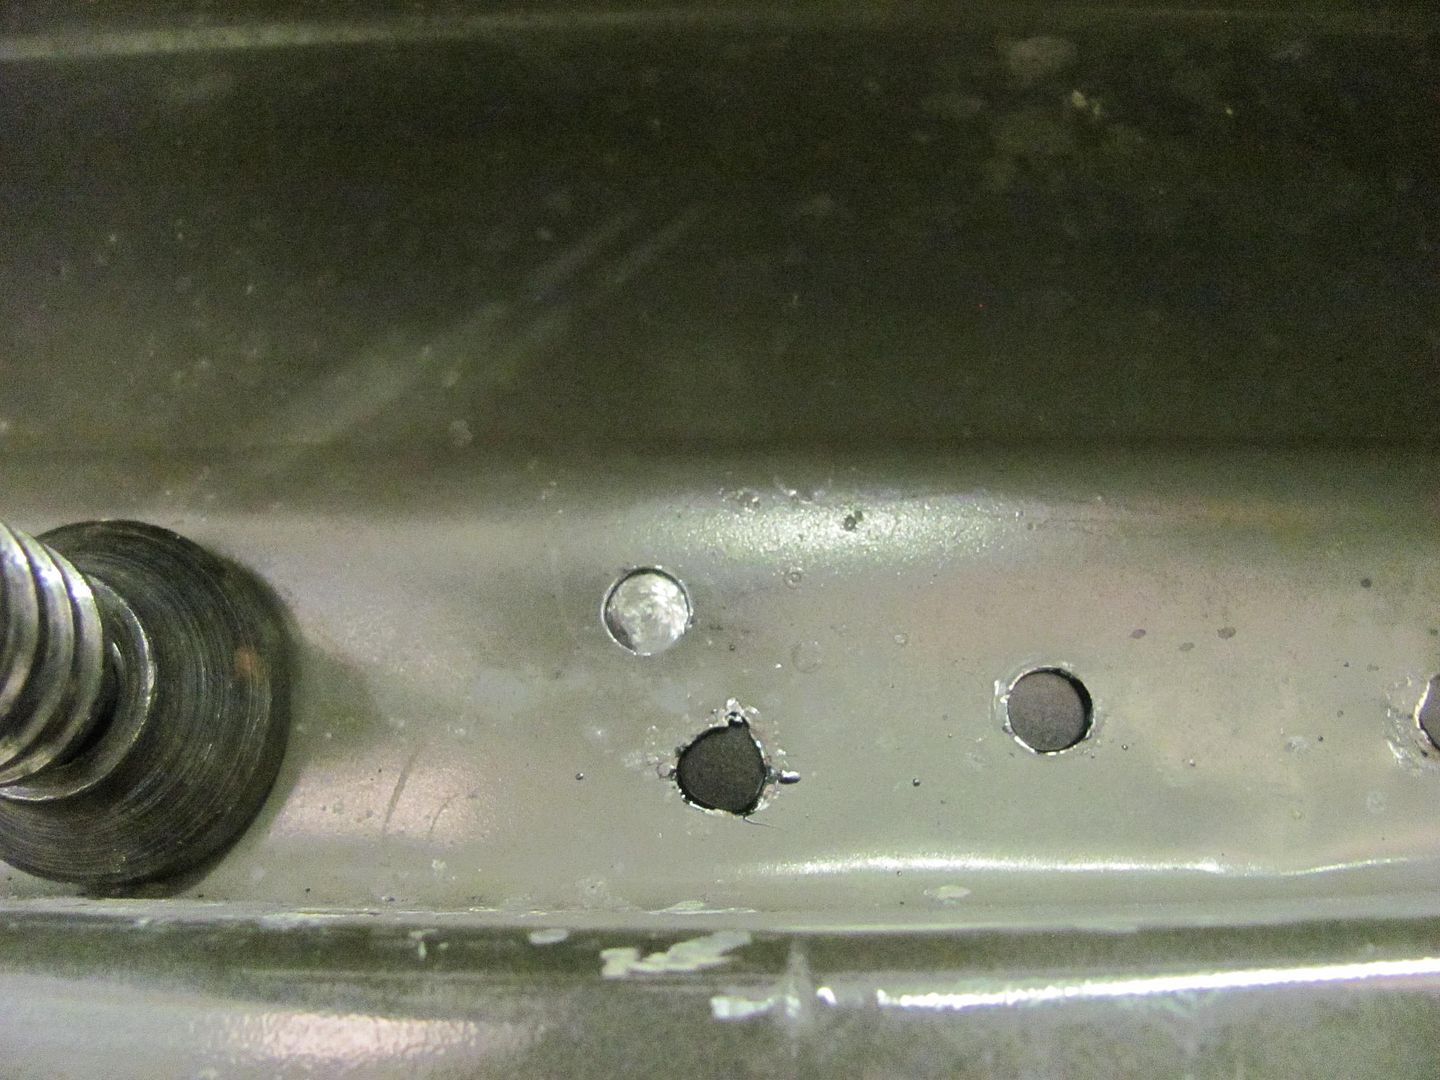
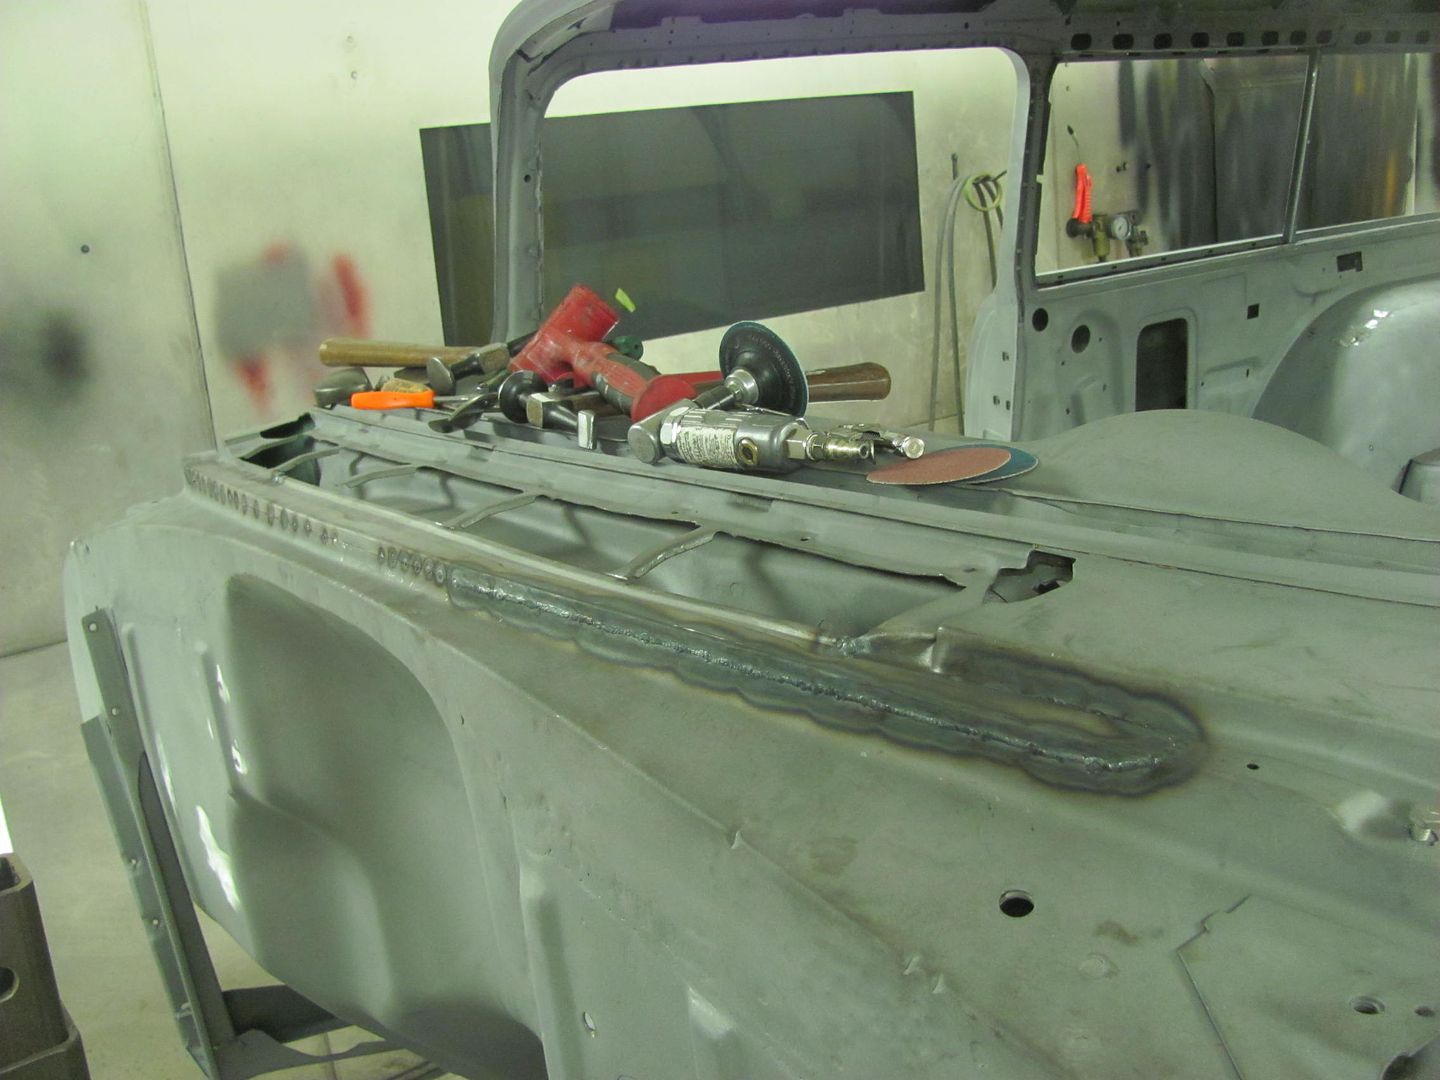
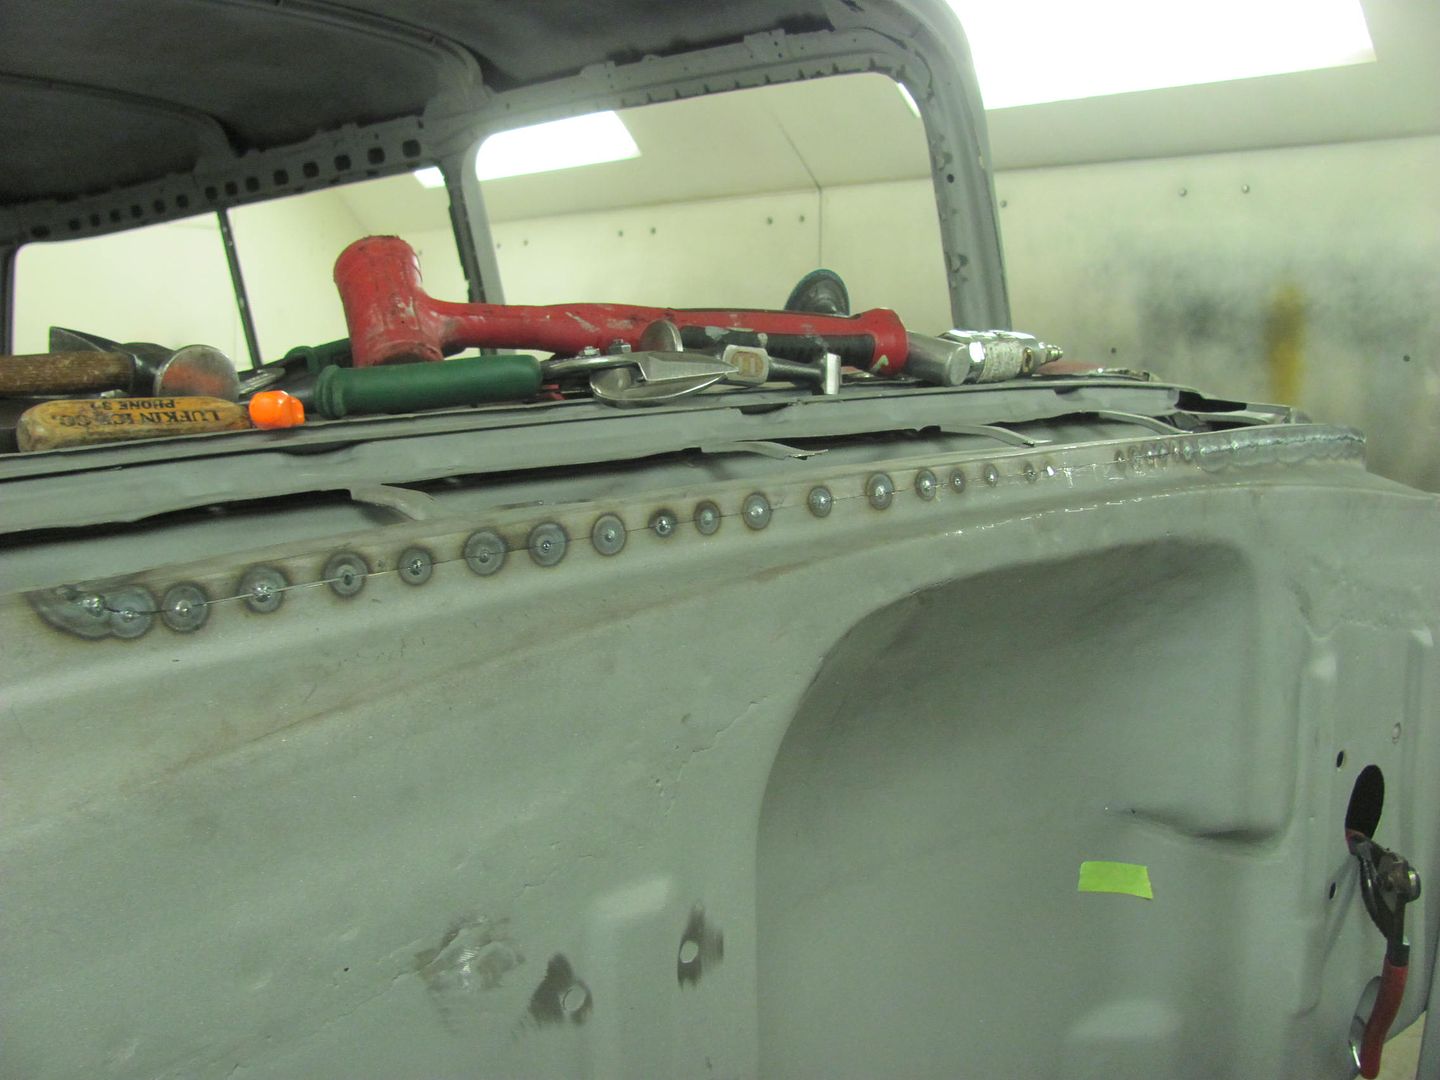
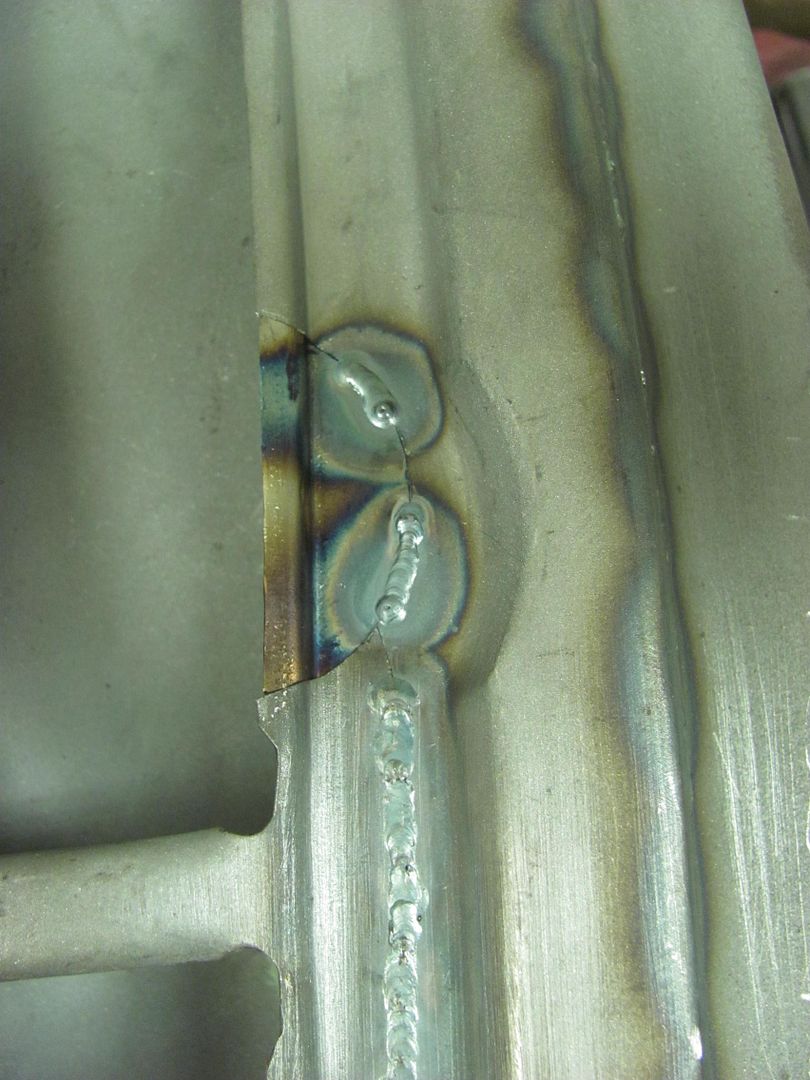
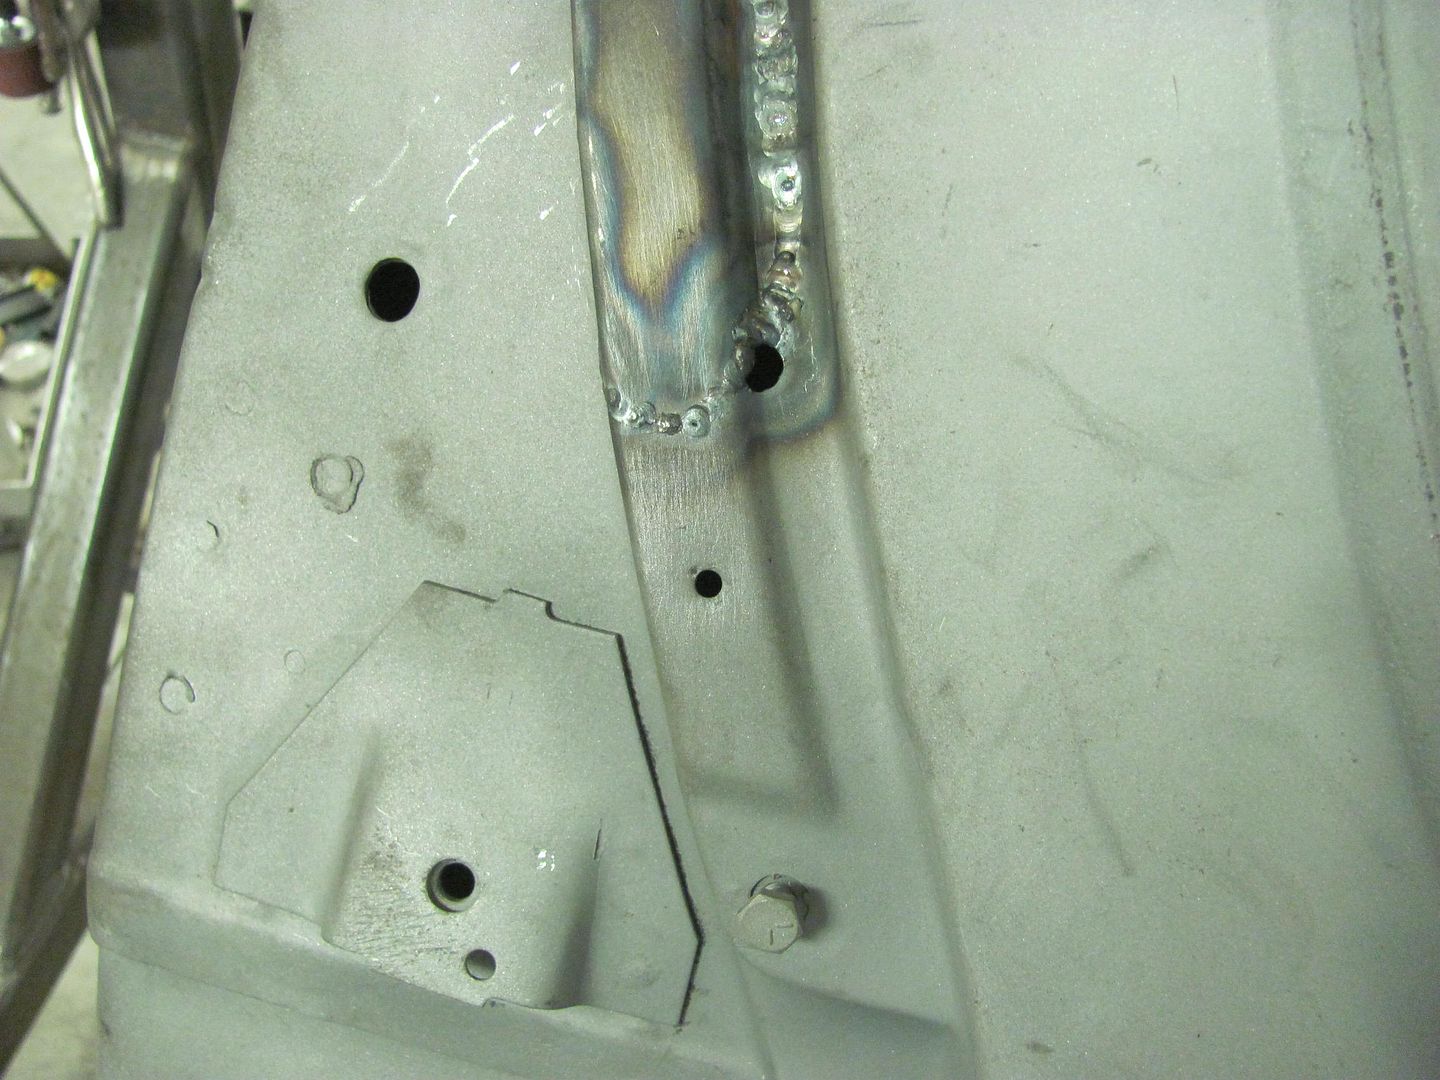
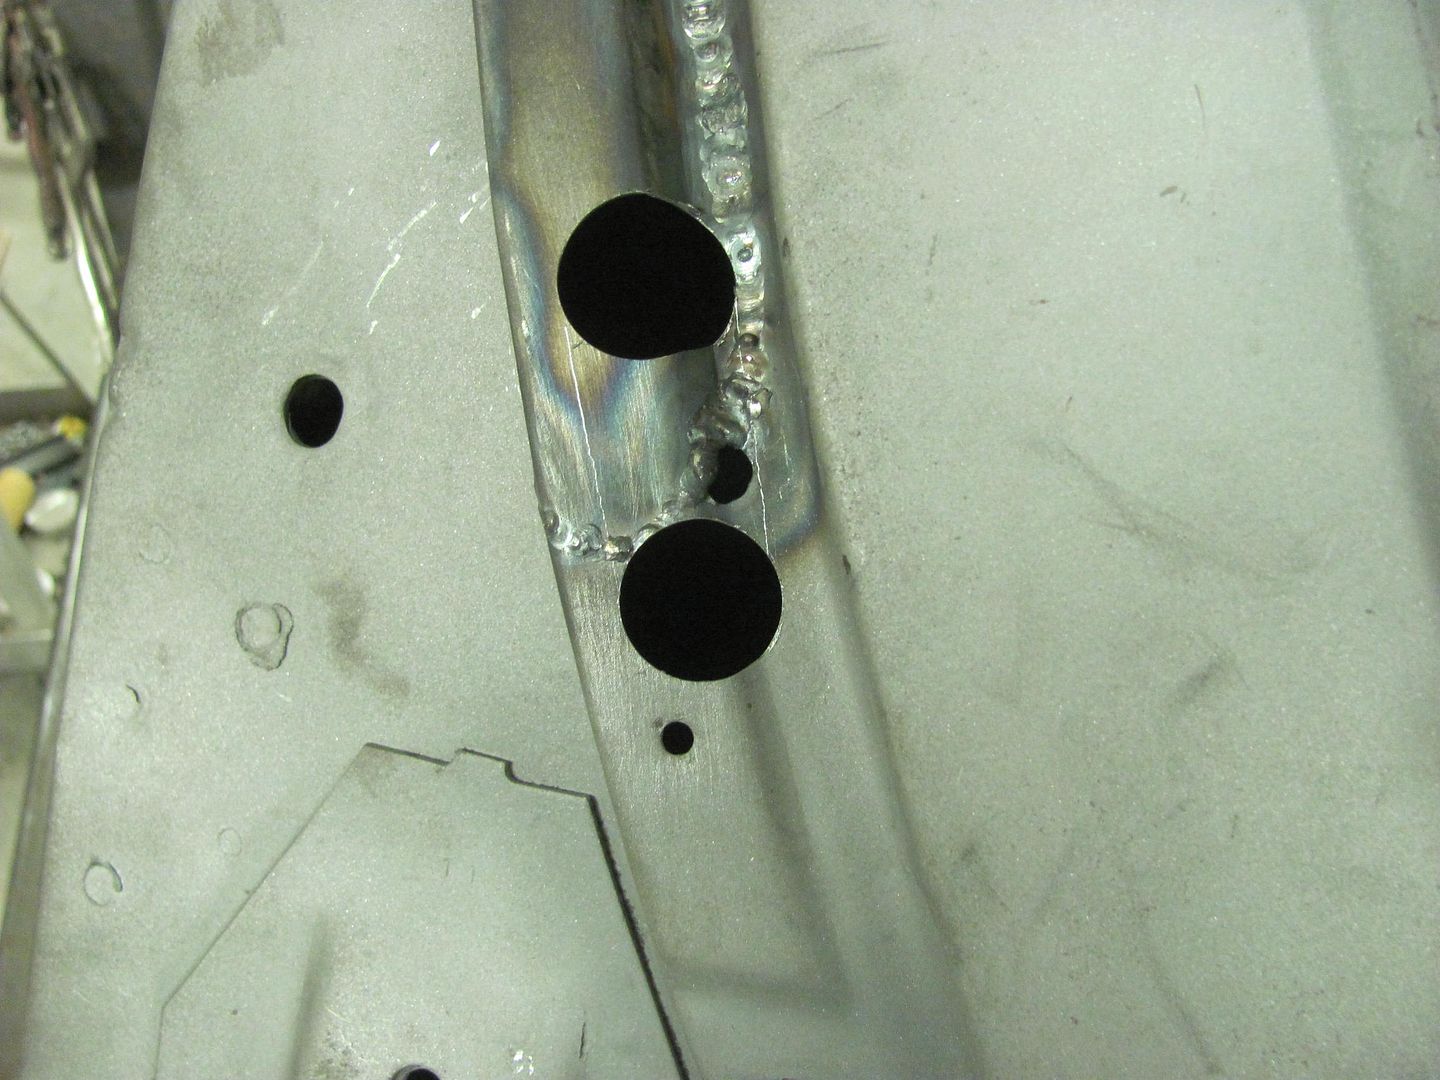
All spot welds were drilled out, and will be used as plug weld holes for re-assembly..


Picture%204540.jpg


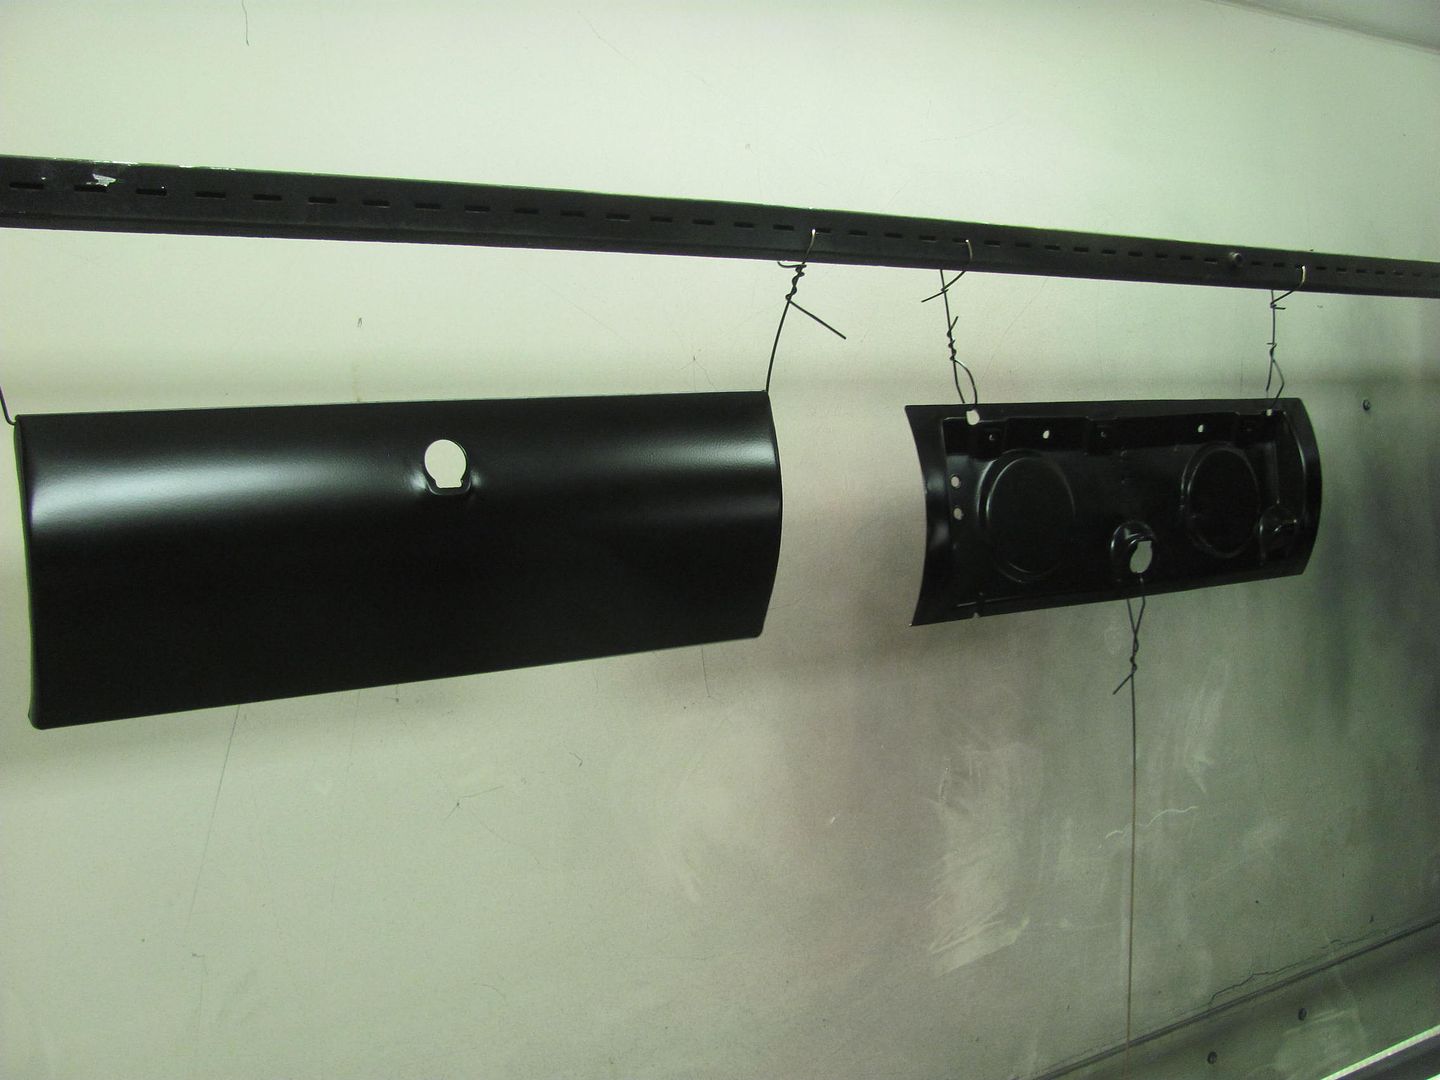
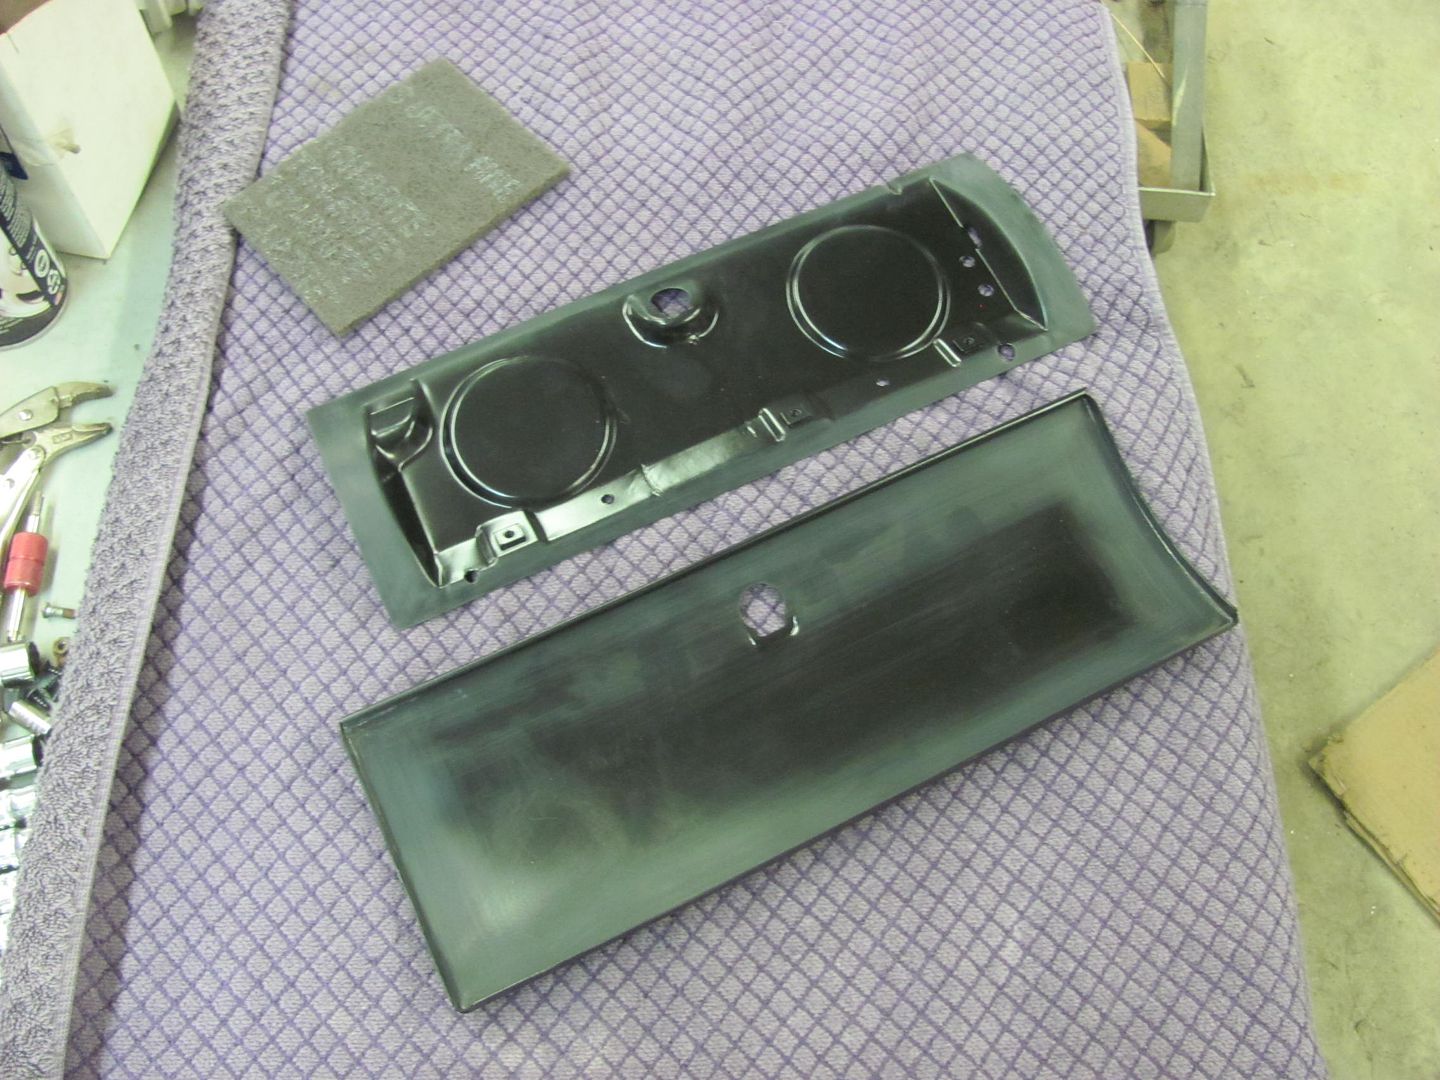
Prior to assembly, some SPI epoxy was brushed onto the parts for better rust prevention in the future..


Picture%204543.jpg


Picture%204544.jpg


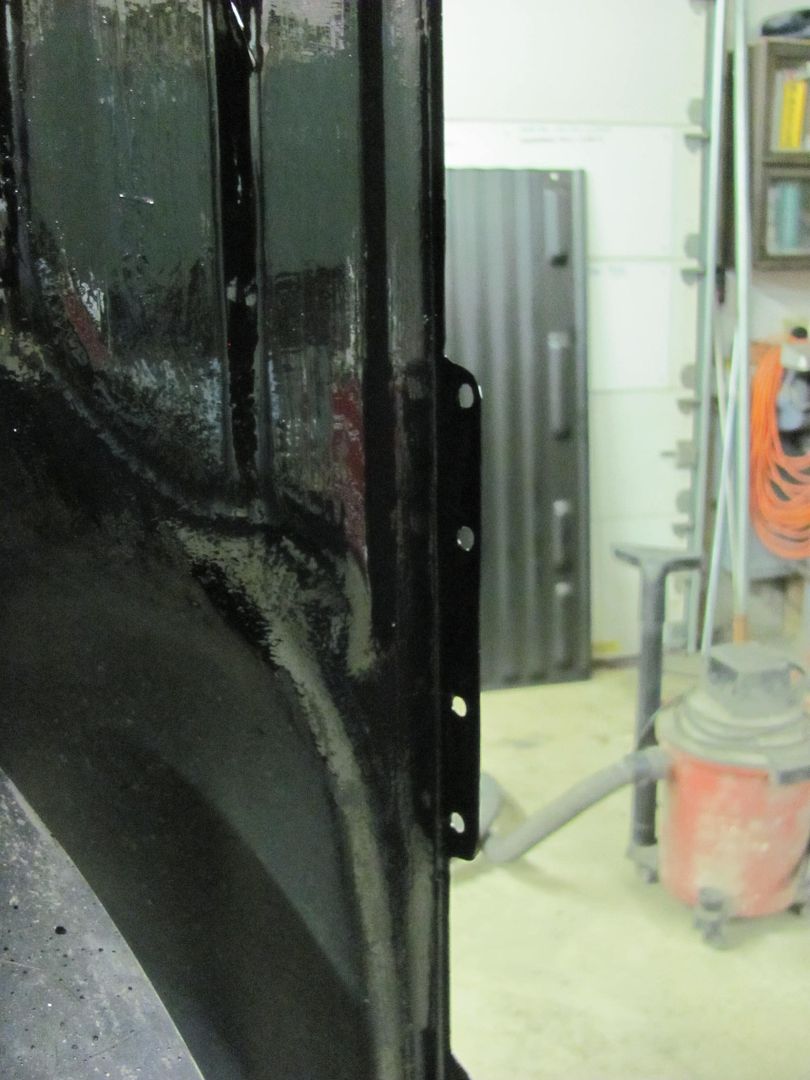
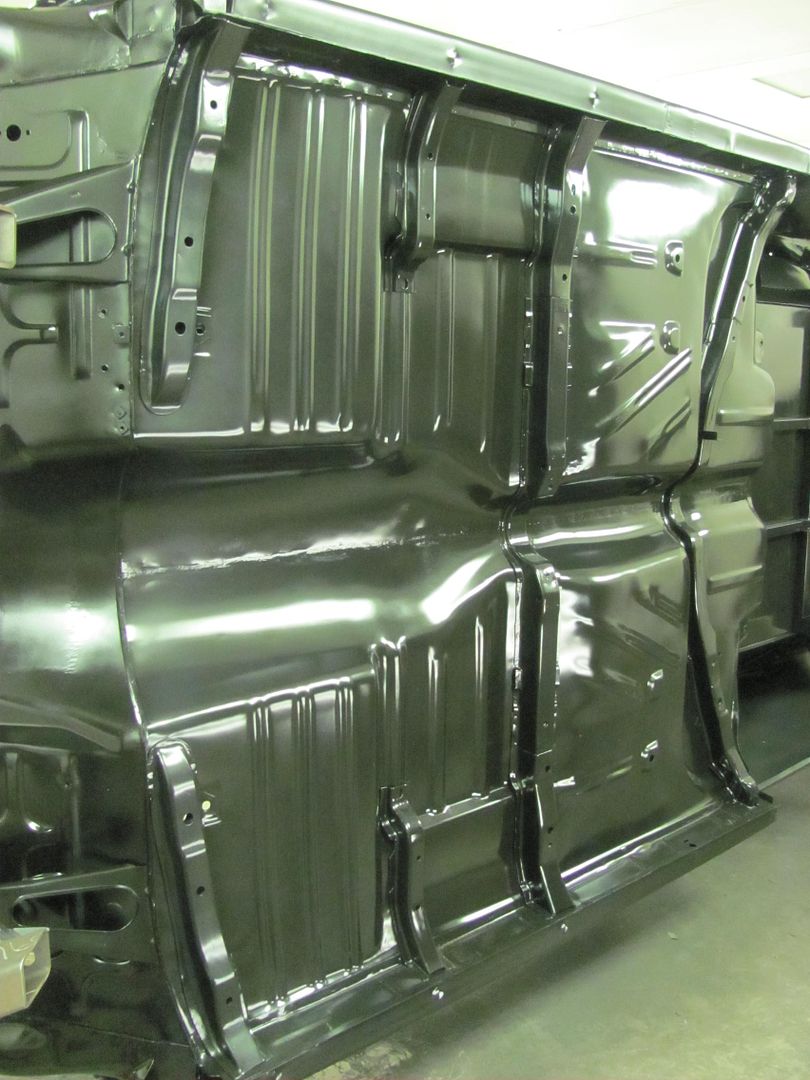
Remaining flanges on the bed were prepped and received a covering of epoxy as well..


Picture%204545.jpg


Picture%204546.jpg


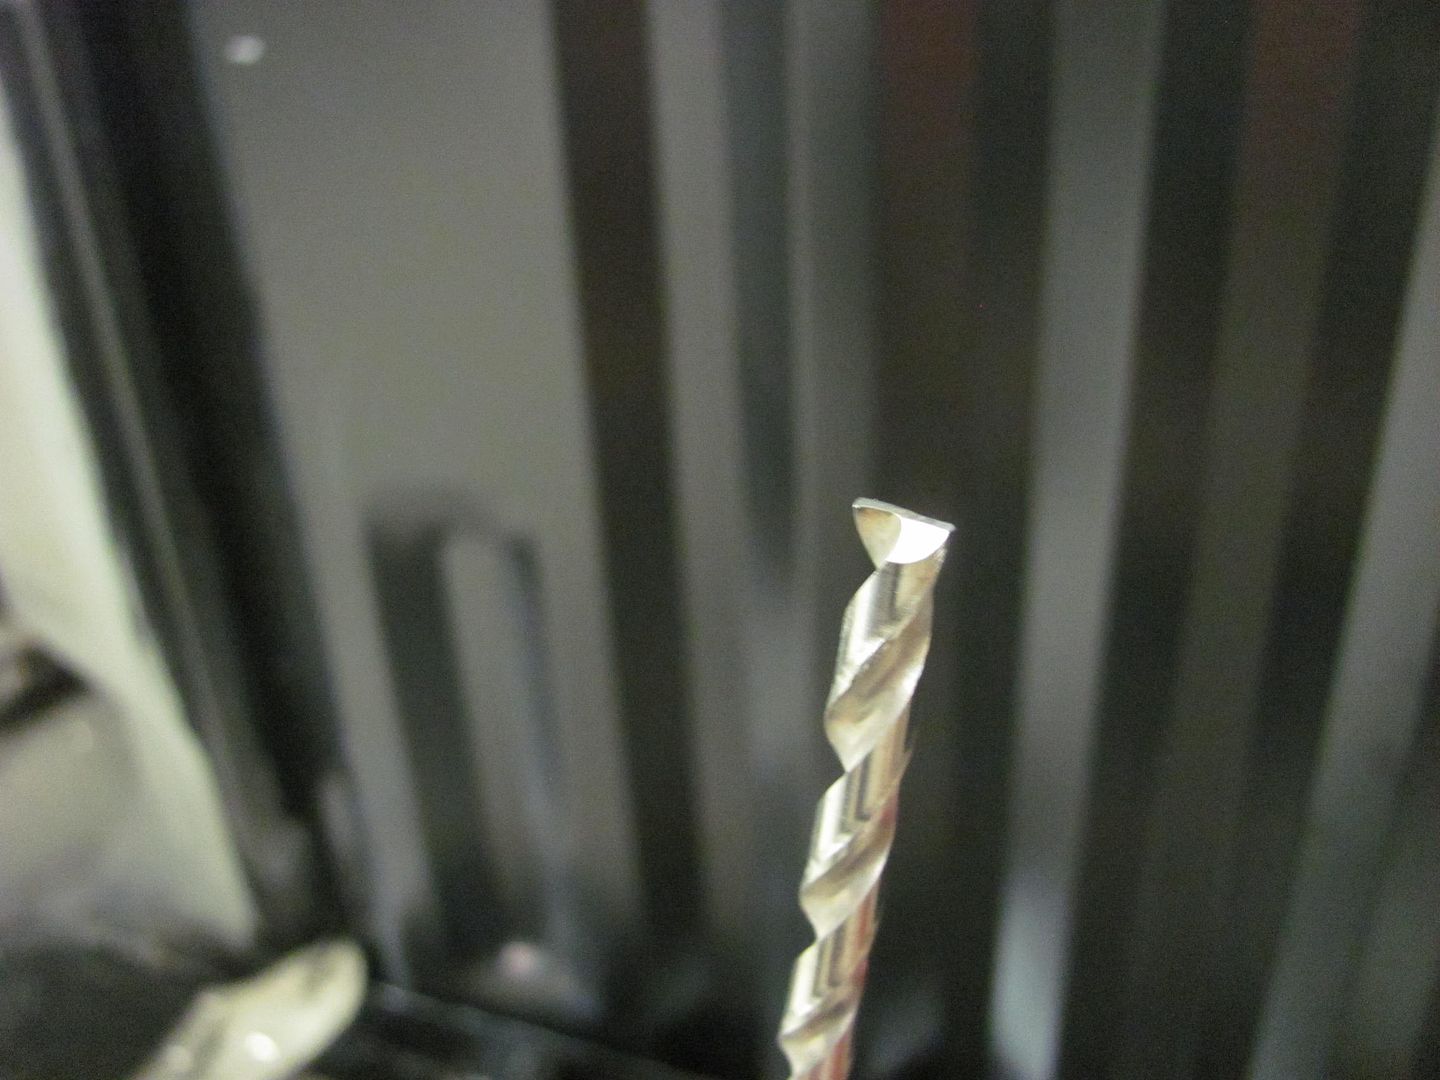
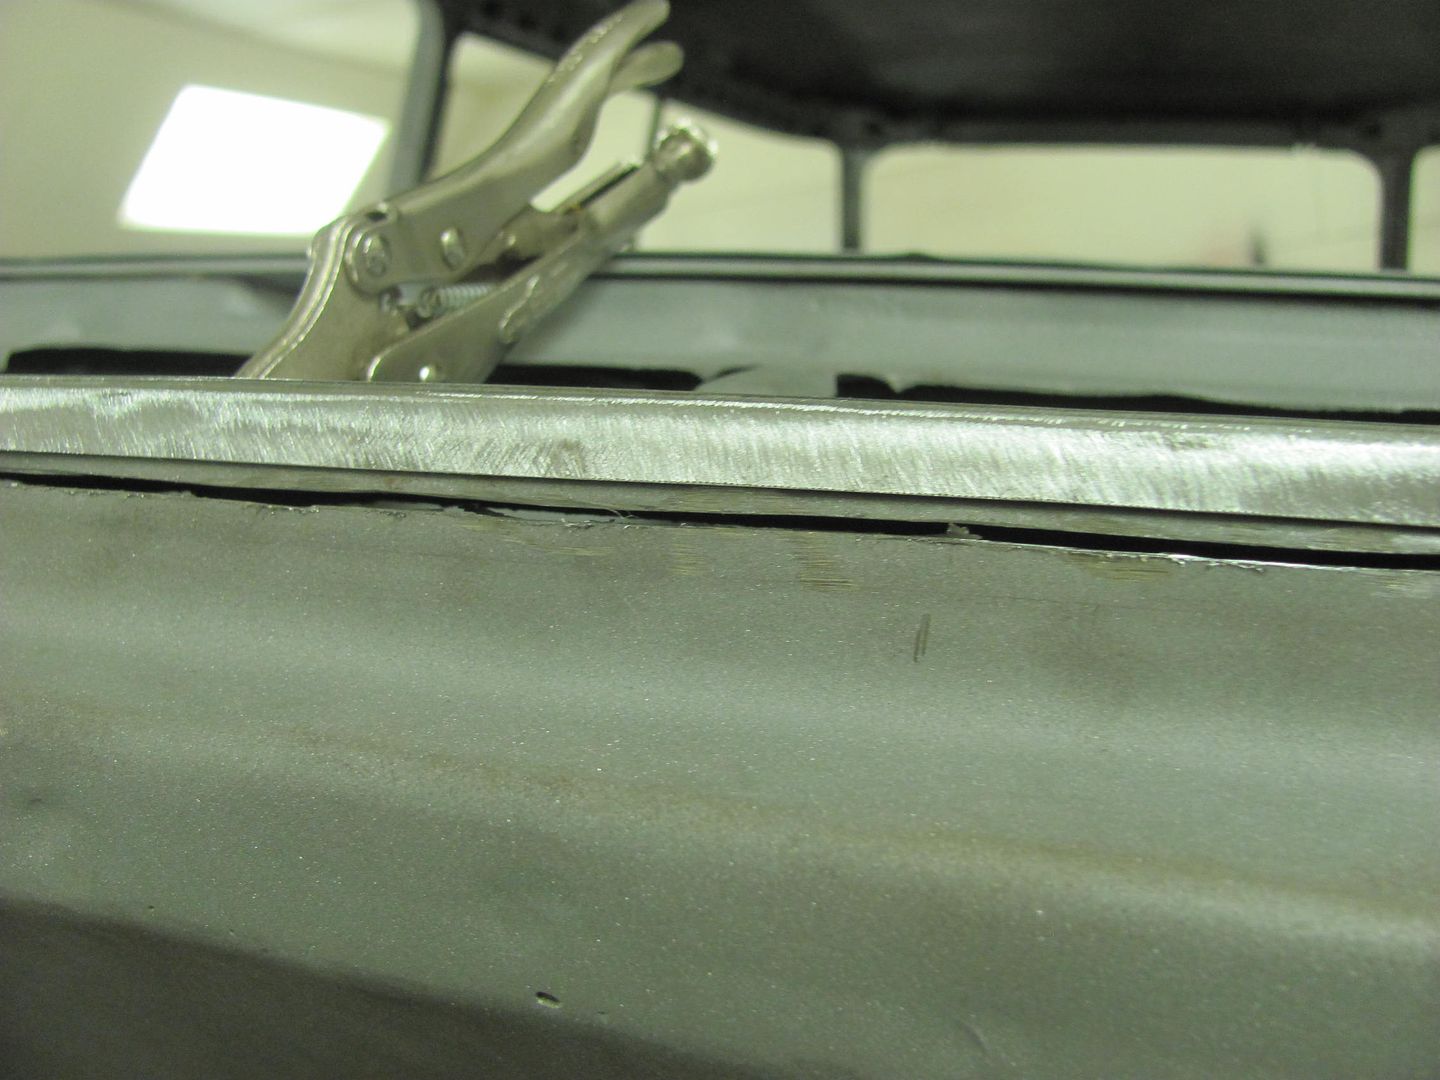
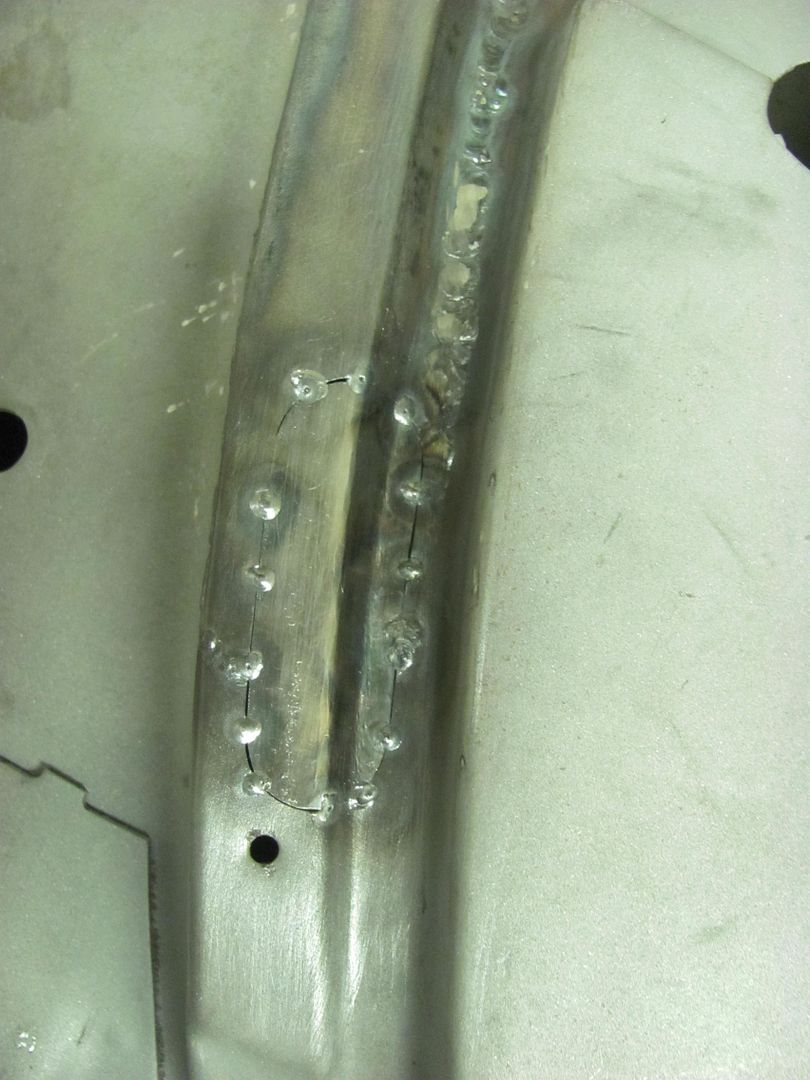
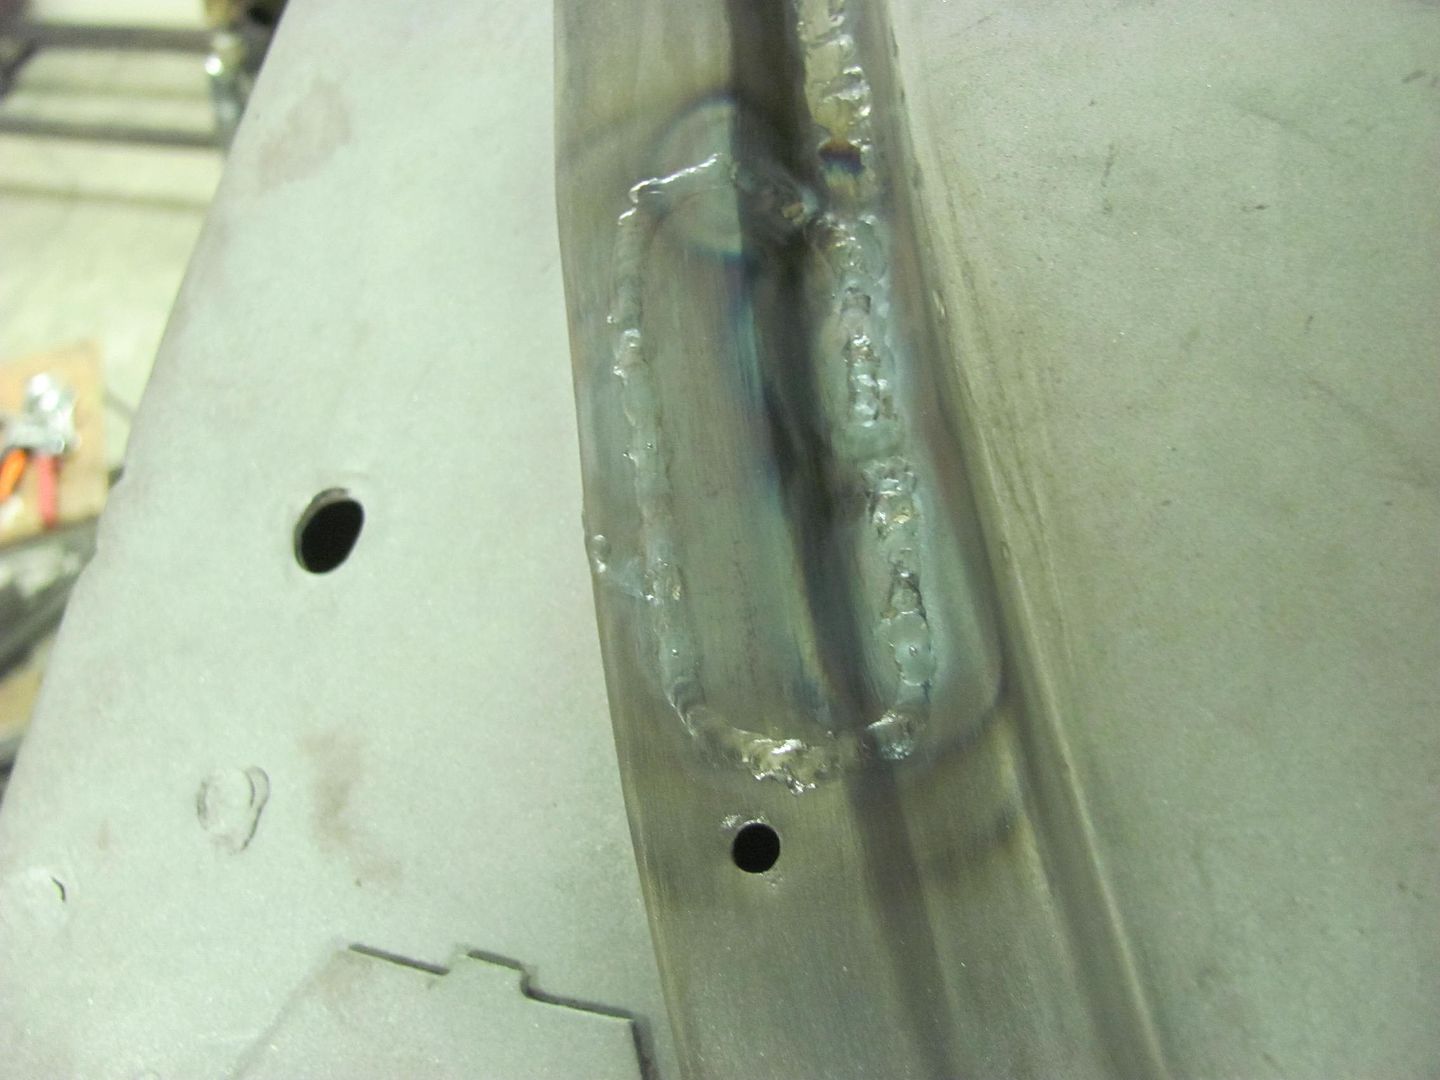
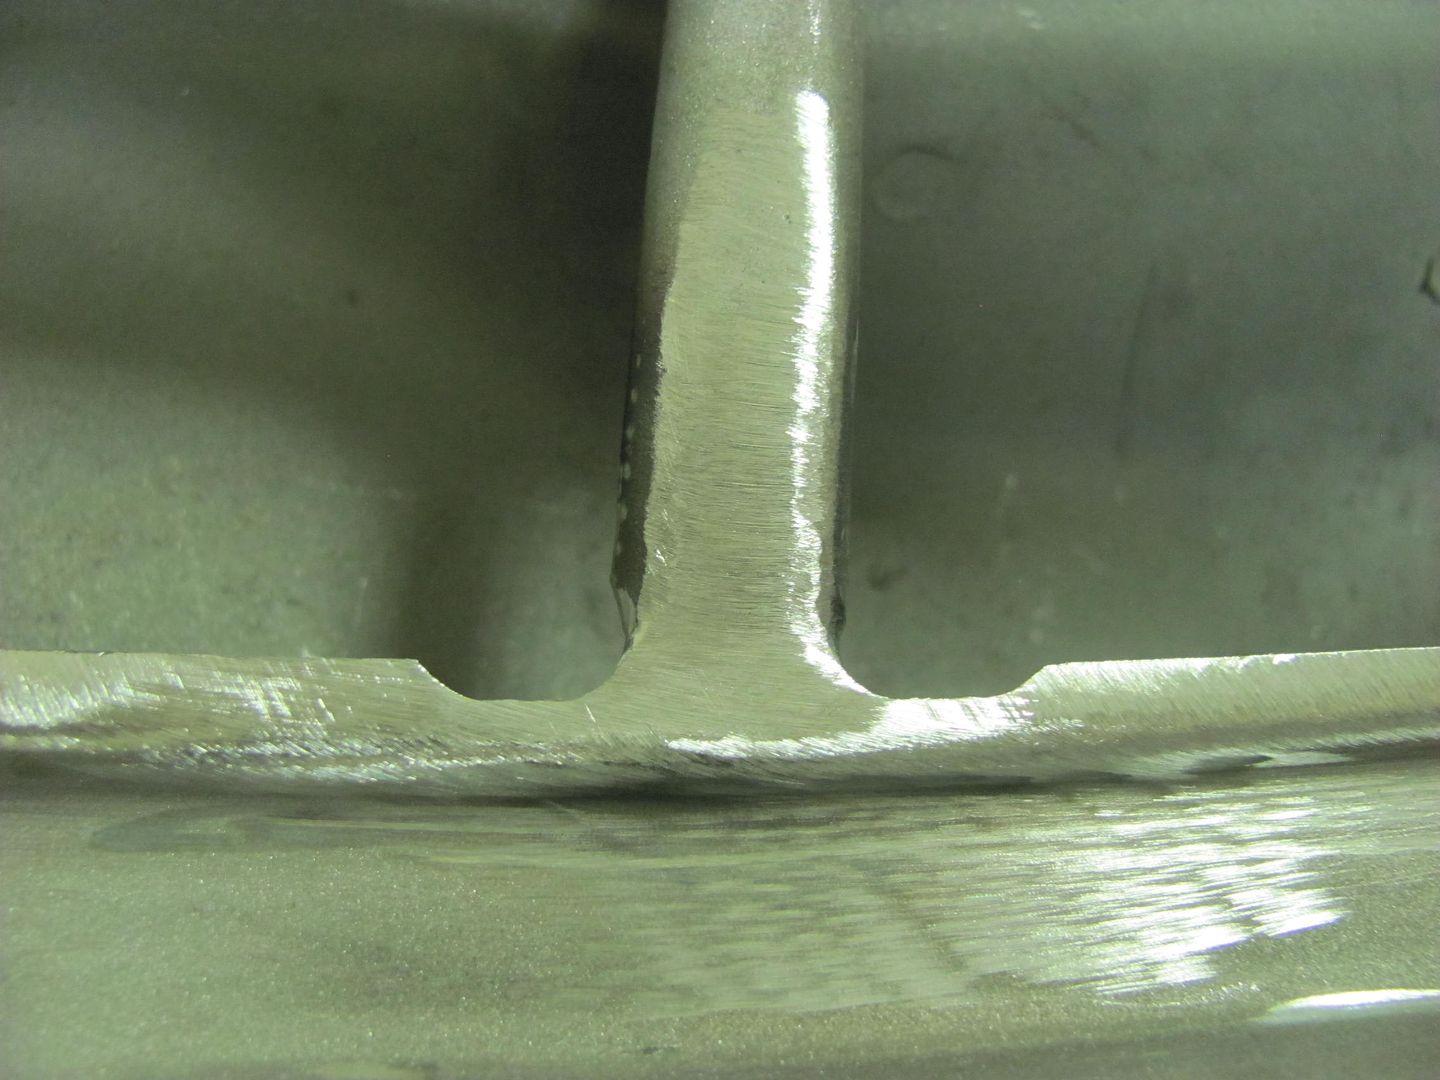
New bed floor seemed a bit wide going in (prior to welding) so we marked center of both the opening and the floor, then aligned the marks and clamped in place. To clean out the paint inside the plug weld holes from the adjacent panel, a modified bit was used.


Picture%204549.jpg


Picture%204551.jpg


Being a flat cutter, it does more paint removal and less damage in metal removal, as shown here:


Picture%204553.jpg


Picture%204554.jpg


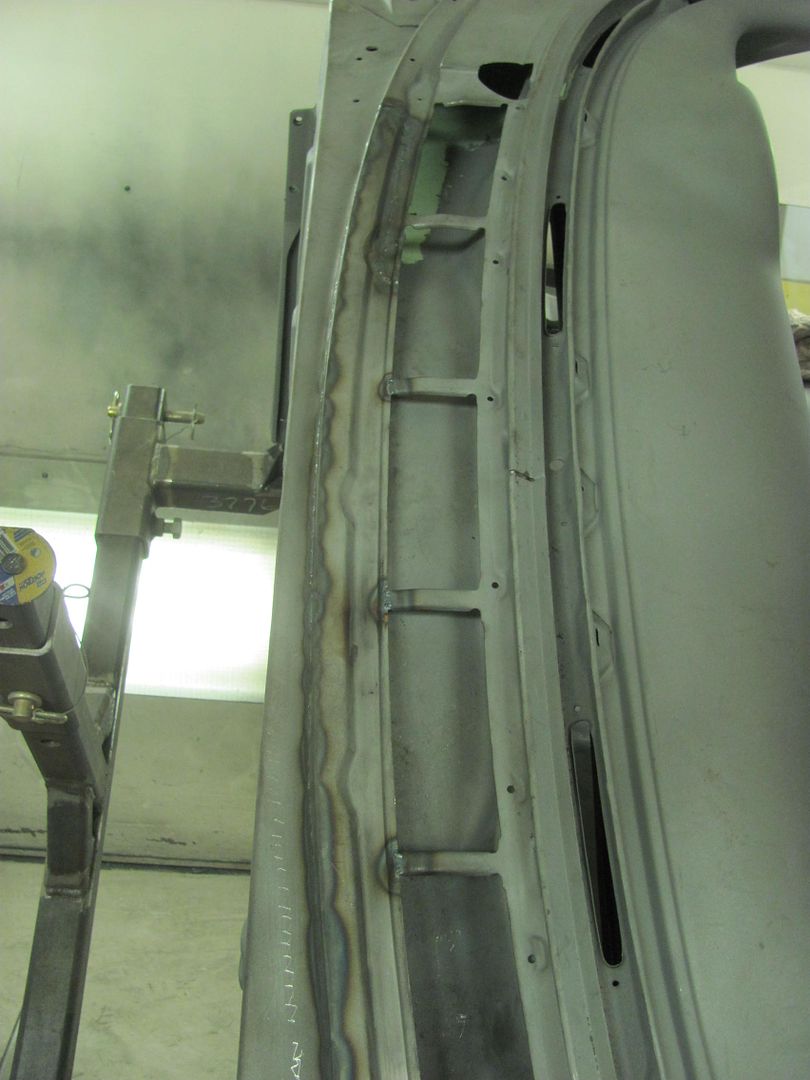
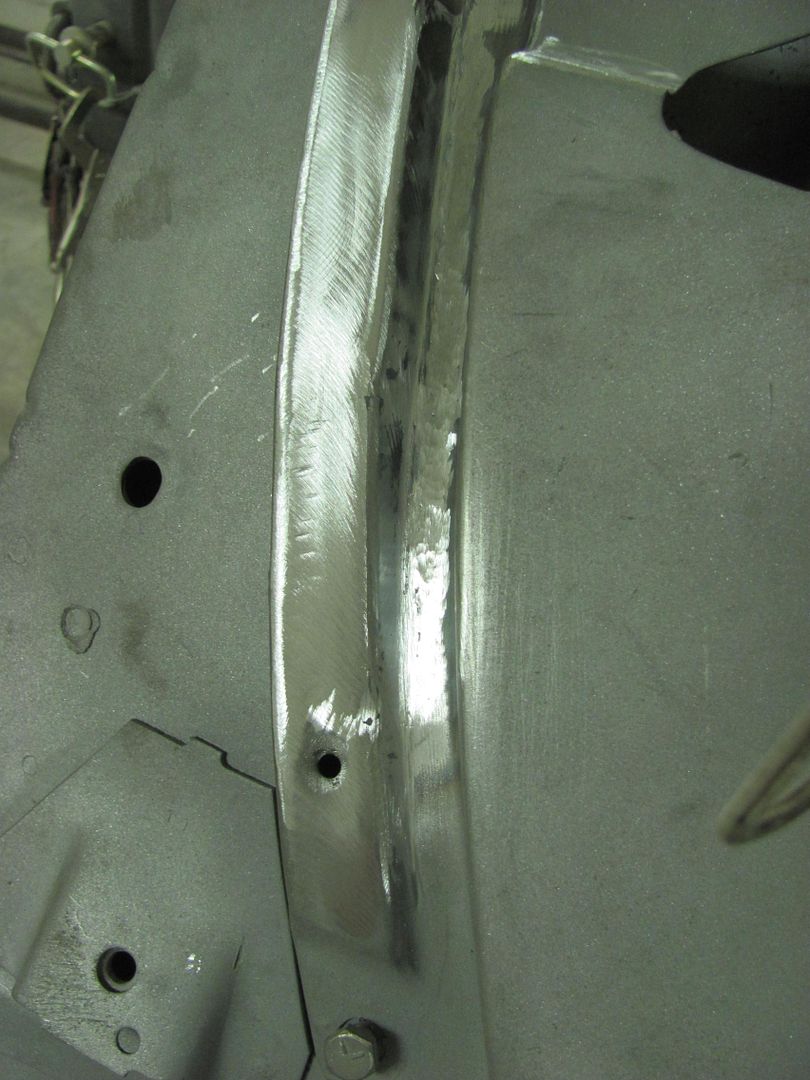
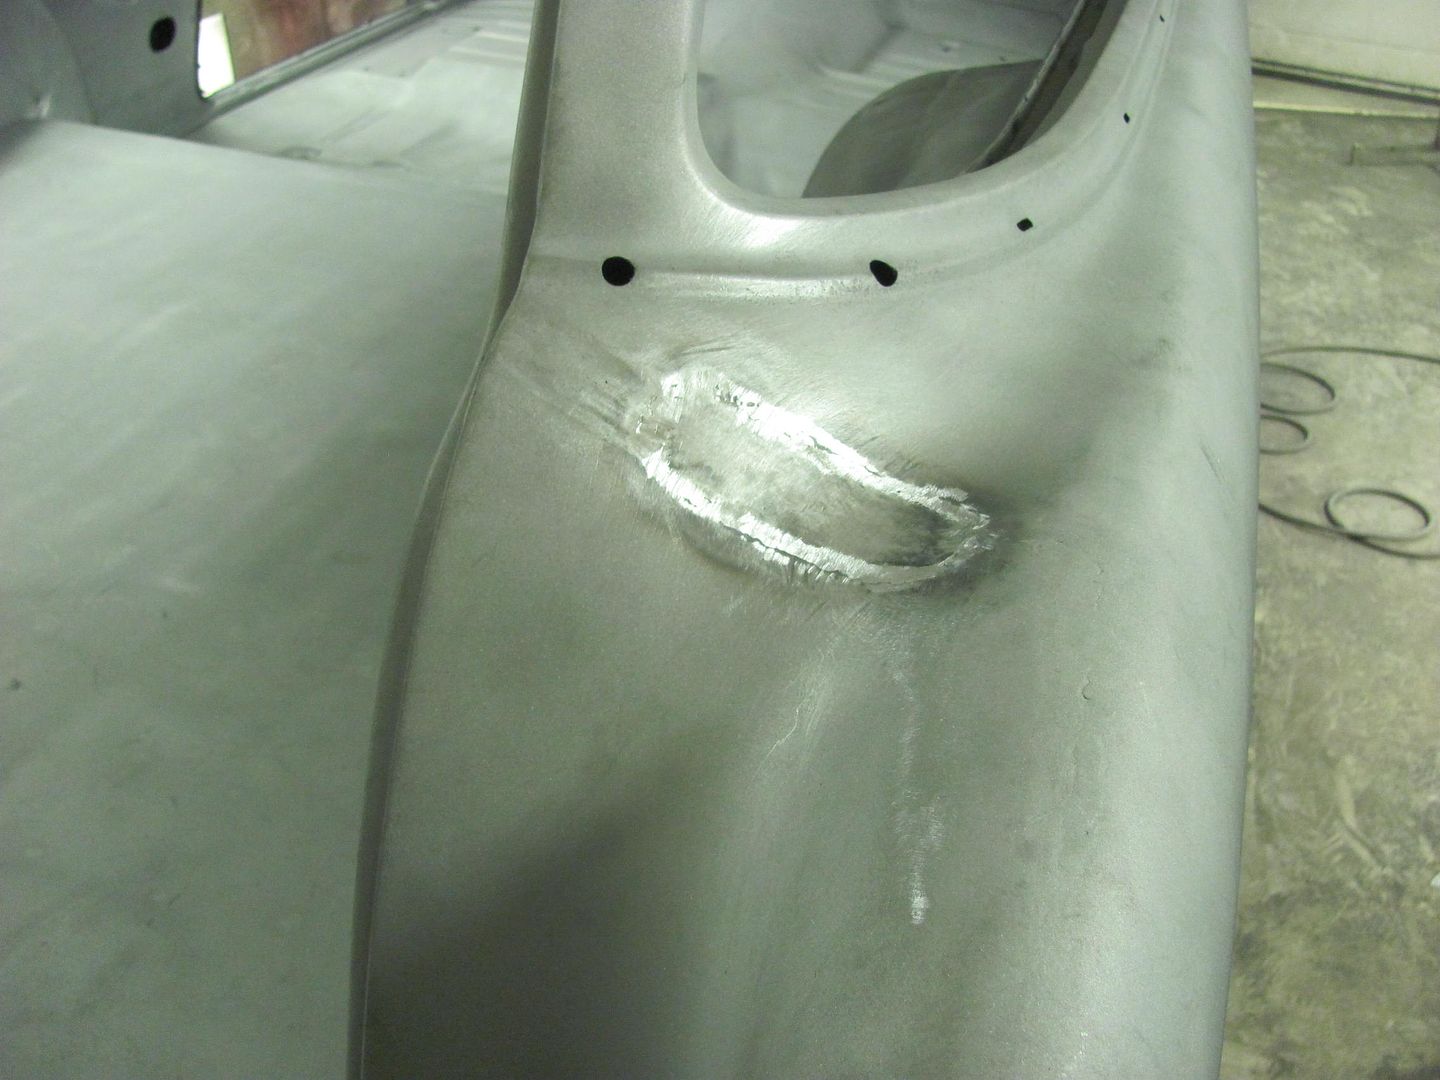
Welds ground down and all the bare spots touched up...


Picture%204558.jpg


Picture%204559.jpg


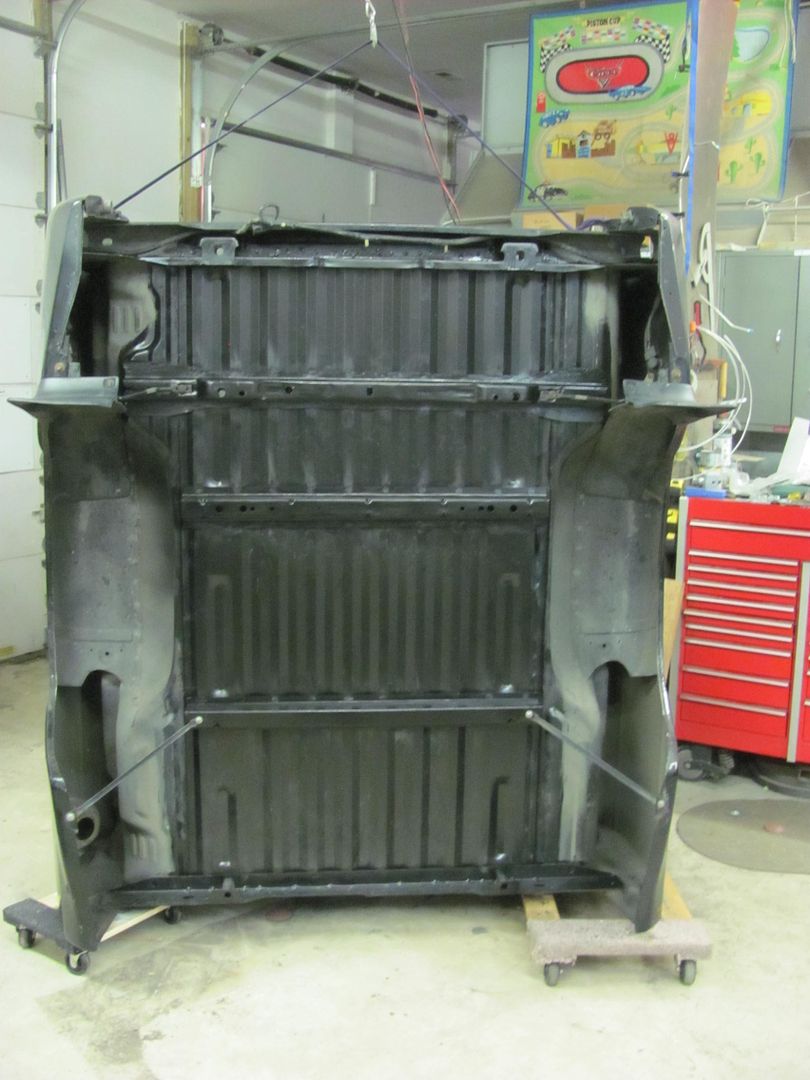
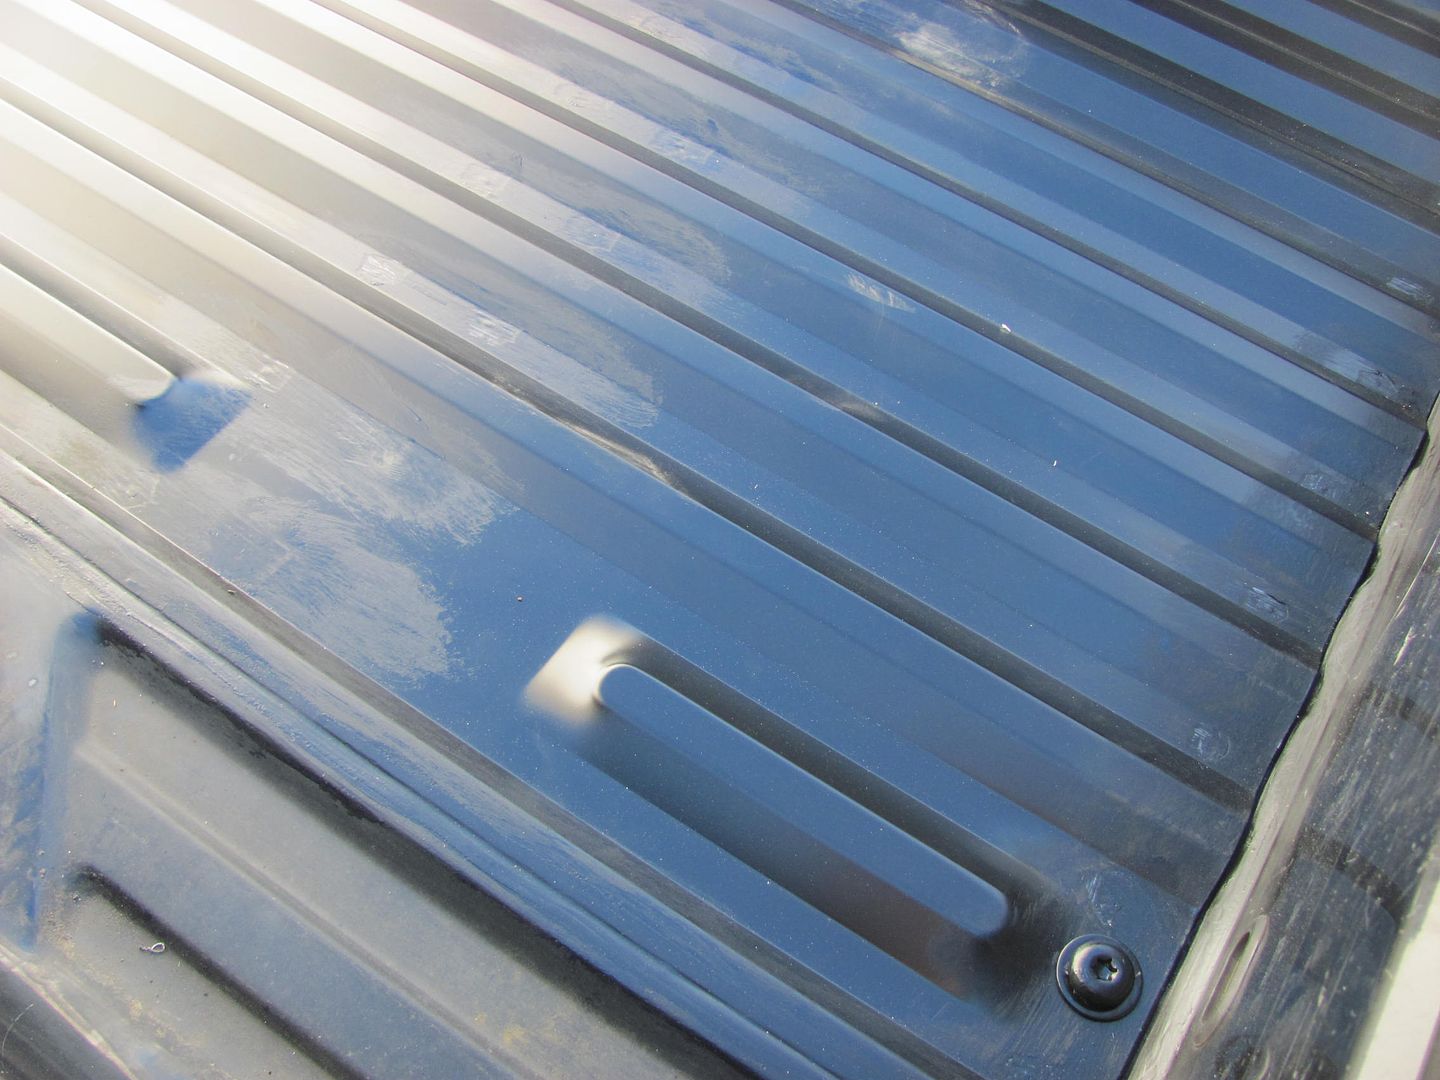
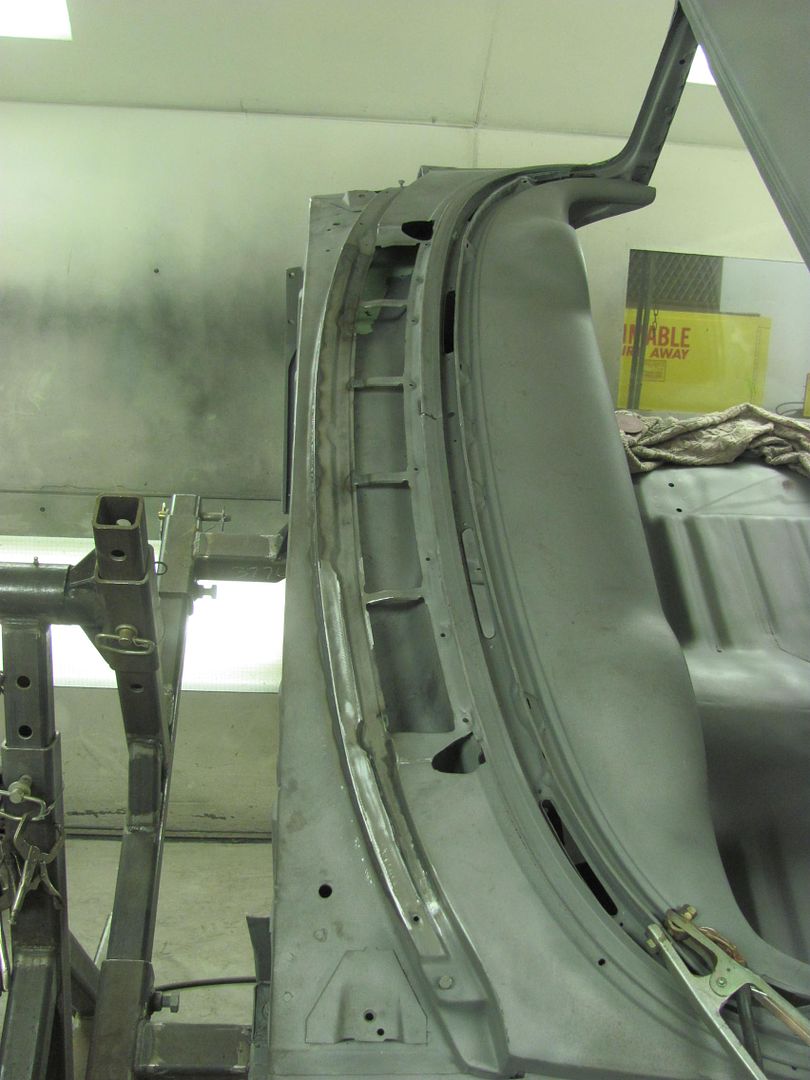
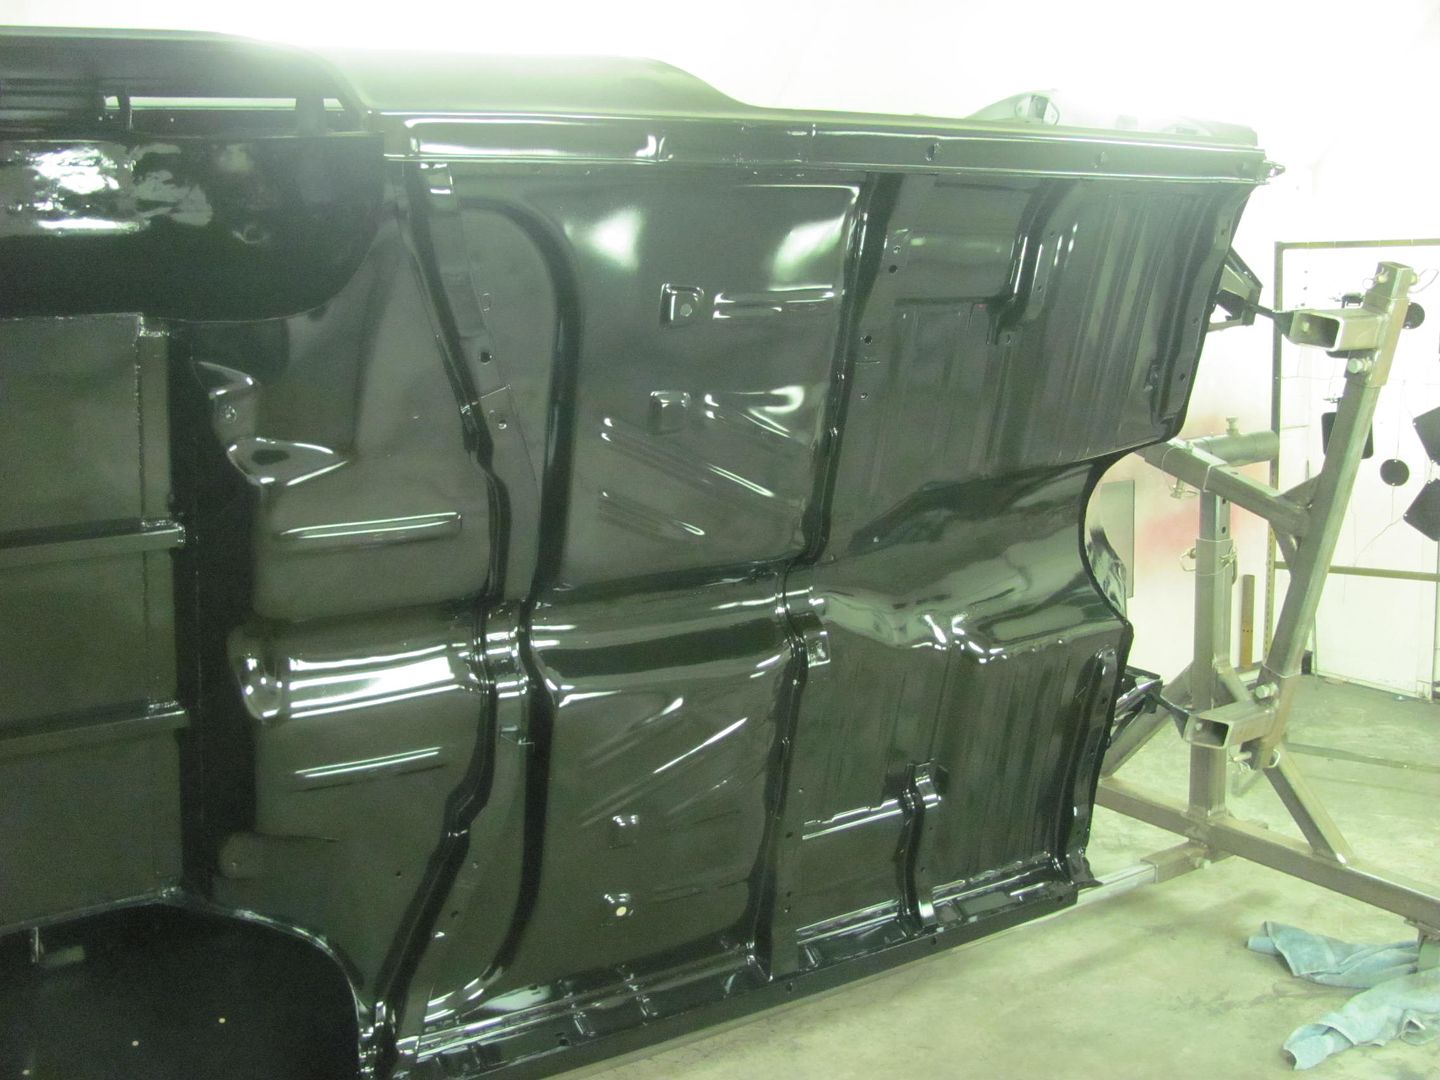
Re-installed onto the truck frame, no Bondo, no mesh screen, no plastic......


Picture%204560.jpg


....and no Flintstone holes..


Picture%204561.jpg


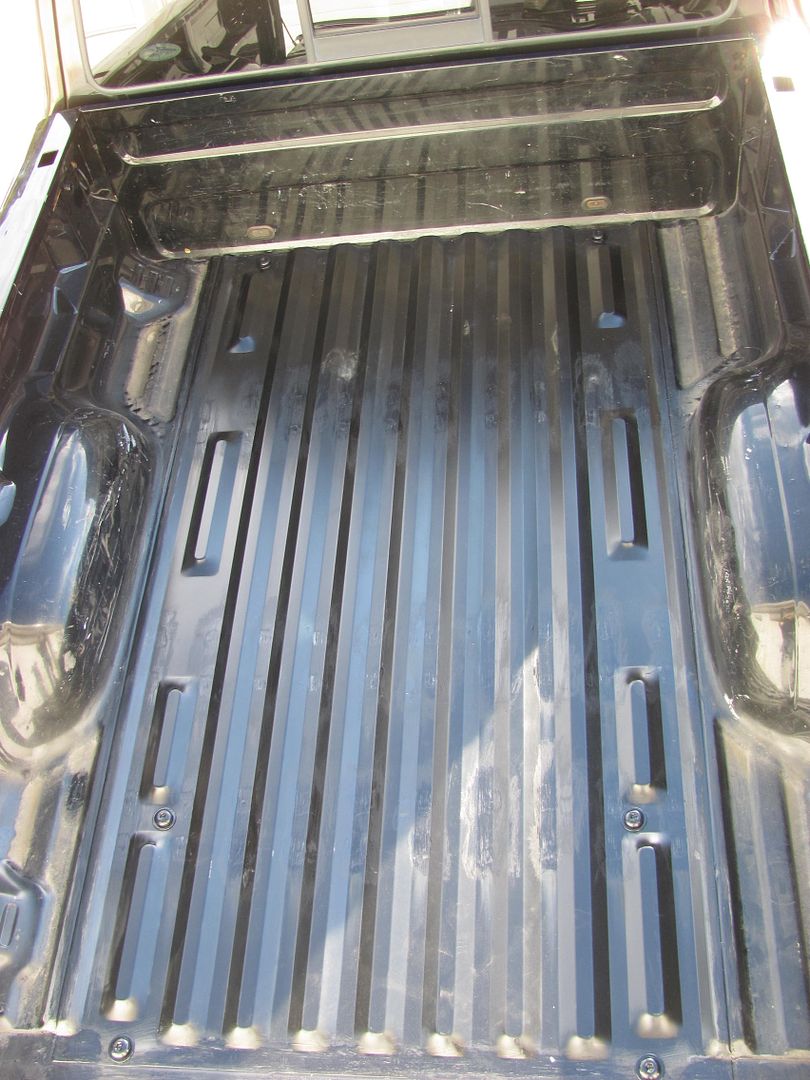
After the SPI epoxy cures for a few days they should be scheduling for the spray in bedliner..


Picture%204562.jpg
 
Last edited:

bulletpruf

Well-known member
Joined
Nov 28, 2013
Messages
10,914
Location
San Antonio
Nice work, Robert. What do you prefer for drilling out spot welds? A regular drill bit or one of the specialized spot weld bits?

Thanks

Scott
 
OP
M

MP&C

Well-known member
Joined
Oct 21, 2009
Messages
4,396
Location
Leonardtown, MD
Scott, I use a regular bit to drill out the spot welds, and the modified flat one is strictly for paint removal during re-assembly.. We needed a hole for plug welds anyhow, so two birds, one stone.. I've used some of the spot weld removal tools before and I did not play nice with them. IMO the hole is too large than needed for a plug weld, so drill bits it is..
 

Ohmthis

Well-known member
Joined
Jan 20, 2013
Messages
3,000
Location
Outside of Louisville KY
Robert, great work as usual. I think your calling is as a teacher. You've definitely taugh us a lot. :bowdown: Thanks for taking all of the photos and video, I get a tip whether big or small in each one.
 
OP
M

MP&C

Well-known member
Joined
Oct 21, 2009
Messages
4,396
Location
Leonardtown, MD
Thanks for the comments guys..


Robert, great work as usual. I think your calling is as a teacher. You've definitely taugh us a lot. :bowdown: Thanks for taking all of the photos and video, I get a tip whether big or small in each one.


It's hack work like we removed this weekend that drives me to put up these posts. Would rather help someone improve their skills/methods just a bit to get away from the wire mesh/newspaper and Bondo repairs. :eek: Showing repairs using fitted steel repair panels gets the mind thinking that there is another way, perhaps a better way.....which typically is less prone to cracking/failure and the short-lived repair from using excessive amounts of filler like we saw in that truck bed.
 

shortykorte

Well-known member
Joined
Sep 1, 2014
Messages
8,034
Location
Tallahassee, Fl
Just watched the last video. I need to trade my HF hammers in on some of those new fangle high speed hammers. :lol_hitti

Definitely an inspiration. I look forward to applying your lessons to some of my various projects.
 

Duke55

Well-known member
Joined
Jan 18, 2013
Messages
370
Location
Utah
Thanks!


Had a visitor in the shop today, one of the guys that attended Peter's class at the shop last fall came by. He is a machinist by trade and had made a couple parts for me..

I don't have a 4 jaw chuck for the South Bend to be able to turn any of the square tooling for the Lennox, so he made me a collet to hold 3/4 square stock. Has a drive dog and set screws for the material. Should be able to make some more tooling now..

Picture%204563.jpg


Picture%204566.jpg


Picture%204564.jpg


Picture%204565.jpg


Also brought along a clamping fixture for welding tooling for the Lennox, looks like it will work much better than the one I have. Has some nice relief holes for clamping to both the work pieces and the workbench..

Picture%204567.jpg


Picture%204568.jpg


Charlie does some real nice work!

Looks like you now have some shrinking dies. Have you used them much?
 
OP
M

MP&C

Well-known member
Joined
Oct 21, 2009
Messages
4,396
Location
Leonardtown, MD
These are a set of Loren Richards dies.. I think the last time we used them was making the inner tailgate....


Then the points are trimmed off the corners and over we go to the Lennox with the Thumbnail shrinking die.

Picture690.jpg

The initial shrinking....
Picture691.jpg

Picture692.jpg

One thing I had to keep in mind, the dies need to be loosened up as you go, as the corners shrink and the metal thickness increases. Here's where I stopped for dinner... A bit more and we should be ready to tip the reverse bend..
Picture697.jpg

Picture698.jpg


And here's the rest of this evening's work, starting with the hammerform for the corner reverse bend detail..
Picture001.jpg

Picture002.jpg

After quite a bit of hammering....
Picture004.jpg

...and a trial fit to the tailgate
Picture005.jpg
 

nine4gmc

Well-known member
Joined
Mar 24, 2012
Messages
14,357
Location
Dallas
More great work, it's awesome seeing parts made from sheet and formed to look factory!

Sent from my SM-T230NU using Tapatalk
 
OP
M

MP&C

Well-known member
Joined
Oct 21, 2009
Messages
4,396
Location
Leonardtown, MD
A bit further along on the cowl repair.. Repair patch trimmed to size...


Picture%204522.jpg


....and then scribed to the cowl area, which gets rough cut using the 4-1/2" cut off wheel. About 1/4" excess is left for final trimming using the snips..


Picture%204523.jpg


Picture%204524.jpg


That should flow some air...


Picture%204569.jpg


Tacked in place..


Picture%204570.jpg


Picture%204571.jpg


Picture%204572.jpg
 
To avoid these ads, REGISTER NOW!
OP
M

MP&C

Well-known member
Joined
Oct 21, 2009
Messages
4,396
Location
Leonardtown, MD
OK, it's been a while since I've TIG welded, and got a little too much heat near the edge. Blew a nice hole, so used one of the practice pieces to cut out a patch..

Picture%204573.jpg


Picture%204574.jpg


Picture%204576.jpg


.....and I got a little heavy footed on the other end as well...


Picture%204577.jpg


Trimming for the patch's patch.

Picture%204578.jpg


Picture%204581.jpg


Picture%204582.jpg


Picture%204584.jpg


Picture%204585.jpg


The final pieces to weld...

Picture%204586.jpg


Weld dressed and factory relief added...

Picture%204588.jpg


A few more welds to dress and this will be done...


Picture%204589.jpg


Picture%204590.jpg


Picture%204591.jpg
 

stinkity stoink

Well-known member
Joined
Apr 8, 2007
Messages
729
Location
New Jersey
Lookin good Robert!!! I'm no expert ,but when I have been doing patches with the tig I back it up with copper strip. It seems to help when I get a little heavy on the foot pedal. I'm sure you know this already though..nice work!!!!
 
OP
M

MP&C

Well-known member
Joined
Oct 21, 2009
Messages
4,396
Location
Leonardtown, MD
Larry, I'm trying to turn over a new leaf and use the TIG :willy_nil

Most work on the cars are not in the best locations, but this being on the rotisserie made it easier to position and use the TIG. Except for the two end spots.. :lol:
 
OP
M

MP&C

Well-known member
Joined
Oct 21, 2009
Messages
4,396
Location
Leonardtown, MD
Cowl repair all complete...


Picture%204592.jpg


One more thin spot from the media blasting where we had removed the leaded seam...


Picture%204593.jpg


Picture%204594.jpg


Test fitting the patch for proper contour..


Picture%204596.jpg


TIG welded in place...


Picture%204597.jpg


Picture%204602.jpg


Started off with some SPI epoxy on the underside...


Picture%204599.jpg


....and then the firewall


Picture%204601.jpg


.....as well as the new glove box door skin...


Picture%204600.jpg


The entire interior was primed by standing through the window openings...


Picture%204604.jpg


Picture%204605.jpg


Then the outside was tackled...


Picture%204606.jpg


Picture%204607.jpg


Picture%204608.jpg


Picture%204609.jpg


Picture%204610.jpg
 

aggierailroad

Well-known member
Joined
Jan 8, 2012
Messages
581
Location
Houston, TX
Car is looking great, Robert.

I'm mainly in Germany for "play" but I find myself glued to the computer, working on design stuff and hopefully the start of a new business for me.

We used to use water to get the sand out of bodies after blasting. Probably wasn't the best, but we never had too much trouble with flash rusting before we got epoxy on.

Have you seen that new laser rust blaster? That will be the future. It still won't solve all of the rust dust getting everywhere though.
 

RivennHewn

Well-known member
Joined
Jun 4, 2011
Messages
10,357
Location
PNW
Ya ever consider setting up a few chairs and charging admission for us all to come watch and drink a beer or two?
 

Divcod

Well-known member
Joined
Jan 9, 2015
Messages
319
Location
Pacific Northwest
Robert,

Maybe you should invite people over for a sanding party!

What girt of sand paper do you use for initial block sanding and what are the steps to final coat. I spokane with the SPI tech representative who suggested switching to their primer after a seal coat of epoxy over any body filler. Do,you plan to switch?

What pressure setting to you use for your spray gun? My gun recommends 26psi at the gun but My results don't math yours.
 
OP
M

MP&C

Well-known member
Joined
Oct 21, 2009
Messages
4,396
Location
Leonardtown, MD
Dave, were they recommending a high build over the epoxy?

On the spray gun, I find manufacturers of the spray guns list working pressures more to comply with a gov't regulation, PAINT manufacturers list working pressures to spray correctly. Keep in mind, air pressure adjustments are to correct for runs, fluid adjustment to correct for orange peel:

http://www.southernpolyurethanes.com/#!adjusting-your-gun/c1lfc


On paper, I'll start with 80 dry, and work on up to about 220 dry and then switch to w/d, working up to 500 for solid color, 600 for metallic.


I'm afraid if I had a sanding party there would be a bunch of no-shows. Heck, I may be with the no-shows:lol_hitti
 

jackson1701

Well-known member
Joined
Jan 13, 2015
Messages
157
Location
Jarrettsville, MD
I've been following almost everyday for a long time. It's great to finally see you get to a point where you squirted some color on it even if it's just the beginning stages. I'm a huge fan of the satin black look too....
 

Divcod

Well-known member
Joined
Jan 9, 2015
Messages
319
Location
Pacific Northwest
Dave, were they recommending a high build over the epoxy?

On the spray gun, I find manufacturers of the spray guns list working pressures more to comply with a gov't regulation, PAINT manufacturers list working pressures to spray correctly. Keep in mind, air pressure adjustments are to correct for runs, fluid adjustment to correct for orange peel:

http://www.southernpolyurethanes.com/#!adjusting-your-gun/c1lfc


On paper, I'll start with 80 dry, and work on up to about 220 dry and then switch to w/d, working up to 500 for solid color, 600 for metallic.


I'm afraid if I had a sanding party there would be a bunch of no-shows. Heck, I may be with the no-shows:lol_hitti
Robert,

Their comment on high build primers "designed for production shops that operate with cost and time constraints". The recommendation for the highest quality paint preparation was to use multiple coats of their primer with the appropriate between coat times. SPI's website has a tab that details the step to a perfect paint job.

Agee with you on not showing up for a sanding party. I have been sanding for 4 -5 hours on the Divco which worse than watching paint dry. Just moved up from 80 grit to 150 so think I'm making some progress.
 
OP
M

MP&C

Well-known member
Joined
Oct 21, 2009
Messages
4,396
Location
Leonardtown, MD
Picture%204603.jpg


Well the epoxy has cured for about three days, time to put the glove box back together... The adjacent areas are scuffed for some official door skin adhesive..


Picture%204611.jpg


....in the form of some leftover primer from this weekend..


Picture%204612.jpg


Good thing this gets covered up...


Picture%204613.jpg


Using the door skin hammer on the leather shot bag, the ends are folded first...


Picture%204616.jpg


Picture%204617.jpg


Picture%204618.jpg


and then the bottom flange...


Picture%204619.jpg


All together...


Picture%204620.jpg
 
To avoid these ads, REGISTER NOW!
Top Bottom