Crusarius
Well-known member
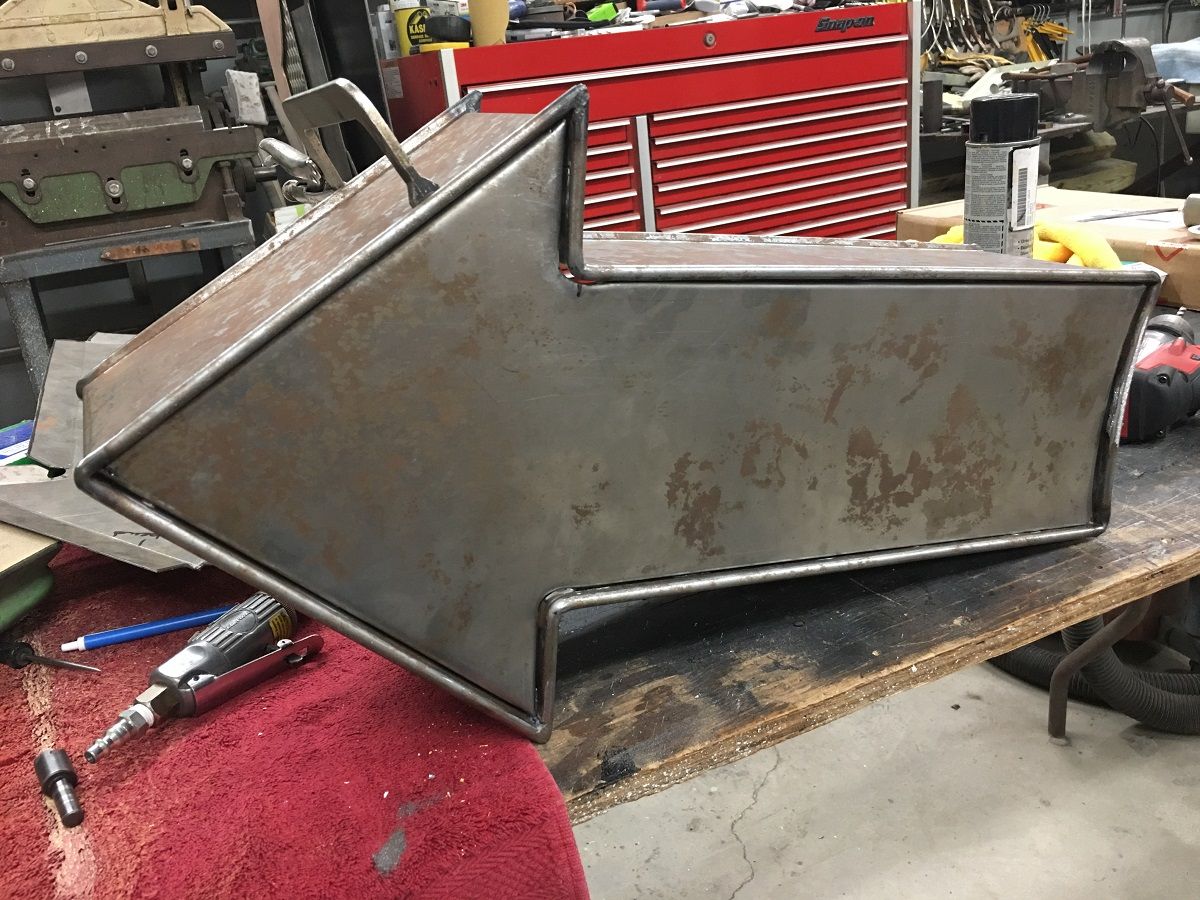
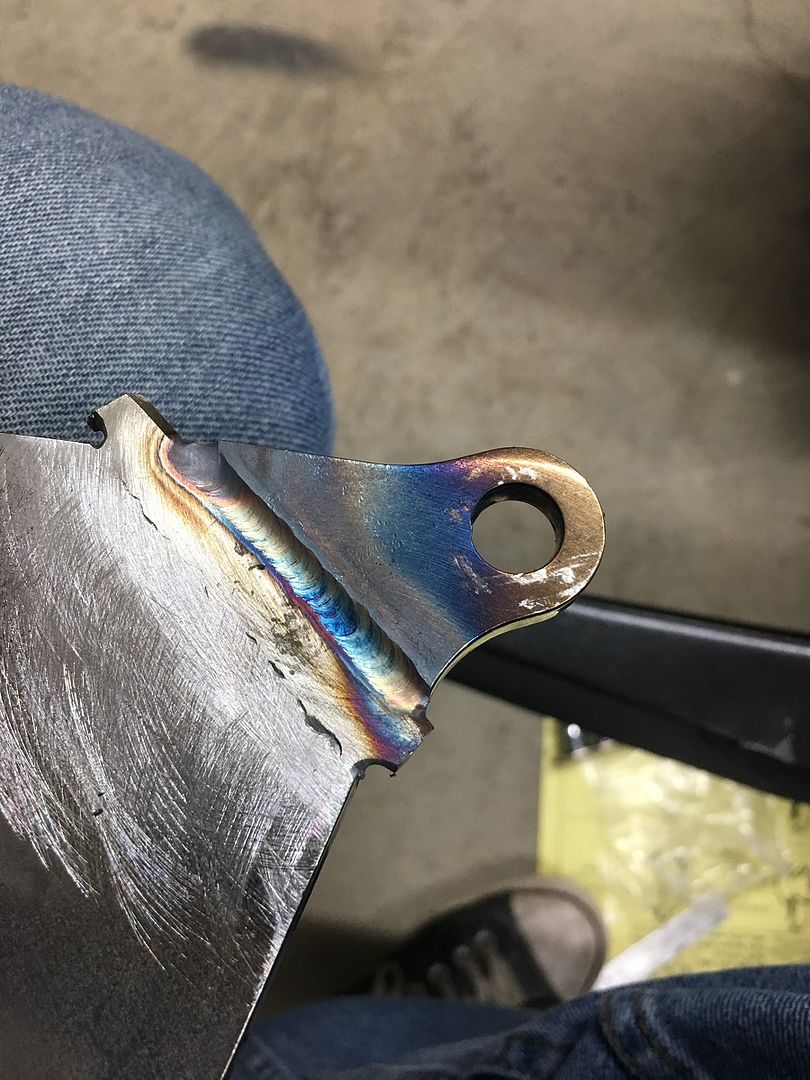
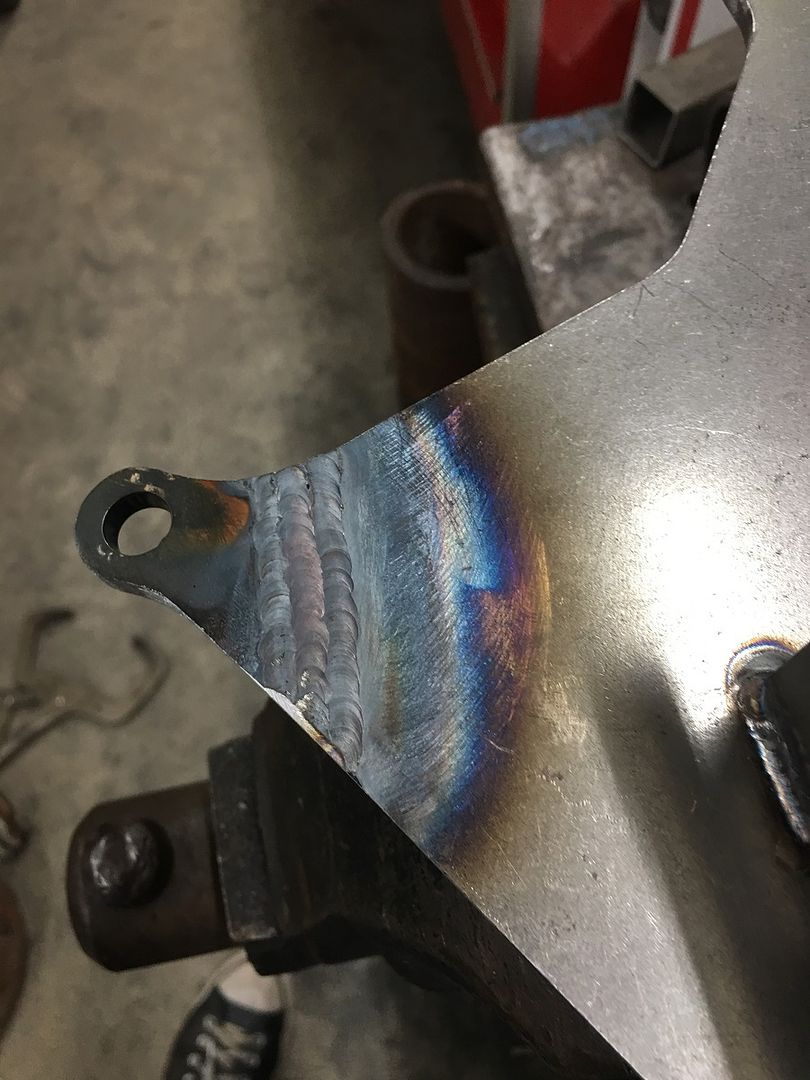
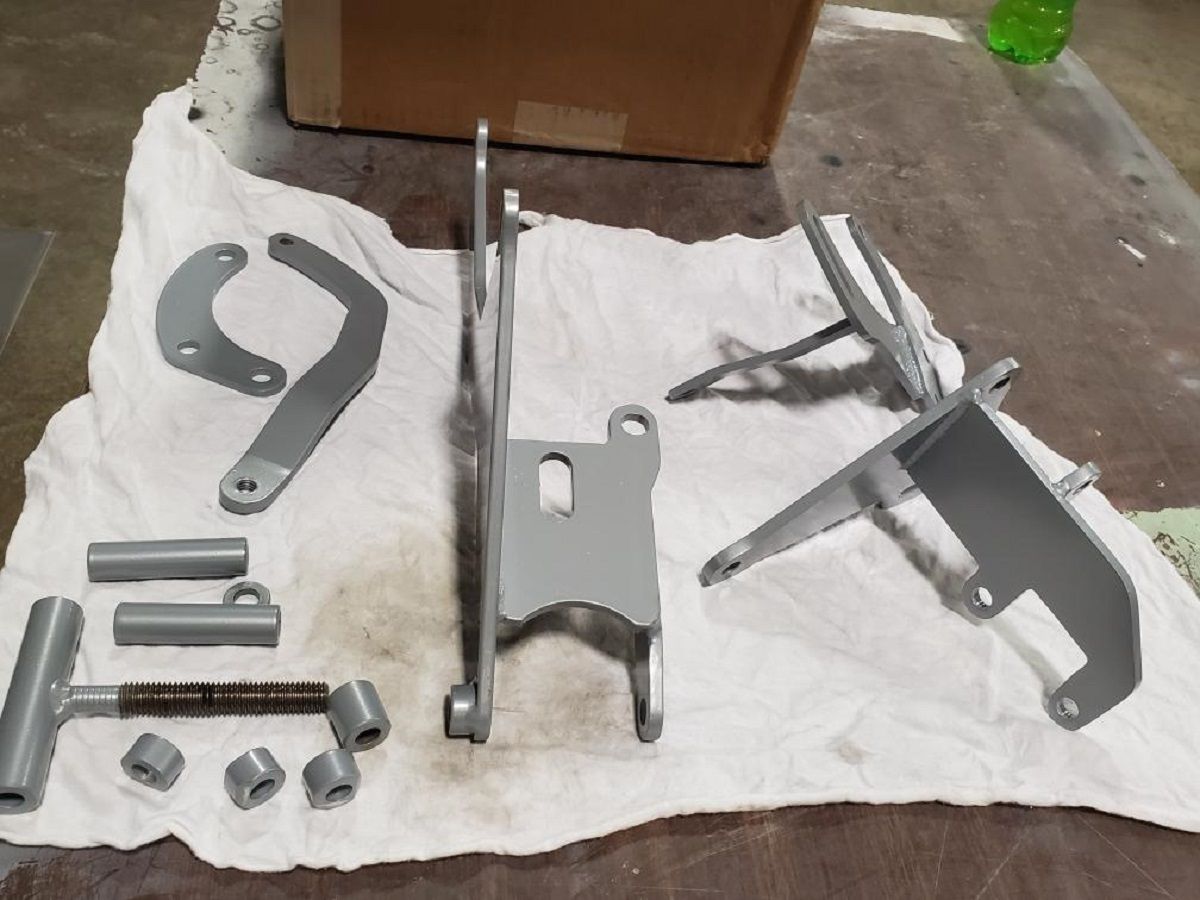
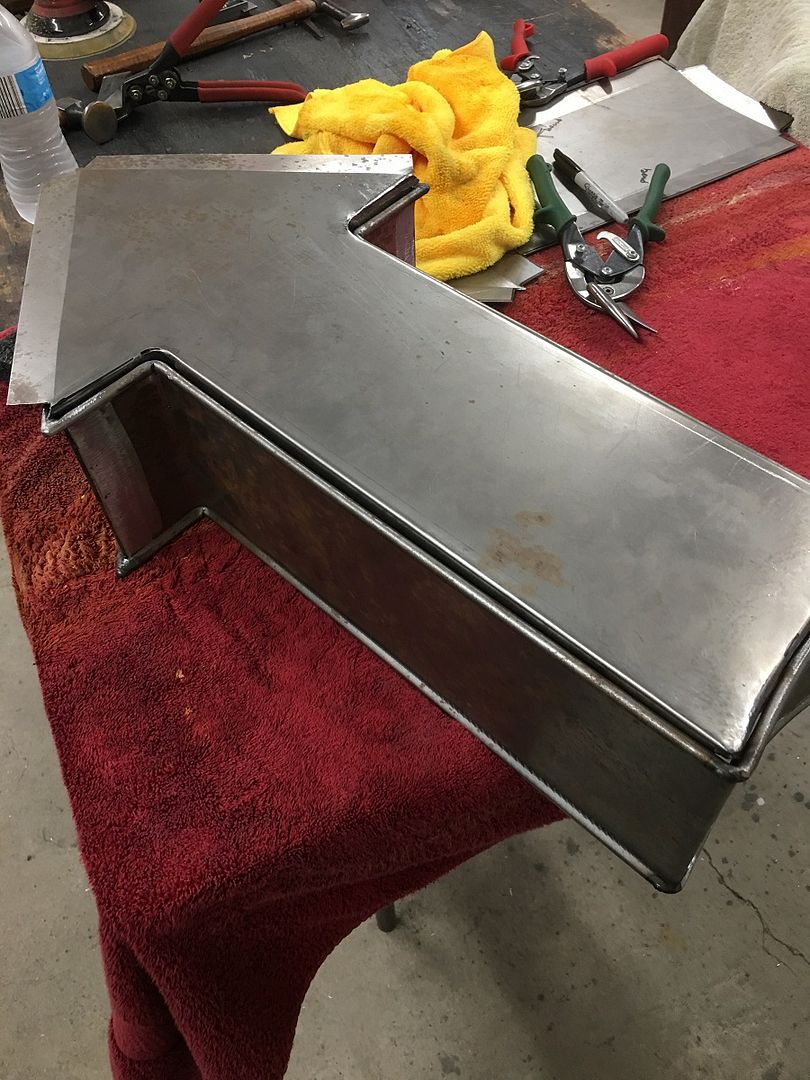
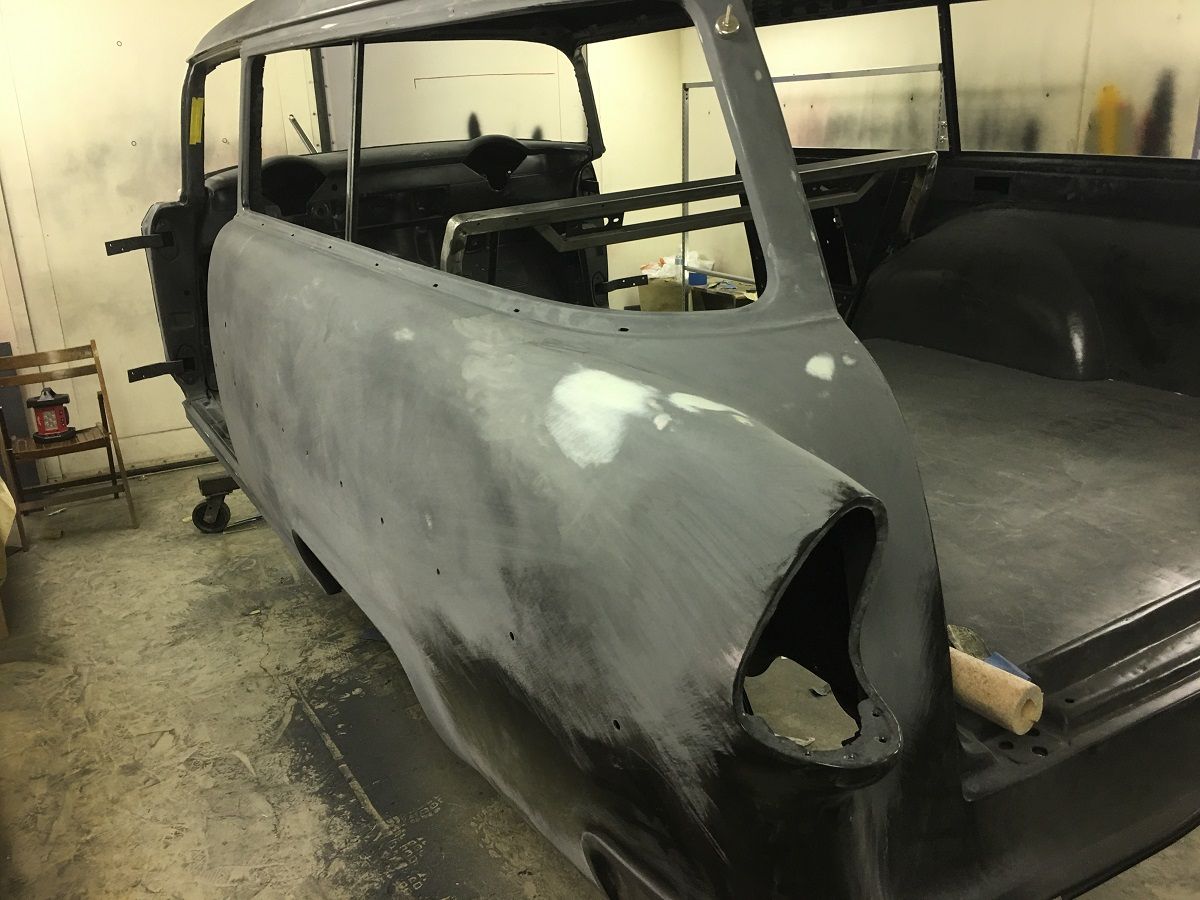
So your getting that nice of a finish on bare steel with foam brush? or chip brush? I think I need to switch paints. how long does that take to harden before you put final coat on?

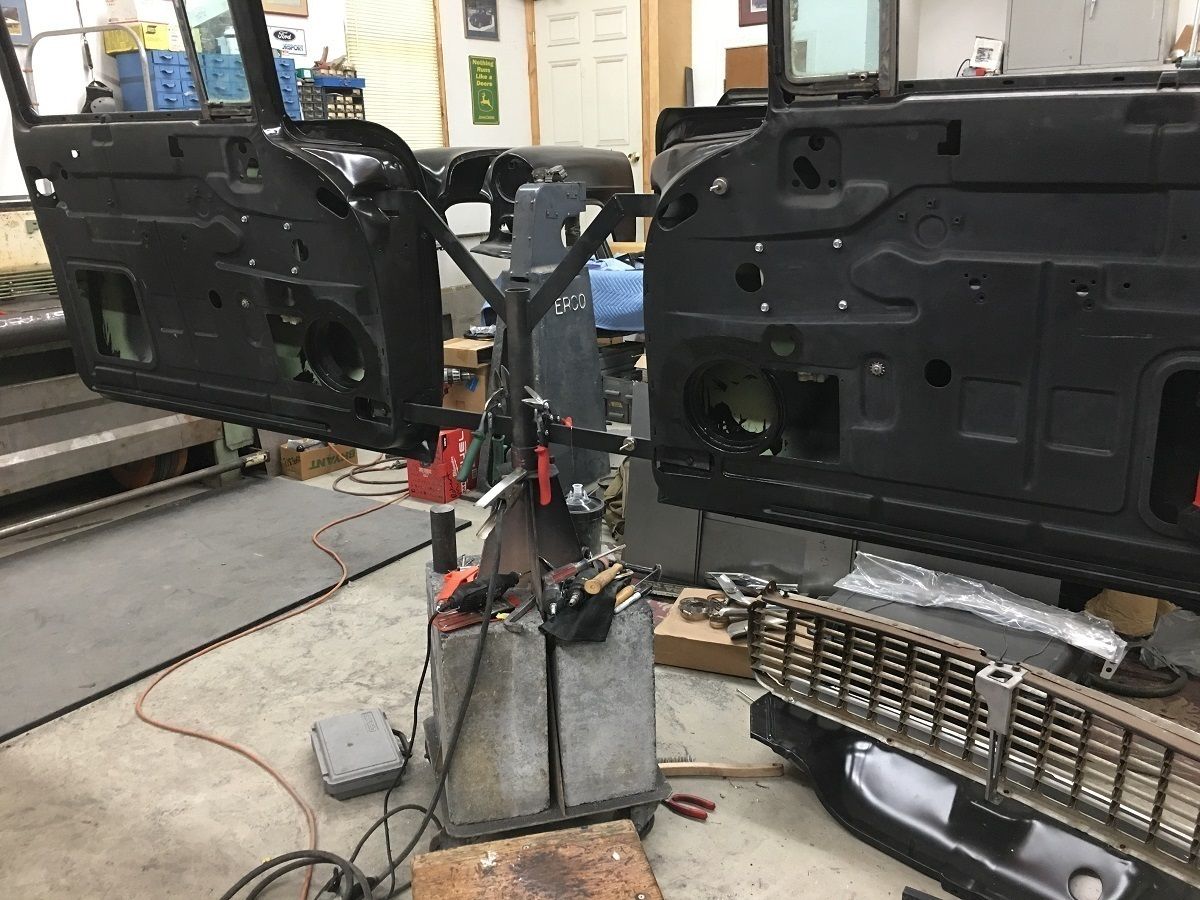


Take note of the solid cinder block counterweights, without them there is a tipping issue when loading one door at a time..

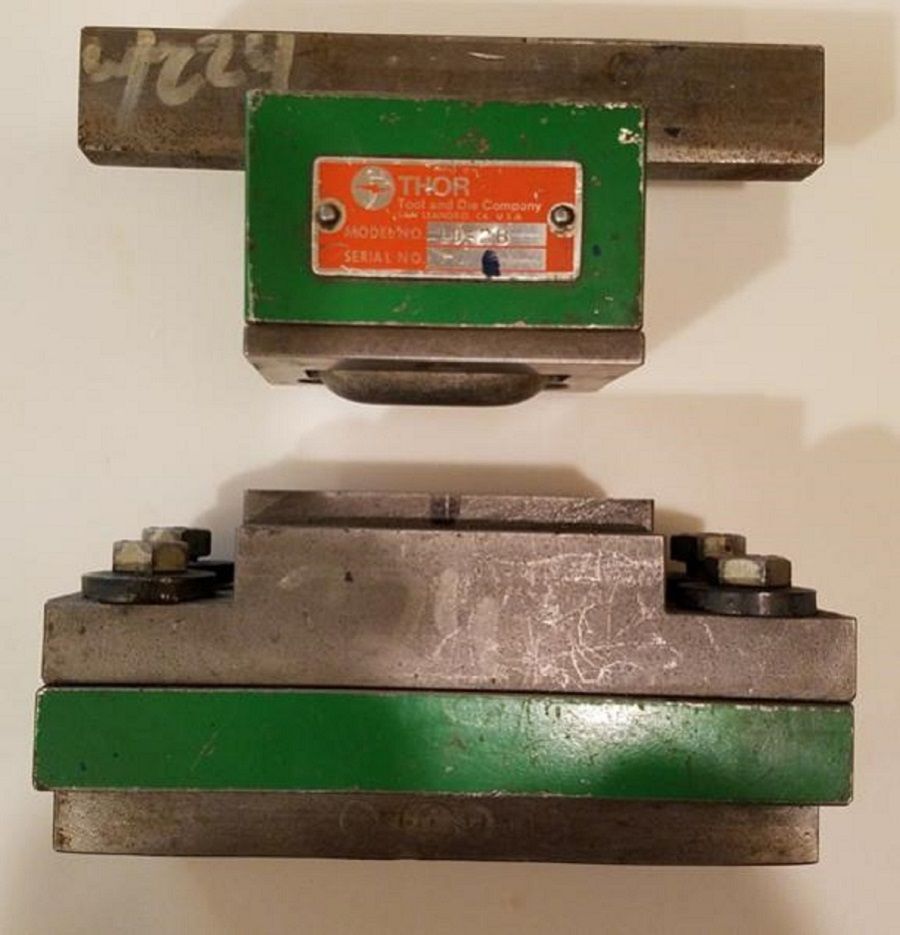
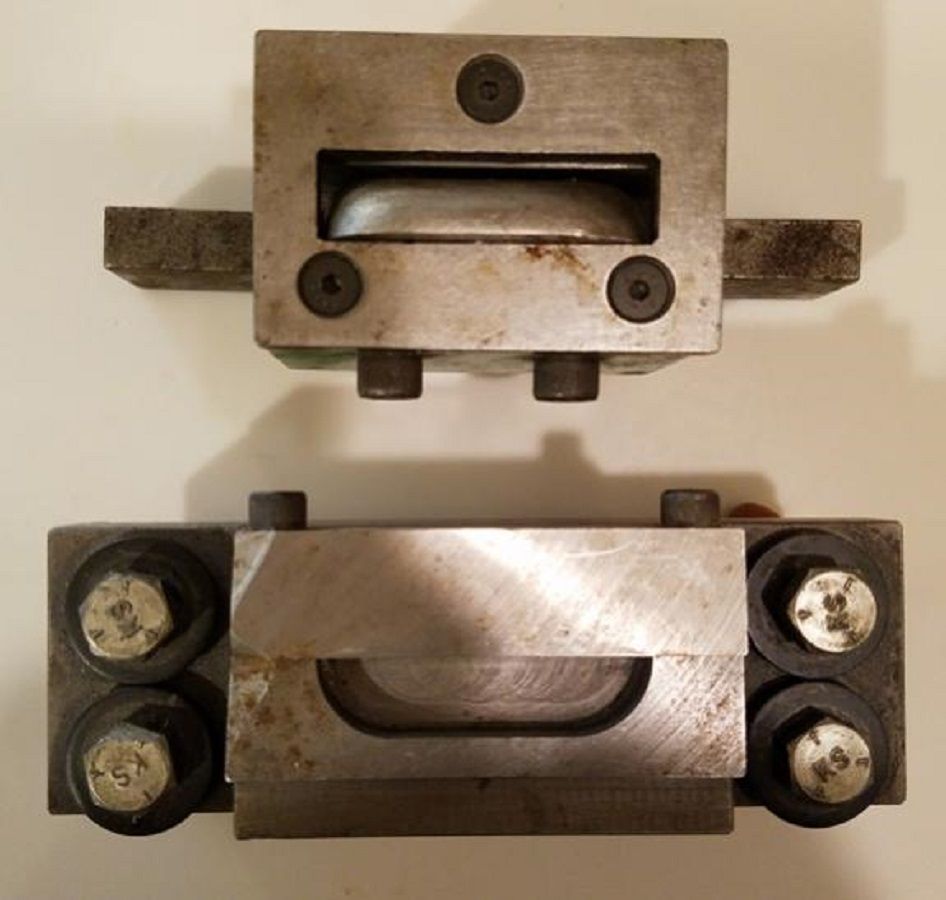
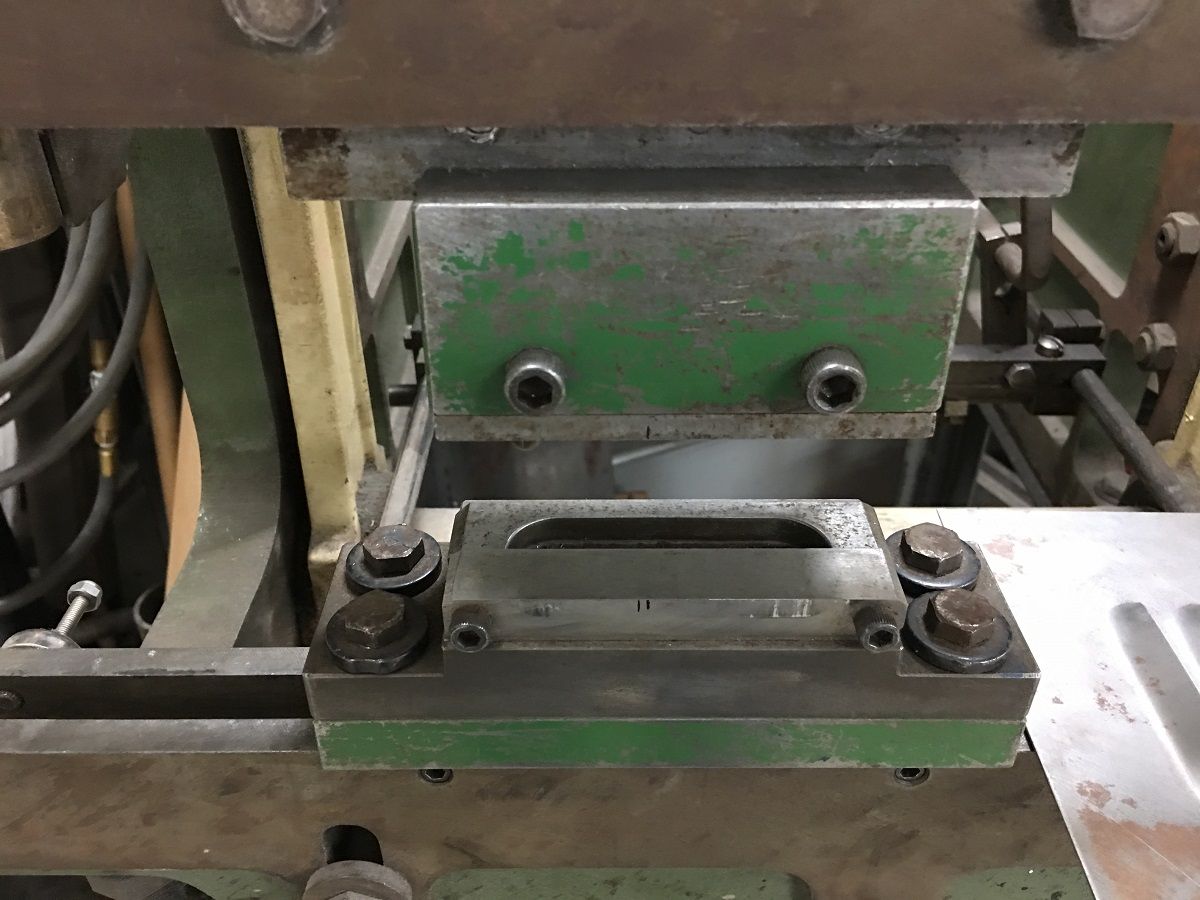
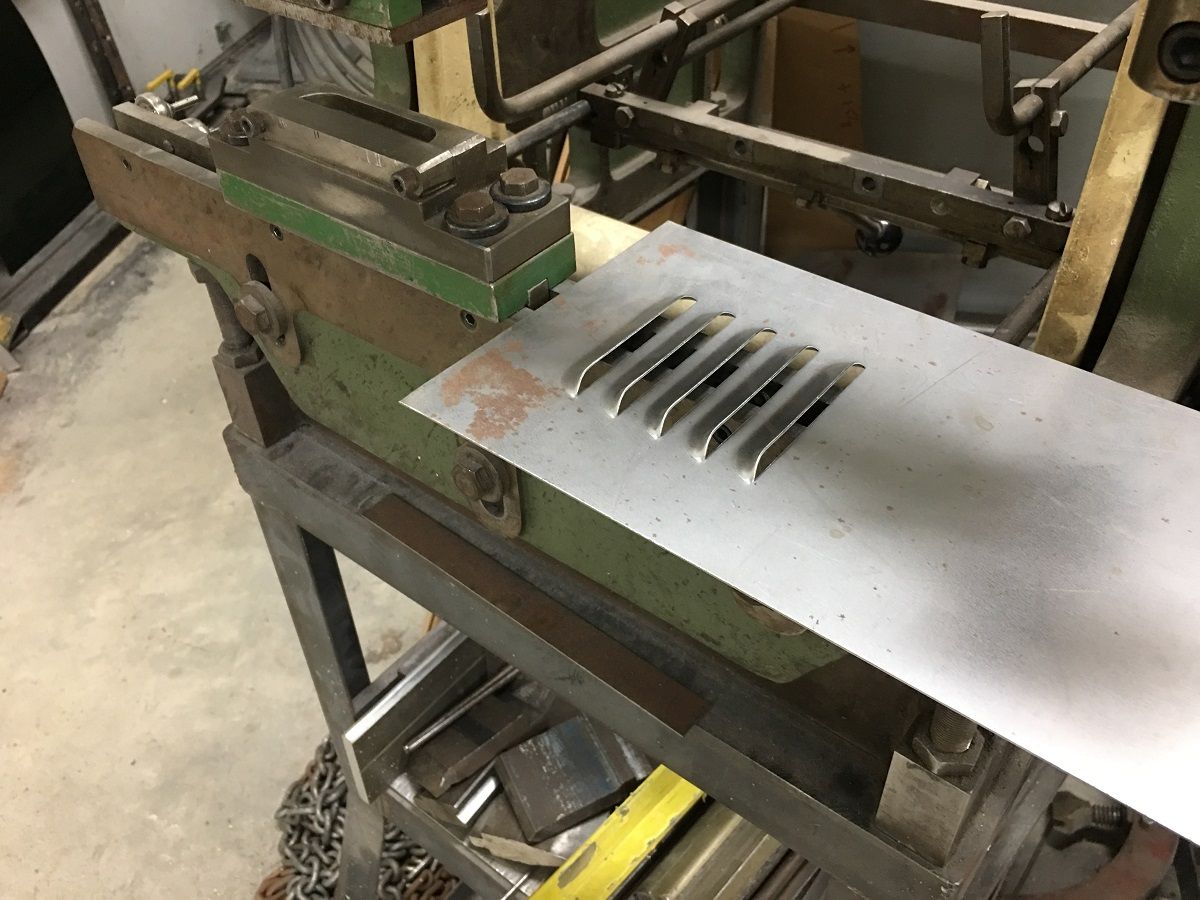
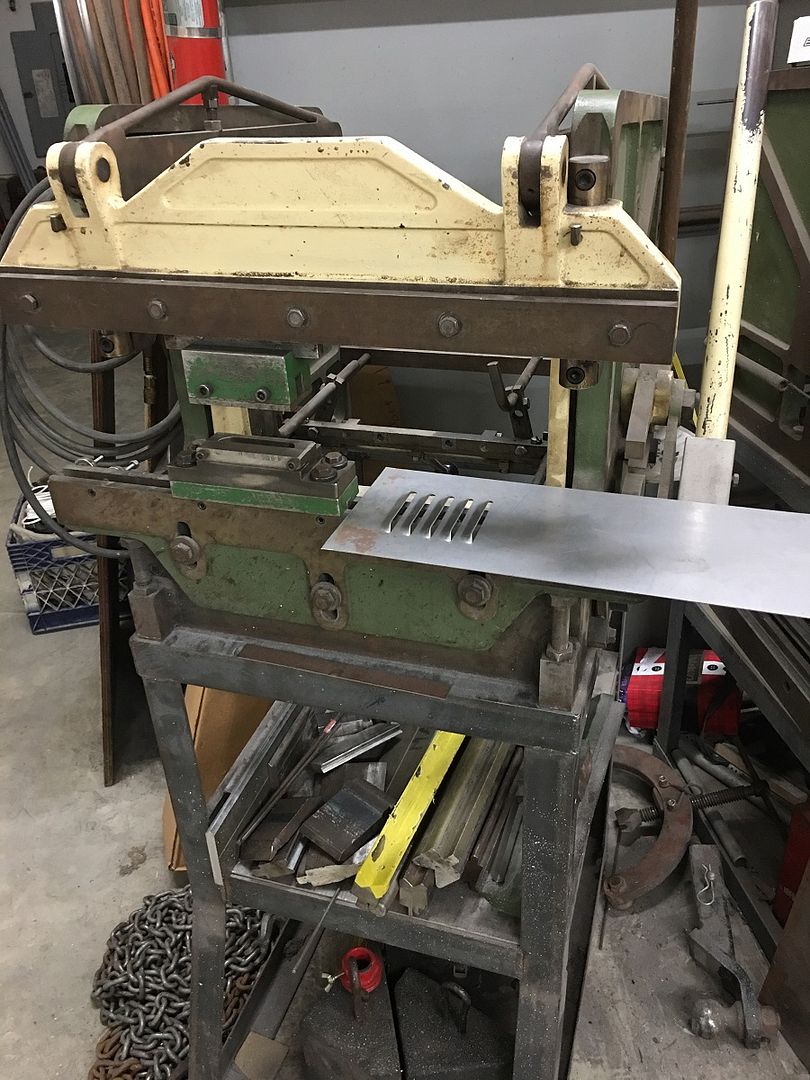
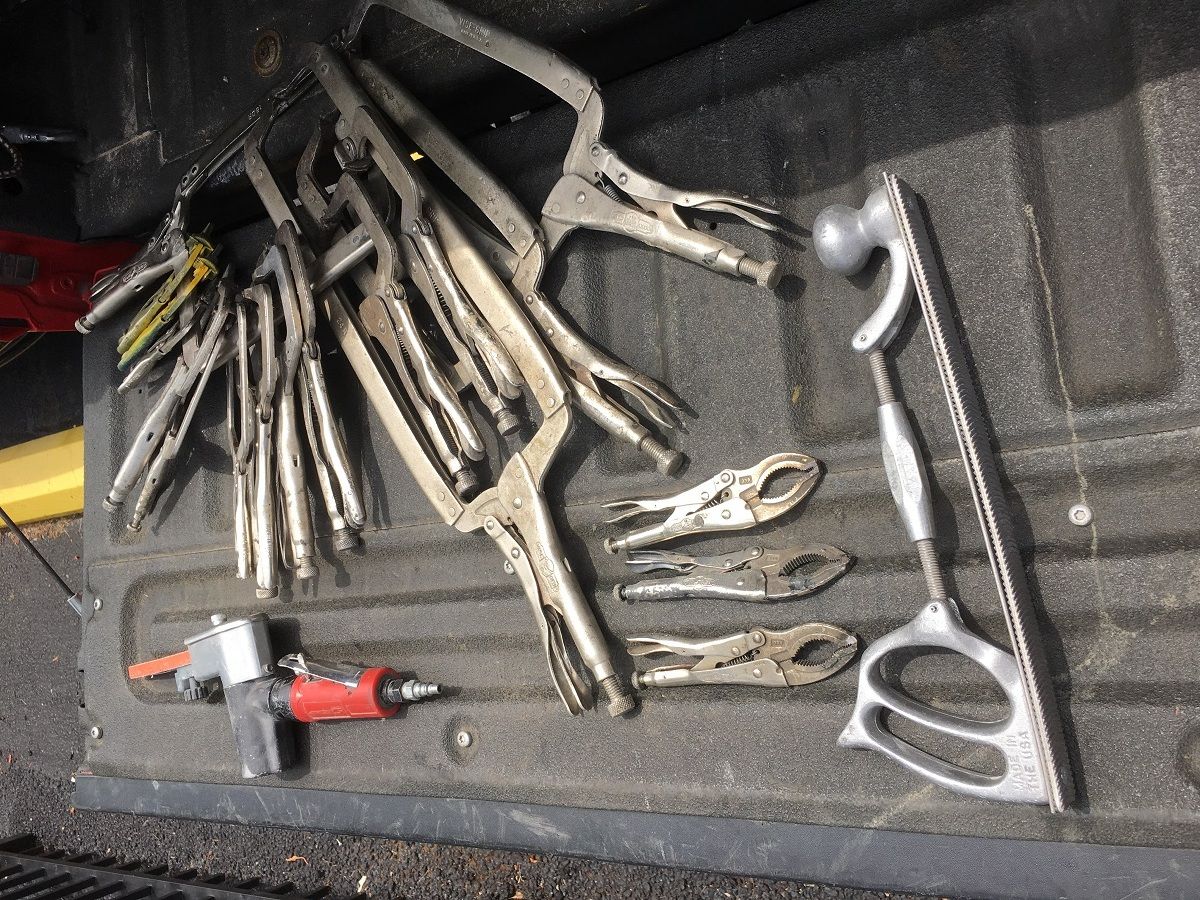
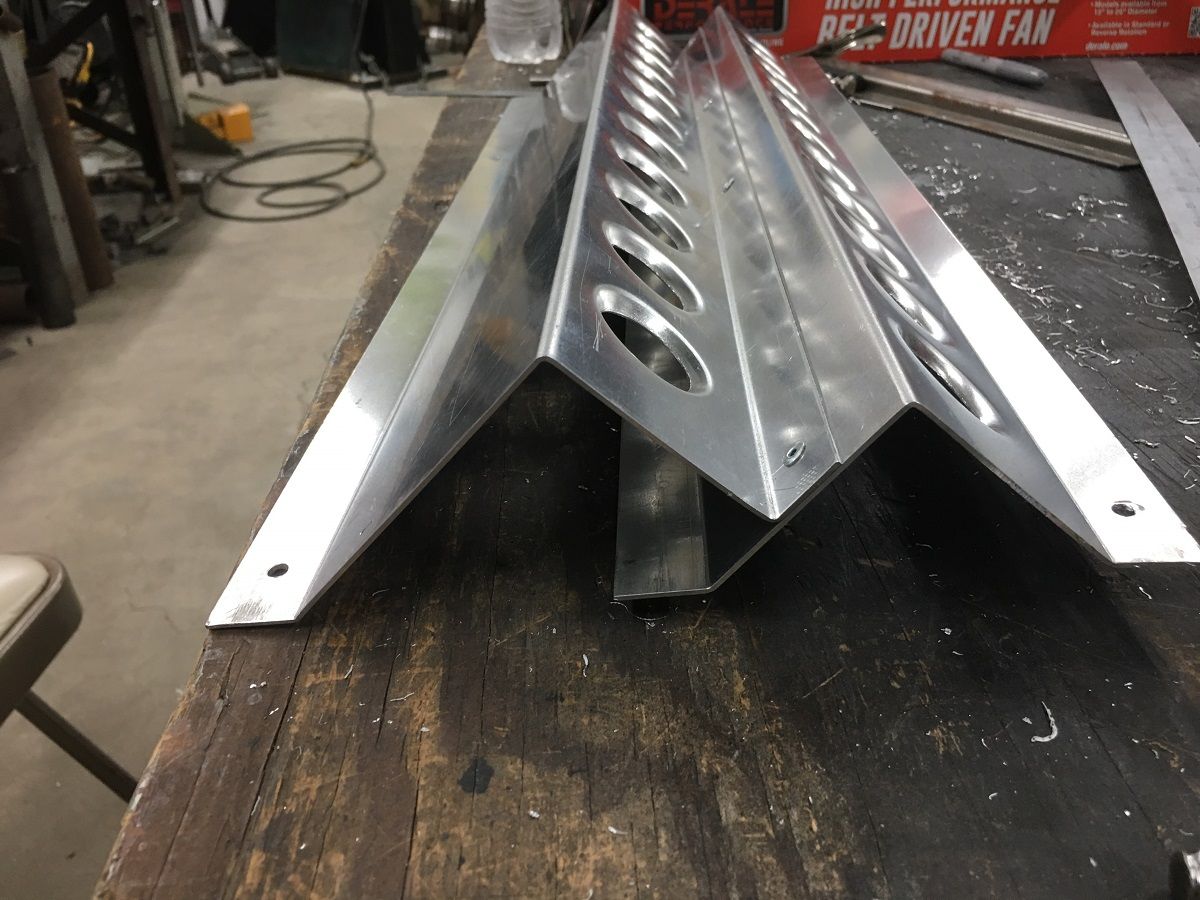
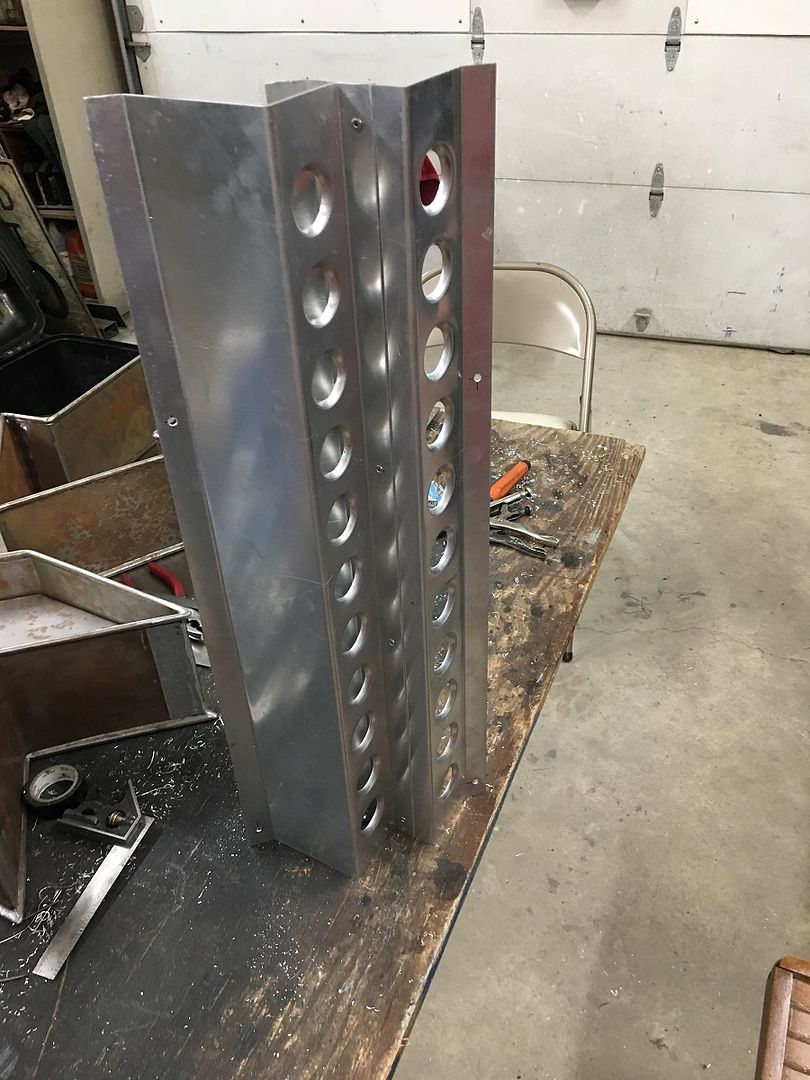
Spent some time organizing, needed some racks for all the Lennox dies..
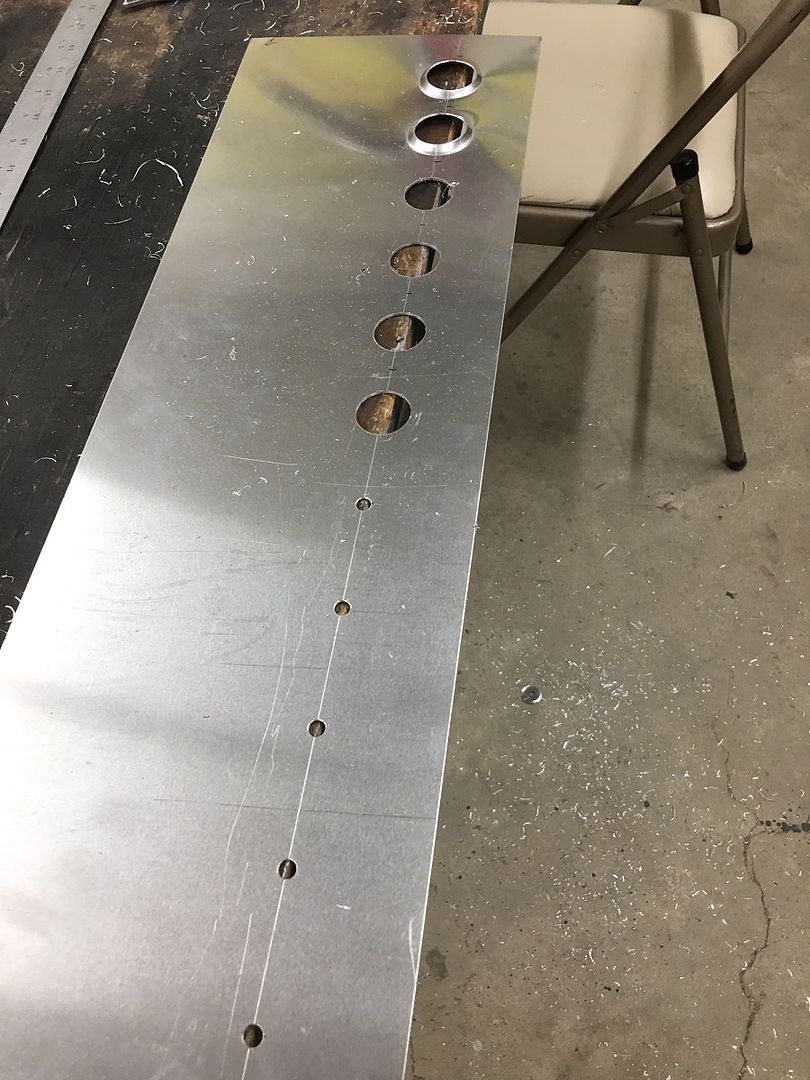
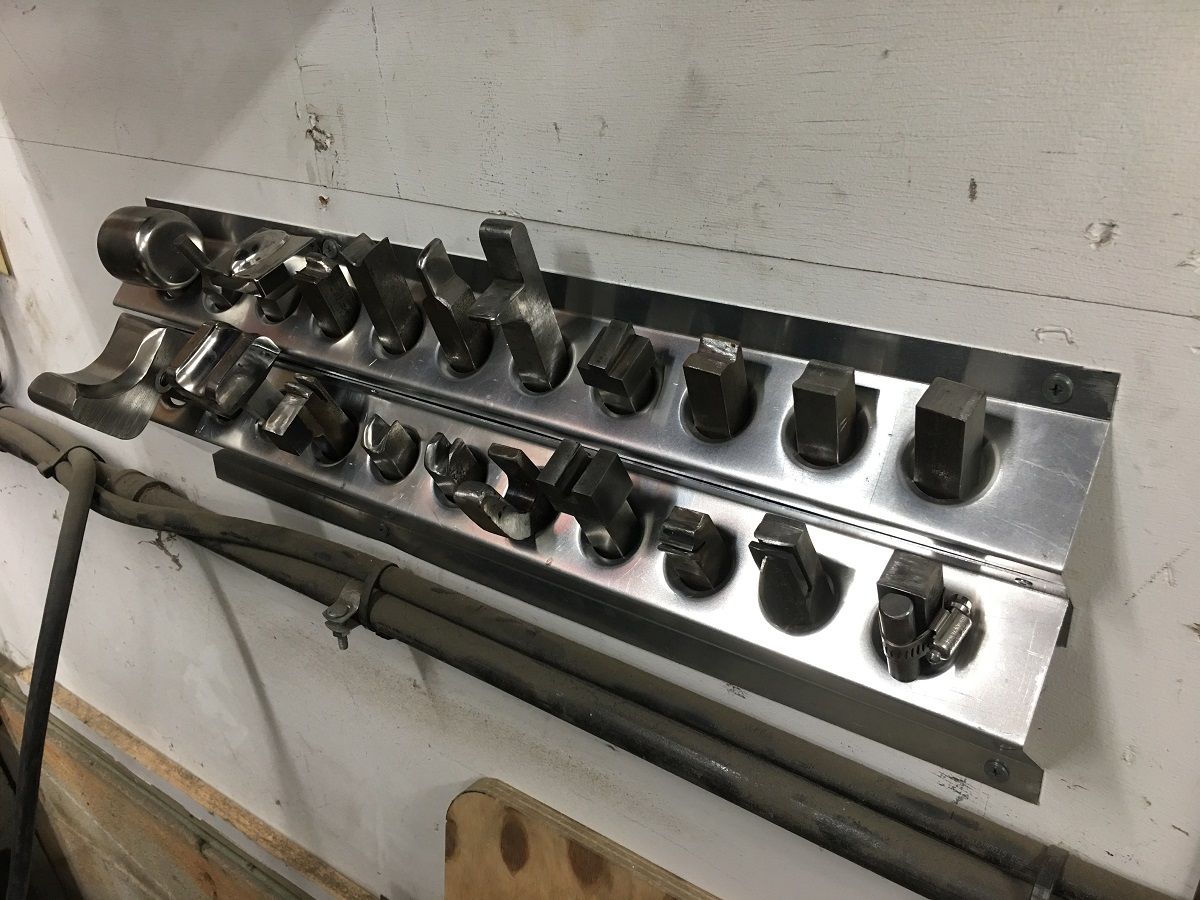
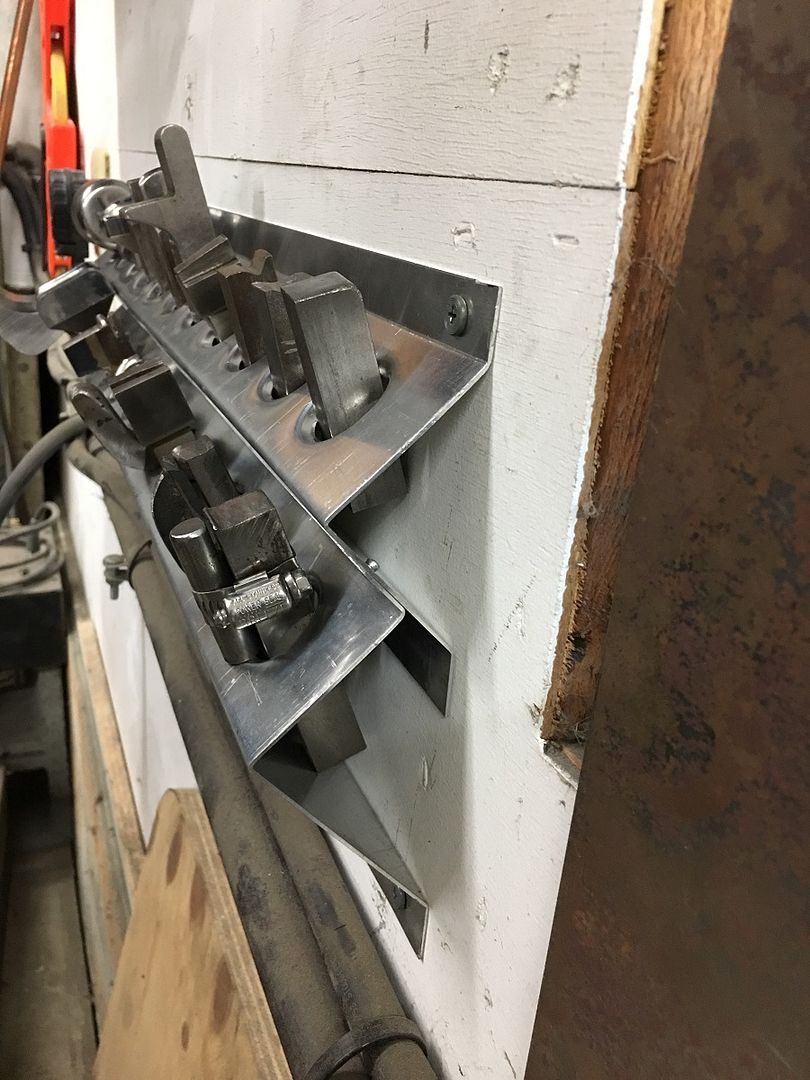
One set down, two more to go....
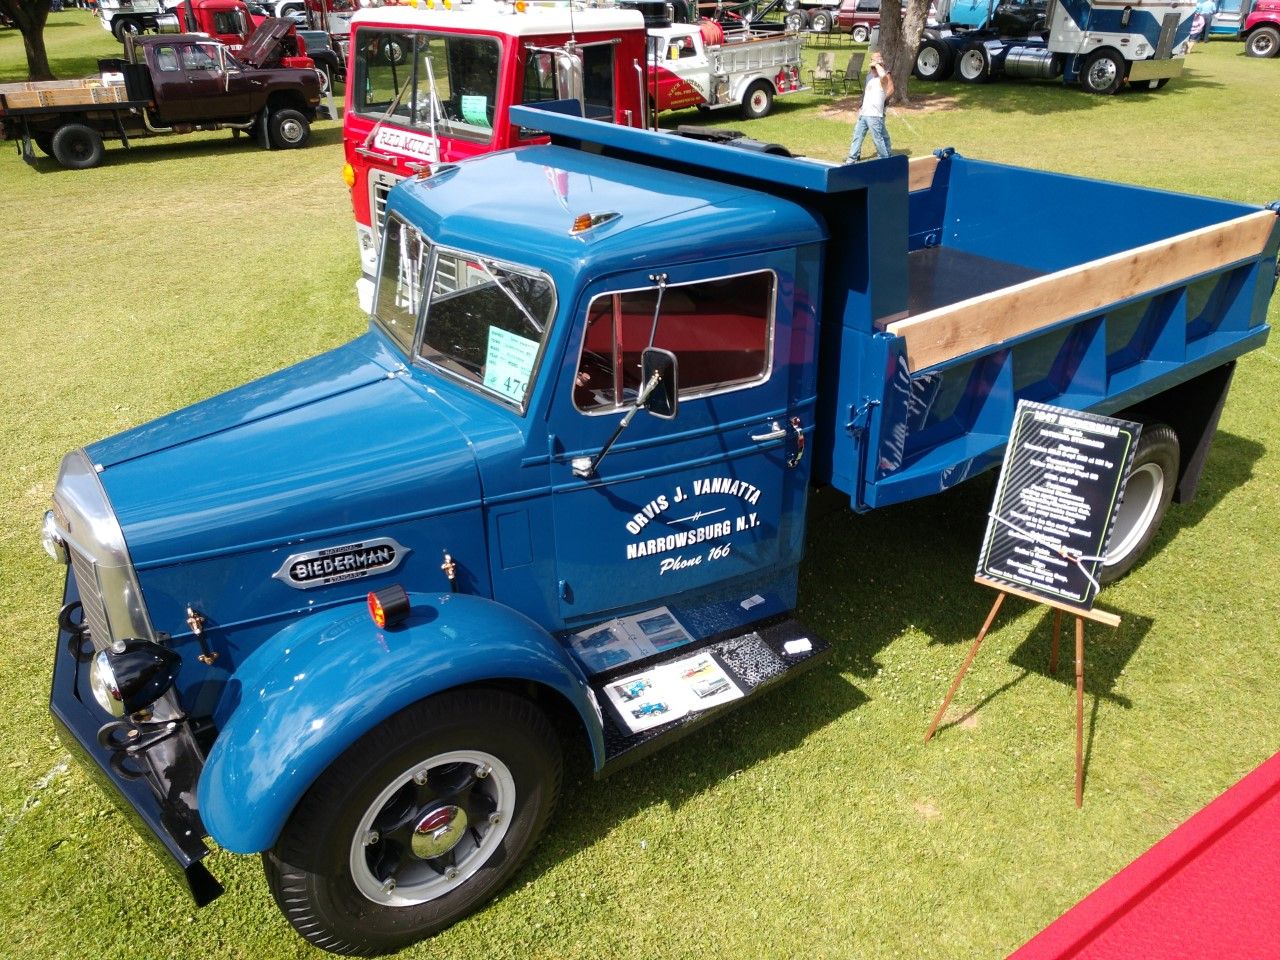
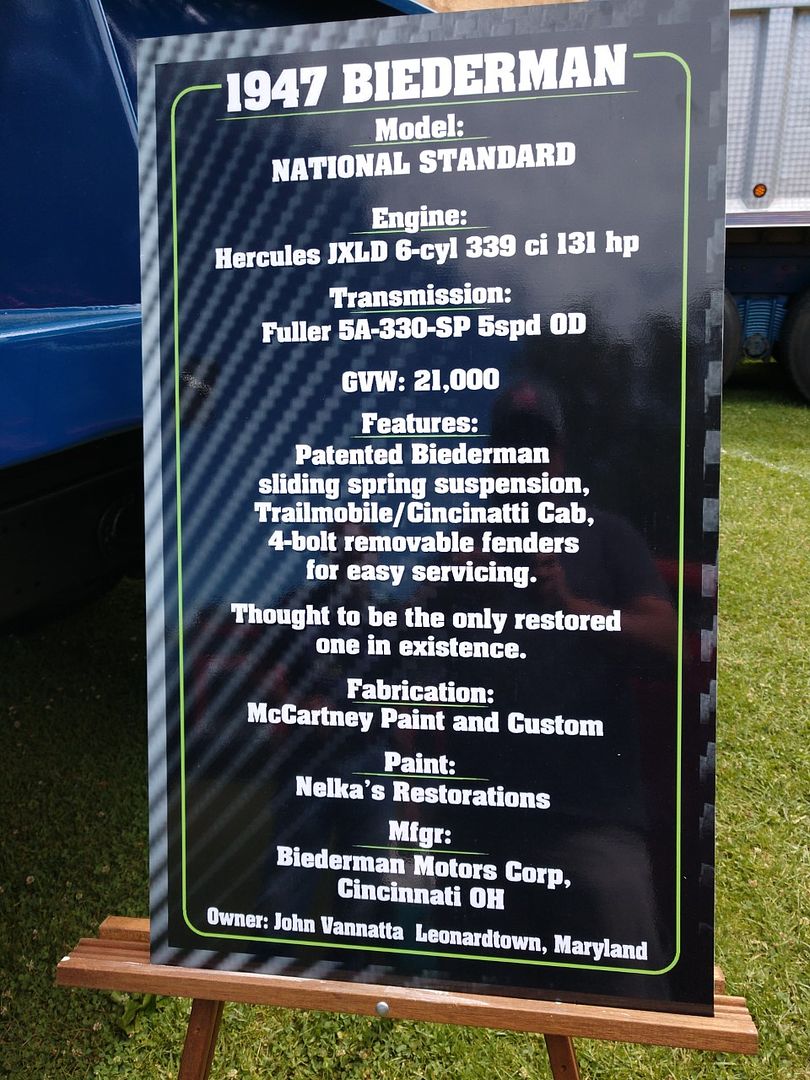
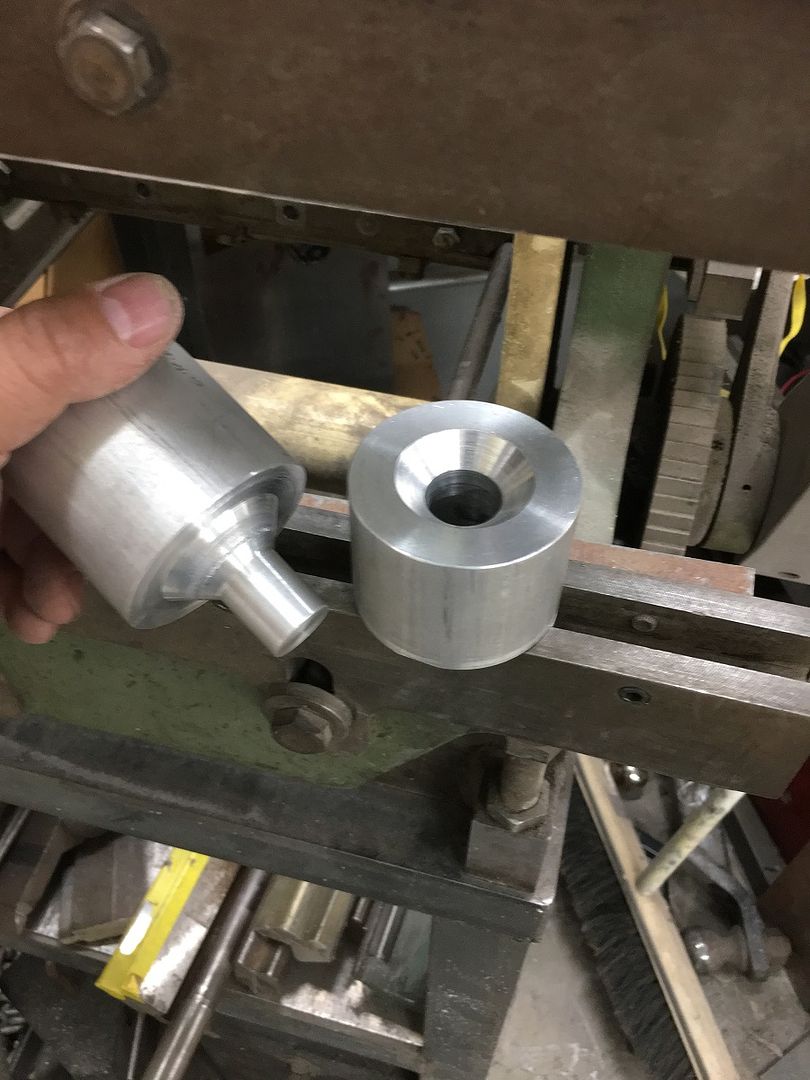
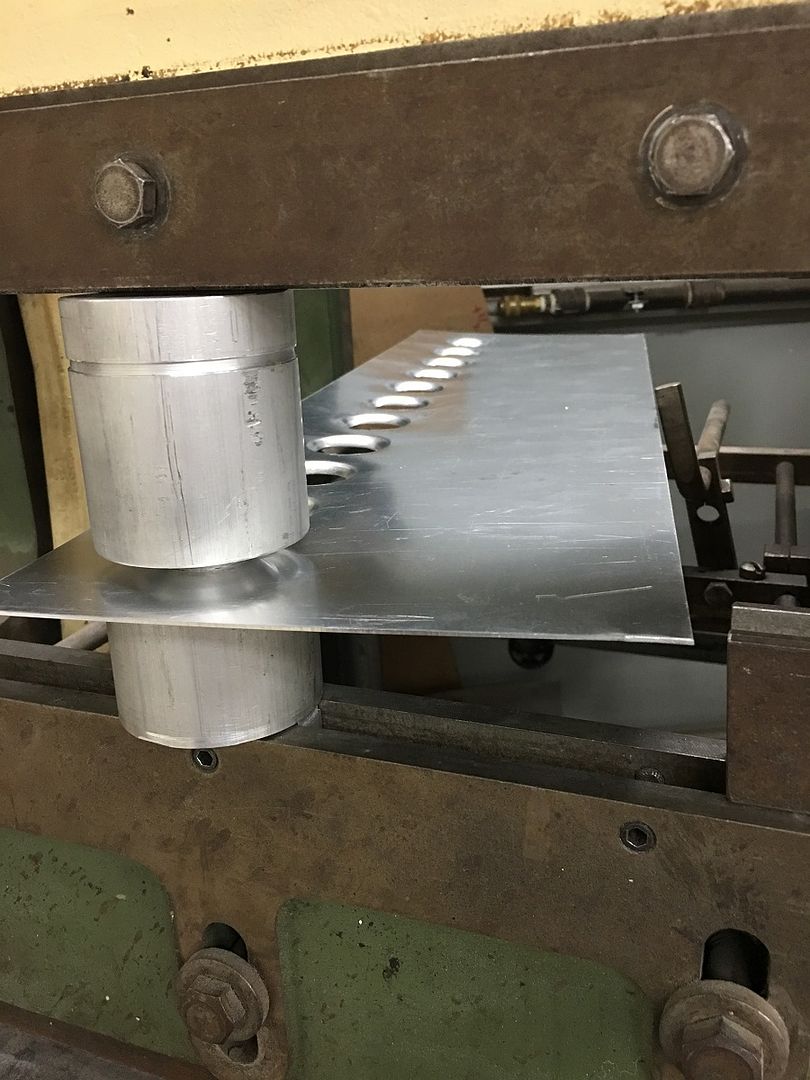
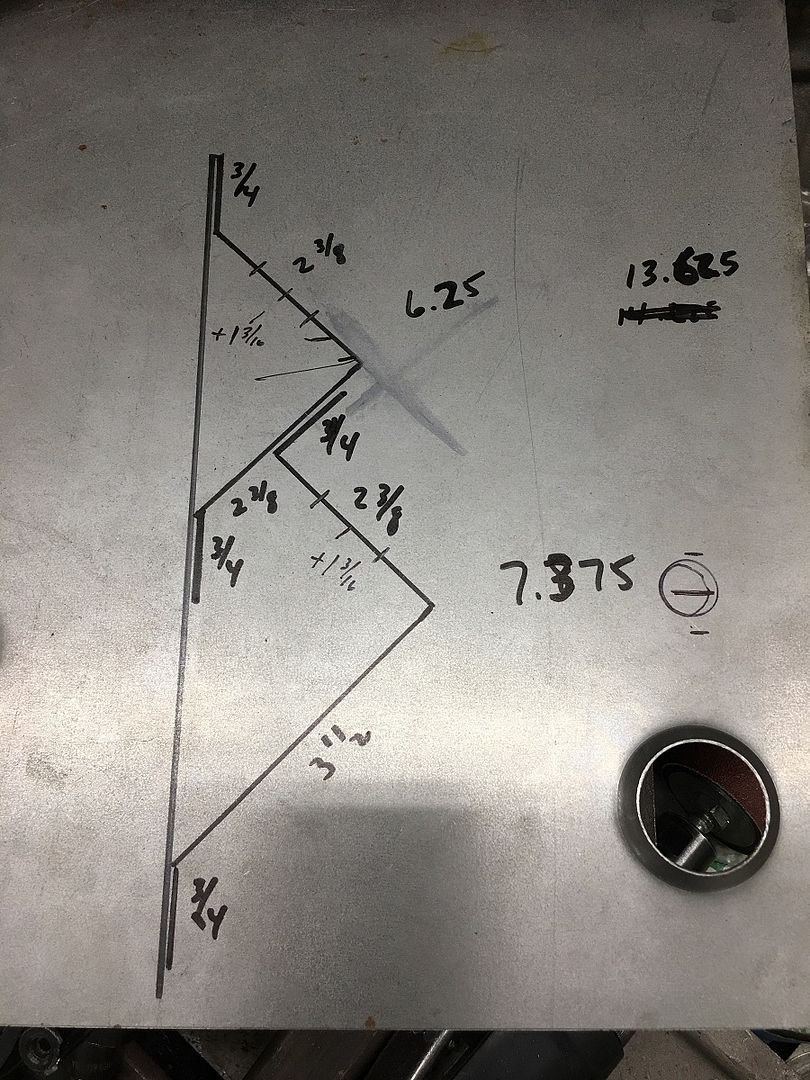
If it helps, here is the offishul drawing we used...
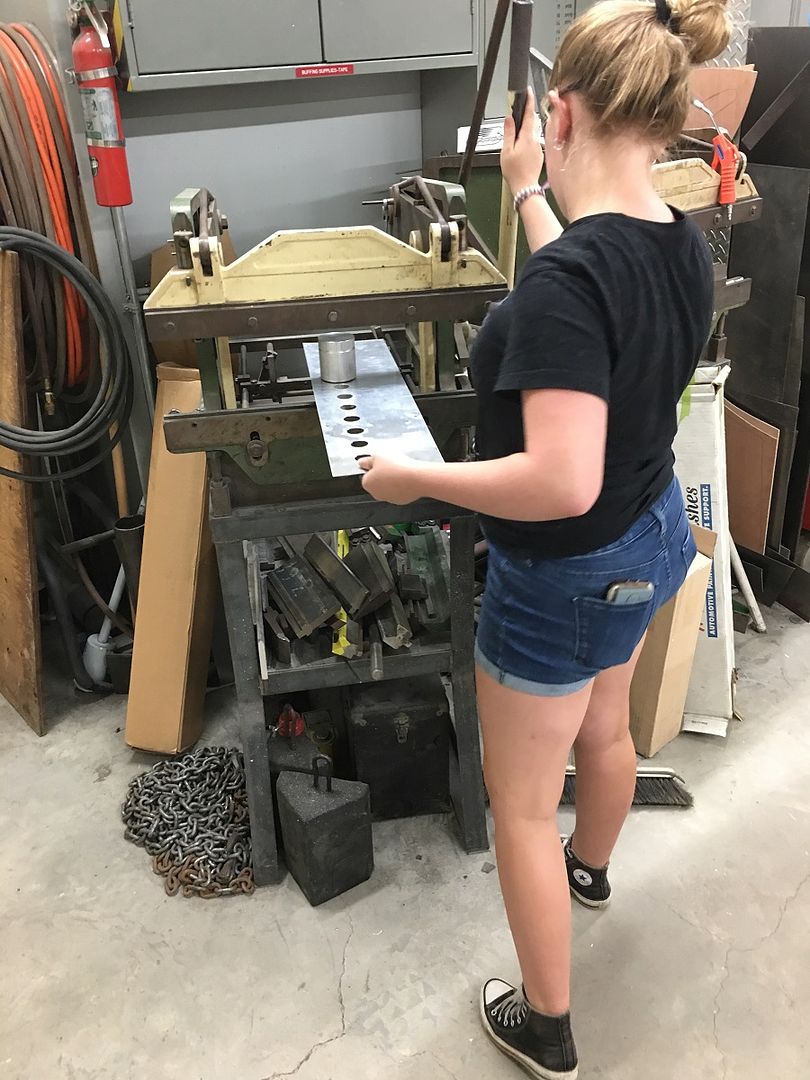


Take note of the solid cinder block counterweights, without them there is a tipping issue when loading one door at a time..
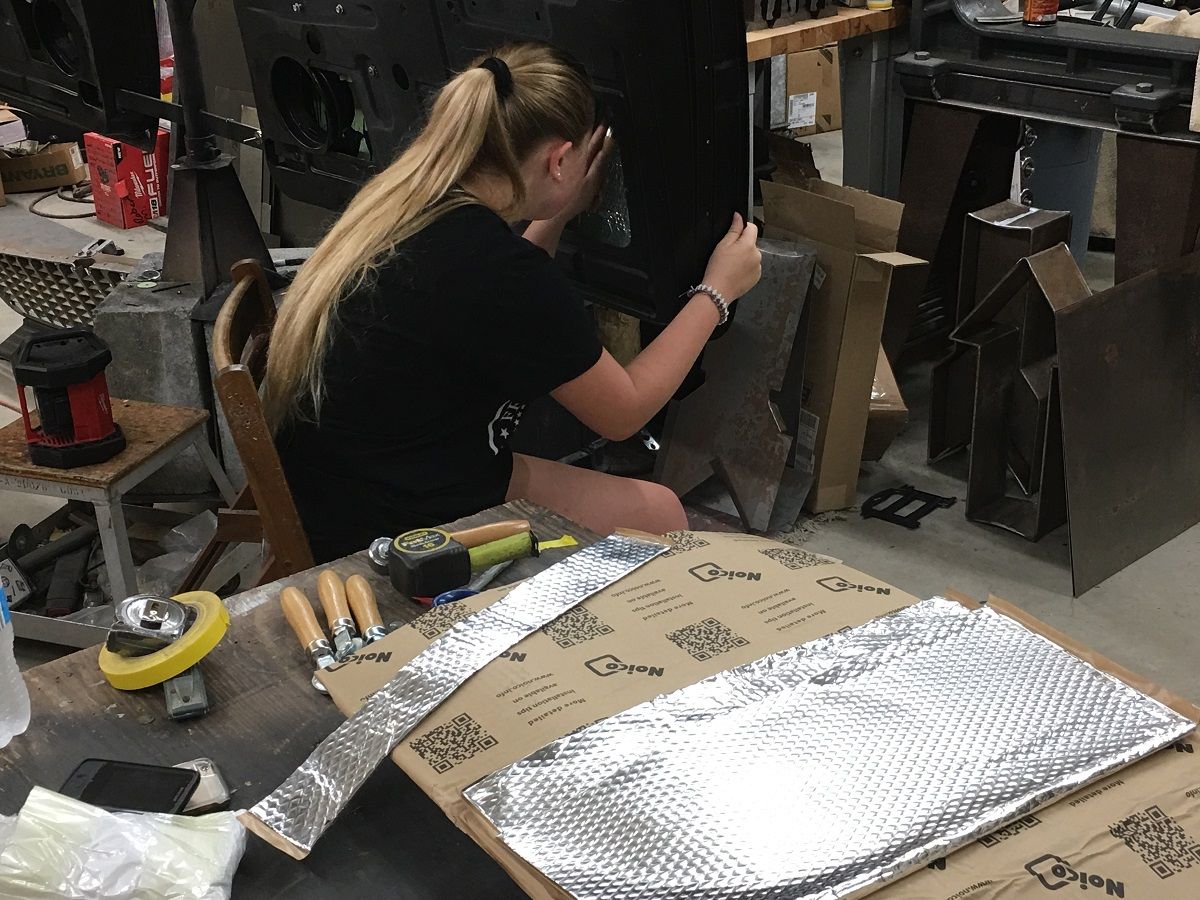
Robert, don't forget to teach her to drive stick. When she's the responsible one at the end of the party it's good to know how to drive the drunk's car (for some reason drunk teen boys always drive a stick).E is my daughter. Learning life skills.
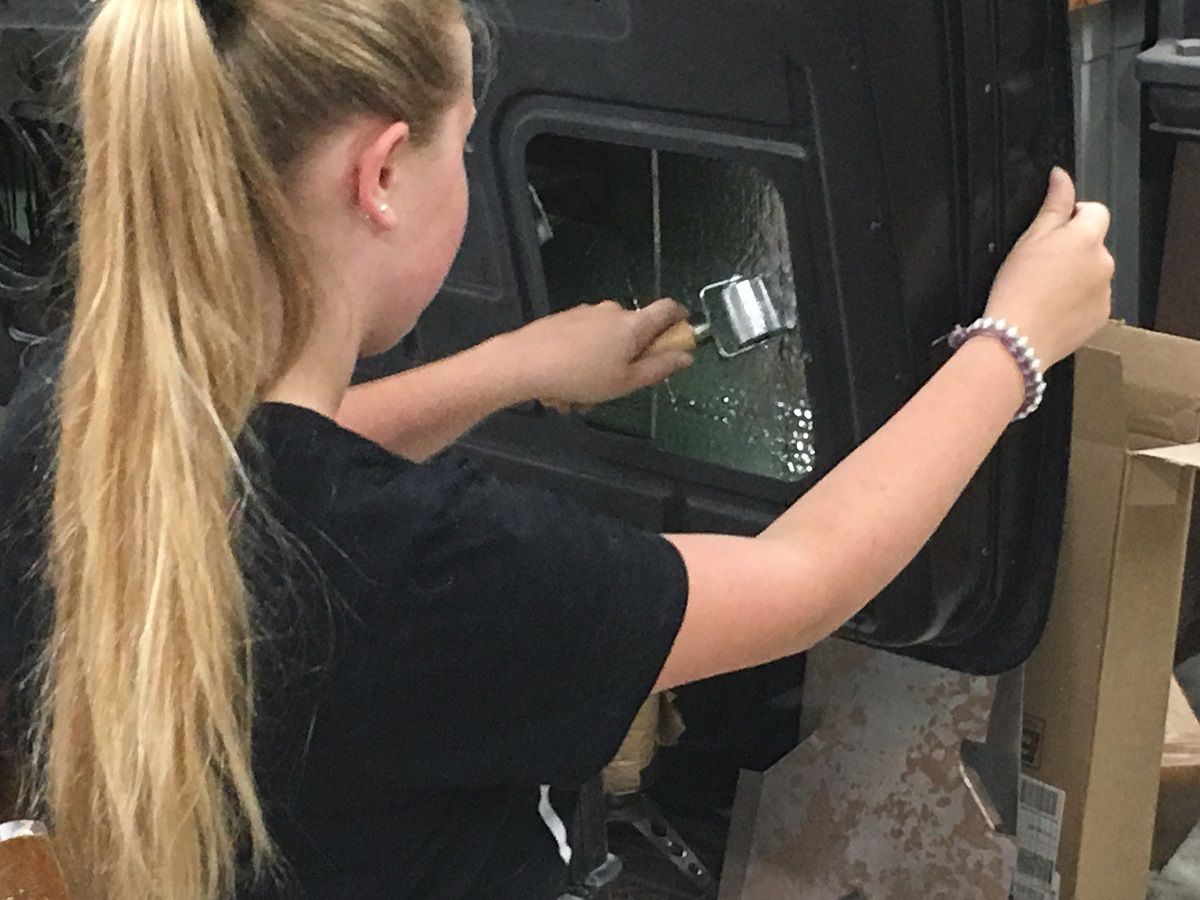
TP or paper towel? We have some younger guys at work that don't understand why I rarely use proper bandages, they just don't have enough absorbency (and they are ok to get wet)!Note here she is also skilled in applying the electric tape bandage....
 Harry P.S. WAY to go on having raised a modern child/youth, (a girl none the less) with an interest in well anything! And she is working at it! Forty thumbs up! I am hopeful that my Grandson may, but he is only 6 and I don't get enough time with him.
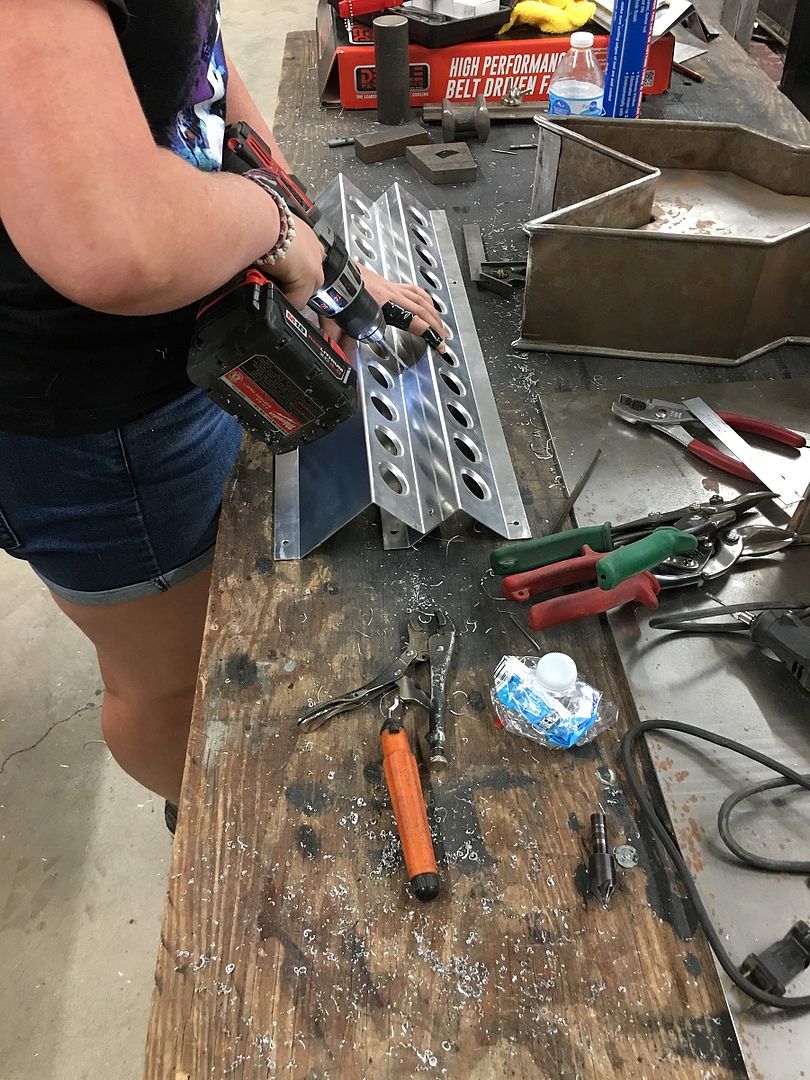
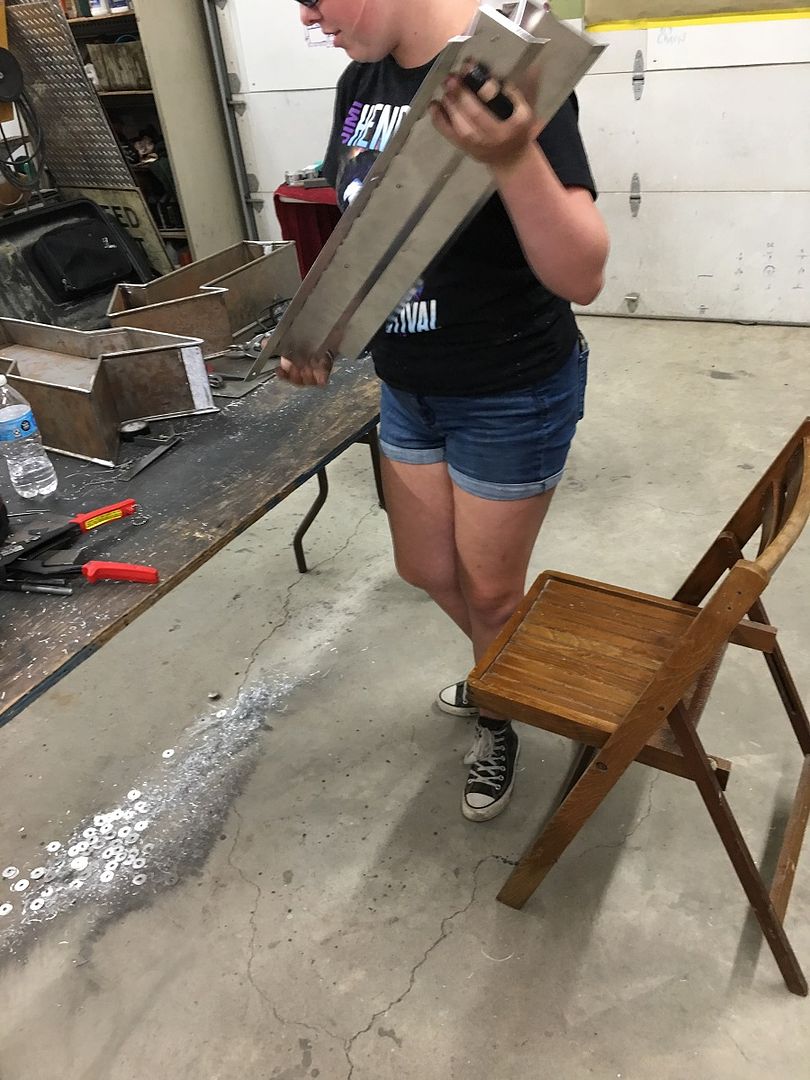
E is my daughter. Learning life skills.
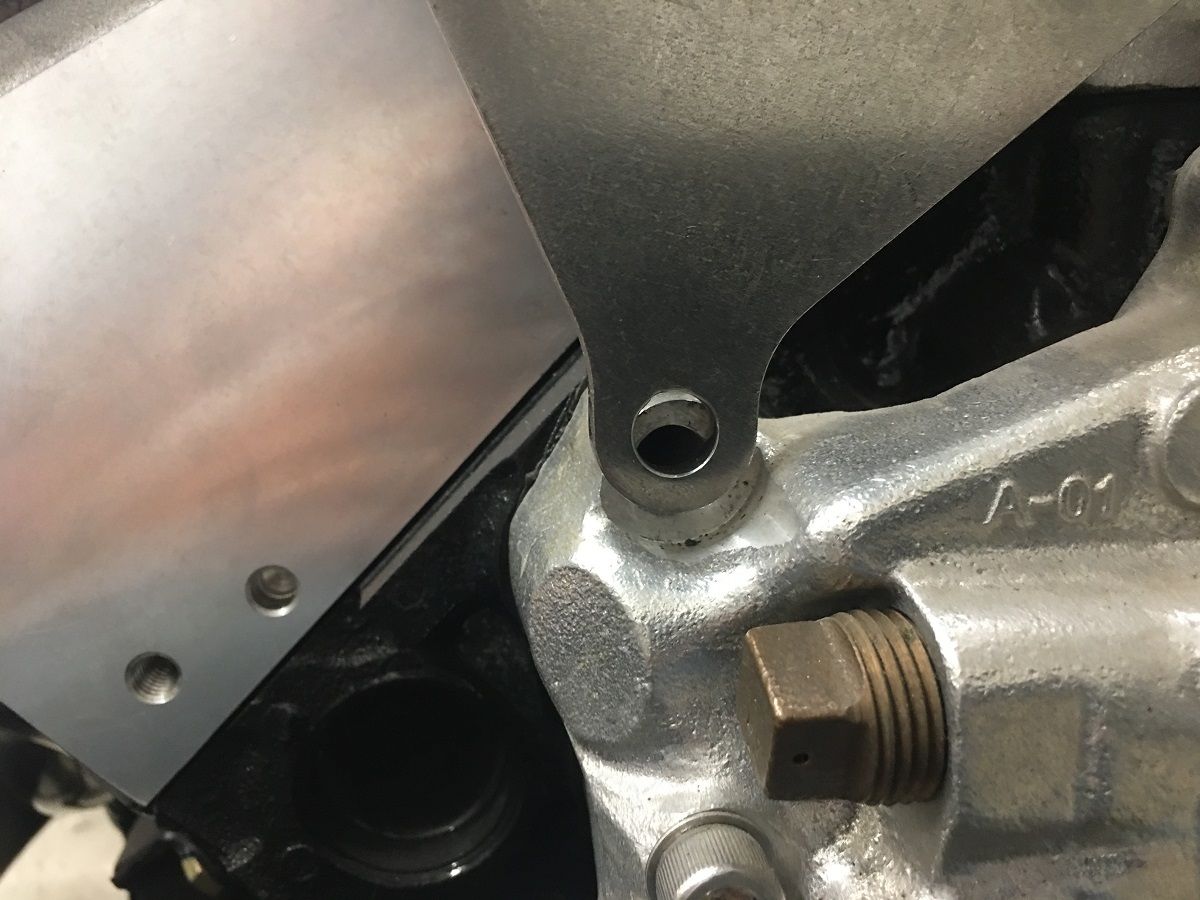
Thanks for checking on me, I've been traveling for the day job the past couple weeks..