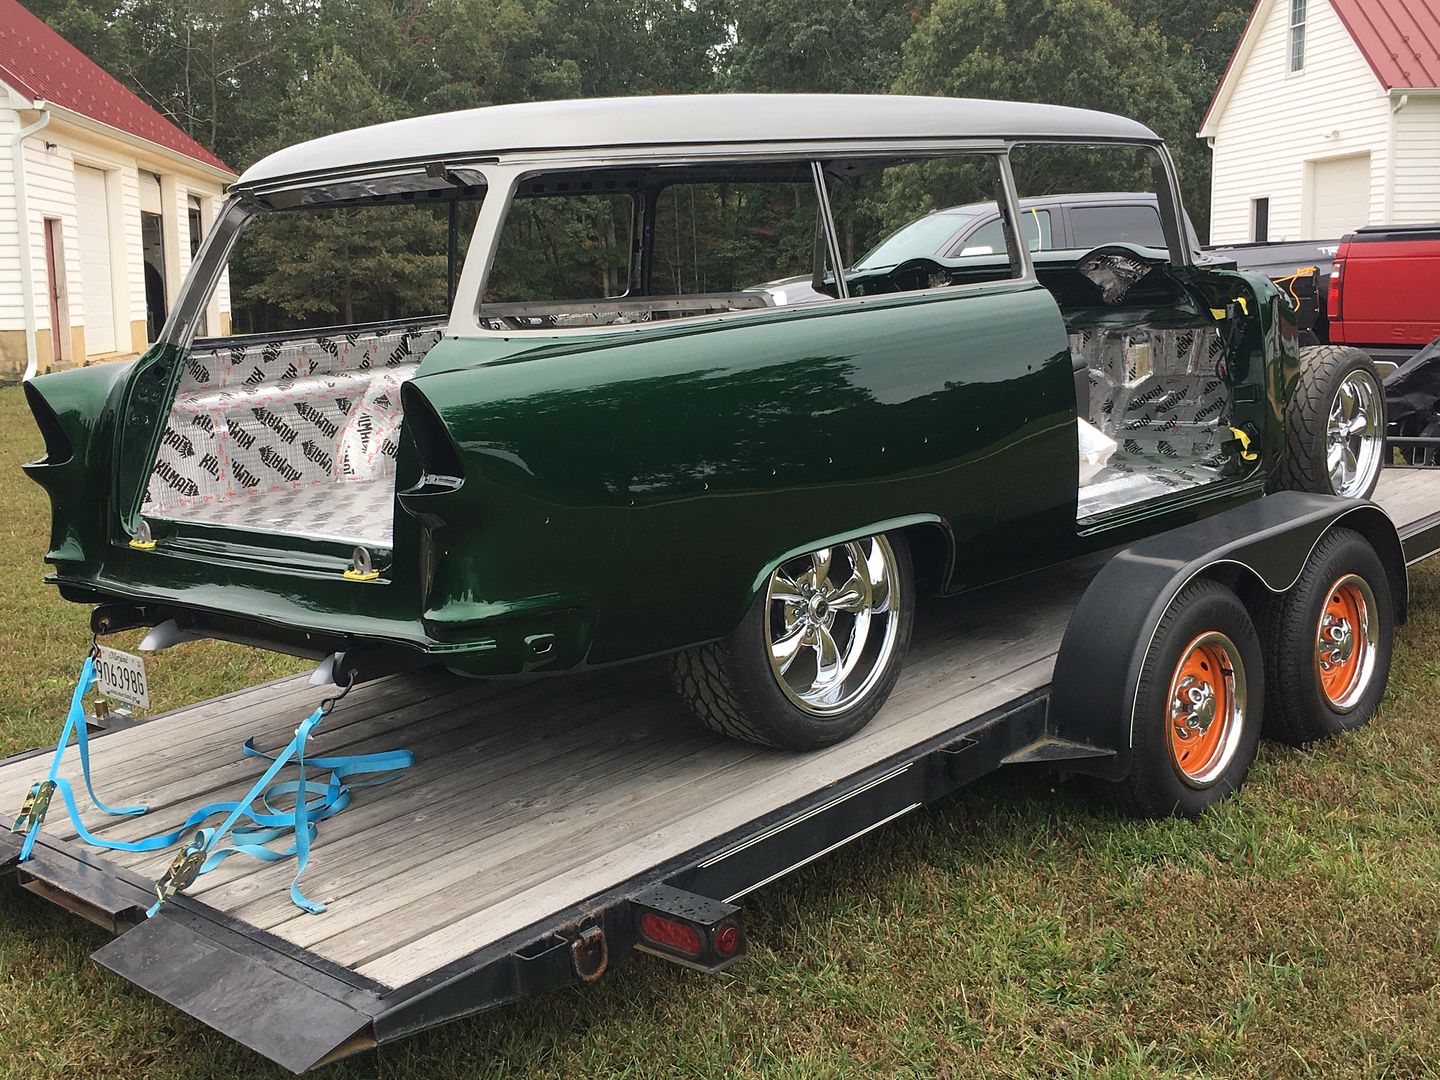
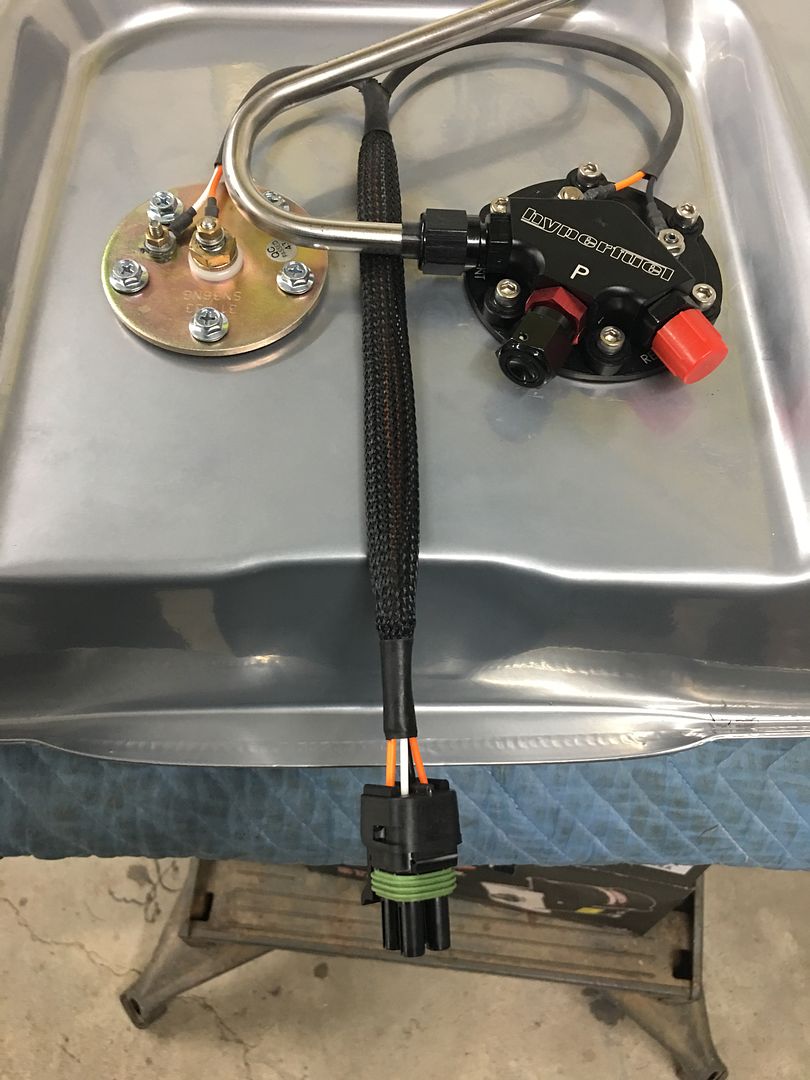
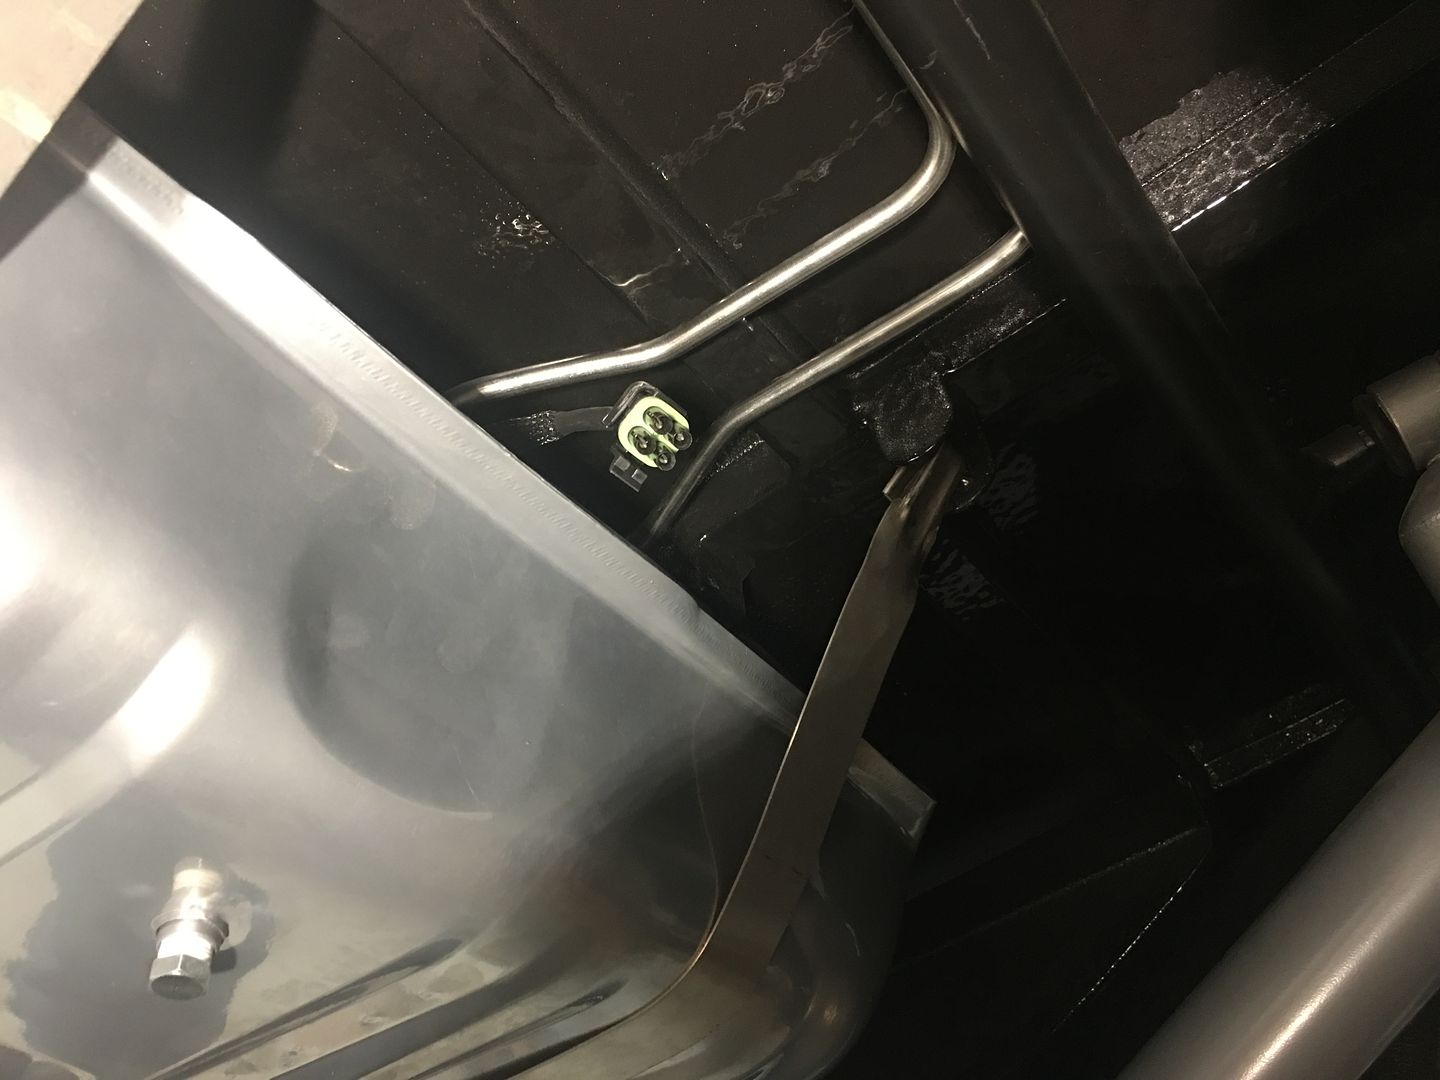
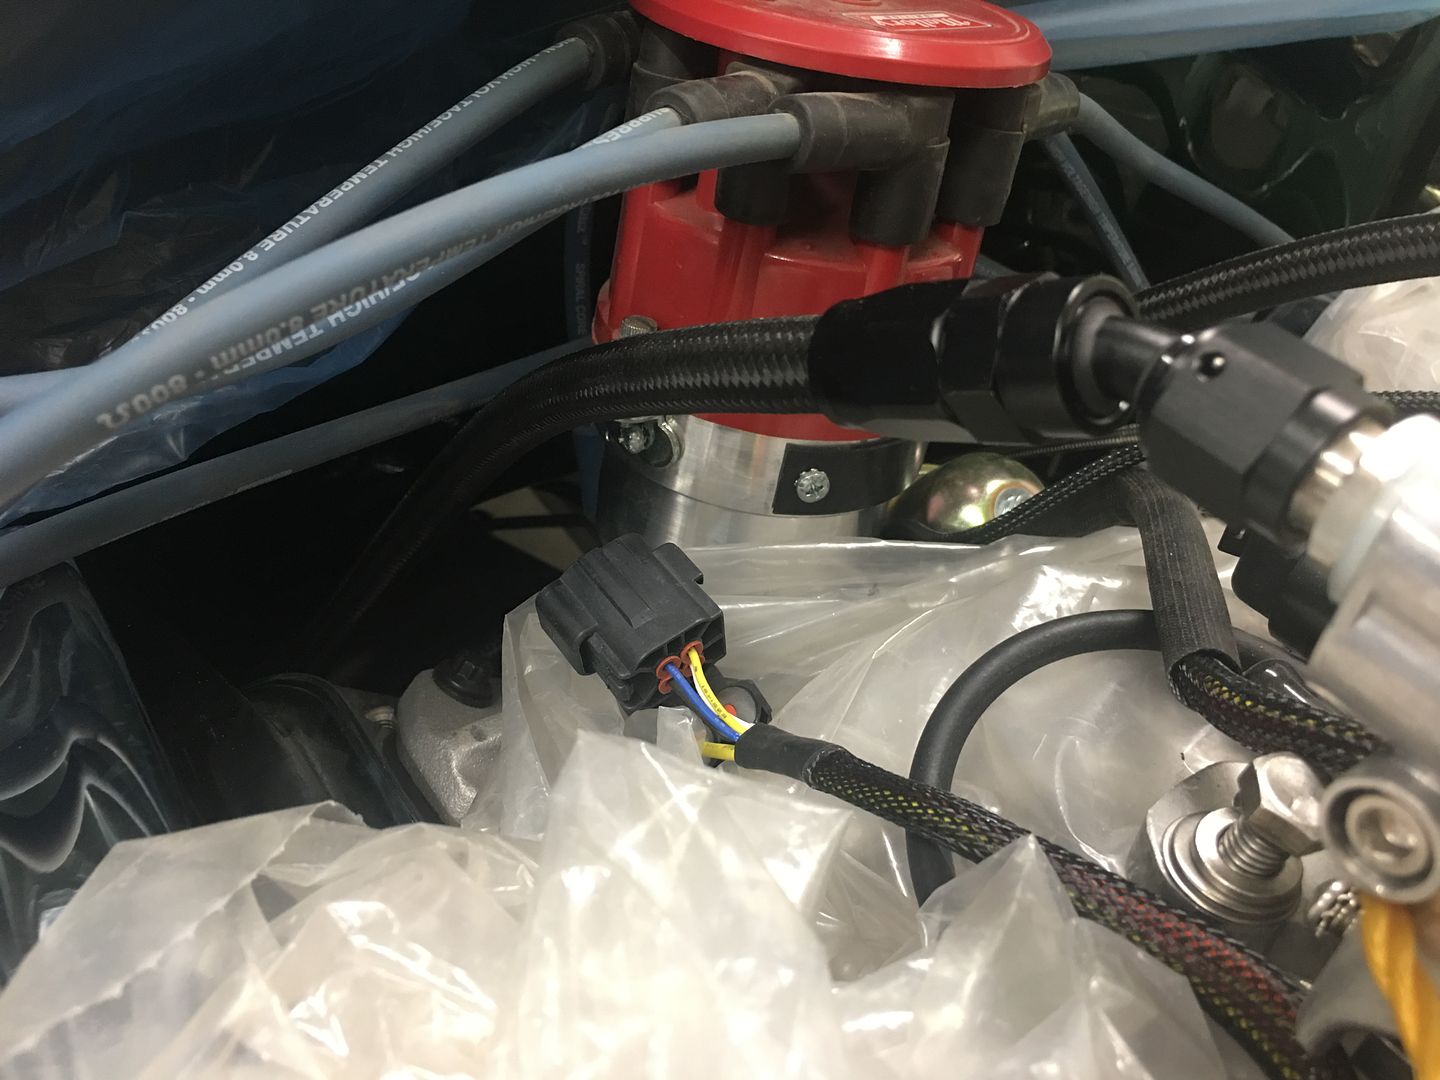
Starting some of our electrical work, since the fuel pump and float assembly both connected using ring terminals, we wanted to use some weather pack connectors so there would be a quick disconnect. We had purchased one of the weather pack "kits" from Jegs in order to have a selection to work from as we put the car back together..
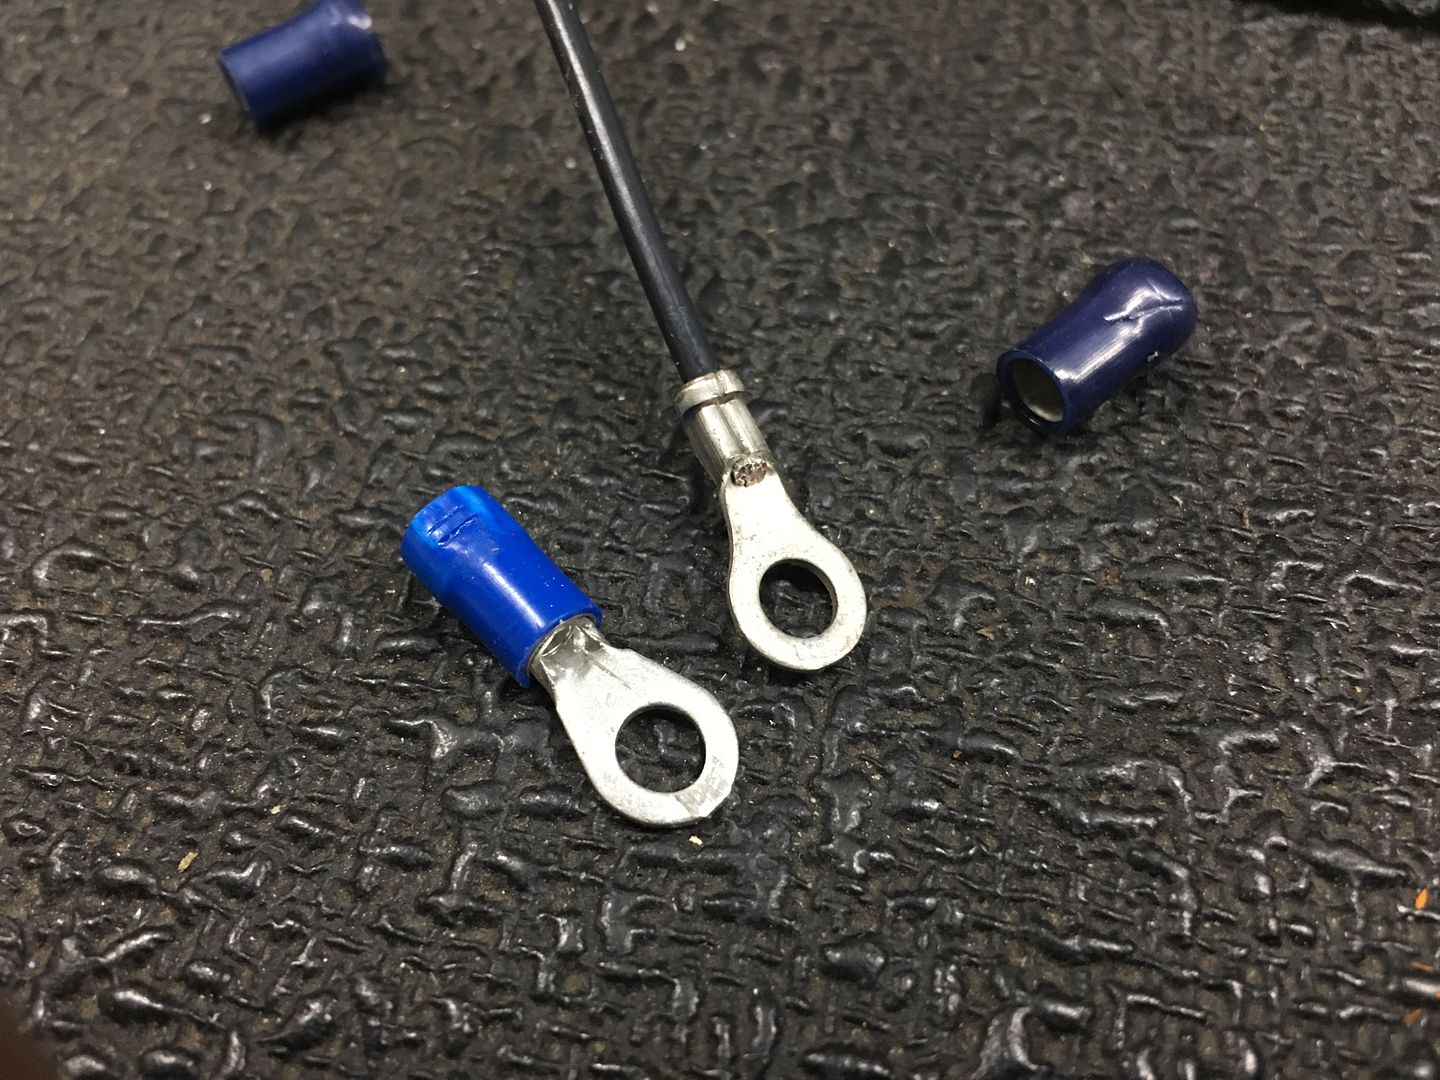
On our standard terminal lugs, we pulled insulating sleeve off the back side so we could use a "W" crimp, and then covered with heat shrink.
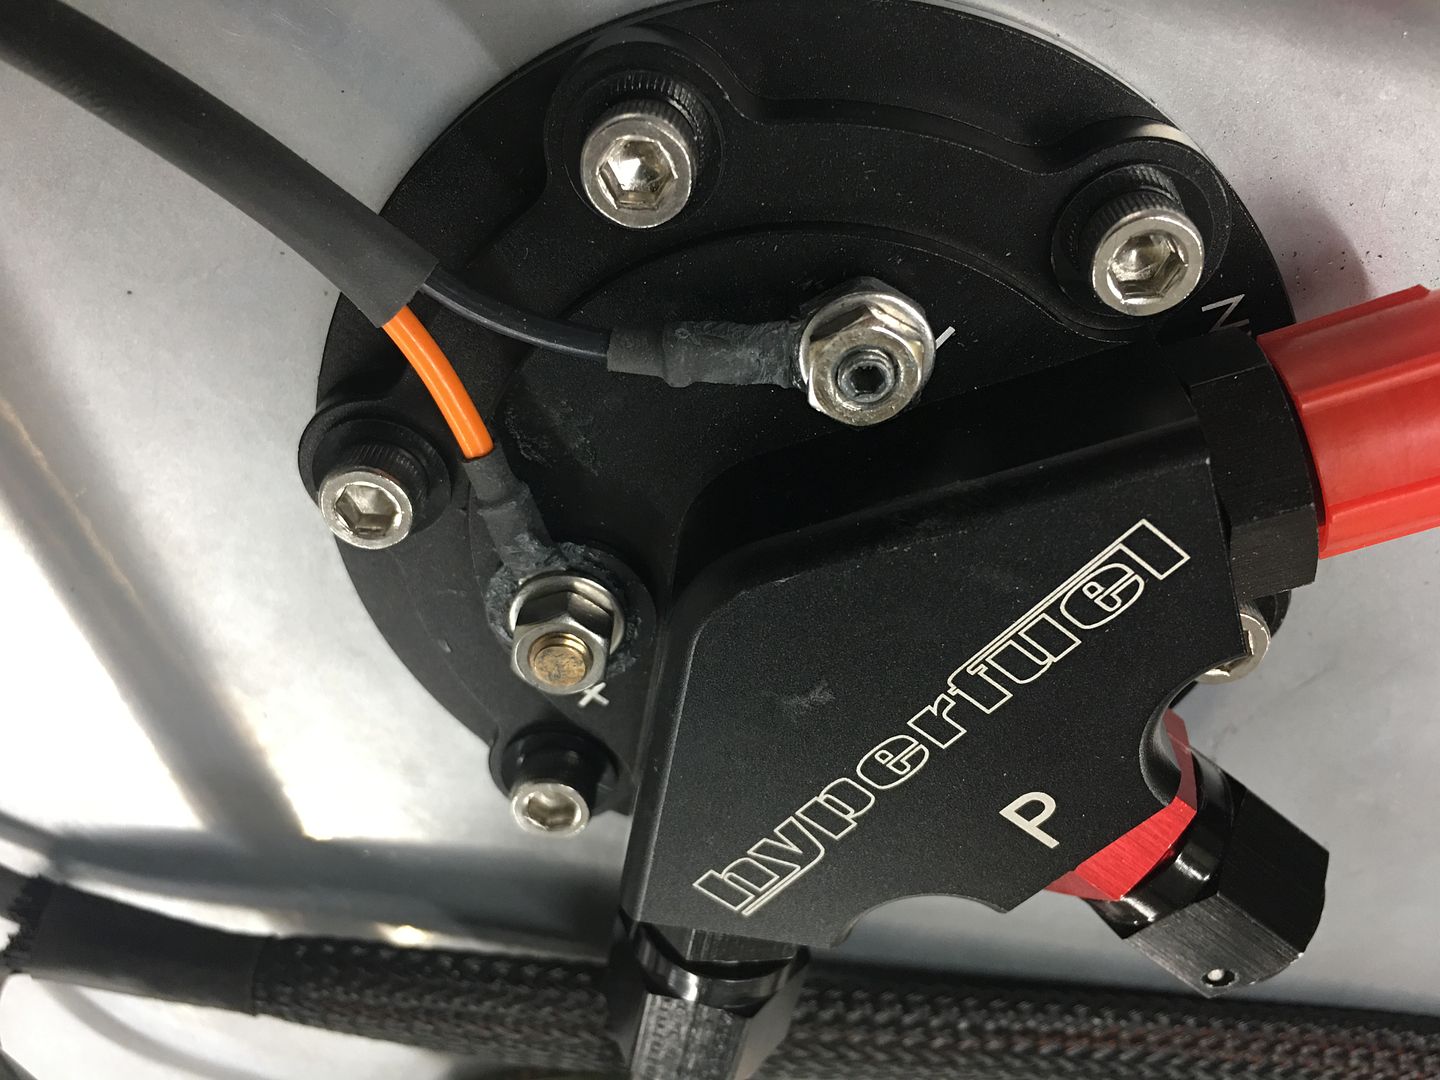
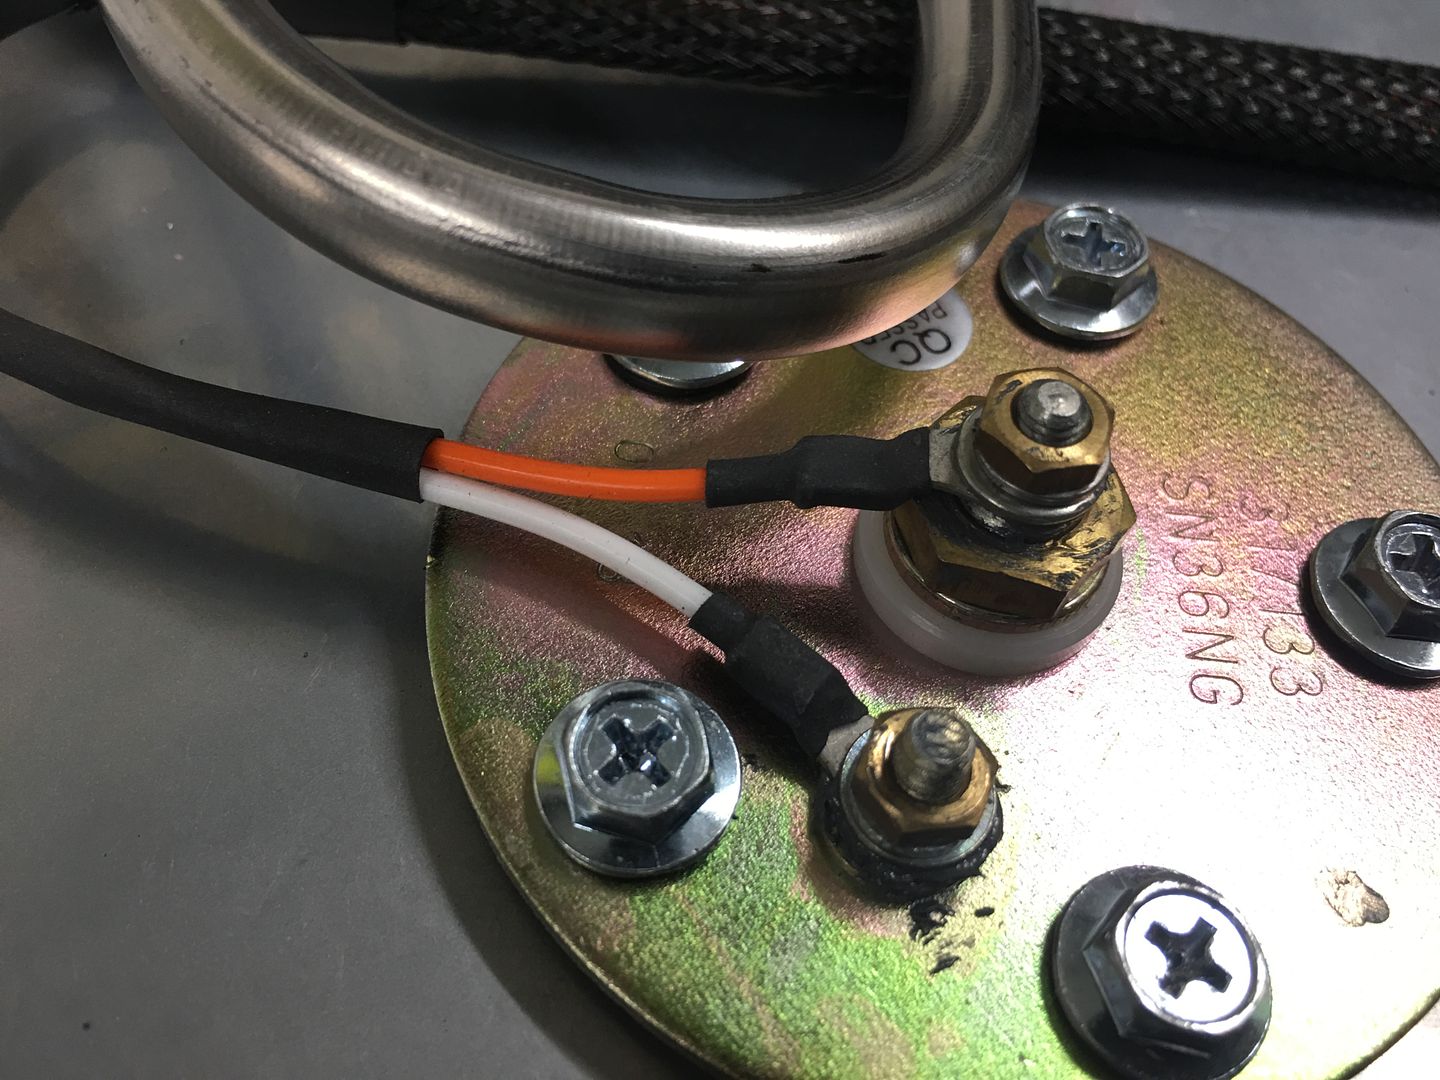
Some anti seize was applied to the connection to help keep corrosion controlled, and some braid loom and heat shrink was used to add some protection.
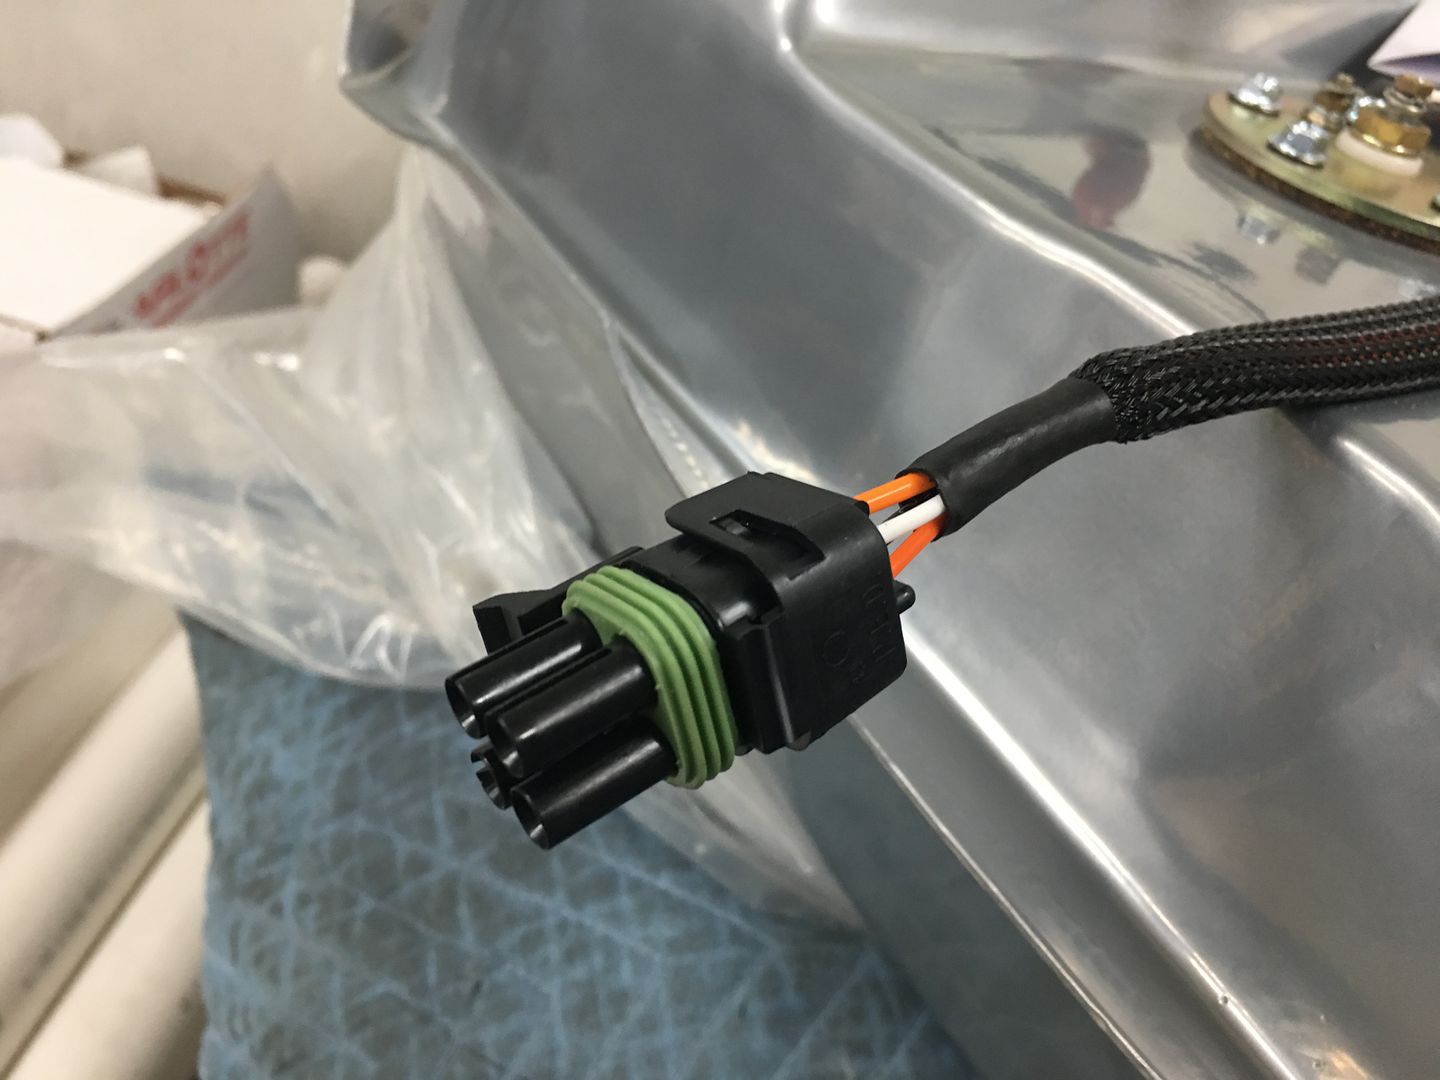
Weather pack connection, wires stripped just enough for the W crimp, strain relief crimp remains on top of the wire's jacket insulation.
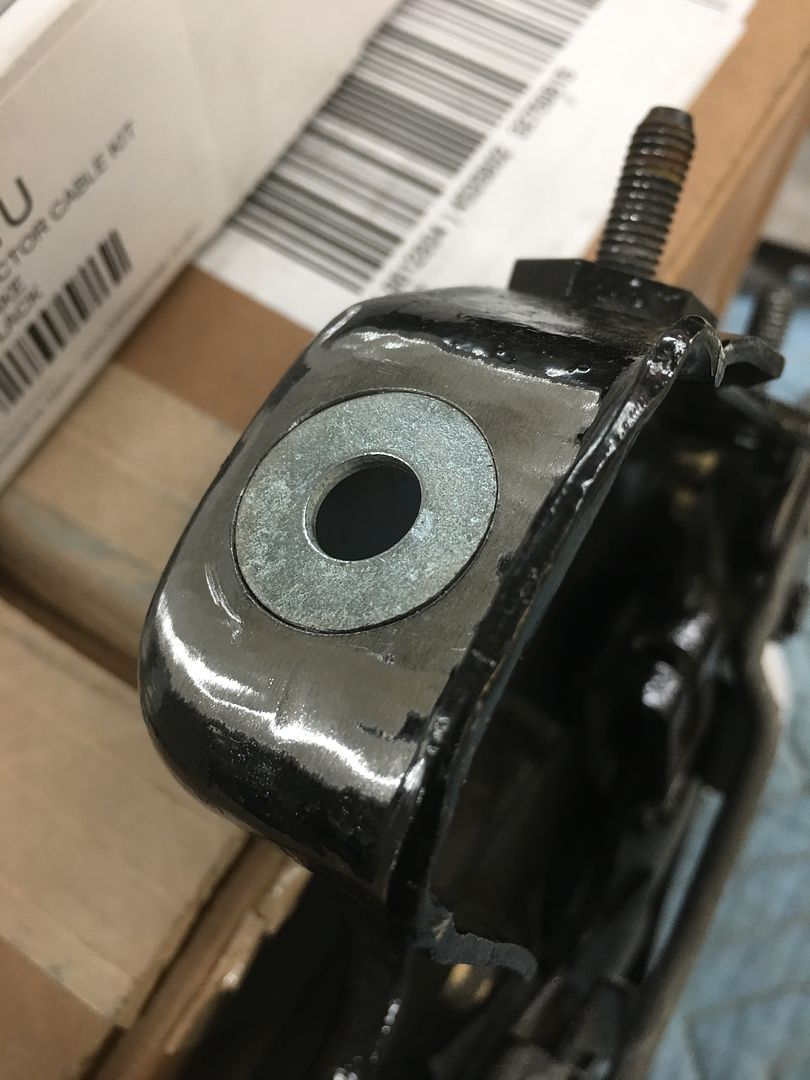
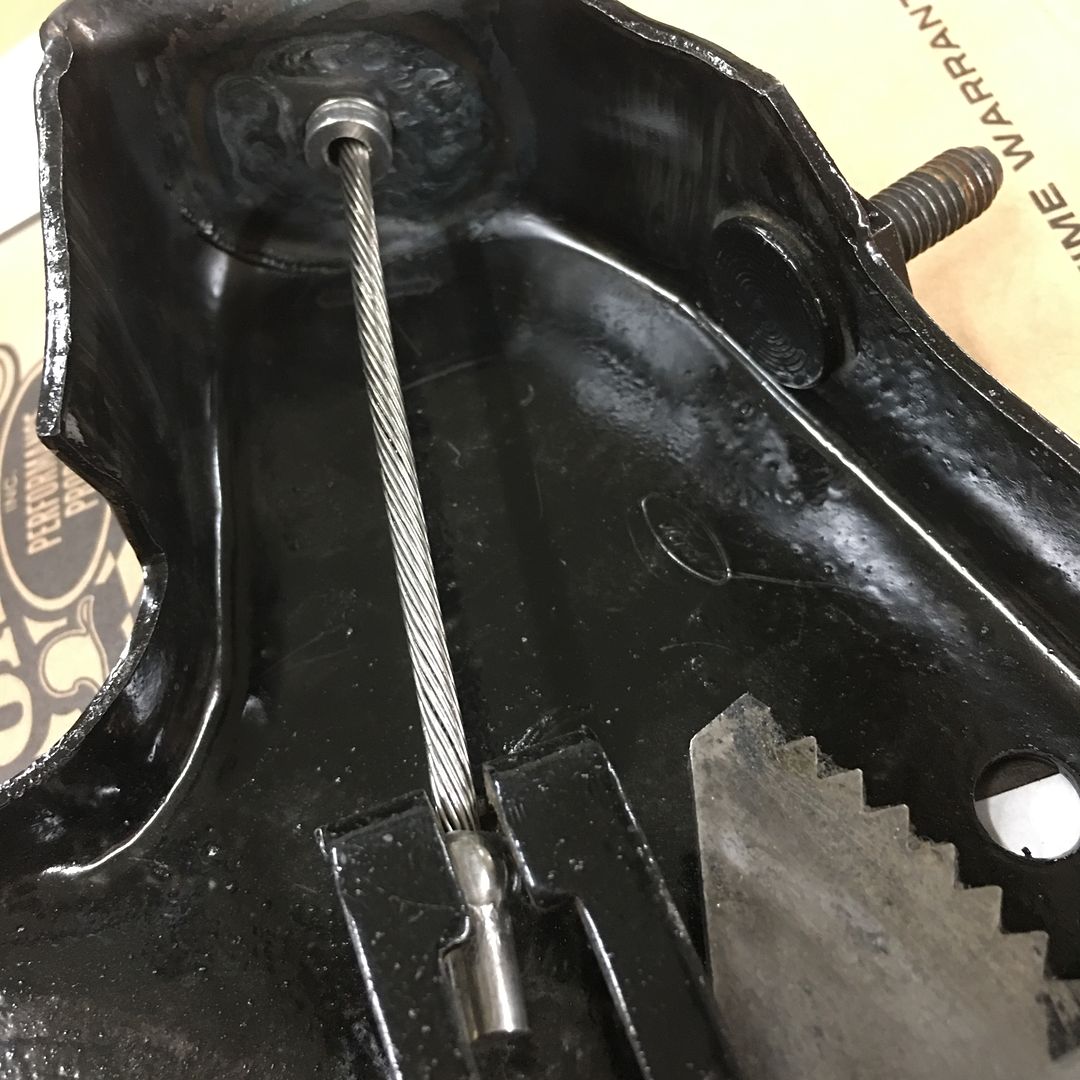
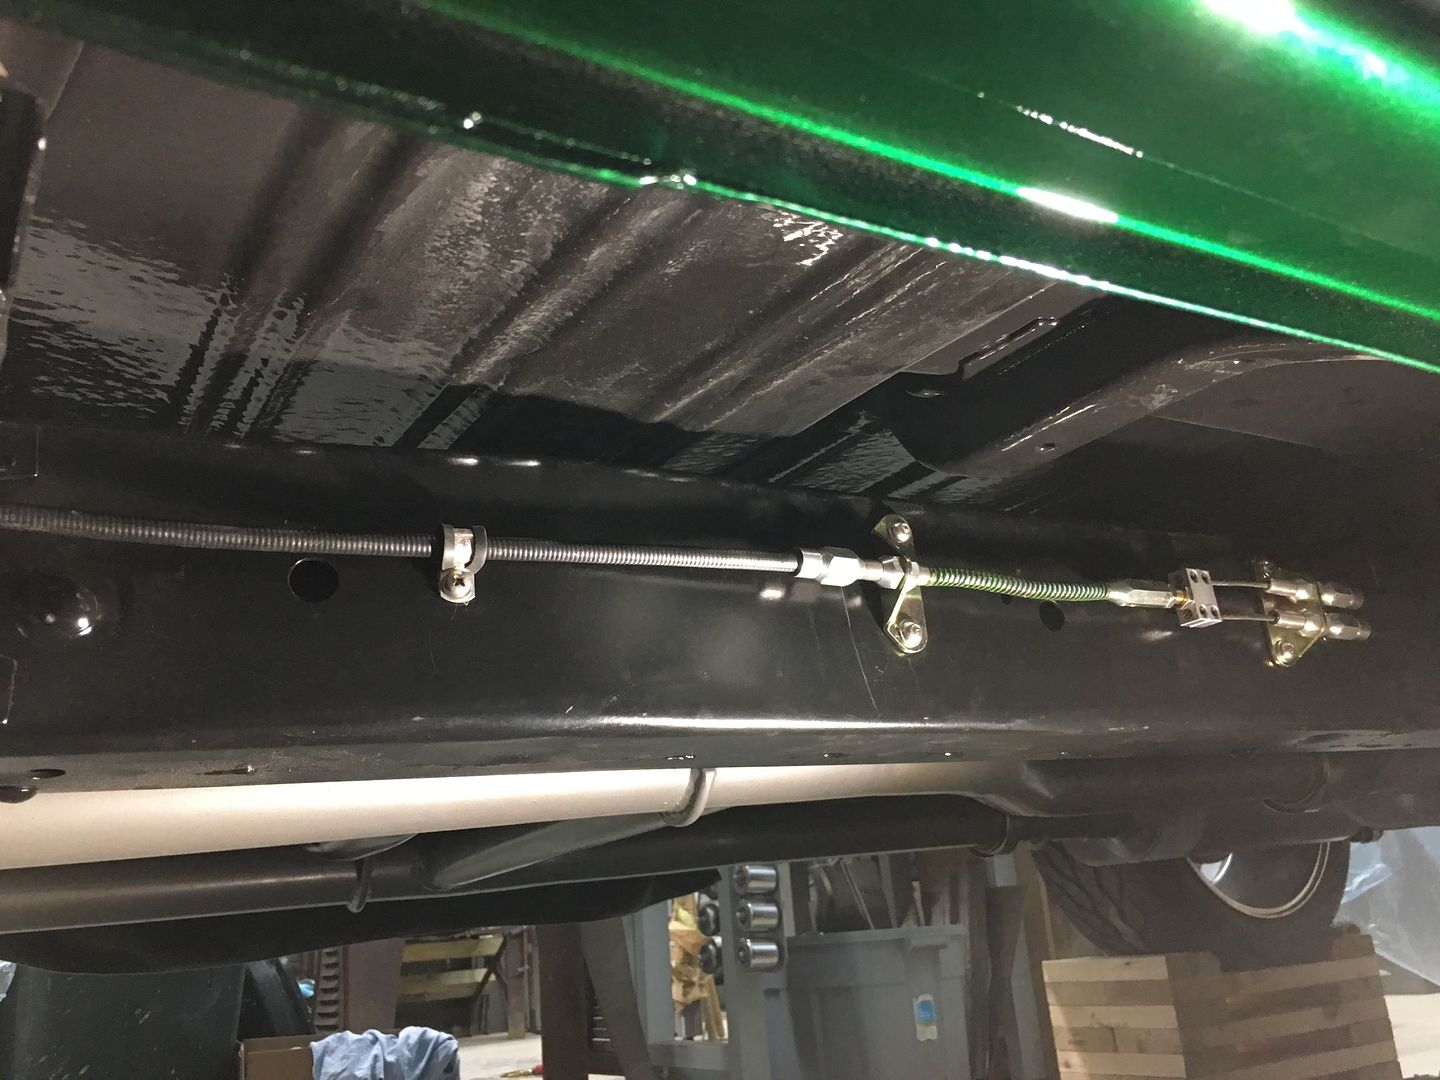
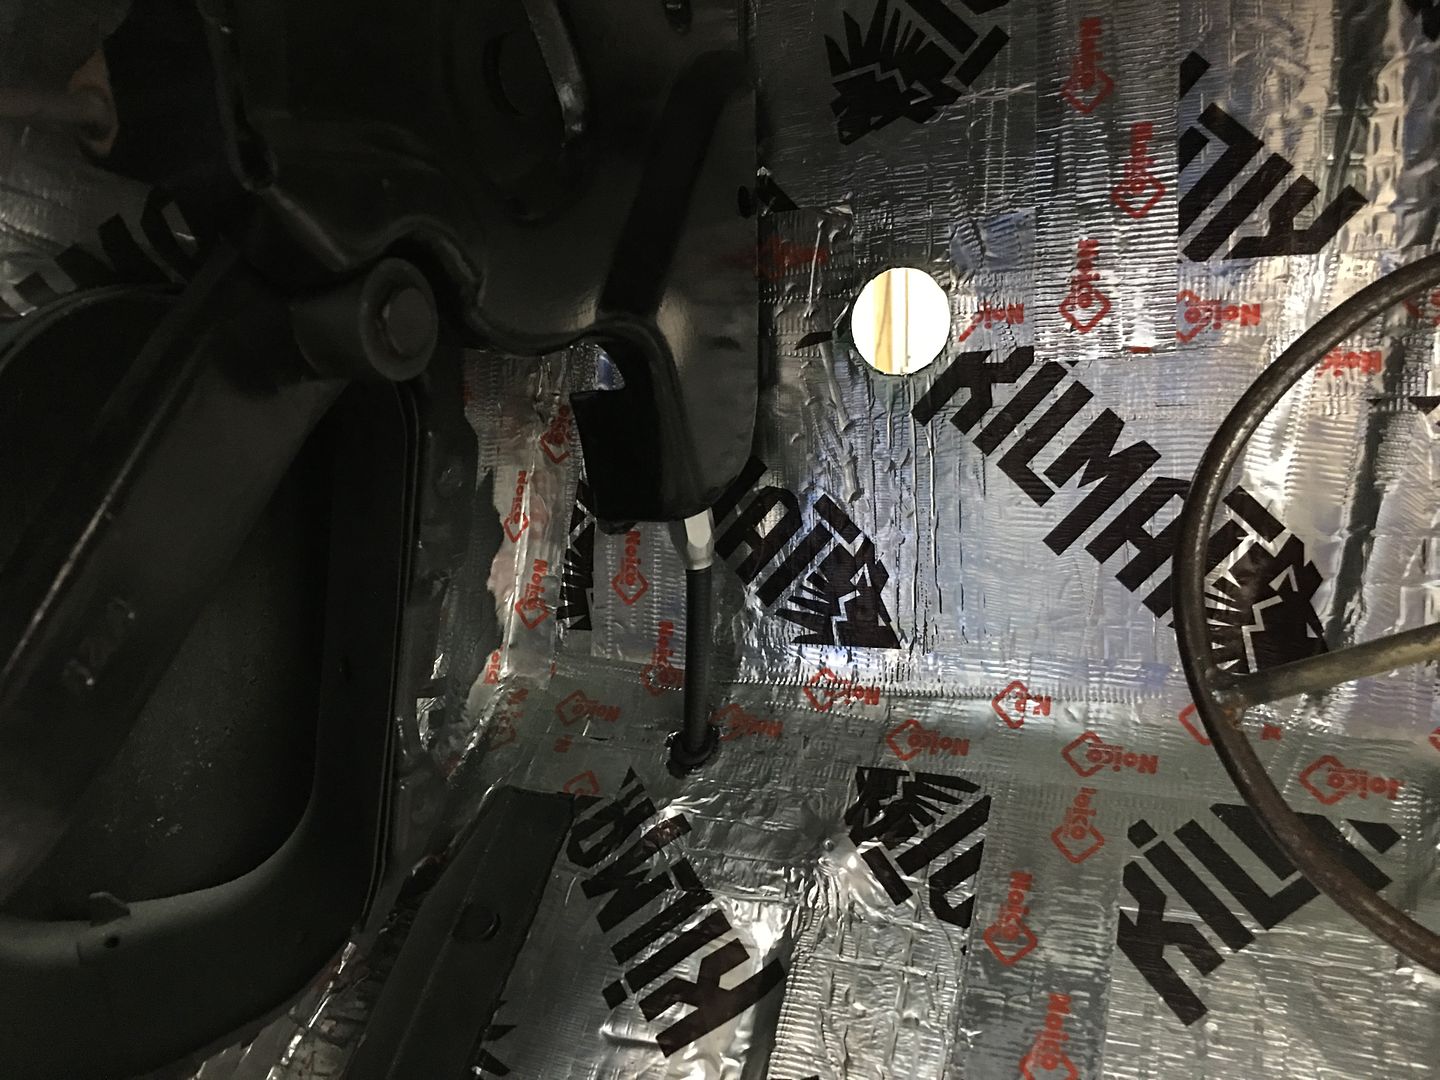
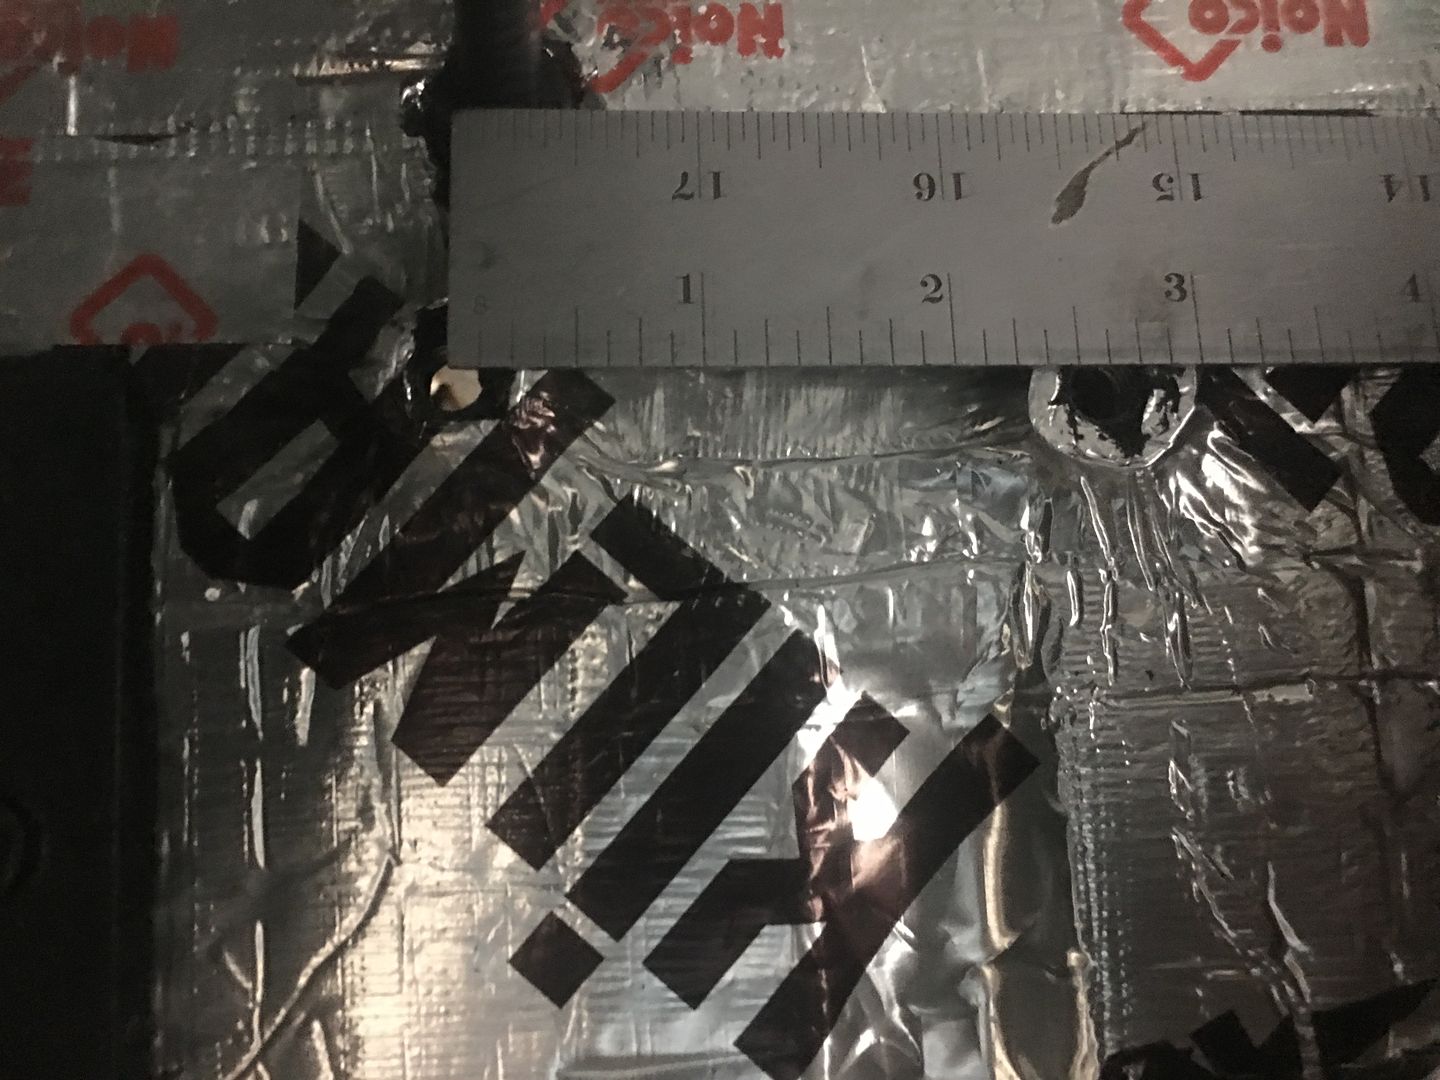
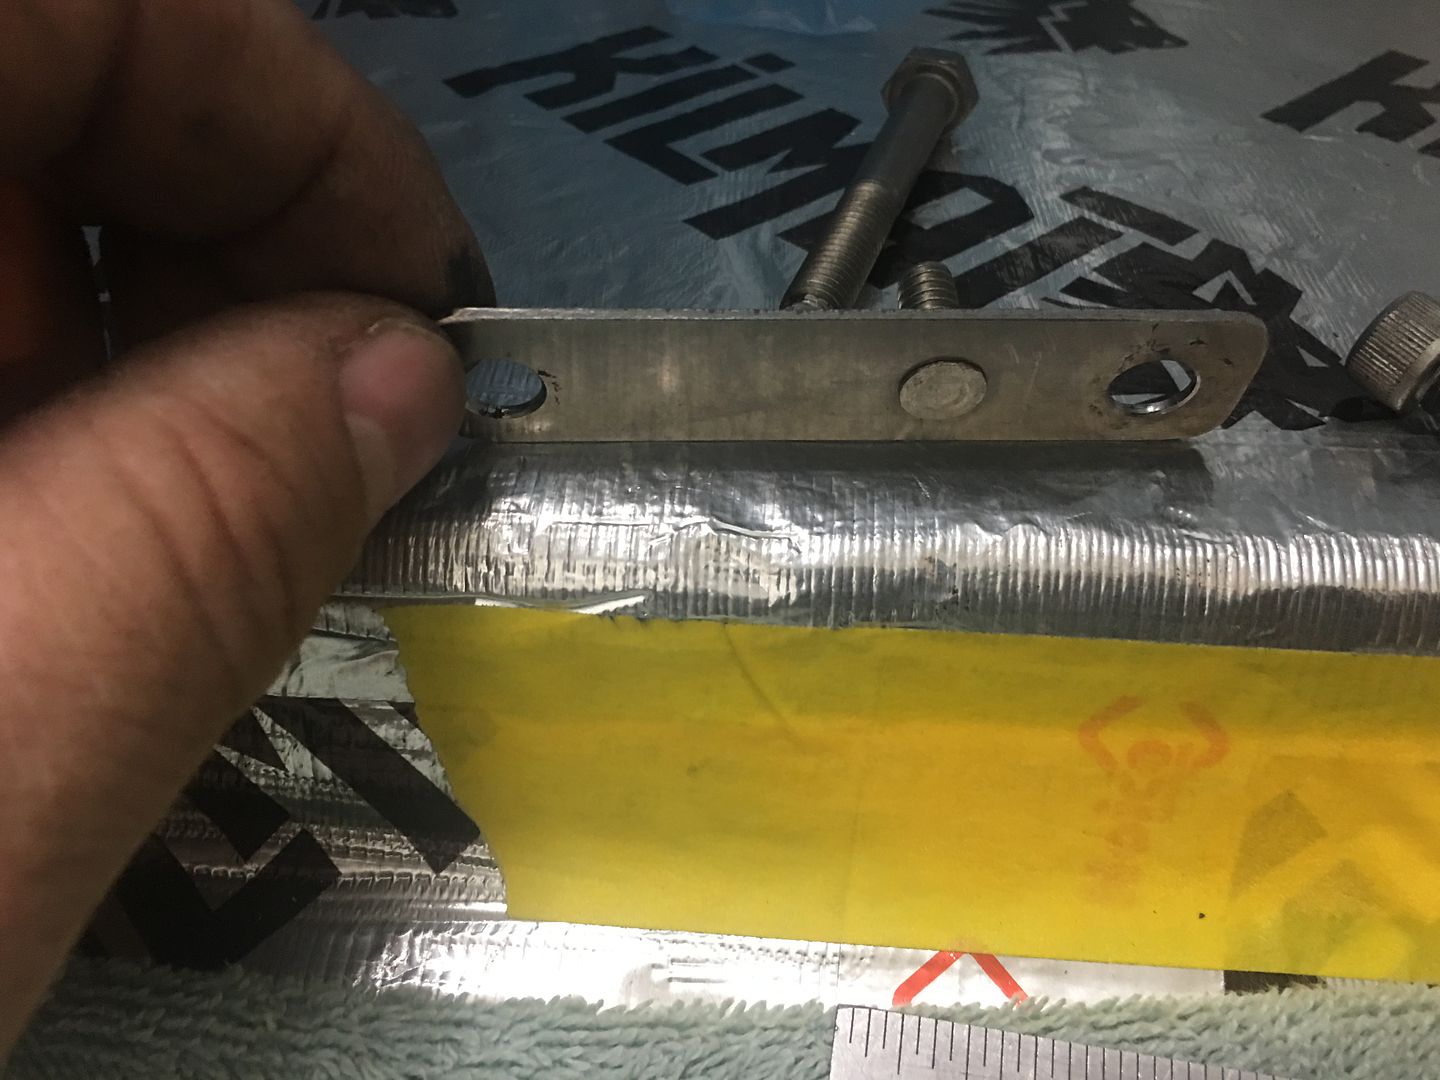
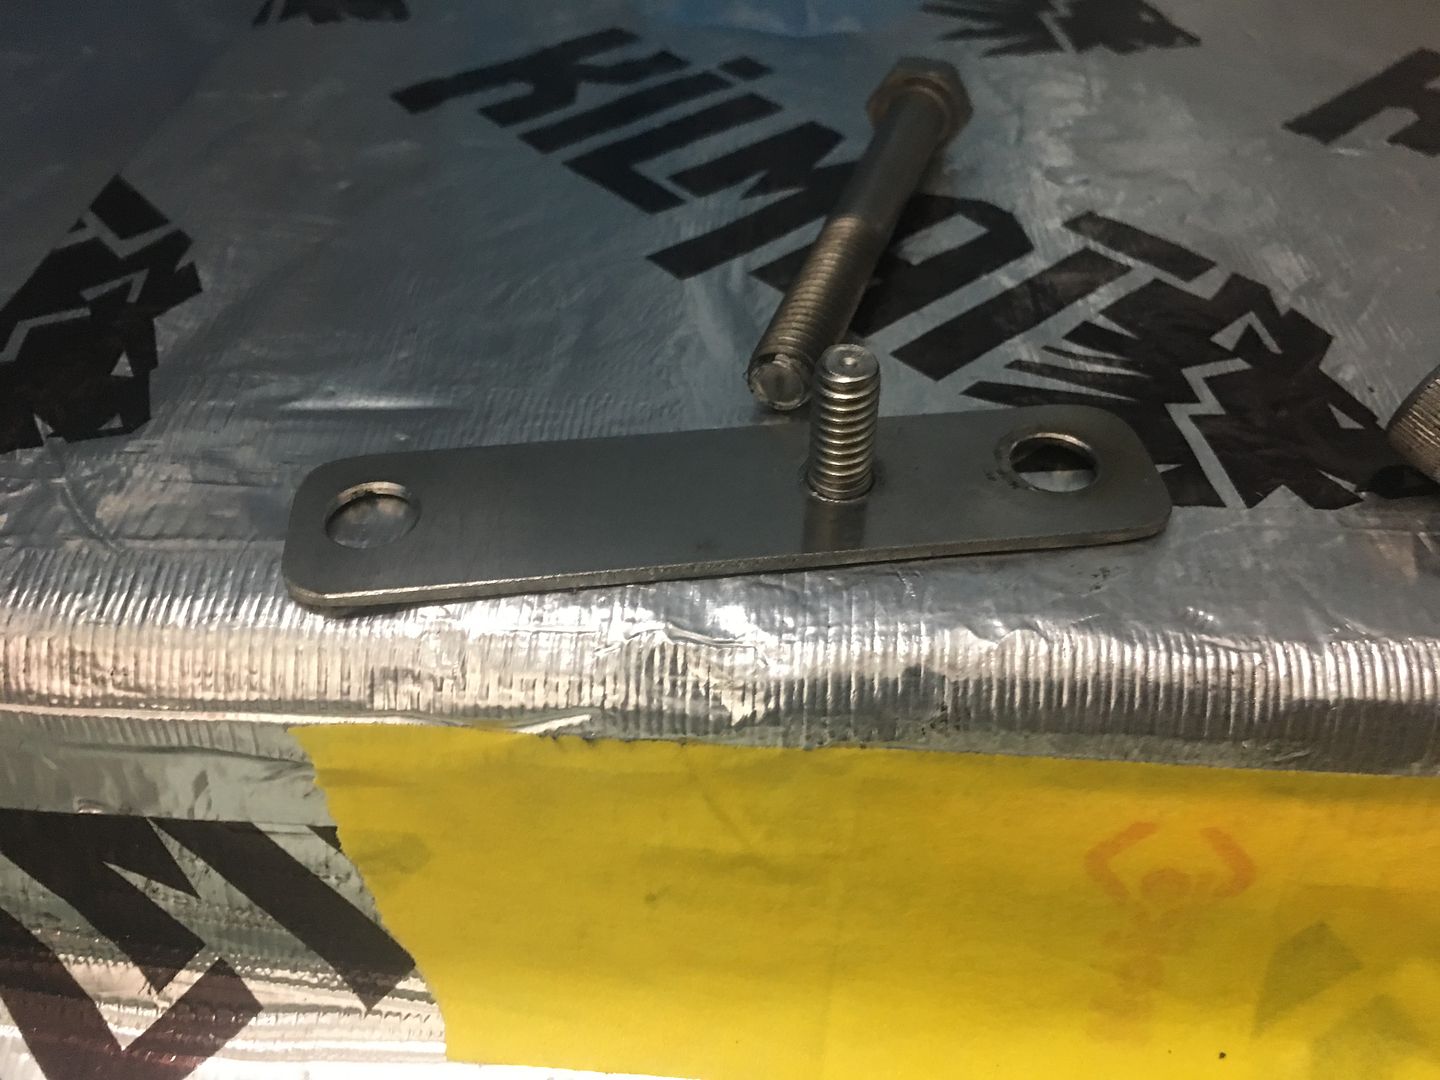
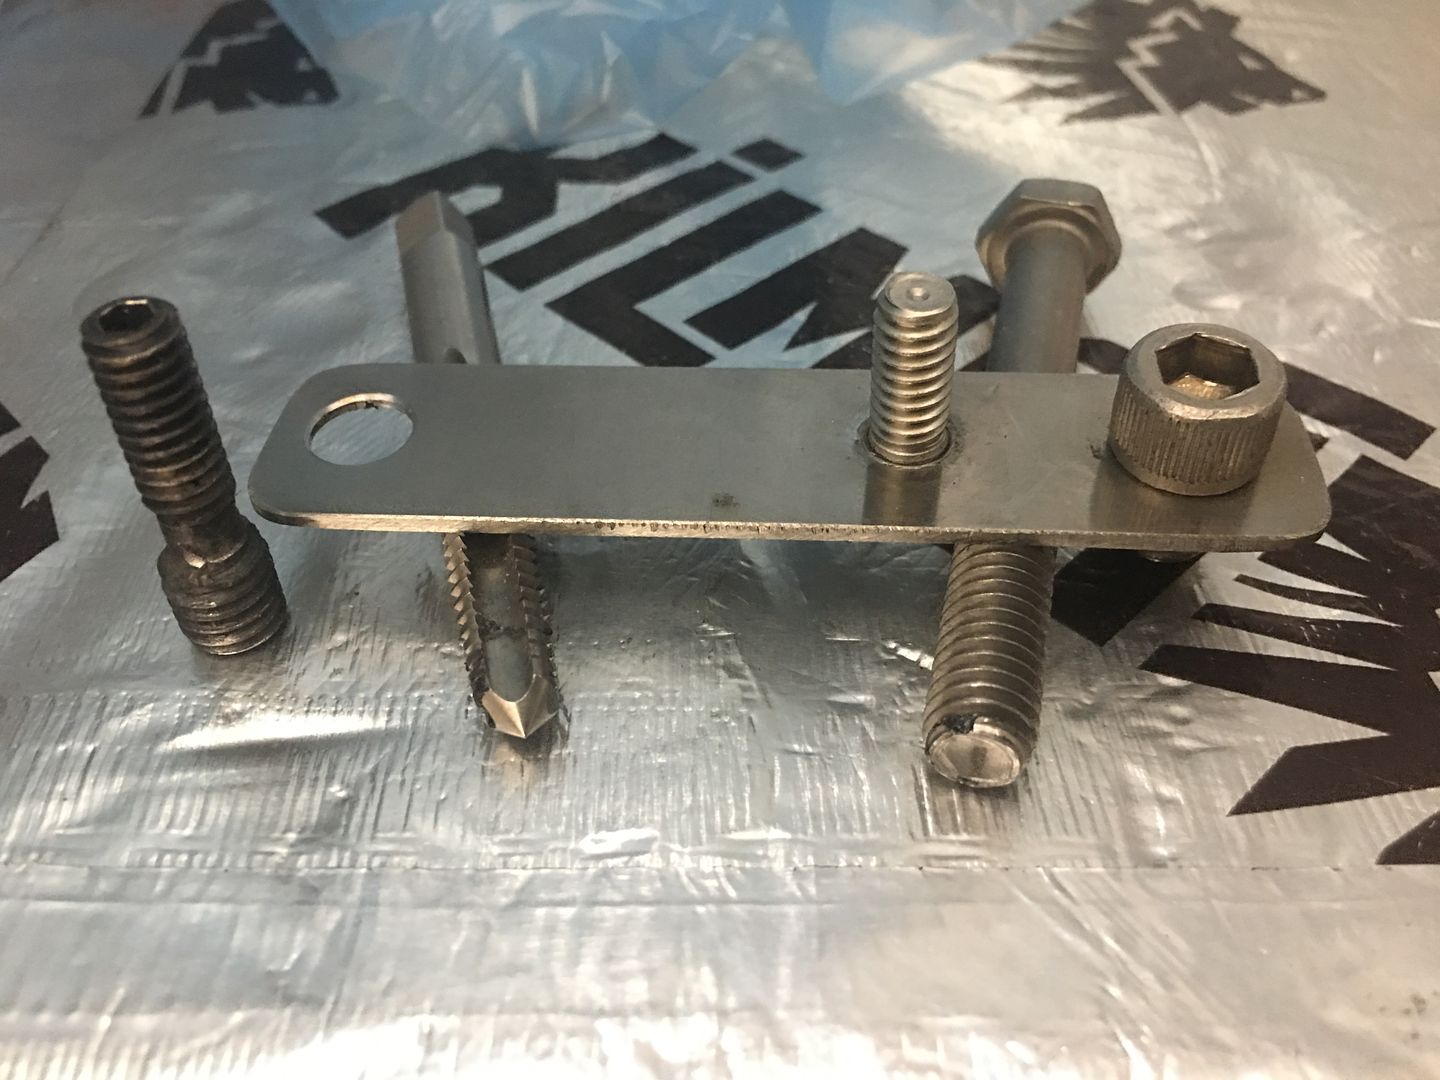
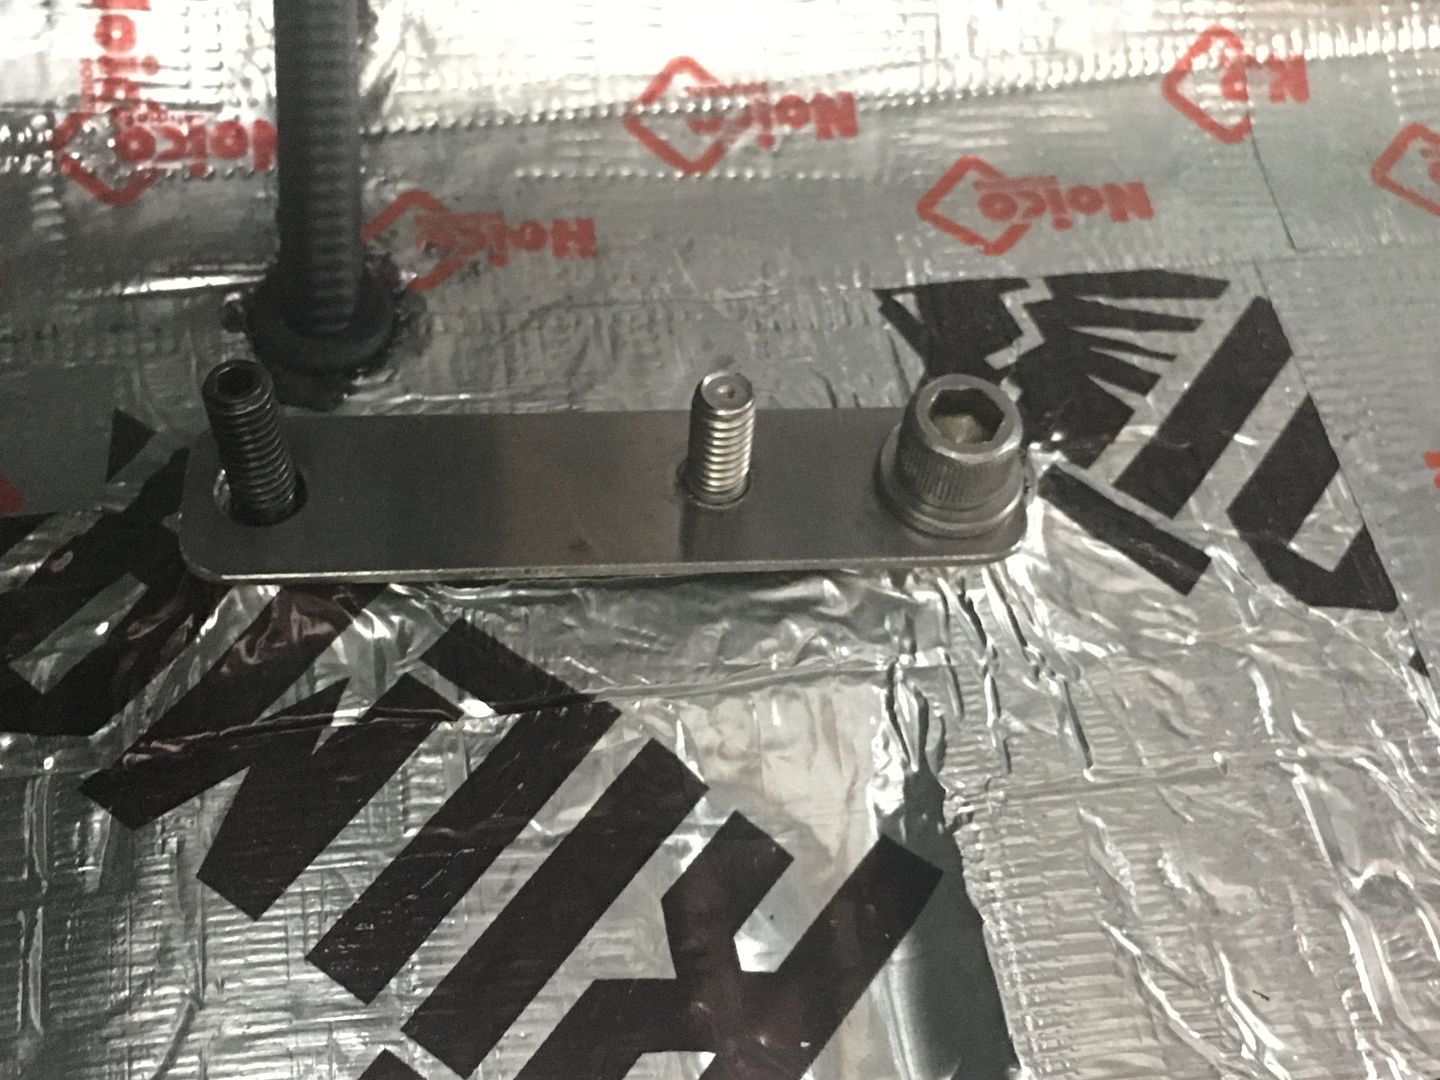
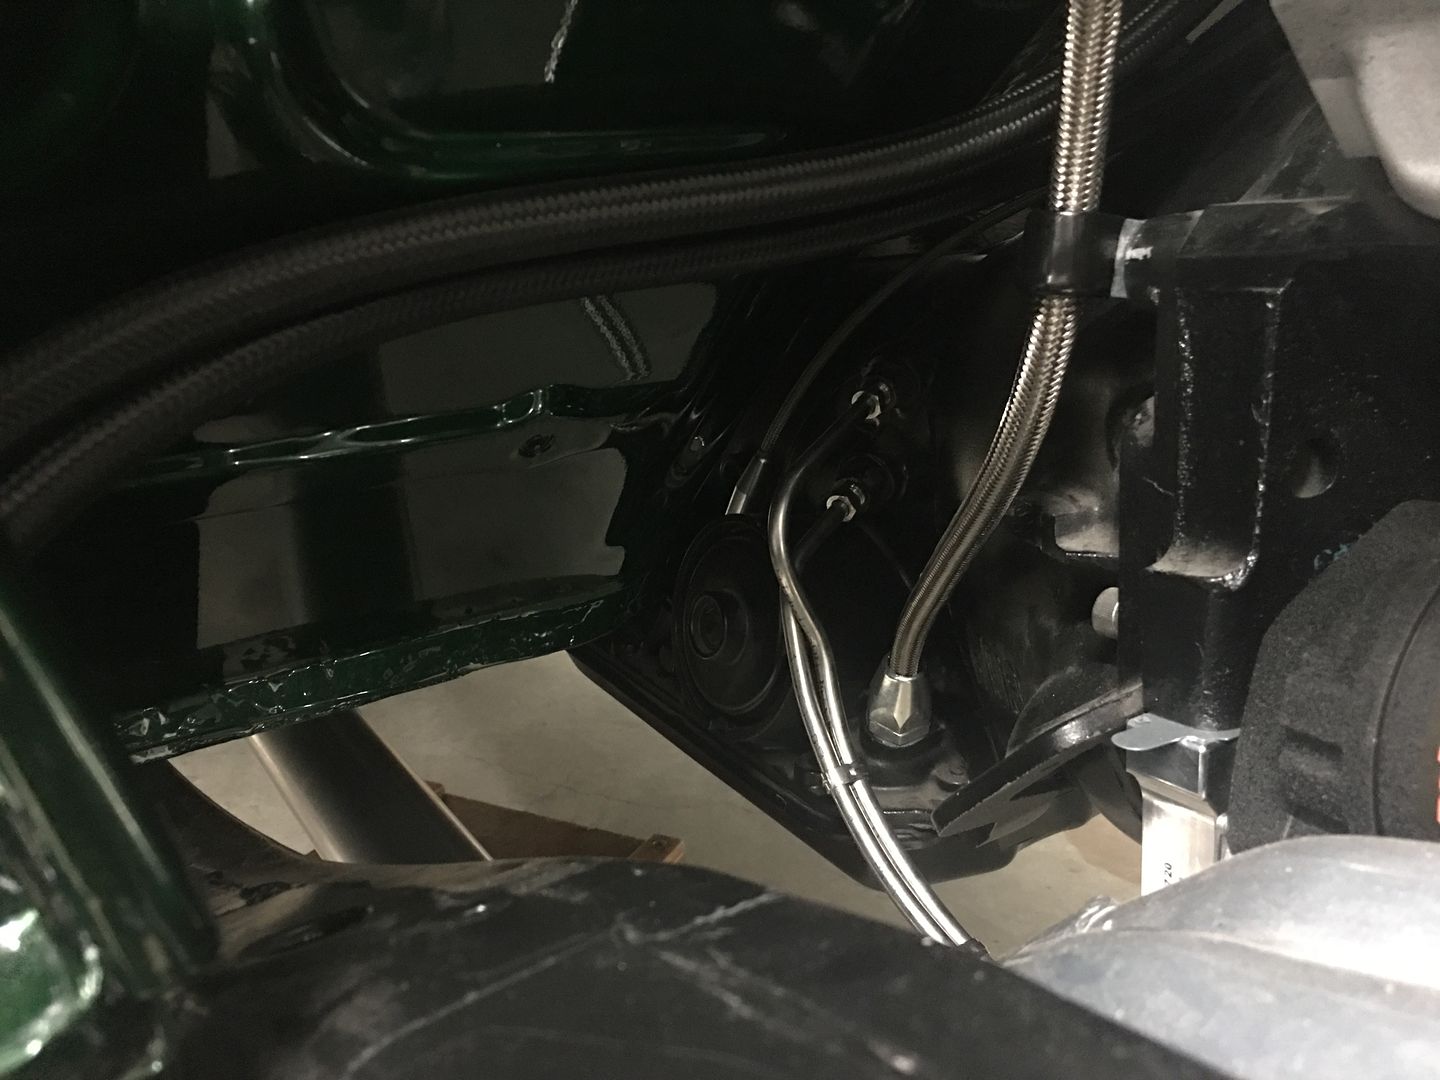
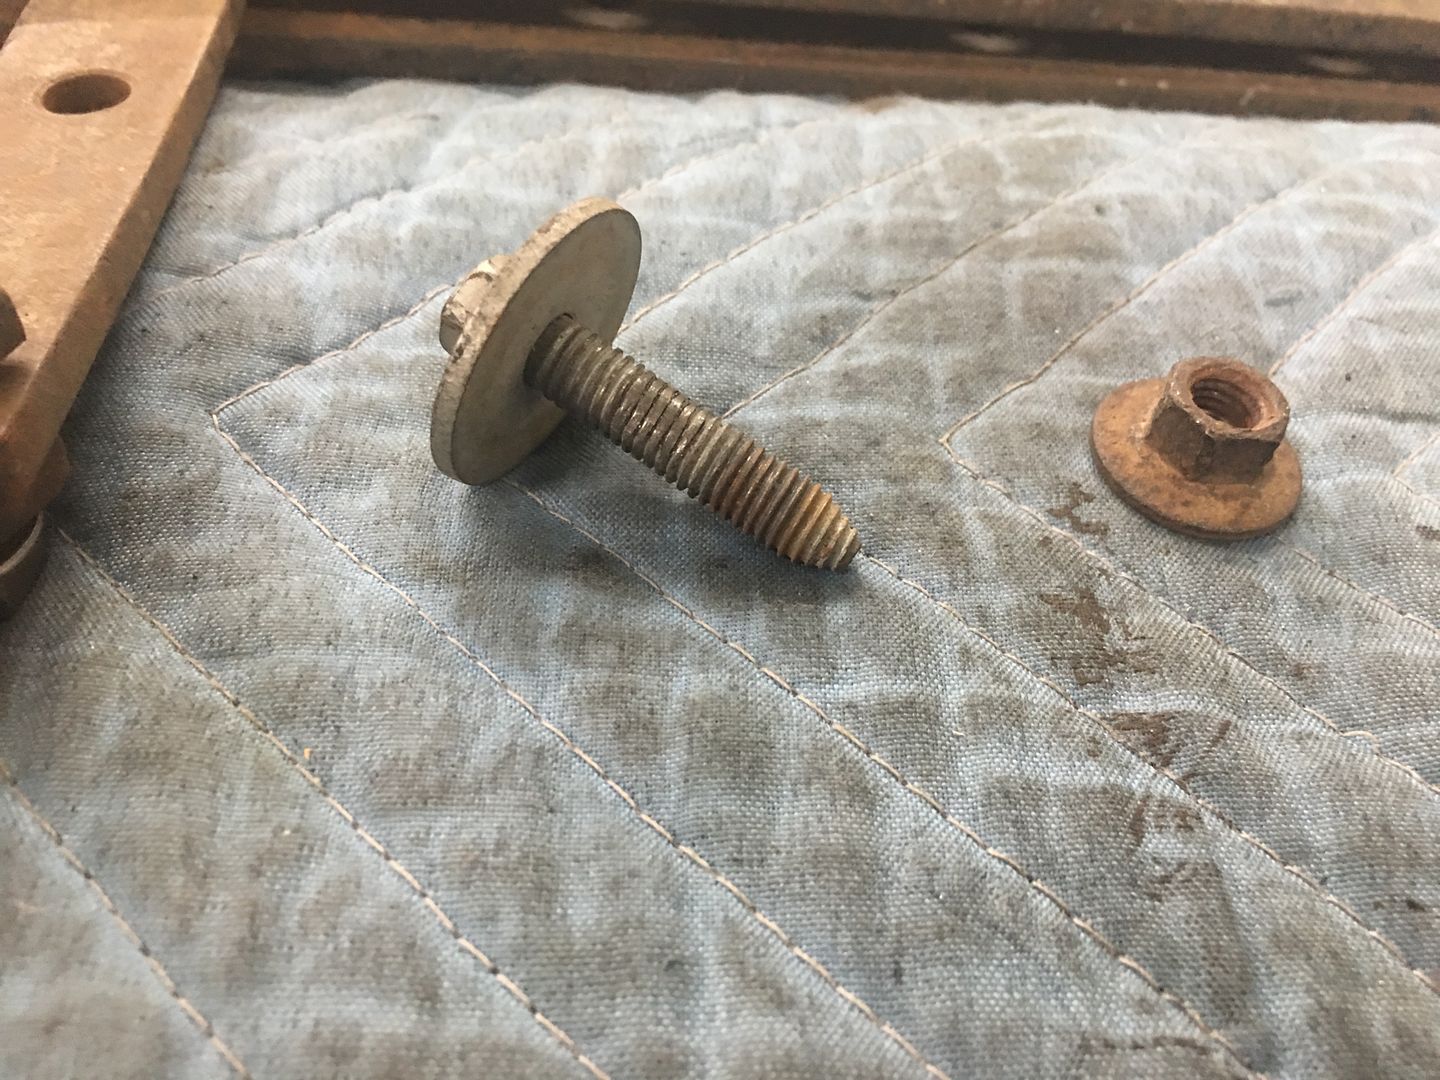
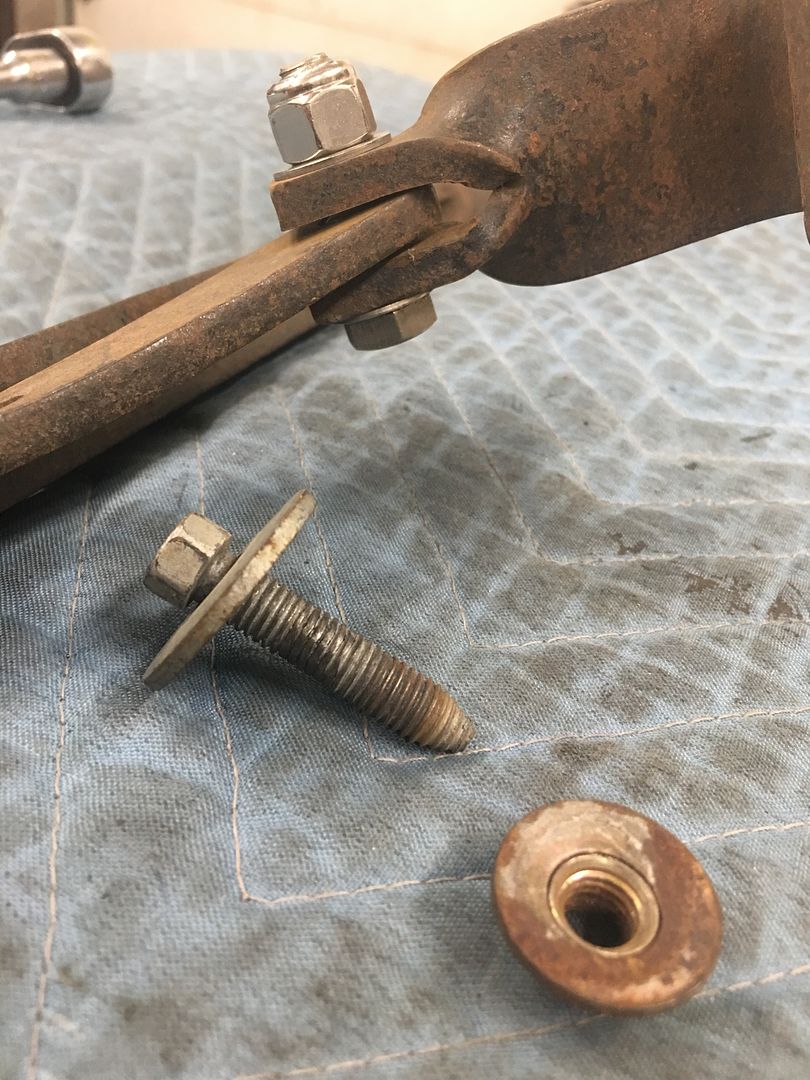
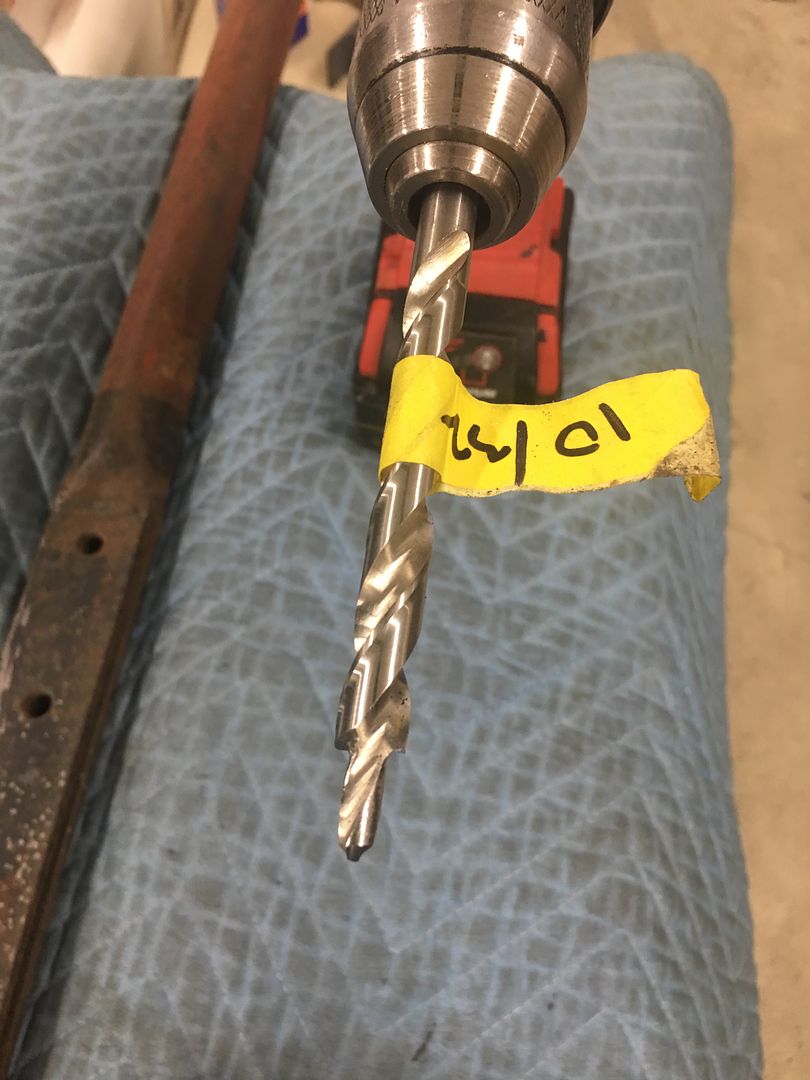
Next, to finalize our parking brake situation, we needed to drill a hole in the floor, which then had epoxy primer applied to the perimeter. Once cured, we installed a rubber grommet and fed through the floor. If you recall, the Lokar cable did not fit the opening in our donor brake pedal assembly, so a thick washer with the correct smaller hole was found, and the bracket hole was opened up to the outer diameter of the washer...
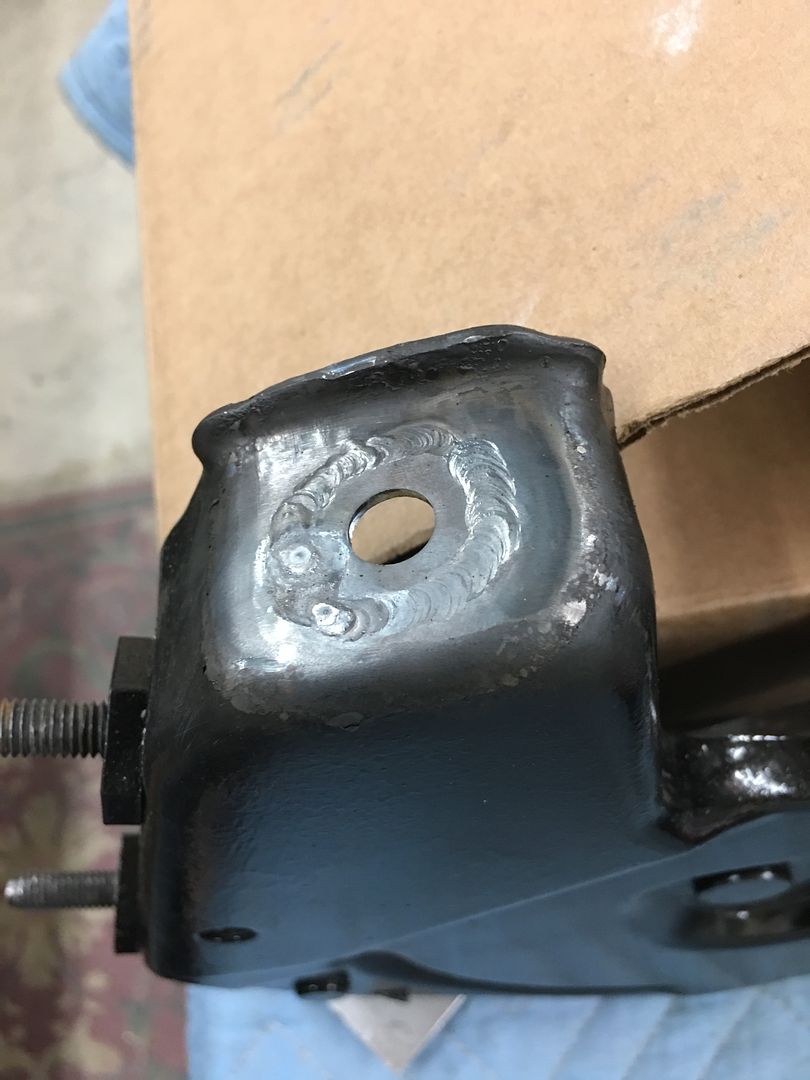
Then the washer was TIG welded in place..
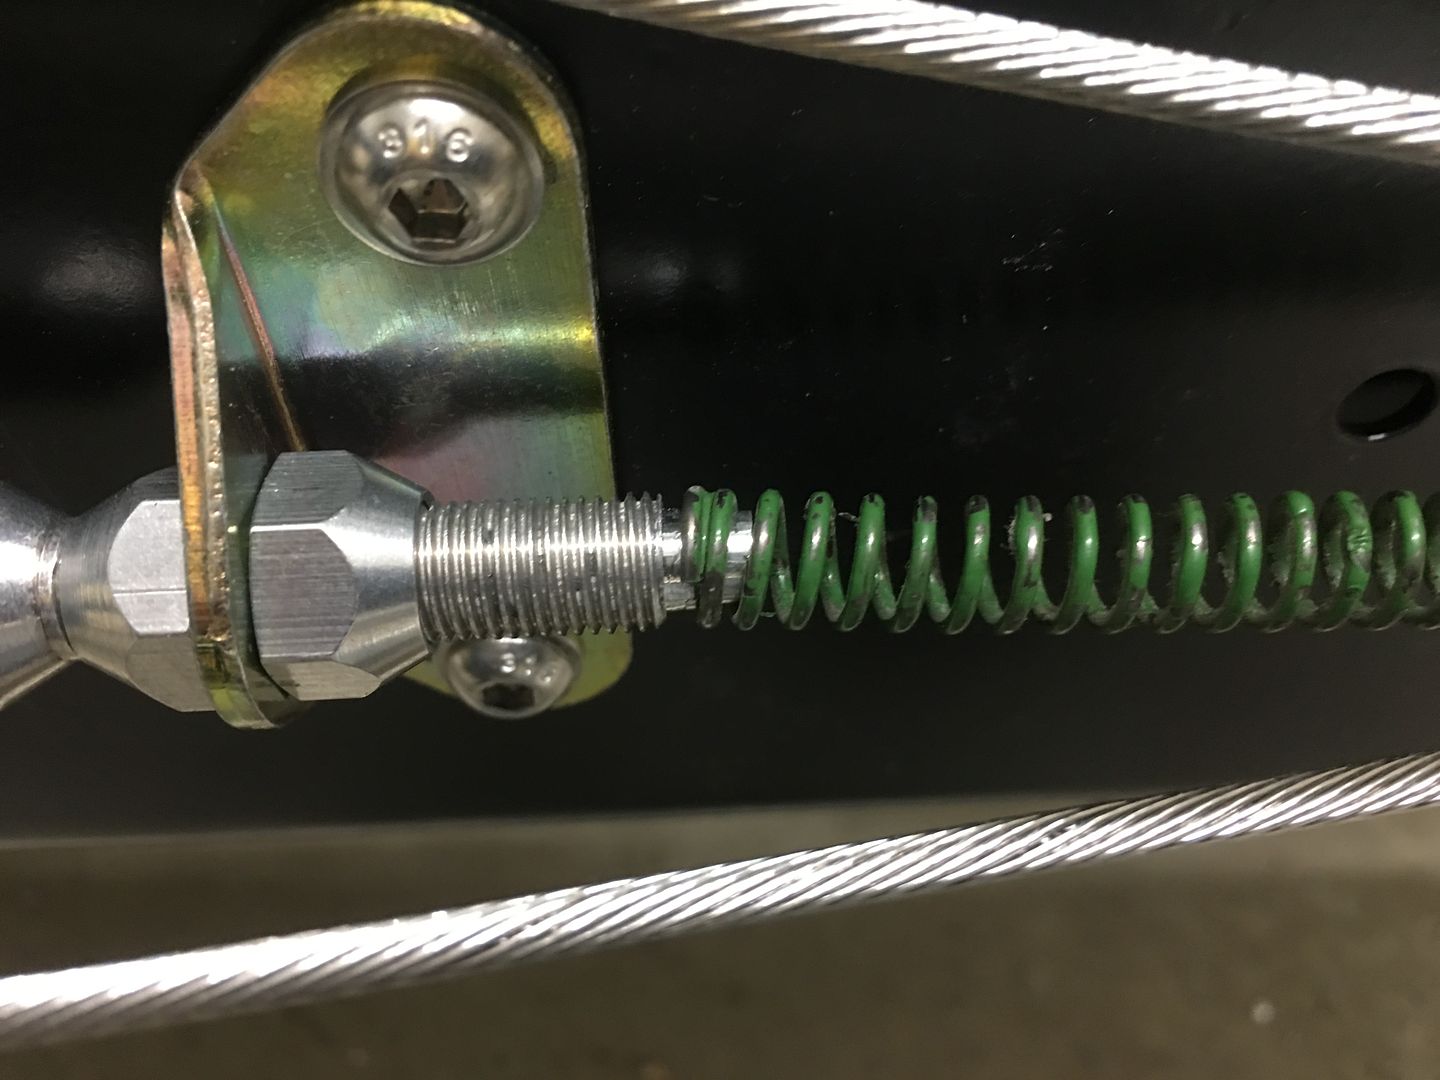
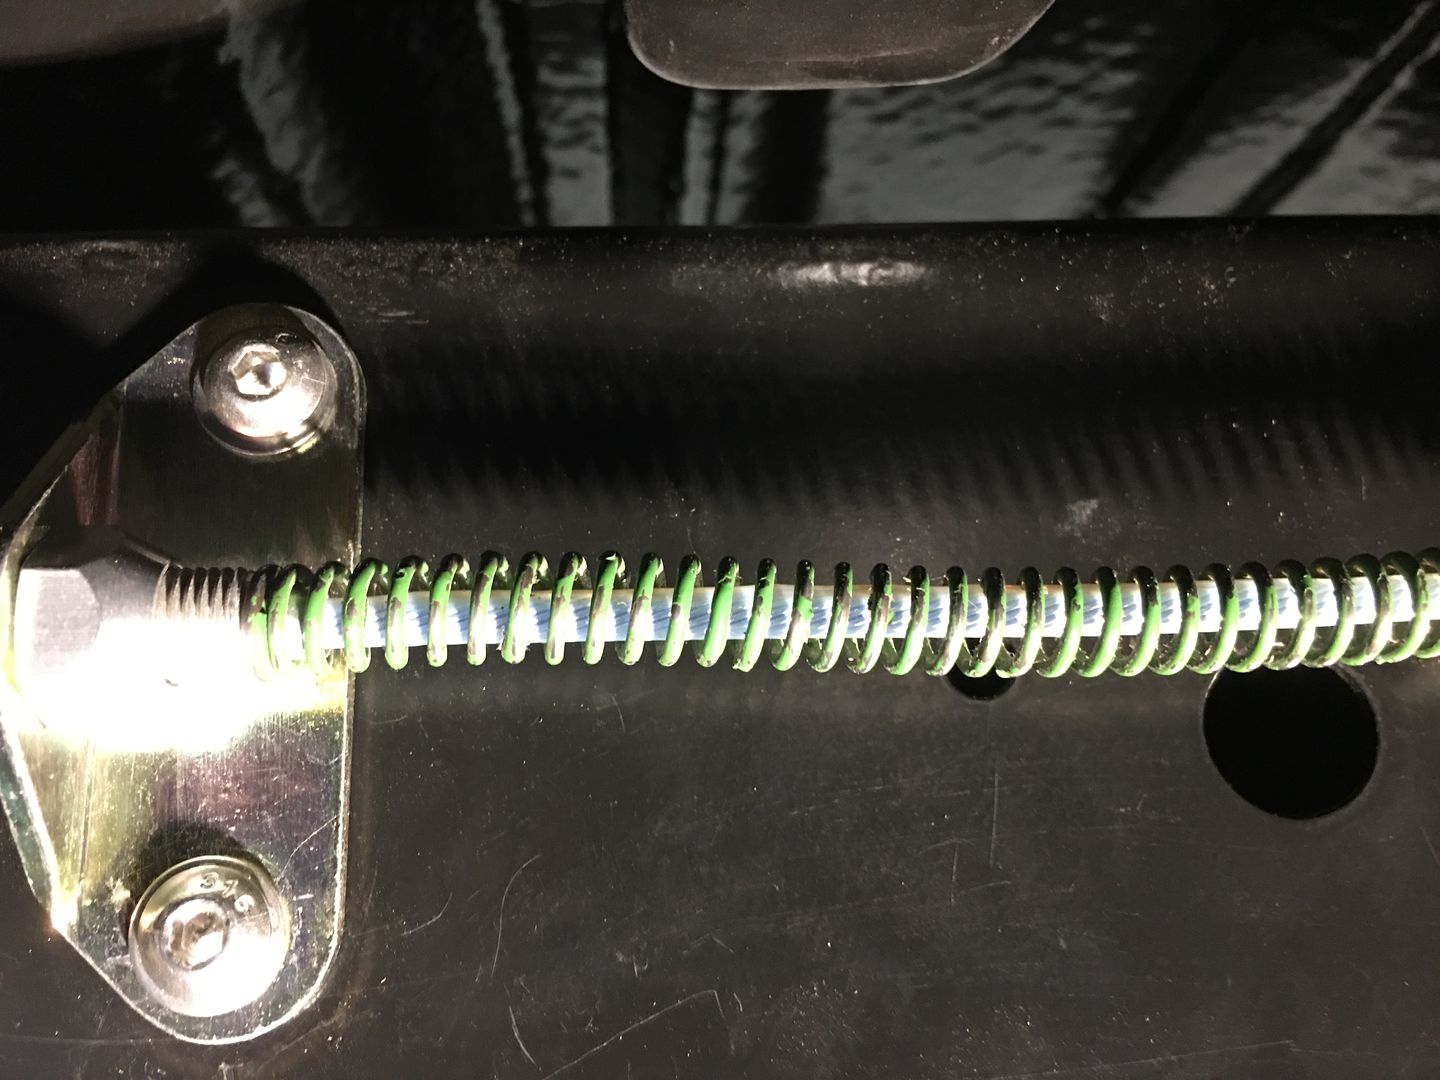
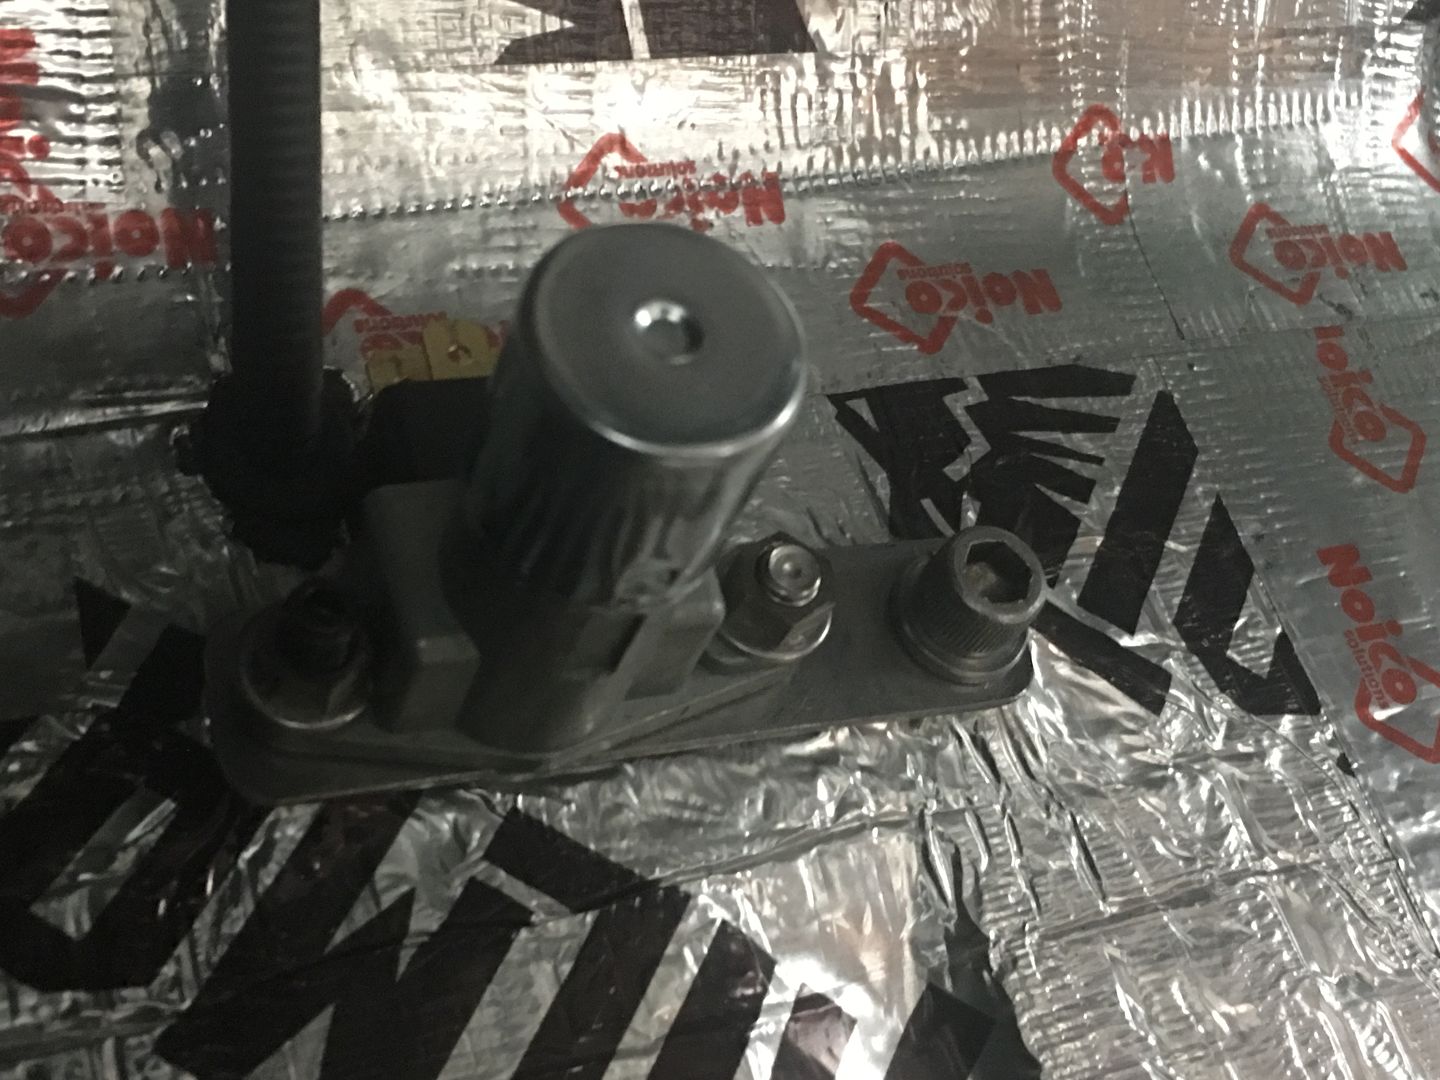
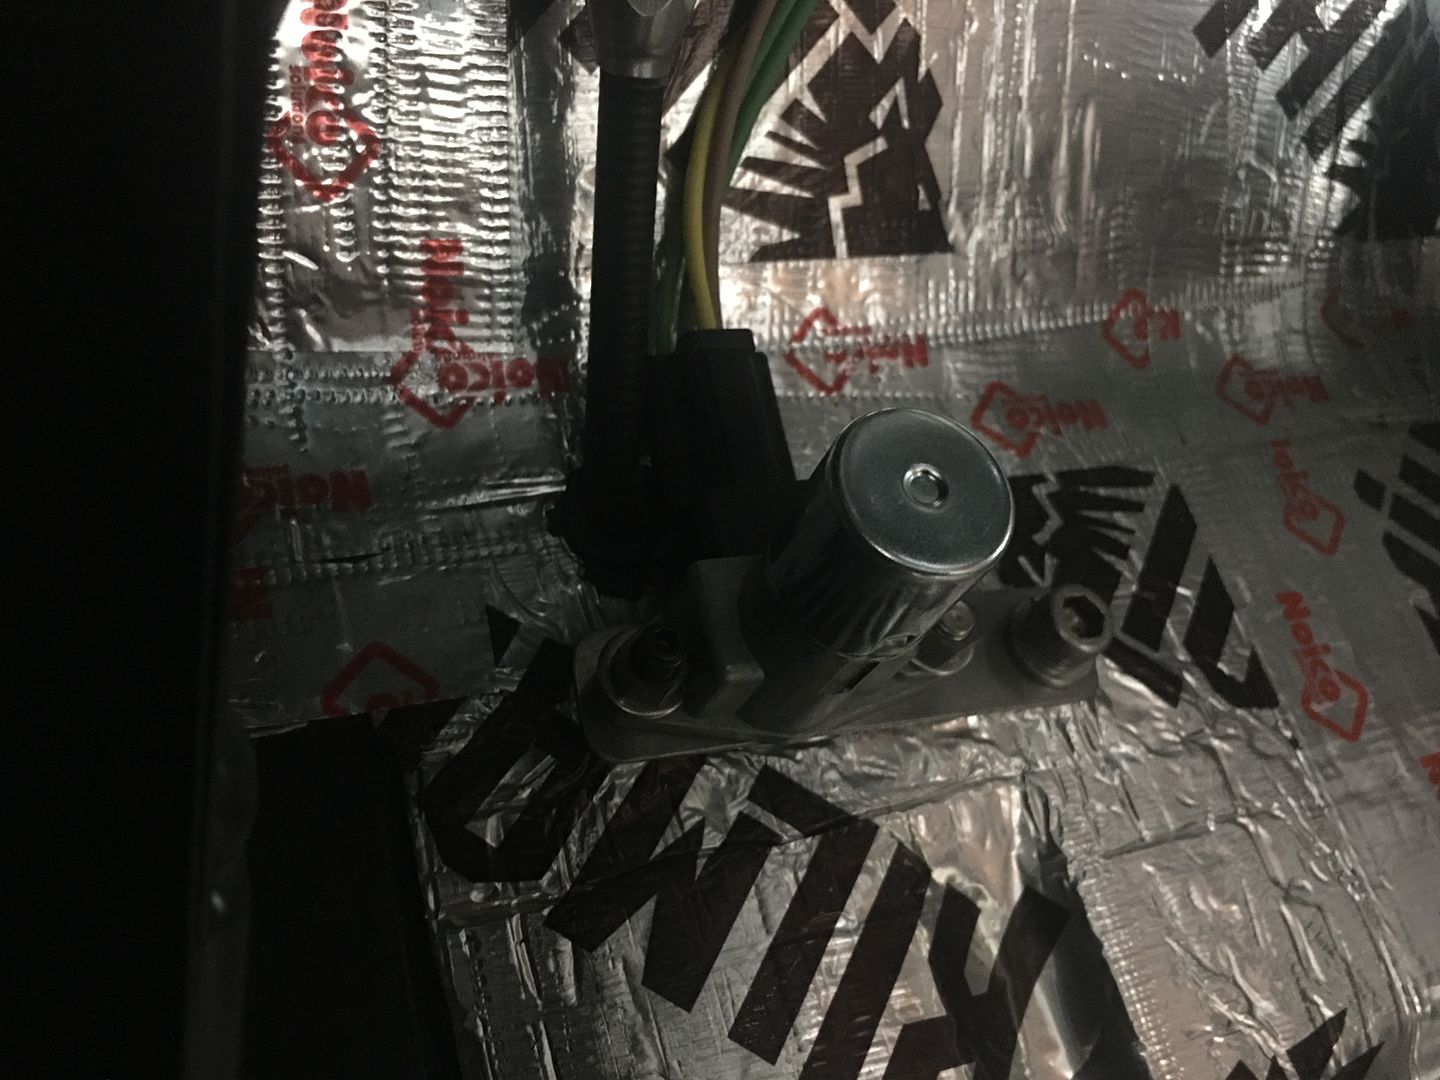
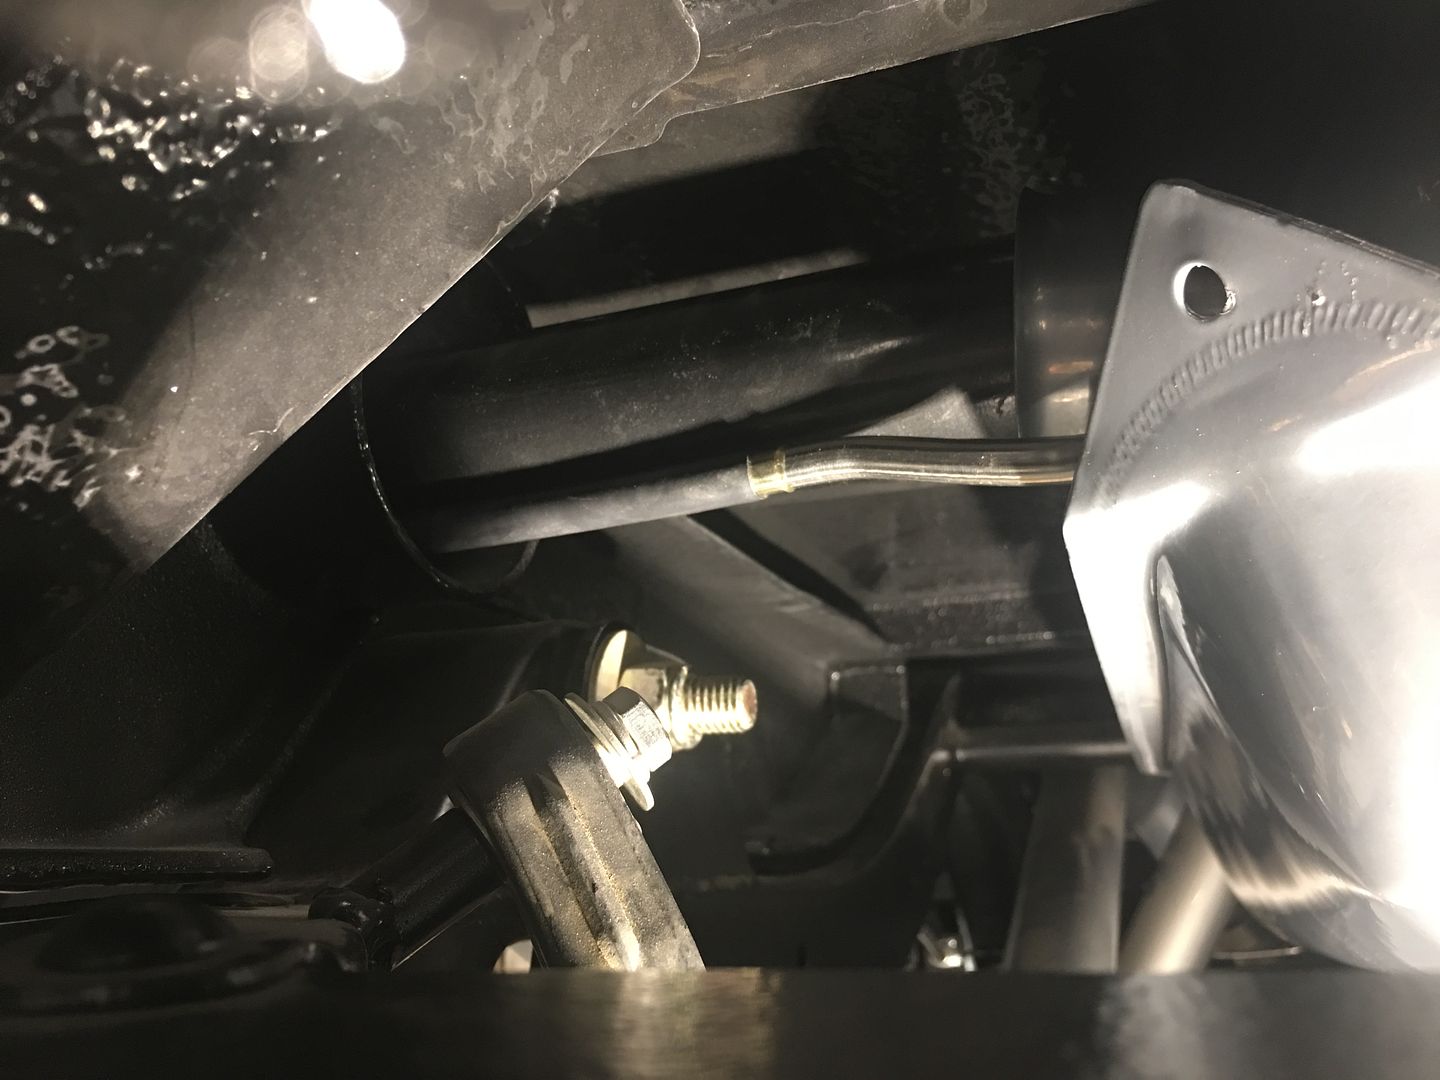
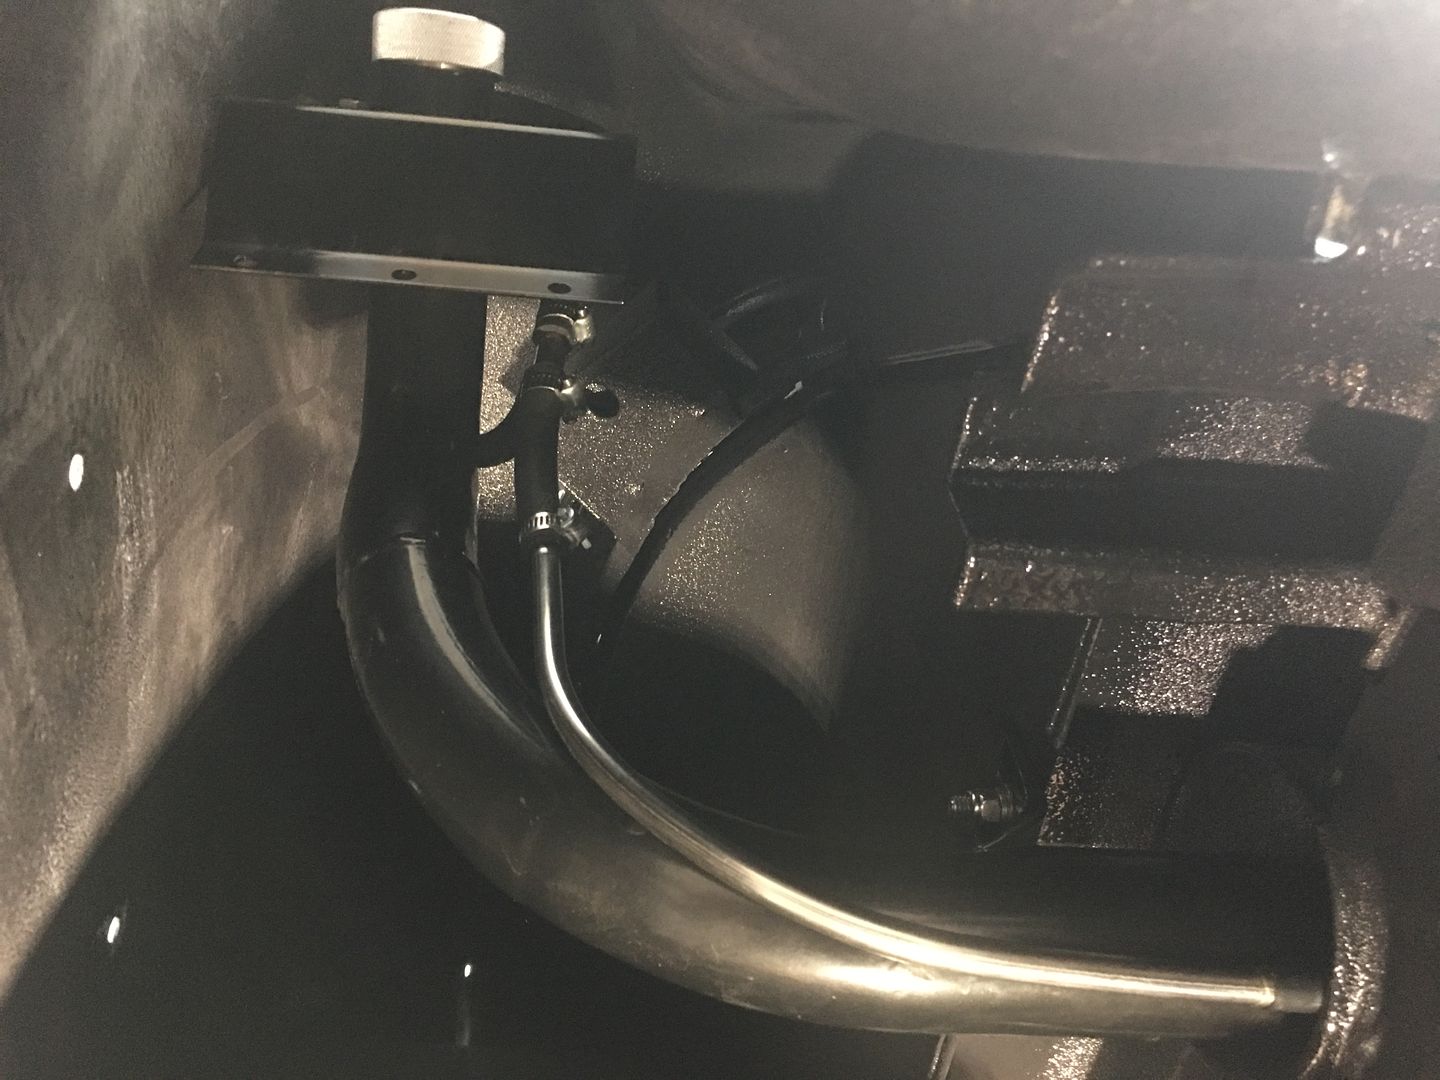
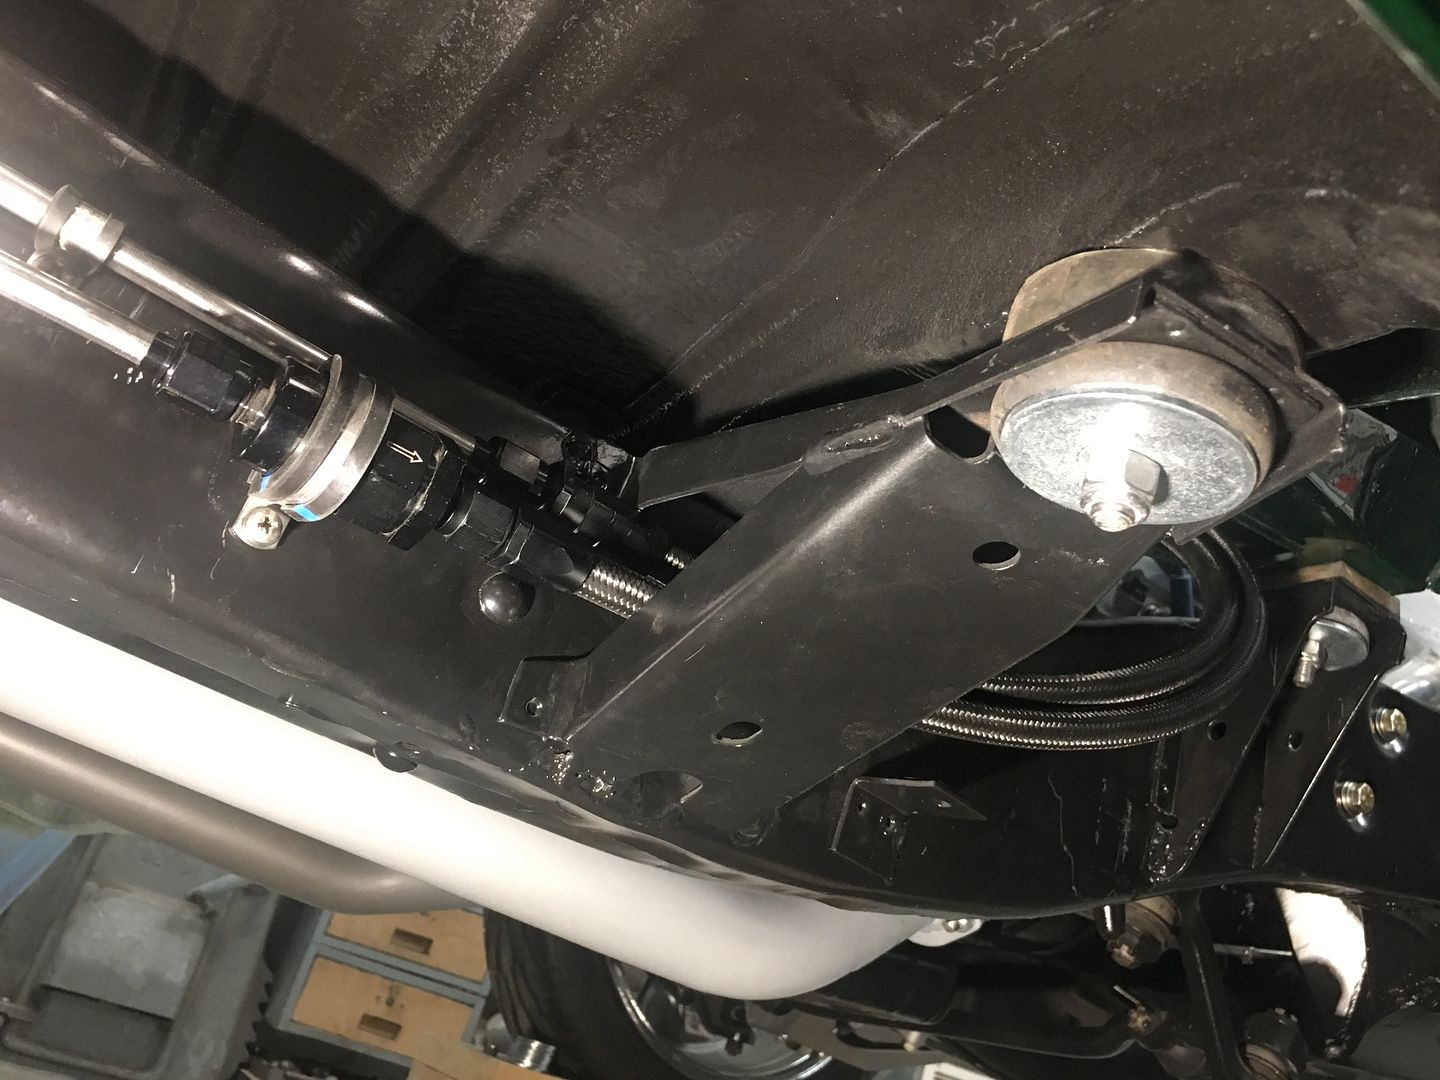
Next challenge, the brake assembly had an internal pedal return spring that would now rest on the cable and rub in the same place on the ends, so in order to minimize any wear through the cable strands, the spring was relocated to the side of the frame at the adjusters where a shoulder was machined into the adjustment fittings to support the spring ends and not rub into the cable.
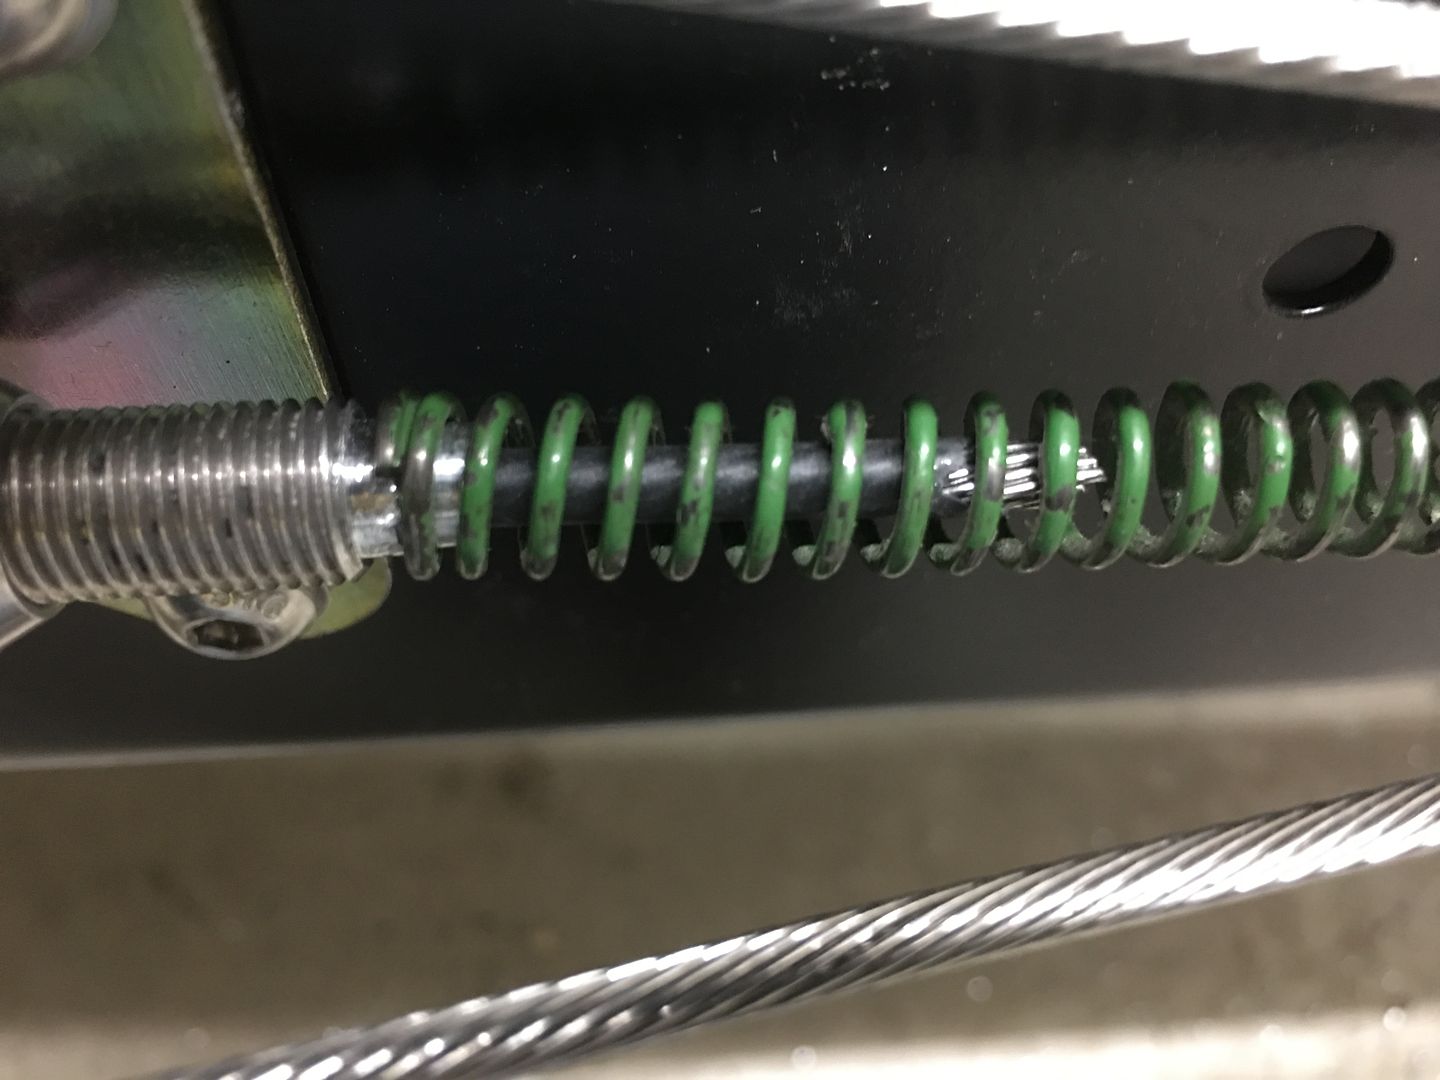
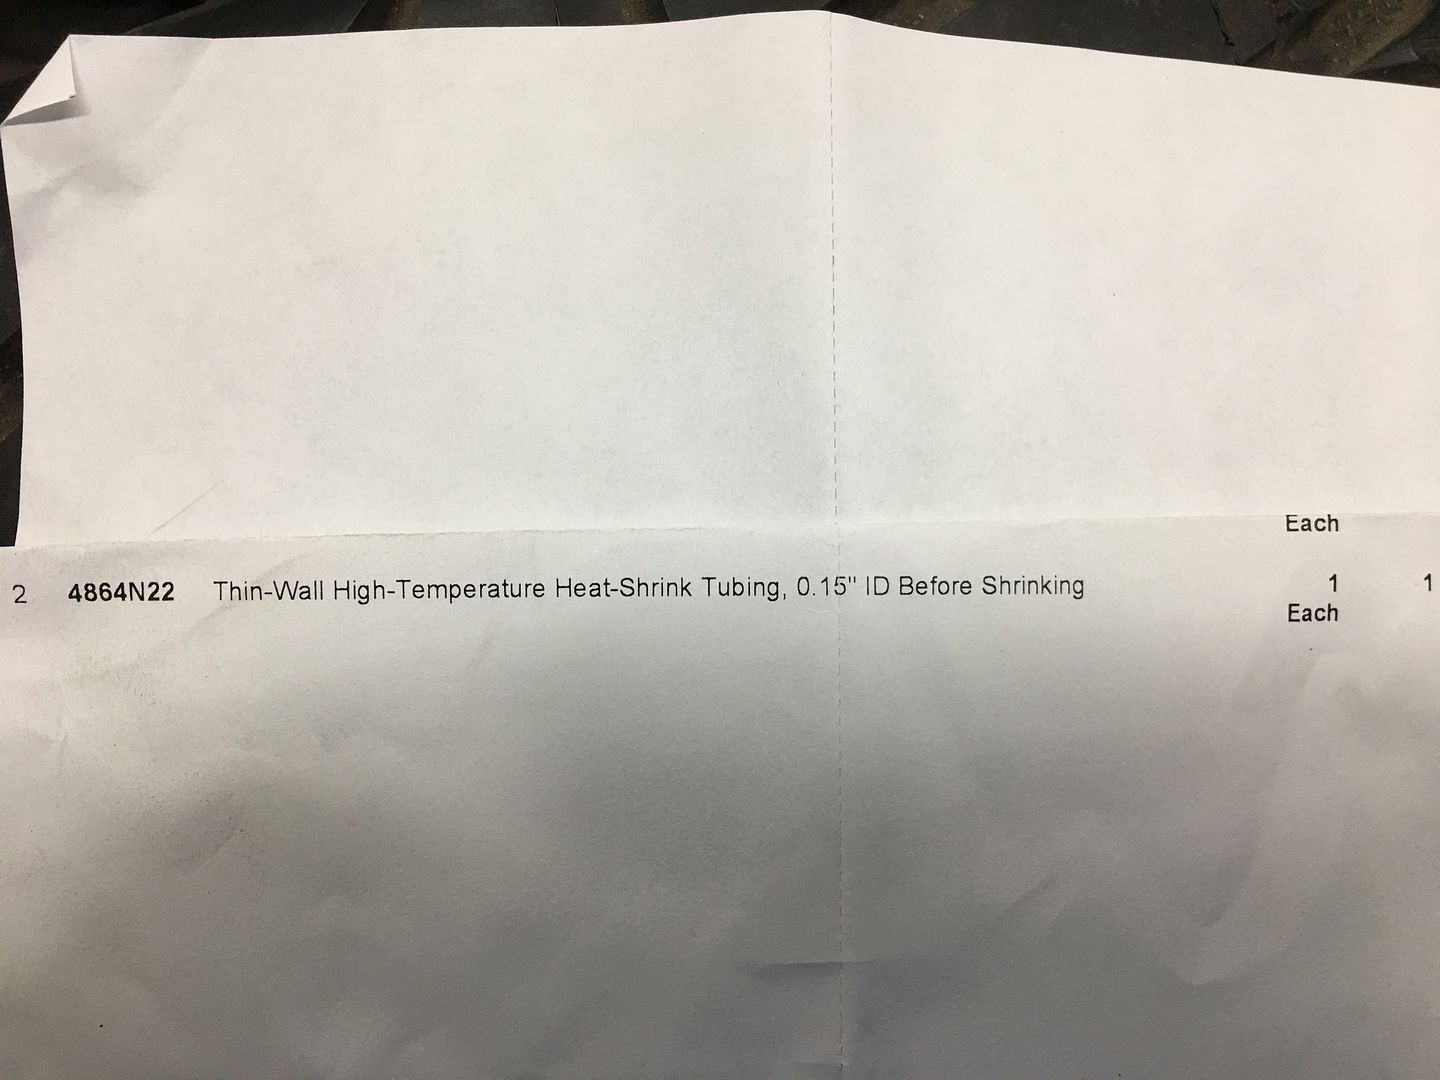
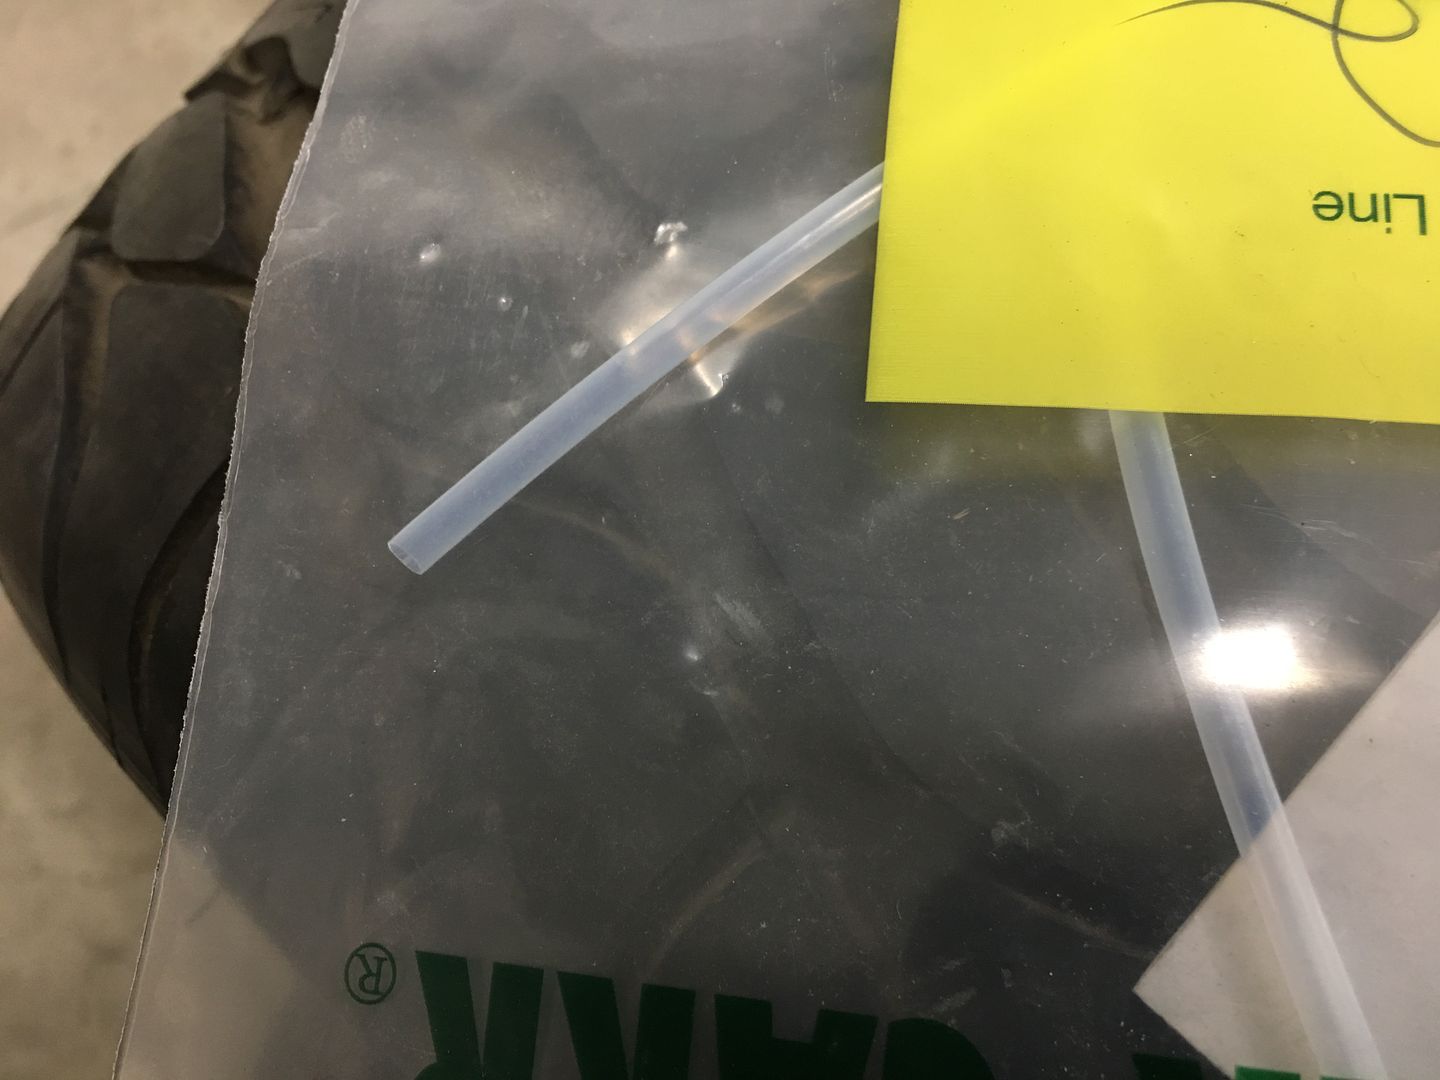
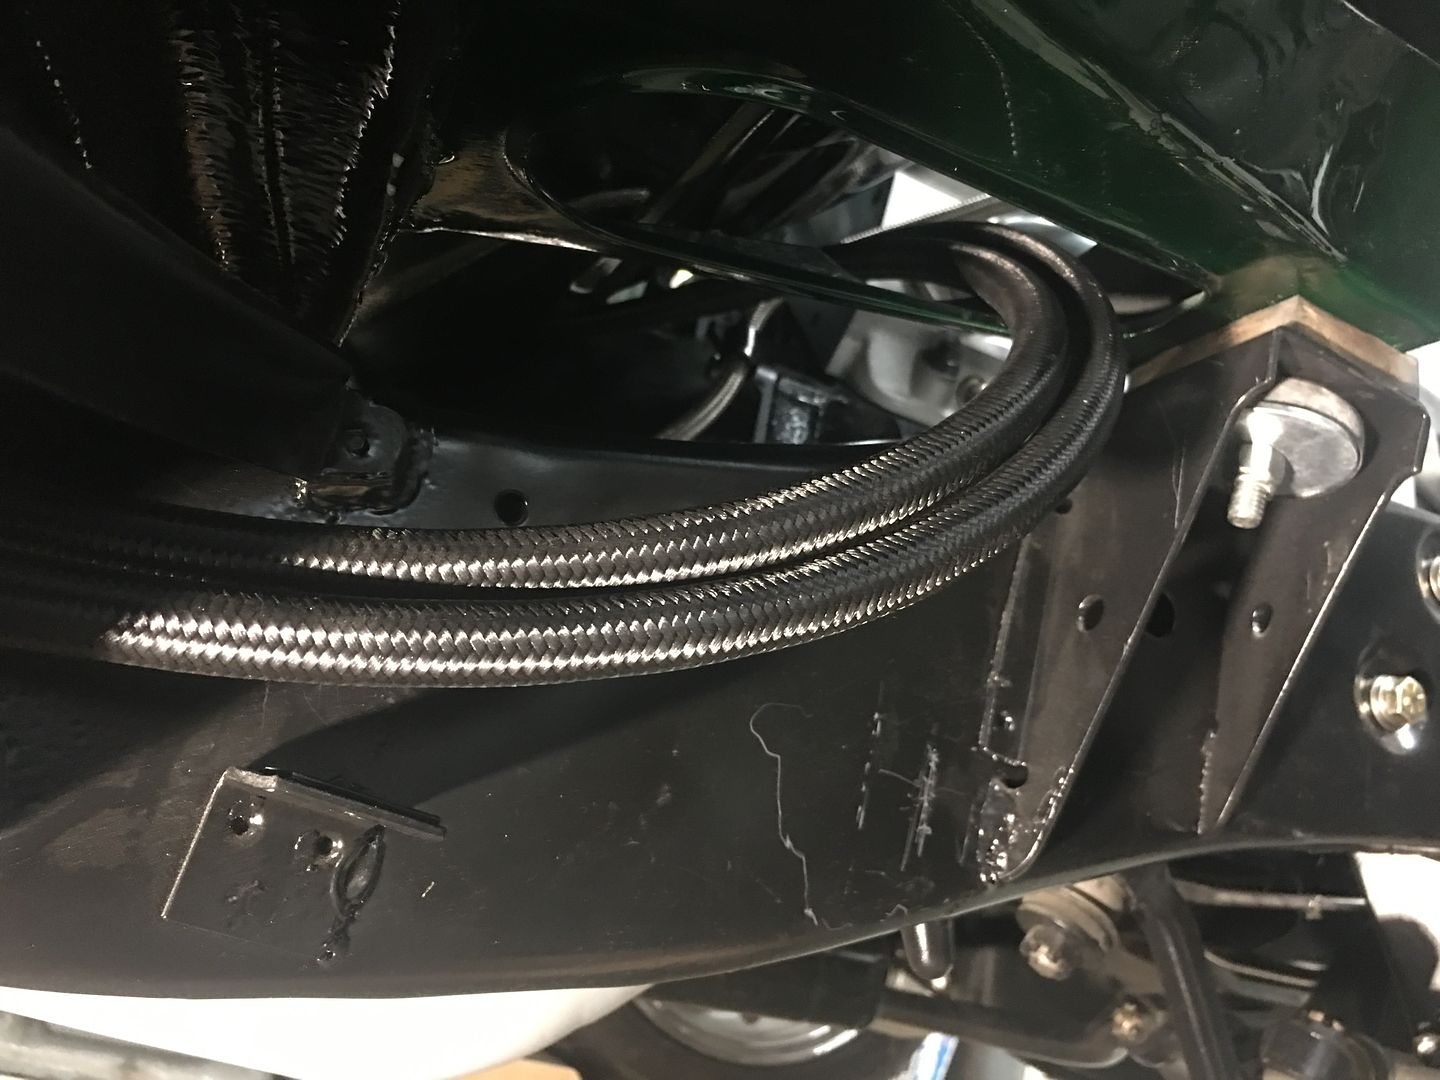
To further protect the cable from spring rub, as there surely would be deflection of the spring as the brake was applied, we test fit some heat shrink to act as a protective sleeve. The internal liner of the Lokar cable was roomy enough for the heat shrink to pass up inside, so concept test complete, we ordered some high heat Teflon shrink tubing from McMaster. This was installed over the cable, with plenty of extra slid up in the liner, and assembled all the parts..
That should hold us.....

")