Continuing on with shelf pins:
I don't have detailed pics as I was focused on moving the work forward instead of documenting, but I am a bit disappointed and didn't get the results I wanted.
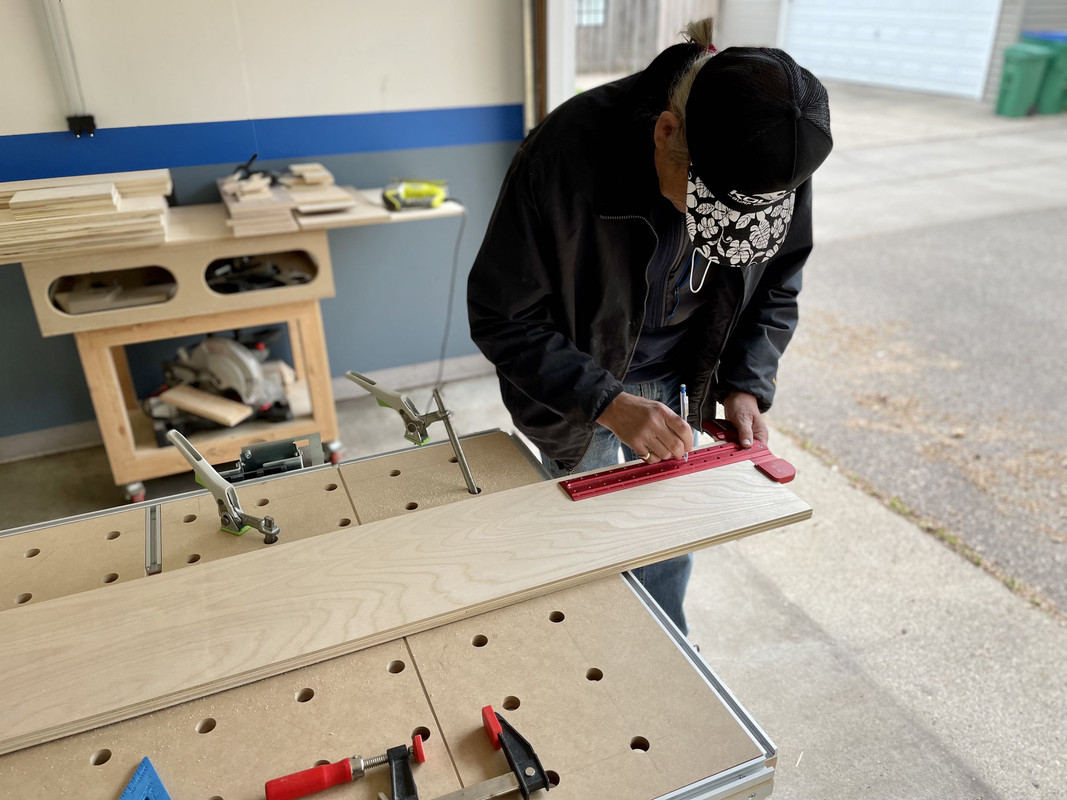
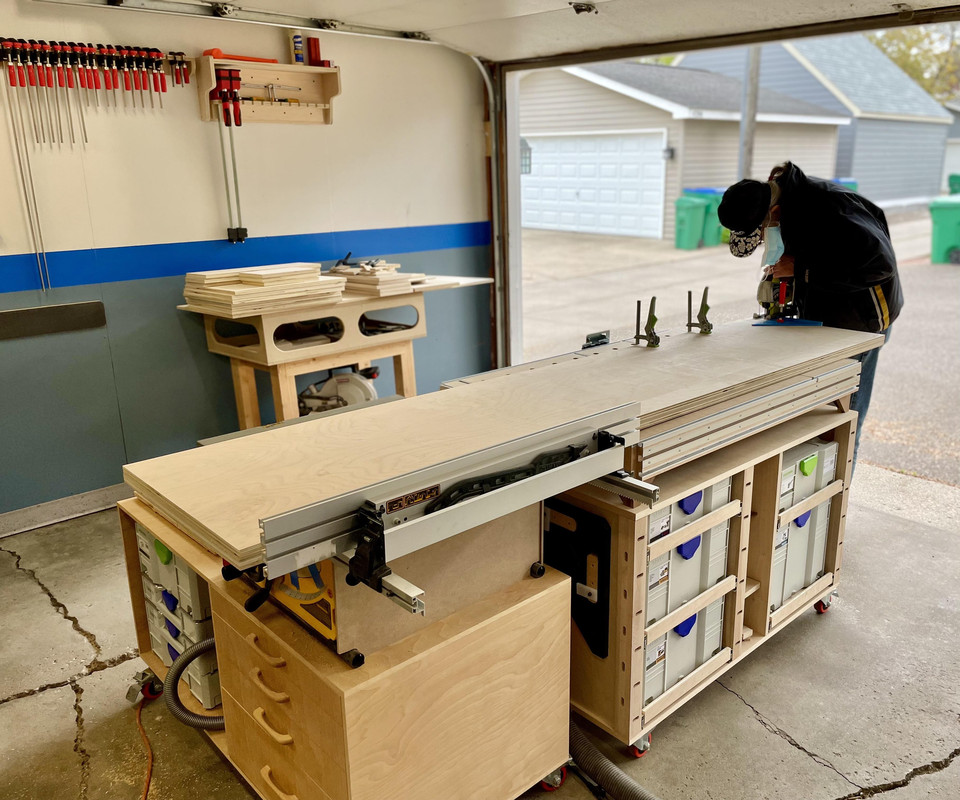
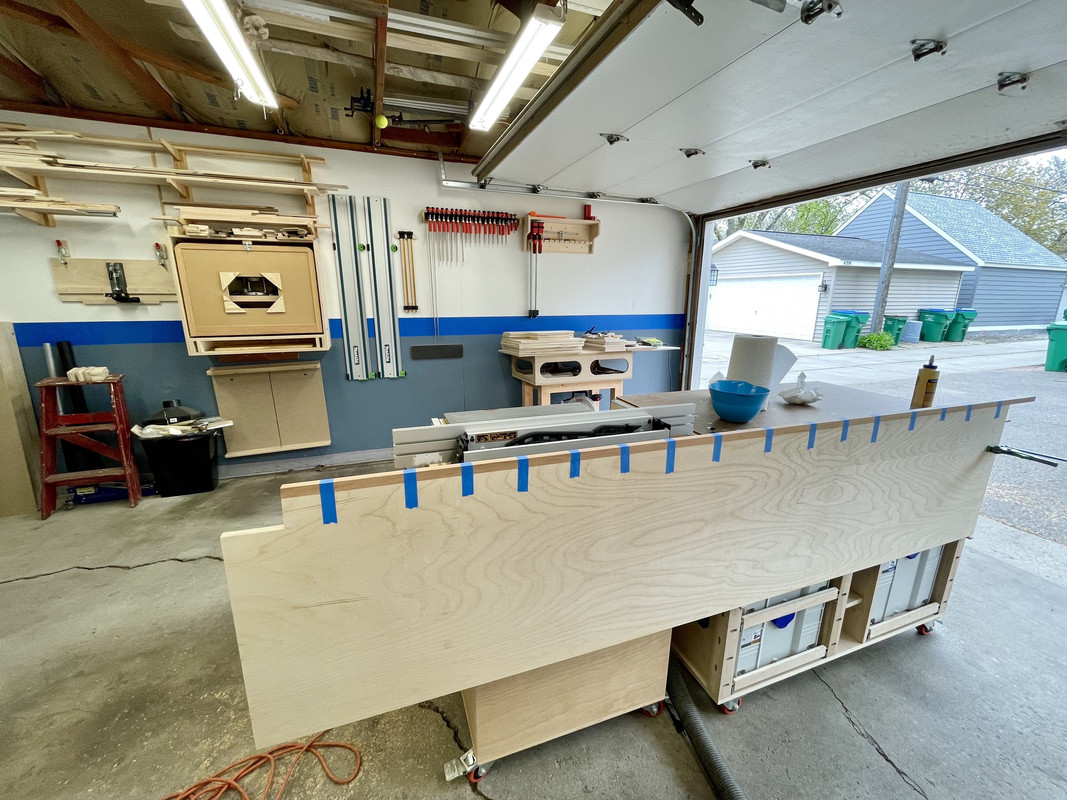
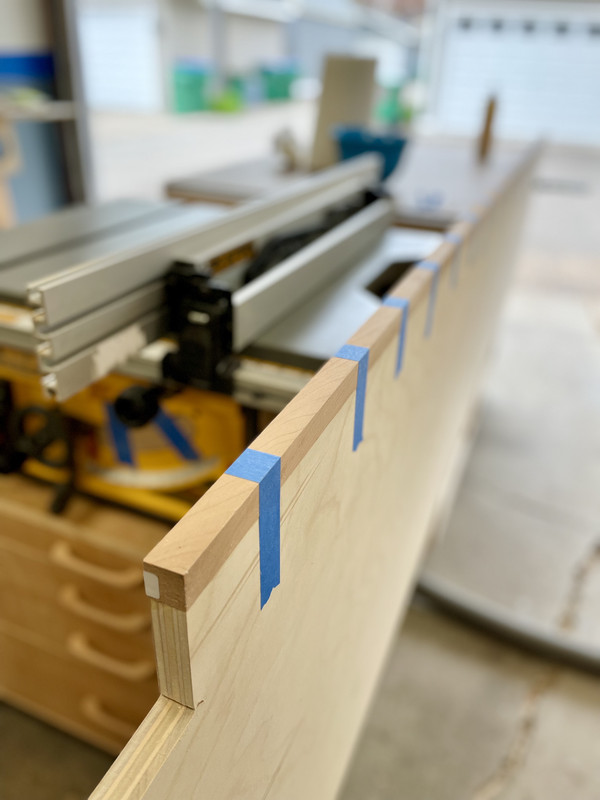
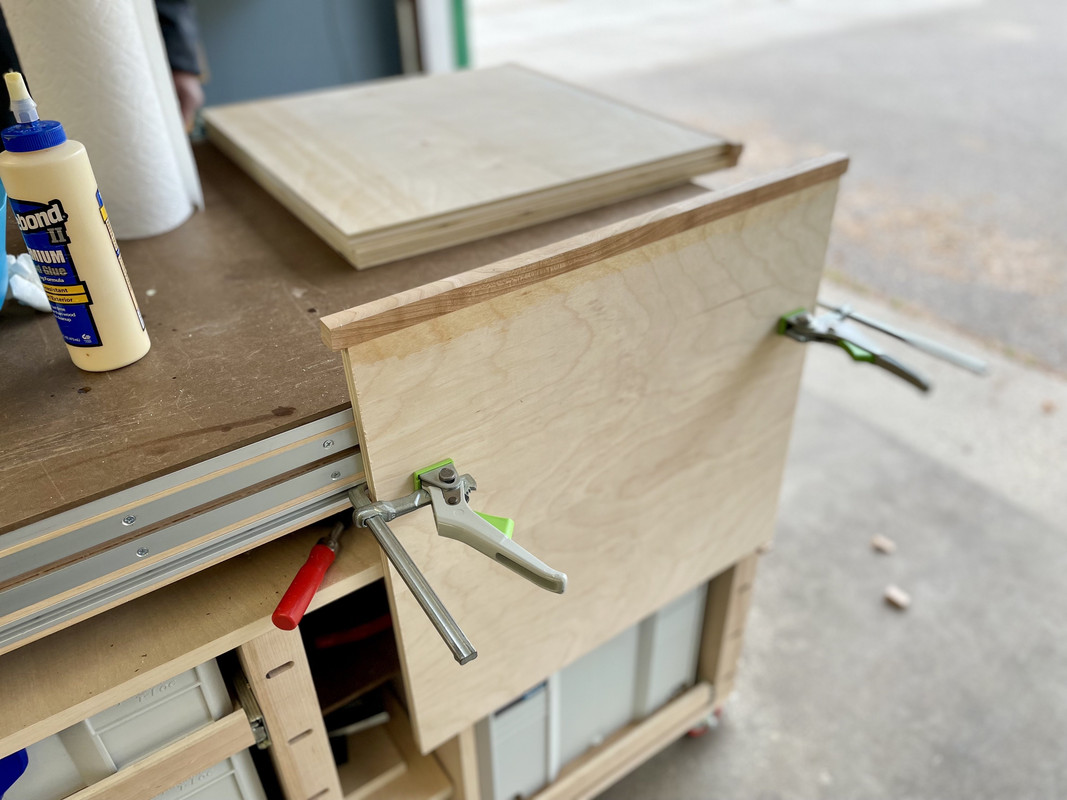
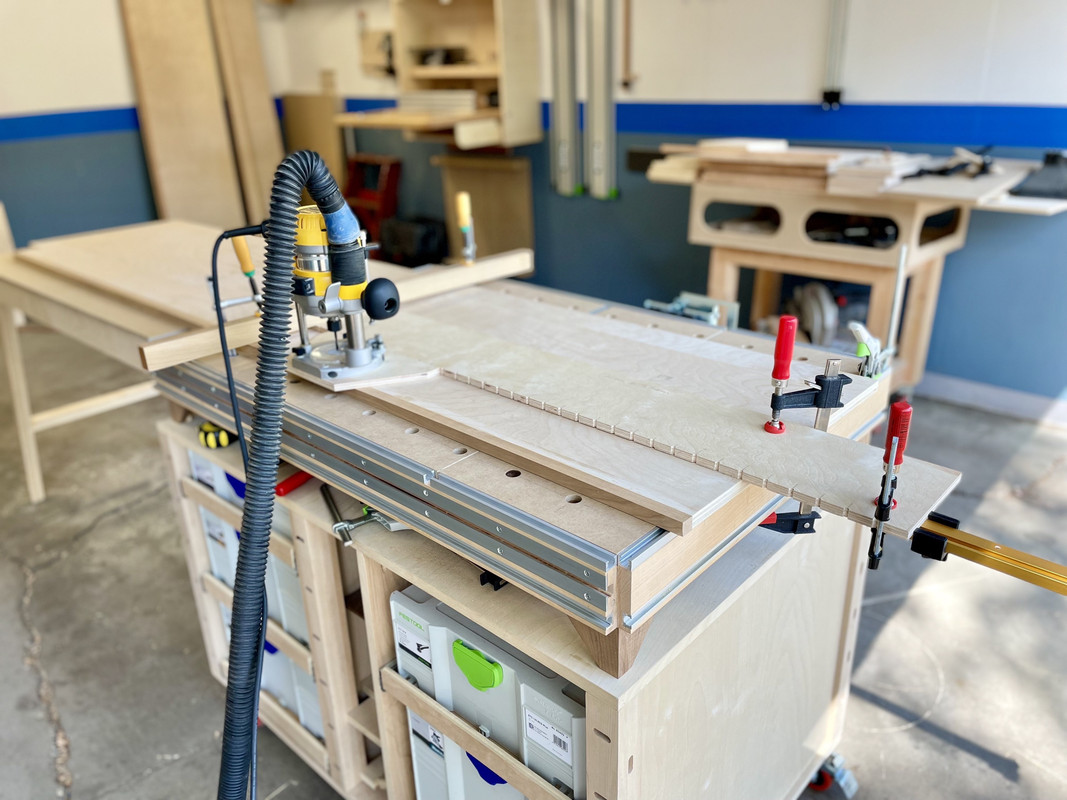
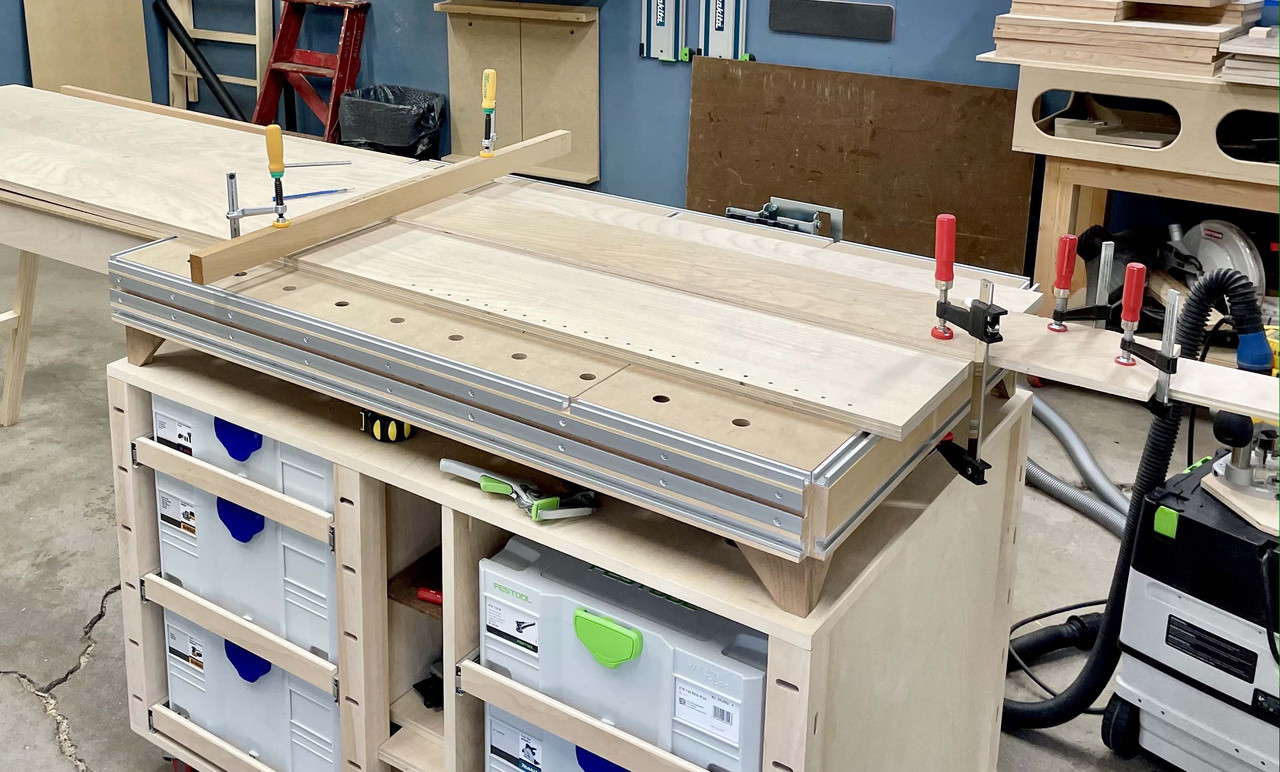
One row of these cabinets is very narrow / shallow. Like 9" deep. So the jig can't be clamped on the back with the MFT dog holes. And the cabinets are so long I can't clamp the jig on the end that falls in the middle. So it required some creative and fiddly clamping, including the usage of a caul:
Aside from the ease-of-use frustrations, there were some accuracy issues. I had used one of my 3D printed Incra TT+ parallel guides as an "end stop", clamped to the jig, for drilling the holes in the first orientation. When it came time to flip the jig over and drill the opposite row of holes, I had to flip the end stop to the other side of the jig, but when I drilled the next row they came out about 2mm off from the opposite row.

I assumed it was some sort of error with the end stop, so on the next one I drew parallel lines over with a T-square, and re-positioned the jig by eye and re-set the end stop.
Better... but still off a bit, maybe .5mm or 1mm. This doesn't sound like much, but it is not good for shelve pins. They should be almost exact.
I've produced essentially perfect results with the jig before, so I was scratching my head on what was happening and how to fix it.
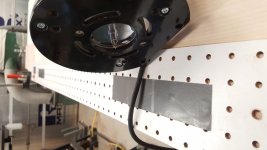
What I think may have happened is when installing the router onto the baseplate, the bit may not have been perfectly in center with the indexing pin. Even 0.5mm off and it would propagate to 1mm overall because the baseplate faces a different orientation for the front row of holes vs. the back row of holes.
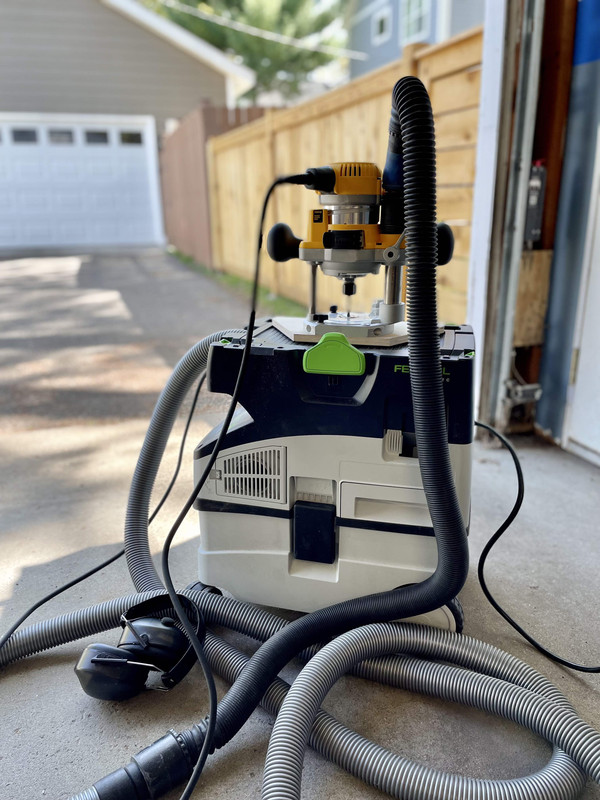
To set the baseplate I've just been plunging the bit through the existing 5mm hole and then tightening the screws, but the hole may have widened a hair with use.
The Festool LR32 base has a much wider opening and uses a "centering mandrel" to center the bit. I'm realizing the importance of this.
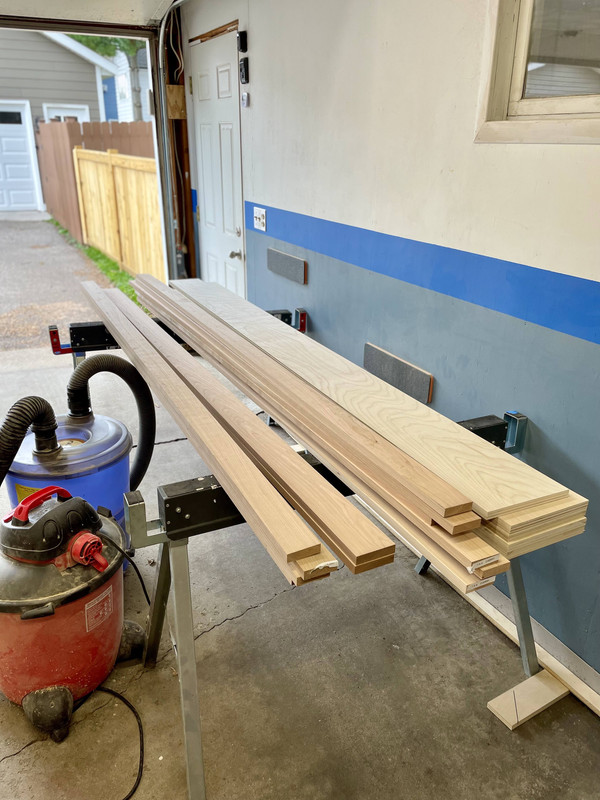
Another frustration was my jig, the long board piece, has warped and would not lie flat, which made lining it up a chore.
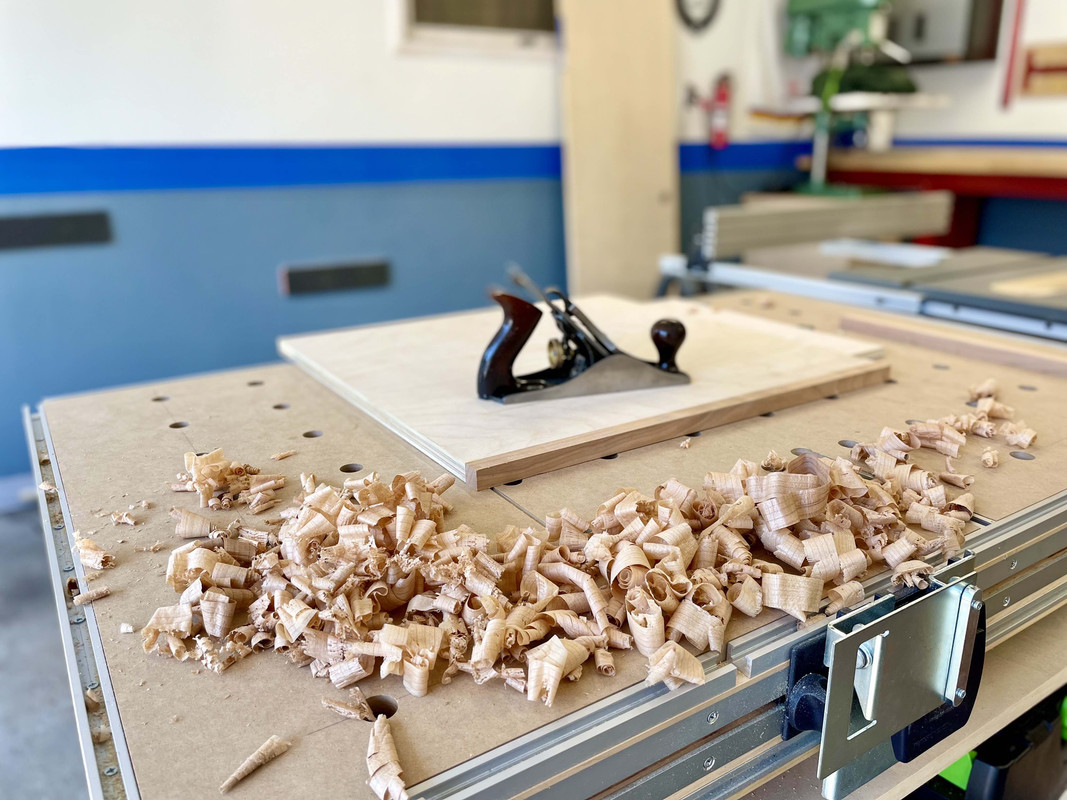
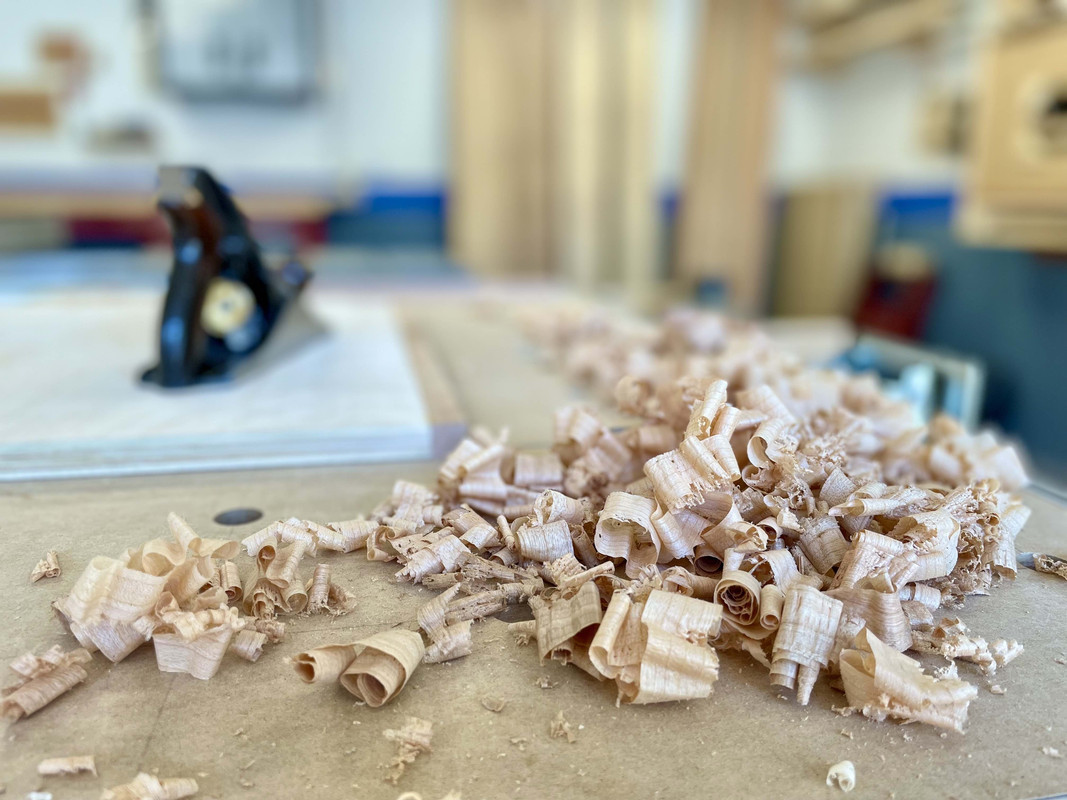
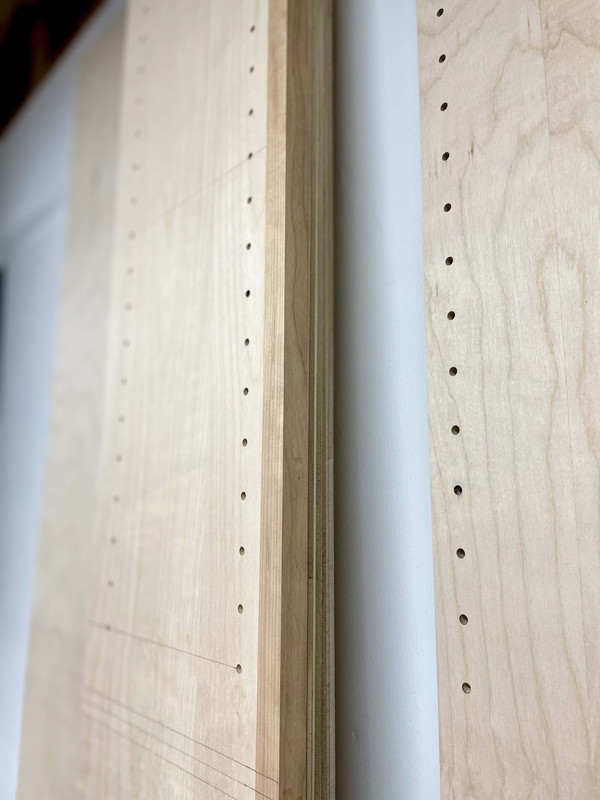
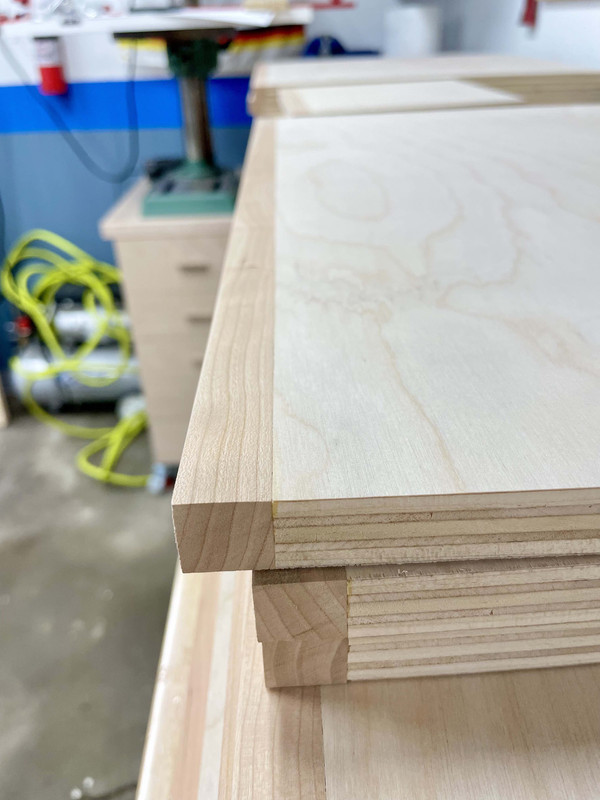
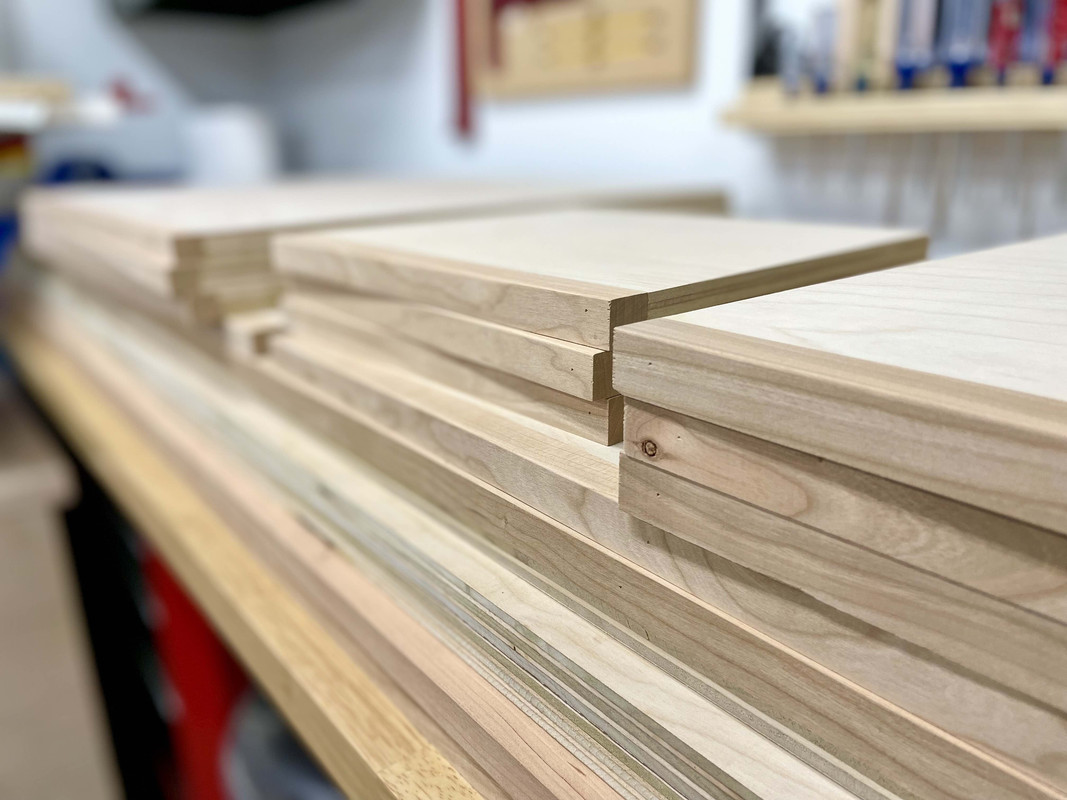
Overall the holes got machined very nicely:
And any inaccuracies won't affect the doors. But some of the shelves might require some tape to shim them level if they end up rocking a bit. We shall see...
I think ultimately I'll end up building more cabinets for myself, and I'd like to crack this nut without shelling out for something like the LR32 which costs a small fortune. Either a more thoughtful redesign of this plywood jig with better materials and dimensions, or a rail-based solution with 3D printed parts like
Bakafish has executed, or perhaps a hybrid solution with some pre-existing products like
Trapps was suggesting. Too late for this project, but food for thought!


 Do you notice that your woodworking projects seem to go quicker now that you've built up your tool collection, and have your carts and jigs and shop layout dialed in? And most importantly, as your knowledge has been growing?