C_F
ALLIANCE MEMBER
Your tank project turned out nice! So did the u-bolts, I may have to get one of those benders now. 

Looks like you would have room to fab up a lockable tray for chock blocks next to the propane bottle too.
Your tank project turned out nice! So did the u-bolts, I may have to get one of those benders now.
Nutts: nice work on the U bolts and fab work and i hope your tank stays in place with just the one bolt. great job and thanks for all the pictures and information too!!


Could you make that "wasted" space a place for jackets or wet weather gear for quick access?
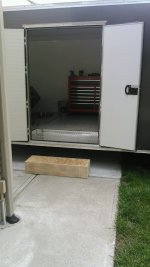
Just put that step box on your "Before we leave" check off list.
I chased a guy 50 miles down the interstate with his.
We had perked next to each other at a rest stop and his wife needed it to get in and out of his 5th wheeler.
They drove off with it still in the lot.

I created a similar step for my trailer, made it so it would sit in the foot well of the door. You have to keep in mind of uneven services at the track, some times I'm on pavement and sometimes in the grass.
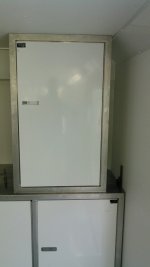
It won't be wasted. I have a piece of metal bent up to fill in the gap. I just need to trim it to fit, screw it in place and caulk the seams. It just makes the closet larger which is really no big deal.
I see that makes it easier, I was thinking you had a solid wall on that side of the cabinet.


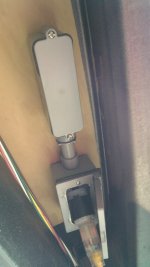
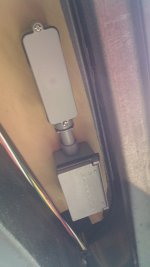
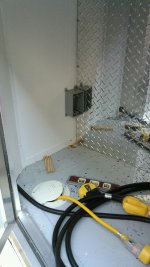
Nice catch! It's odd that they left it like that, as a possible problem area.I think I also found out why some trailers catch on fire. Notice the wiring that rubs on the aluminum trim ? I covered it with a small piece of rubber hose.

Nice catch! It's odd that they left it like that, as a possible problem area.
The step turned out great!
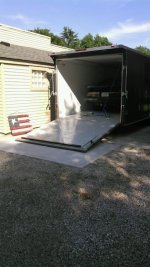
Trailer is looking Great keep us posted.
Who needs a fire extinguisher, do you even know how to use one of those properly? I am thinking you should get some training first.
The cabinets look great, the step turned out awesome, but I would have used red carpet.


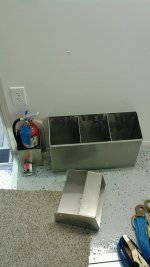
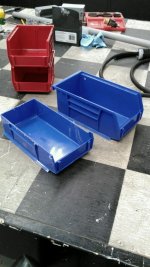
Great job outfitting the trailer. If you need more bins, jugs from oil, antifreeze, etc run thru the band saw make great bins. Between, quart, gallon, 5 qt oil jugs there is a good selection of sizes and you can make them whatever height works best obviously. I use a lot of them in the shop.
Eric, I'm confused about the shore power. Why don't you just have an inlet plug under the trailer, and have that wired into your trailers electrical directly? Then you would always use an extension cord plugged in under trailer both at home or at the track.
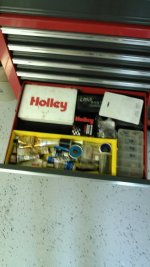
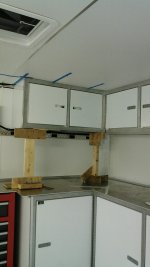
Cabinets look great.


Looks nice!!!