theoldwizard1
Well-known member
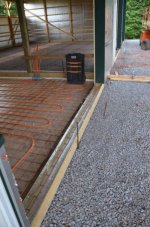
Cookies do go in the holes. They give a bigger footprint for the post. The holes are 4' x 20". I lightened photo to show it better.
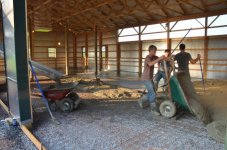
Backfill with gravel, soil, or ?

Cookies do go in the holes. They give a bigger footprint for the post. The holes are 4' x 20". I lightened photo to show it better.
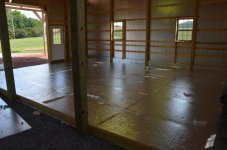
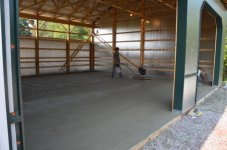
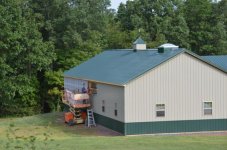
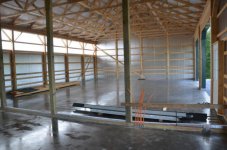
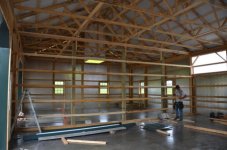
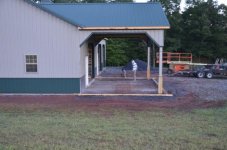
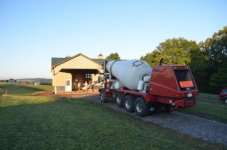
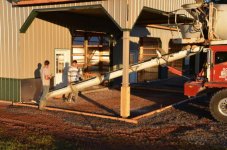
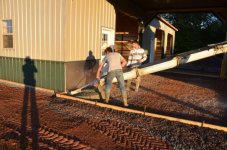
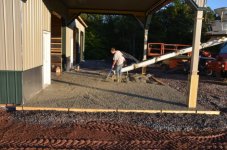
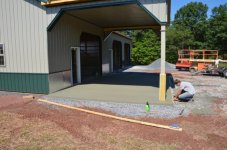
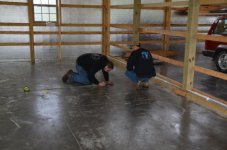
So is the whole place getting concrete or just the workshop?
Backfill with gravel, soil, or ?
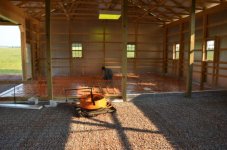
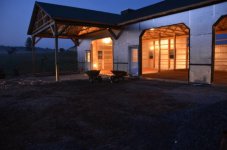
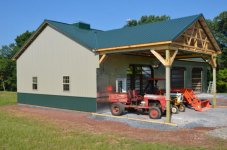
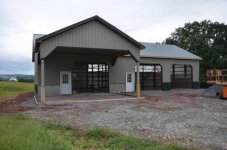
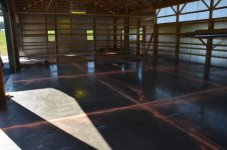
 I just love it.
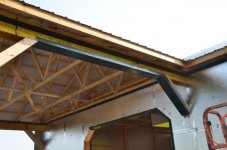
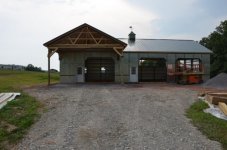
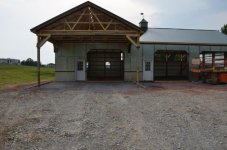
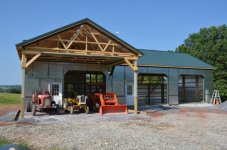
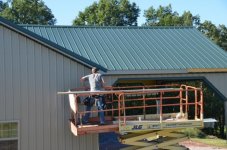
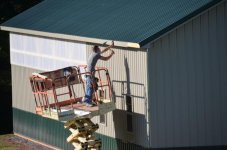
Looks nice and professional as usual! You bricking around the bottom of the portico columns?