To avoid these ads, REGISTER NOW!

Raising the Rat Shack

JohnnieMo

Well-known member
Joined
Nov 25, 2014
Messages
1,175
Location
Calgary, Alberta
I did a similar project with my 22x24 garage. However I was doing it to make room for a vehicle lift. My thread is destroyed by the aforementioned photobucket fiasco, but my youtube video is an easier way to consume the knowledge anyways.

 
To avoid these ads, REGISTER NOW!
OP
P

Platonic Solid

Well-known member
Joined
Nov 29, 2014
Messages
3,587
Location
CT-USA
Stuart in MN – If the jack beams are attached to the vertical posts, then the walls can’t be moved.

I’m toying will the possibility of building a free floating frame that isn’t mechanically attached to the structure so I can straighten the walls.

My Old Tools – Now that the floor is out I can see remnants of a sill beam. At some point someone put cement blocks under the center posts. I haven’t dug around the corner posts yet. I may just go ahead and lift and see what happens.

Xtremek – As long as I stick to the “keep it ratty” plan, I think it’ll be worth it.

TractorJeff – Sill Plate = Yes, Stones = No. It’s directly on (now in) dirt. I’m going to lift from low to mid wall height.

JohnnieMo – Thanks for the video. It is helpful even if it isn’t a post and beam construction.
 

lakeroadster

Well-known member
Joined
Jan 19, 2015
Messages
5,166
Location
Central Colorado
I can totally see the logic in what you are doing if there is some sentimental value to the building: a connection with family, etc.

Otherwise... Holy Schnikeys :eyecrazy:

Is the effort and cost to raise the building = to or < the cost to replace the building?

It appears the structure isn't very solid.

In the end will you be feeling that you won the battle... yet lost the war?
 
OP
P

Platonic Solid

Well-known member
Joined
Nov 29, 2014
Messages
3,587
Location
CT-USA
lakeroadster - No sentimental value. I know it's about as logical as climbing Mount Everest = because it's there, except my odds of dying are much lower. Cost is way lower to raise it than rebuild. If it's still standing and keeps my stuff dry, I'm satisfied. Be even better if (big if) I can make it rodent free.
 
OP
P

Platonic Solid

Well-known member
Joined
Nov 29, 2014
Messages
3,587
Location
CT-USA
Today's Progress Pics:

Half the floor removed reveals poured cement things on left and bricks on right. both stop halfway into garage.


Under the floor I found this odd 1" dia. black 2ft long hose. Both ends flared out to 2" dia. and plugged with something. I thought it might be a piece of copper cable, so I started to hack into it. Some kind of liquid started squirting out under pressure. Not having time to play I tossed it (and it kinda creeped me out). It's still under the wood headed for the dump in the bed of my truck if someone really thinks they know what it is.

Here's a clue to the original construction. This is right in the middle of the garage (and it's completely rotted out).

 
OP
P

Platonic Solid

Well-known member
Joined
Nov 29, 2014
Messages
3,587
Location
CT-USA
Today's Progress Pics continued:

All wood flooring removed and dirt redistributed. I did find a pretty good sized old critter cave under the flooring near the previous large dirt pile.


Old structural repair with cement blocks and non-pressure treated lumber.


I dug a hole for the counter weight so I can open the door all the way. You can see the sill plate here too.

I thought I'd be able to save some of the flooring for cribbing. I only ended up with four 4ft pieces. Some is going to the dump. The rest is so far gone that I dumped it in the woods to let mother nature finish the job.


TractorJeff

Well-known member
Joined
Dec 8, 2013
Messages
3,309
Location
Elkhorn, WI
YEP! Told you there would be a Sill Beam!
Halfway up for the Lift points should be fine!
Keep it up!
You WILL conquer this Everest!
 
OP
P

Platonic Solid

Well-known member
Joined
Nov 29, 2014
Messages
3,587
Location
CT-USA
YEP! Told you there would be a Sill Beam!
Halfway up for the Lift points should be fine!
Keep it up!
You WILL conquer this Everest!
Now that I've slept on it, I'm thinking something similar to you prior post, except install horizontal 2x8s along top of posts such that once it's lifted I have a fighting chance of pushing the walls in.
 

ambenz

Well-known member
Joined
Dec 12, 2010
Messages
4,236
Location
NW Chicago Suburbs
Cool thread! Very interesting to see your progress and the things that come up on projects like this.
I be watching and I hope you can achieve all your ambitions for this garage.
 

krcoomer

Well-known member
Joined
Jul 22, 2016
Messages
379
Location
Bluegrass region
Cool thread and the space has lots of potential. Let me echo those who have told you to jack, then block. Since you live offsite, you also need to make sure it is somewhat secure when you leave to keep kiddos from finding a cool place to hide.

I also have off site storage at a rental and understand not putting more expense into it than you have to. It is great to have tools AT your rental that you might not carry in all your vehicles to take care of a 5 minute fix without having to run home and the storage is invaluable. I would suggest building some form of locking interior shutters if you are using windows for light (since electric is your renter's). It keeps eyeballs off of something that you do not look at every day or so.

I would watch the free section of craigslist and other local sites for people getting rid of bricks or patio blocks. Lay some 6 mil plastic down and start at the back wall and work your way out as you find the blocks. Durable flooring will help keep the burrowing critters from getting in and the plastic will slow some of the moisture migration.

Keep all your receipts and documentation for everything related including the jacks because it all counts for your basis when capital gains time comes around since it is an improvement to rental property.
 

My Old Tools

Well-known member
Joined
Jun 4, 2014
Messages
5,424
Location
Hamrick Lake, TX
I lifted a similar two car sized old garage by the top plates. It did have stud walls that landed on rotted out sills like yours. I got it jacked up an inch or two one side at a time, knocked out the rotted sill and slid a treated 6x6 under it, leveled as best I could. I scabbed the bottoms of the studs as necessary. Once I got all the way around I used a convenient tree to pull it square at the opening and used 3/4" plywood gussets to reinforce the door opening. After all that, I dug out some dirt, laid down some reinforced wire, and poured 4 inches of concrete inside. It wasn't pretty because I'm not a concrete guy,. but it was functional.
 
OP
P

Platonic Solid

Well-known member
Joined
Nov 29, 2014
Messages
3,587
Location
CT-USA
So here I am compiling a shopping list for all the necessary guy wire components and it hits me (like a dope slap), if I lift from the top, I don’t need any guy wire. I need to be planning the lifting frame that I’ll be lifting the building with.

4 of these arrived the other day:
Ellis Light Duty Steel Lifting Shore STL-22 (linked)

Ellis-STL-22.jpg

each with STL-JHD double joist holder U-head adaptor (linked).

Ellis-STL-22a.jpg

Total with shipping = $700
Like I said in the beginning, I need these for another project later anyway.
 
OP
P

Platonic Solid

Well-known member
Joined
Nov 29, 2014
Messages
3,587
Location
CT-USA
Today's lack of progress pics: (Wanted to get lumber, but can't seem to get the flat bed running lights to work.)


1 ton of 3/4 stone ($19) for drainage under new sill and as part of base for lifting shores.


I knew it was crooked, but dang!


The PO did 1 thing right - the center beam is level (that's the only good thing I can say about it).​
.
 

xyster101

Well-known member
Joined
Jul 3, 2013
Messages
640
Location
Upstate NY
Just tilt your head!
The time someone saves by not squaring things is tripled later on when they go to add windows, doors or siding.
 

Bevis

Well-known member
Joined
Jan 10, 2006
Messages
808
Location
Moore Haven, Florida
I all for saving old buildings...But I think, I'd drop a match and walk away on this one. Watching to see the rebuild though.
 
OP
P

Platonic Solid

Well-known member
Joined
Nov 29, 2014
Messages
3,587
Location
CT-USA
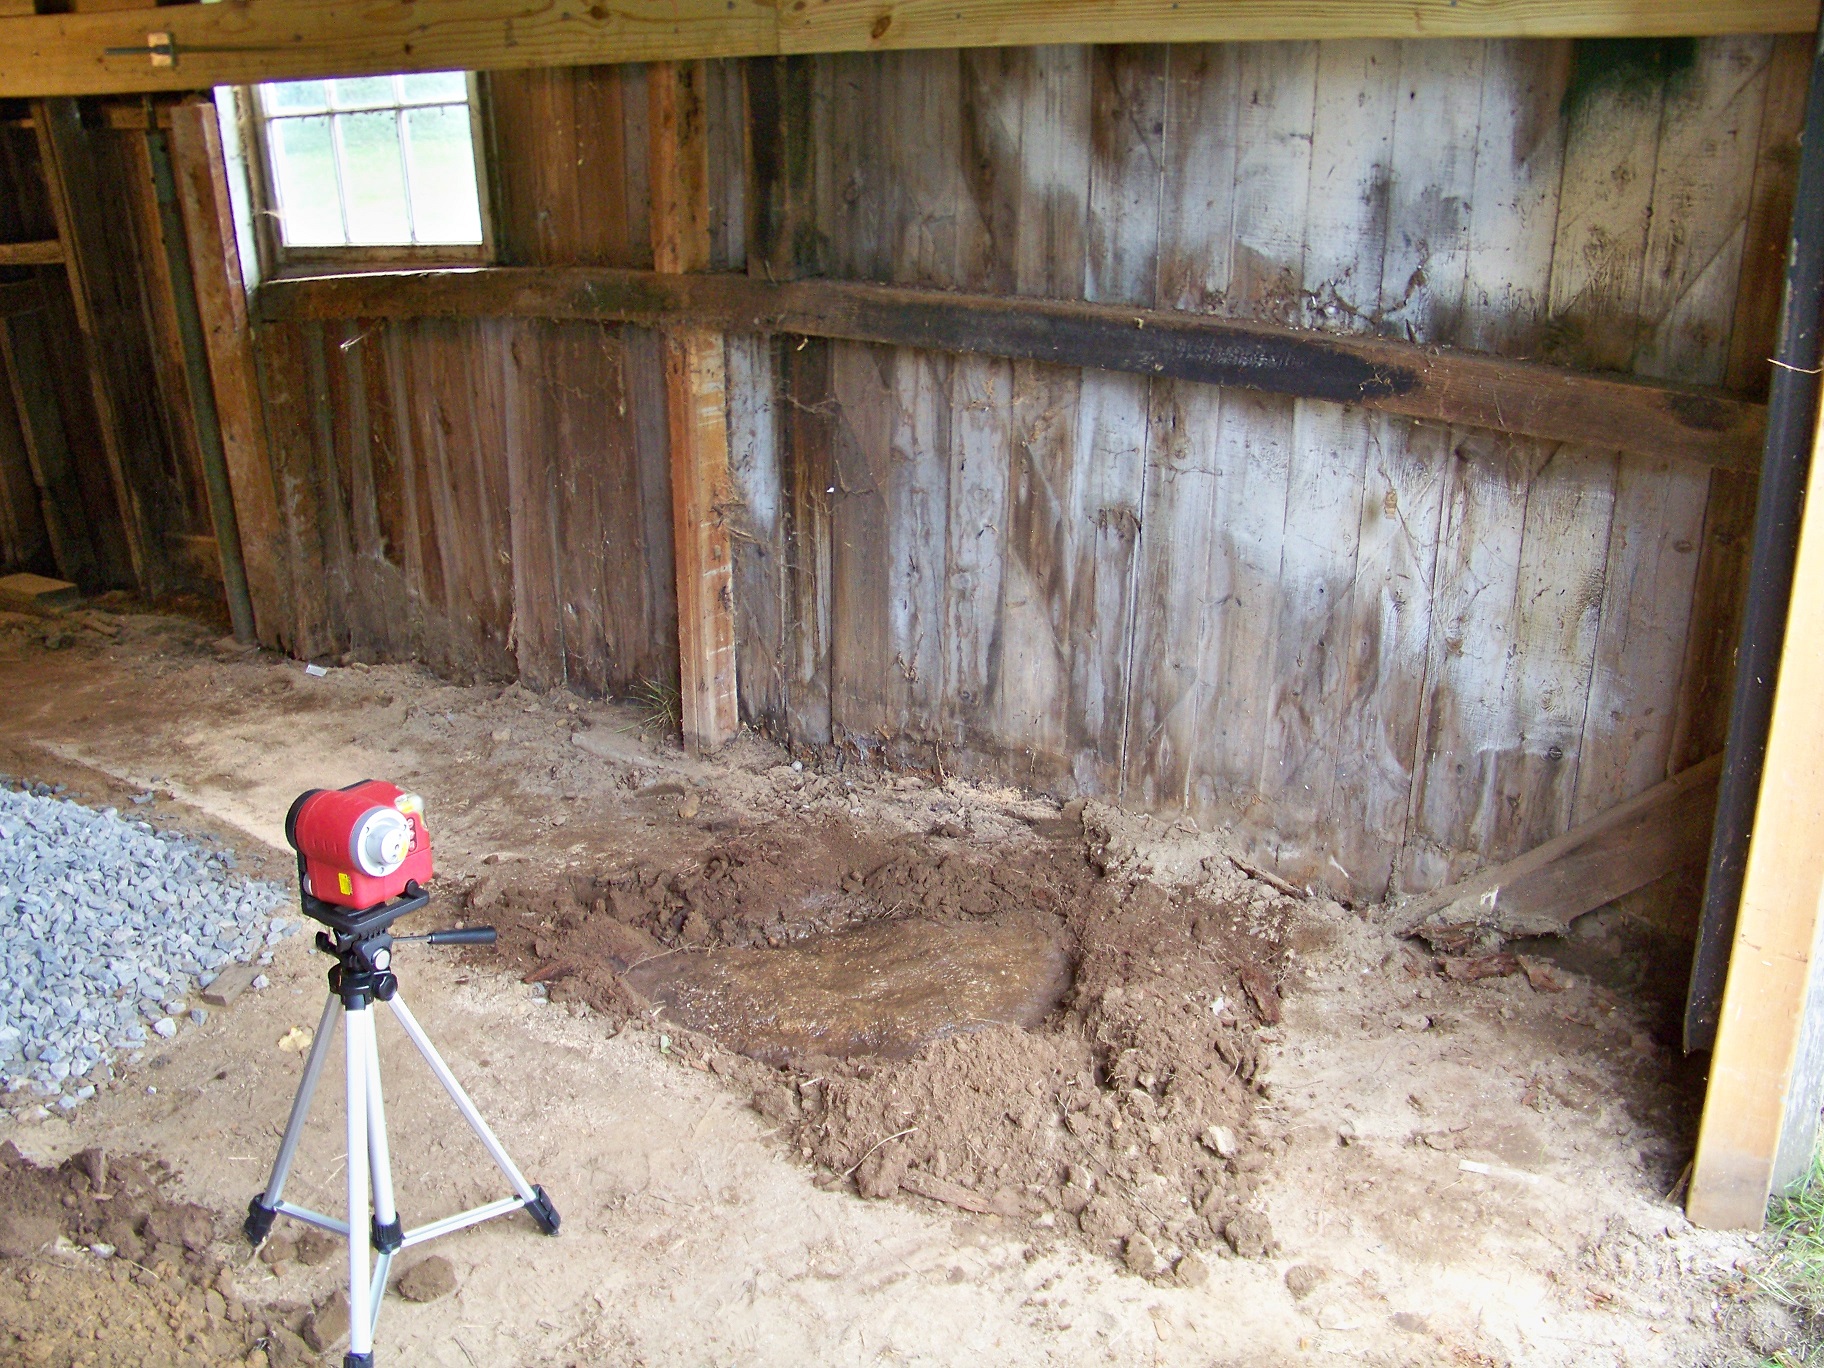
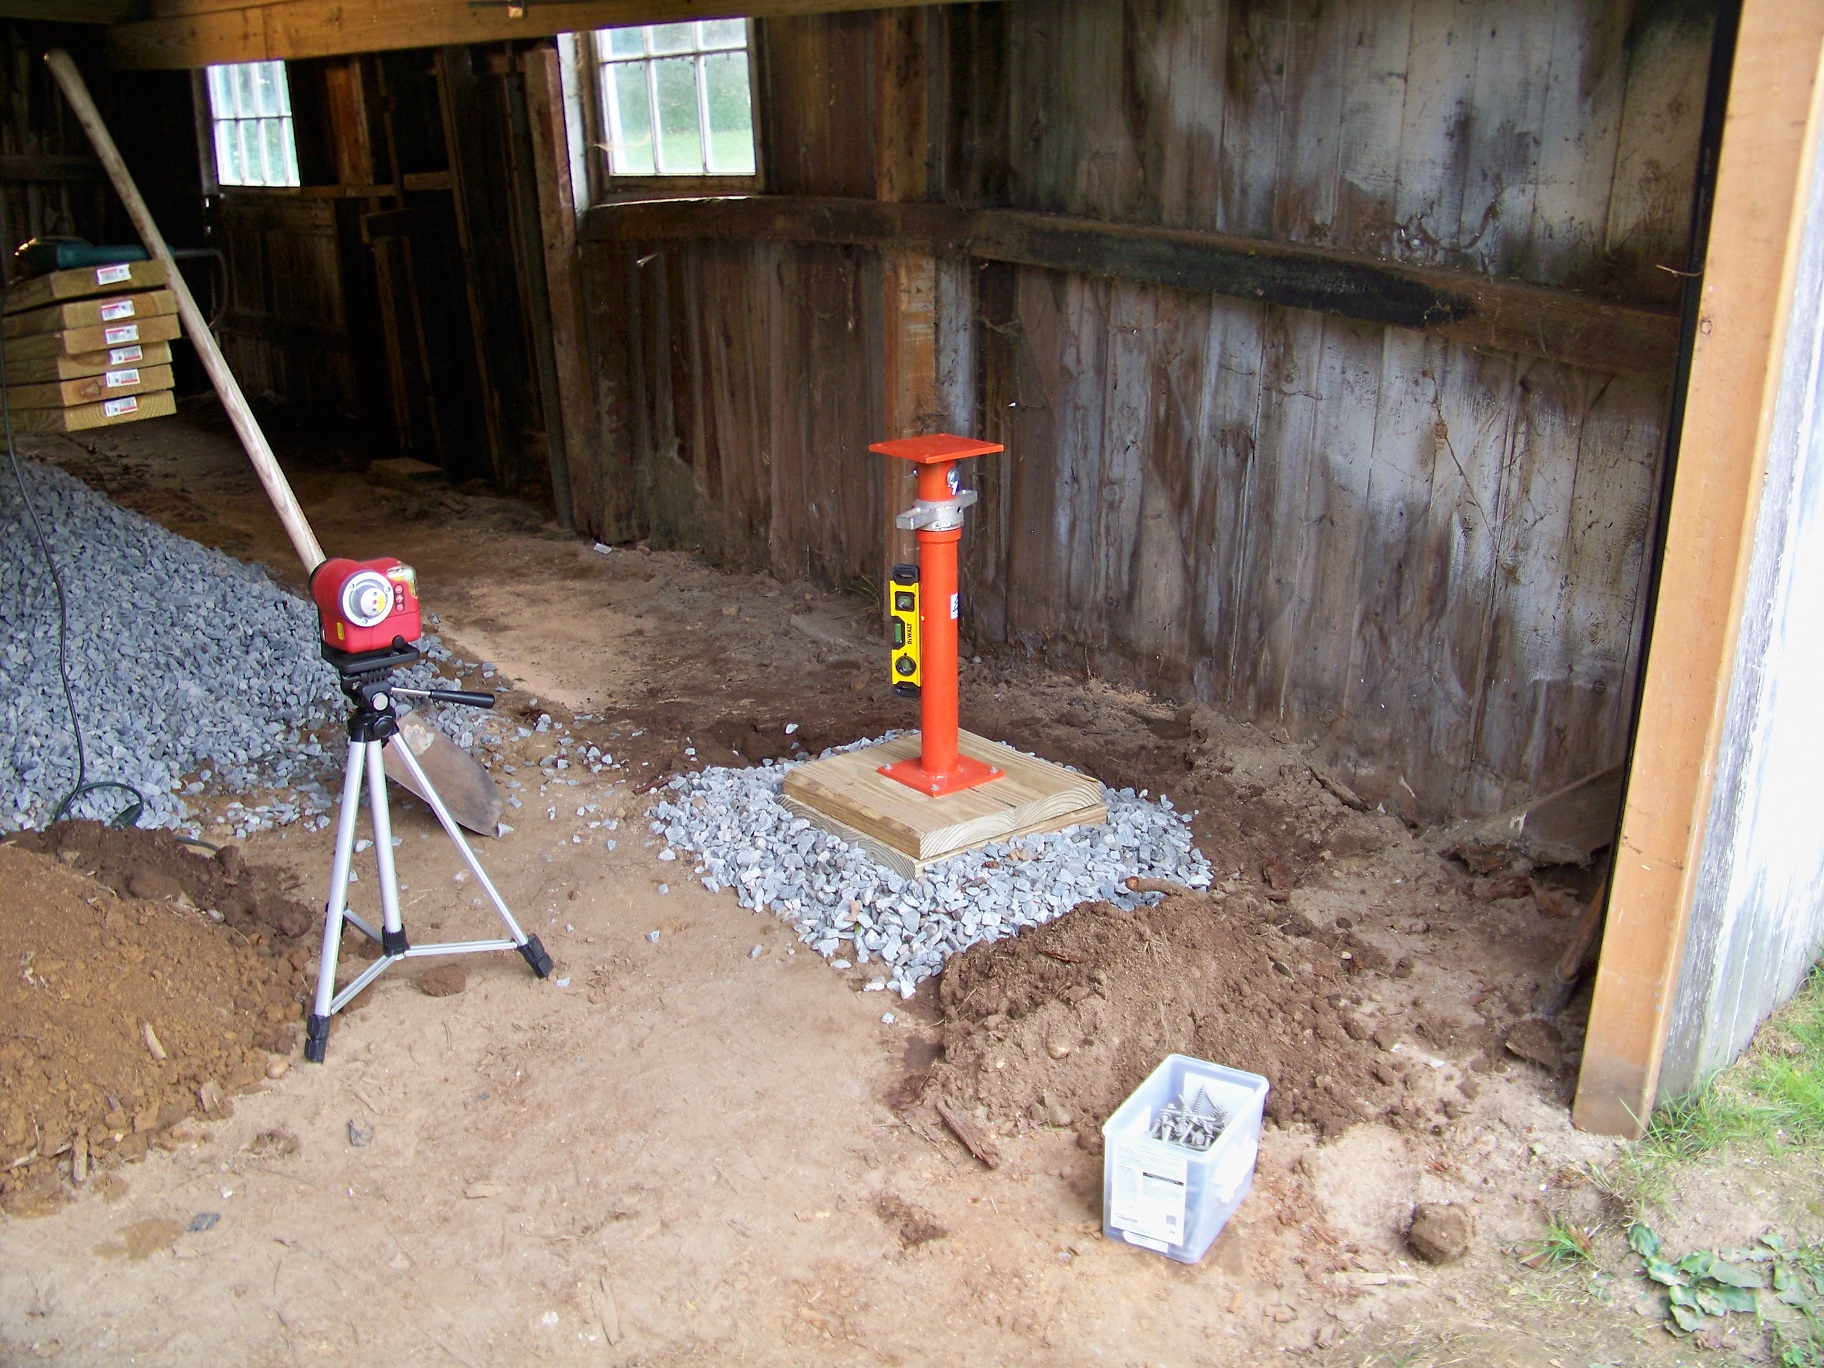
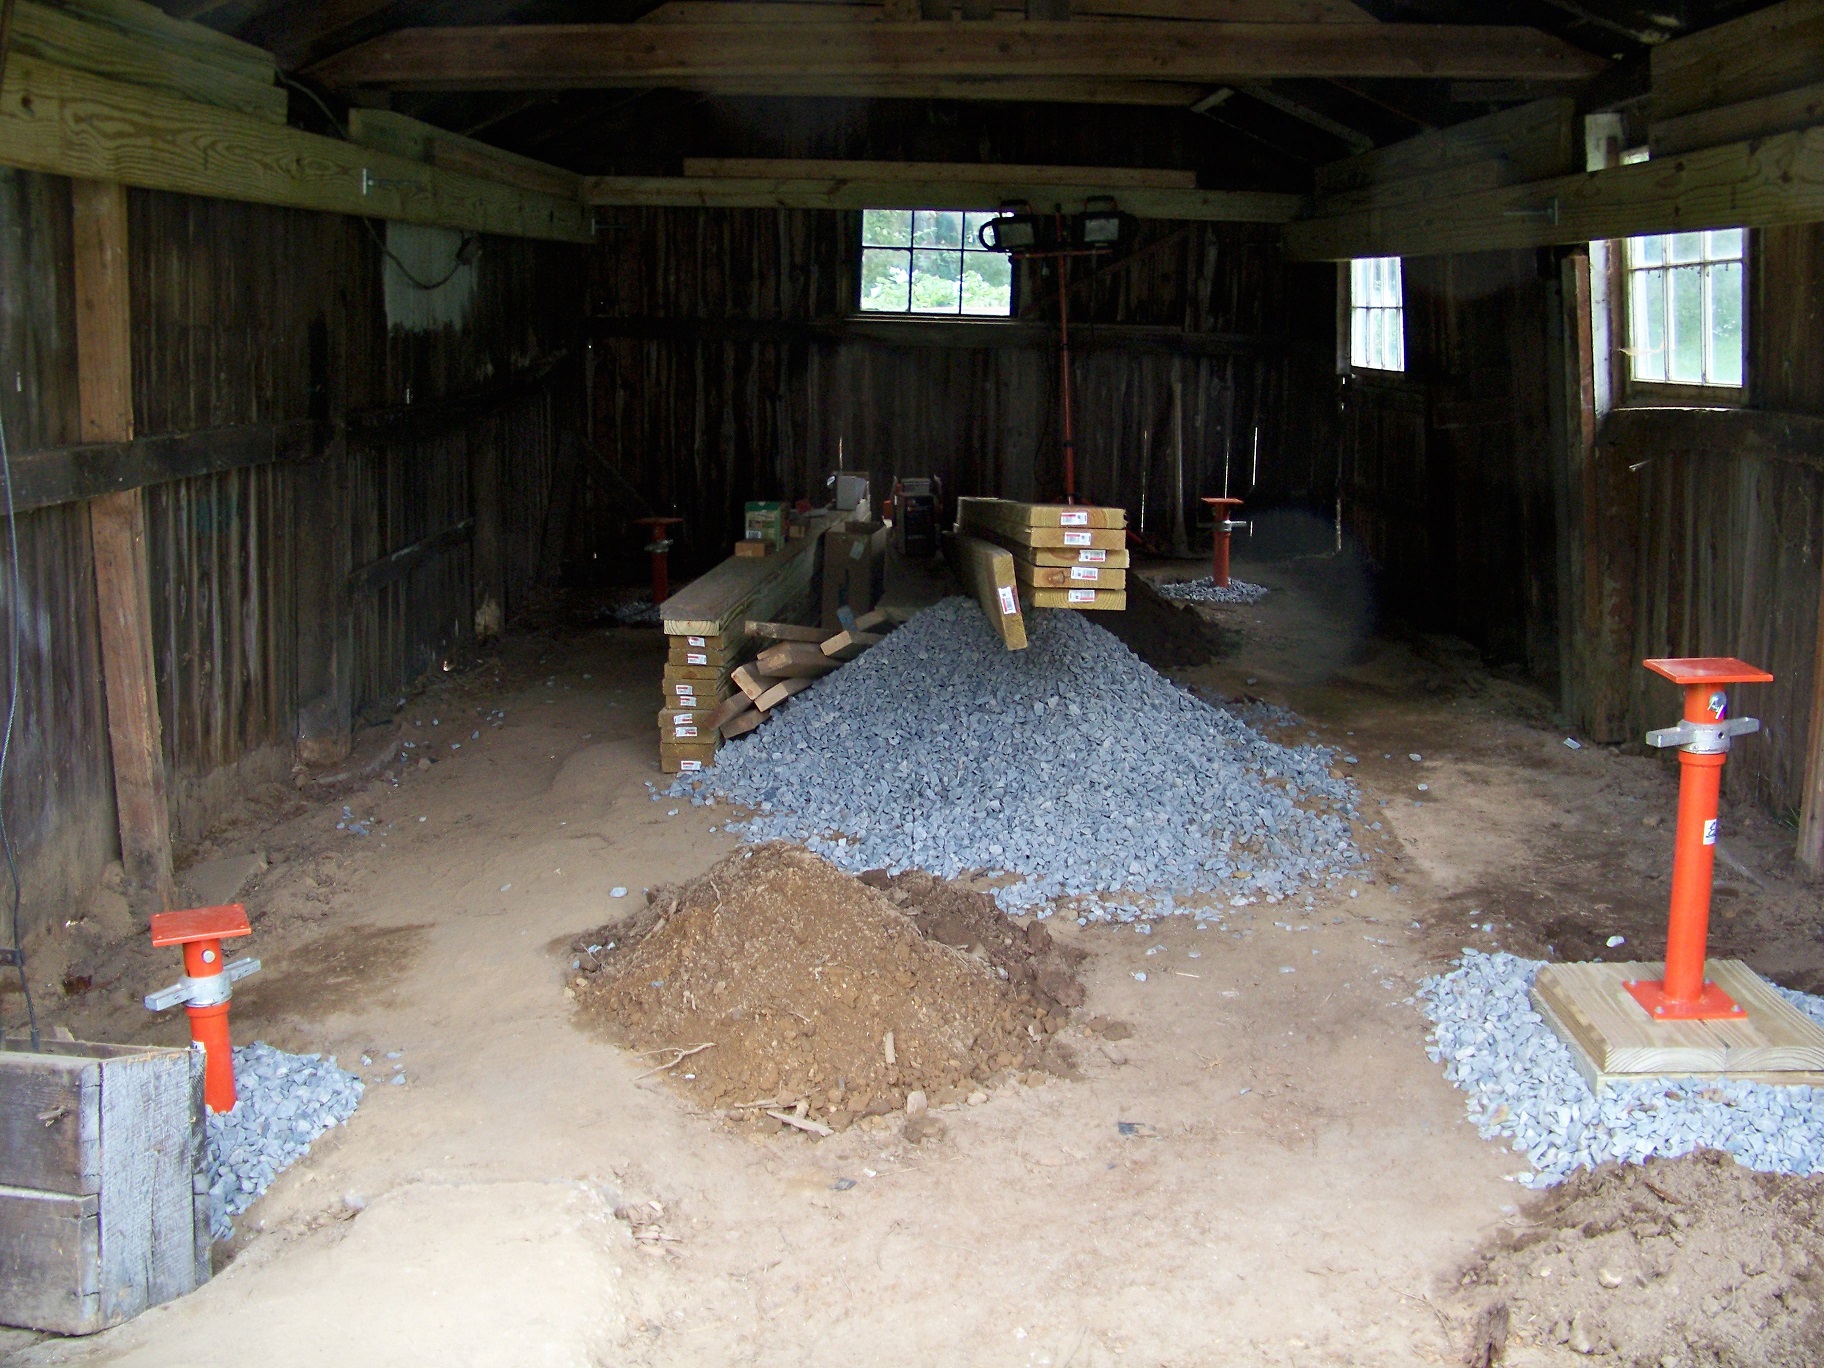
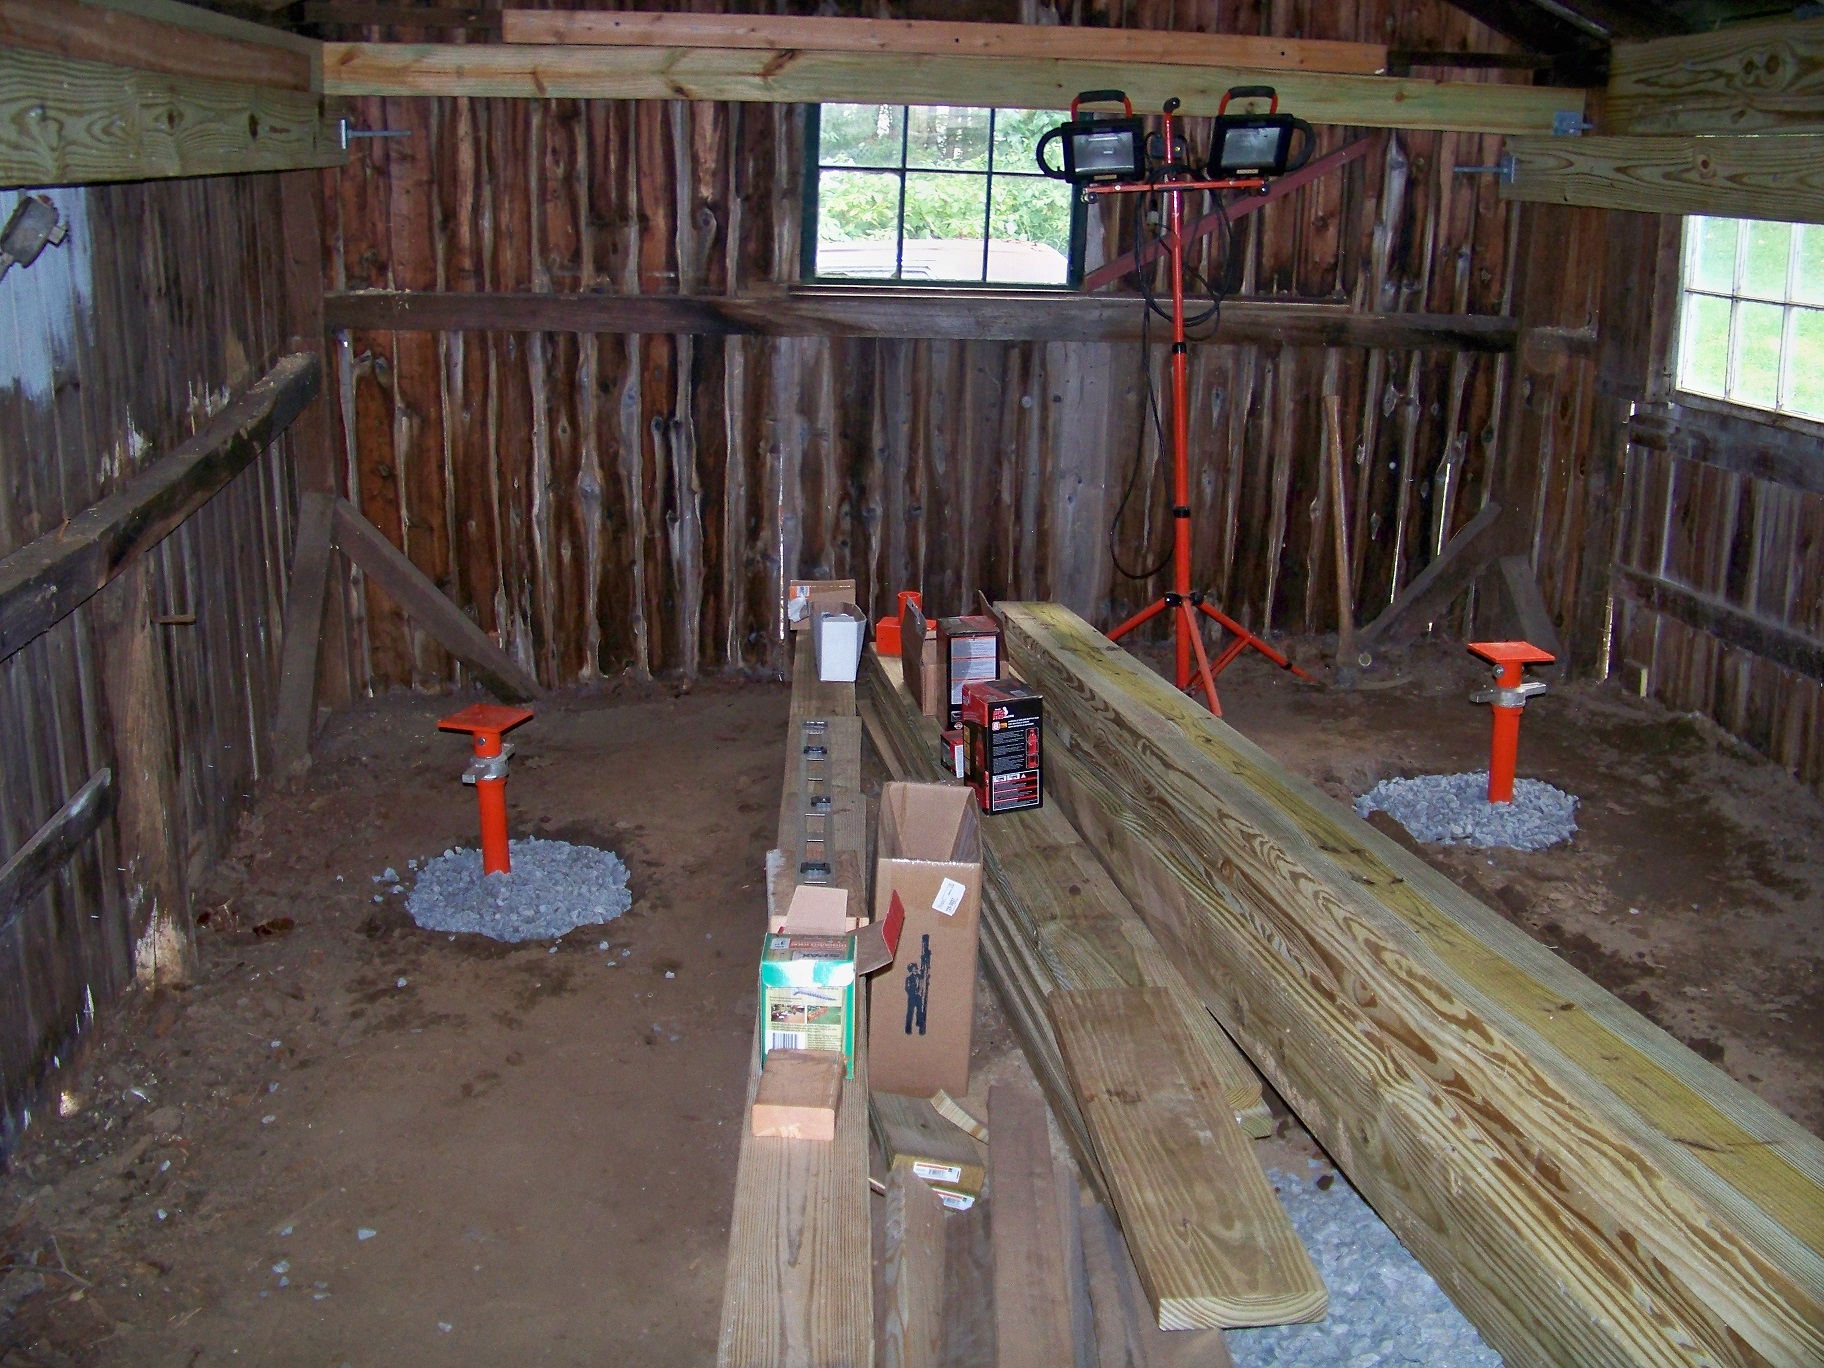
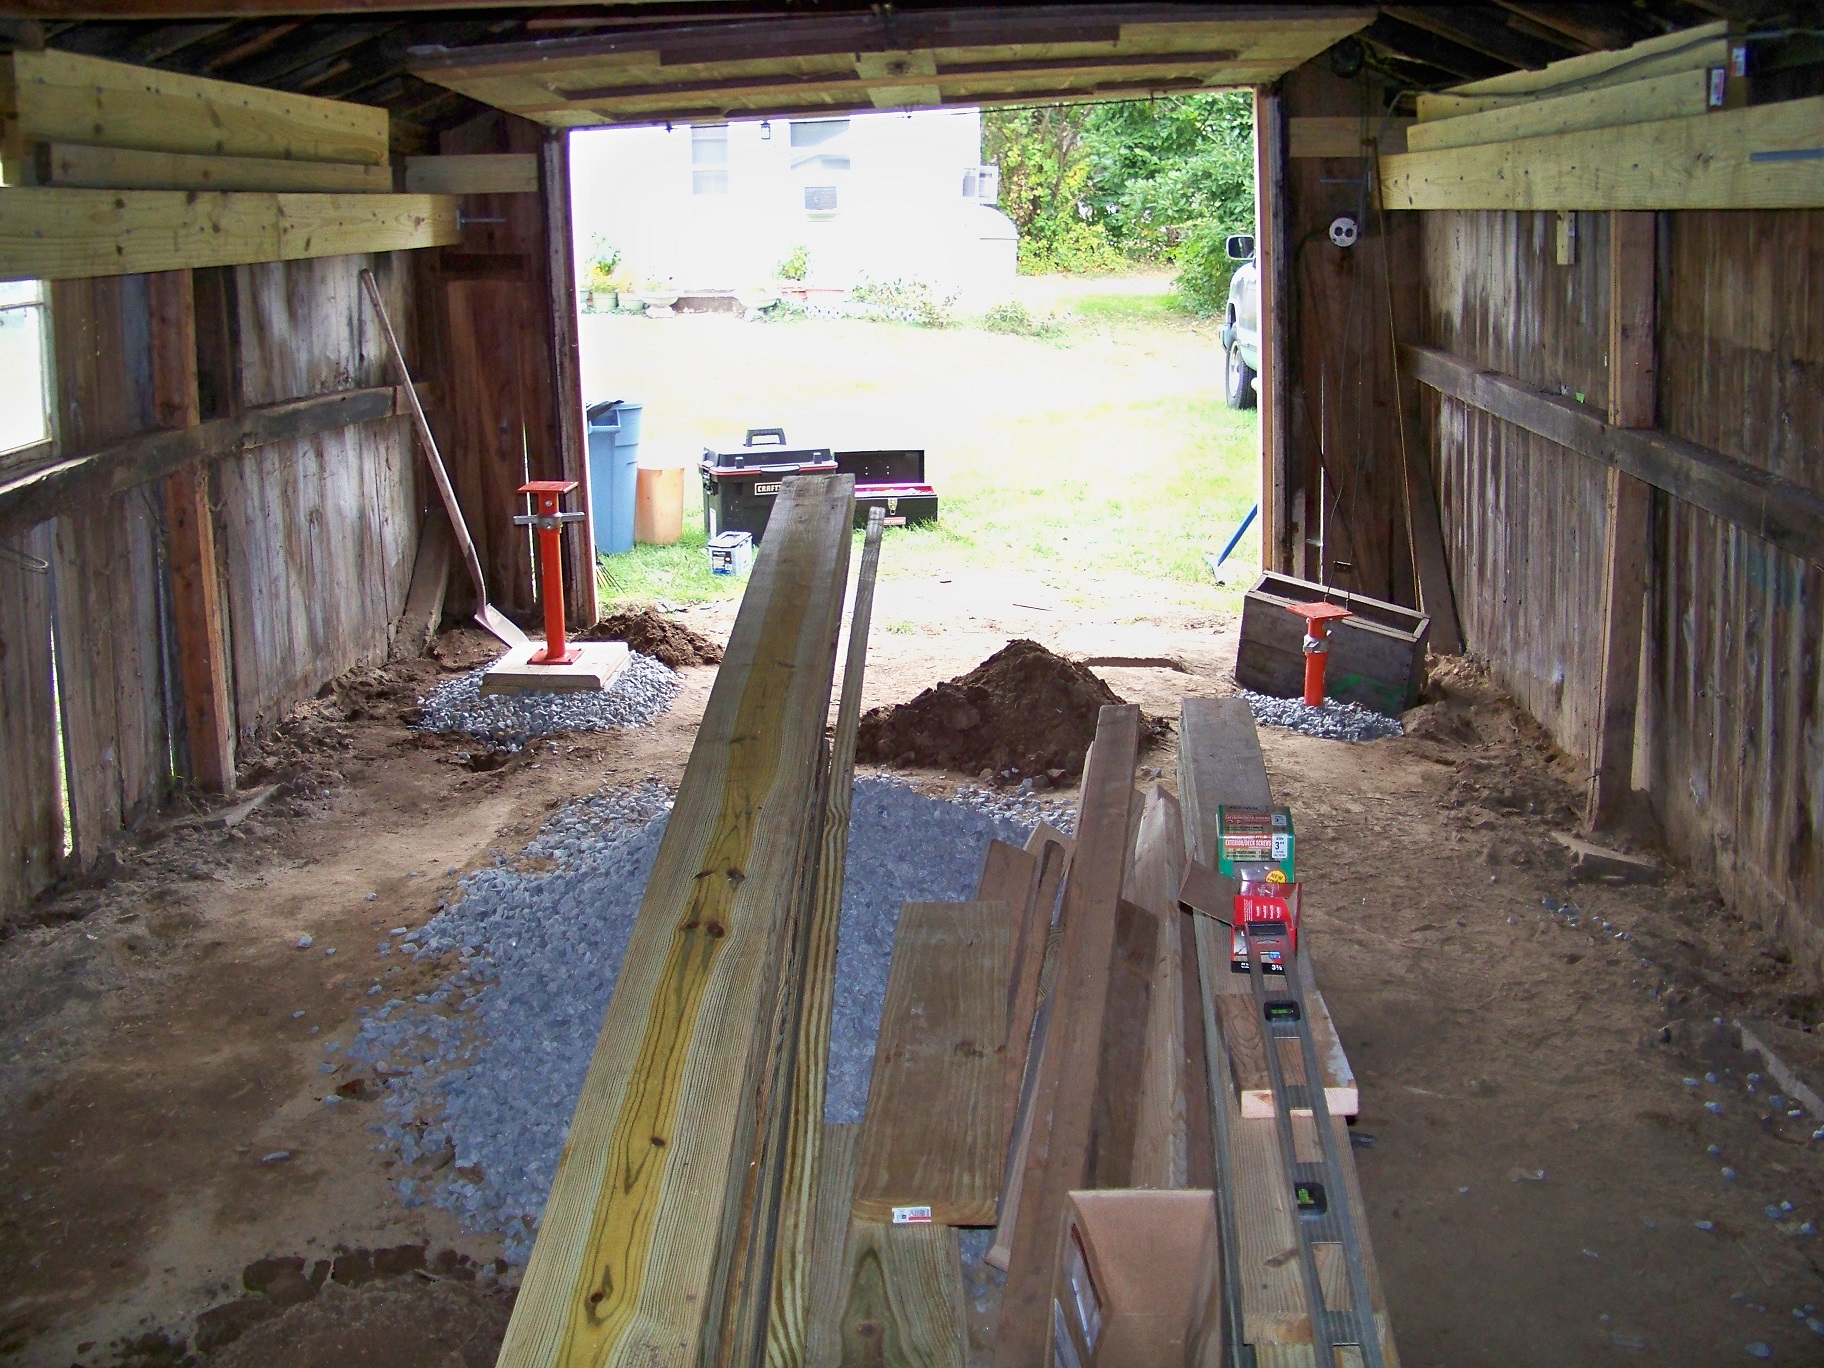
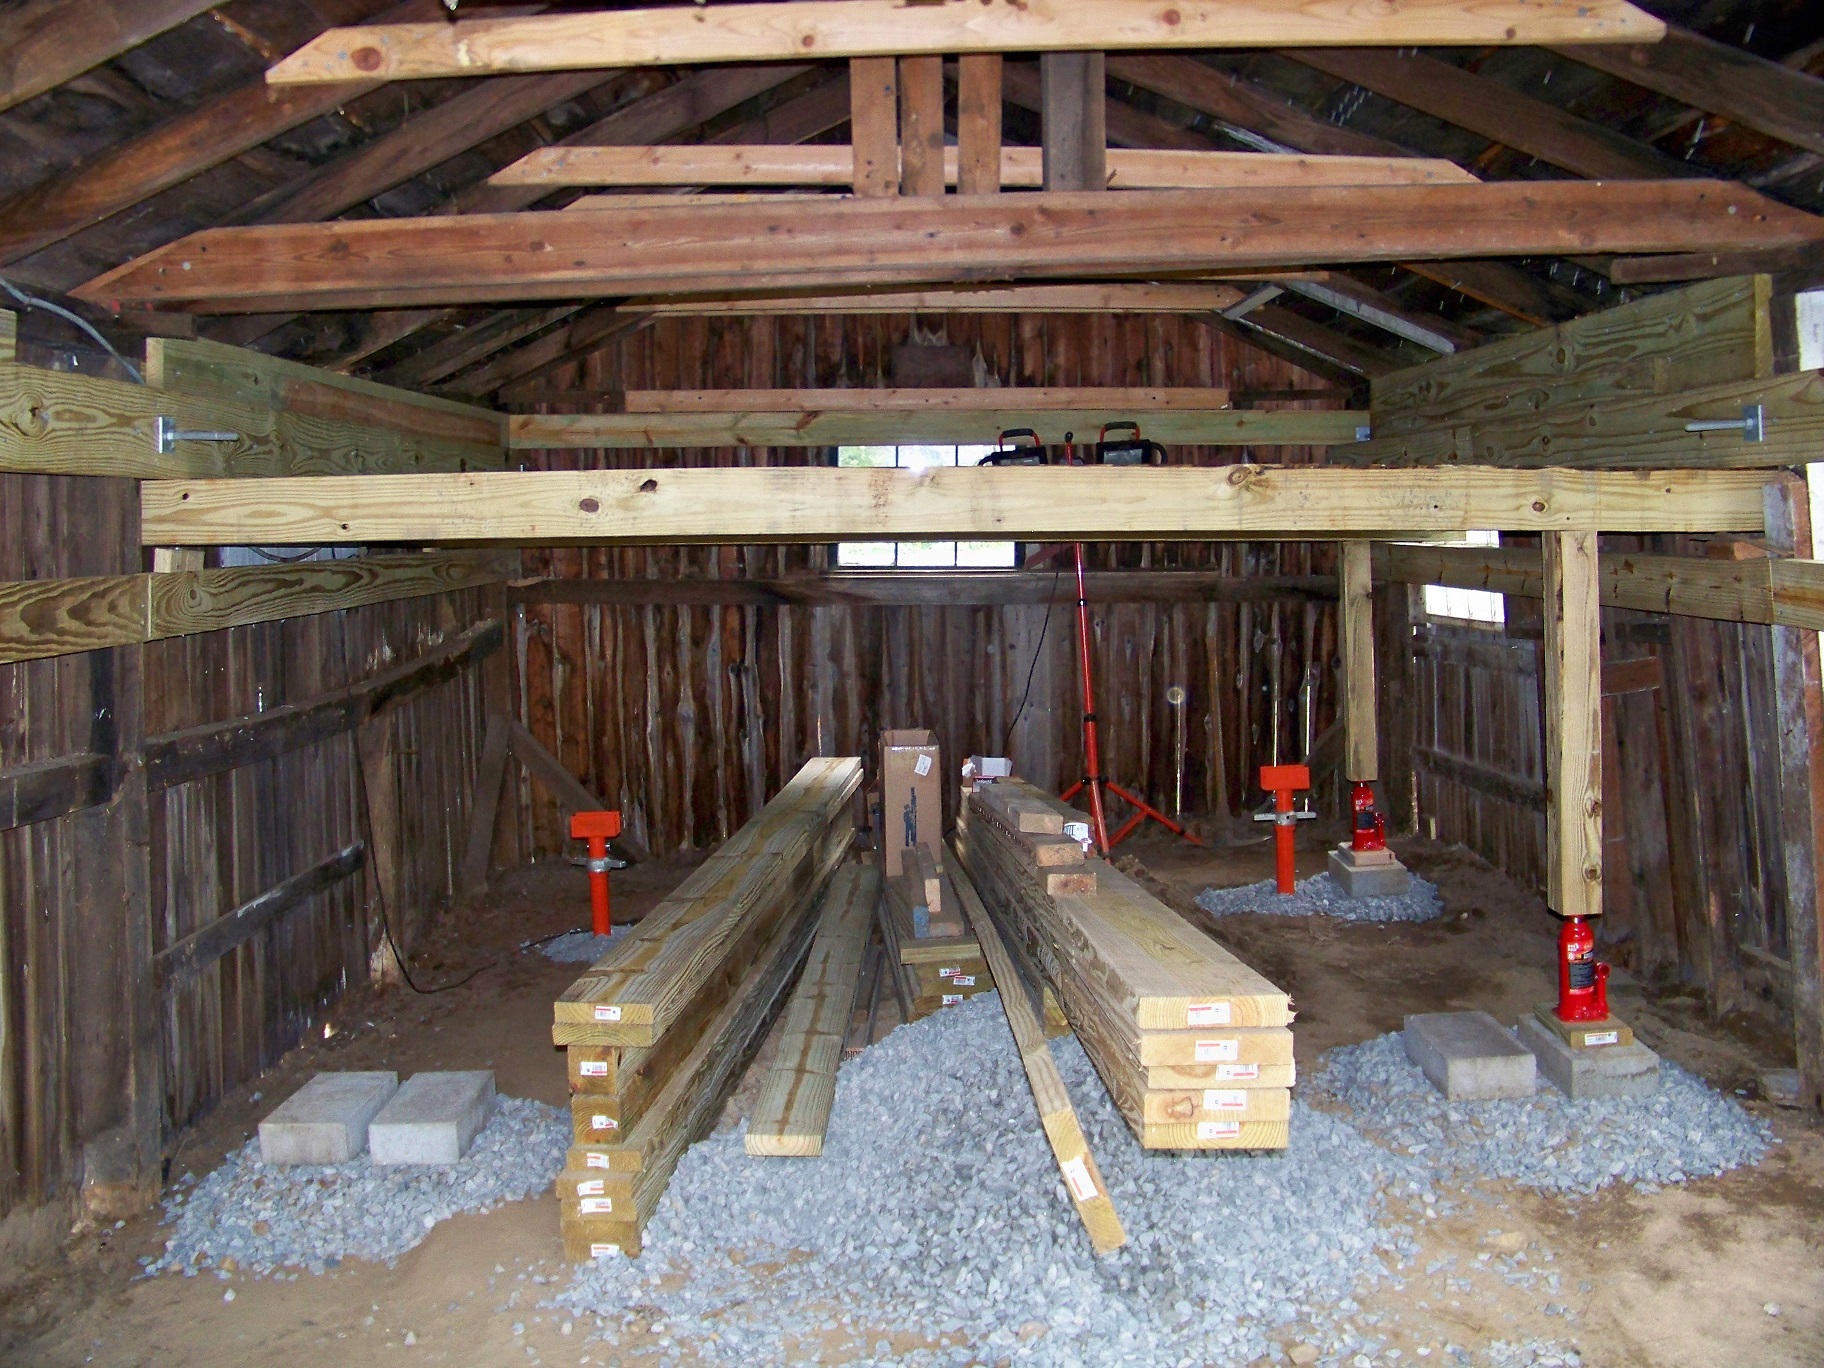
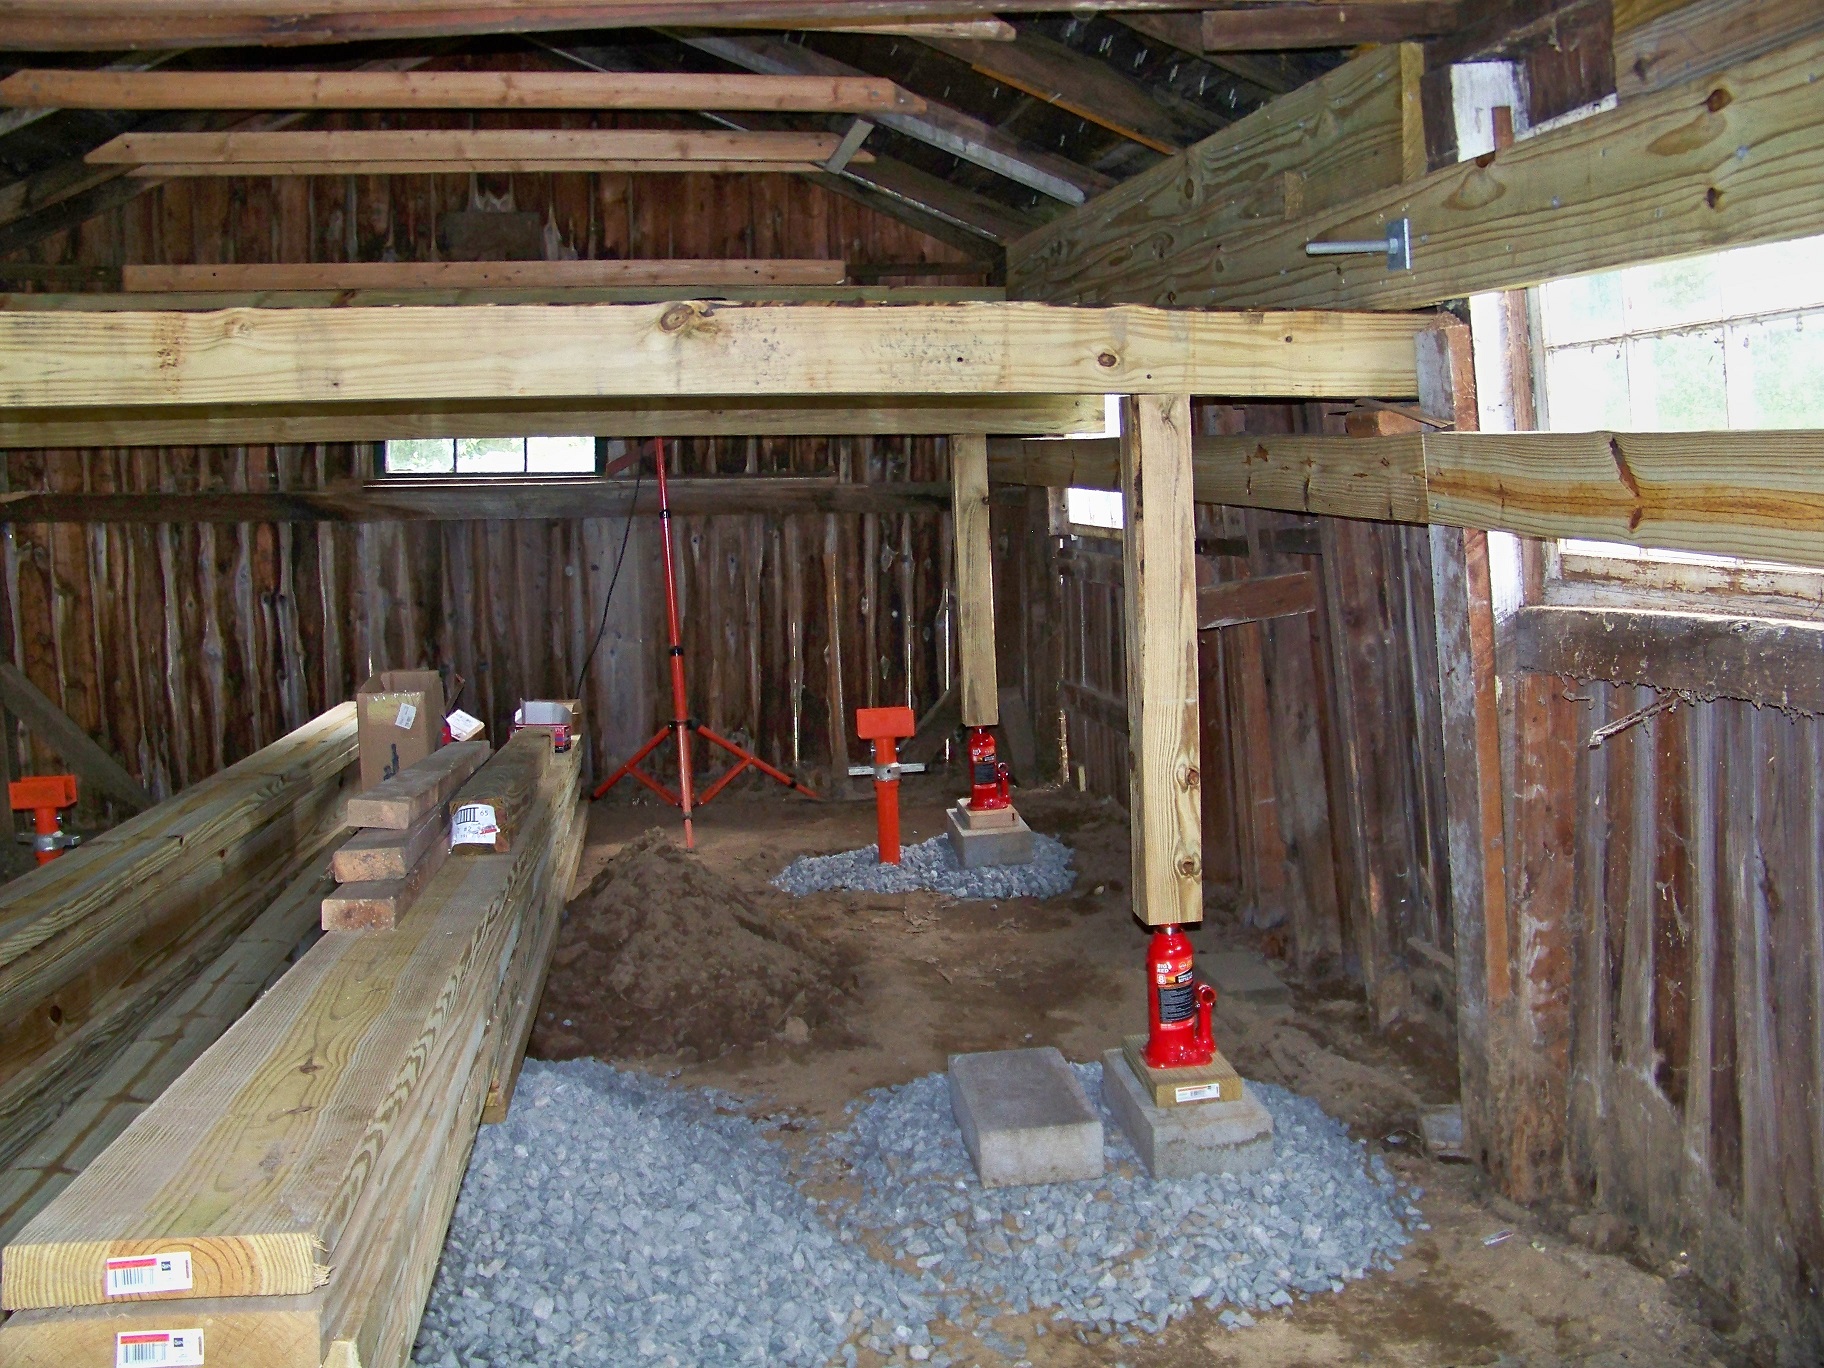
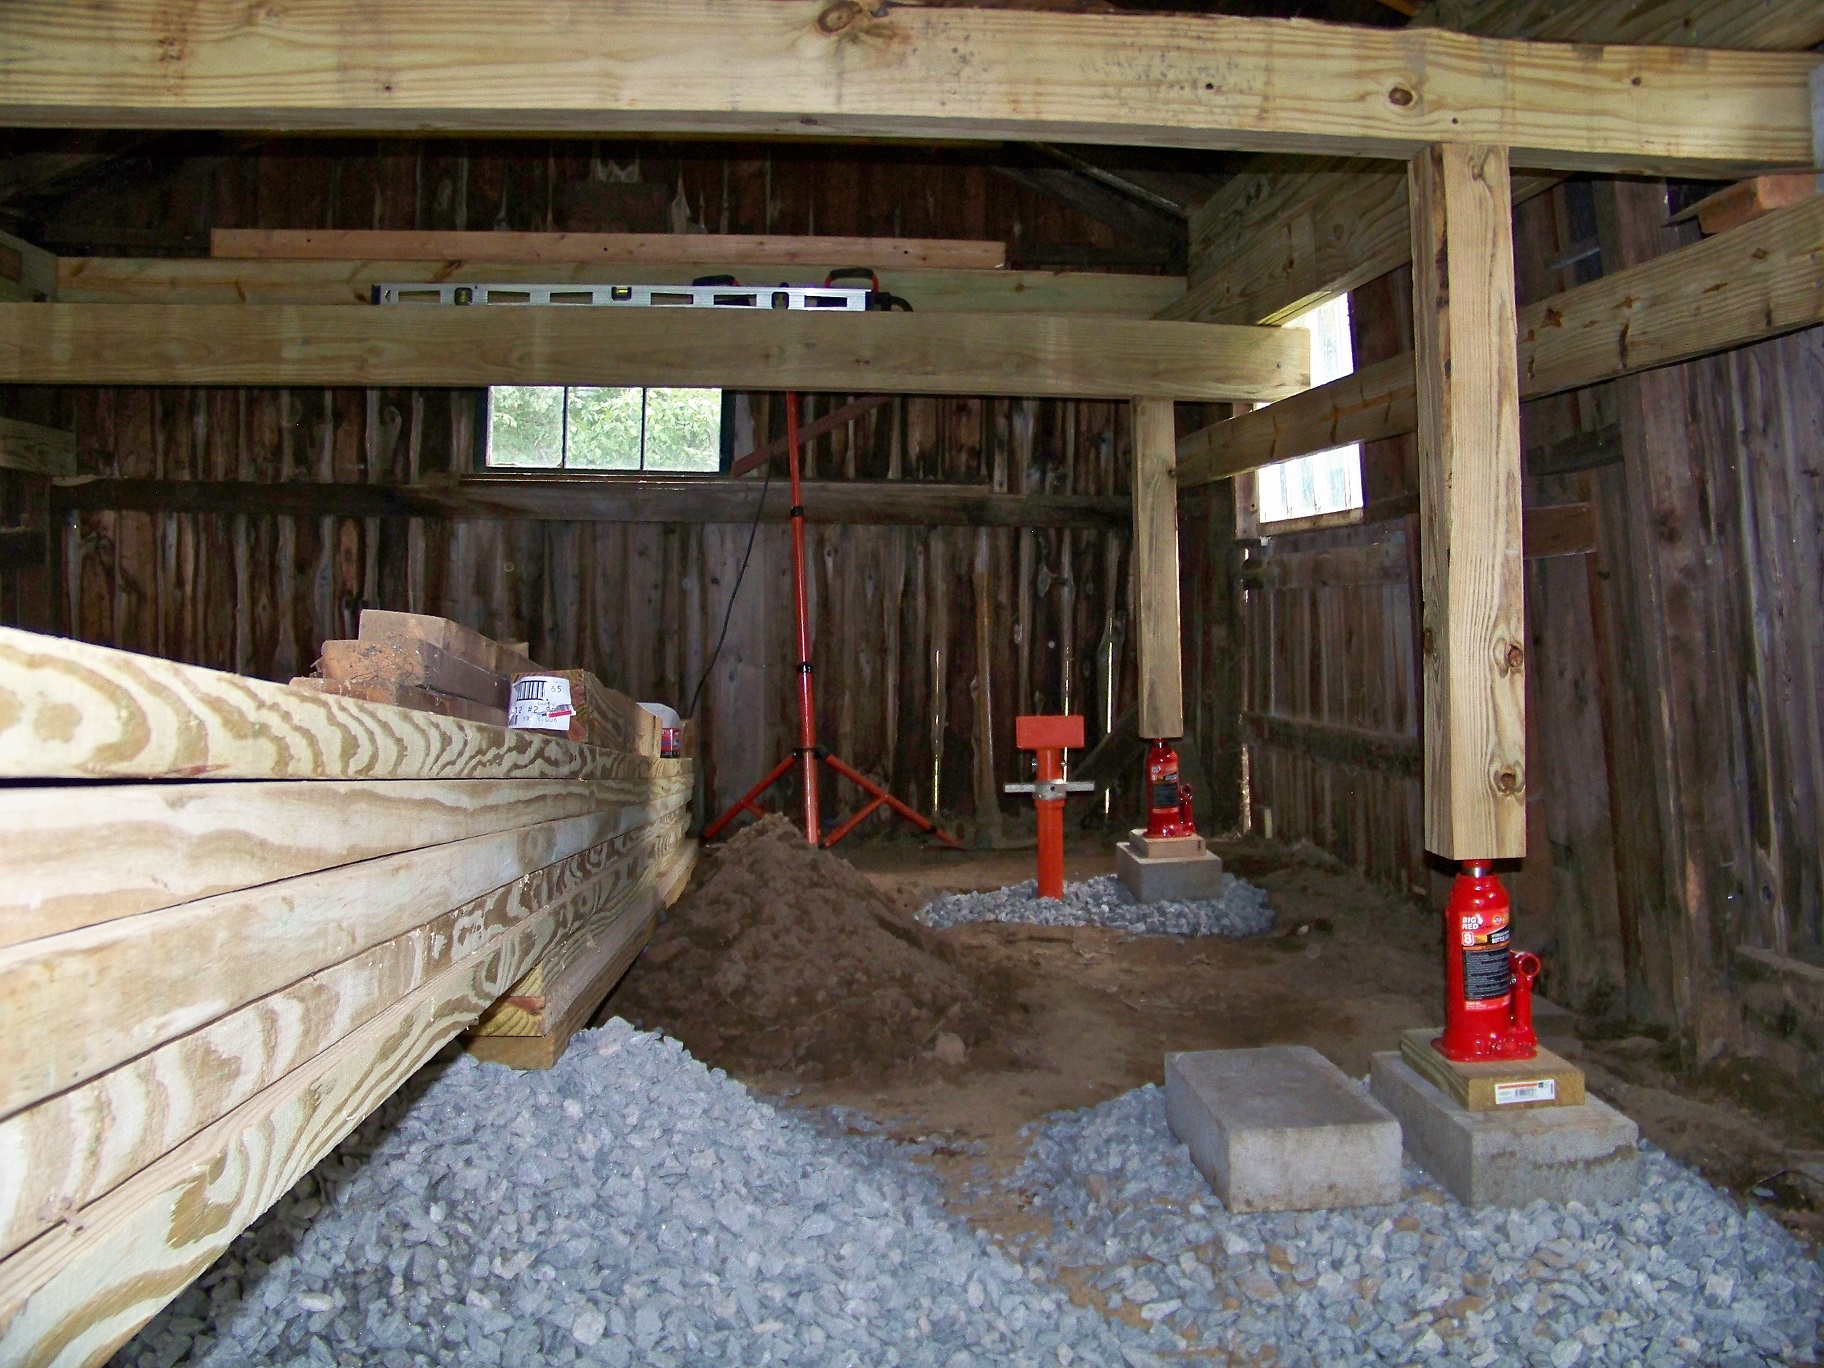
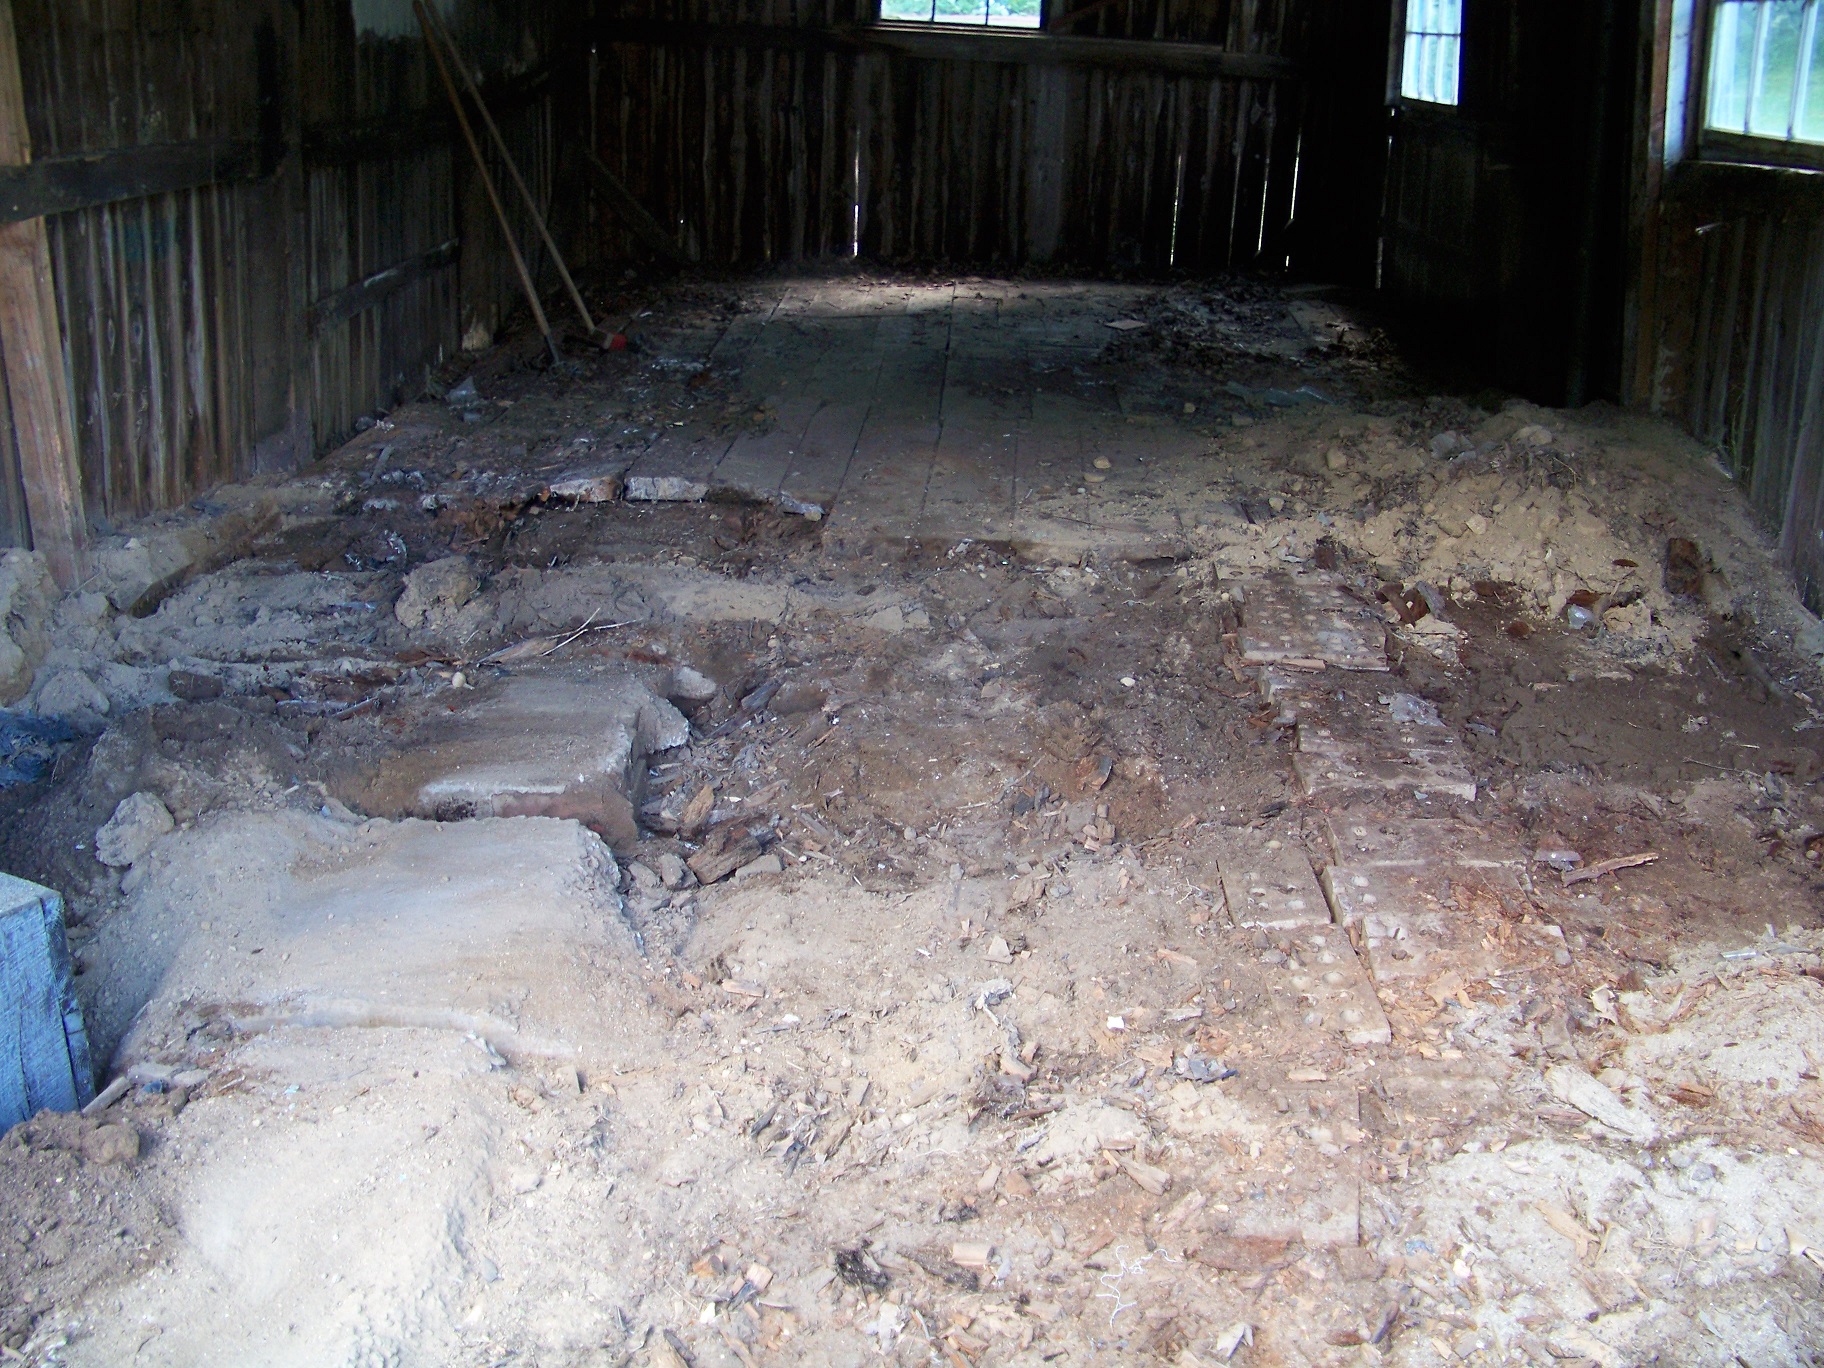
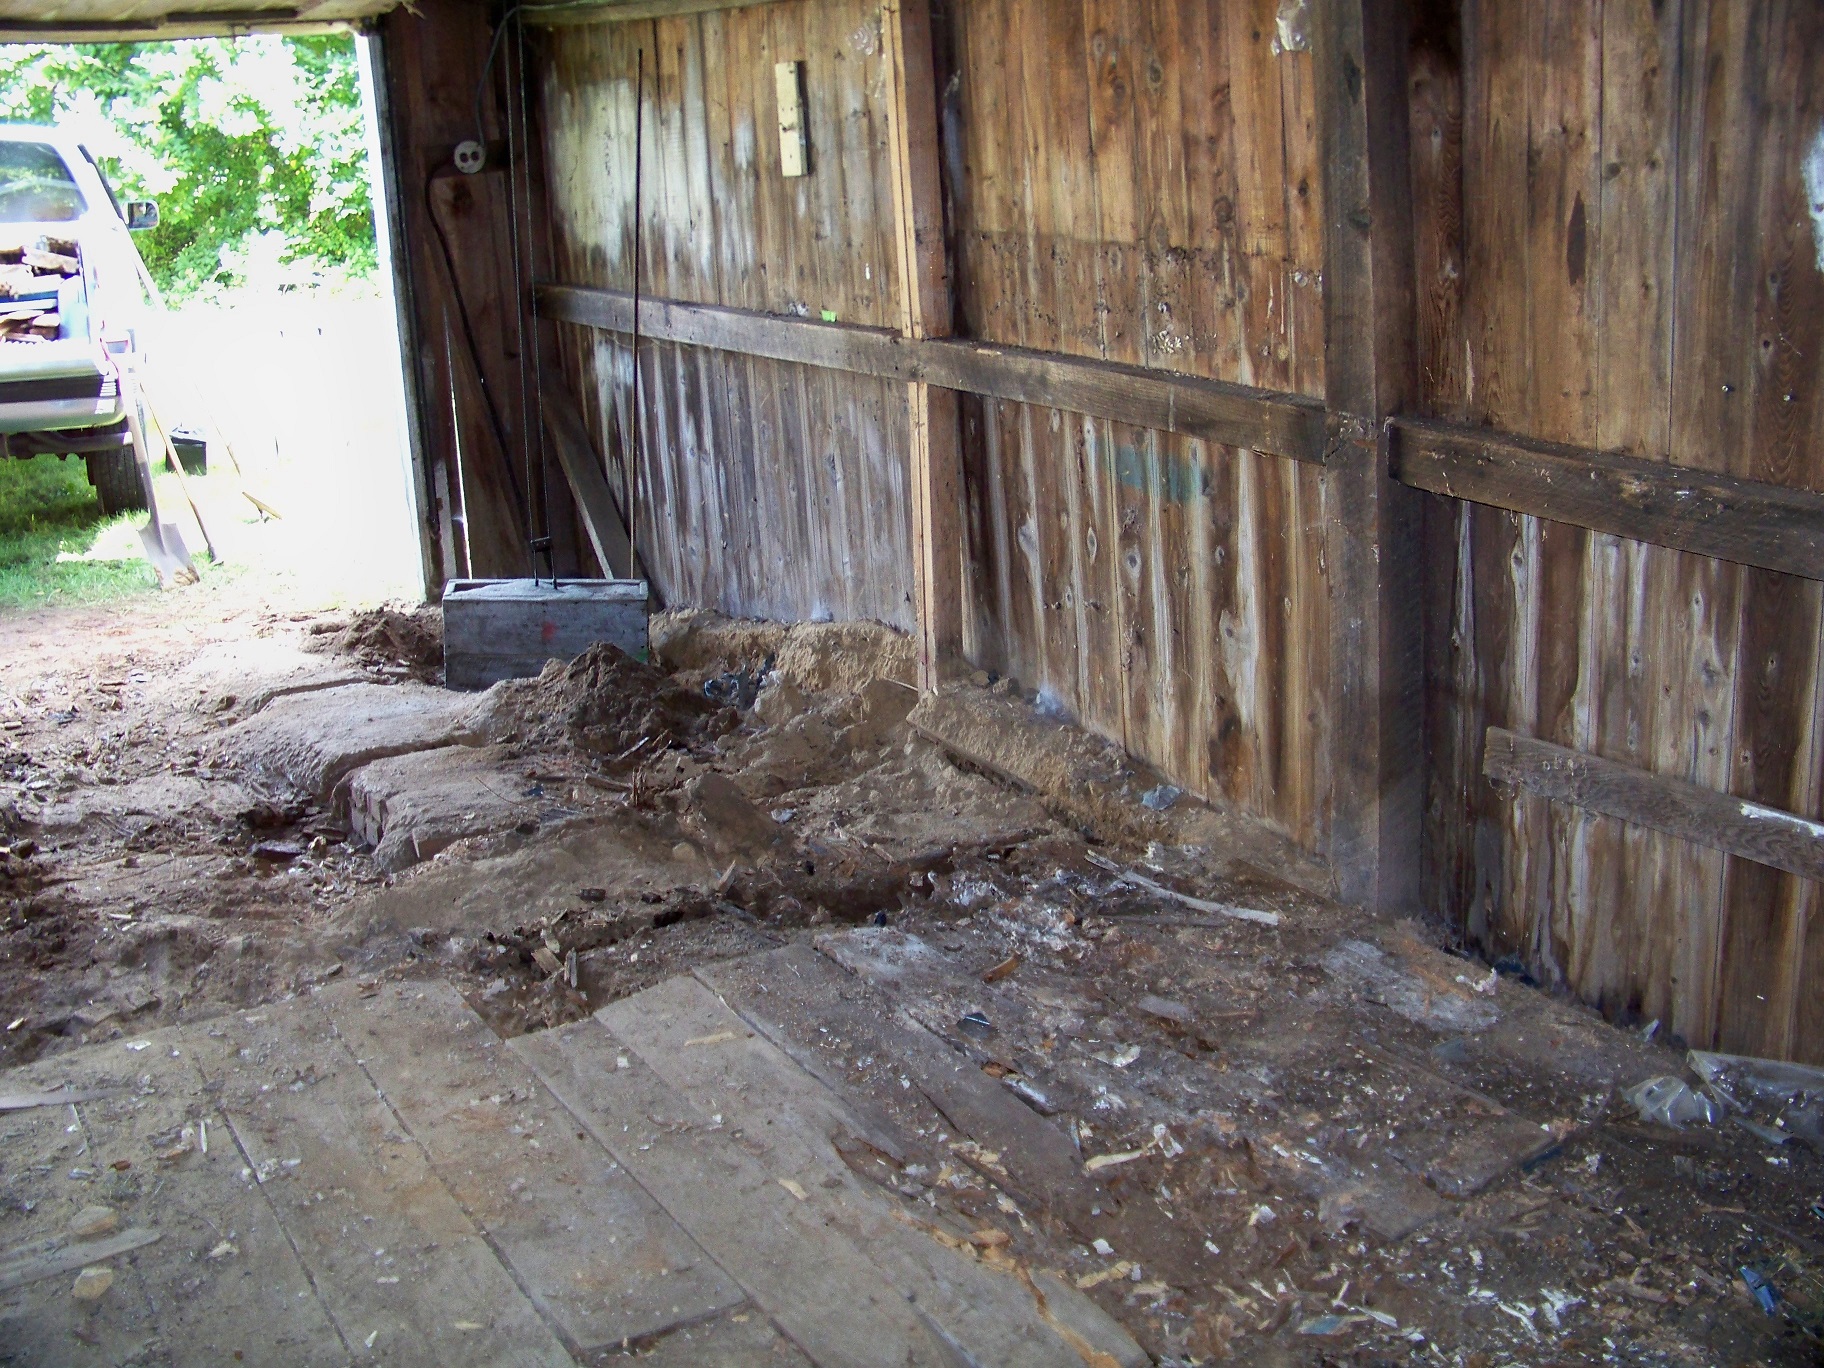
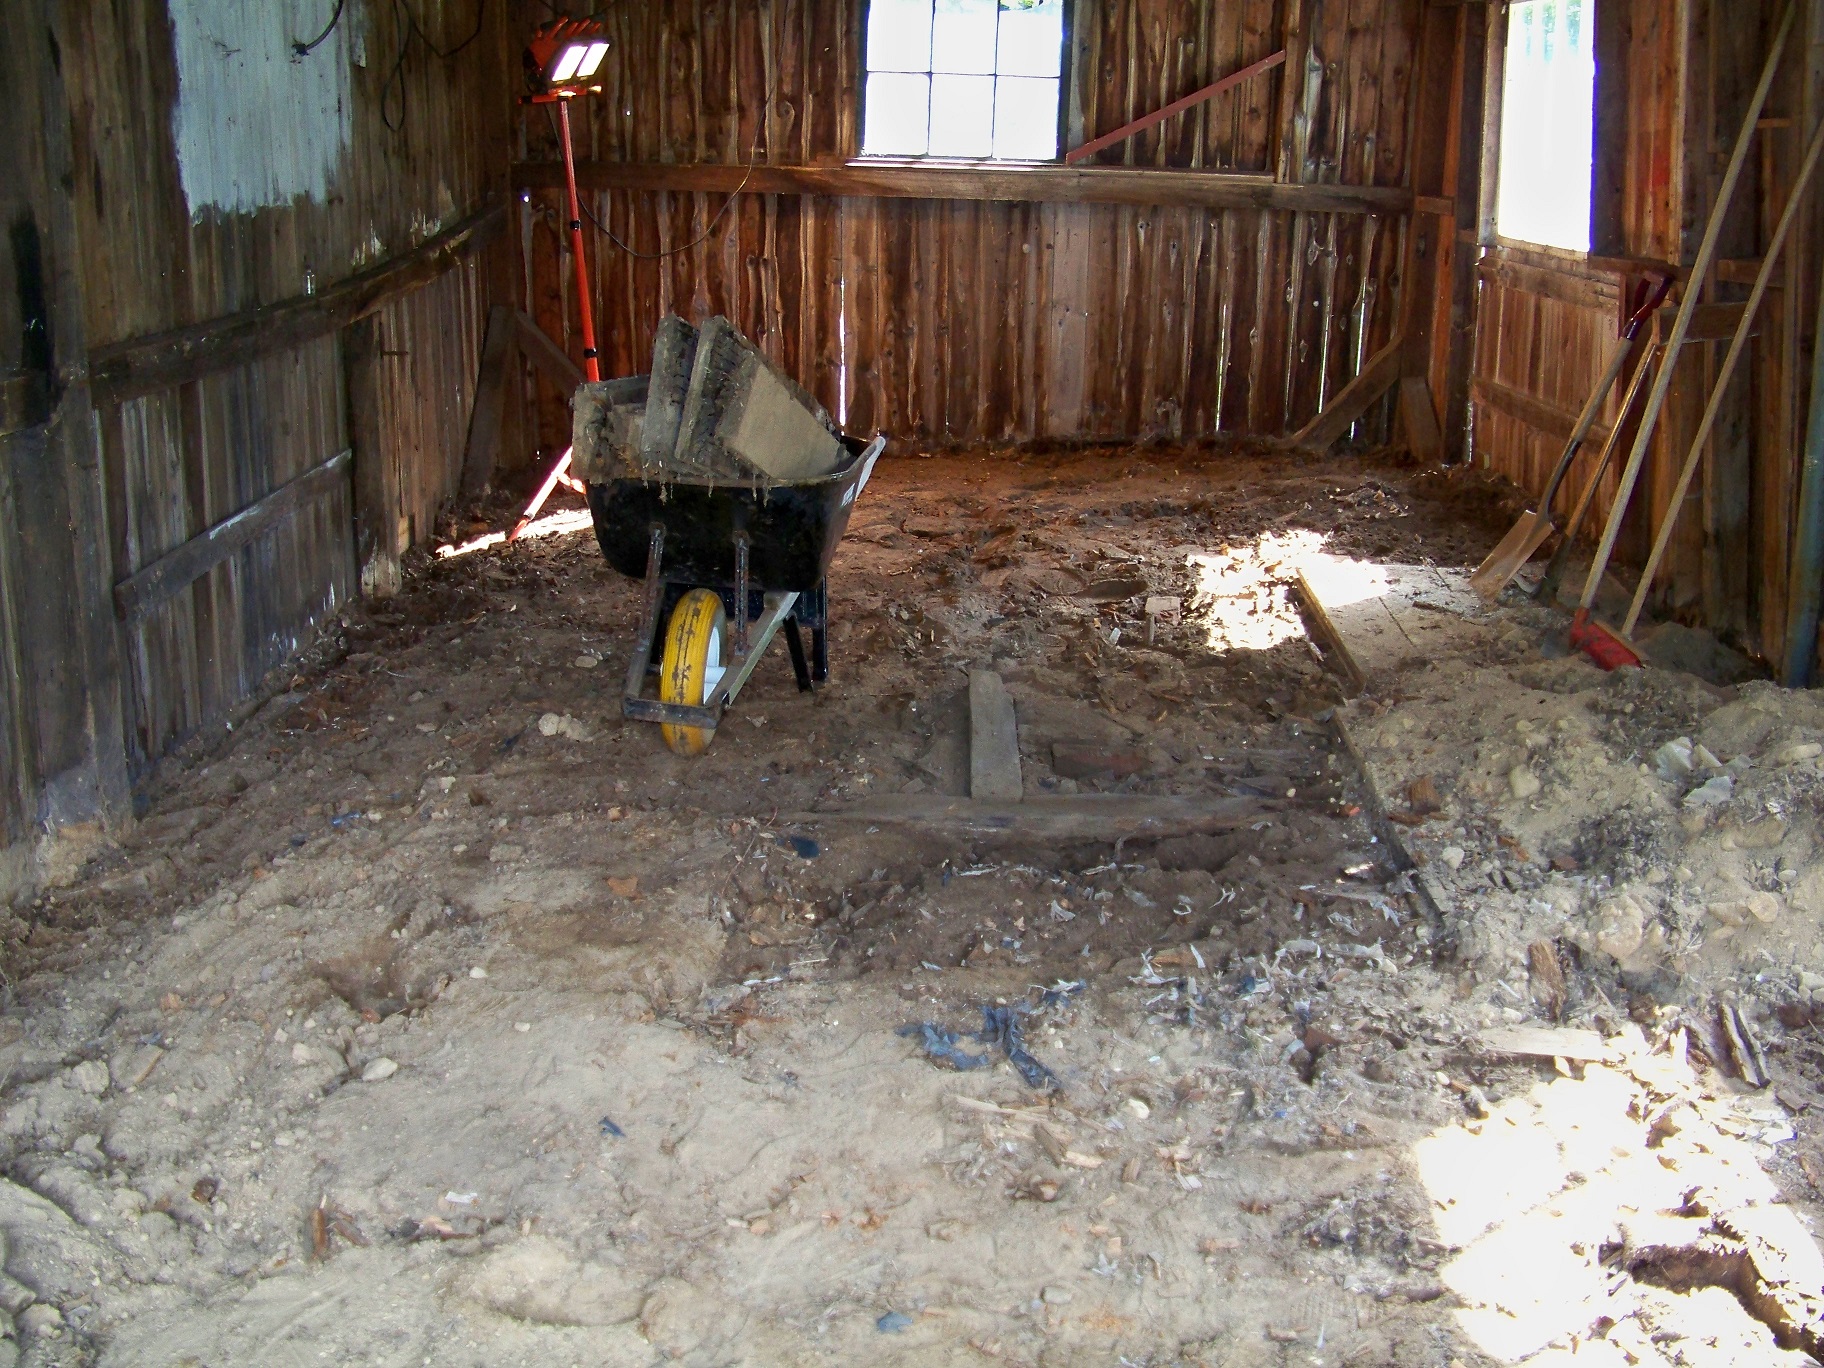
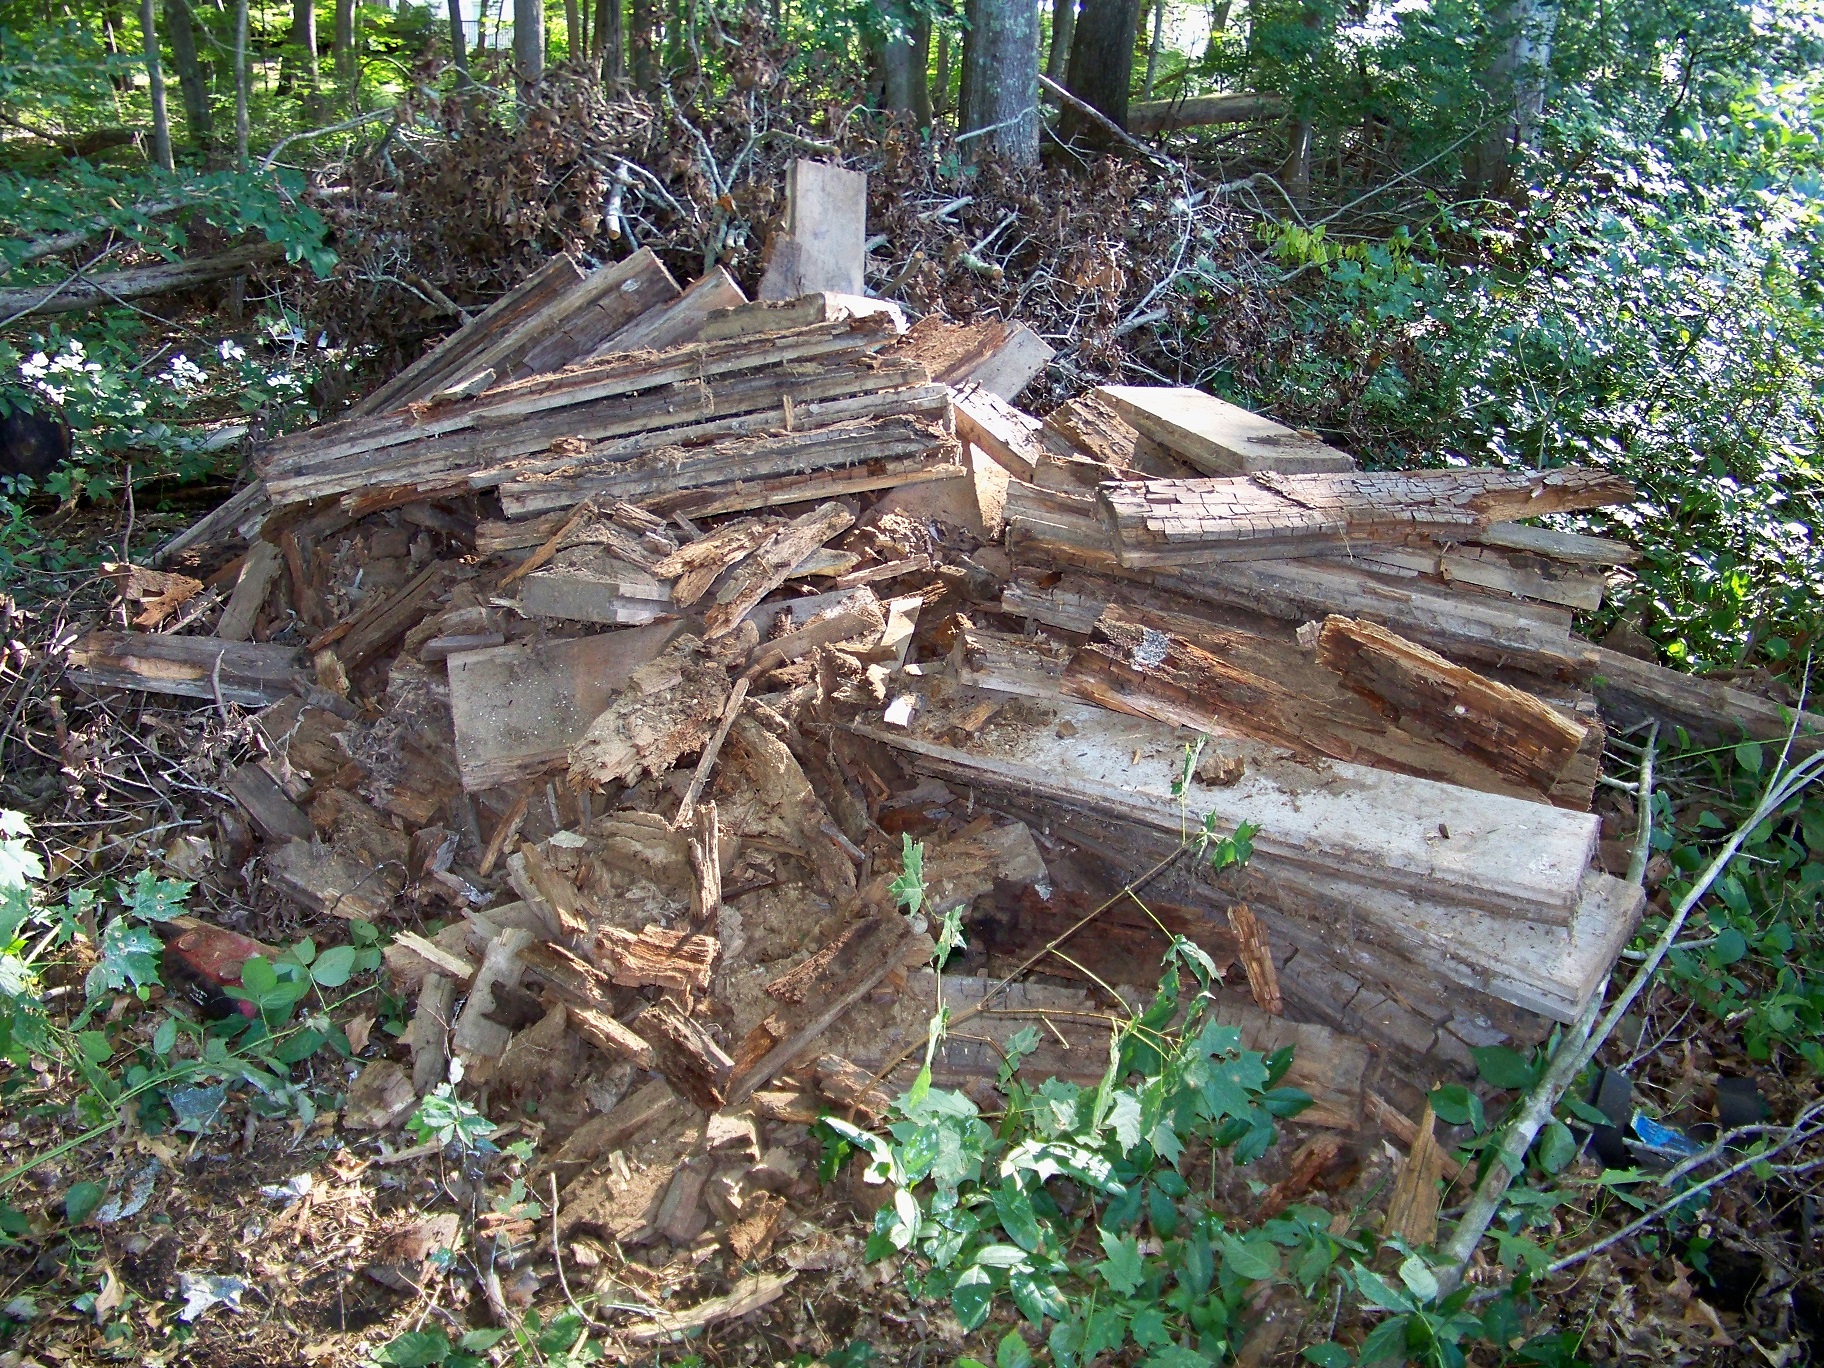
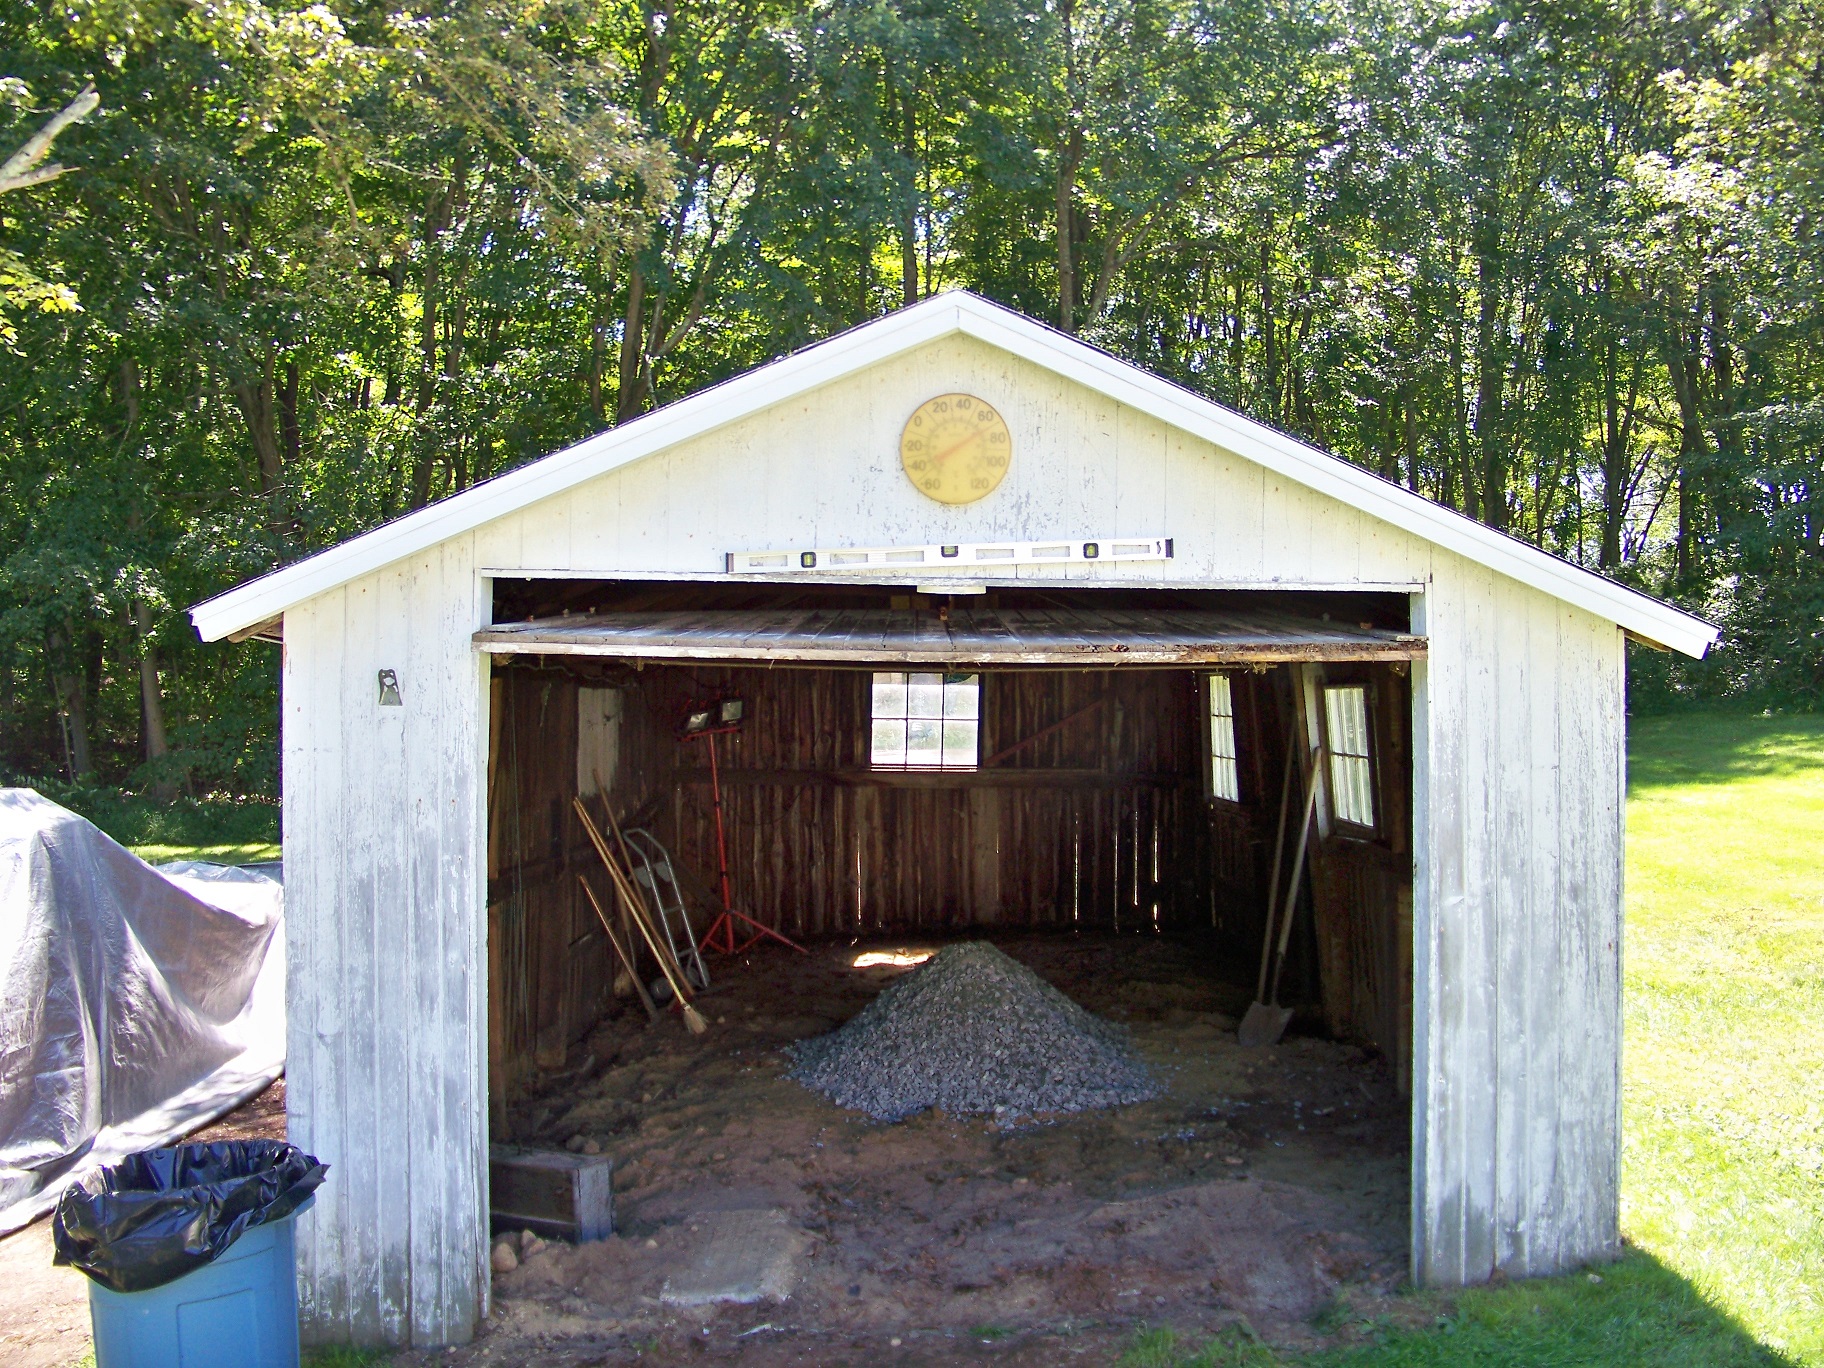
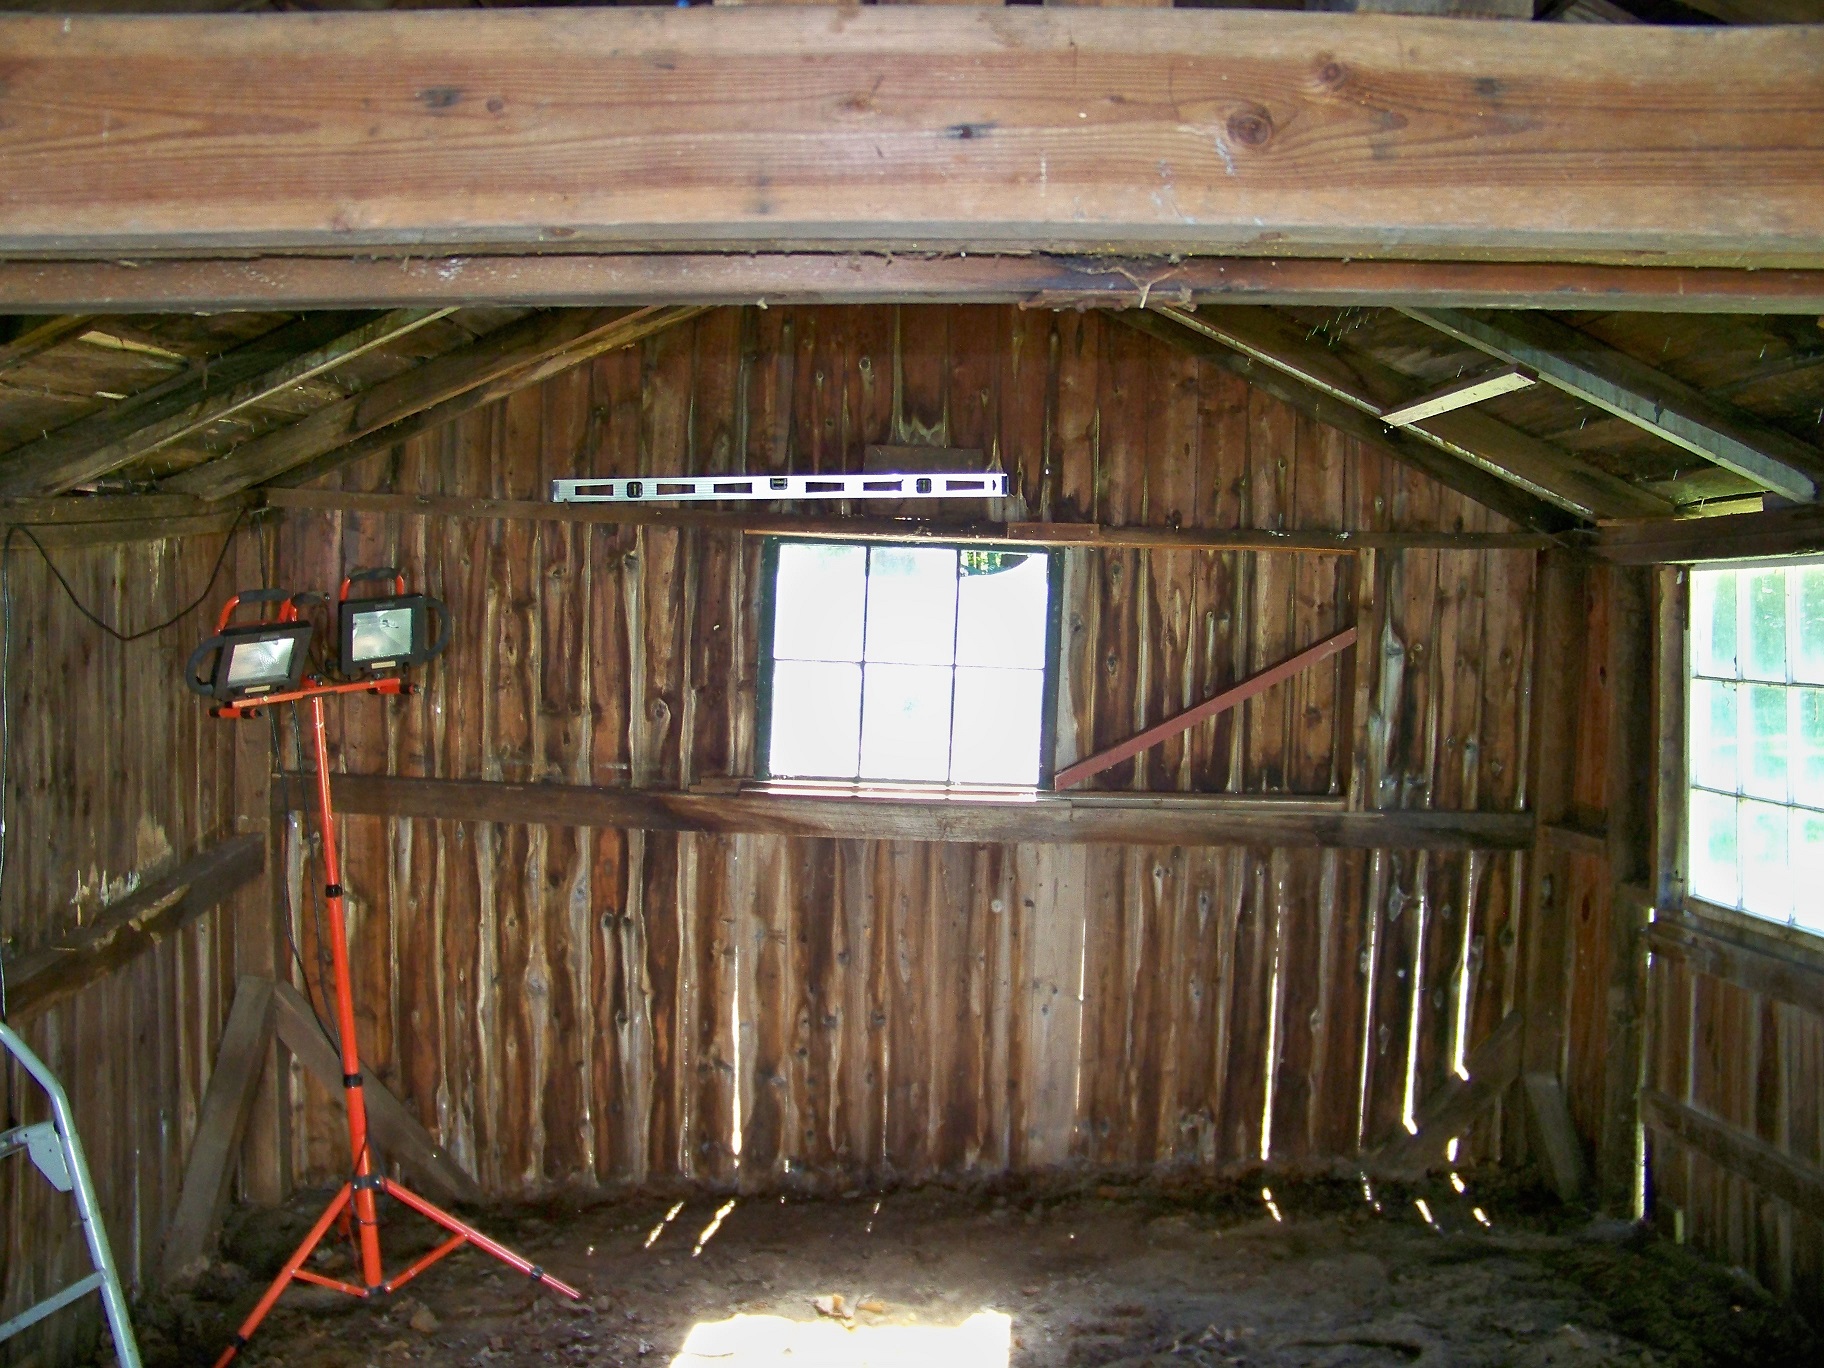
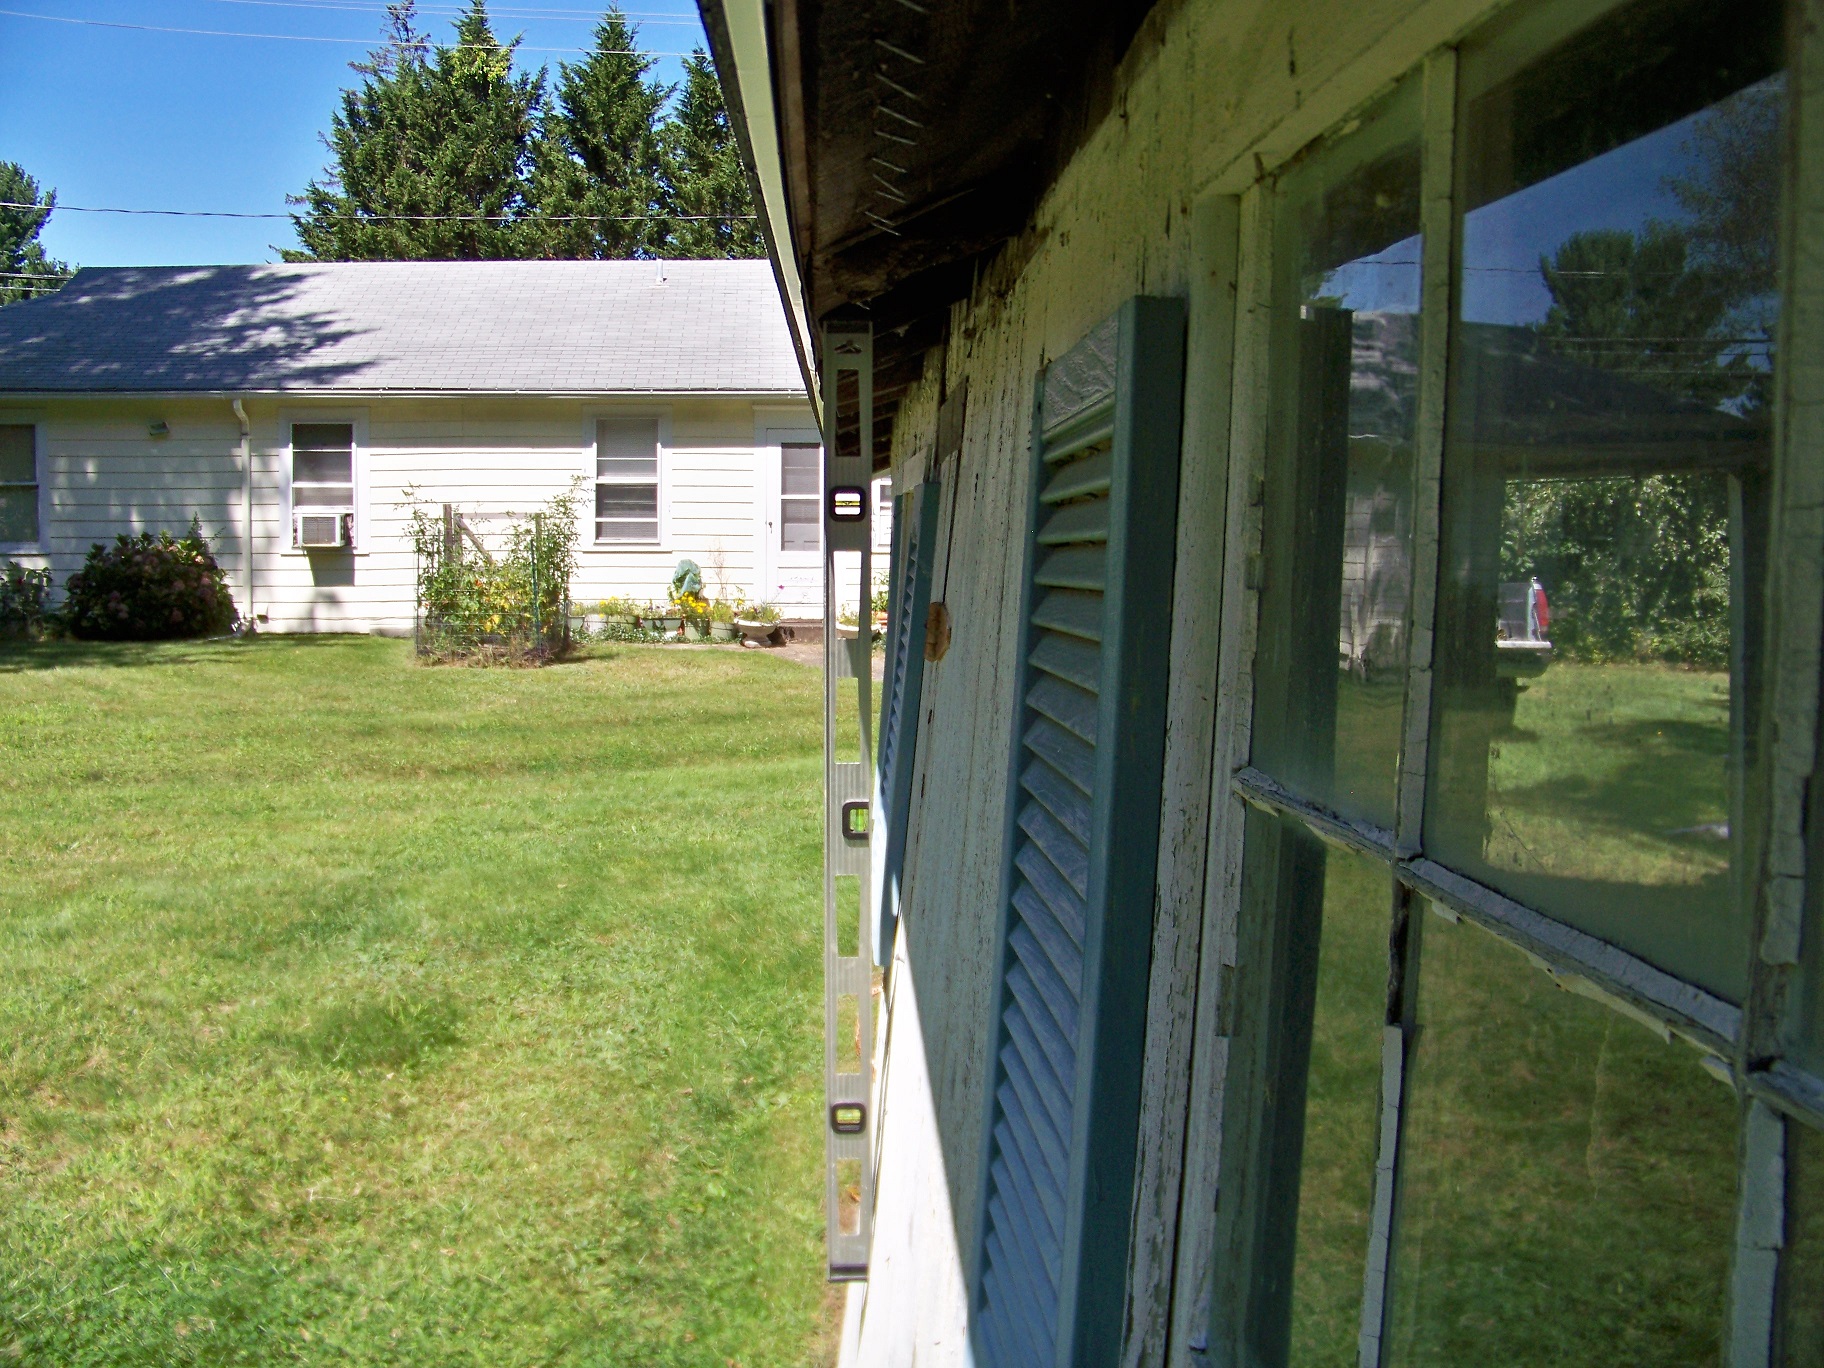
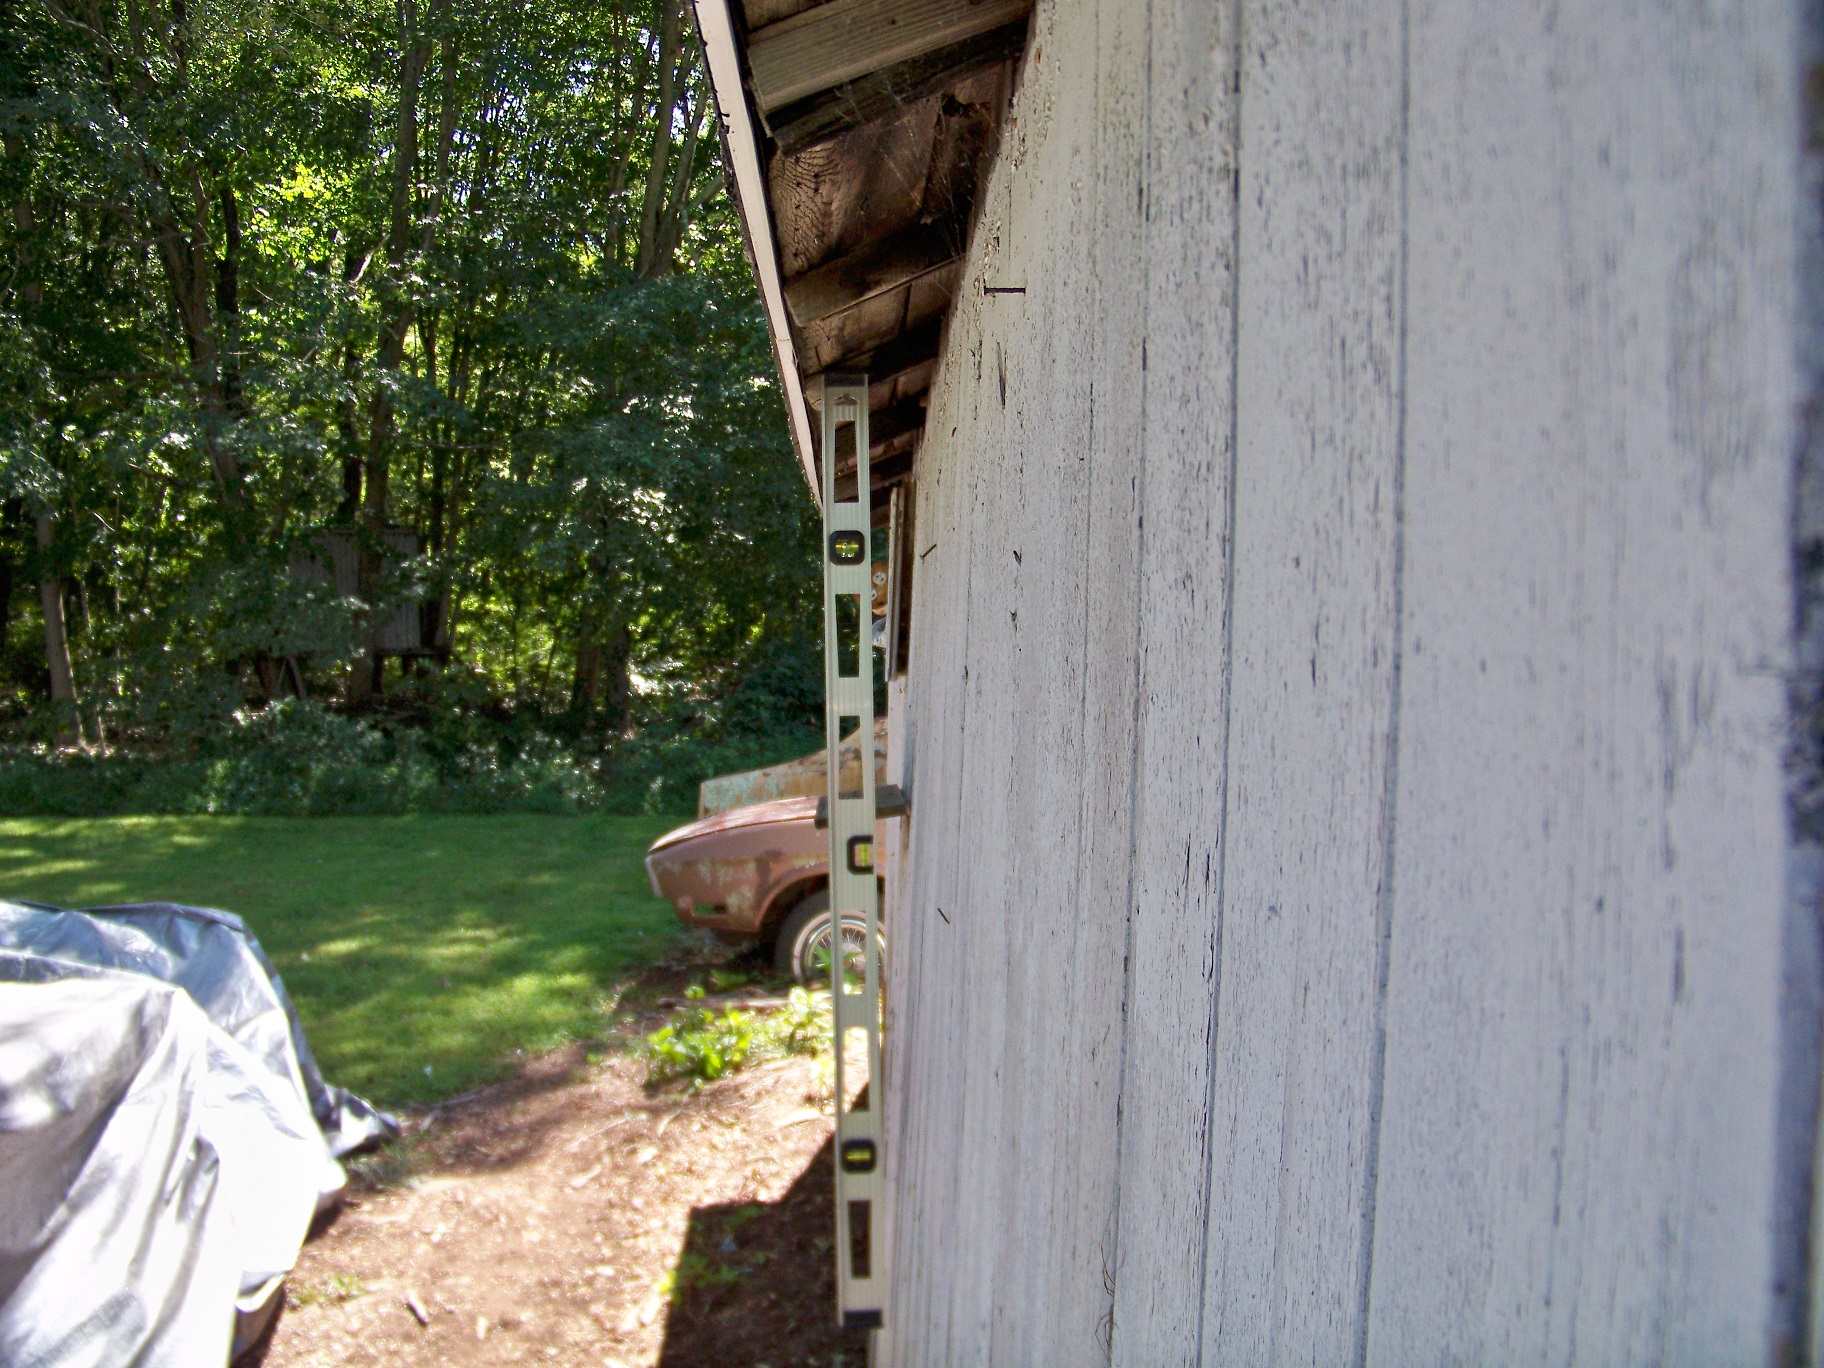
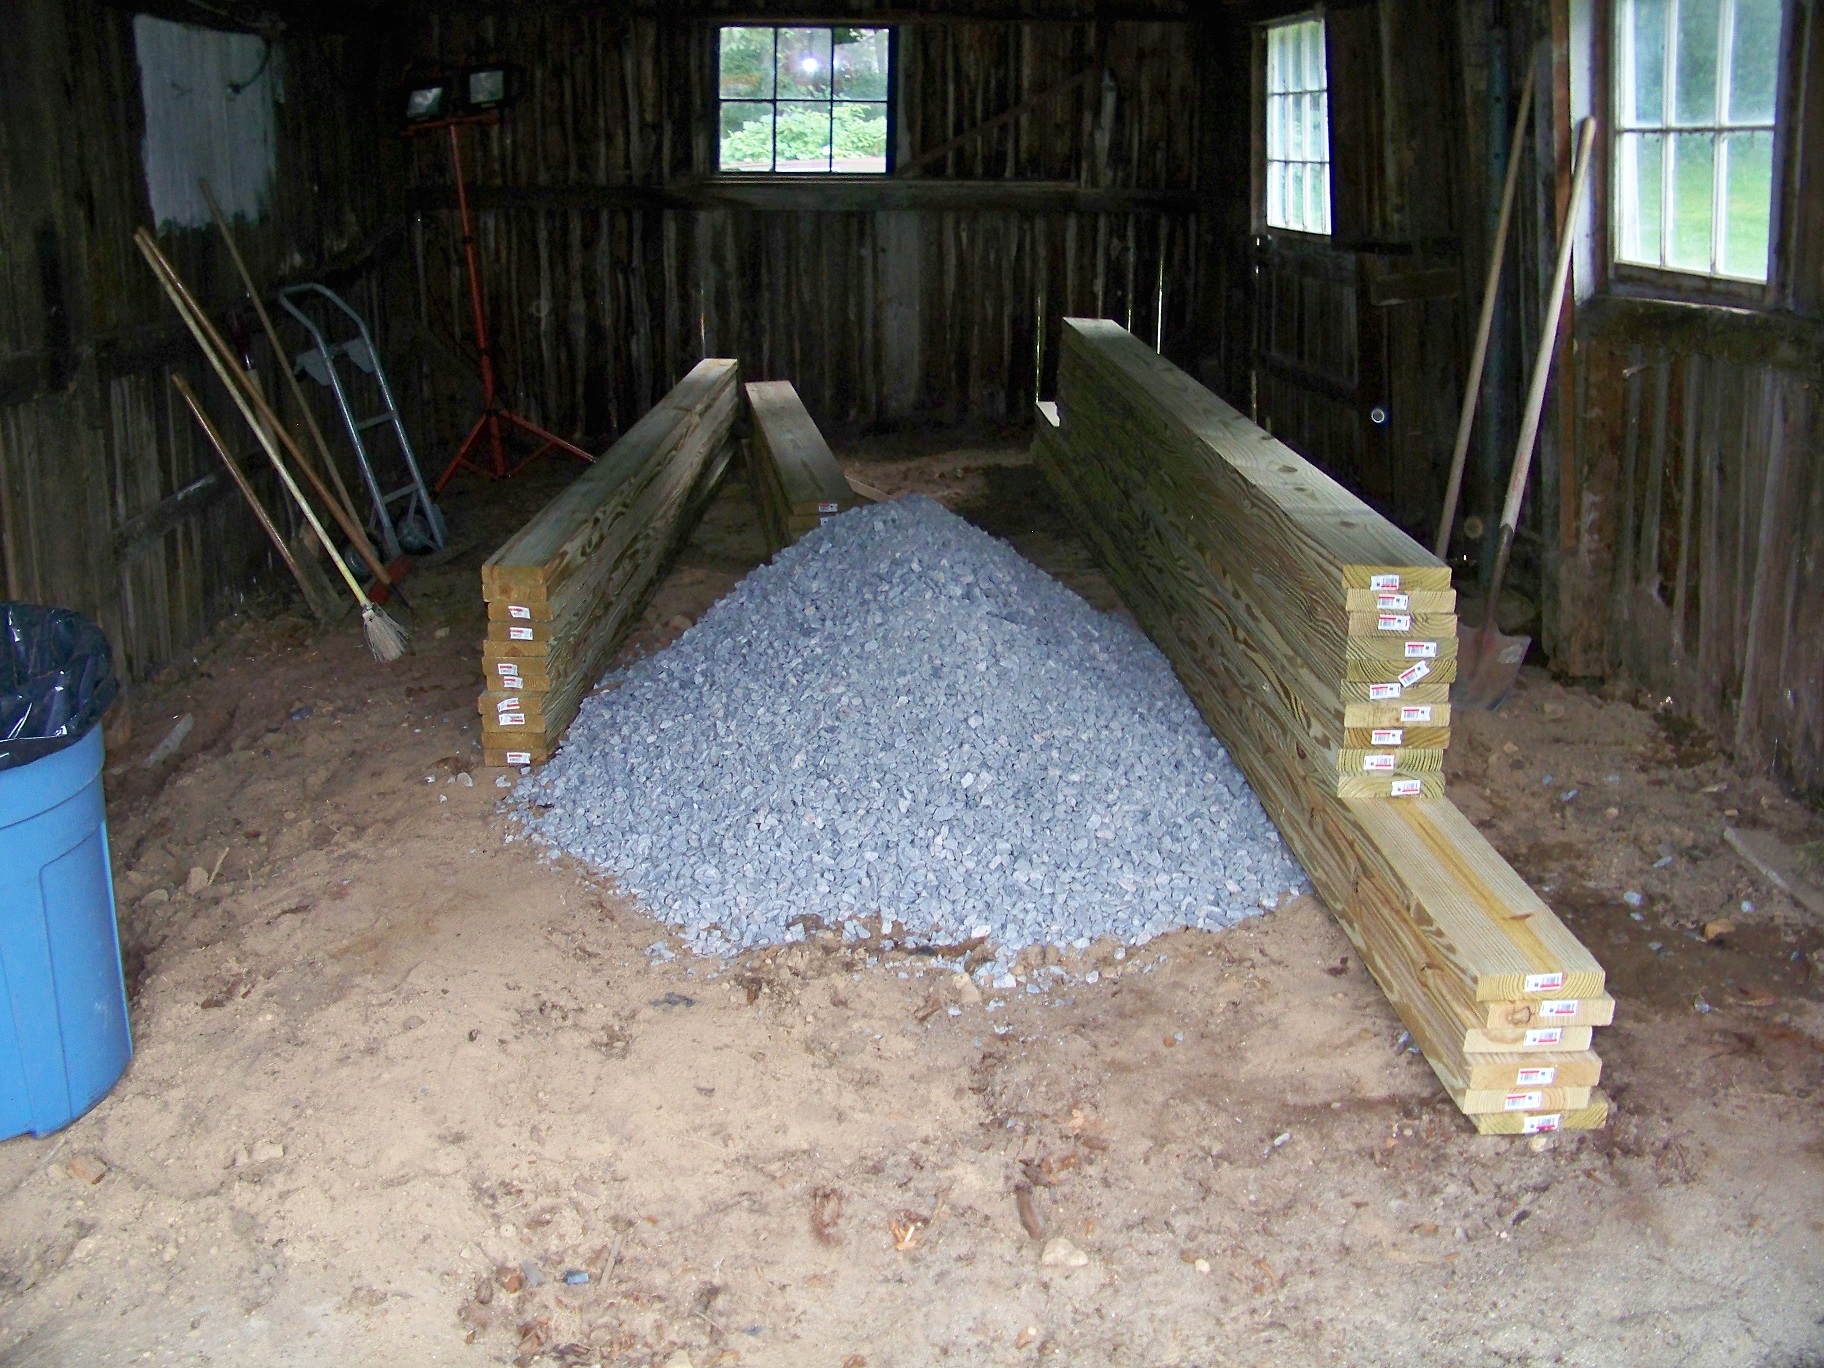
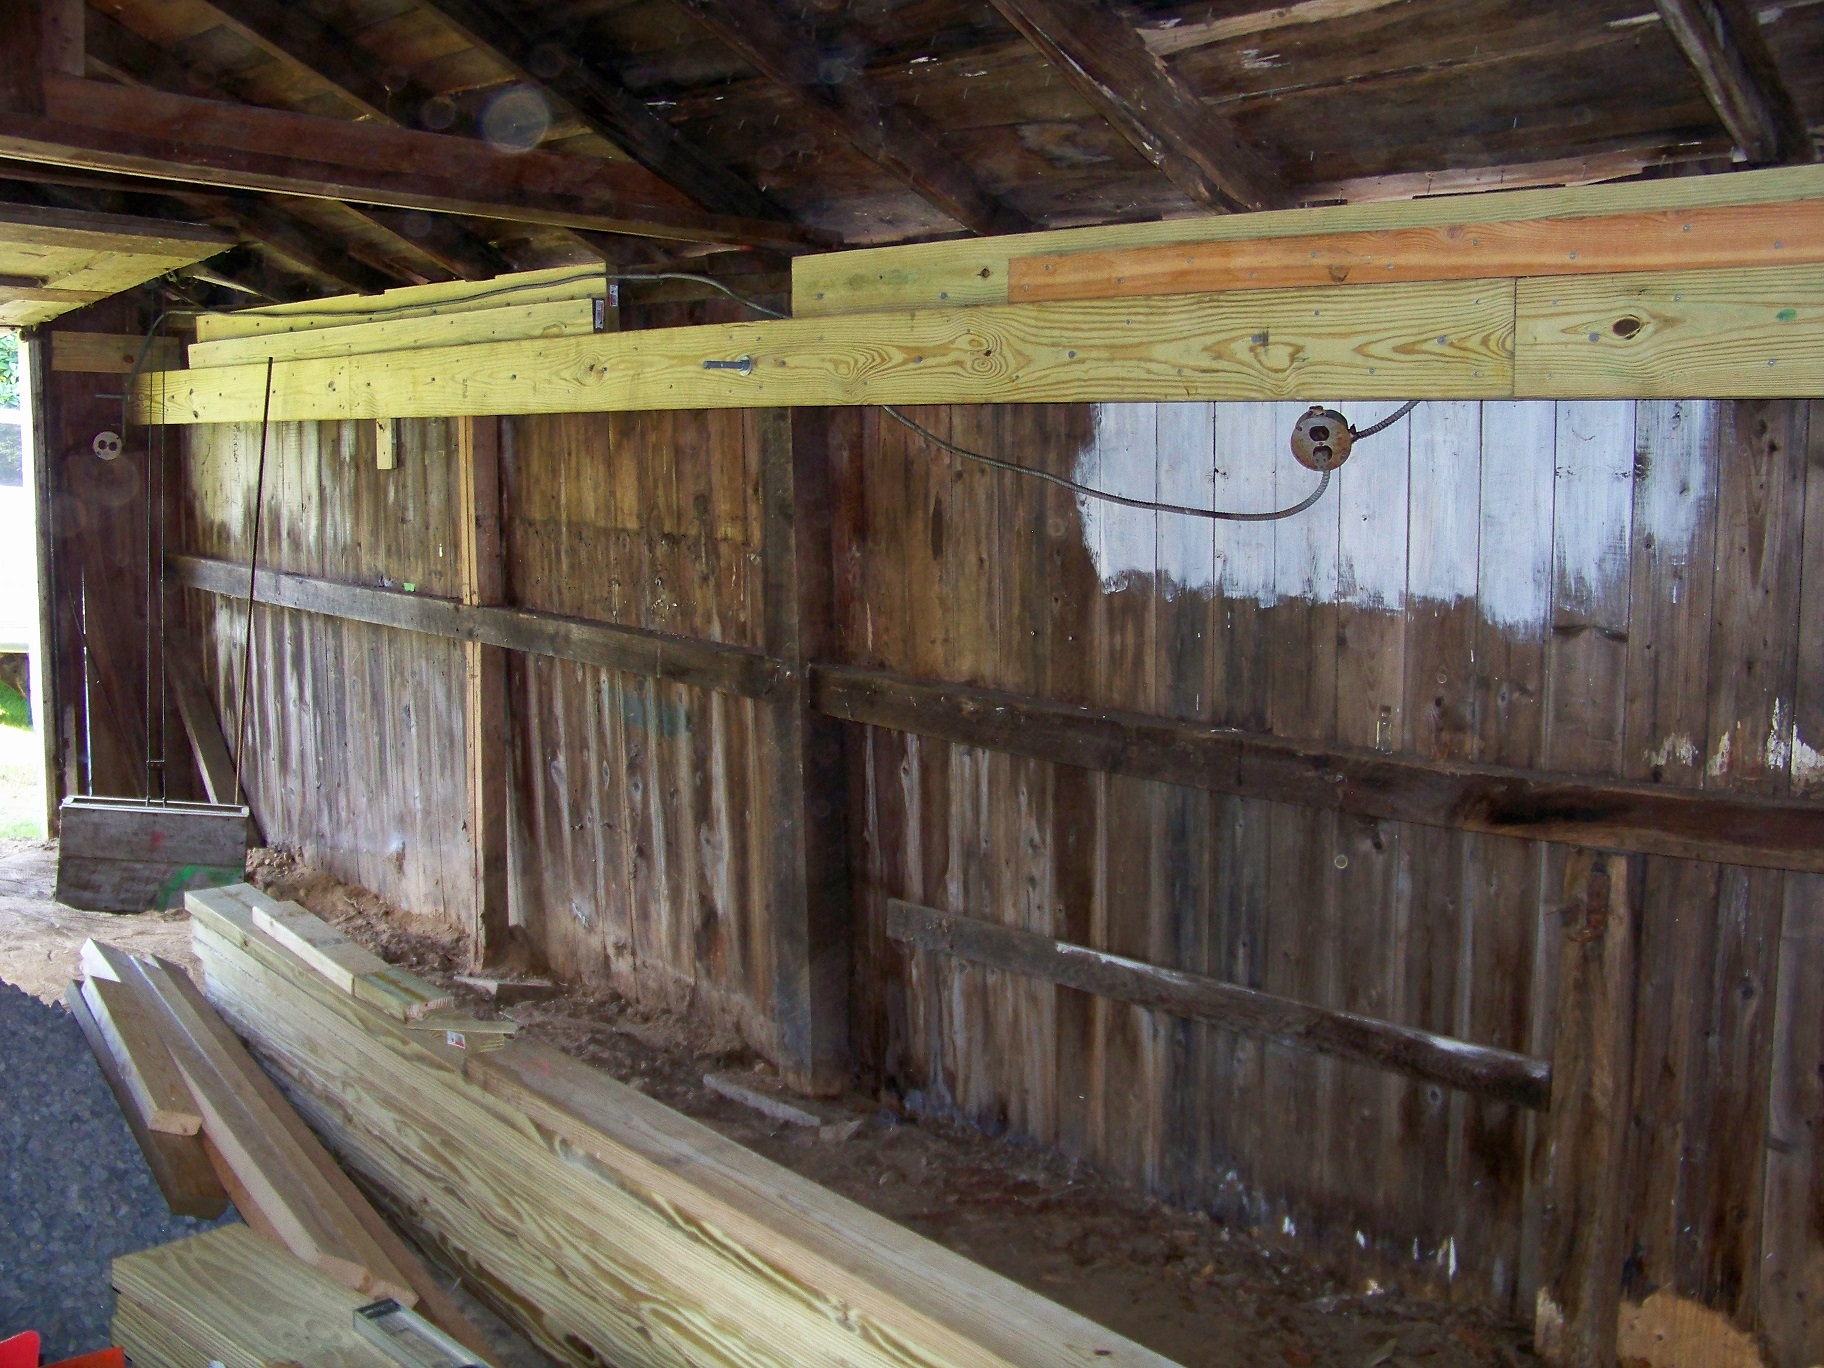
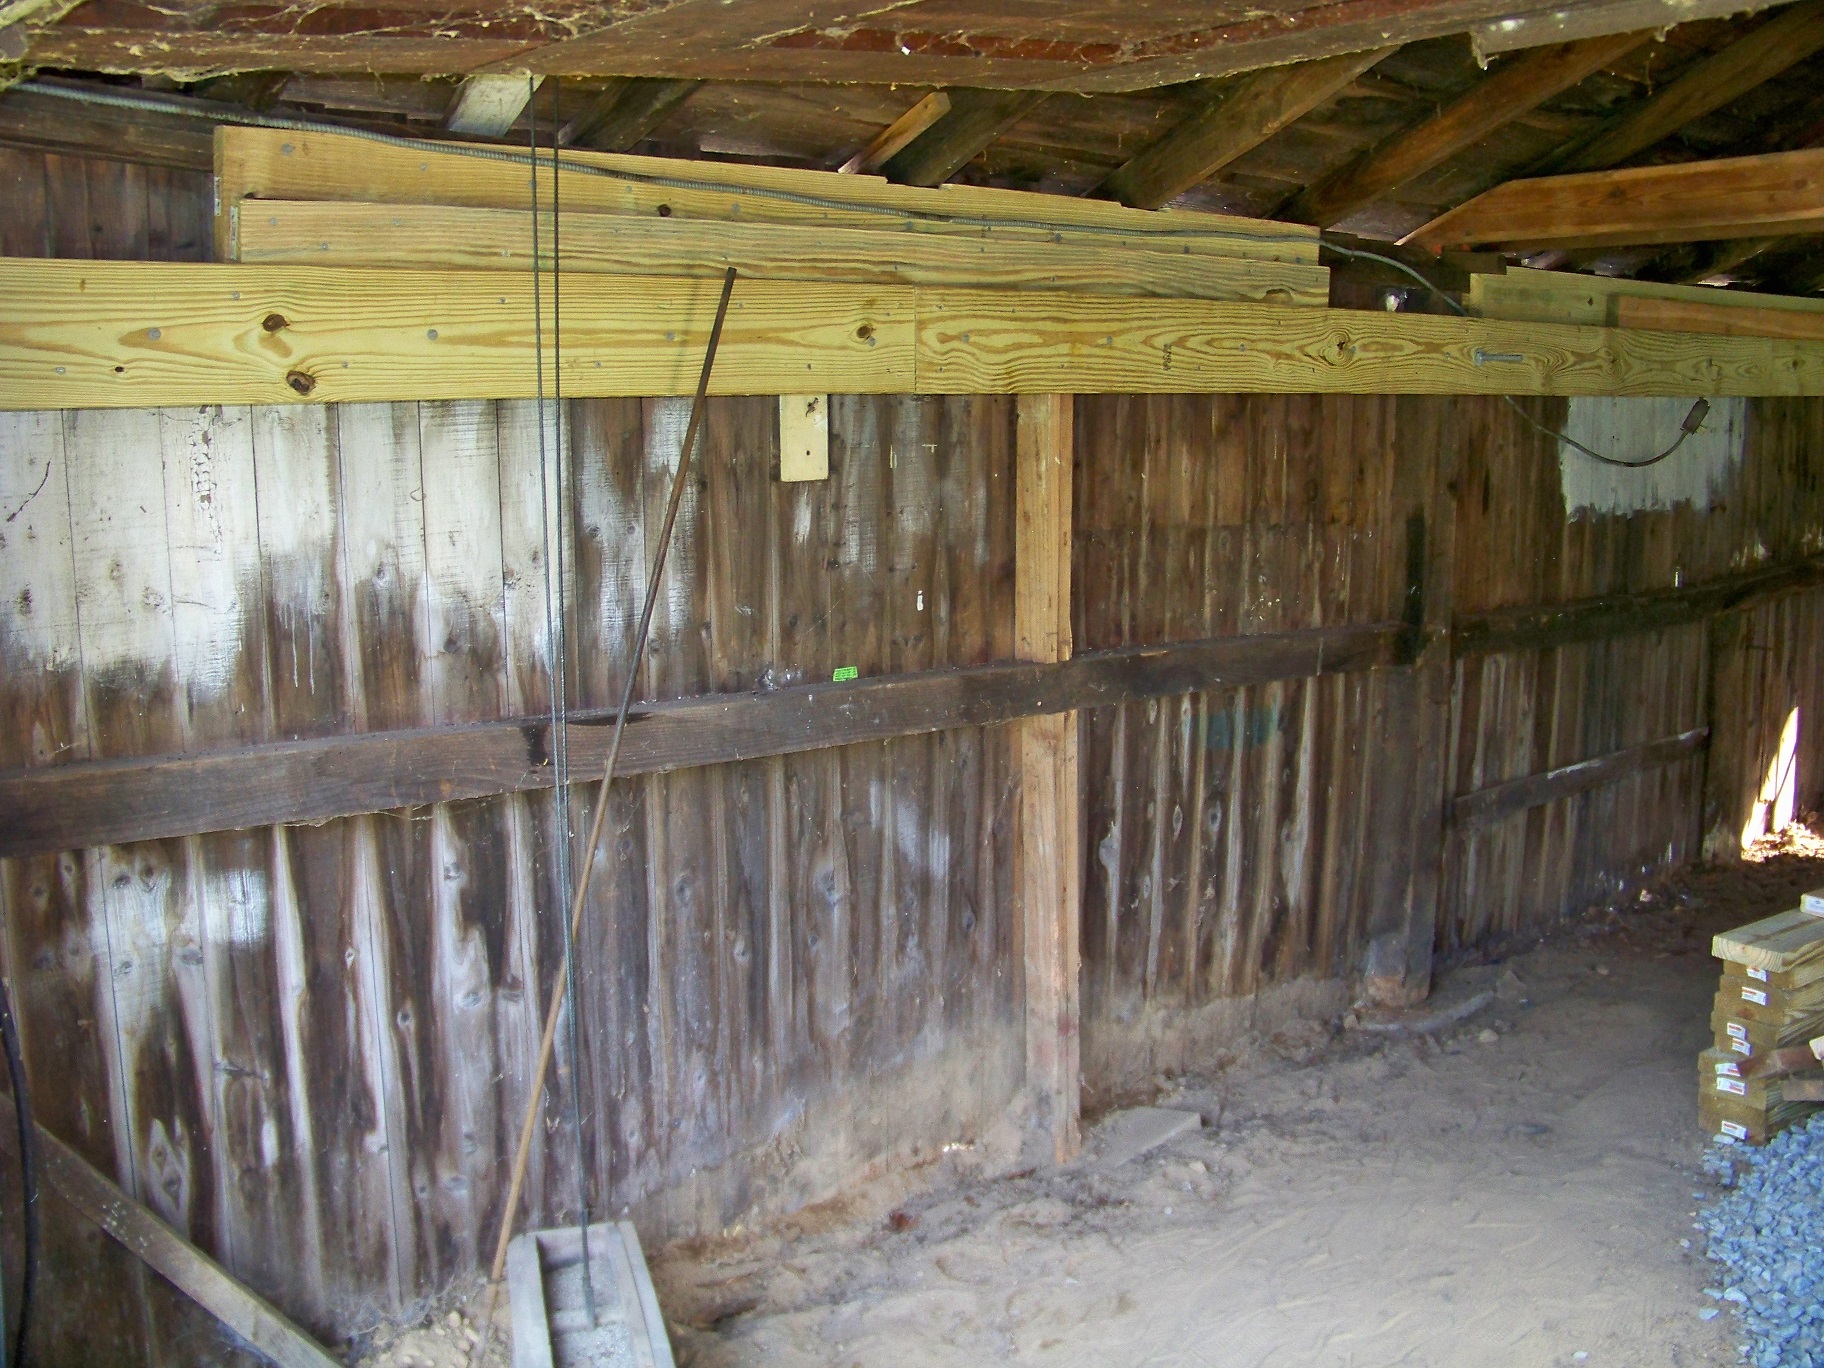
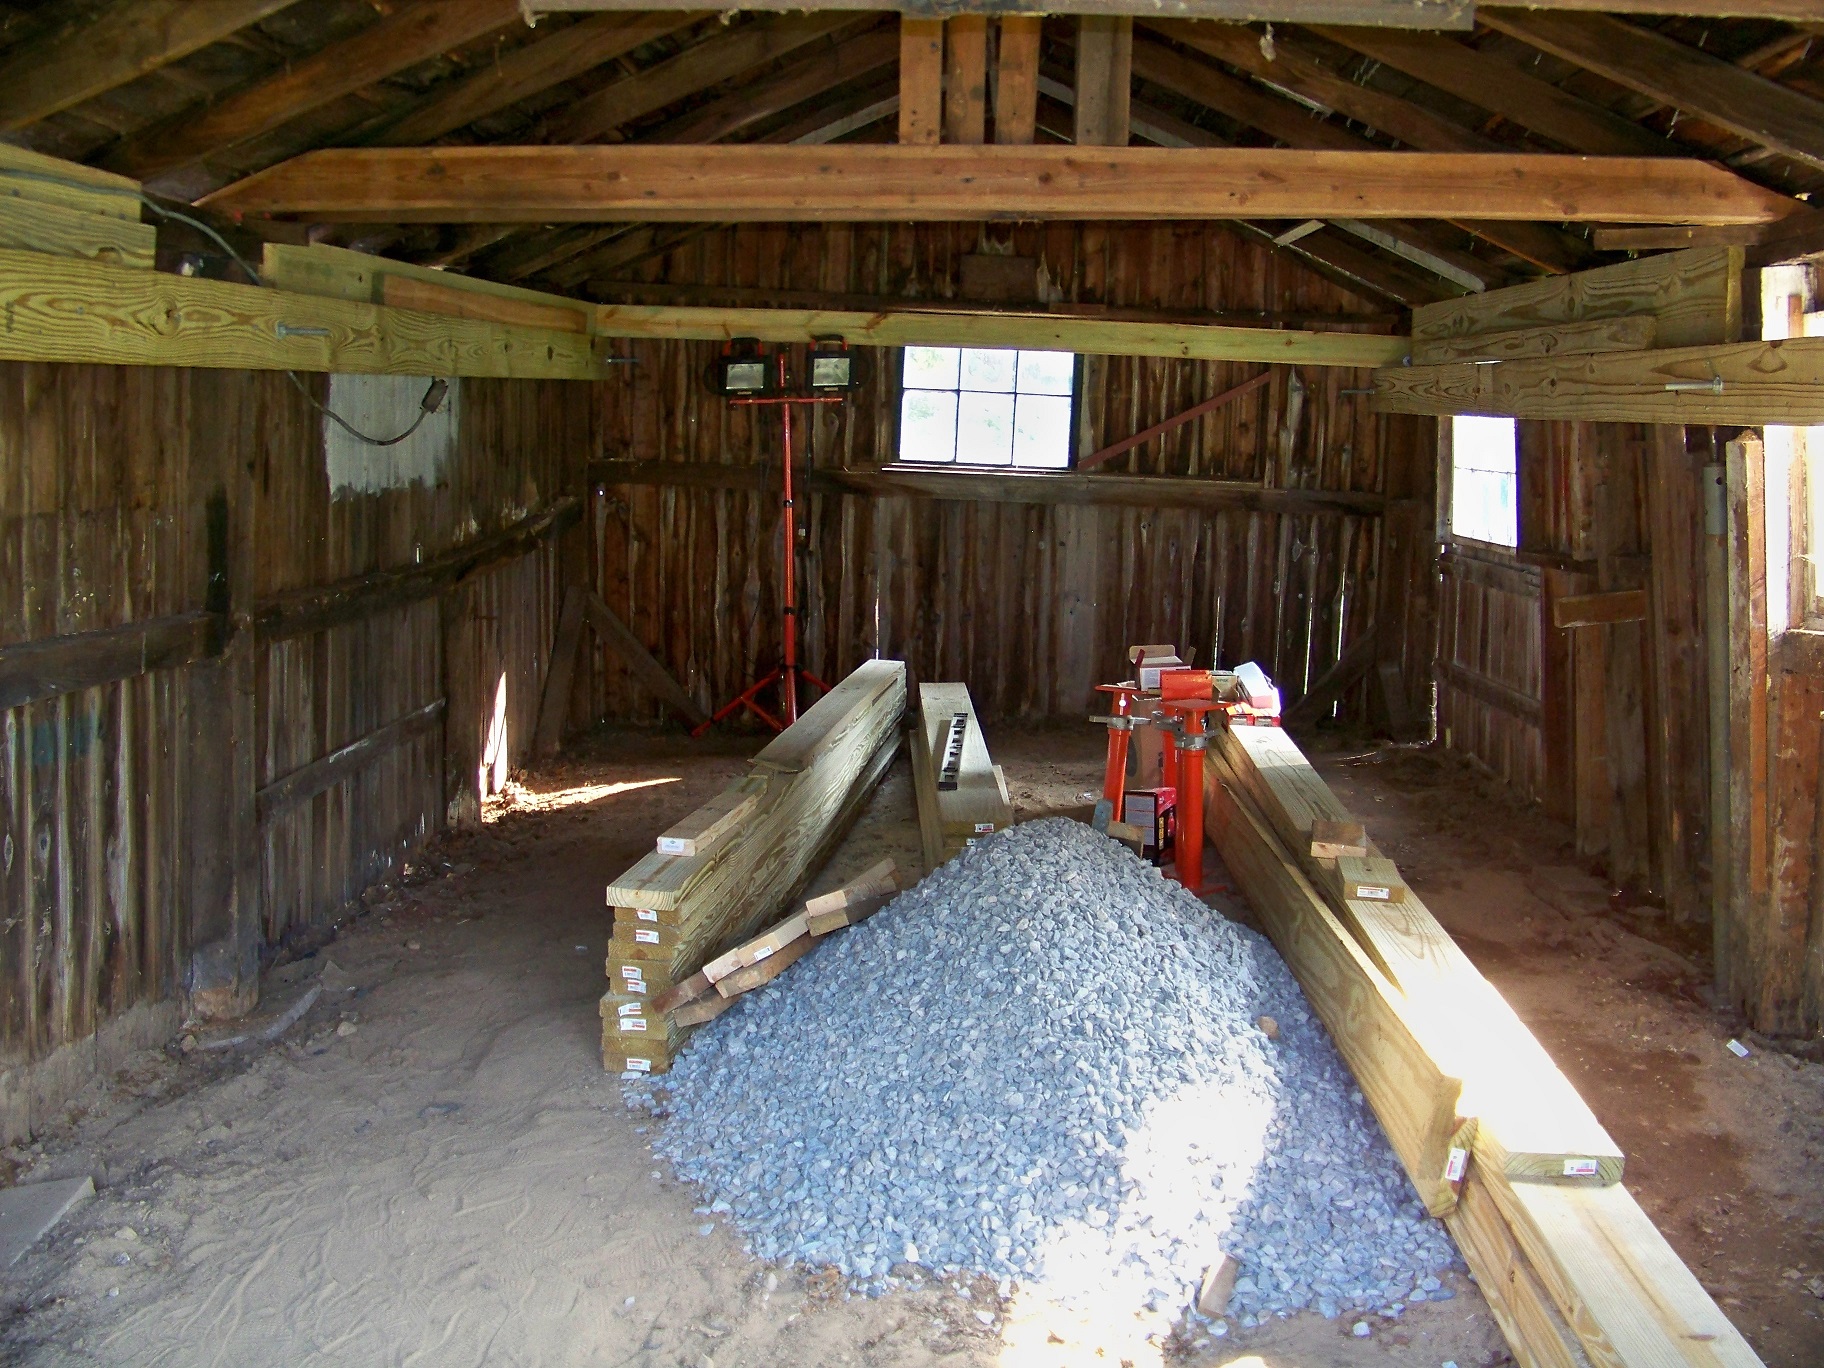
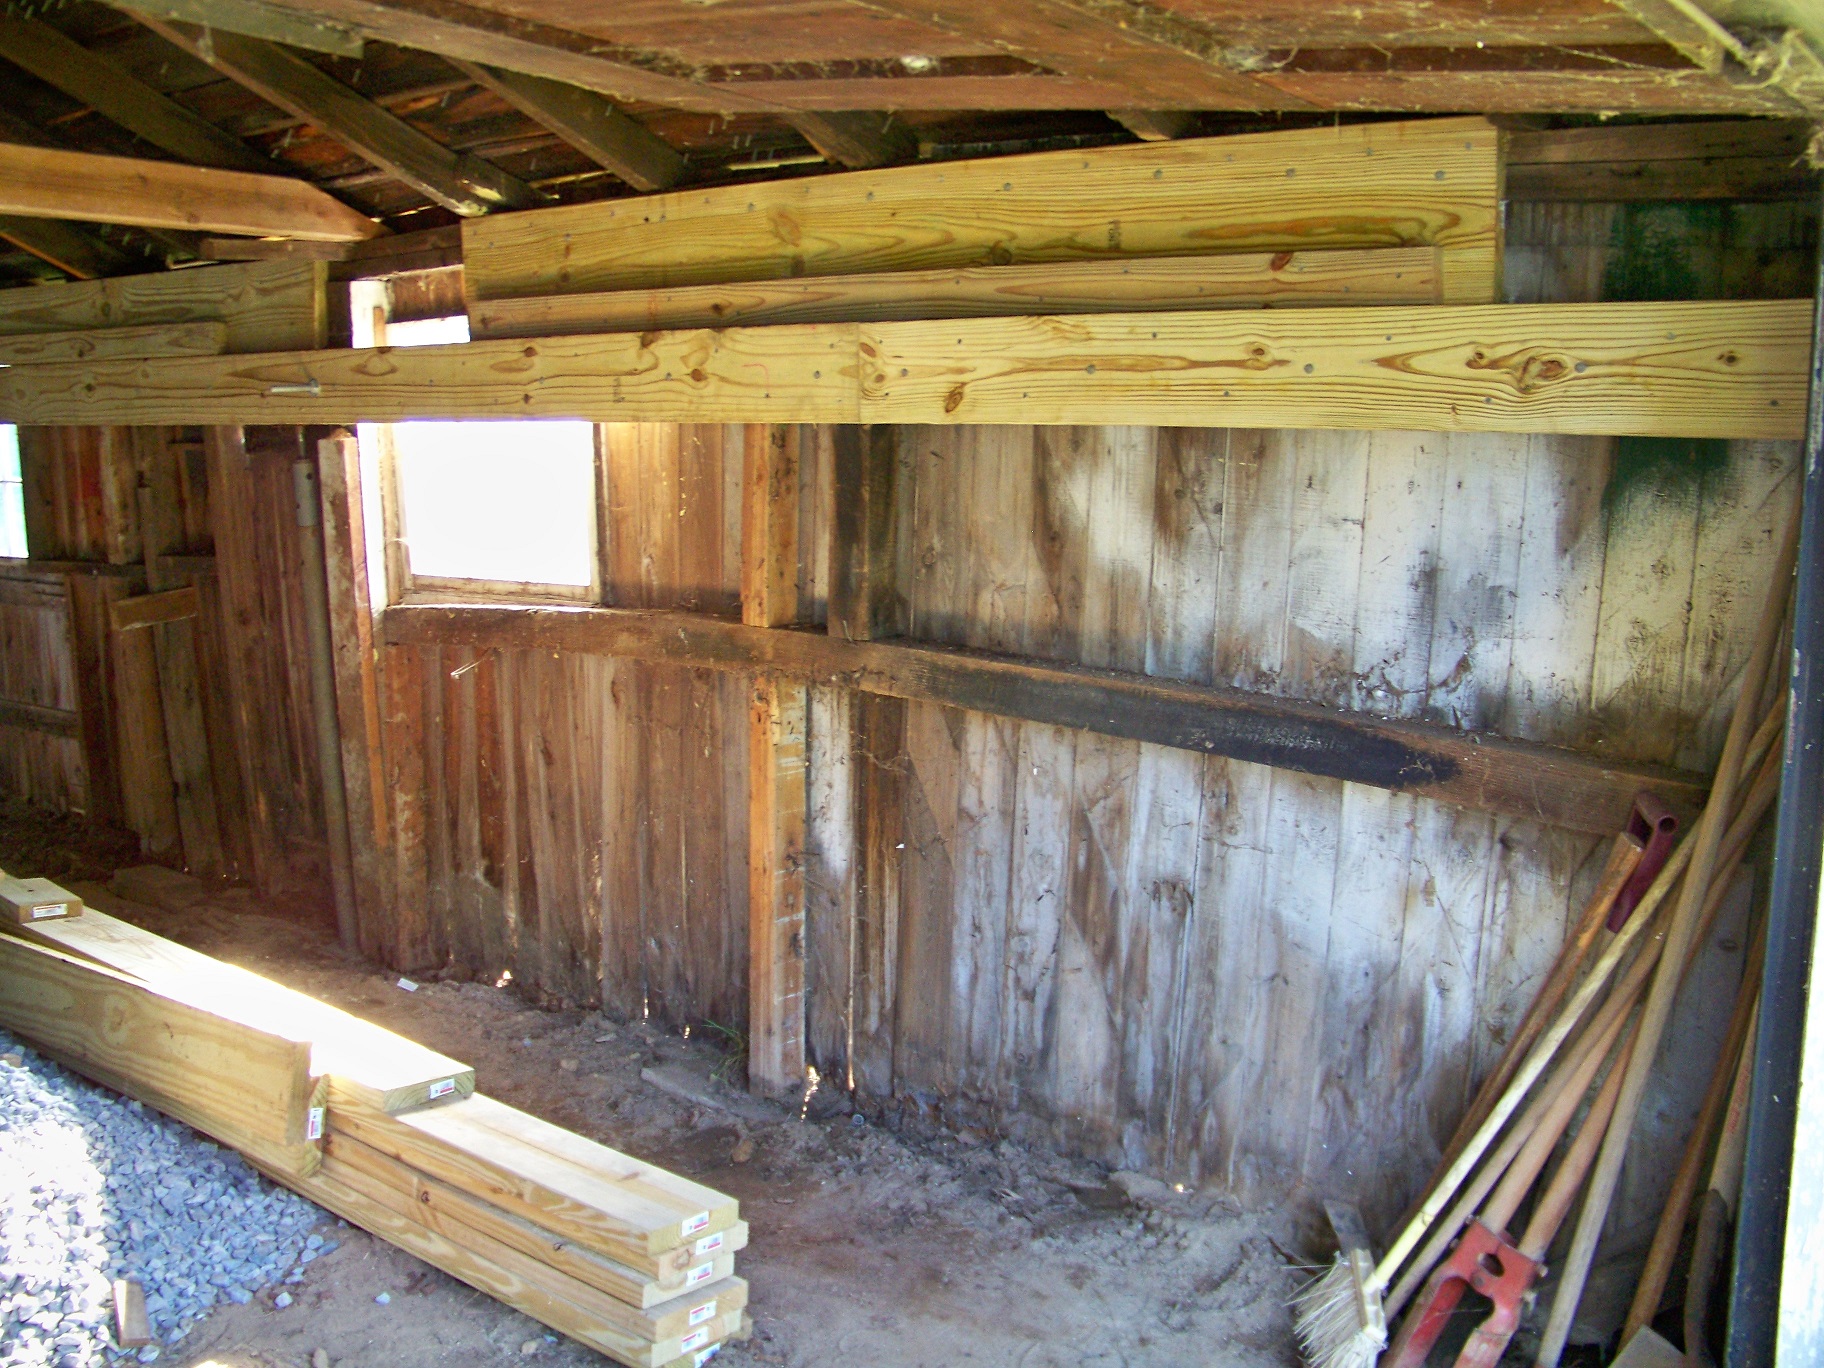
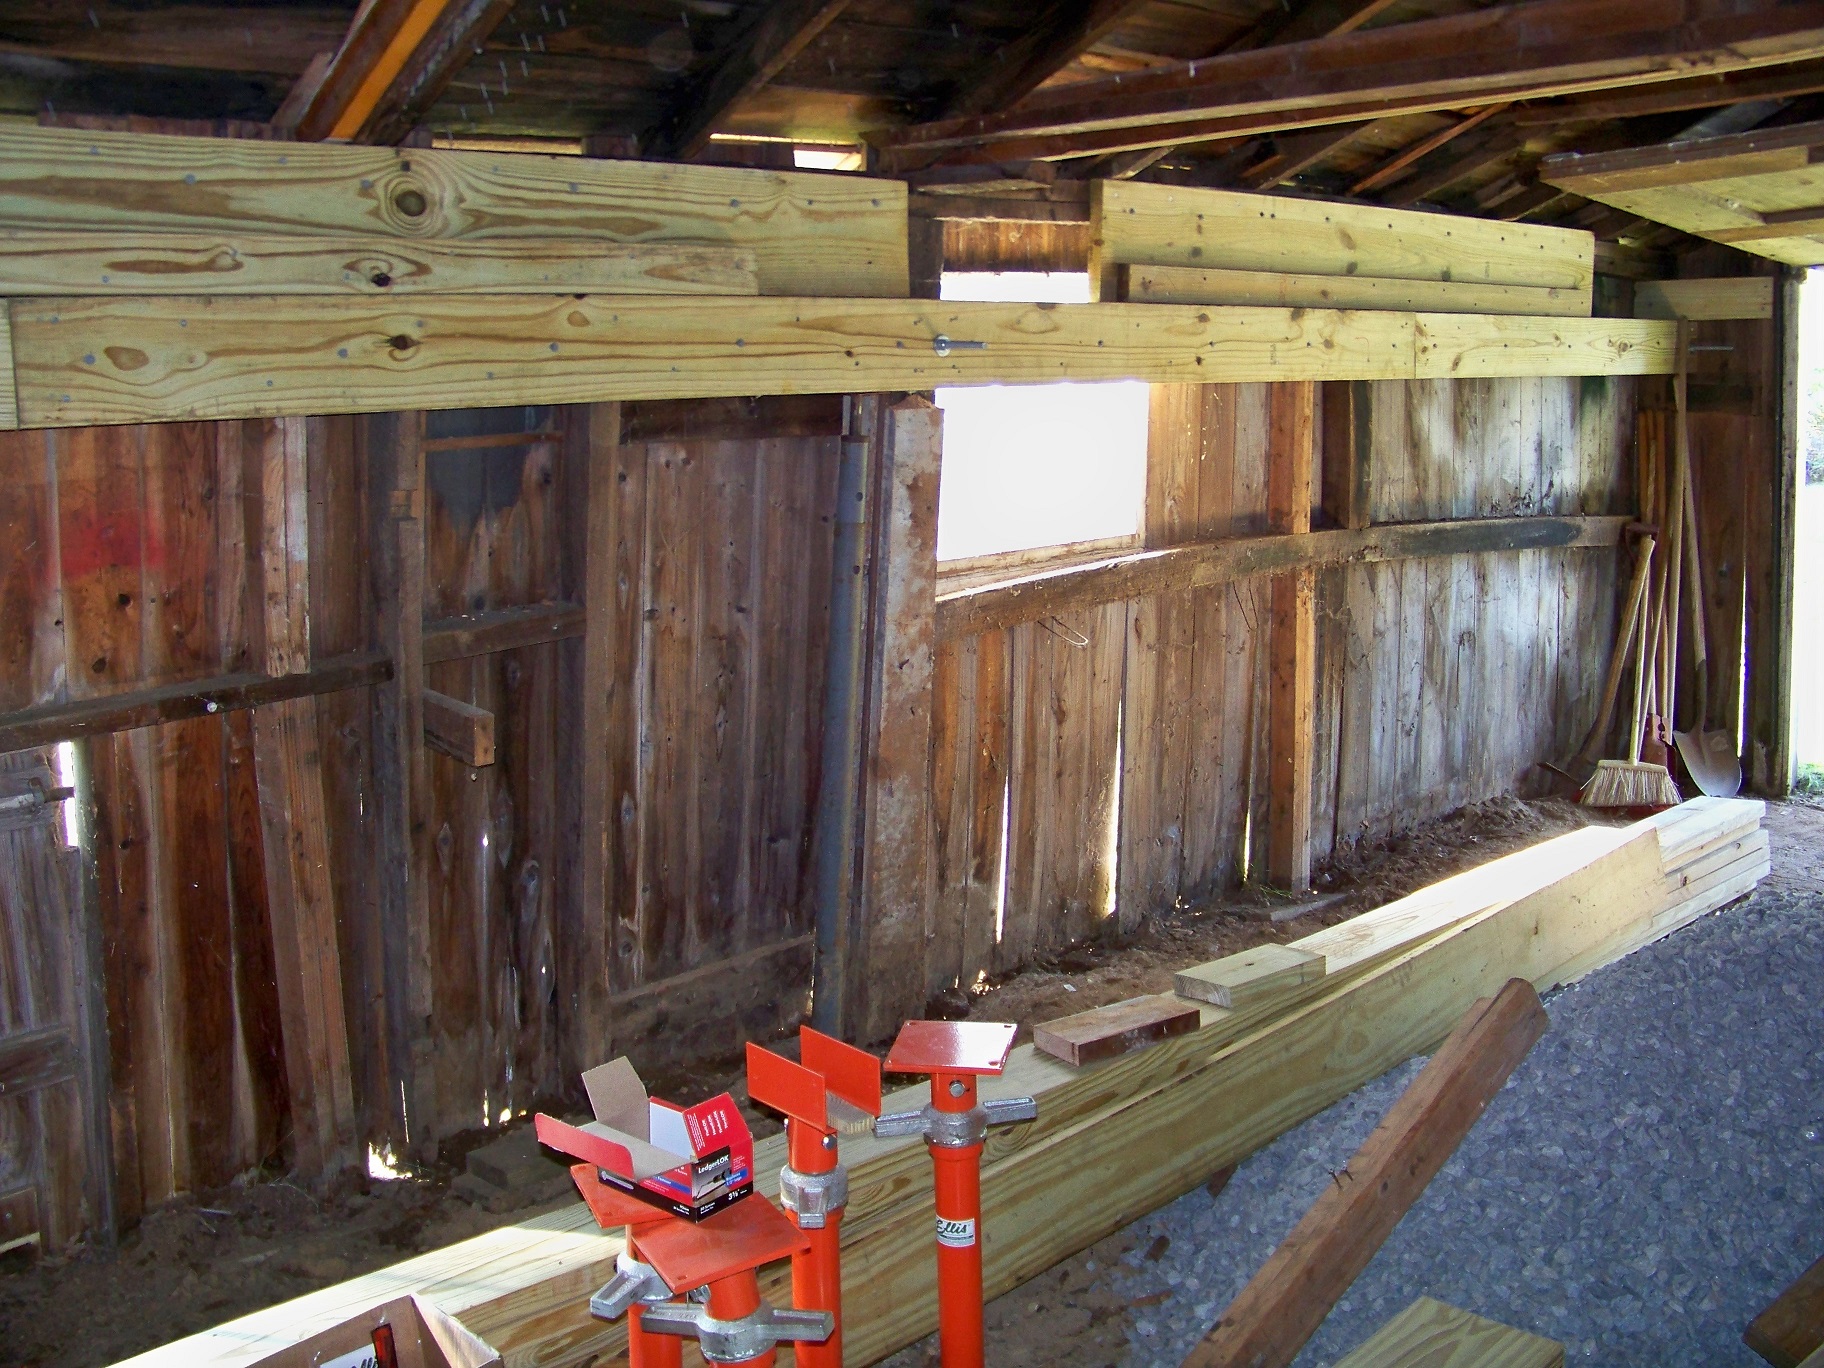
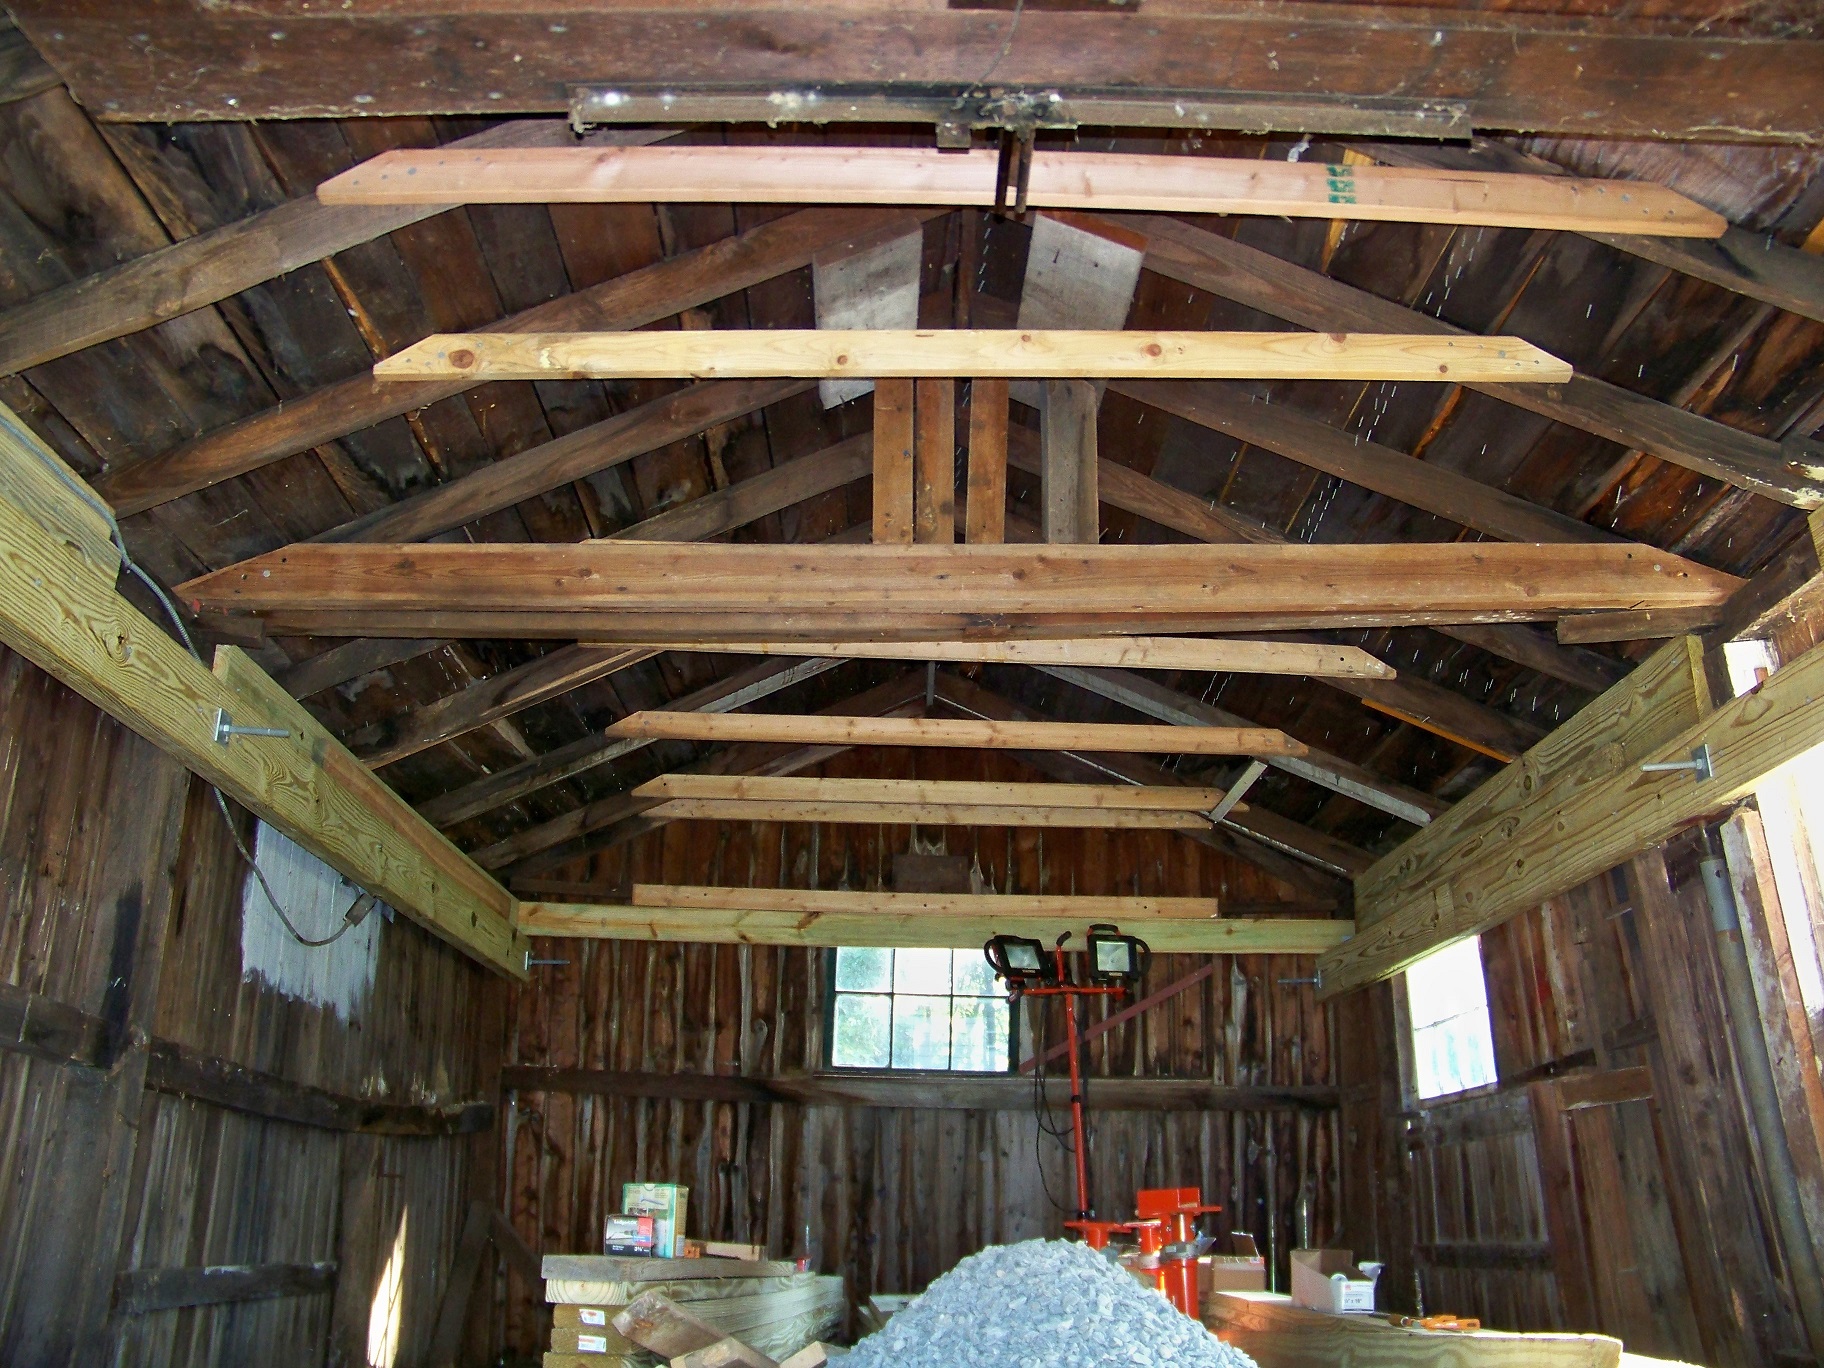
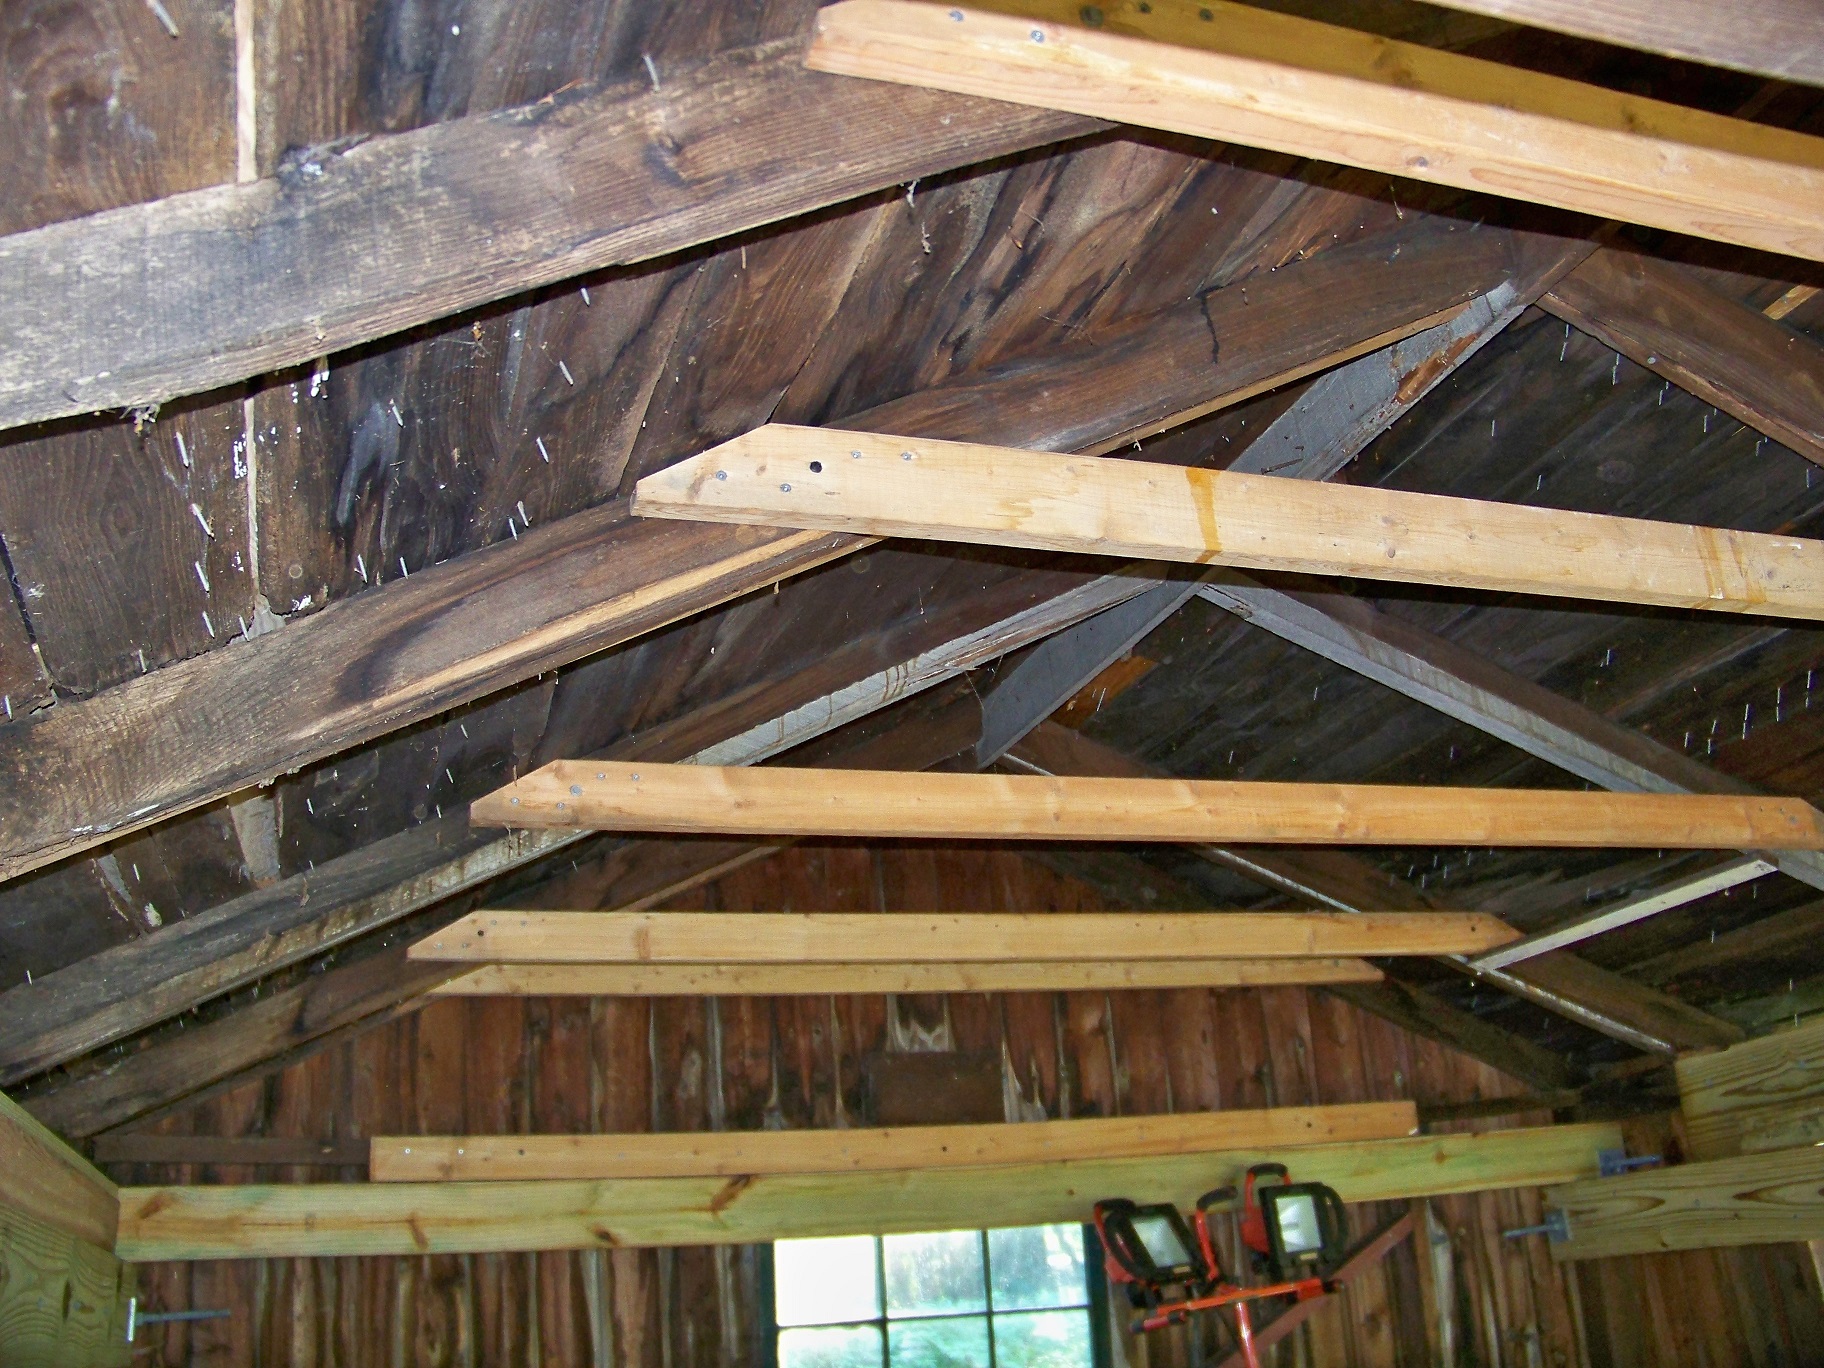
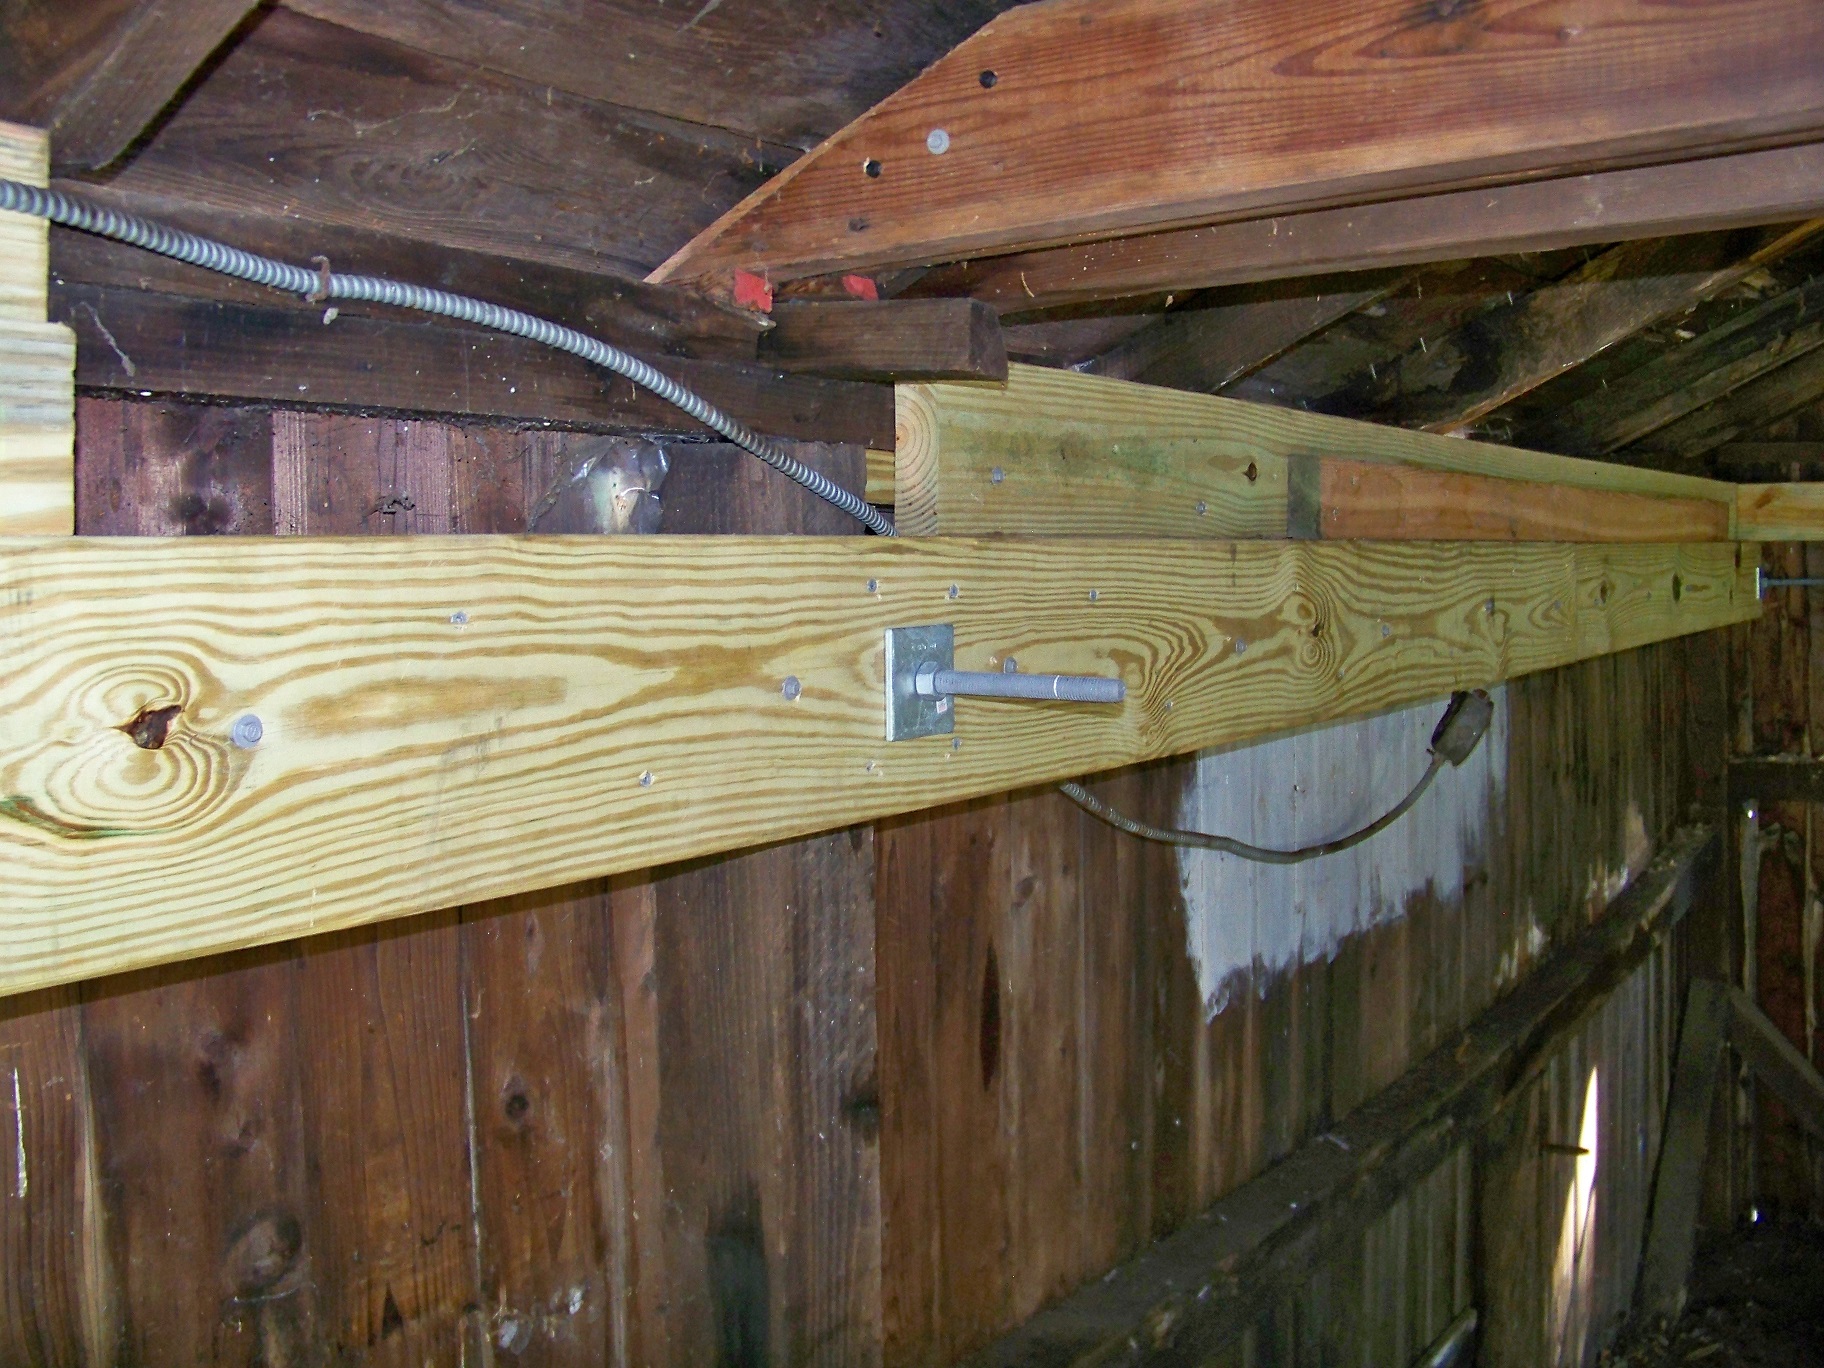
Obviously building the original structure on dirt wasn’t the brightest idea, but it has been there for a very long time. I pretty much wrote off the demise of this structure to rotting wood sills in dirt, which I’ve come to realize is only partially correct.

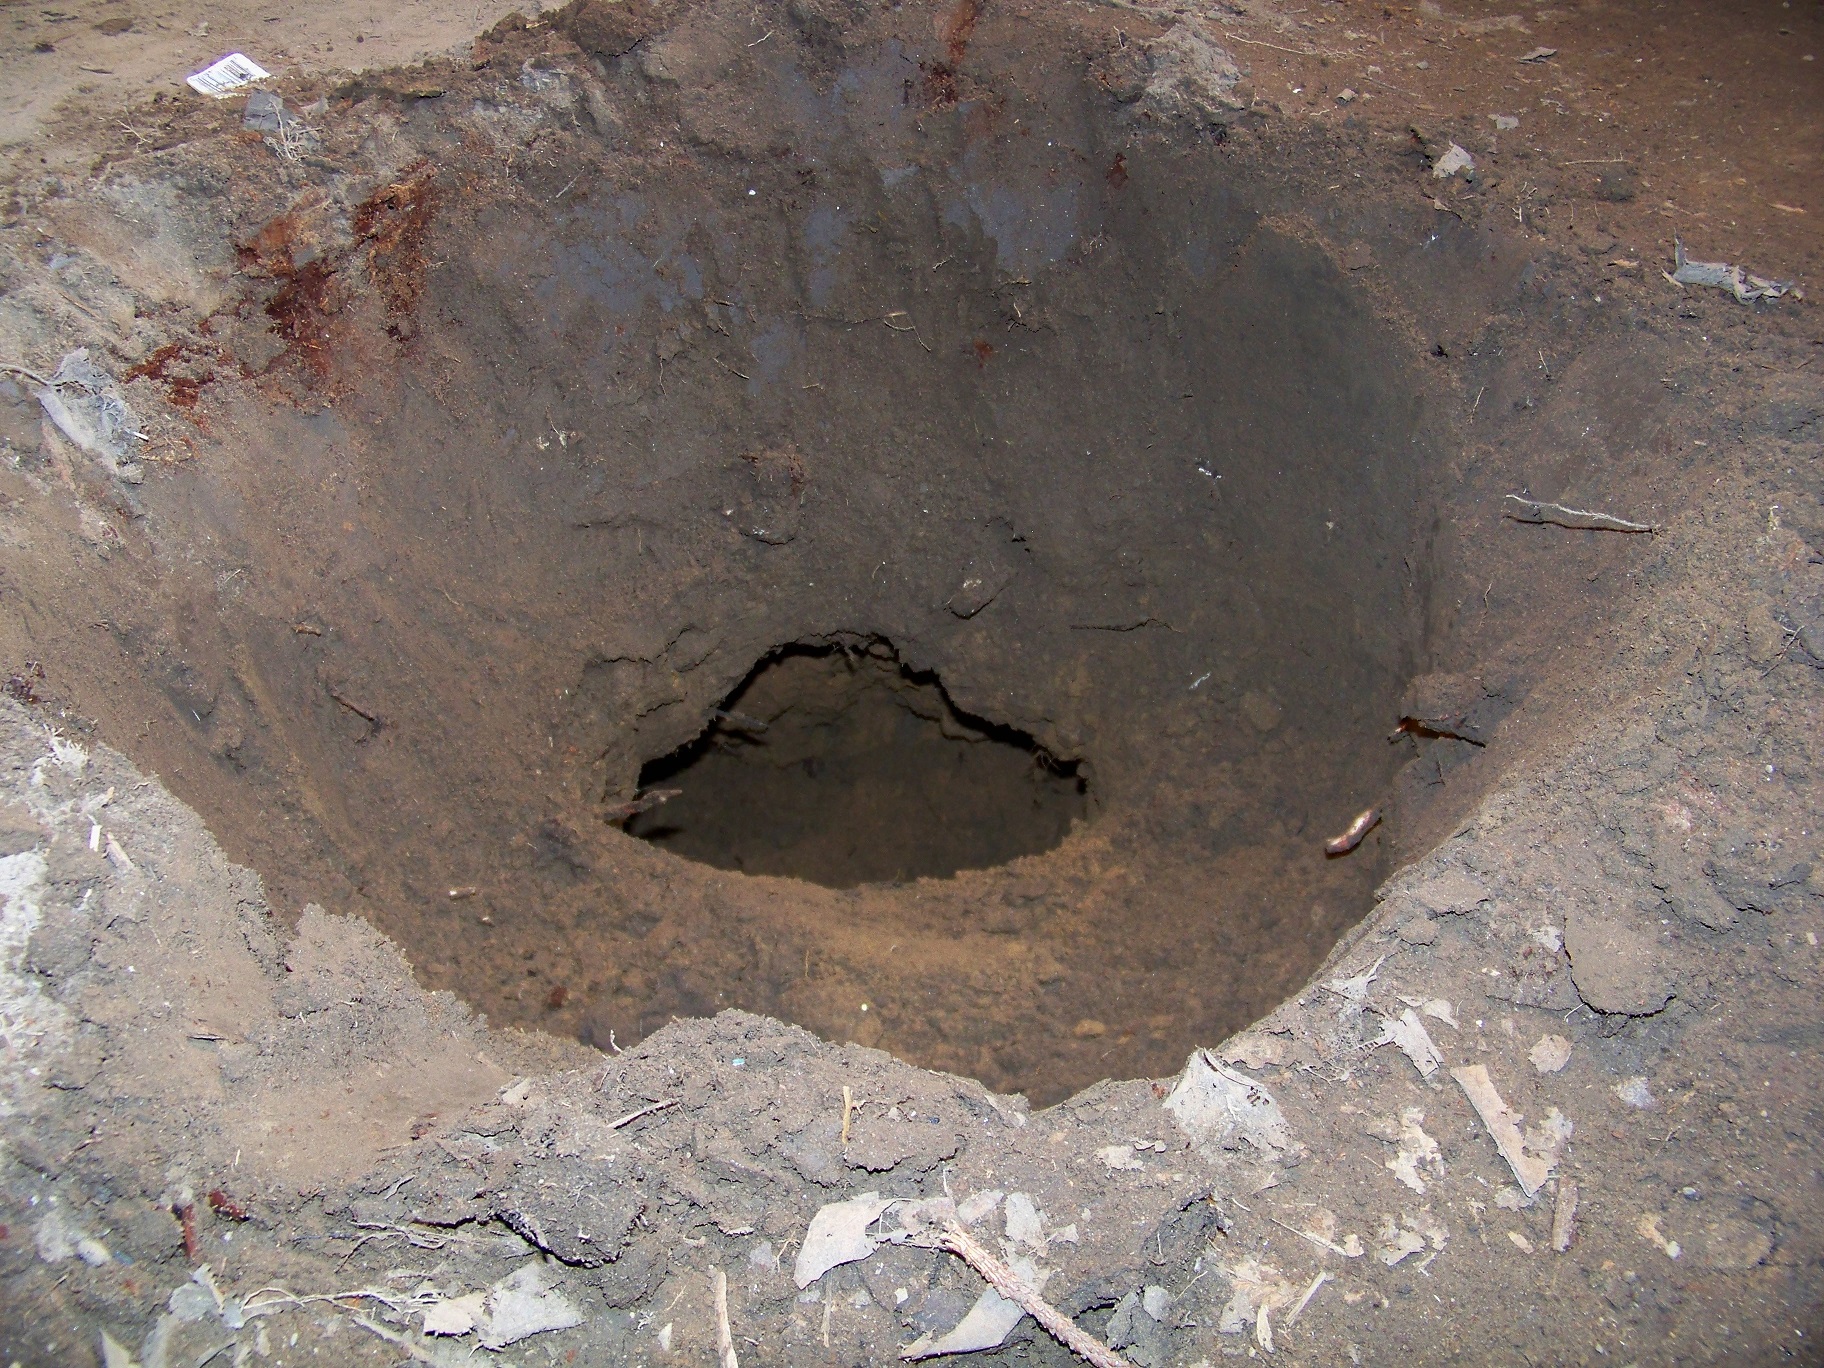
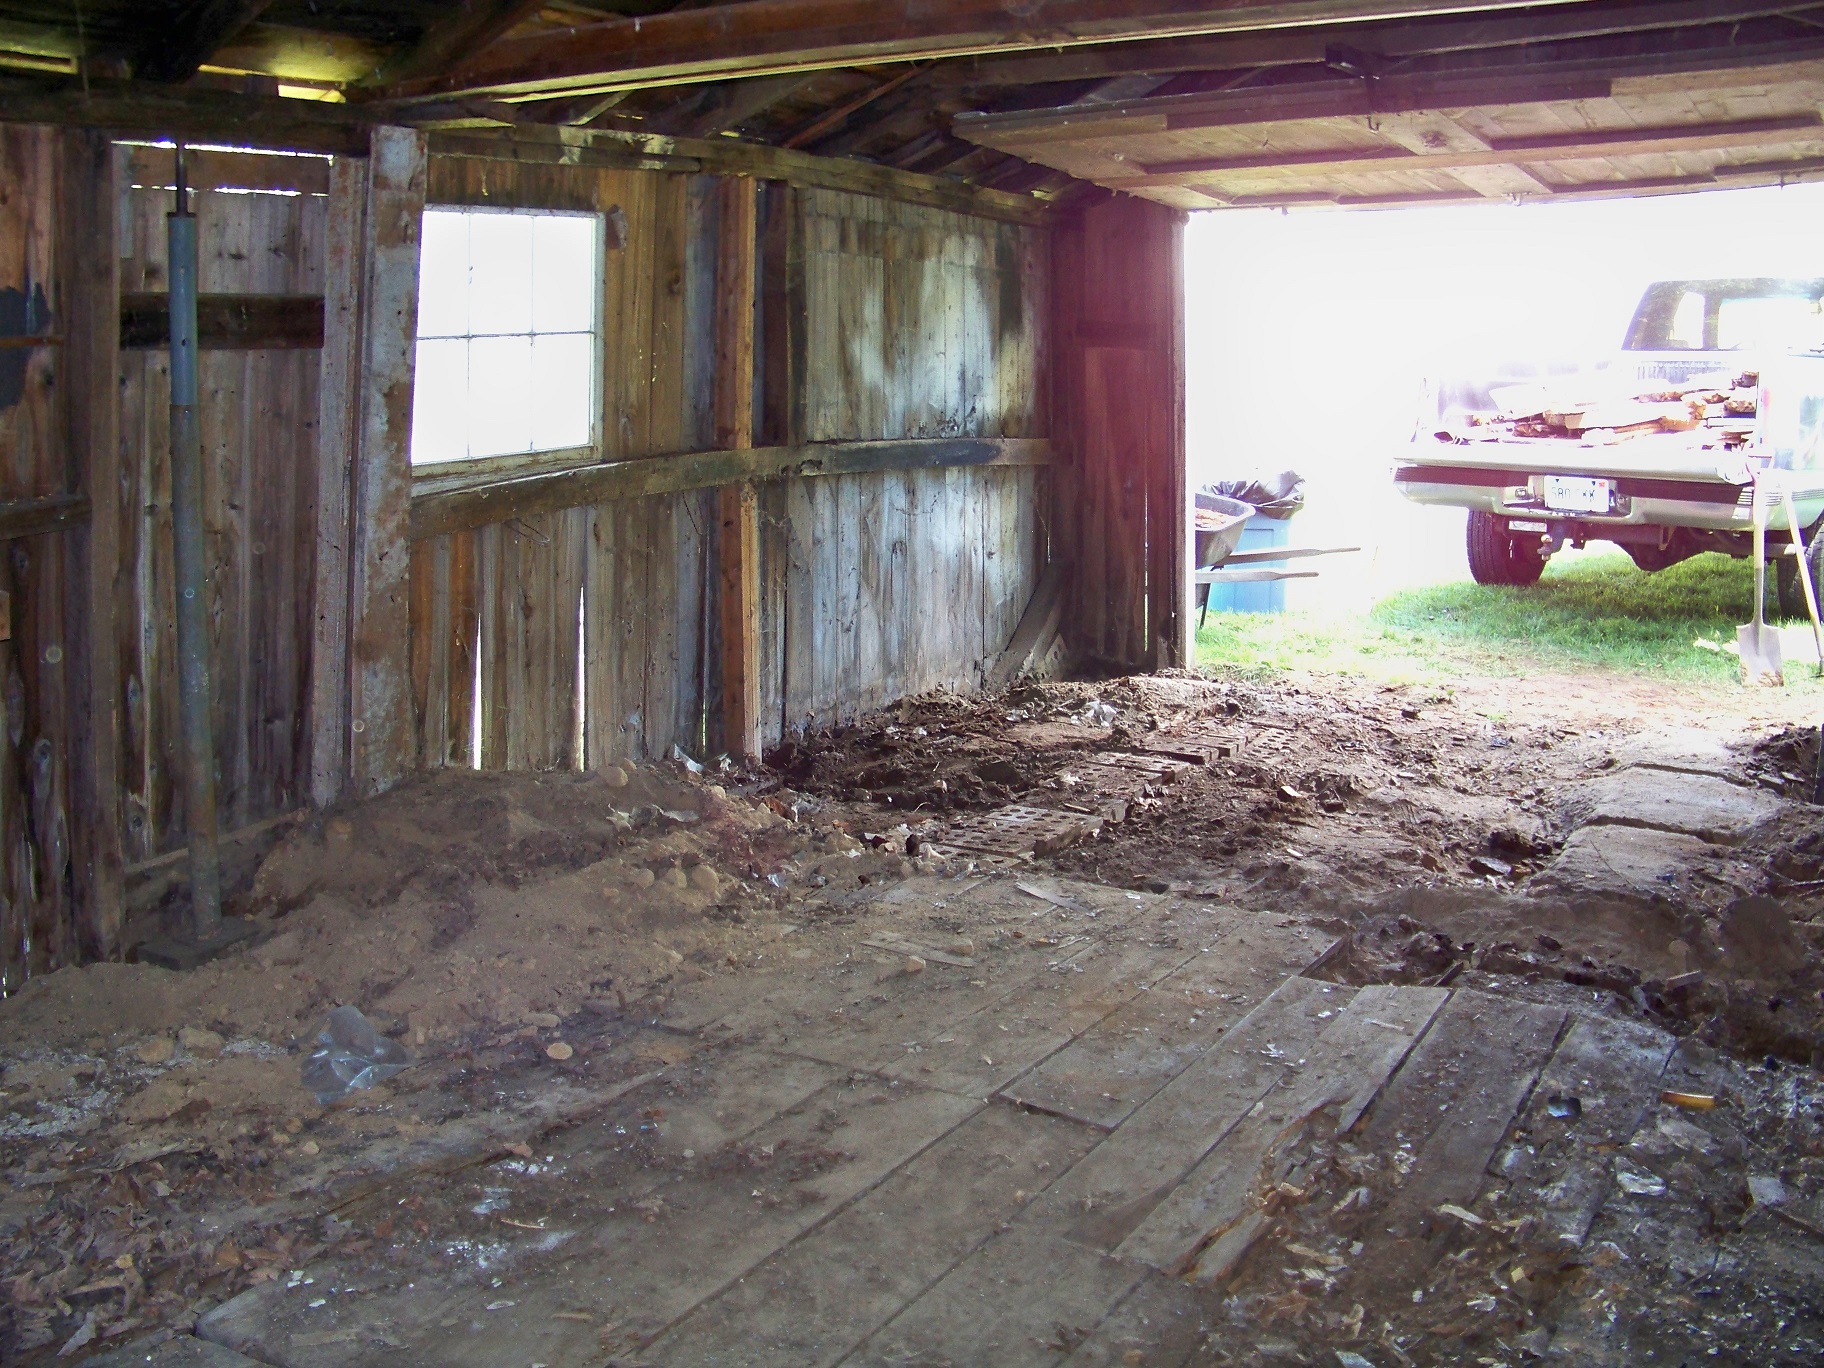
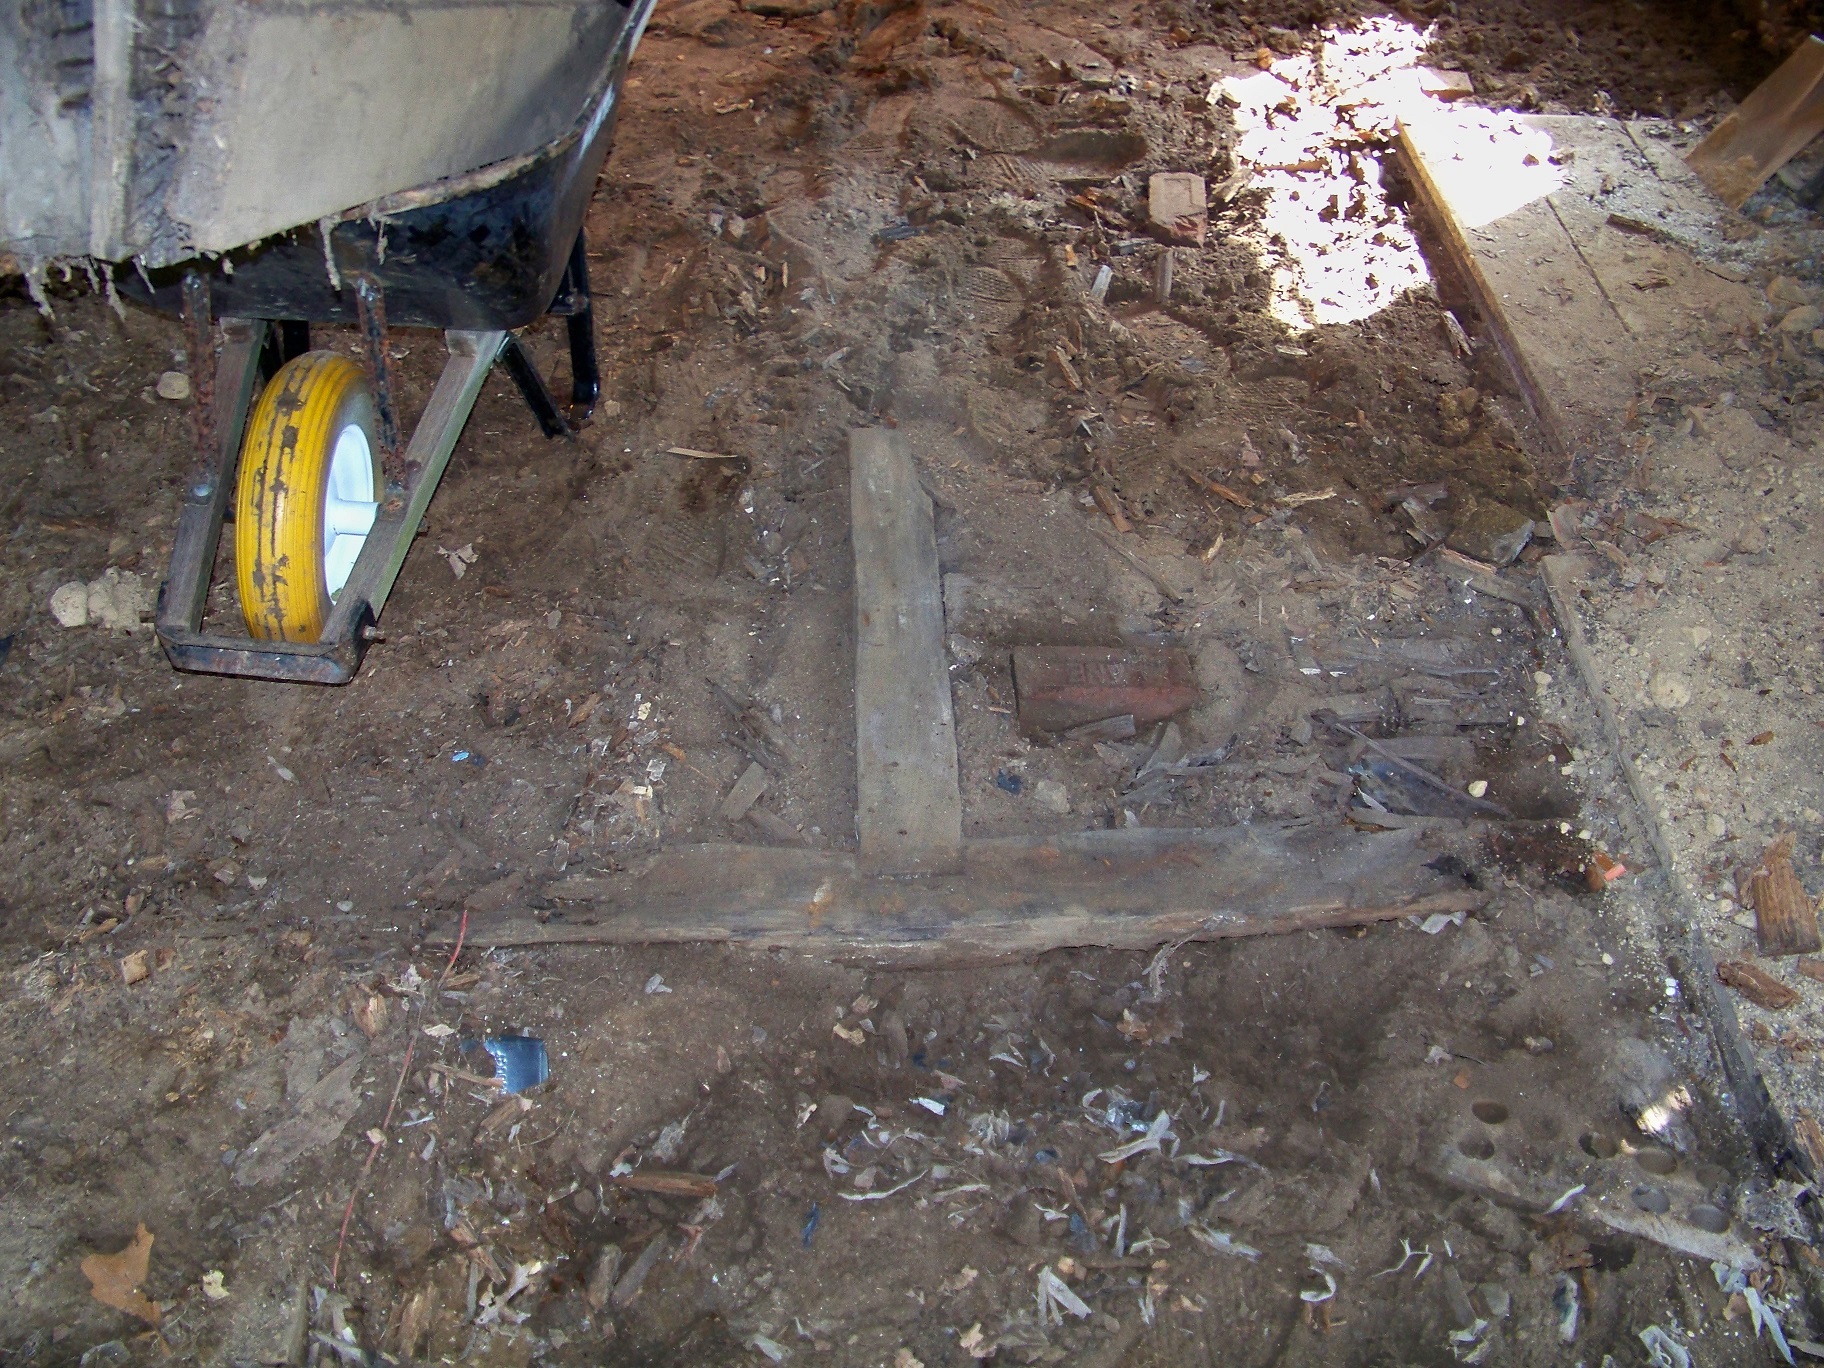
While removing the old wood floor I encountered a maze of endless critter tunnels and several pockets filled with shredded plastic, paper and nut shells. My tenant had commented in the past that she’s always seeing chipmunks coming and going from the shed. I didn’t think much of it since heck they’re only cute little chipmunks.

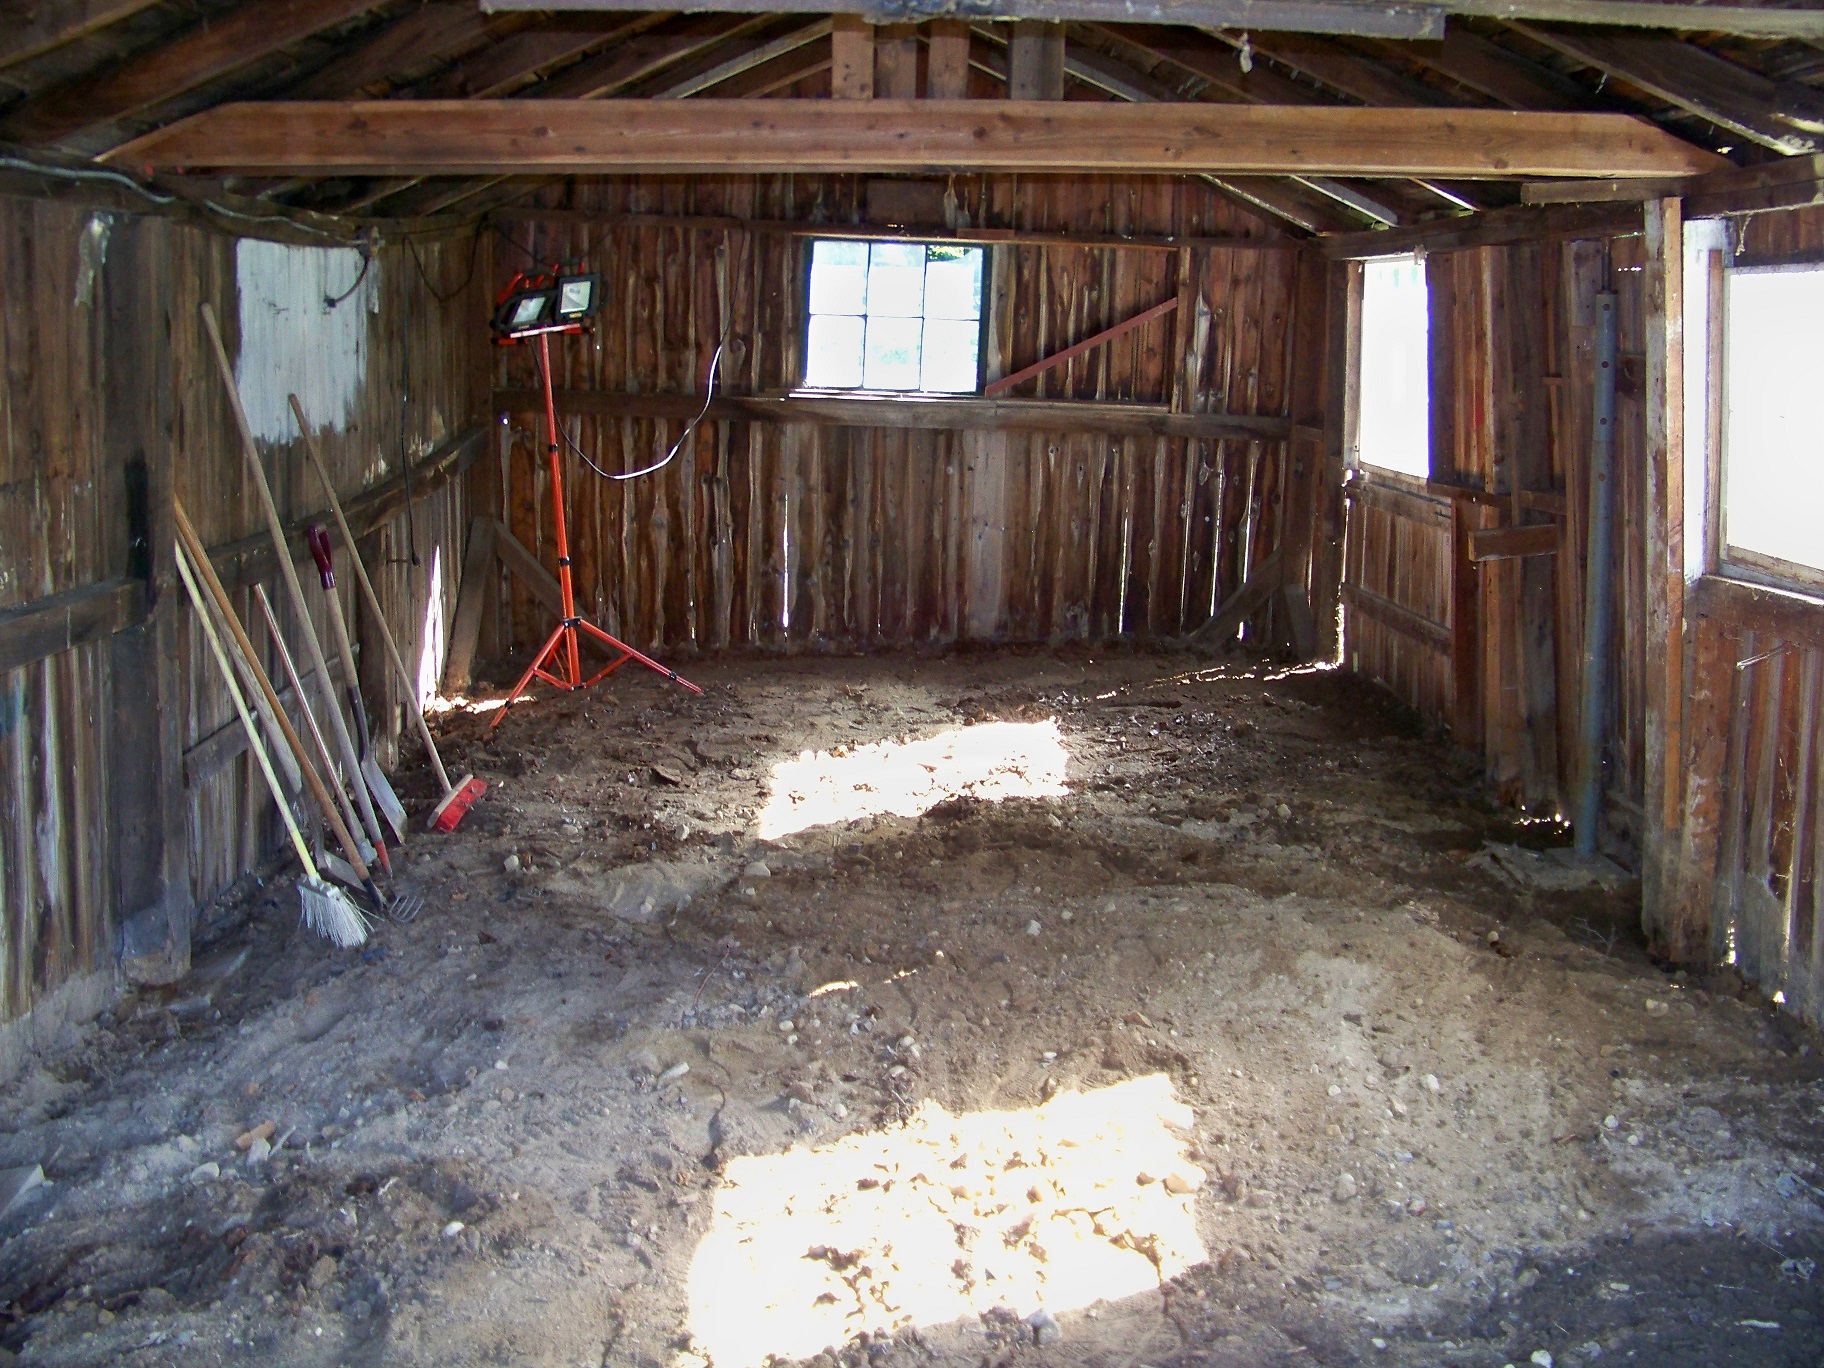
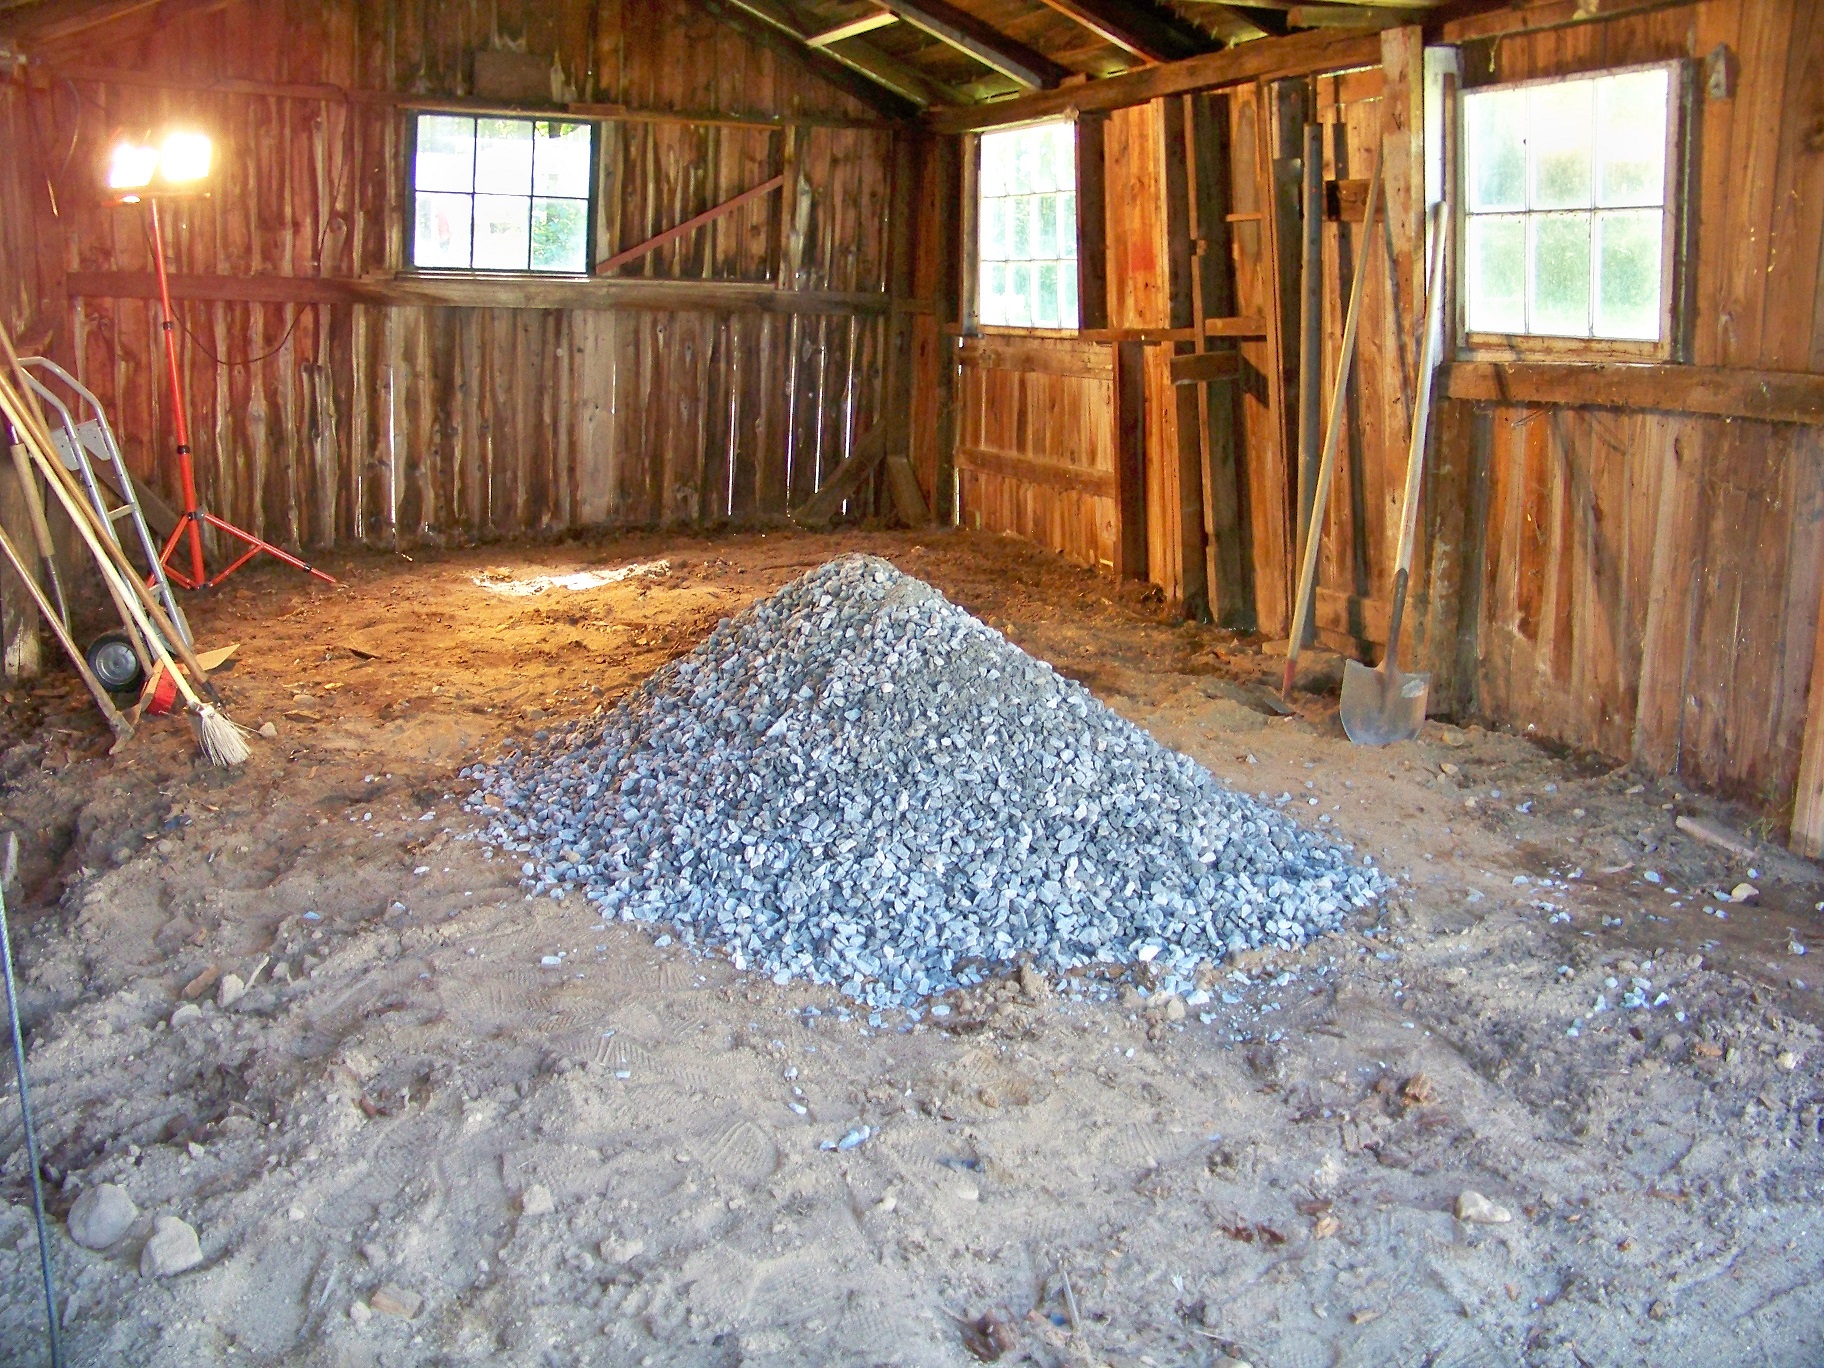
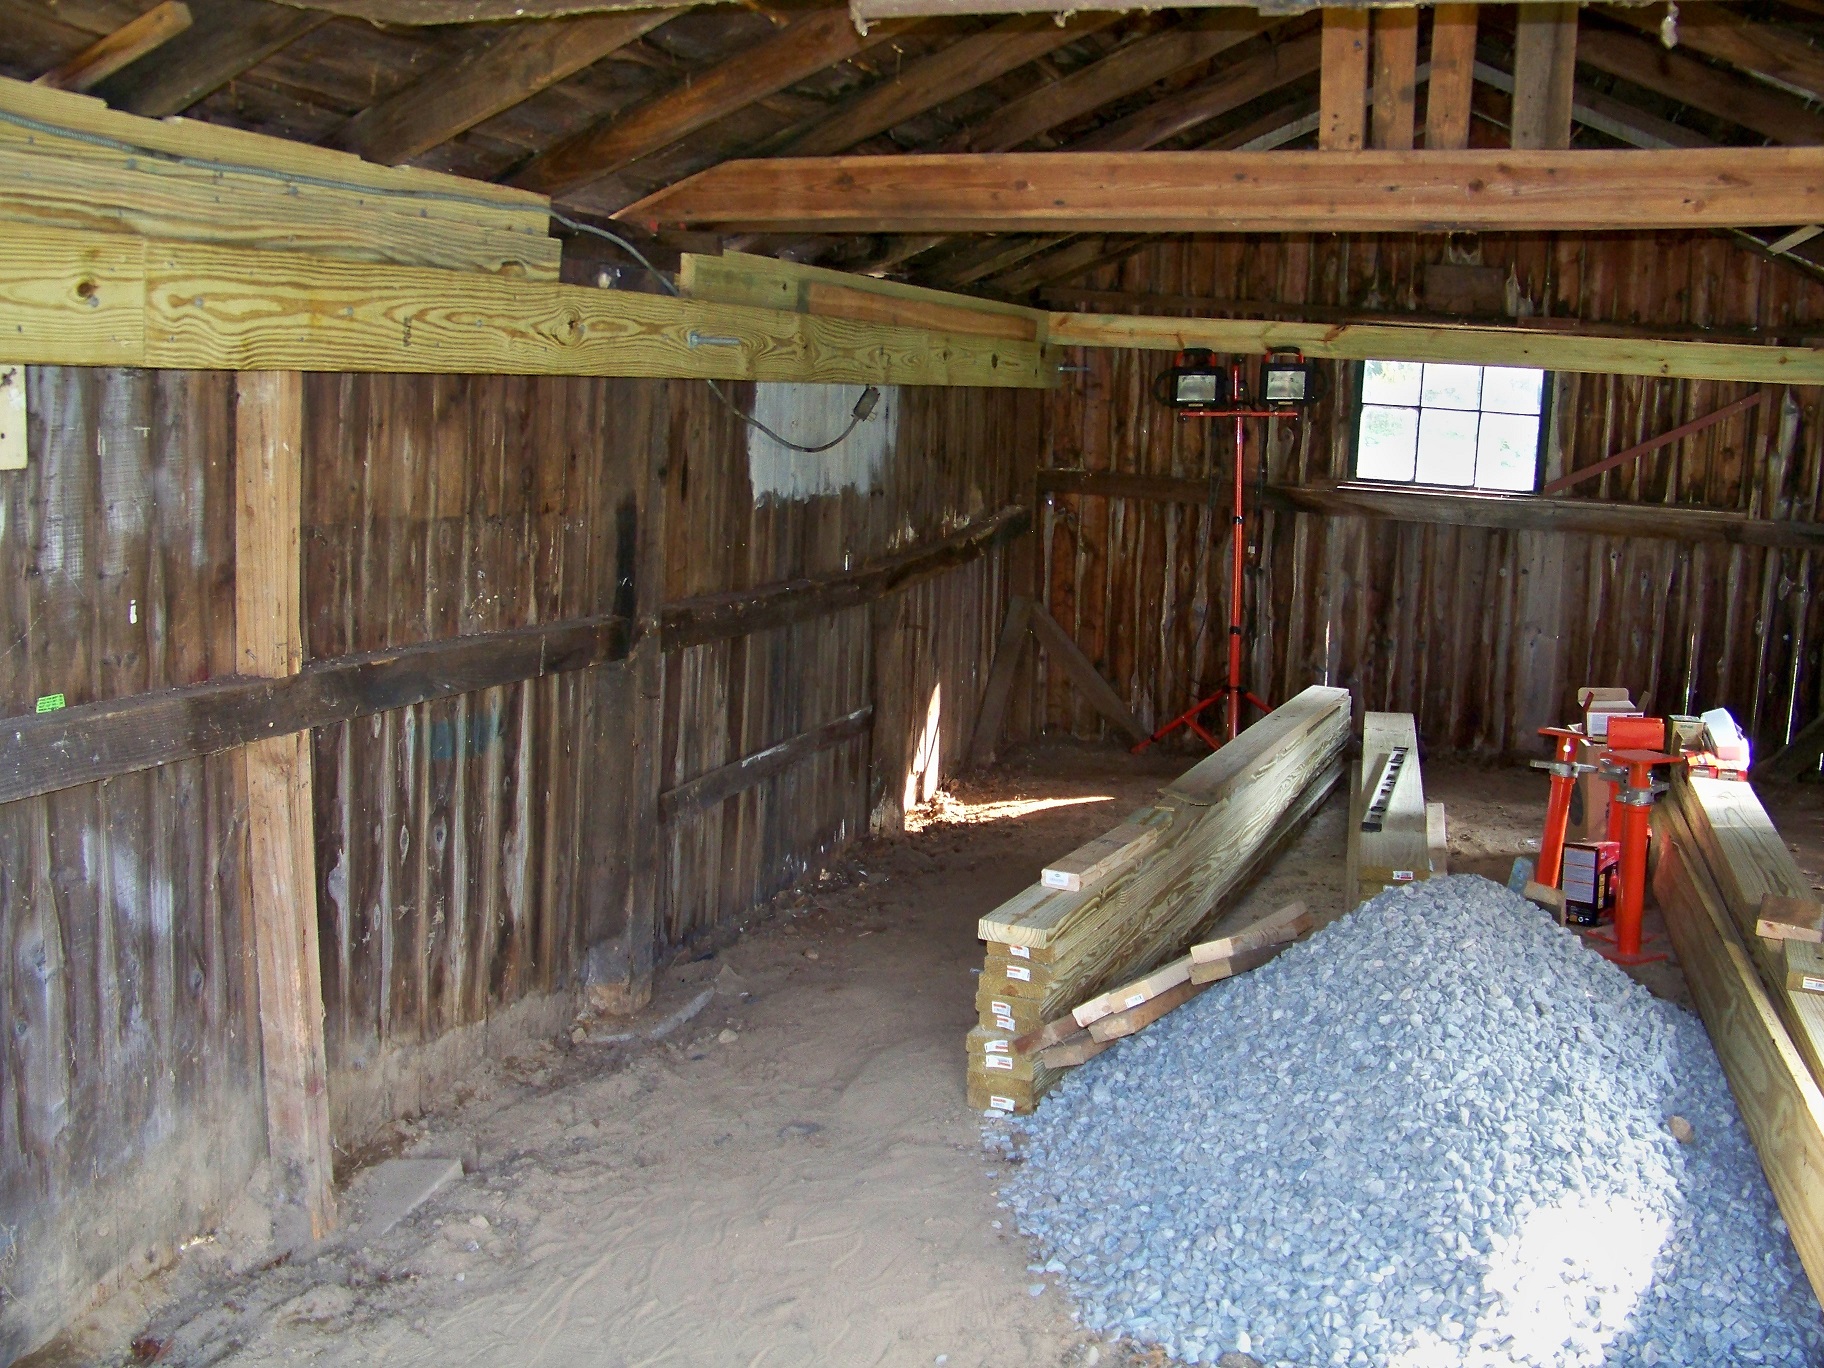
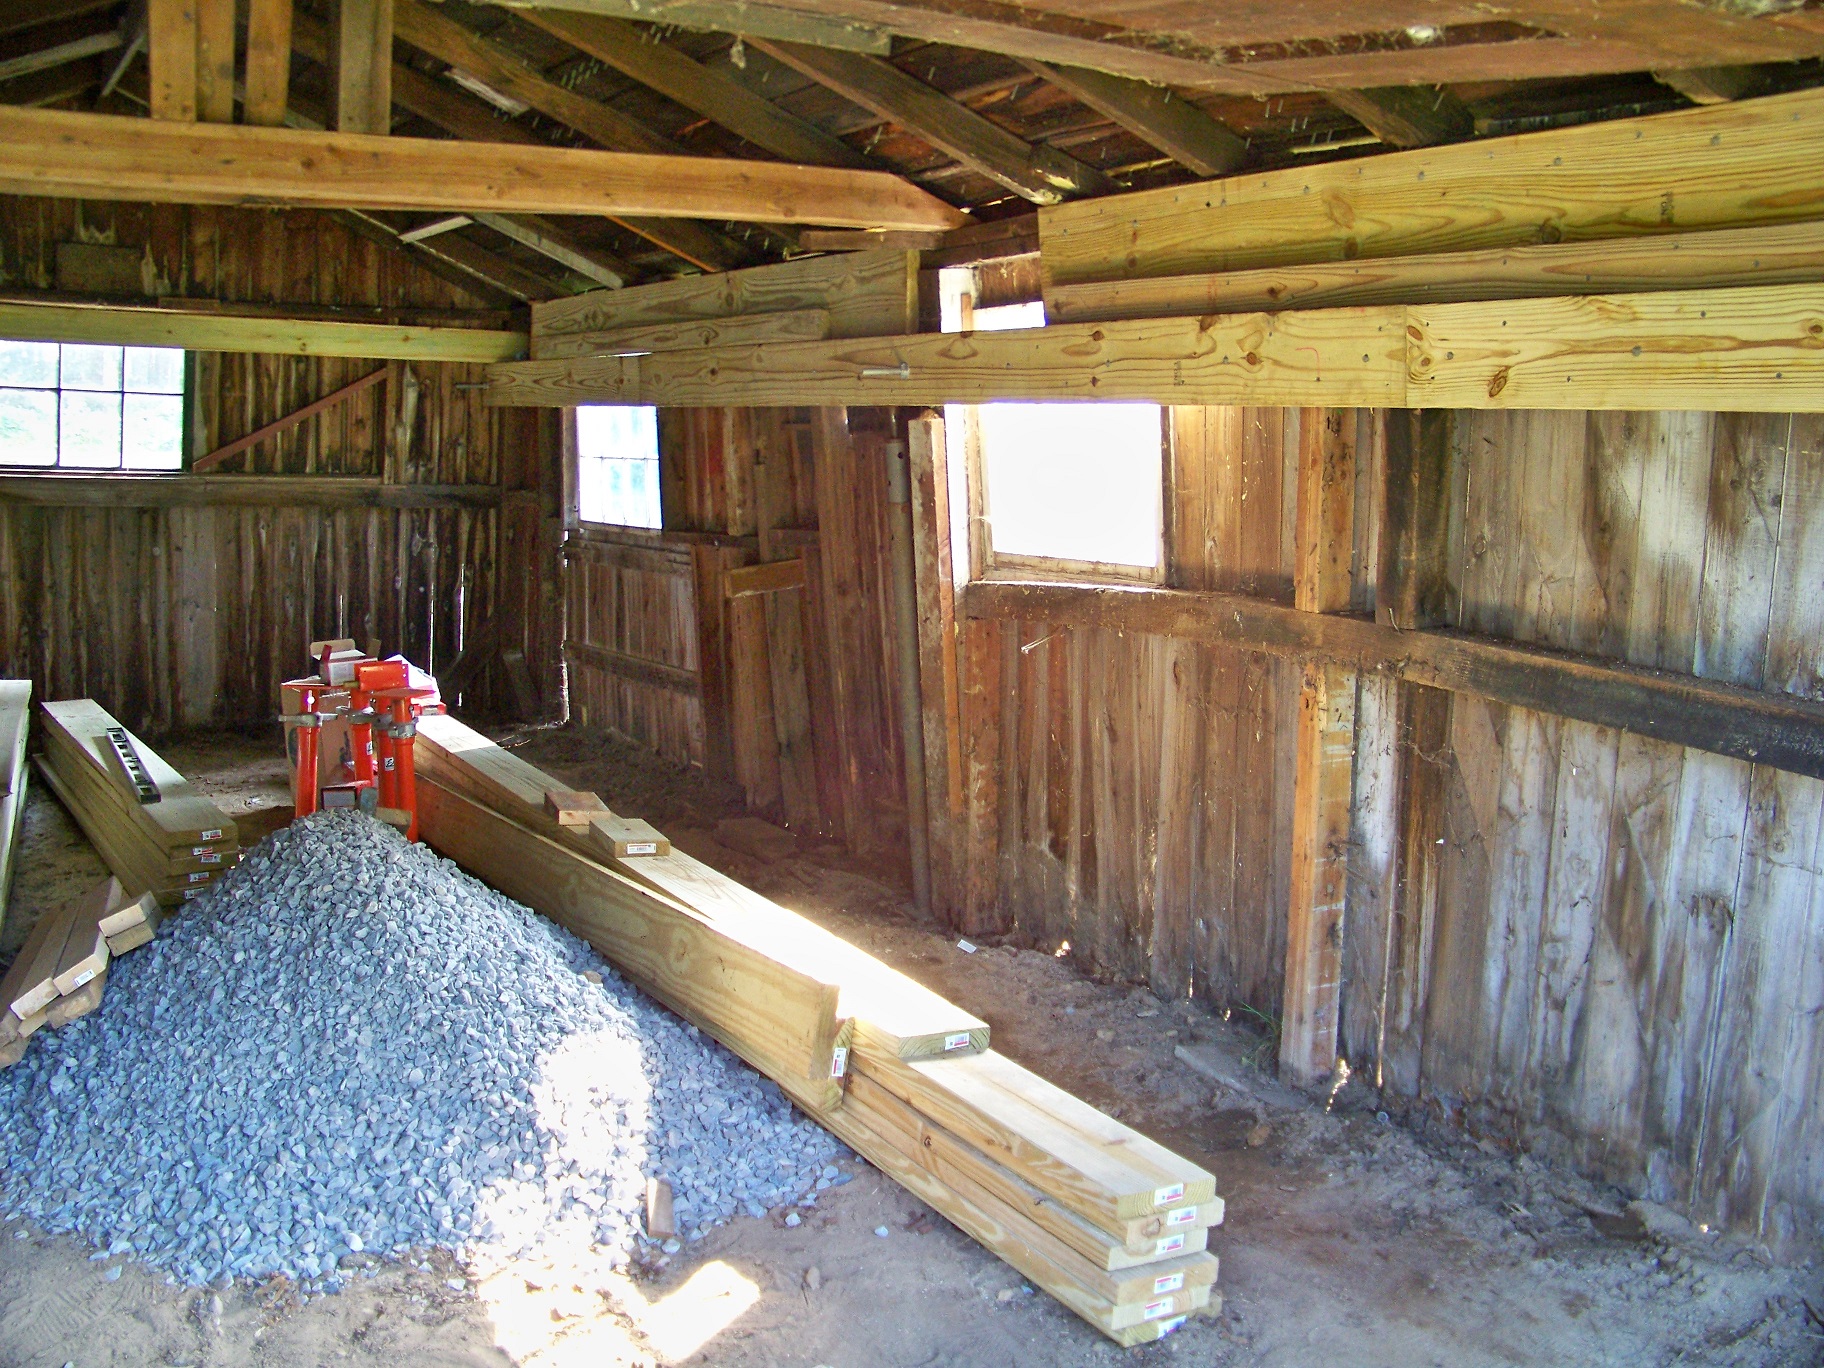
I’ve pretty much raked the whole garage covering the holes and visible tunnels. The soil under the floor is much looser, stone free, and easier to dig in than the soil outside. The dirt piles that were growing on top of the floor were more what I’m used to = heavy with lots of rocks. Though I’ve never seen a chipmunk move small stones, I’m not convinced that this isn’t part of their behavior.

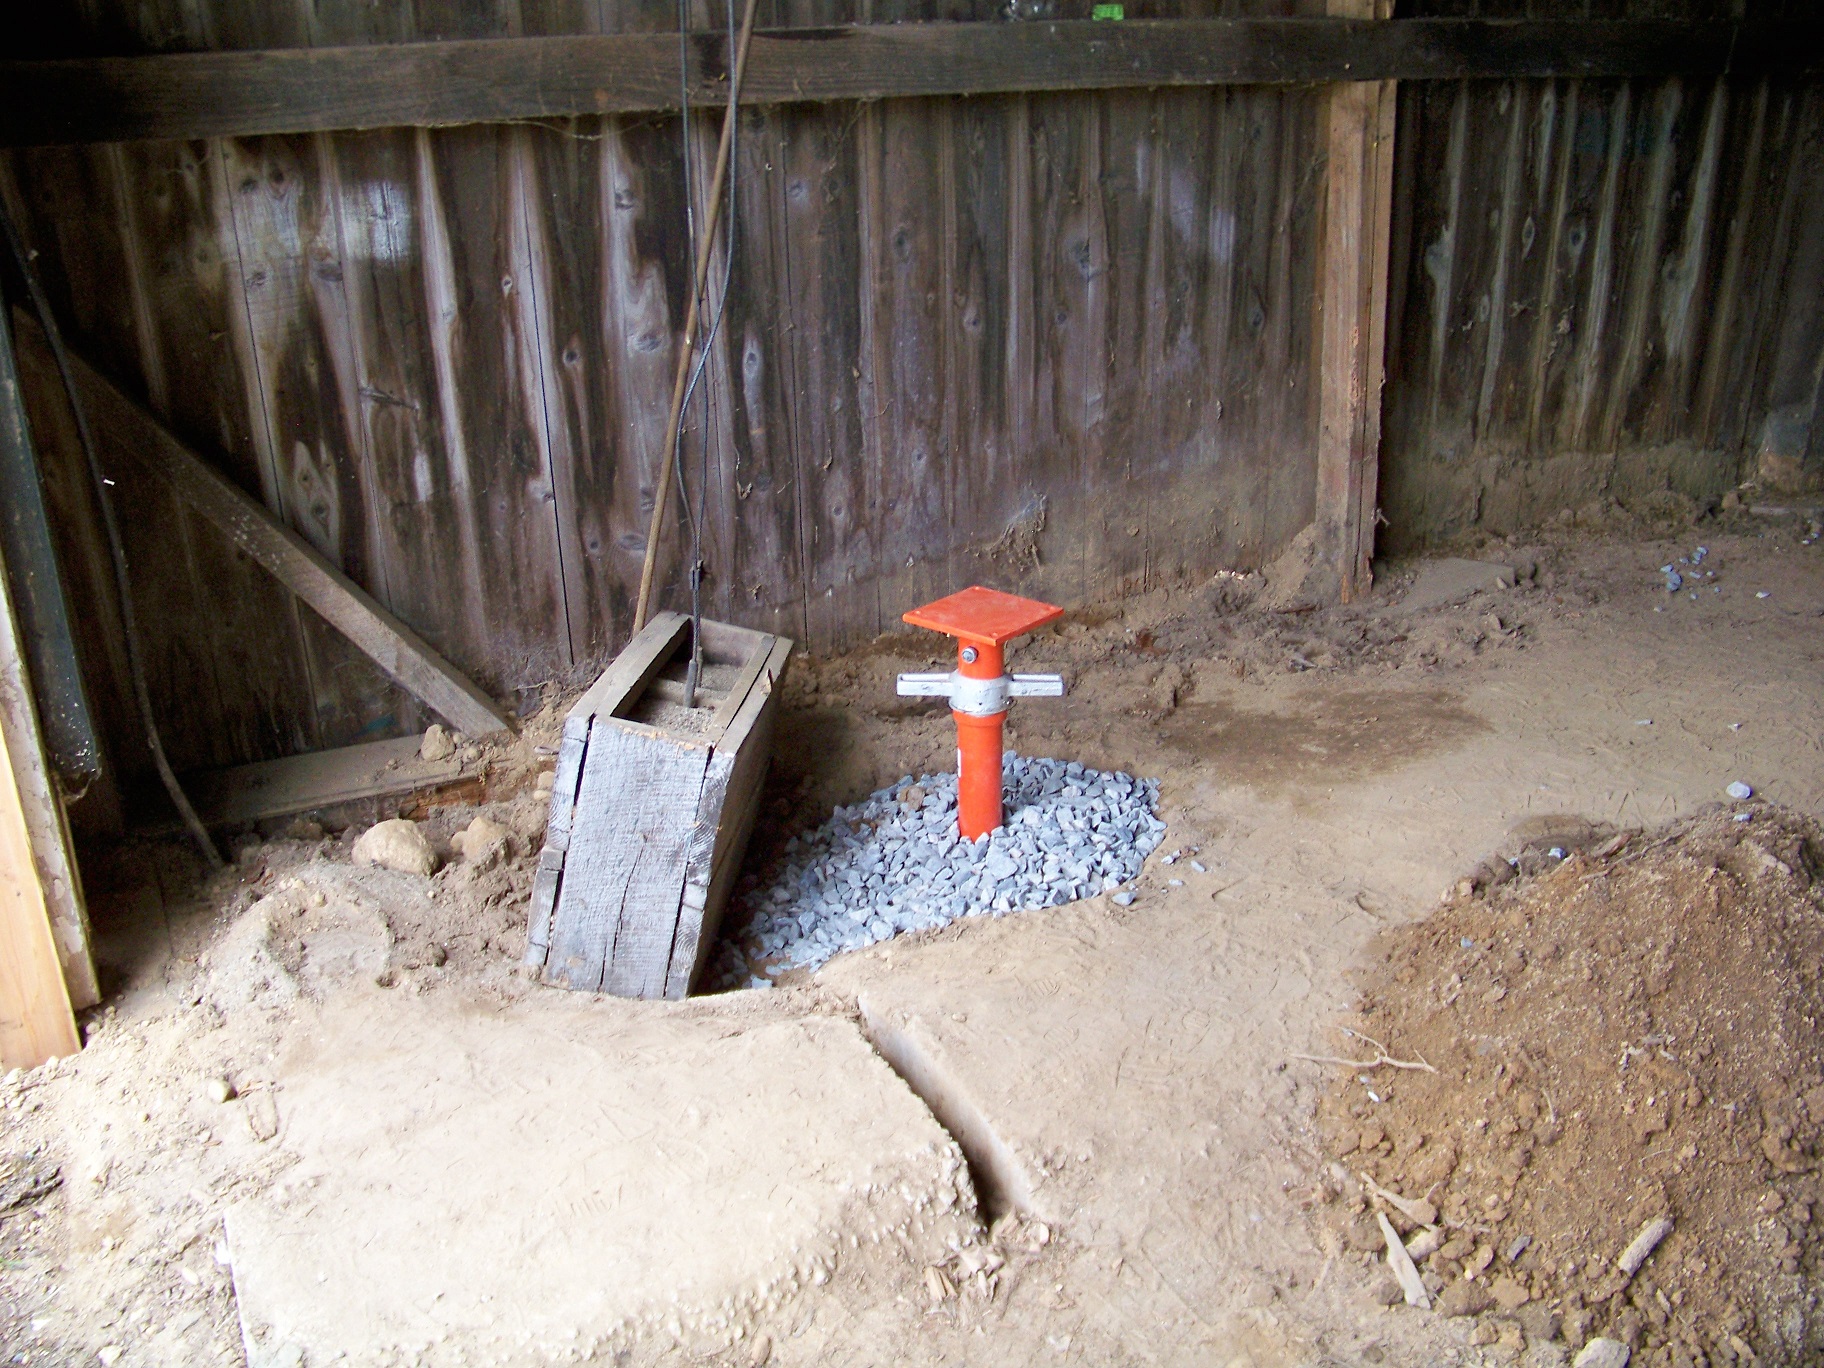
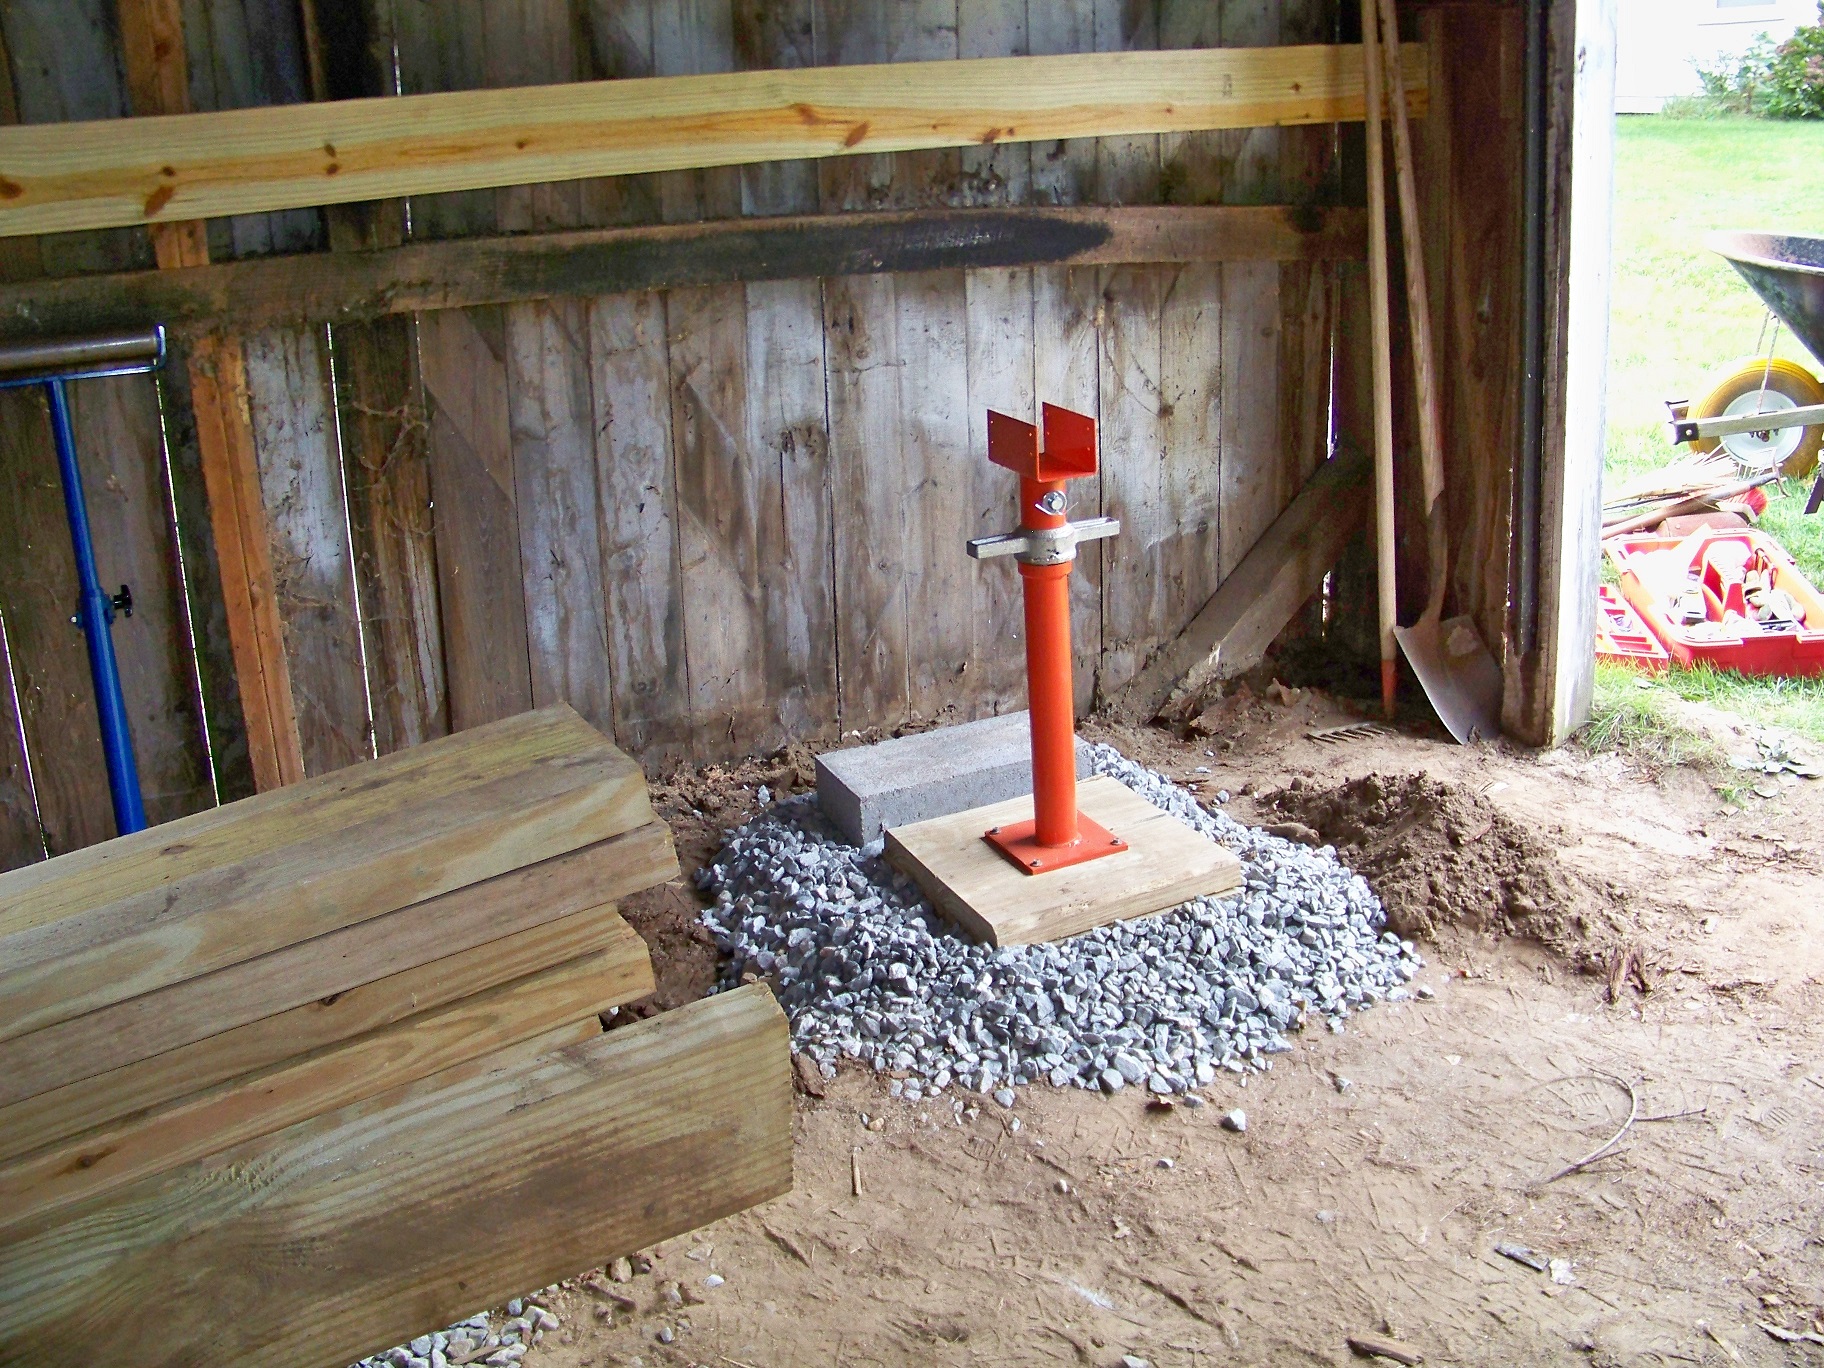
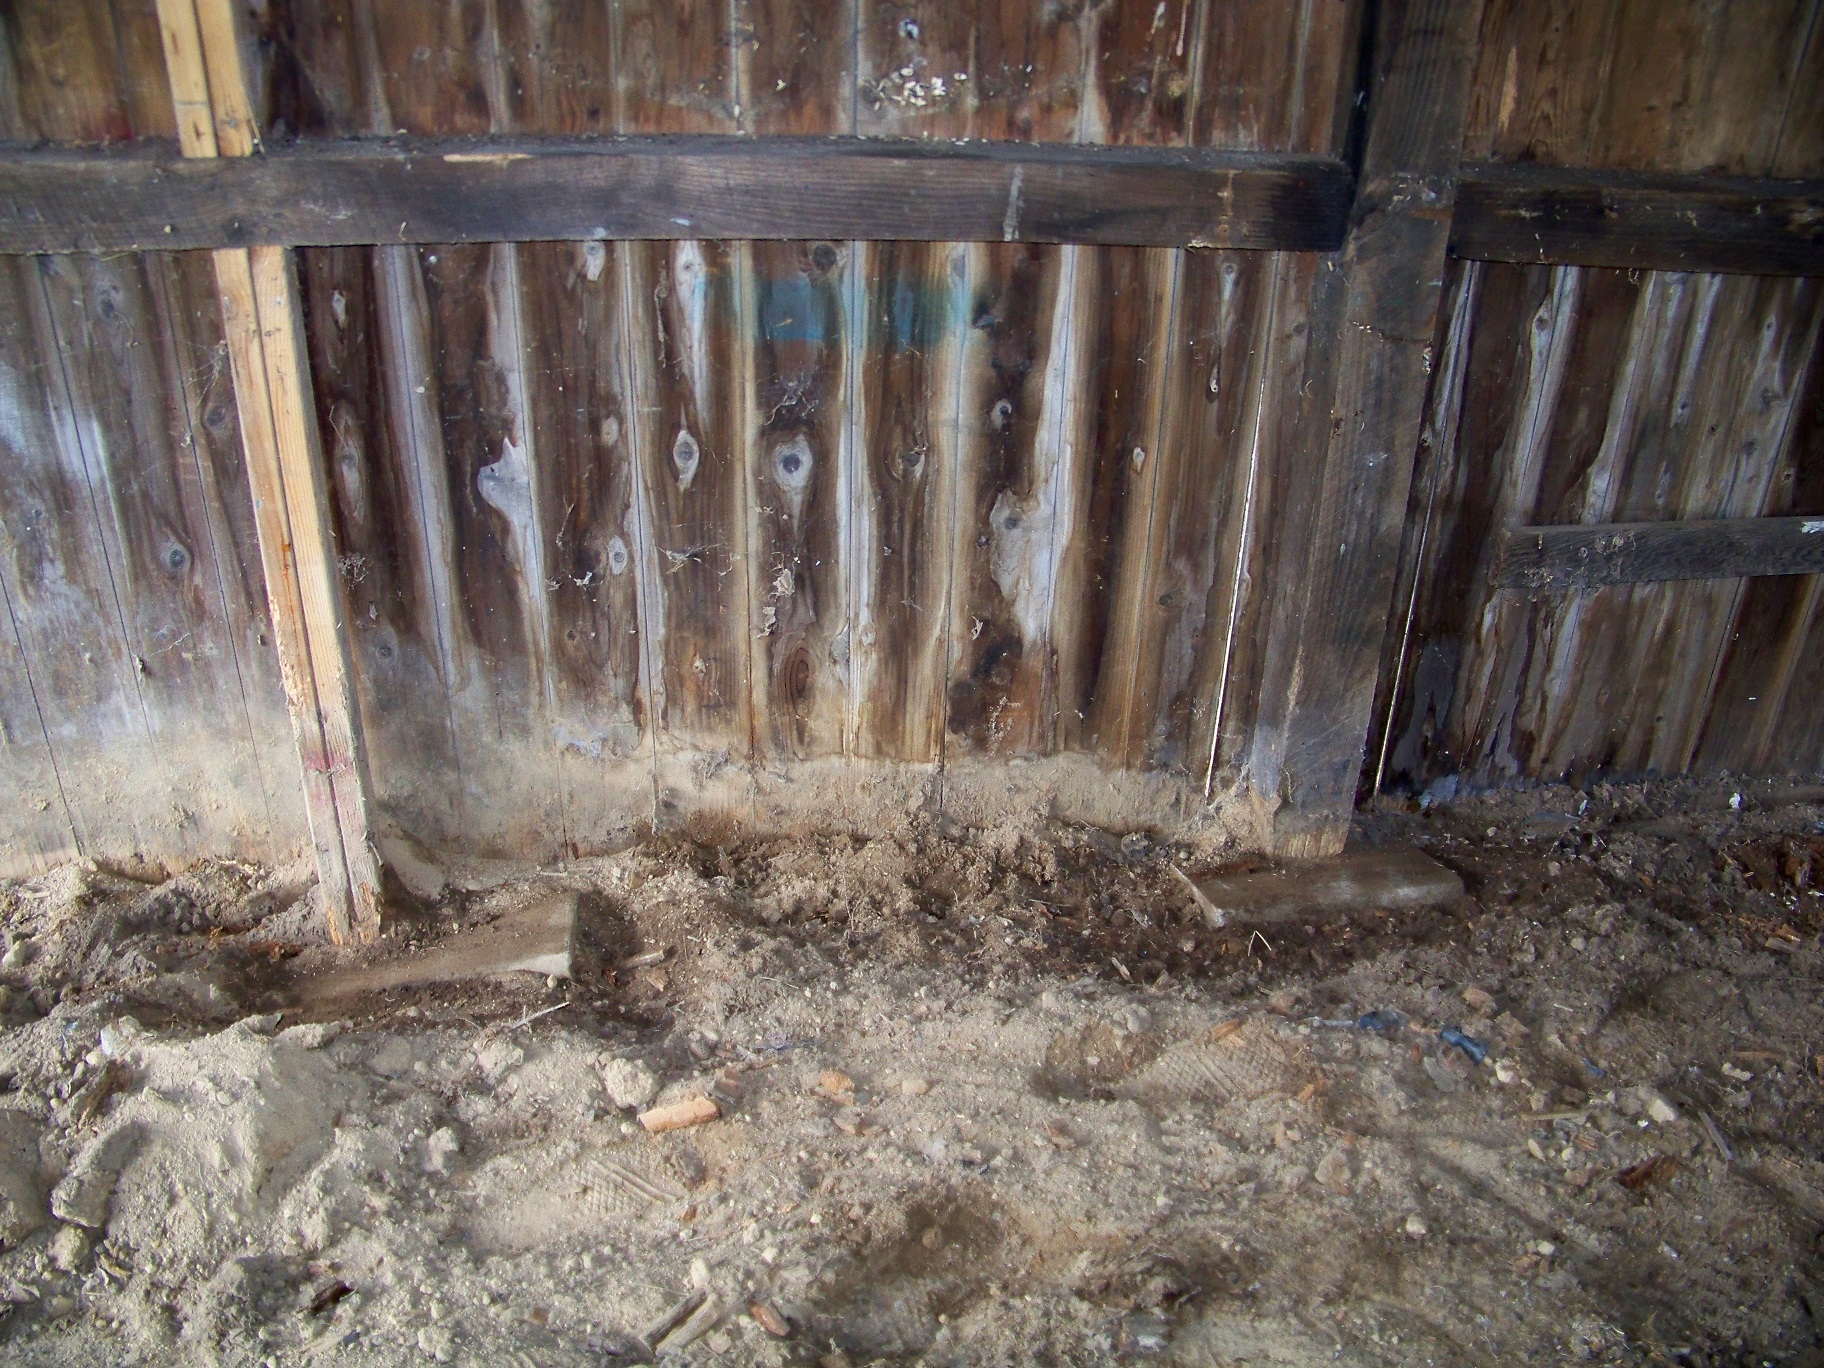
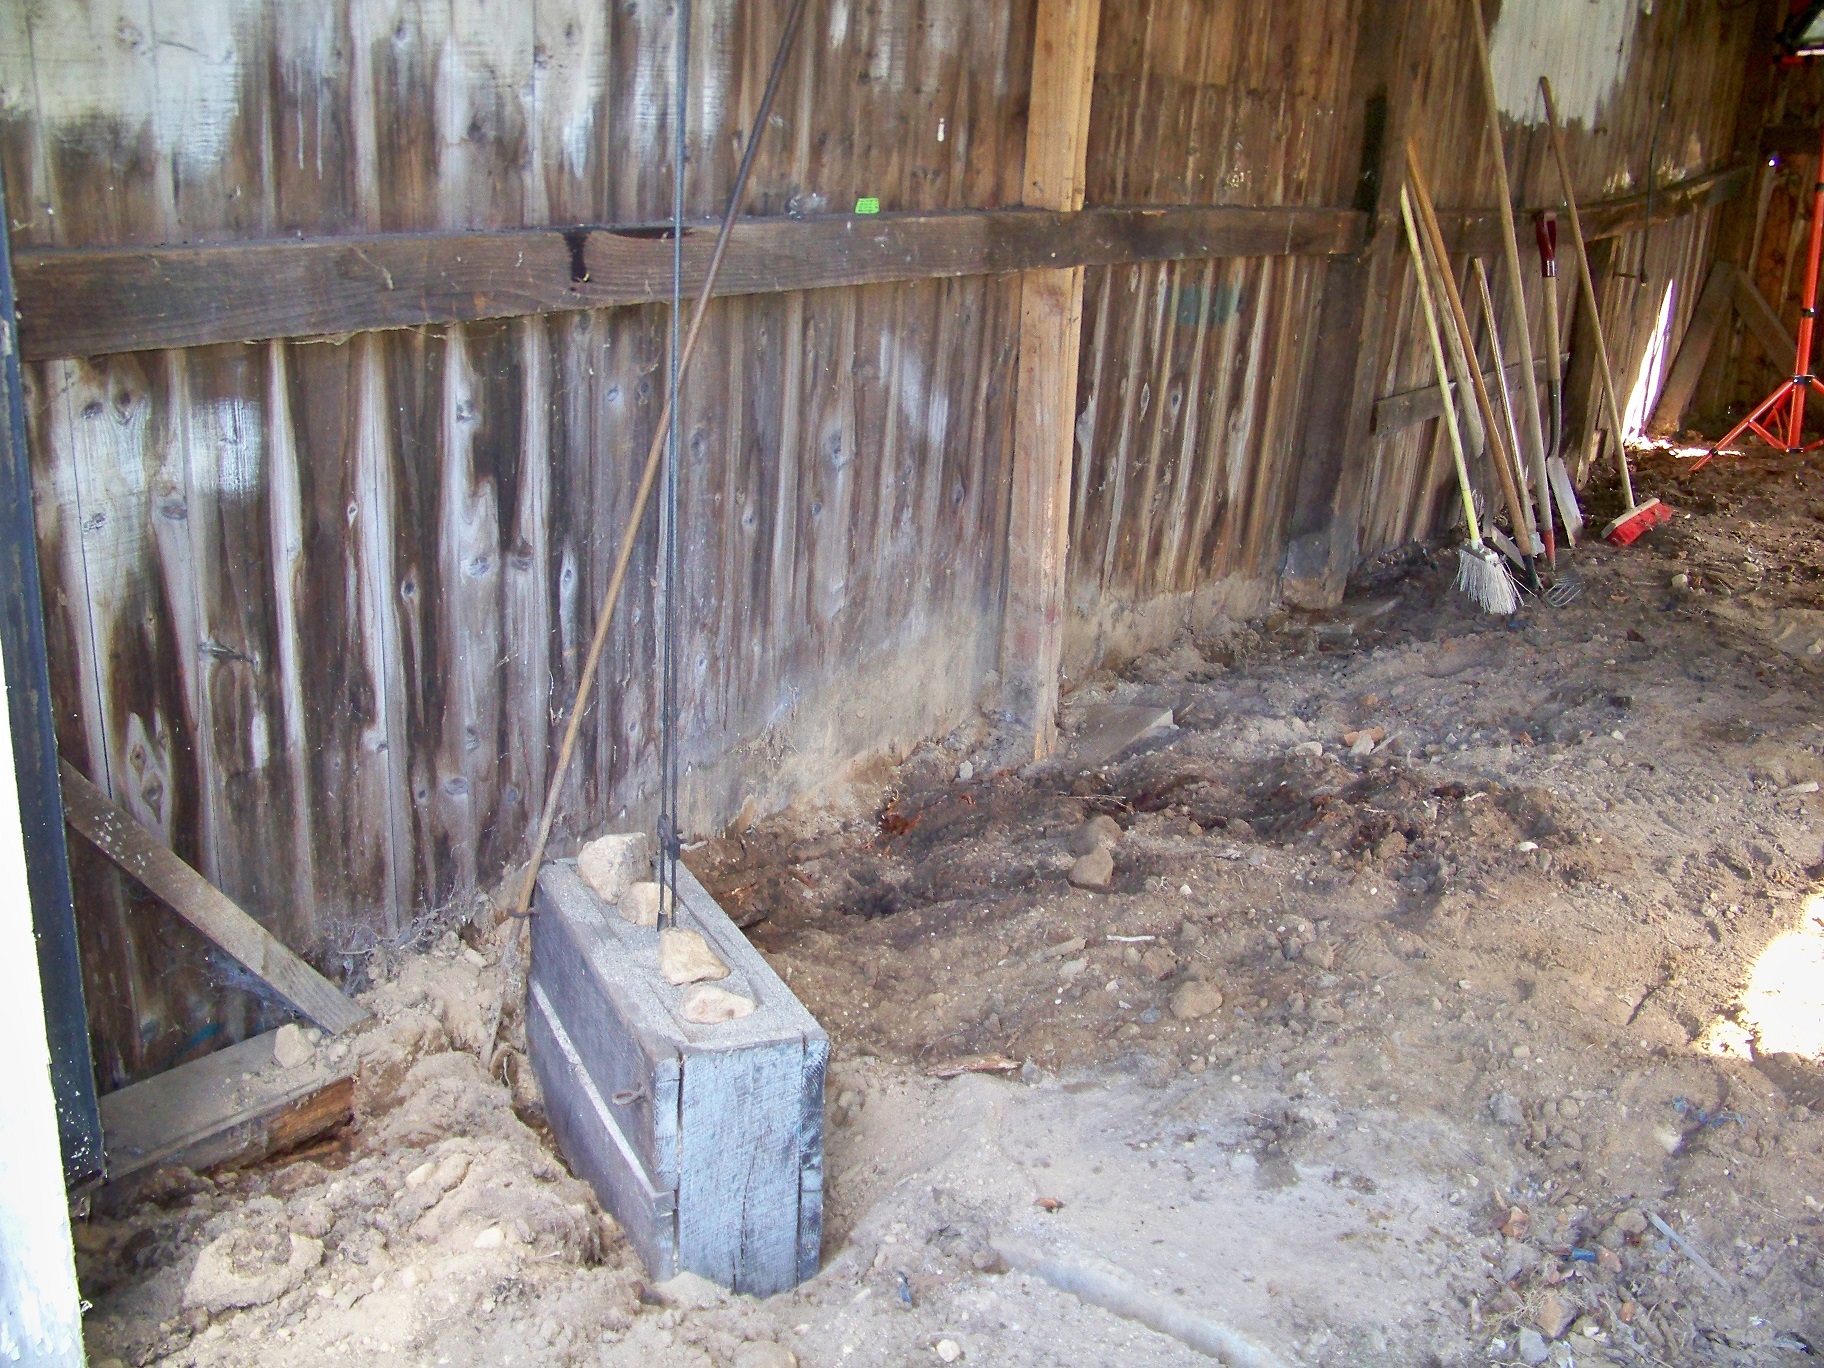
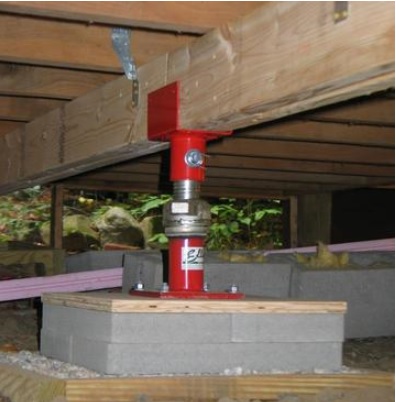
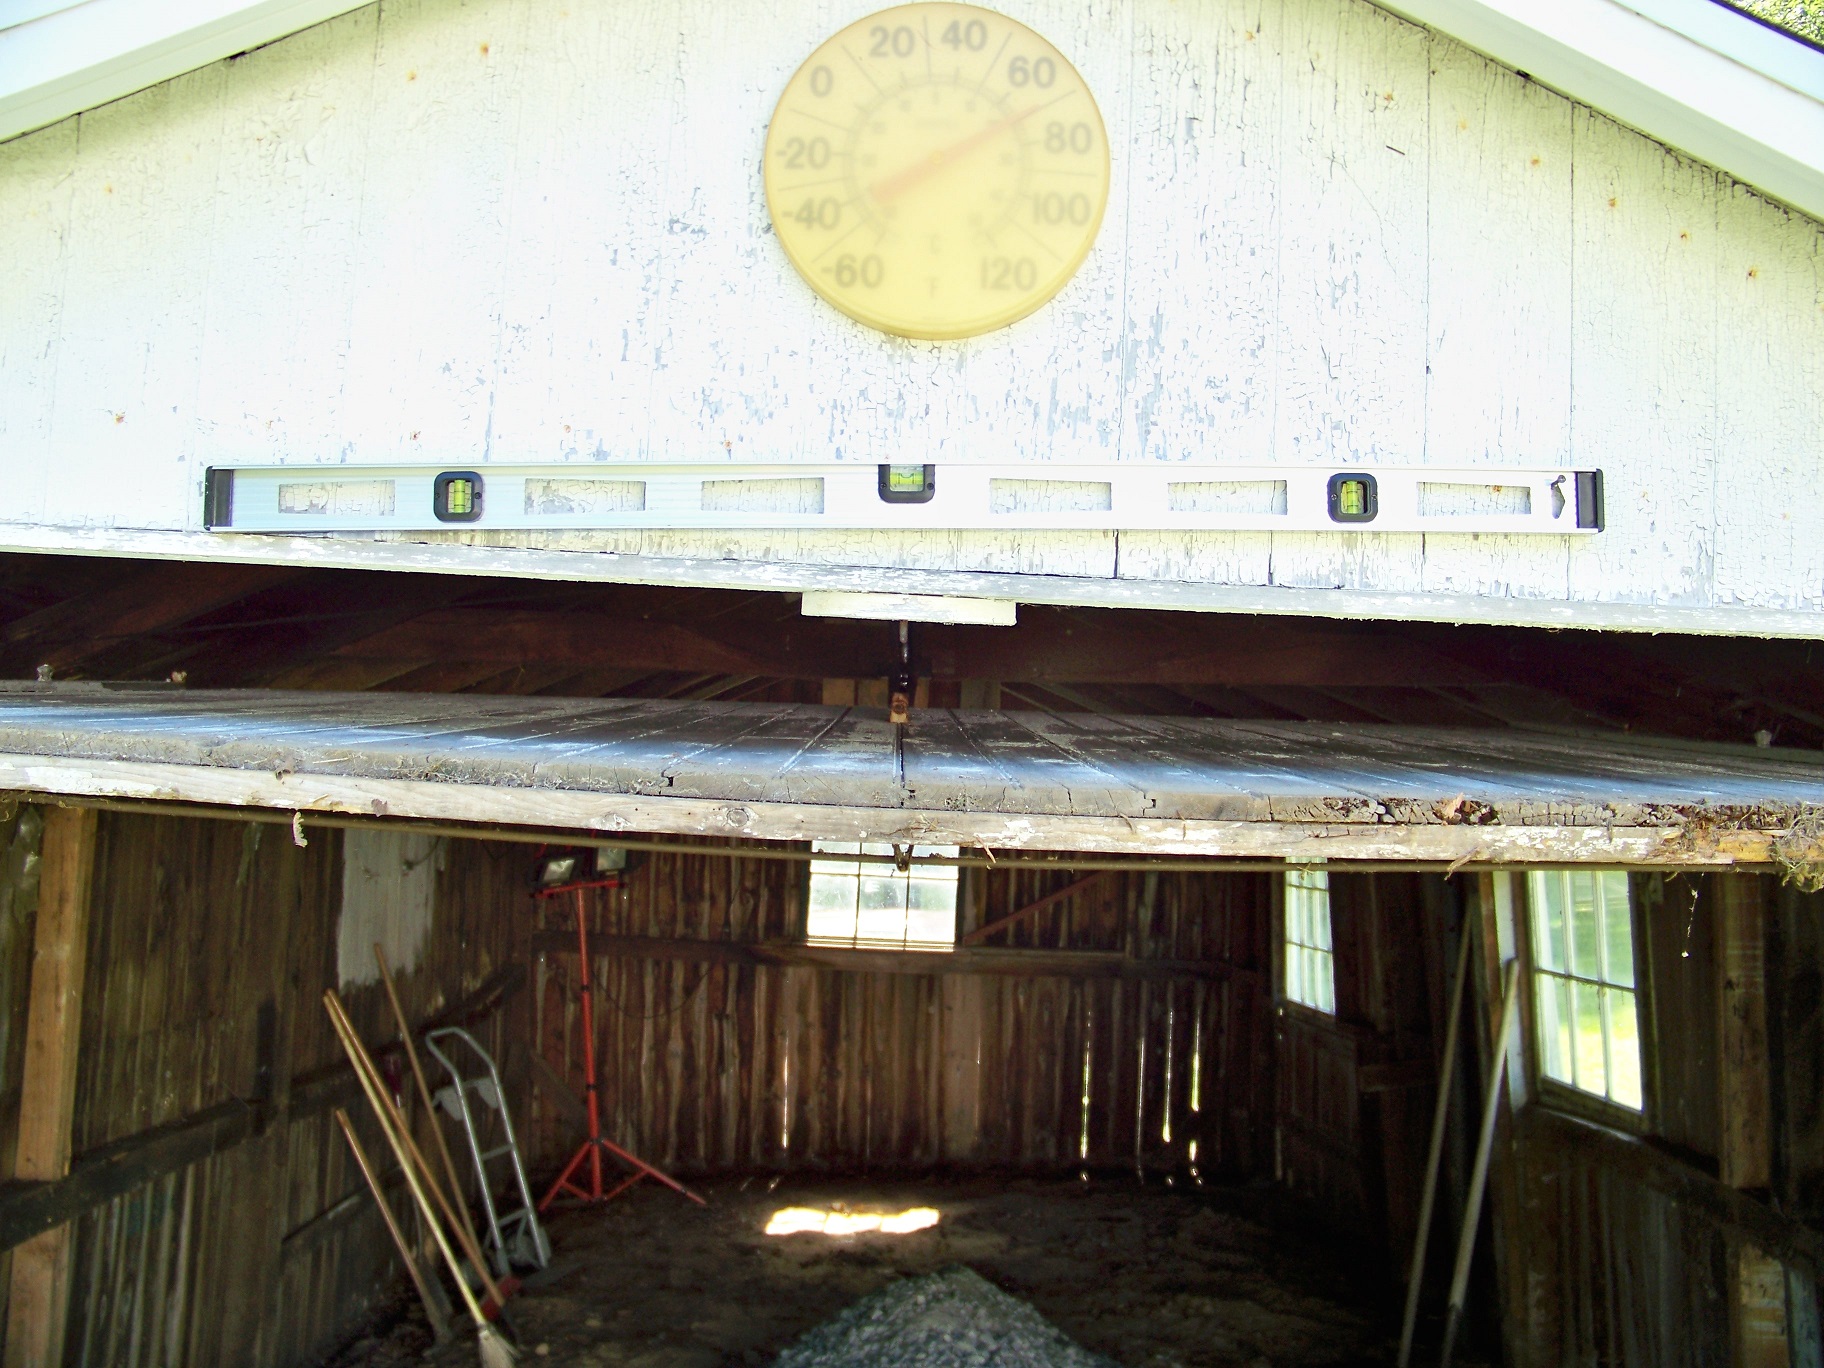
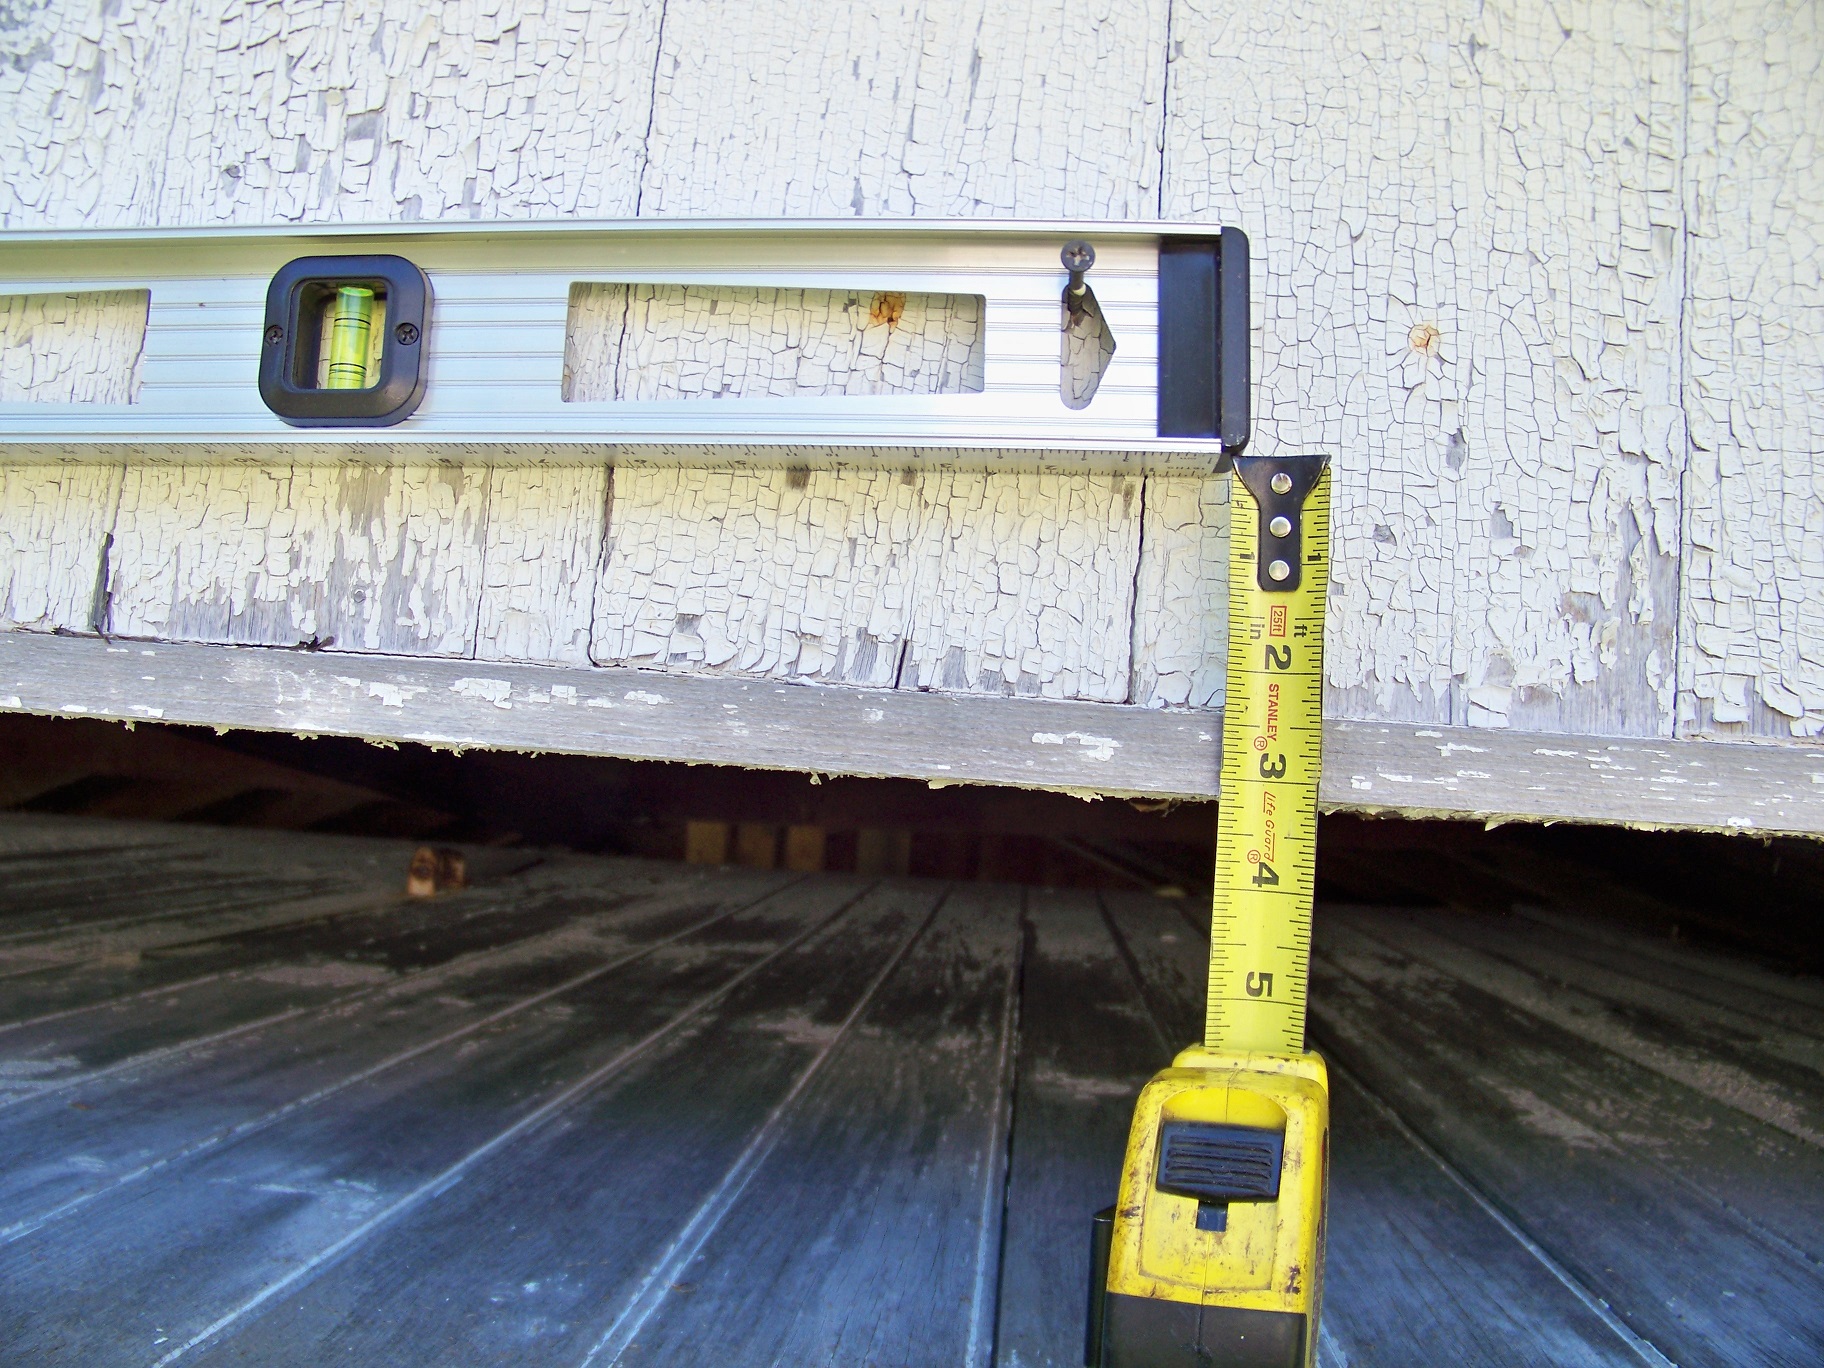
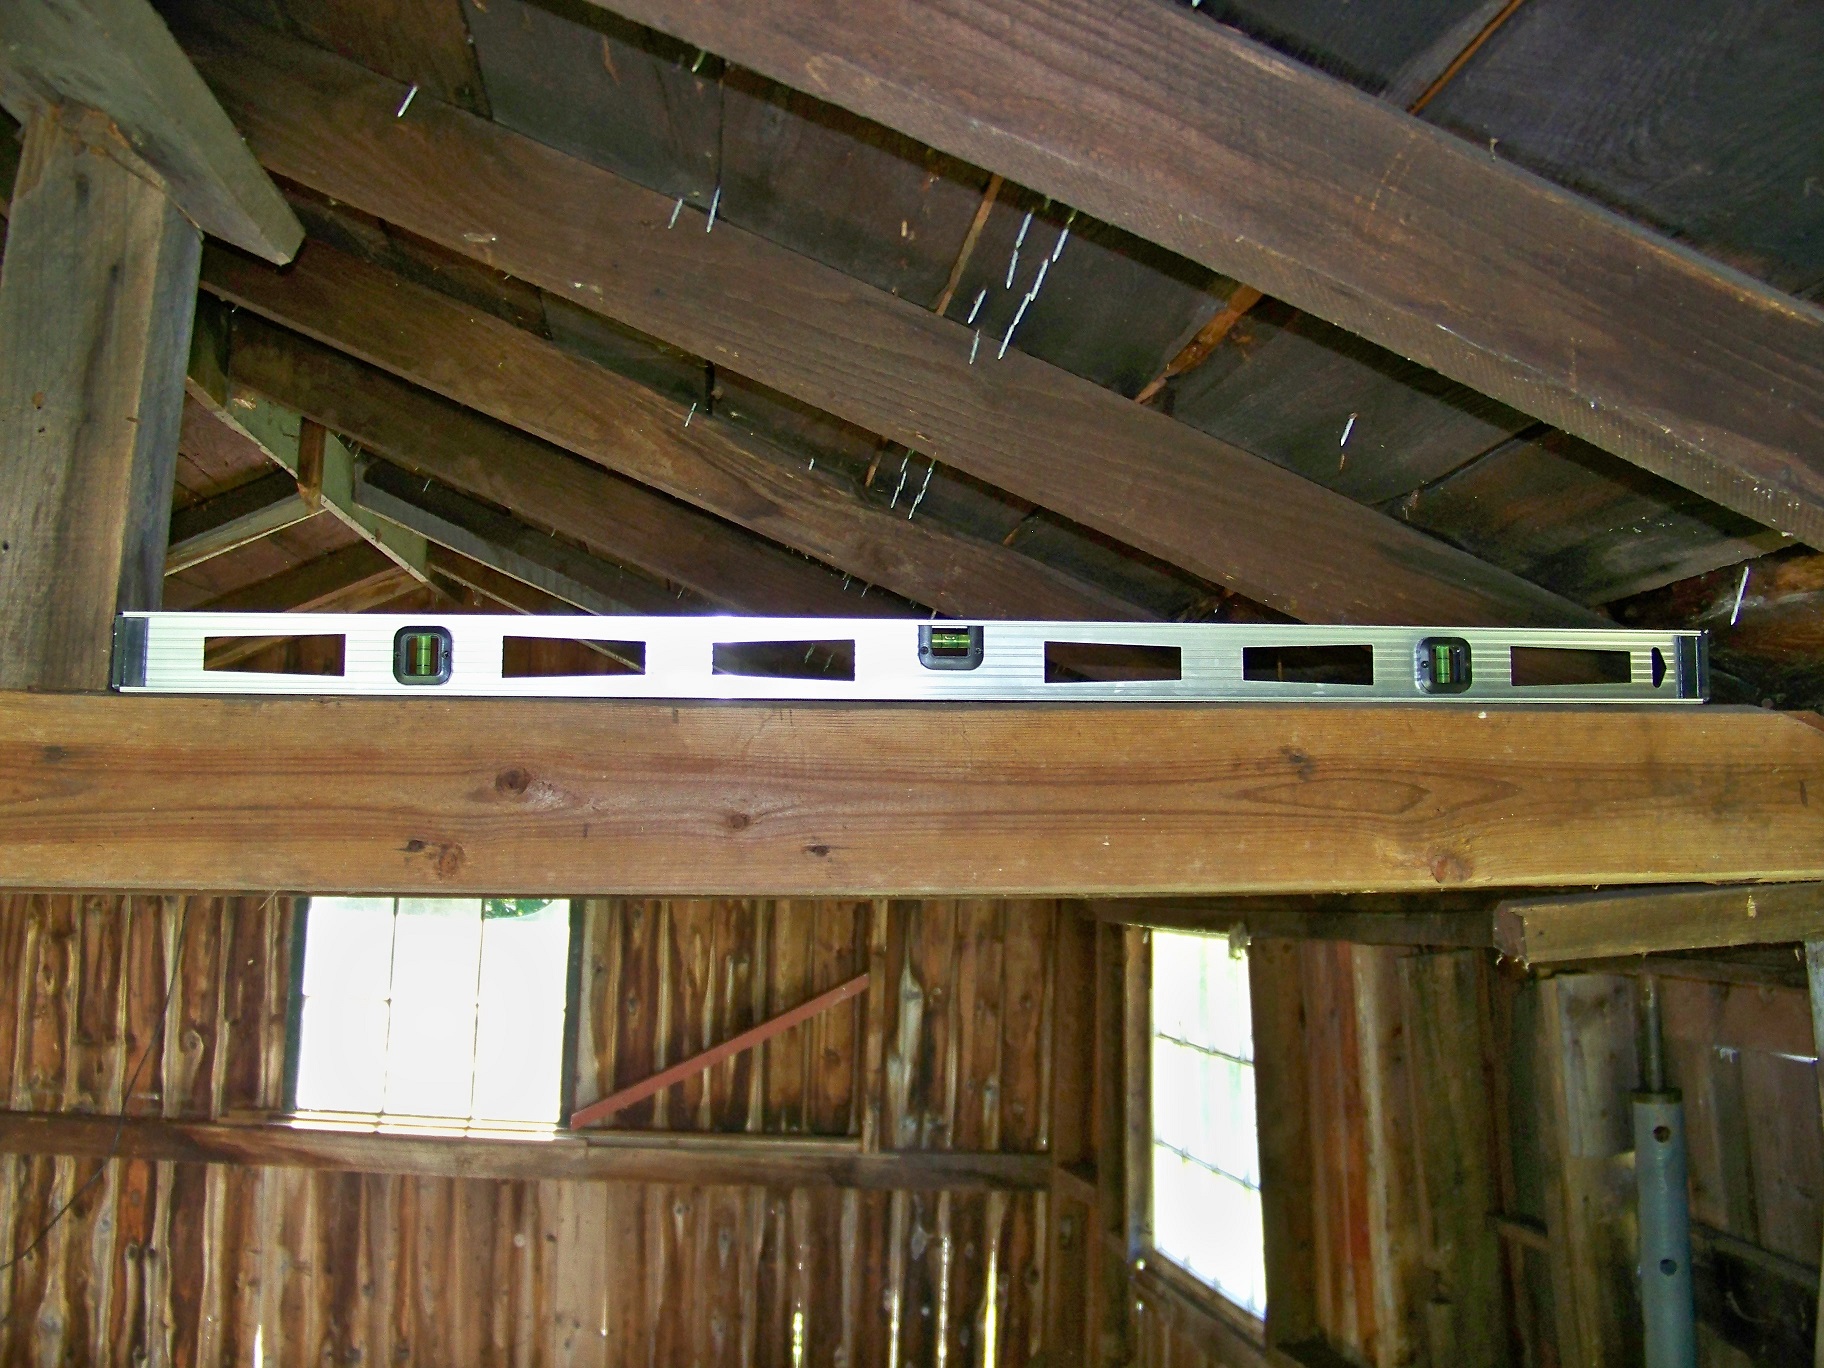
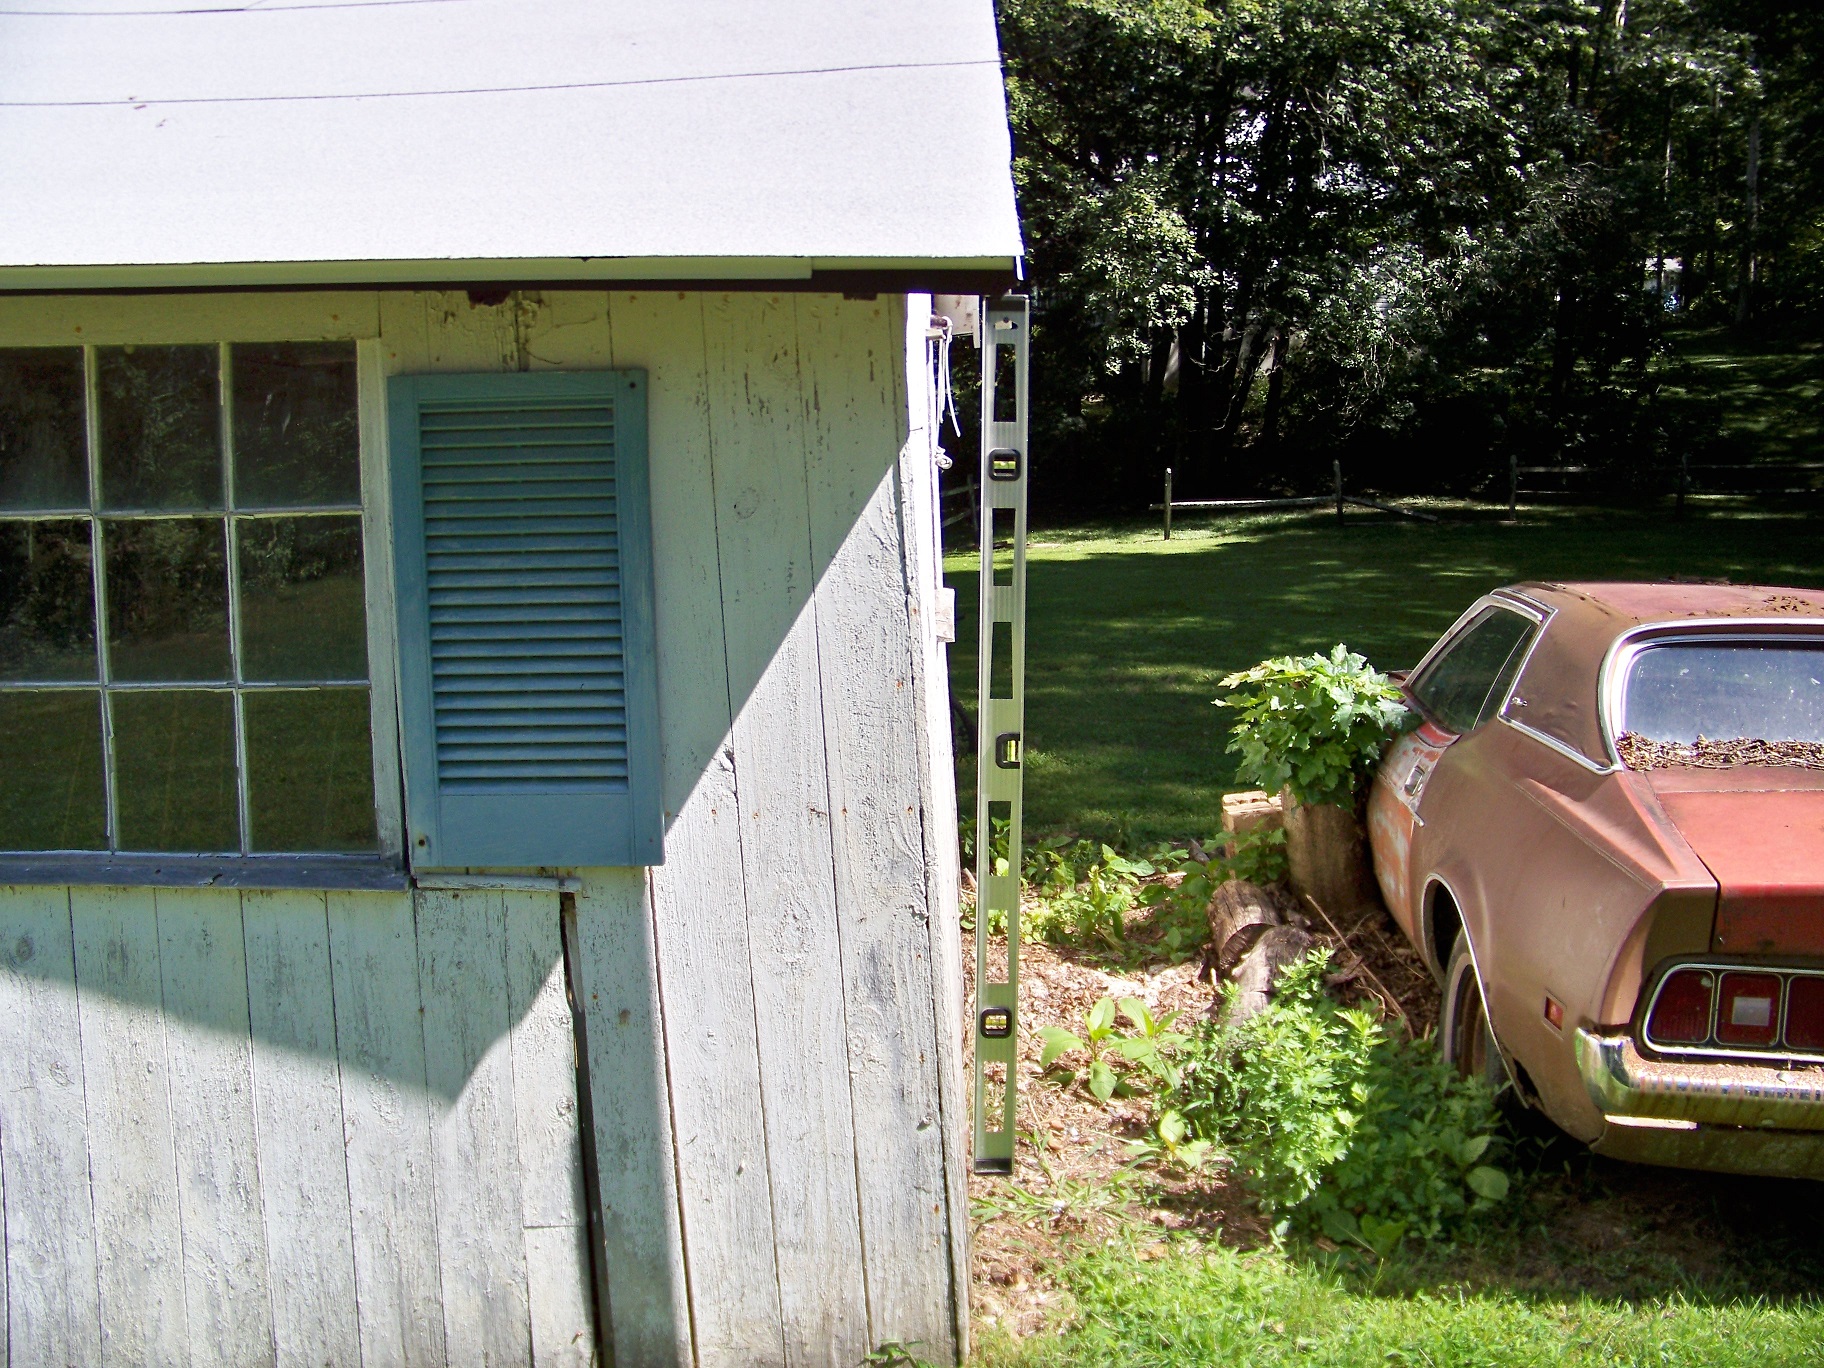
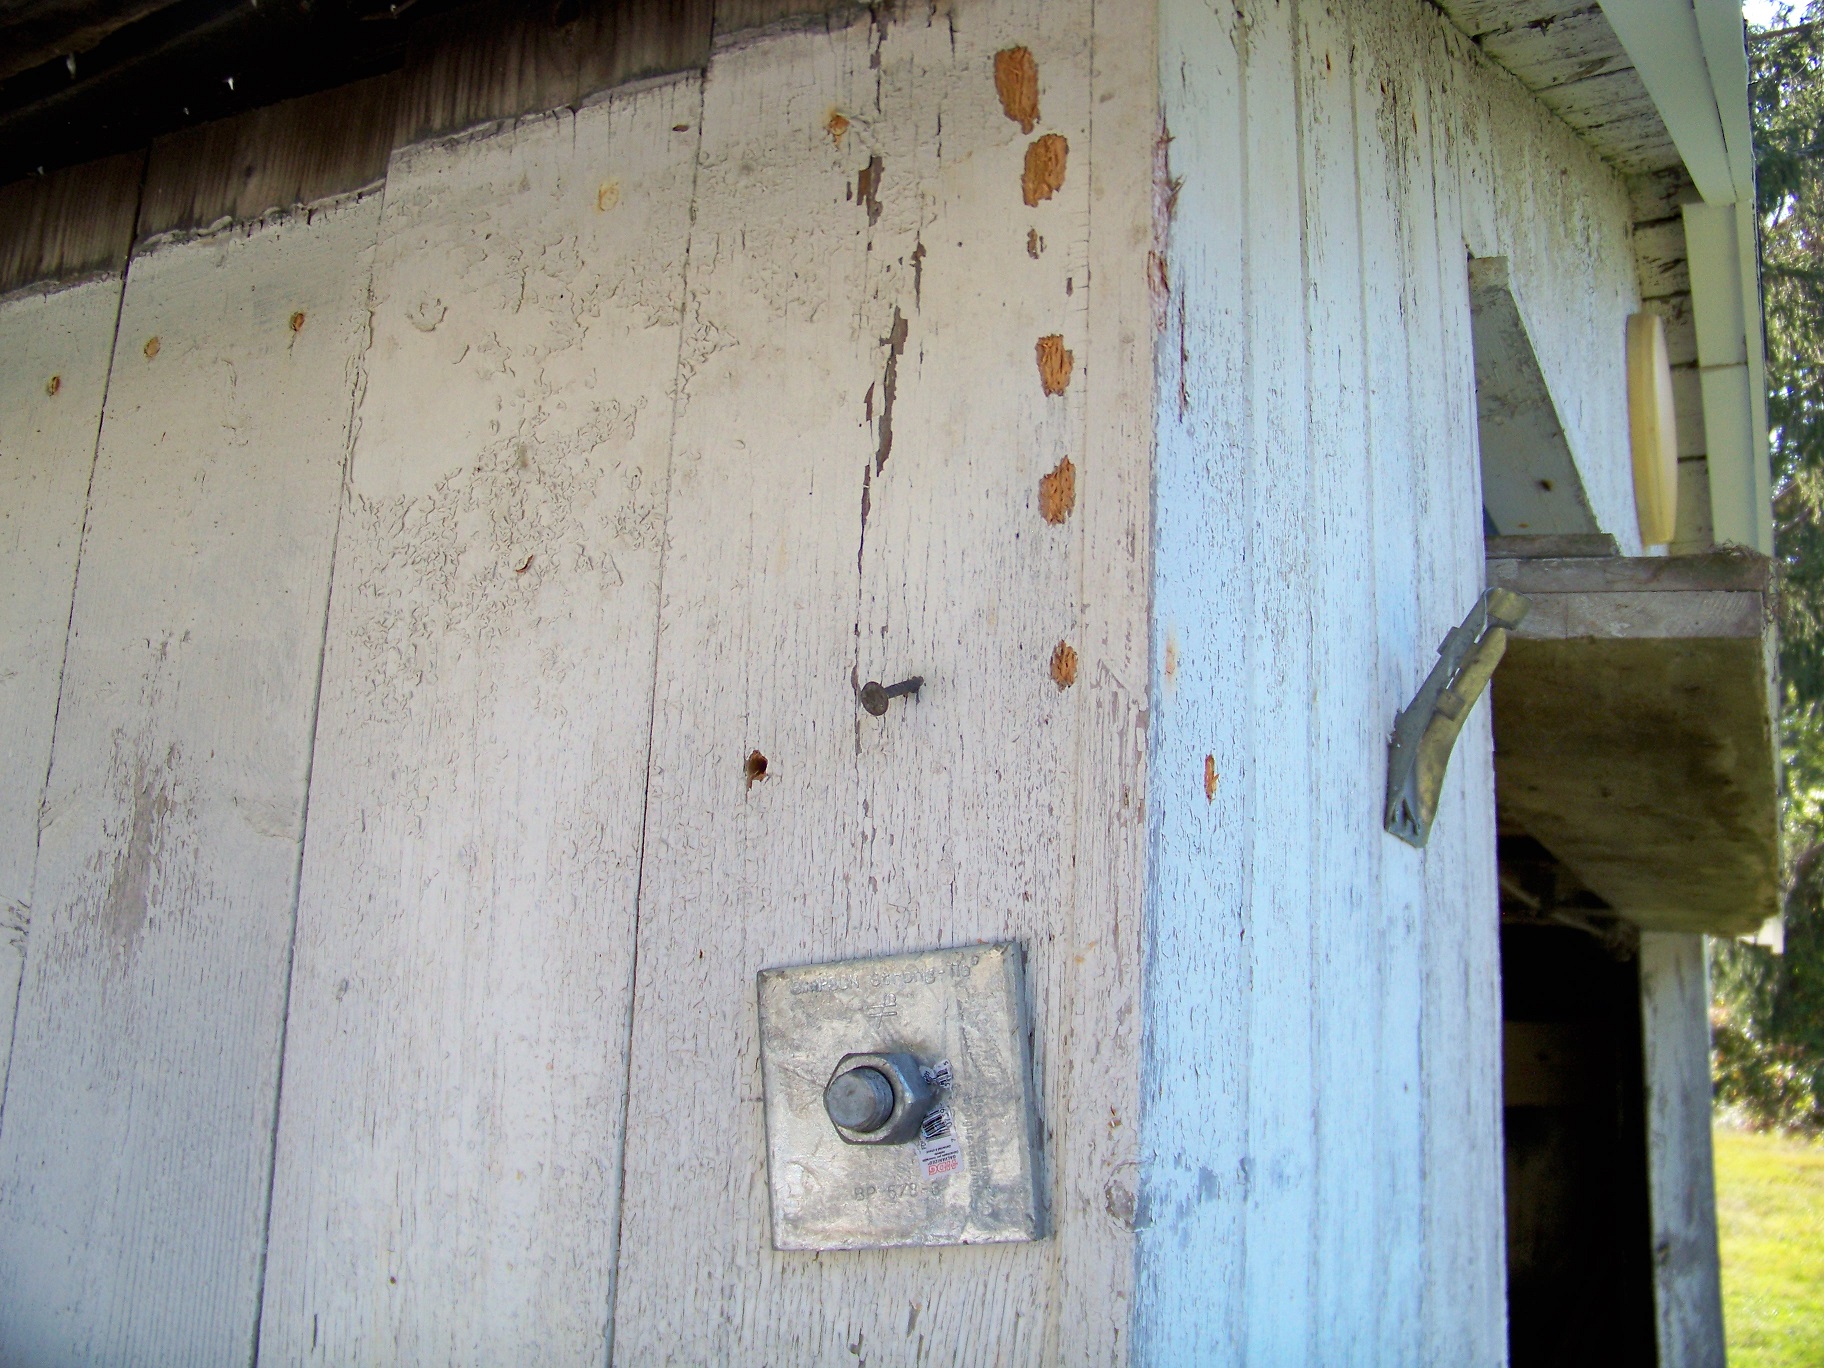
While unloading the 3/4 stone I notice 2 new holes directly next to one of the uneven cement support blocks placed by a previous owner. Now I understand why all the cement blocks are very crooked. Sure some of it may be that they’re sinking into the old rotting sill beam, but the chipmunk burrows certainly aren't helping.

At the moment I’m being haunted by the ridiculous comment I just read on the humane society (link) page on chipmunks: “there are no documented cases of a chipmunk burrow causing structural damage.”
 
OP
P

Platonic Solid

Well-known member
Joined
Nov 29, 2014
Messages
3,587
Location
CT-USA
My Old Tools - Looks like a critter catapult! Since I don’t live on this property I need to find a solution that preferably doesn’t require regular maintenance. Since chipmunks dig up to 3ft deep I don’t think there is a viable solution other than a real foundation and that’s certainly not going to happen.
 
To avoid these ads, REGISTER NOW!
OP
P

Platonic Solid

Well-known member
Joined
Nov 29, 2014
Messages
3,587
Location
CT-USA
A Cat - LOL - My primary residence was purchased from people who had 20+ cats. I thought I could just replace the carpet to get rid of the stench. Ended up replacing half the hardwood flooring and some subfloor.
 

lakeroadster

Well-known member
Joined
Jan 19, 2015
Messages
5,166
Location
Central Colorado
Our neighbors cat "Killer" patrols the neighborhood here. She a great mouser / chipmunk hunter.

So we get the benefits.. without the negatives.

Maybe you could buy the neighbor a cat :lol:

FWIW: When we lived in Ohio I put 3 foot wide wire hardware cloth around the perimeter before the slab was poured. Then when the back filled around the barn the hardware cloth kept burrowing varmints away.

I think it was either aluminum or stainless..
 
Last edited:
OP
P

Platonic Solid

Well-known member
Joined
Nov 29, 2014
Messages
3,587
Location
CT-USA
Purchased 1/2 the lumber required for the job. All pressure treated and darn heavy. Only got 1/2 cause HD ran out (of lumber I would consider usable).

 
OP
P

Platonic Solid

Well-known member
Joined
Nov 29, 2014
Messages
3,587
Location
CT-USA
Progress Pics:

The lower sistered 2x8 beams are attached to the main posts via 5/8" Hot-Dip Galvanized threaded rods that go through the exterior walls. Existing washers will be replaced with 3" square bearing plates when they arrive. Beams attached to top plate are not mechanically attached to lower sistered 2x8 beams, just resting on top to help distribute the load when everything is lifted.

 
OP
P

Platonic Solid

Well-known member
Joined
Nov 29, 2014
Messages
3,587
Location
CT-USA
Added Collar ties:


Added 3 inch sq. Hot-Dip Galvanized Bearing Plates interior and exterior:


The threaded rods were sticking out about 4 inches on the exterior which apparently made an ideal wood pecker perch, so I put the excess length on the interior.


MikeF2316

Well-known member
Joined
Dec 29, 2012
Messages
9,605
Location
Thornhill, ON


The threaded rods were sticking out about 4 inches on the exterior which apparently made an ideal wood pecker perch, so I put the excess length on the interior.

I can already feel the bumps on my head from those. And they're 500 miles away!

And I can say, you're a madman for taking this on. :bowdown: Looking forward to more.
 
OP
P

Platonic Solid

Well-known member
Joined
Nov 29, 2014
Messages
3,587
Location
CT-USA
Actually, they're shoulder height, and yeah I have successfully avoided injury so far, but now they're sticking even farther in. I didn't really want 16" rods, but it's all I could get. I keep hitting my head on the beam above it.

It's just now starting to get exciting as the next step is to build the lifting frame.
 
OP
P

Platonic Solid

Well-known member
Joined
Nov 29, 2014
Messages
3,587
Location
CT-USA
I keep debating on whether I should go to work or go play with the shed. I'm hoping to accomplish the lift with little or no cribbing. We'll see how stable it is when I get it off the ground.
 
OP
P

Platonic Solid

Well-known member
Joined
Nov 29, 2014
Messages
3,587
Location
CT-USA
I’m going to leave the threaded rods there for now. They could come in handy to persuade the structure with guy wire, tie straps or winch.
 
OP
P

Platonic Solid

Well-known member
Joined
Nov 29, 2014
Messages
3,587
Location
CT-USA
I'm thinking it might be best to treat this like those prefab pre-built sheds and put the whole thing on top of a 4"-6" gravel base, that way there isn't any wood underground.
 

theoldwizard1

Well-known member
Joined
Feb 22, 2011
Messages
43,072
Location
SE MI
I'm thinking it might be best to treat this like those prefab pre-built sheds and put the whole thing on top of a 4"-6" gravel base, that way there isn't any wood underground.

You are still going to need a PT footer (double 2x6 or 2x8), but the gravel base it an excellent idea.

I'm not sure what your future usage plans are but a 2x6 or 2x8 footer across the garage door will help prevent the bottom of the walls from kicking in or out.
 
OP
P

Platonic Solid

Well-known member
Joined
Nov 29, 2014
Messages
3,587
Location
CT-USA
Just got back from a 45 minute one way trip to a not so local HD store that claimed online that they had the 250 pack of LedgerLok 3-5/8 in. Coarse Steel Hex-Head Wood Screws in stock for $98 (darn expensive, but cheap compared to smaller package sizes). The 50 pack sells for $34 so it doesn't take long to spend $100 on screws.


Naturally when I got there they didn't have what the website claimed, so they gave me two 150 packs (normally $82 ea.) for the $98 web price. Major score!
Interesting that the 150 pack doesn't even show up on their site.
I had previously found these at a local UBS (United Builders Supply) for $141, but I wasn't willing to pay that.
 
OP
P

Platonic Solid

Well-known member
Joined
Nov 29, 2014
Messages
3,587
Location
CT-USA
Progress Pics:

I attached the lifting shores to a wood base and buried them, putting gravel under and on top. I did encounter a few surprises along the way.


I encountered a massive boulder that can't be moved so I put that lifting shore on top of it.


While digging the hole for the right rear a large cavern appeared. Dang chipmunks! Good thing I decided to dig or this could have been a disaster. It took most of the dirt I had removed from that hole to fill in the cave.

 
OP
P

Platonic Solid

Well-known member
Joined
Nov 29, 2014
Messages
3,587
Location
CT-USA
Progress Pics:

I need to lift up the right side to make the beams of the lifting frame level before attaching everything to the lifting shores. I attached a row of boards to the left and right walls to temporarily hold the beams while I work beneath them.

 
Last edited:

theoldwizard1

Well-known member
Joined
Feb 22, 2011
Messages
43,072
Location
SE MI
Progress Pics:
I encountered a massive boulder that can't be moved ...
I you really want to get rid of that boulder, it might be easier than you think !


  • Dig around it on all until more than 50% is exposed. The more the better.
  • Rent and SDS drill and long carbide bit
  • Drill hole in a straight line across the top of the boulder trying to follow any natural flaws you can detect.
  • Use "feathers and wedges", one in each hole. Drive the wedge using a hand sledge. One good hit and move on to the next one.

It will crack (if you have dug down far enough) ! remove feathers and wedges, drill holes 90° from the first crack. Repeat until you can actually remove a piece.
 
To avoid these ads, REGISTER NOW!
Top Bottom