OP
rattle_snake
Well-known member
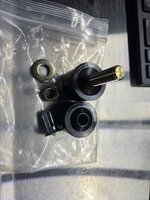
No not yet. And it would be EFI not a carb. I have about $150 into this free carb. The primary shaft is worn so I don't want to spend any more on this one. I'll get there, just have to be patient. If I didn't have an AFR gauge I would think it was all good.The Throw Money at it Solution?
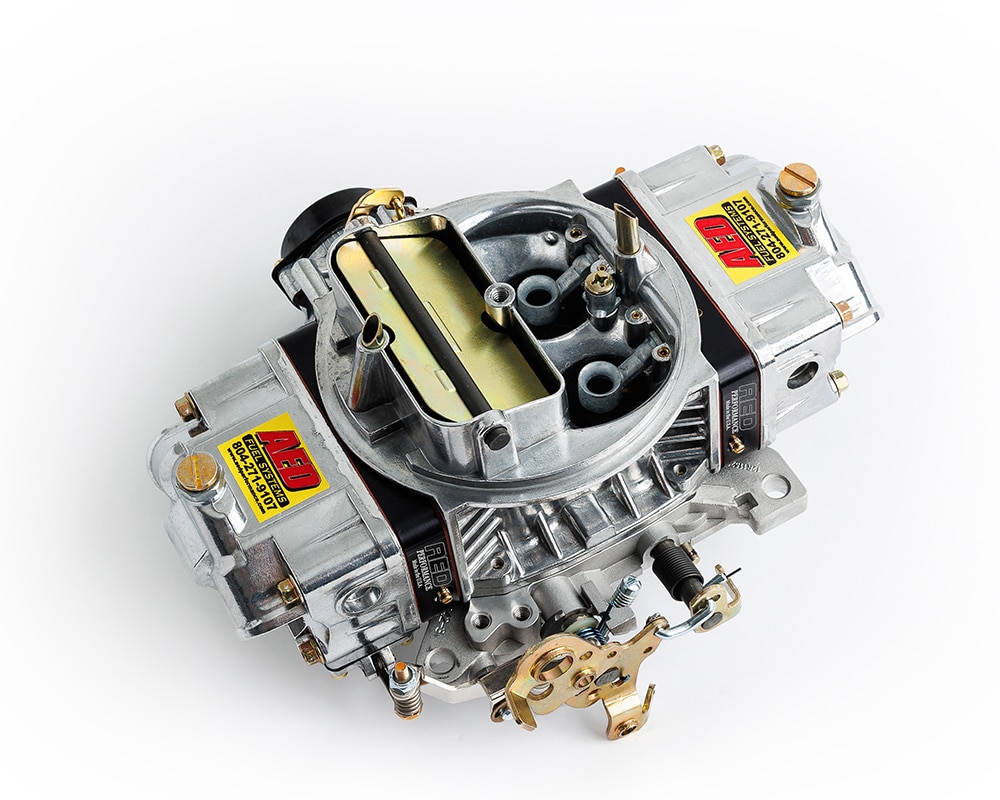
AED Performance 650 HO-EC Electric Choke | AED Performance
The 650-HO-EC carburetor is fully machined & hand built to our Award Winning "wet flow" specifications, test run and blueprinted for maximum performance right out of the box. The 650-HO-EC features a conventional mainbody that’s fully CNC ported offering additional signal strength & response for...aedperformance.com
FWIW I've had good results from using J-B Weld to seal up leaking swaged carb passages. Has to be clean of any varnish and a little dremel work to give the JB some tooth to hang onto is a good thing.
If it comes to EFI, I'd probably move the sniper from the 72 F250 over to this and do something else on the 460.
Maybe yes? 600 is probably enough. Typical 600 does have a slightly smaller primary than a 750, but depends on the exact model/list#.Probably get better performance with less CFM? 600 would probably give you crisper throttle response.
I understand the fight to get it right, however.
I think a well tuned carb will perform better than a ok tuned one of a more appropriate size. Think about an individual runner carb system. The combined CFM of eight carbs is way beyond a single 4 bbl, but can be made to work well.
I think I got lucky with the tune on the old setup with loose boosters. The secondary wasn't doing much.


") I've read some of the thread on one in the North-East used for Hill-Climbs. It was partly that thread and partly knowing that the sum of the parts can easily exceed the cost of a used race car that fueled my comment.
I've read some of the thread on one in the North-East used for Hill-Climbs. It was partly that thread and partly knowing that the sum of the parts can easily exceed the cost of a used race car that fueled my comment.