I have several projects going on at once but I will start with my two brawler rigs in this post. I did all the work on these myself
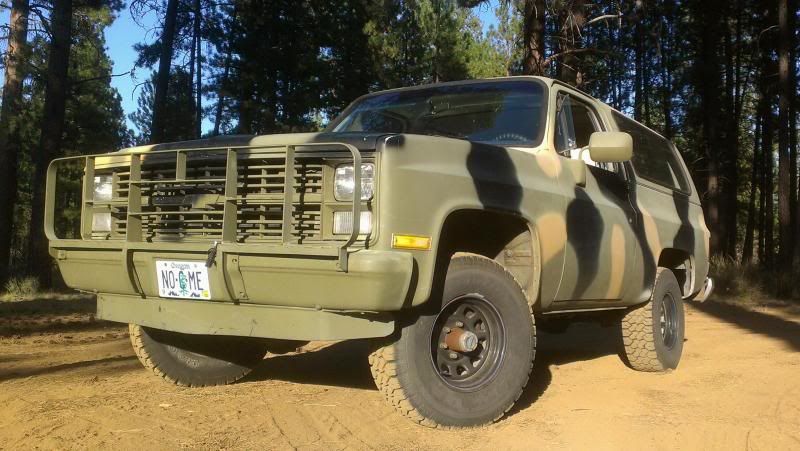
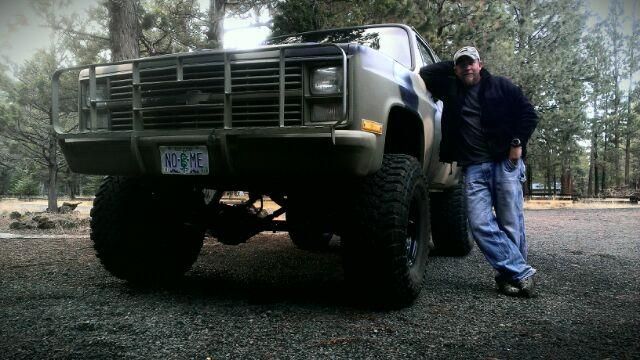
I am about half way done with the blazer. it started as you see below, a plain stock 1984 K5. About to start cutting and welding on this beast
I wanted a rig that I could use as a tow pig for the snowmobiles for ice fishing and getting the boats into the high country when the lakes aren't frozen. I started by slapping in a spanking fresh balanced and blueprinted 400 short block with an rv cam, roller rocker arms, eldebrock performer package, gear drive time set, and a new 700R4 trans with corvette servos and drag bands with a husrt shift kit.
https://scontent-b-sjc.**.fbcdn.net/hphotos-ash4/1000133_10151536965183737_1488240306_n.jpg
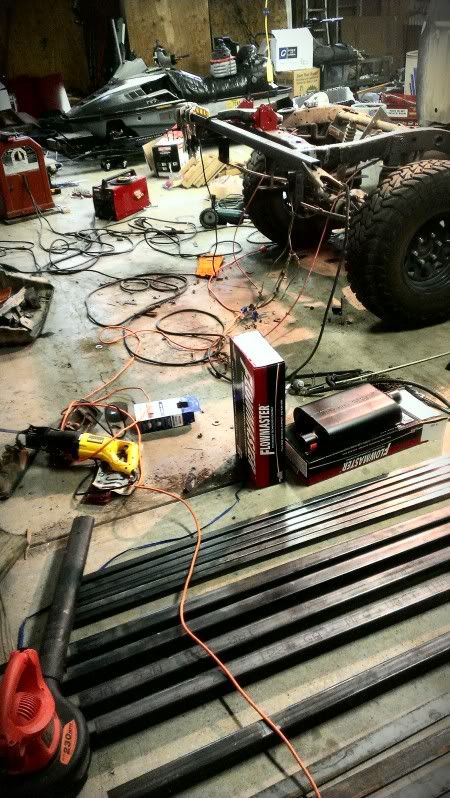
then threw on a 6 inch full spring lift 15 inch wheels and 37x14.5" toyo mud terrains and full mandrel bent 2.5 inch welded exhaust and flowmaster super 44 mufflers.
next is a full exo cage to fit the spare, lights and the rooftop tent and new sheetmetal dash with new buckets.
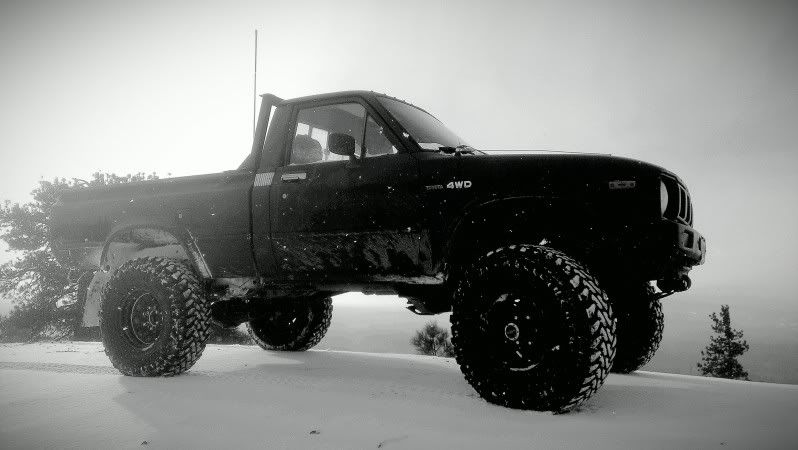
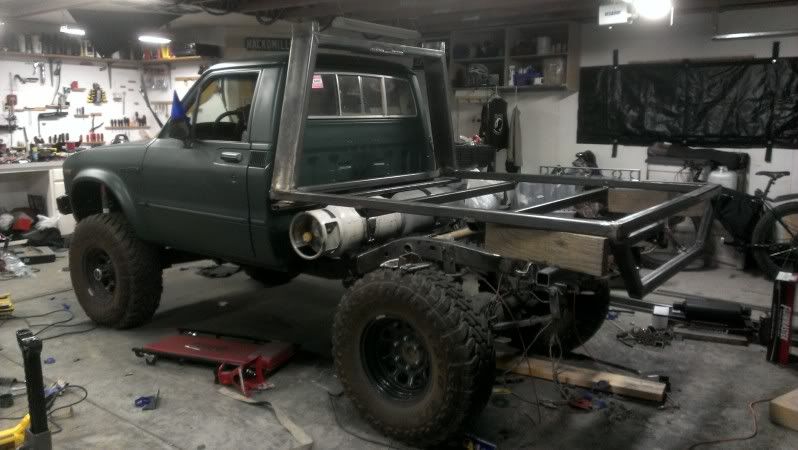
the other big project I have started with a plain stock 1980 toyota hilux pickup. in this pic I threw on a 4 inch lift, 33x10 toyo mud terrains and new 15 inch wheels and converted it to propane.
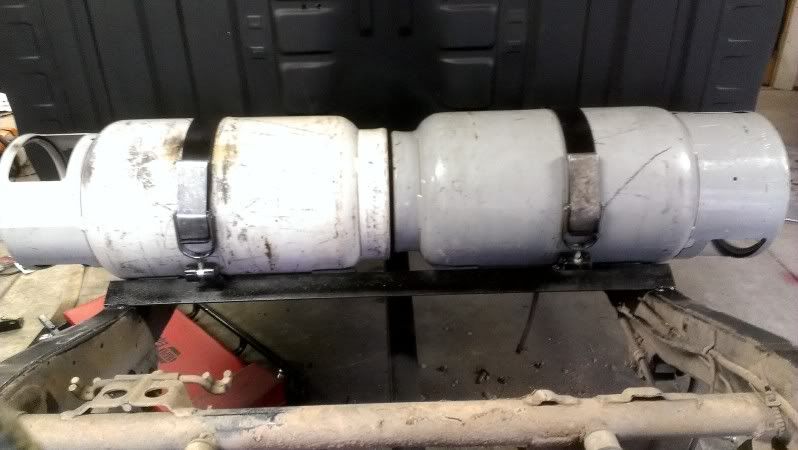
I use this rig for hunting and firewood cutting and really liked the way it got around in the woods so I decided to throw some money into it. I decided to fab up a flat bed and mount the tanks inbetween the frame and bed.
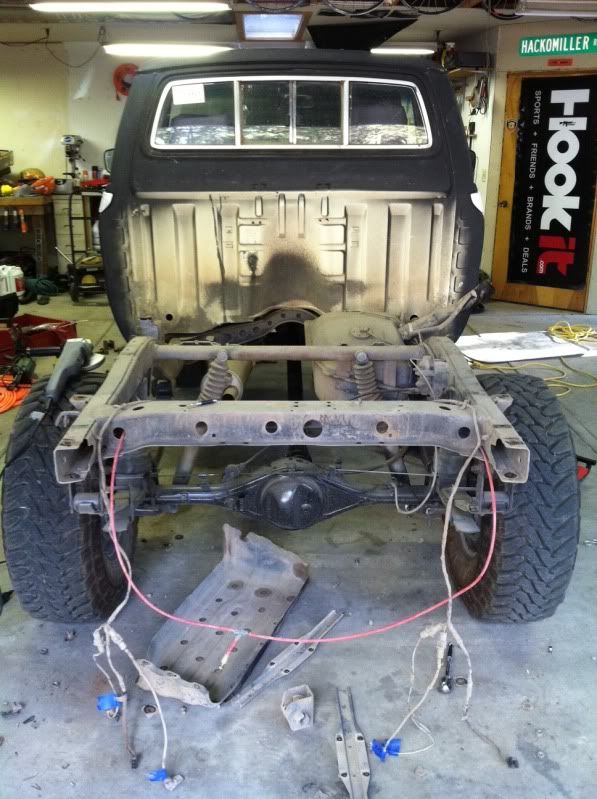
took several hours to cut and grind off all the mounts and get rid of the nonsense.
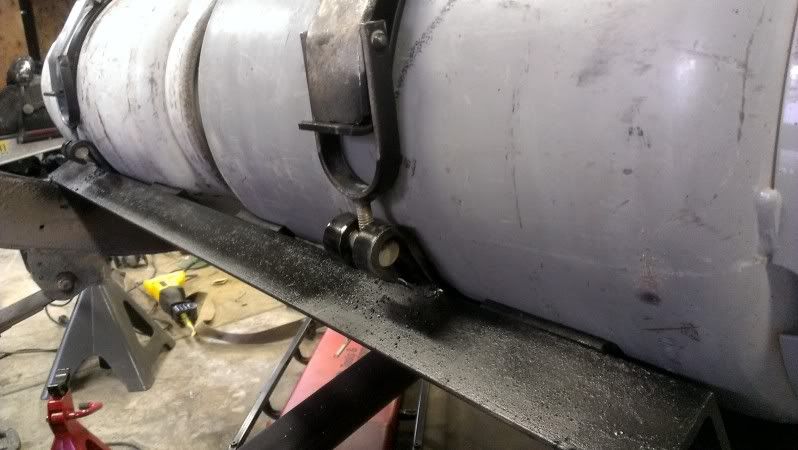
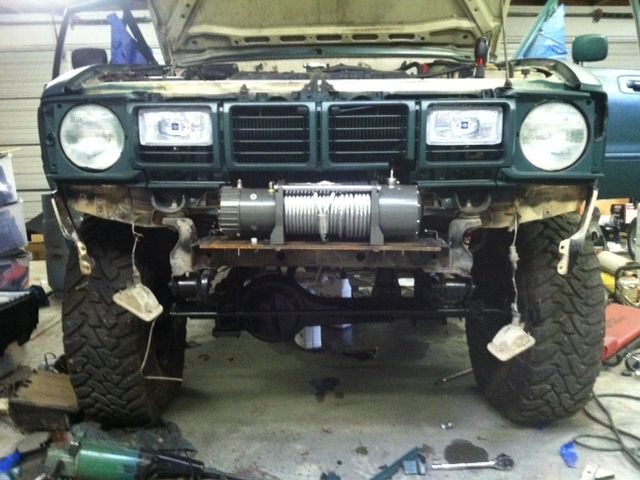
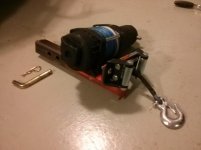
I blocked and channeled the frame since I was going to put a 12k lb winch on both the front and back.
I made mounts and used forklift brackets to mount the tanks solid to the frame and used stall mat riveted to the rails to absorb vibrations and dampen sound on the bottles
I had just enough room to put in dual tanks in the mounts
once the cam locks are tightened they dont move or make a sound
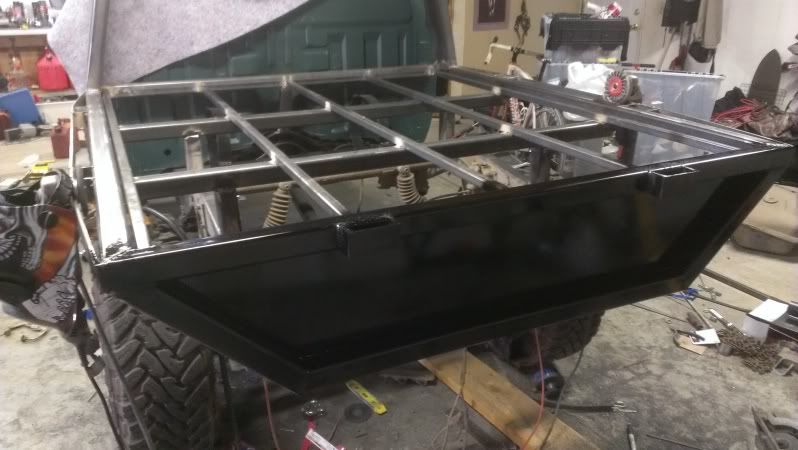
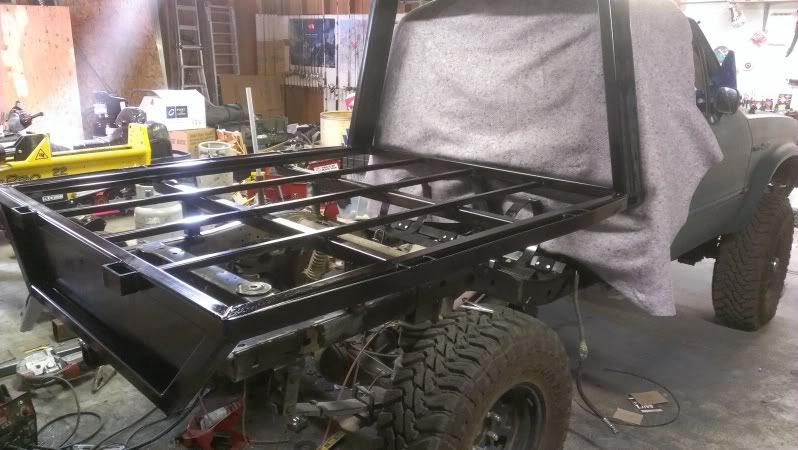
I used 2x2 square tube for the flatbed frame and 2x6 for the headache rack since I will mount a 2000lb atv winch in the top for lugging logs and elk onto the bed. I only had to raise the actual bed surface 2 inches in order to accommodate the propane cylinders and still have enough clearance for wheel travel and tire clearance.
I used 1 inch square for the rest of the bed surface and pretty heavy sheet for the rear drop panel
I slapped in a fresh 22r and made room for dual 31 series batteries tethered to a 500 amp dual switch that will be mounted on the dash in order to isolate the batteries during heavy winching. these batteries barely fit after a ton of cutting and fabbing trays. each battery is rated to 1250 cca at 32 degrees.
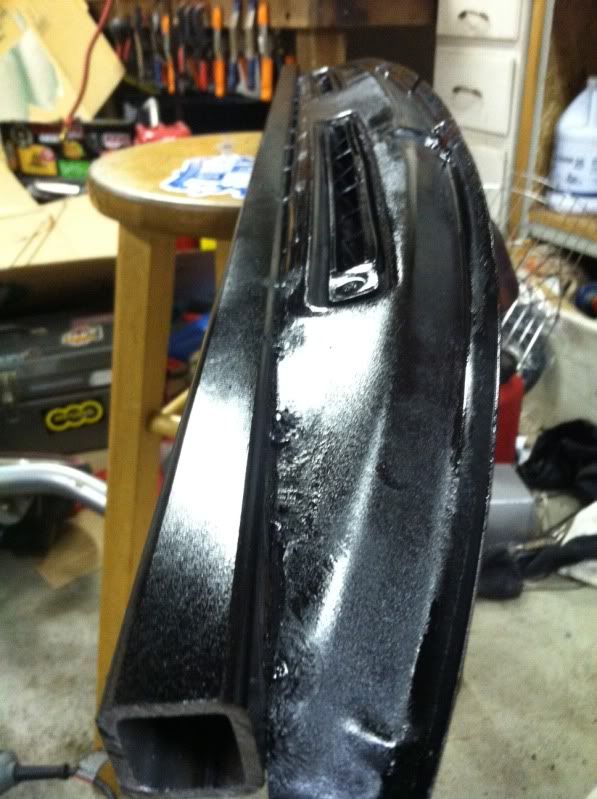
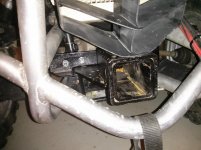
i capped and channeled the frame on the front and recessed the front winch clear back to the radiator in order to increase my approach angle. I will finish off the rest of the front bumper with 1/8 steel to contour around the sides. you can see the old bolt holes from the stock bumper and how much clearance I gained. I also found some hellla lamps and recessed them in the grill that are wired to the brights.
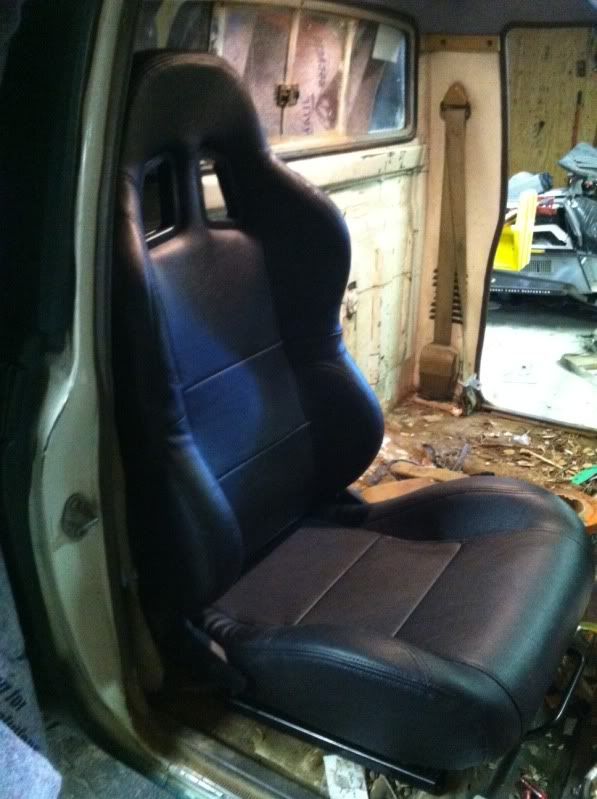
I gutted the interior and am making a complete sheet metal dash. I cut down the old dash in order to keep the stock defroster set up since space is a premium. I cut down the defroster to the vents and stitch welded it to the 1 inch tube at the angle for the dash.
I found some cheap buckets on amazon for 99 bucks a piece and found they will fit perfect and leave me plenty of room for a steel center console for electronics and firearms.
should have this wrapped up by the end of the month, pics to follow shortly.


 camper old ****** coupler 8:13.jpg143.2 KB · Views: 199
 camper Bulldog coupler upgrade 8:13.jpg148.8 KB · Views: 219
 camper bumper begining to commence to begin 8:13.jpg151.1 KB · Views: 187
 camper bumper extensions 8:13.jpg147 KB · Views: 196
 camper bumper progress 8:13.jpg141.7 KB · Views: 184
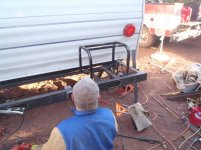 camper bumper coming along ok 8:13.jpg143.6 KB · Views: 198

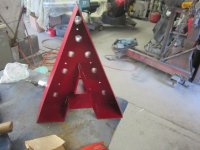
 I really like the docking lights on the sides as well.
 . I think it will look great with the OEM Toyota mustard yellow I'm planning on painting the inner part of the sign.
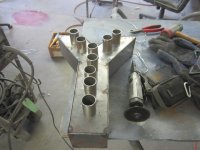


 to move, but one of the best workbenches I've ever built. I even found a couple uses for the hole in the center in the couple of years I've stitched it together.