Bob Heine
ALLIANCE MEMBER
Not sure this qualifies as a welding project but it is welding-related. I started welding at 64 with a Harbor Freight $89 flux core wire feed unit. Upgraded to an Eastwood 175 MIG with a spool gun for aluminum and a tank of 98/2% Ar/CO2 so I could weld stainless steel. Before I conquered those units I bought an Eastwood 200DC TIG machine and a tank of Argon. The MIG is doable one-handed but I couldn't coordinate my artificial arm with either the TIG torch or the filler rod so I mentioned wanting some kind of a filler-rod feeder that attached to the torch. I found a wire feed unit for about $3,000 but that's about three times what I've spent on the three welders. I mentioned my dilemma and Zeke pointed me to some really cool pencils, including one he developed. Knowing too little, with mostly hand tools, I made a filler rod feeder that seems to work.
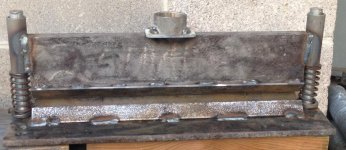
Started with a foot-long piece of thick-walled 1/4-inch stainless steel tubing. It needed to hold the stainless wire or the filler rod so I put a slight bend in it, using an Eastwood brake line bender. The un-bent tube is the same outside diameter but thinner walled.
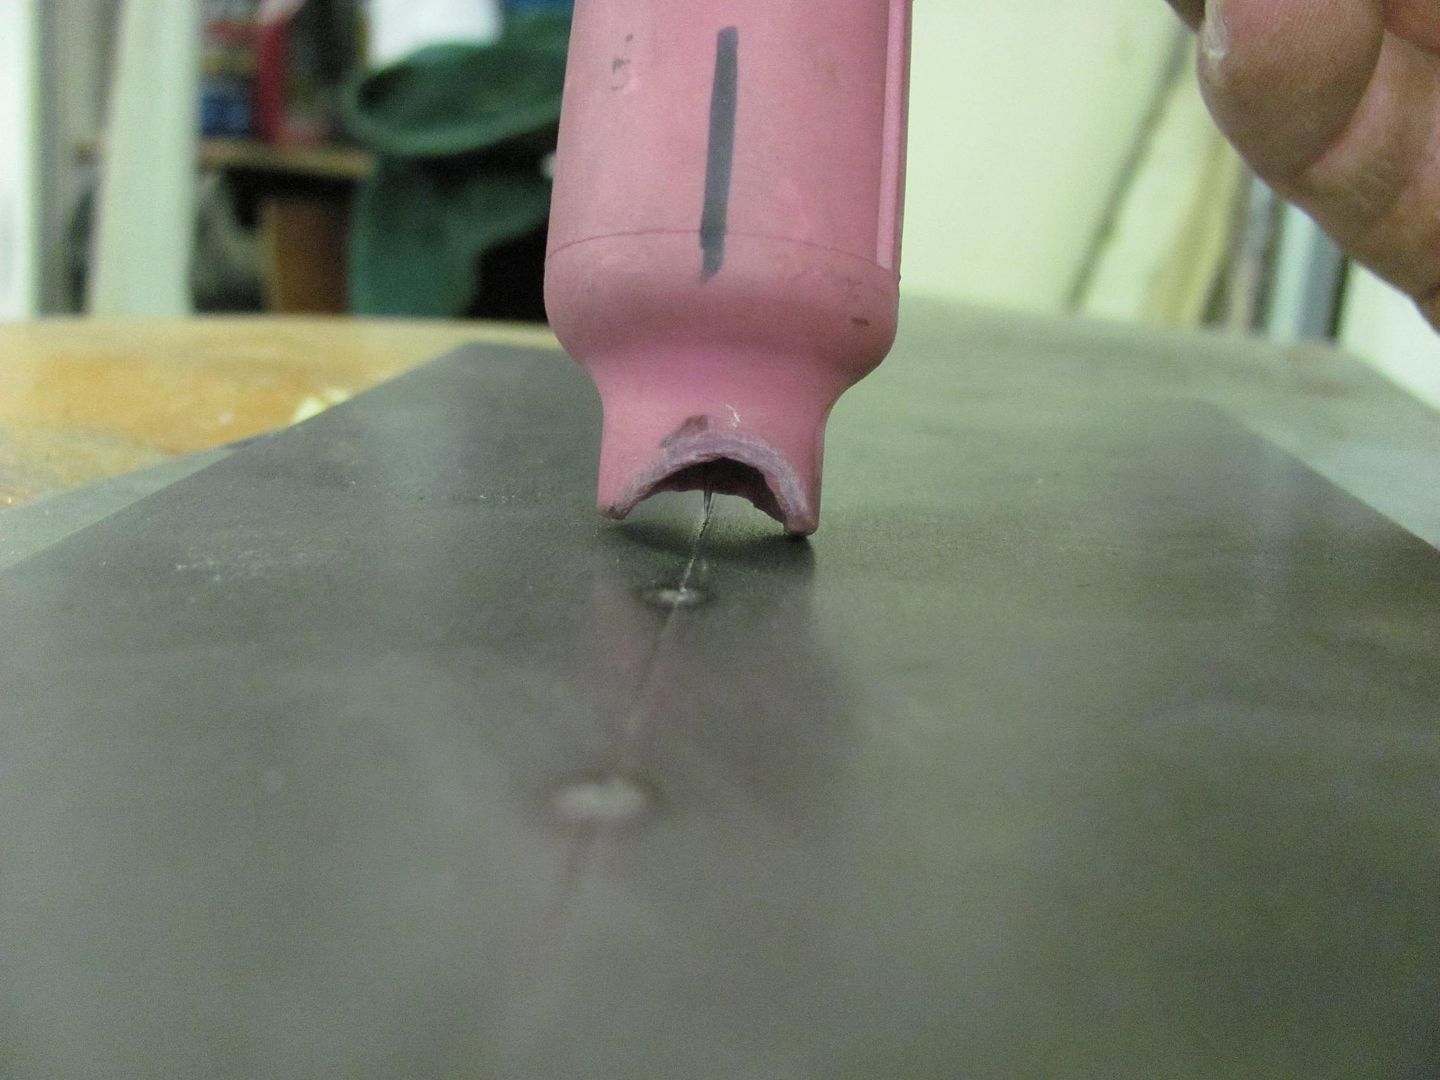
Using files, a Dremel tool with some diamond burrs, a Scotch-Brite EXL de-burring wheel and a buffer, I cut away a section of the tube. A little shaping and polishing and a 1/16-inch filler rod slides through quite easily but with some friction so it doesn't fall out..

Unfortunately I can't get the rod to slide with just finger pressure if I'm wearing a TIG glove but it moves fine with bare skin. I can take a certain amount of heat but a molten pool of steel at the end of the rod is going to be more than a little uncomfortable. I am drawing pictures in my mind how to solve the advancing mechanism and I think it's going to be simple -- Famous Last Words!!
I wanted to move on to the torch mount for the TIG rod feeder. I went to my wood lathe and... oops, I don't have one of those, or a milling machine or precision tool of any kind. Drill a 1/4-inch hole in a block of wood at an angle, round off the block on a sanding wheel and hog a channel to match the torch with a rotary rasp. A hose clamp and I think I've got it.

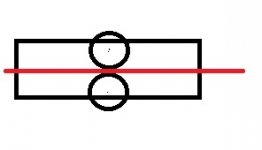
I obviously can't use a block of wood but I can weld an angled bracket to the tube. First I have to make a sleeve that slides over the open channel. with a threaded hole for a screw. The screw tip presses on the filler rod and the sleeve slides back to grab a bit more rod, press down on the screw head and feed more into the puddle. Turns out I have the right size stainless tube in my pile.

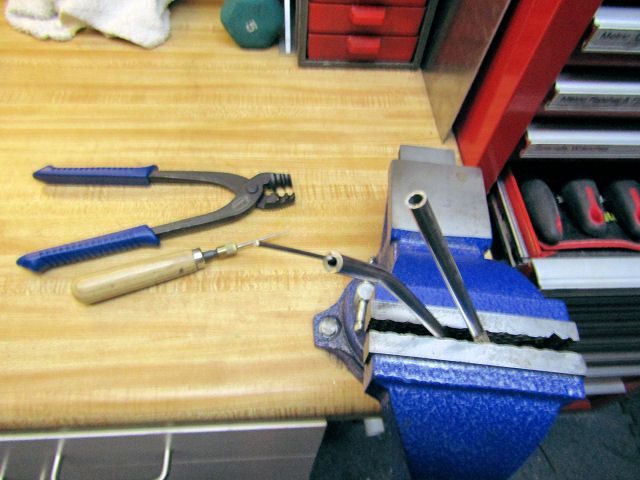
It didn't work because the screw tip just slides along the filler rod. I filed a curve in the screw tip and that didn't help either. It occurred to me it needed a longer and rougher surface to grab the rod. The file on the vise tested the theory and it worked surprisingly well. If I can attach a section of jeweler's file inside the tube I might have a winner.
More than 20 years ago I broke a jeweler's file. I knew exactly where it was so I put the thing in the garage vise so I could grind a dent in it. I have a set of diamond bits and surprise, surprise it worked. I also know I snapped that file so it should be easy to break off another piece. Another surprise -- it took one hammer tap once it was in the vise.

I had to re-file the end of that 6-32 screw so it better matched the dent. This is by no means an elegant piece of work but the file piece sorta fits and the rod slides forward with minimum pressure and the sleeve slides back without grabbing the rod.

At this point I felt like I had proof of concept so I tried it out with the camera recording the action. I didn't do a very good job setting up the contraption in the vise so I had to use two fingers to operate it.
"Alright, Mr. DeMille, I'm ready for my close-up... "

As you can see in the video, the slide is very loose. I found another piece of stainless tubing that's thicker walled so I made another sleeve.

I added a finger stage to the slide and mounted it with a second countersunk screw.

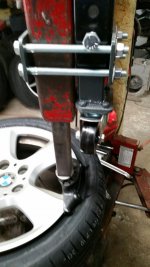
Guster helped out with some examples of mounting brackets so I'll be working on that next.

I splurged on a #9 torch, hoping the smaller size might make a better platform. I also bought an $8 #26 straight torch (like the one in the middle of the top row in the above photo) just in case. I'm also going to look for a slightly wider file to chop up.

Started with a foot-long piece of thick-walled 1/4-inch stainless steel tubing. It needed to hold the stainless wire or the filler rod so I put a slight bend in it, using an Eastwood brake line bender. The un-bent tube is the same outside diameter but thinner walled.
Using files, a Dremel tool with some diamond burrs, a Scotch-Brite EXL de-burring wheel and a buffer, I cut away a section of the tube. A little shaping and polishing and a 1/16-inch filler rod slides through quite easily but with some friction so it doesn't fall out..
Unfortunately I can't get the rod to slide with just finger pressure if I'm wearing a TIG glove but it moves fine with bare skin. I can take a certain amount of heat but a molten pool of steel at the end of the rod is going to be more than a little uncomfortable. I am drawing pictures in my mind how to solve the advancing mechanism and I think it's going to be simple -- Famous Last Words!!
I wanted to move on to the torch mount for the TIG rod feeder. I went to my wood lathe and... oops, I don't have one of those, or a milling machine or precision tool of any kind. Drill a 1/4-inch hole in a block of wood at an angle, round off the block on a sanding wheel and hog a channel to match the torch with a rotary rasp. A hose clamp and I think I've got it.
I obviously can't use a block of wood but I can weld an angled bracket to the tube. First I have to make a sleeve that slides over the open channel. with a threaded hole for a screw. The screw tip presses on the filler rod and the sleeve slides back to grab a bit more rod, press down on the screw head and feed more into the puddle. Turns out I have the right size stainless tube in my pile.
It didn't work because the screw tip just slides along the filler rod. I filed a curve in the screw tip and that didn't help either. It occurred to me it needed a longer and rougher surface to grab the rod. The file on the vise tested the theory and it worked surprisingly well. If I can attach a section of jeweler's file inside the tube I might have a winner.
More than 20 years ago I broke a jeweler's file. I knew exactly where it was so I put the thing in the garage vise so I could grind a dent in it. I have a set of diamond bits and surprise, surprise it worked. I also know I snapped that file so it should be easy to break off another piece. Another surprise -- it took one hammer tap once it was in the vise.
I had to re-file the end of that 6-32 screw so it better matched the dent. This is by no means an elegant piece of work but the file piece sorta fits and the rod slides forward with minimum pressure and the sleeve slides back without grabbing the rod.
At this point I felt like I had proof of concept so I tried it out with the camera recording the action. I didn't do a very good job setting up the contraption in the vise so I had to use two fingers to operate it.
"Alright, Mr. DeMille, I'm ready for my close-up... "
As you can see in the video, the slide is very loose. I found another piece of stainless tubing that's thicker walled so I made another sleeve.
I added a finger stage to the slide and mounted it with a second countersunk screw.
Guster helped out with some examples of mounting brackets so I'll be working on that next.
I splurged on a #9 torch, hoping the smaller size might make a better platform. I also bought an $8 #26 straight torch (like the one in the middle of the top row in the above photo) just in case. I'm also going to look for a slightly wider file to chop up.