aka Larry
Well-known member
Not sure how well this will work, I've never attached from my phone before.
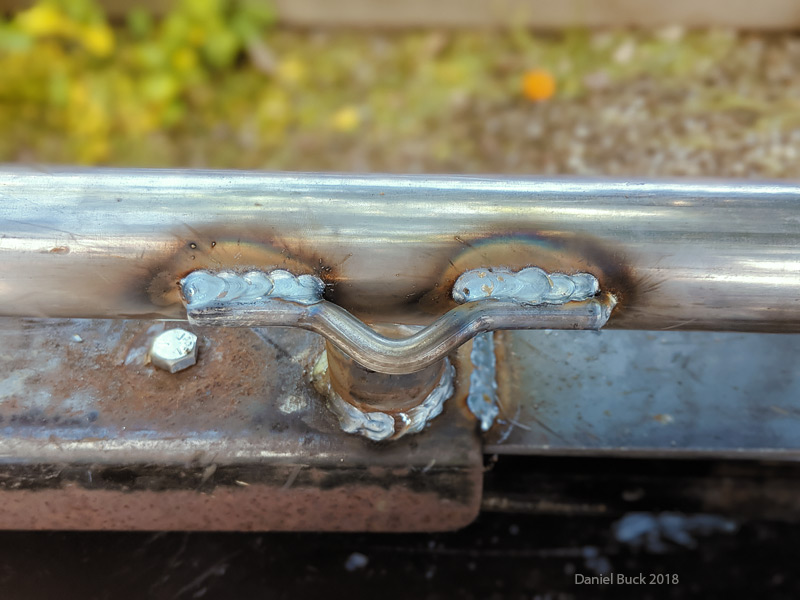
Oil pan done and testing for leaks over night. The first three and a half hours with none, hope my luck holds out.
What liquid were you using for testing? The reason I ask is I modified an oil pan for a friend's Miata V8 swap. We initially tested it with water, and had no leaks. Another buddy suggested we test it using gasoline, and guess what, it leaked. I fixed the leaks we detected, re-tested with more gas, and now it's sealed.