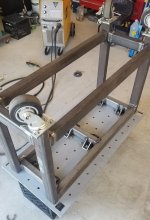
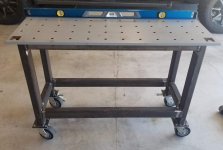
Thanks! Hinges have brass bushings. Legs are home made. Had to cut some relief cuts with angel grinder and bend the leg in vice with 3 pins technic, if you know what i mean.
here are more pictures https://www.smokingmeatforums.com/threads/ss-reverse-build.286988/
here are more pictures https://www.smokingmeatforums.com/threads/ss-reverse-build.286988/


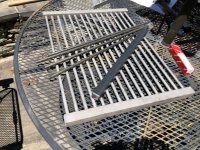
") So i make the cuts even bigger.
So i make the cuts even bigger.