ez-duzit
Well-known member
V--lovely work.

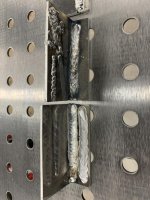
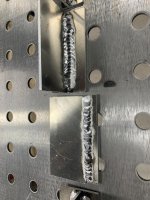
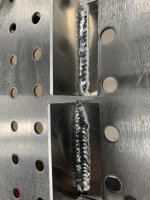
A spool gun is not the easiest thing to master, I had certified welders that couldn't lay down a bead that good. Practice practice practice [emoji106]Finally got my spool gun all setup. Decided to get fancy and make a set up where I didn’t need to change out hoses to change the gas, just shut one ball valve, open the other. Gave it a try and the gas set up works but I **** at at welding aluminum so far lol I didn’t realize how easy it was to blow through aluminum. So the first pic is the gas line set up, second pic is the first two coupons I welded, second is where I tried a lap joint, and then the last pic is the two best welds I did so far. Gonna definitely more aluminum to practice on.
Right? Maybe it's for towing RC cars with an RC truck..lolWhy's it look so small, is some special undersized job?


My swap meet ride for this summer.
https://www.garagejournal.com/forum/showthread.php?t=430175
Sent from my SM-A102U using The Garage Journal mobile app

How did I miss that? LOL should’ve seen that one comingMy swap meet ride for this summer.
https://www.garagejournal.com/forum/showthread.php?t=430175
Sent from my SM-A102U using The Garage Journal mobile app


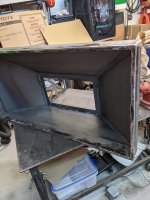
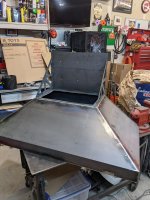
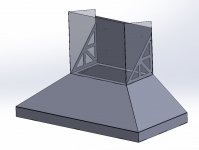
Designed up a hood vent mount for a Kobe hood vent insert. I liked the performance of the insert vs buying one that had a stainless exterior. Project kind of spiraled into way more work than I expected. But I'm happy with how it turned out. Just way more work then I meant to sign up for. But it got me some extra welding practice.
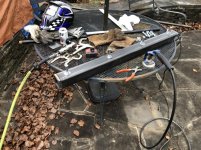
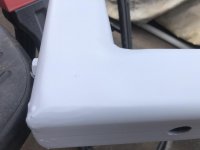
Hey guys go easy on me. I taught myself how to weld during covid and this was one of my early projects I made. My dad needed a support foot for a gate that he wanted to keep from sagging.
This is what I came up with. Let me know what you think!
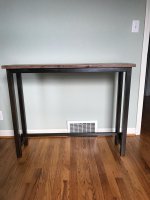

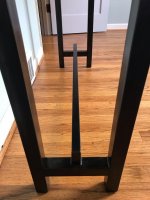


The table looks fantastic. The raised stringer at the bottom is a nice, custom touch.
Sent from my iPhone using Tapatalk
I used Prestoblack to darken the steel legs.
I like your work! How did you like working with PrestoBlack? What, if anything, did you subsequently apply as a clear or protectant coat?
DrReid, thanks. I started a thread on the use of PrestoBlack and you responded. I pretty much listened to your advice. It was a battle with rust following the Prestoblack. I pretty much removed the rust with fine steel wool, wiped it down with IPA then sprayed with a satin clear coat. I was happy with the mottled look of the legs, not as black as I thought but I like it.
Jay


Got the cart back from powder coat yesterday reassembled and ready for upholstry.
Sent from my SM-A102U using The Garage Journal mobile app

Thanks Bodj, I appreciate that.
Yes Roger,
It will be lowered, a lot. I have the body and am looking for suspension parts.
Sent from my SM-A102U using The Garage Journal mobile app