harley jim
Well-known member
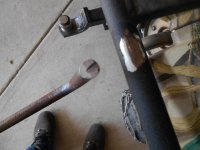
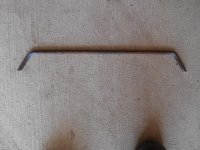
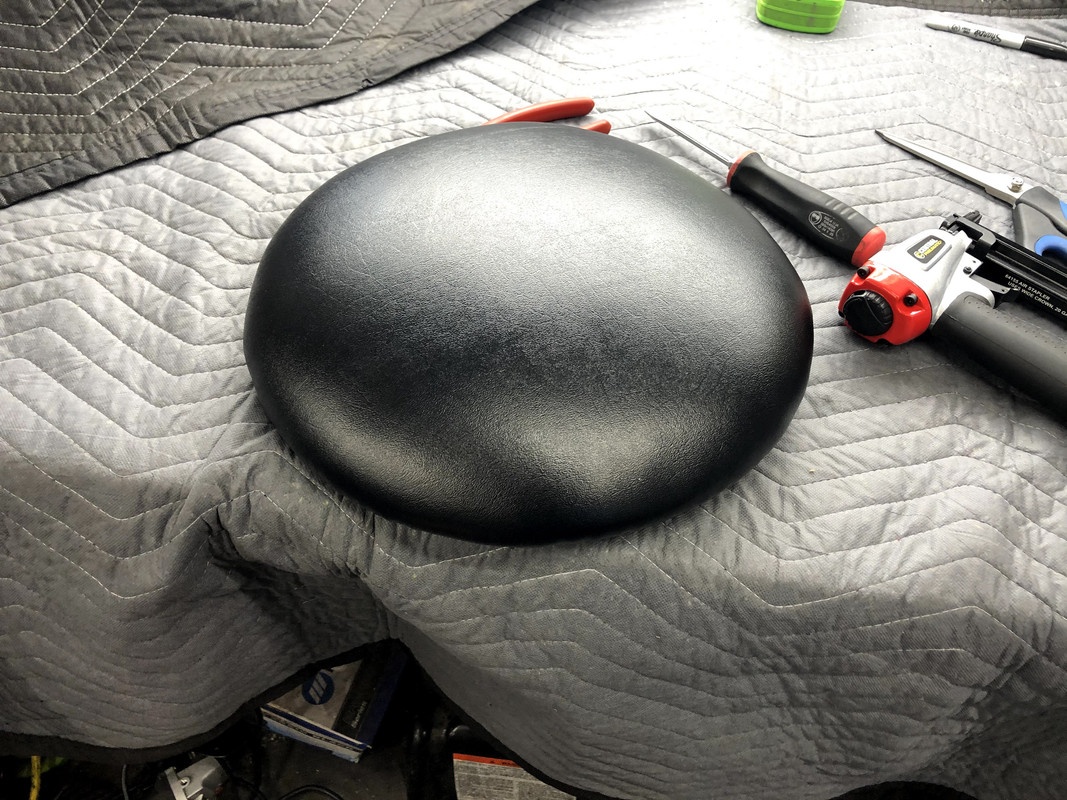
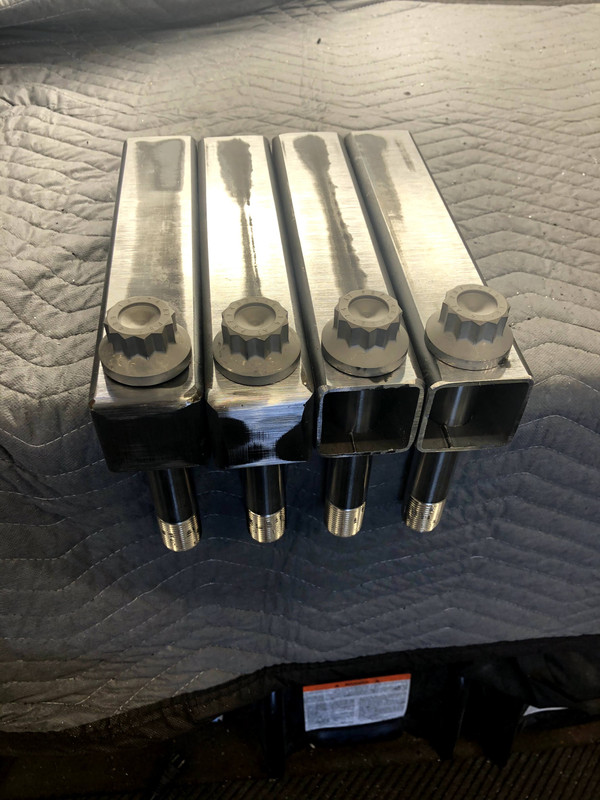
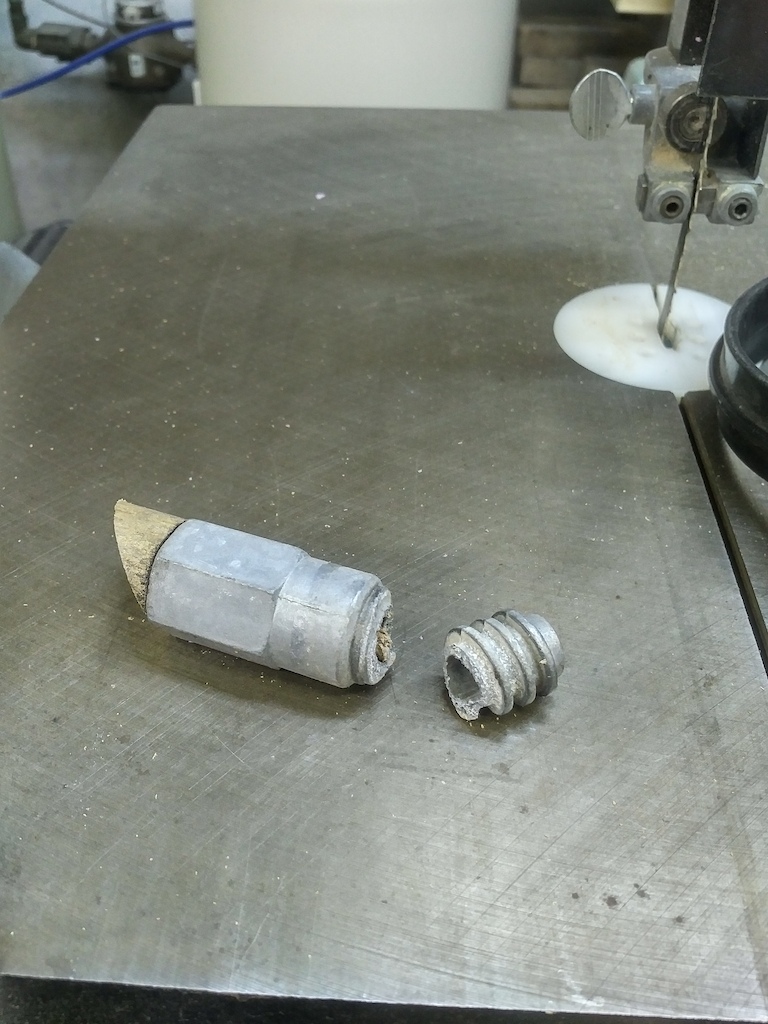
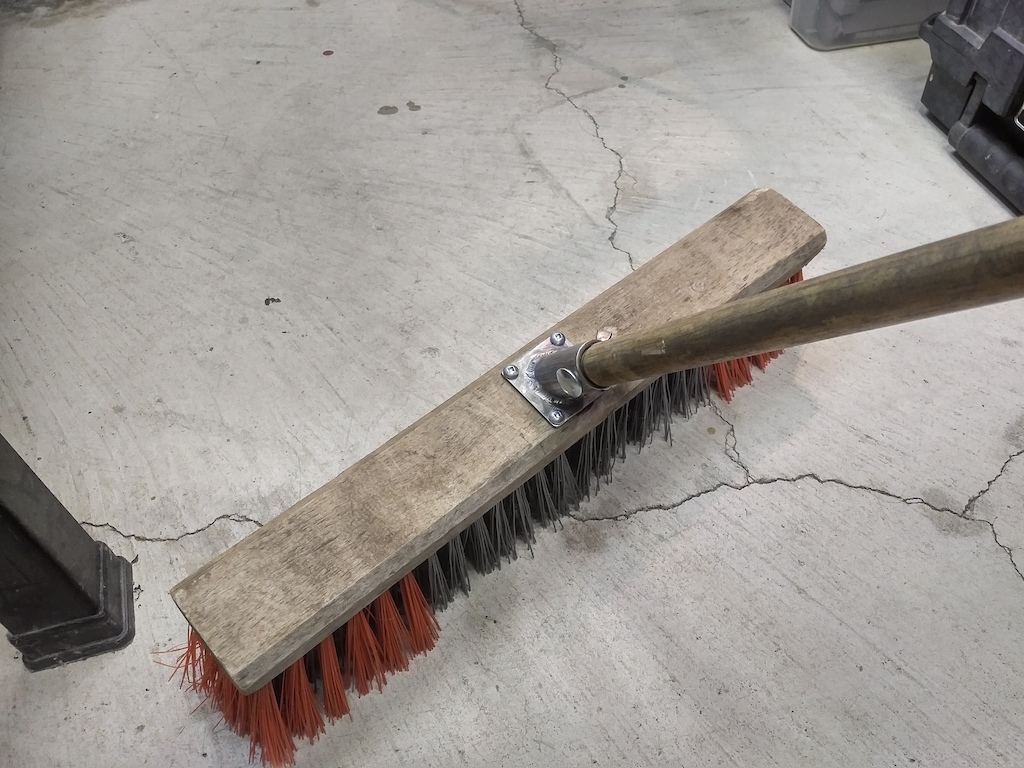
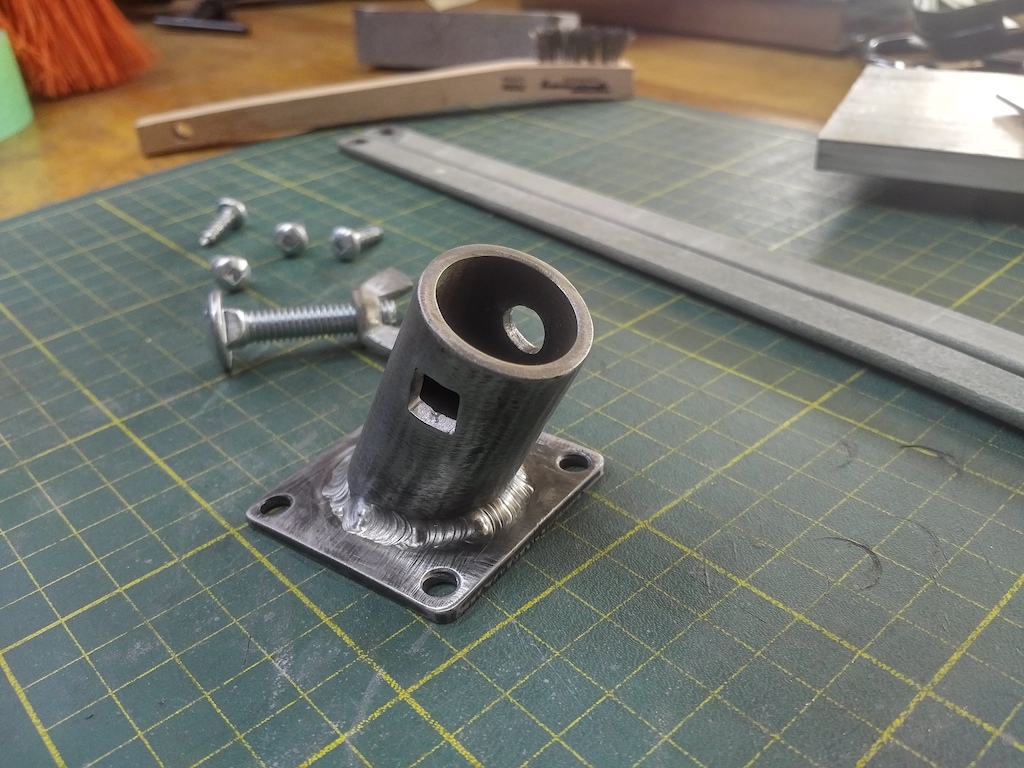
VR6ix, sadley this is where it starts, first it's the broom handle, then a wall hanger to put the broom on, then a new boot scraper and before you know it you have a one or two welding project a day habit. Guys like me fell down the hole really bad and cant go a whole day without welding something.Last fall my broom handle broke. Wait, that's not accurate - the Chinese pot-metal threaded doohicky broke, rendering my broom much less useful than before. So, I made a replacement using bits from around the workshop, because why buy it when you can make it? 11ga plate and 3/4 SCH 40 pipe.
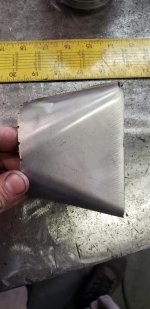
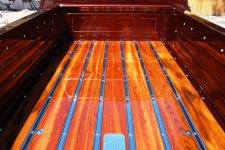
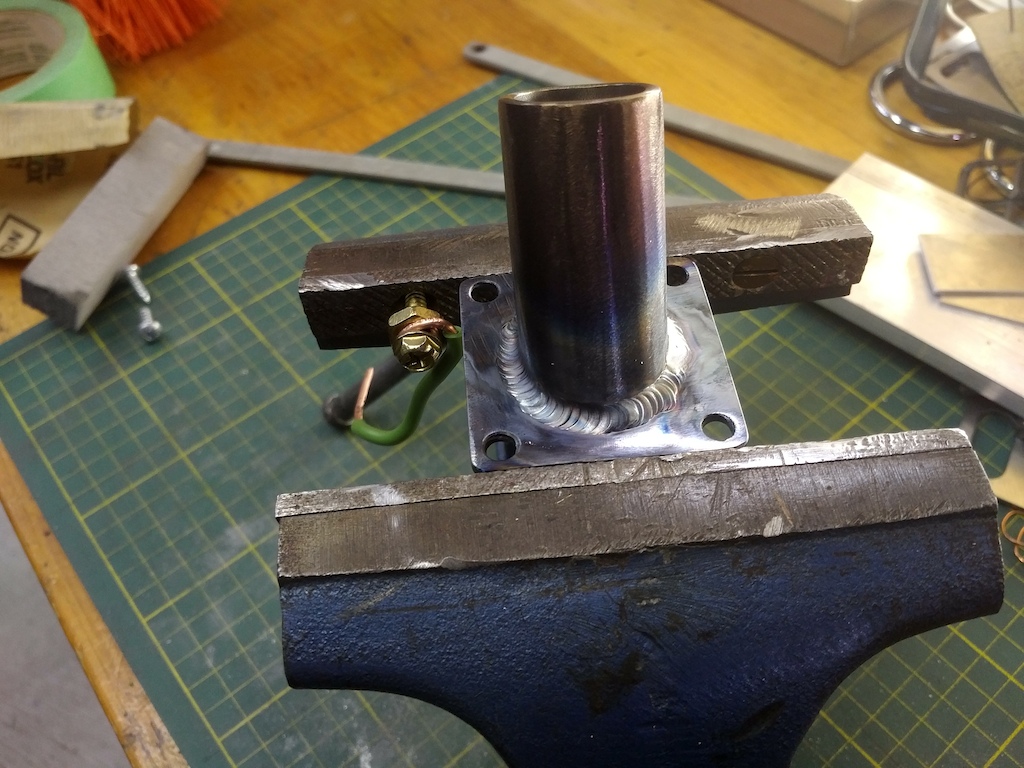
I got the main bracket done today and started to bend some repurposed flatbar straps to triangulate the broom head like a heavy-duty industrial broom. Was running 120 amps and pedal to the metal with 1/16" filler rod. Had to go down to a #6 stubby cup with over 1/4" stick-out to get into the deep valley. I can glue metal together all day long, but I am not a fitter/fabricator by any means, I'm surprised how flat it came out.
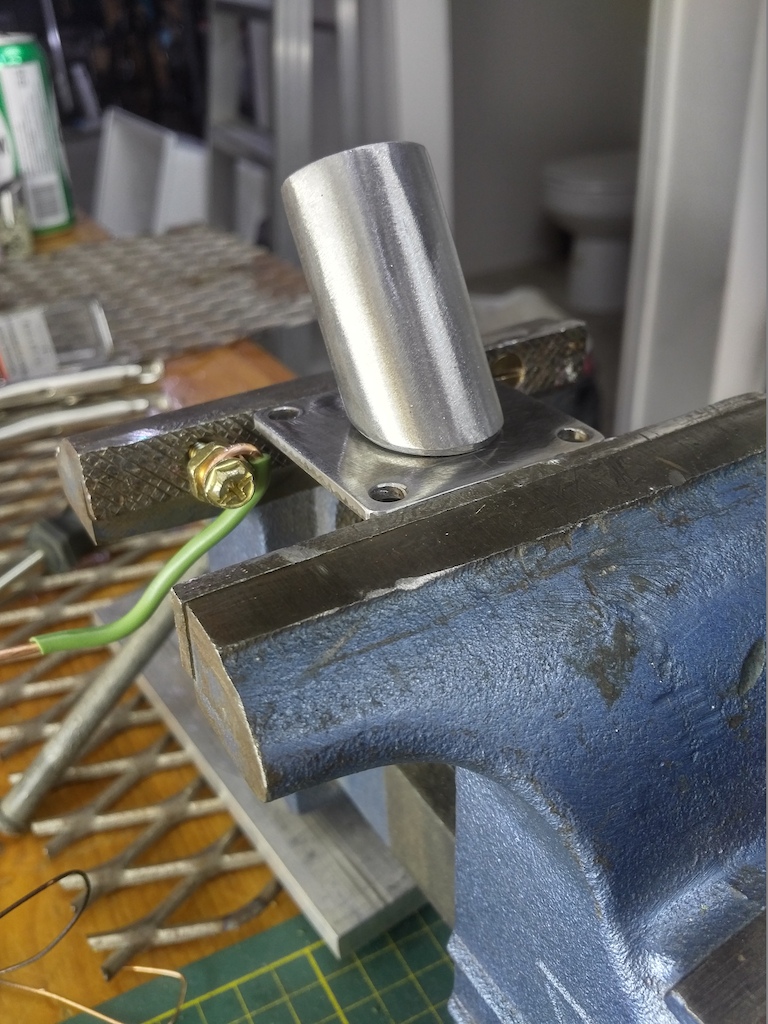
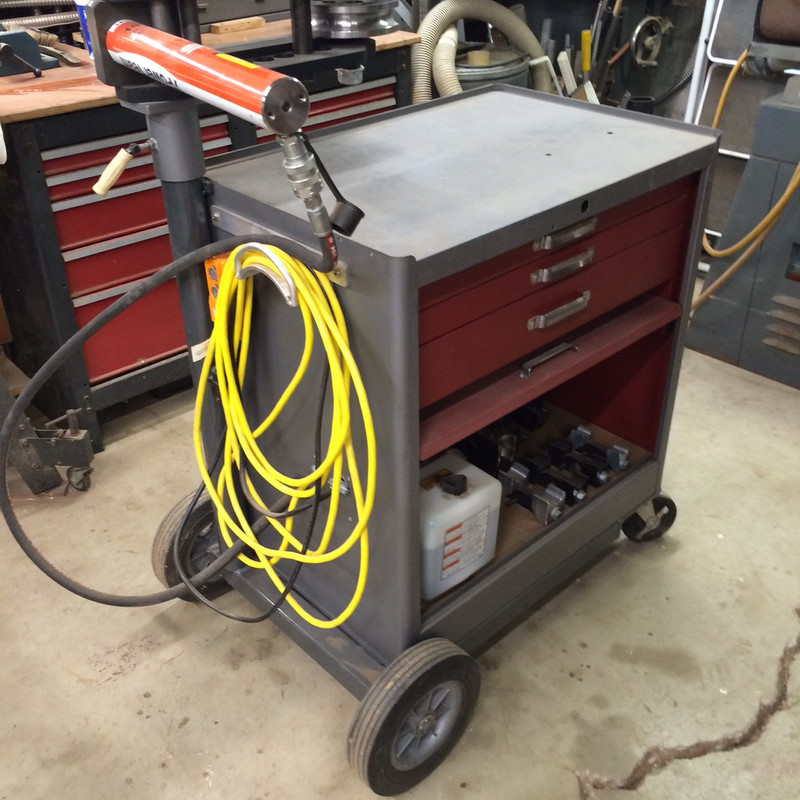
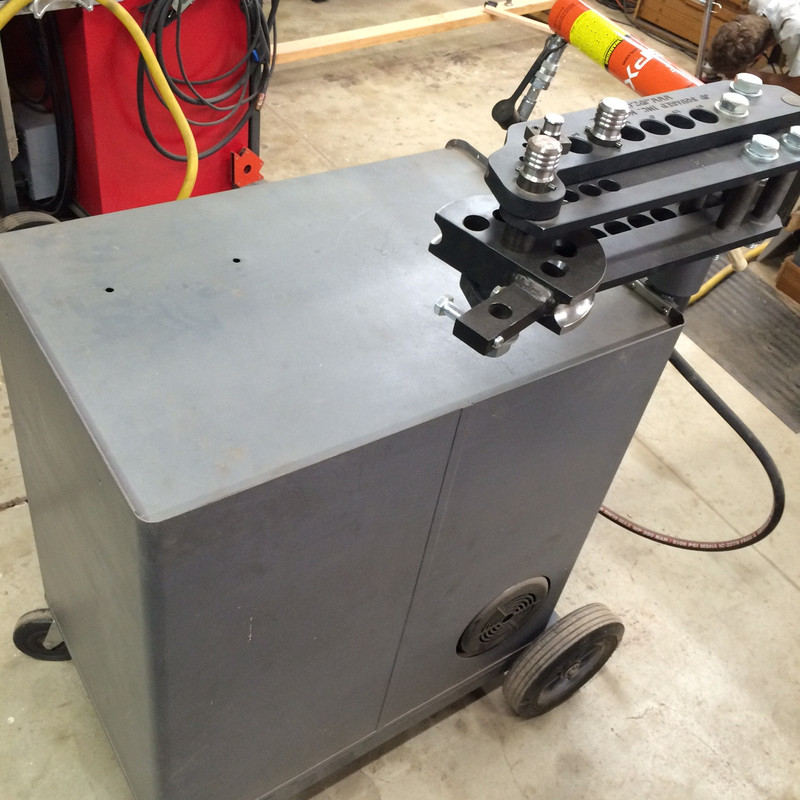
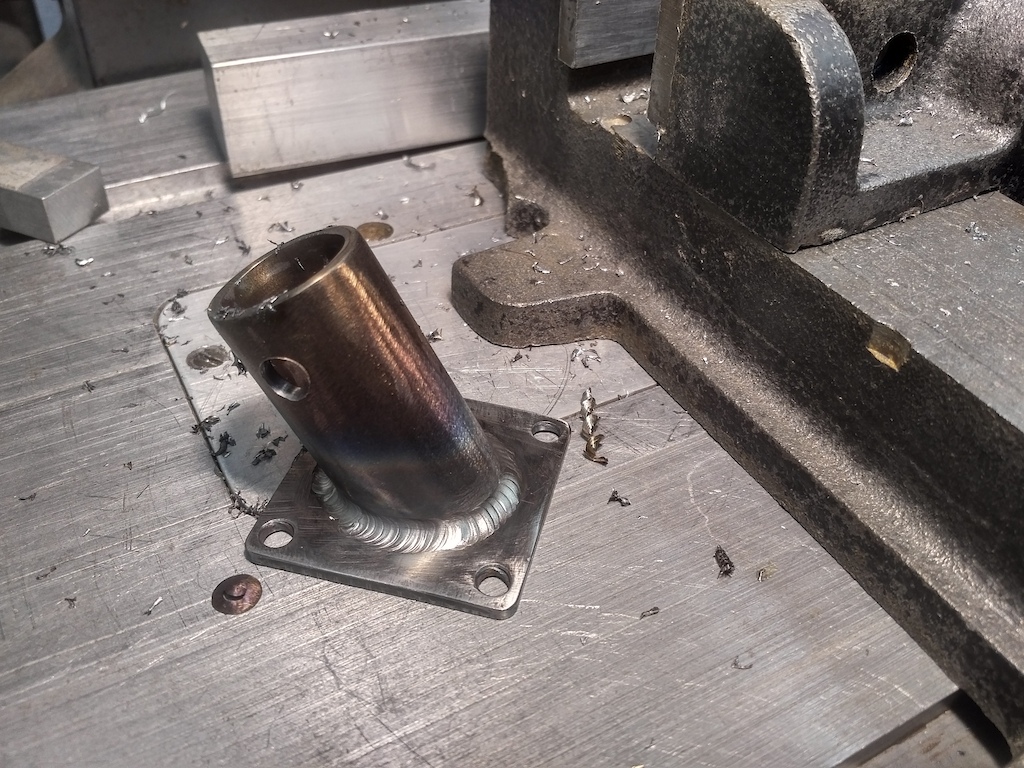
Fun fact: since my TIG machine is in my basement I don't have a dedicated weld table and I noticed that my "mobile" cheapo vice was missing a jaw screw and since the only screw I had that matched the thread was way too long I decided to make it my ground point - worked great!
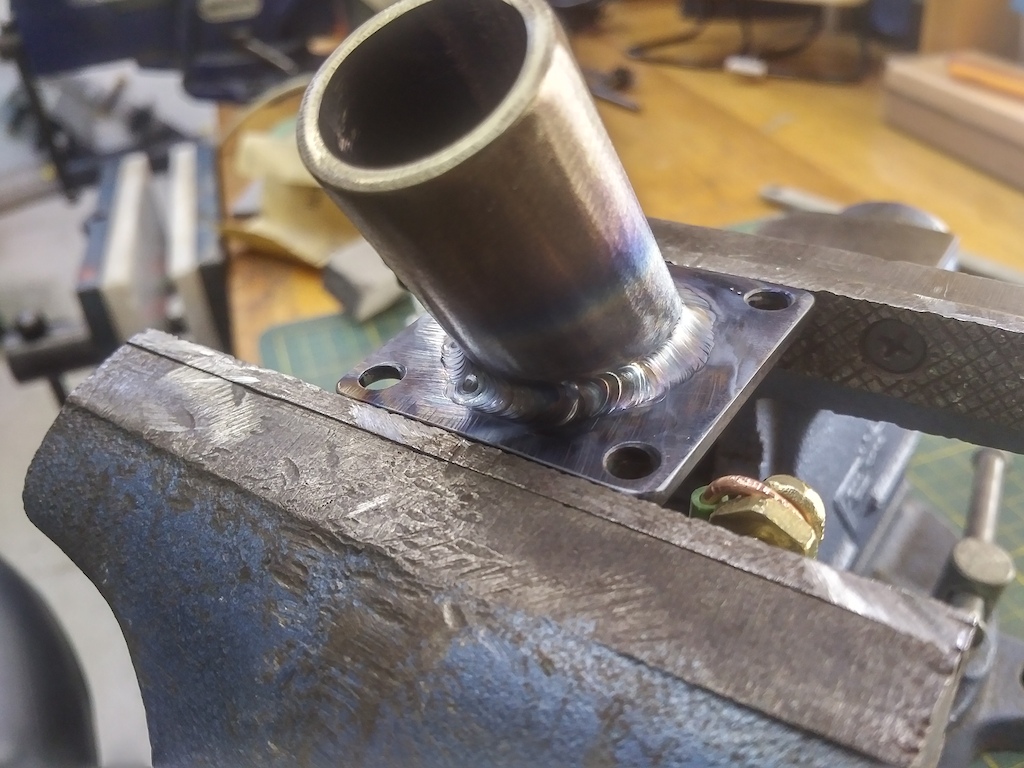

I think it got enough penetration for a push broomDidn't bother to clean the mill scale off the back side and it bubbled-up. One tiny bit of burn through so I think I had the heat dialed in nicely.
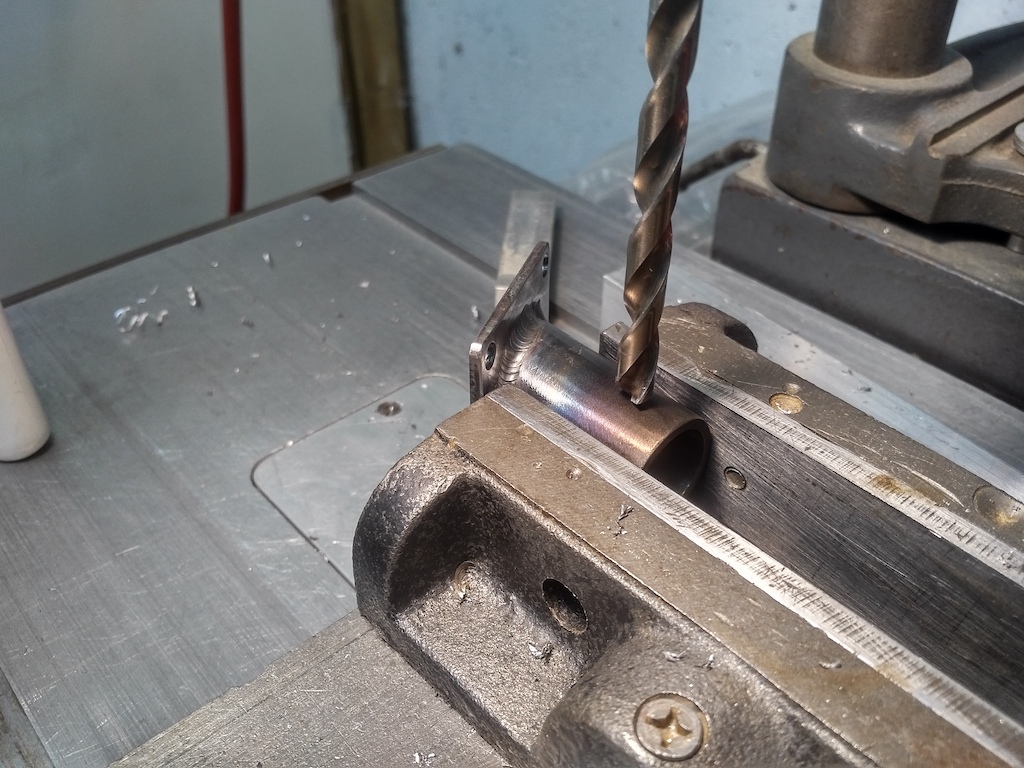
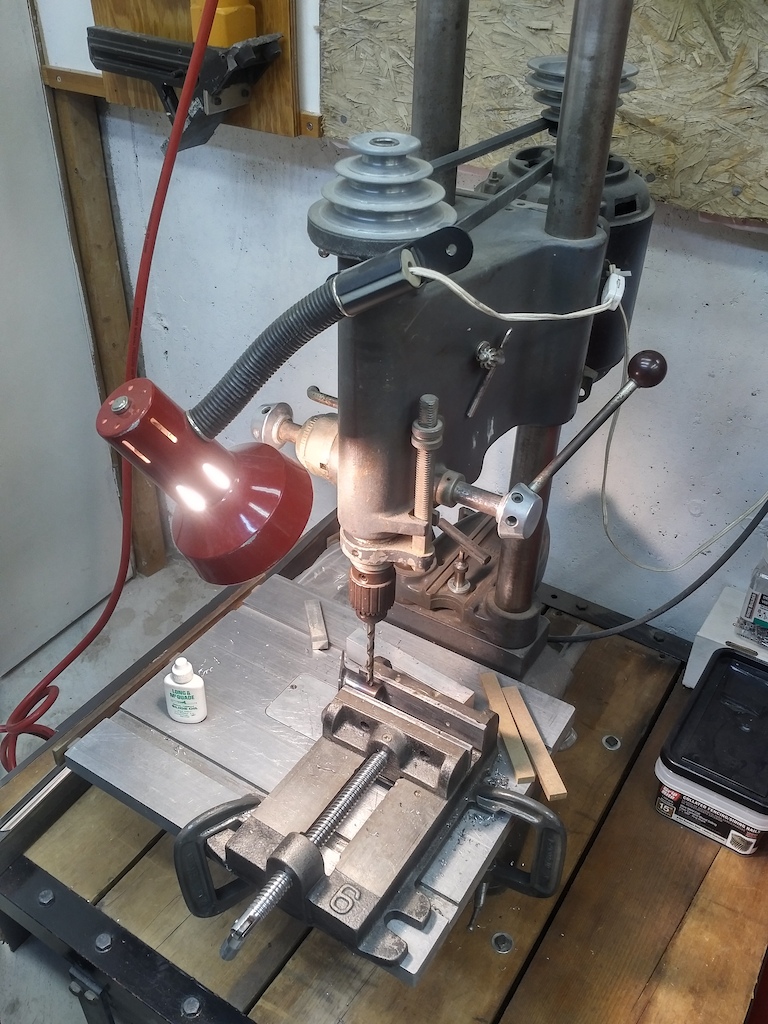
Next was time to drill a cross-hole and I had a 5/16-18 carriage bolt and wing-nut to secure the handle. My "drill-press" is a 1950's Shop Smith 10ER set-up in vertical mode. Really need to find or make a speed reducer. Filing that hole to square was an exercise in patience since the pipe only allowed for about 3/4" stroke on the file.
There you have it! The longest post ever about a tiny little weld project that isn't even done yet
Great fix on the broom sir.
Sent from my SM-A102U using The Garage Journal mobile app