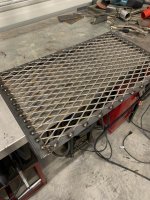
I guess here is as appropriate as anywhere since I welded the frame together for it.
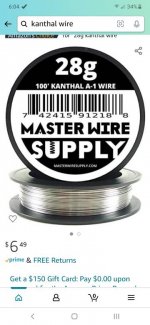
I bought a folding card table from "The Walmart" and made the framework out of some spare Unistrut. The wire is Kanthal commonly used in everything from heating elements to vape pipes, because of the latter it can be purchased for around $7.00 for 25 feet. I have been using the same piece of Kanthal for five years its very durable. I used some small eye hooks with nylon grommets to attach the wire and I just attach a battery charger to power it. I zip tied a small 110v fan to the upright to blow the smoke away.
https://i.postimg.cc/j2jXRhY2/IMG-0196.jpg
The "C" section of the Unistrut fits perfectly over the the edges of the table. The framework is held together by a slip joint on the bottom. I sectioned a piece of the Unistrut to make an interference fit. I can pull the two halves apart and fold the table to store it.
https://i.postimg.cc/9MCbnhxG/IMG-0197.jpg
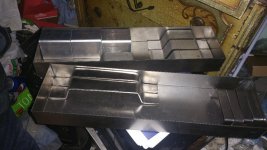
I made the throat fairly tall so I could section the pieces I cut out. For example a typical gun case may be four inches deep in one half. After I cut a section out Ill take two inches off of it and glue it back in the opening. I use construction paper for patterns, the wire does not get hot enough to cut through it so you can run the wire against it for a nice cut. I normally run it at 2 amps and when the wire gets gummed up Ill take the foam away, hit it with 50 amps and it turns the gummy foam to ash. Open cell foam doesn't react well to any higher amperage, the heat from the wire melts the foam before it touches it and makes for ugly cuts.
https://i.postimg.cc/MGyt5TY6/IMG-0192.jpg
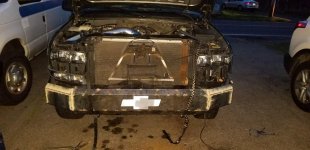
This was the first case I used it for.
https://i.postimg.cc/nz228P5N/IMG-0206.jpg
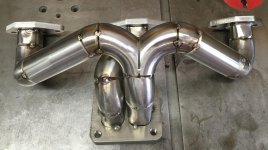
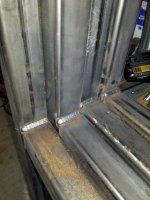
This is a more recent one.
https://i.postimg.cc/prXg37W6/IMG-0320.jpg
I have done some camera cases as well as specialty tools, I just didn't bother taking pictures of them.

 @Honch, that is a fabulous stool!