BeansBaxter
Active member
- Joined
- Jun 3, 2008
- Messages
- 33
I agree it can be confusing. A couple of things to note. Firmware is the code that runs your board and makes it do things. Marlin is a specific firmware that is the most commonly used for 3D printers, including your Ender 3 V2.Bought a new board, and decided to get the newer 4.2.7..
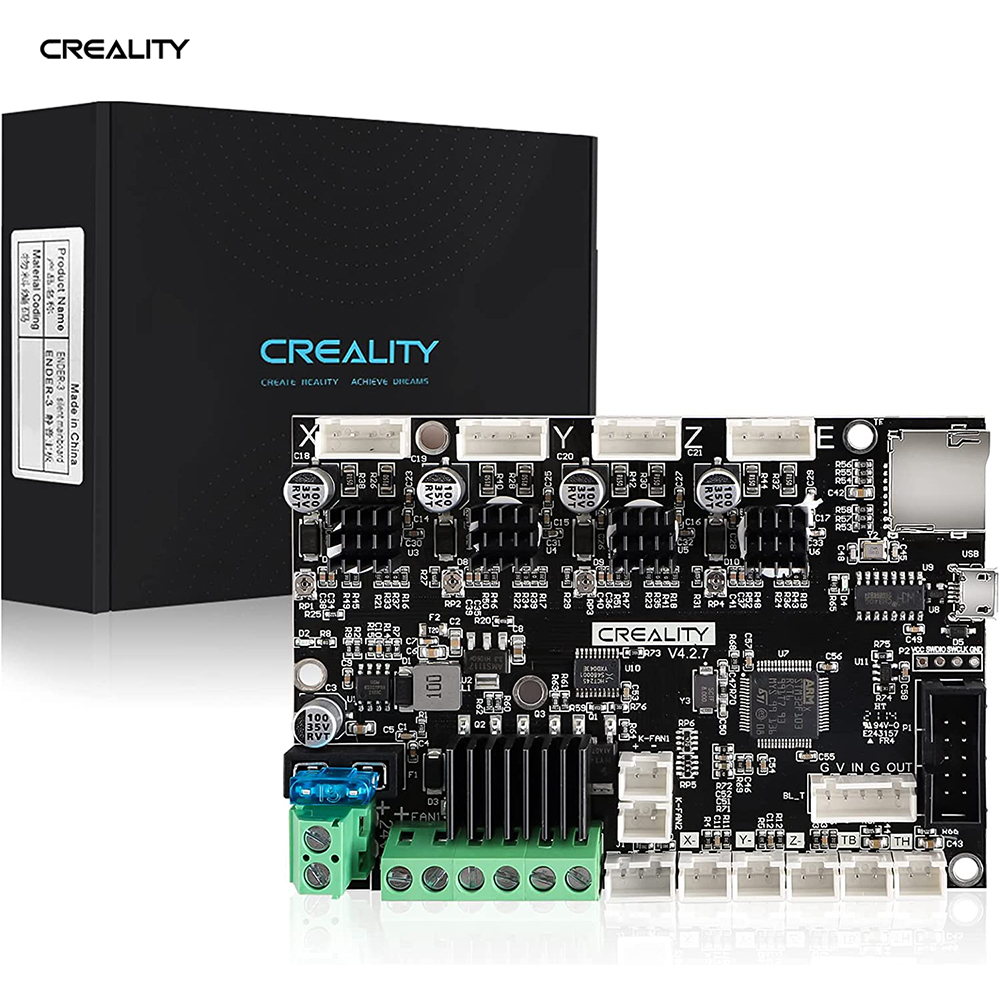
Official Creality V4.2.7 Silent Board TMC2225 Driver Marlin 2.0.1 For Ender-3(Pro)/Ender-3V2/Ender 5/Ender-3Max
Buy Official Creality 3D Printer Ender 3 Upgraded Silent Board Motherboard V4.2.7 with TMC2225 Driver Marlin 2.0.1 for Ender 3/ Ender 3 V2/ Ender 3 Pro/Ender 3 Max.www.creality3dofficial.com
Installed it, but have not fired it up yet, because i'm completely lost on what software I need to put on the SSD card to run it...
I just dont understand what software I need to download... its confusing... They talk about Firmware, and Marlin... Im lost...
I also bought a CR Touch and Filament runout sensor...
Anyone care to explain it in simple English????
In order for your printer to run, you need the right version of Marlin with the right configuration for your specific board. For common setups you can simply download the ready-to-go firmware and install it. But when you start adding features like a CR Touch you have a few possibilities:
- Somebody already has made a firmware version for your board with the exact options you need. In that case, you can download that specific ready-to-go firmware and install it.
- You have to make your own firmware by configuring Marlin and compiling it using freely-available software. This is more complicated but not to difficult to do.
For a short-term solution you should be able to use the official Creality firmware for the 4.2.7 board. It won't have the CR Touch or filament runout sensor enabled but it will get you printing while you figure out the rest. It's possible the firmware labeled "Marlin-2.0.1-HW-4.2.7-mainboard-V1.1.2-compatible with BLTouch and filament detection" on that page would work for everything you need. My understanding is that firmware for BLTouch should also work with CR Touch.
The downside to these official firmware versions is that they are quite old. Marlin has improved a lot in the year and a half since these were made. For a long-term solution, I recommend learning how to compile your own firmware so you can get the latest updates and the exact features you need.