Thanks.
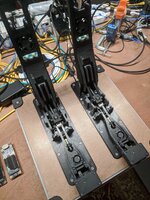
I did this test yesterday.
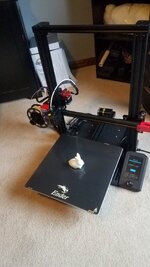
Part on the right is off my Ender.
Parts on the left are off the Longer.
From top down with nozzle flow adjusted.
100%
90%
80%
70%

In short, the print quality is horrible in all of them.
Not just that, but the parts are useless.. the Utility blade won’t even fit in the part, whereas the Ender part fits together perfectly.
I’m NOT impressed with it.
I’d be pleased for any input on what is wrong with this printer?
If I can’t get a resolution soon, it will go back in it box and get returned.
I’d be open to suggestions for a larger printer that will get my next projects done. 300x300x300 or larger?


 to I'd be proud as #e!! to show that off! Especially as a custom gift someone made for me, your spouse will be too I am sure! Looks Great! Harry