DocsMachine
Well-known member
- Joined
- Sep 16, 2006
- Messages
- 1,888
Regular readers will know that I'm a big fan of the 5C collet. They're very handy and widely useful- throw in "soft" collets that can be turned to almost any size and almost any depth to consistently and repeatably hold parts, even non-round parts, and you can see why they're so useful.
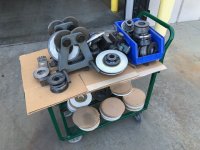
One of the most common accessories for a 5C collet setup in the lathe, is a collet stop. They generally screw in from the back of the collet, and have a threaded rod that lets you adjust the length, depending on the part and the machining needed. I've got a couple of that style.
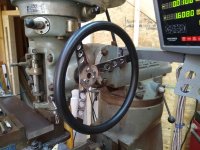
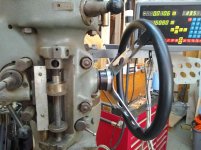
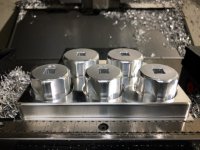
I also have a fixture that can bolt to a mill table, that lets you use 5C collets to hold round things for milling. Well, I have a short-run job where I have to use that fixture and a rotary table to mill some features in some chunks of 3/4" delrin rod. The position of the milled feature is important, and I need to have the pieces held consistently in the collet.
I can't use a regular collet stop because it's too long- it sticks down below the fixture. That's almost not a problem as I'll be using the rotary table, which has a large center hole, but the captive collet nut still won't let the stop through.
I also can't use that "three blade" extrusion- I have some, but the shortest conceivable piece would still have my part sticking up too high. So I needed a better solution, and that solution was another case of having to spend an hour making a tool in order to get the job done.
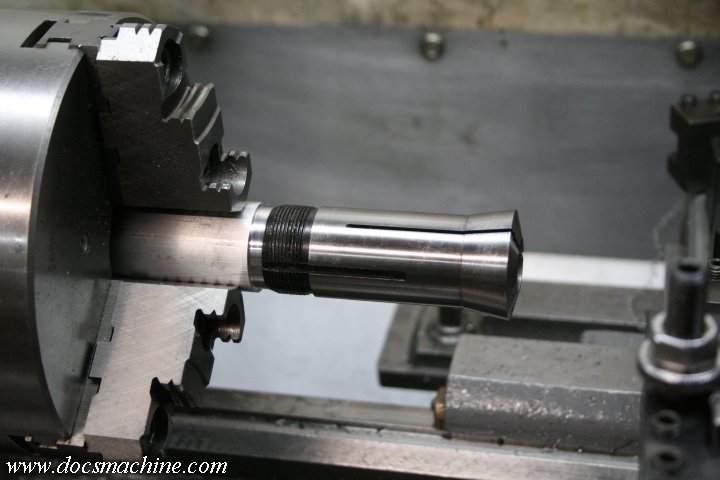
A chunk of 1-1/4" round out of the bin, a few minutes of turning of... oh, 'bout that much, a bit of threading, and voila`!

The part will screw into the collet like so:
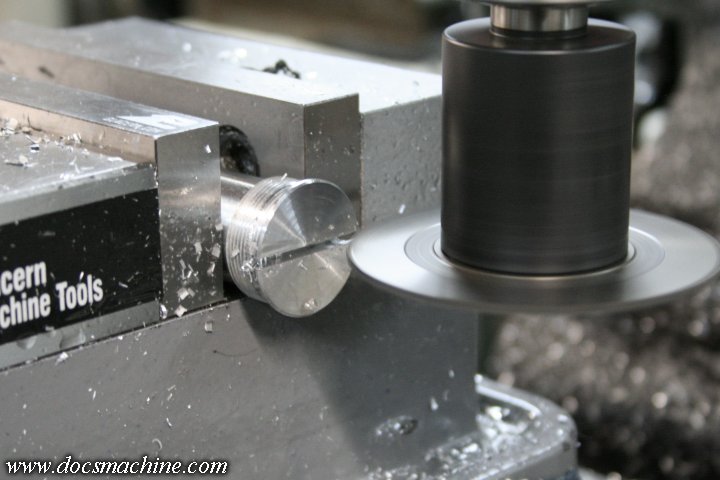
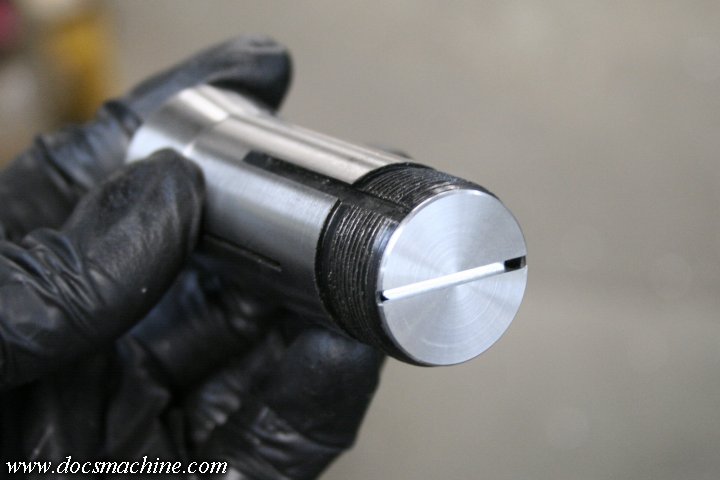
It needs to be low profile to clear everything, so it gets parted off, faced thin, and for the sake of expediency, just slotted for a wide screwdriver.
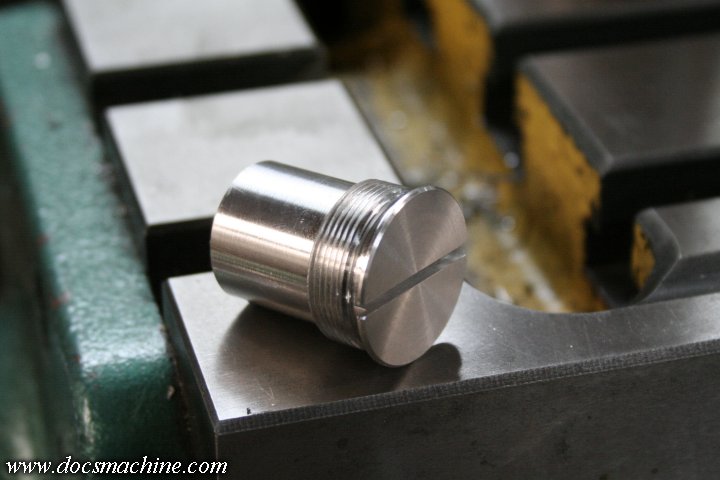
And done. The length wasn't hugely important, but I wanted to be in the right ballpark.
That gets fitted and tightened into the end of the collet like so....
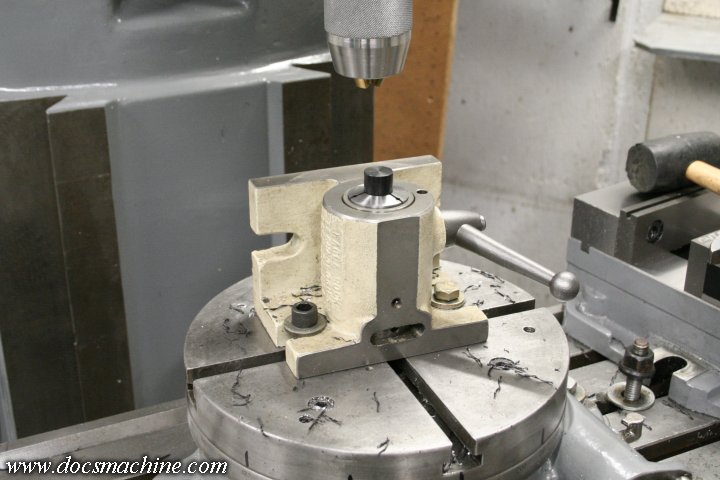
And the collet installed in the fixture.
Worked a treat, and I was able to get all 12 pieces done easily and quickly, and to a reasonable standard of accuracy.
Doc.
One of the most common accessories for a 5C collet setup in the lathe, is a collet stop. They generally screw in from the back of the collet, and have a threaded rod that lets you adjust the length, depending on the part and the machining needed. I've got a couple of that style.
I also have a fixture that can bolt to a mill table, that lets you use 5C collets to hold round things for milling. Well, I have a short-run job where I have to use that fixture and a rotary table to mill some features in some chunks of 3/4" delrin rod. The position of the milled feature is important, and I need to have the pieces held consistently in the collet.
I can't use a regular collet stop because it's too long- it sticks down below the fixture. That's almost not a problem as I'll be using the rotary table, which has a large center hole, but the captive collet nut still won't let the stop through.
I also can't use that "three blade" extrusion- I have some, but the shortest conceivable piece would still have my part sticking up too high. So I needed a better solution, and that solution was another case of having to spend an hour making a tool in order to get the job done.
A chunk of 1-1/4" round out of the bin, a few minutes of turning of... oh, 'bout that much, a bit of threading, and voila`!
The part will screw into the collet like so:
It needs to be low profile to clear everything, so it gets parted off, faced thin, and for the sake of expediency, just slotted for a wide screwdriver.
And done. The length wasn't hugely important, but I wanted to be in the right ballpark.
That gets fitted and tightened into the end of the collet like so....
And the collet installed in the fixture.
Worked a treat, and I was able to get all 12 pieces done easily and quickly, and to a reasonable standard of accuracy.
Doc.
 this is why we need a thumbs up button.