OP
Modern Jess
Well-known member
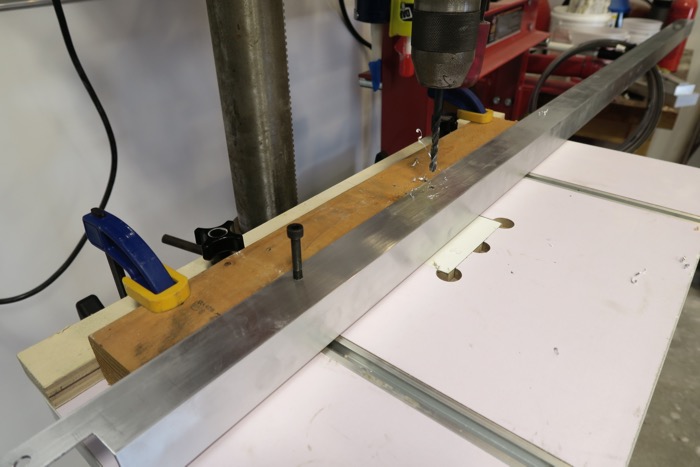
More remedial repair for the bandsaw. Honestly, that machine shop should be ashamed. These are all repairs that would have been squarely in their wheelhouse. I guess they just didn't care.

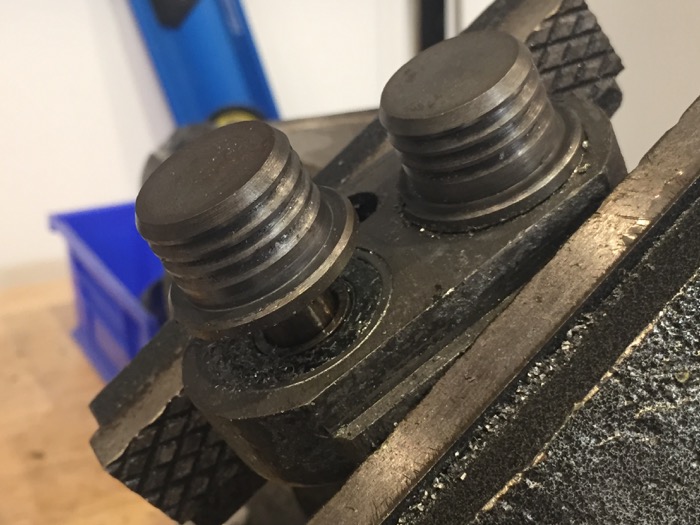
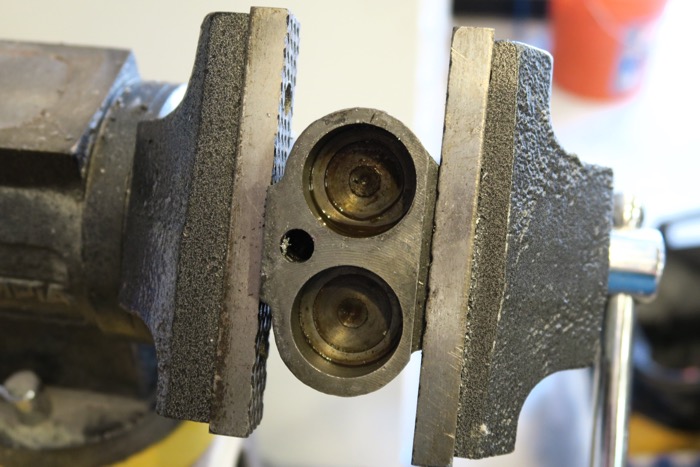
The upper set of guide rollers was jammed with swarf and junk, to the point where one of the rollers wouldn't turn. I hit it with some WD-40, and eventually got it turning mostly freely, but it was clear the bearing was a bit, errr.... crunchy. So fix it I must.
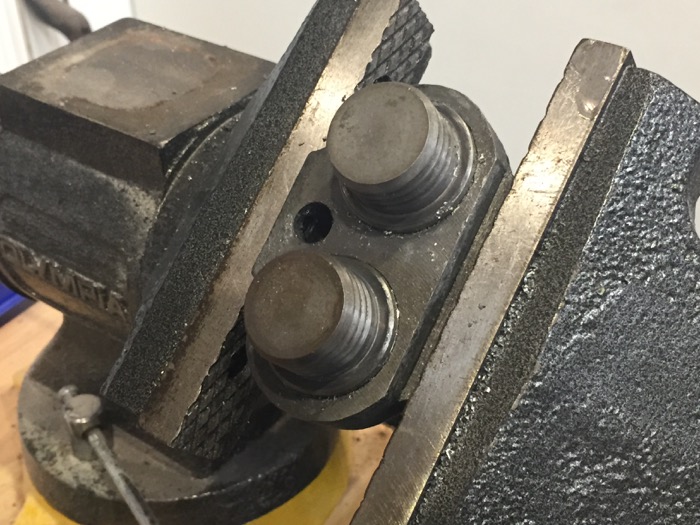
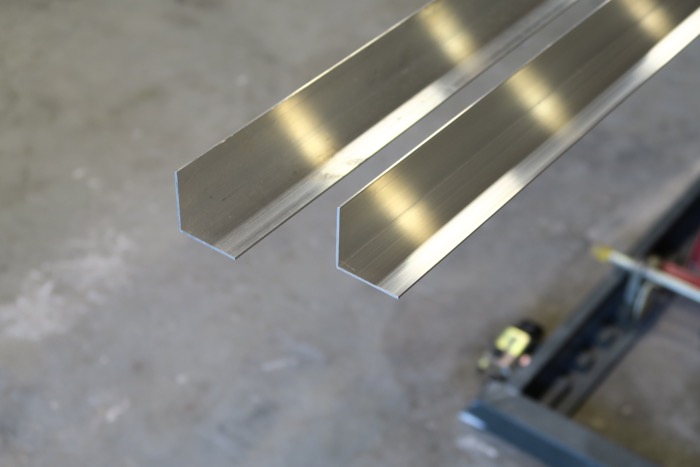
Of course, it's a blind bearing, with no way to push it out from behind. For that matter, the roller itself doesn't have much to hold on to. That's okay, because I've got these awesome titanium wedgy-thingies that a friend of mine gave me!
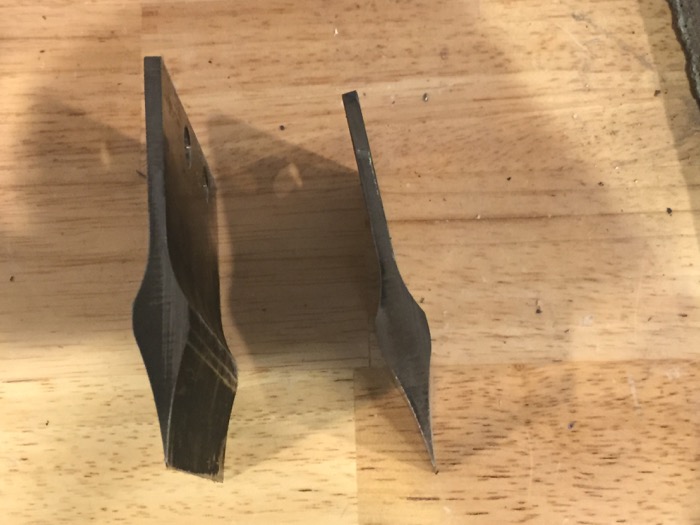
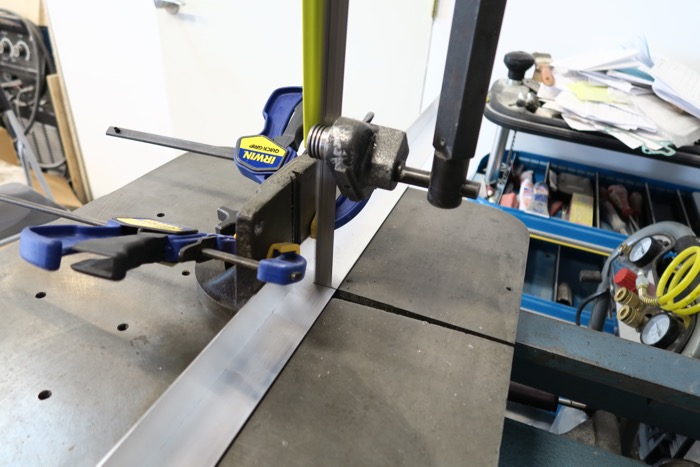
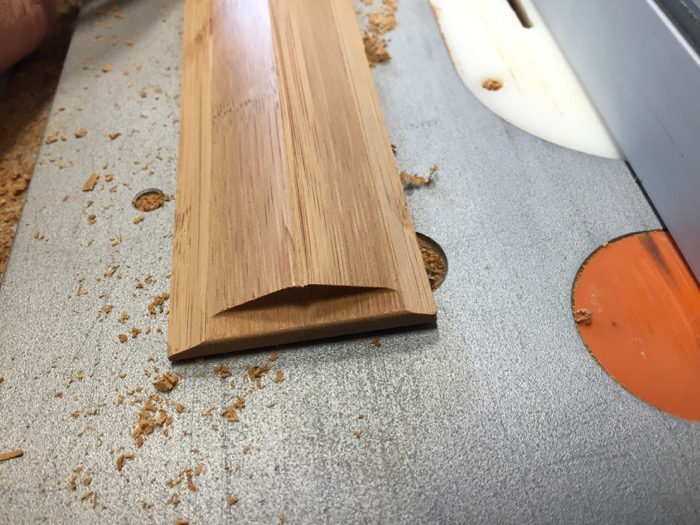
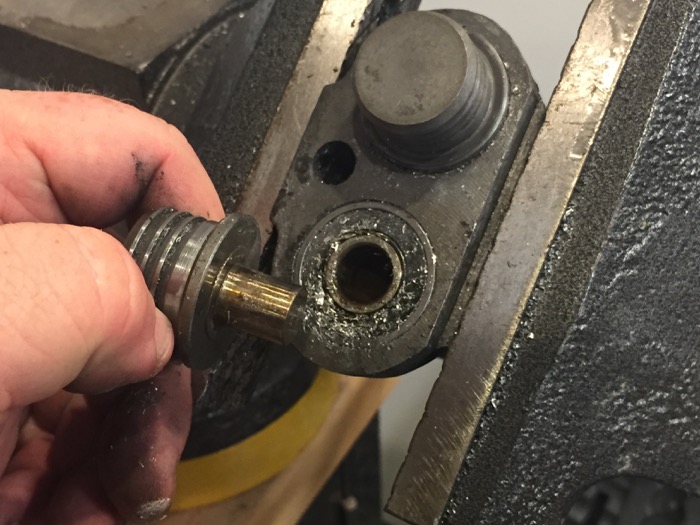
Just insert one on each side and give it a few taps with a small hammer:
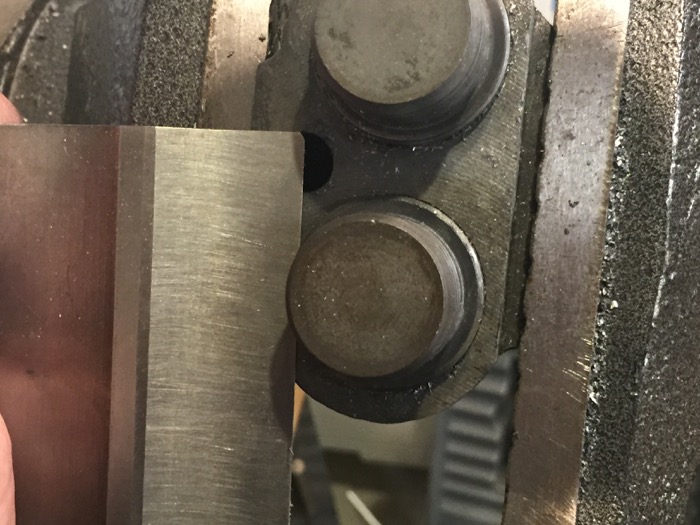
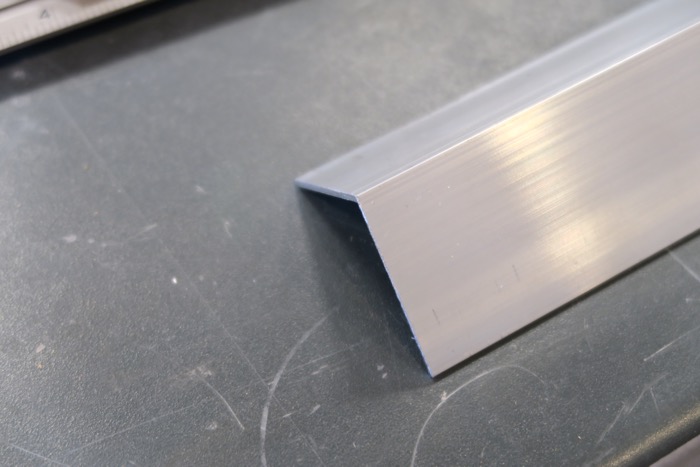
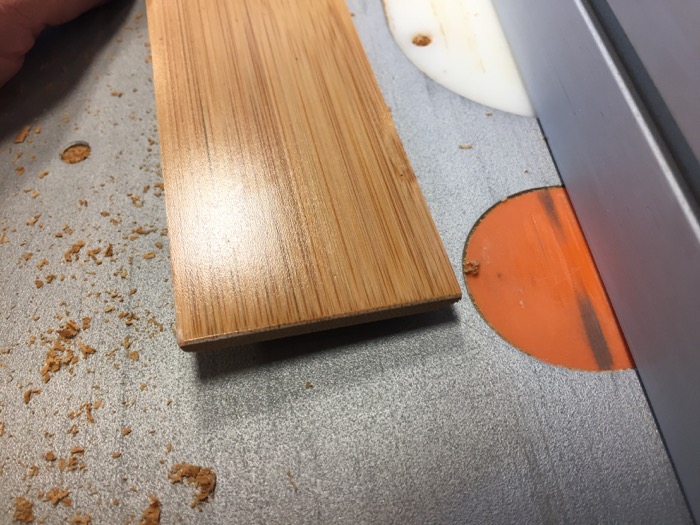
Making progress:
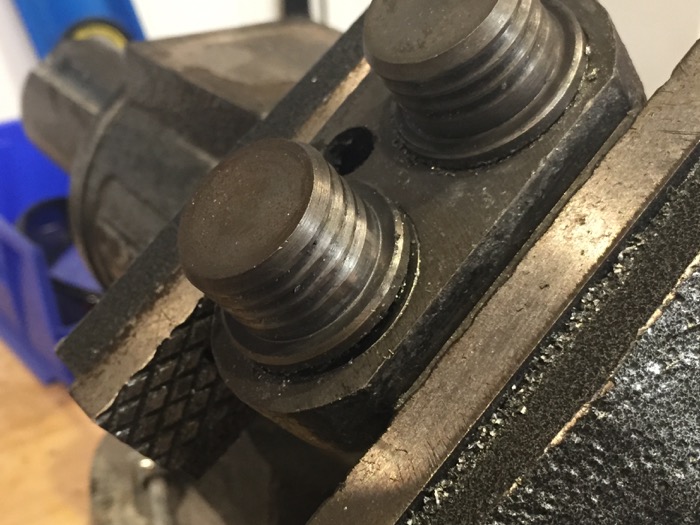
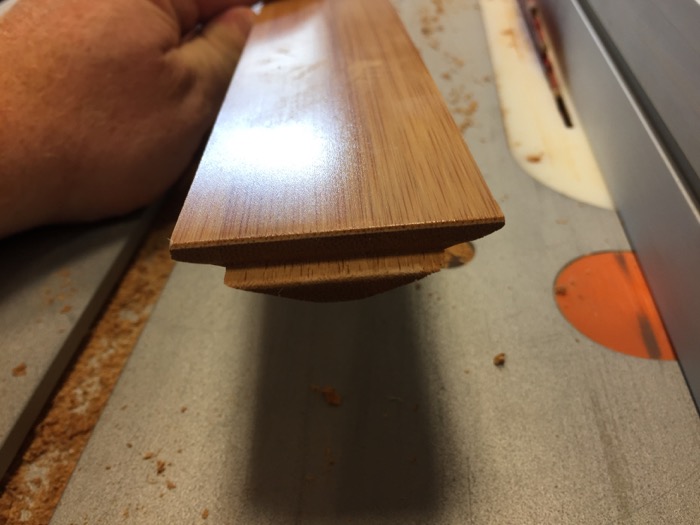
A bit more:
And out:
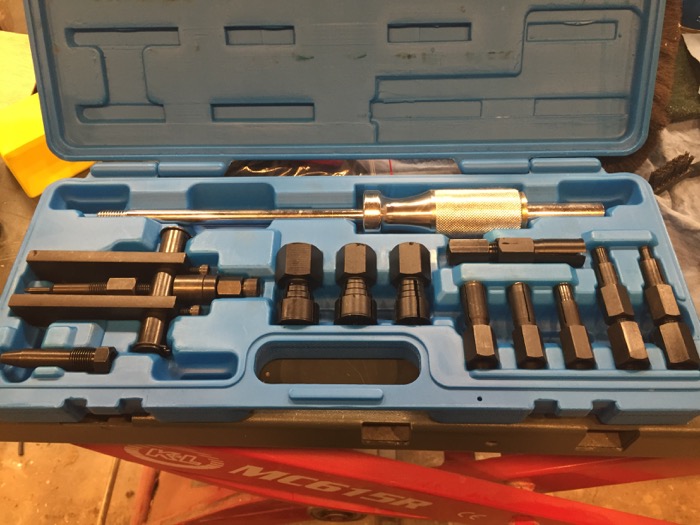
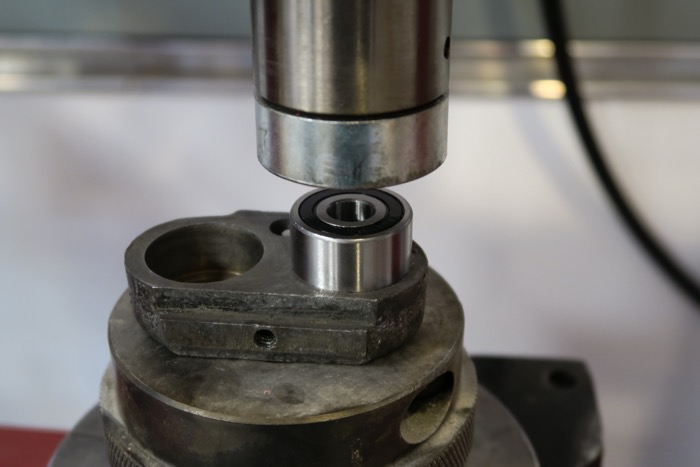
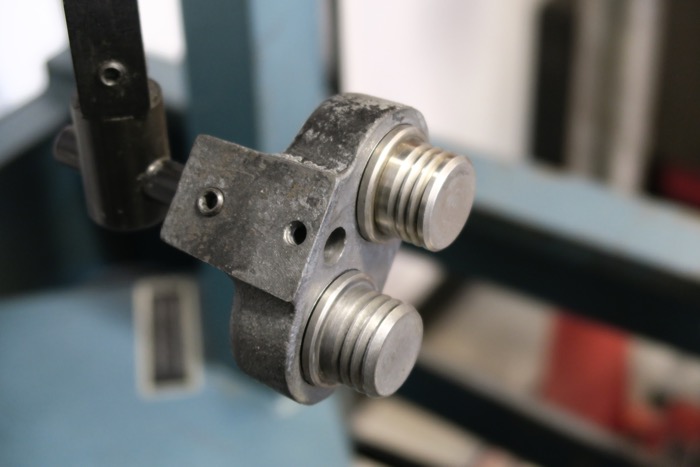
Okay, now for the bearing itself. As I said, this is a blind bearing, so no way to push. And that's why I own a bridge puller set! I haven't used it many times, but when I need it, it's a joy to use.
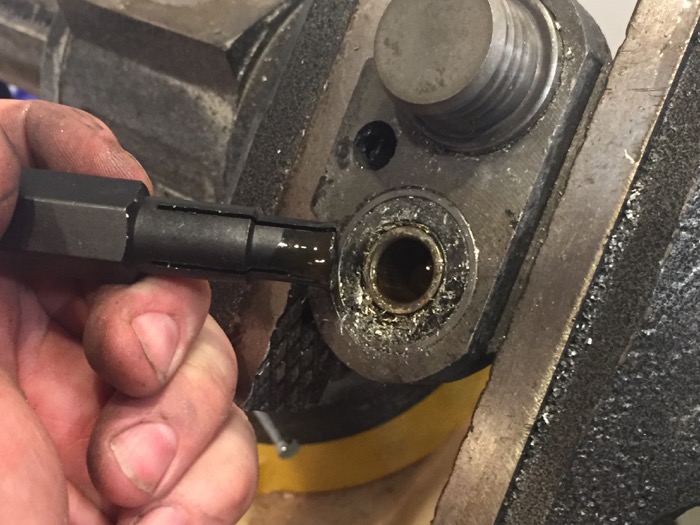
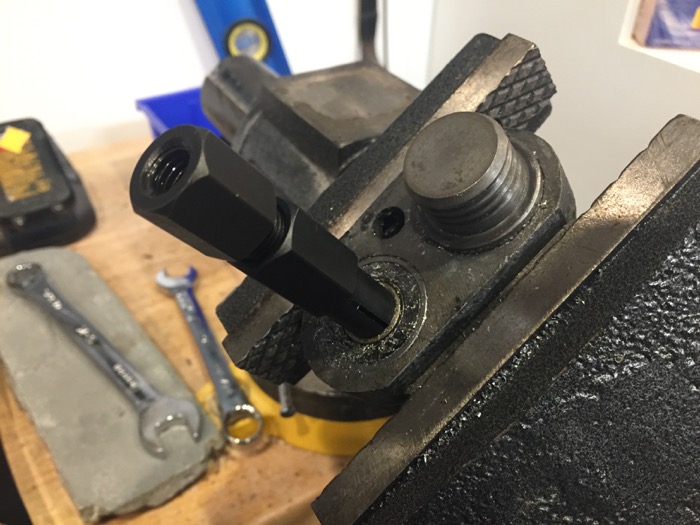
This end goes in and grips the bearing from behind:
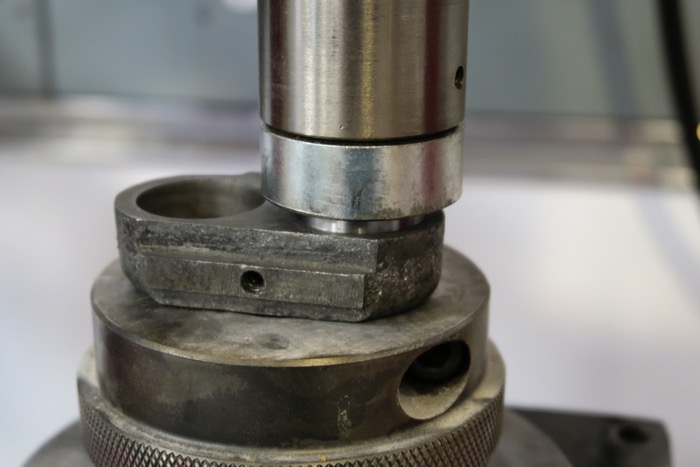
Then a screw goes in the back to expand the end:
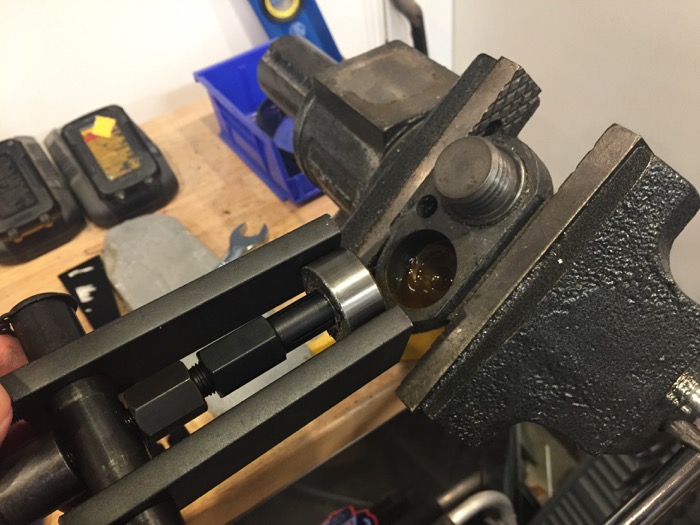
Then we erect a bridge to push back on the housing:

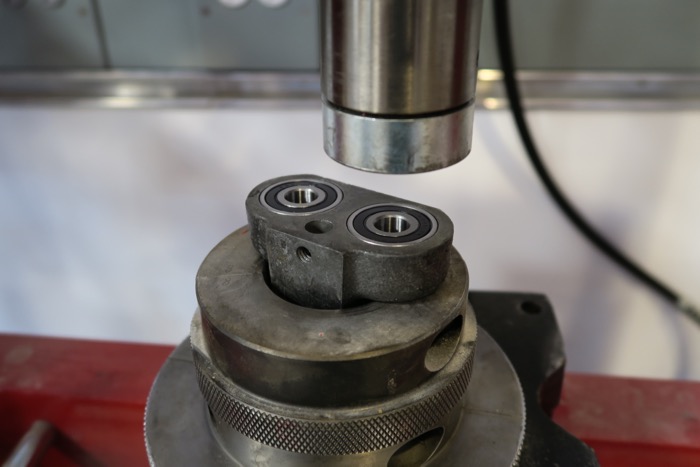
And as we start turning the forcing screw, out comes the bearing. Like butter:
Voila! The whole job was maybe 20 minutes.

The upper set of guide rollers was jammed with swarf and junk, to the point where one of the rollers wouldn't turn. I hit it with some WD-40, and eventually got it turning mostly freely, but it was clear the bearing was a bit, errr.... crunchy. So fix it I must.
Of course, it's a blind bearing, with no way to push it out from behind. For that matter, the roller itself doesn't have much to hold on to. That's okay, because I've got these awesome titanium wedgy-thingies that a friend of mine gave me!
Just insert one on each side and give it a few taps with a small hammer:
Making progress:
A bit more:
And out:
Okay, now for the bearing itself. As I said, this is a blind bearing, so no way to push. And that's why I own a bridge puller set! I haven't used it many times, but when I need it, it's a joy to use.
This end goes in and grips the bearing from behind:
Then a screw goes in the back to expand the end:
Then we erect a bridge to push back on the housing:
And as we start turning the forcing screw, out comes the bearing. Like butter:
Voila! The whole job was maybe 20 minutes.


")