Denwood
Well-known member
Stainless allen head...now that's taking it up a notch ")

Stainless allen head...now that's taking it up a notch
Looking very nice indeed!
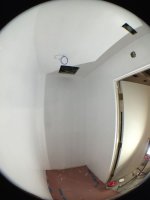
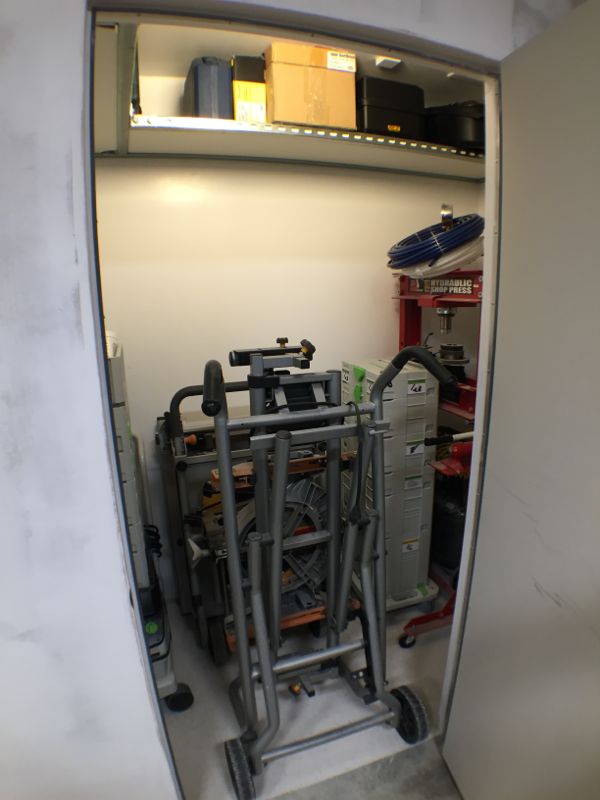
That's a very nice compressor closet! Heck, the whole thing is nice. Your attention to detail is inspiring.
Just curious... did you ever write up anything about building your weather station? Maybe to a different site? Or maybe you have some suggested reading? I have done very little research on them (to date) but I think it'd be cool to have a station at the house and to push the data up to the web...
I might have some challenges regarding my site
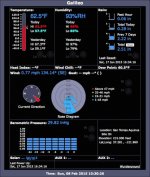
Speaking of which, I don't think I've posted this before. This is the web page that my weather station generates and serves via its built-in web server. The page is updated every couple of seconds (near real-time) and I do tend to watch it during stormy weather (like right now).


Not to thread-jack, but my compressor closet is looking very shabby. Pieced together from drywall scraps after finishing the rest of the garage. I was so sick of dry walling that I didn't even tape or mud. Your closet is beautiful!

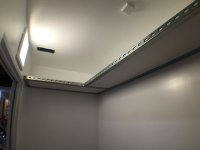
Beautiful is too strong a word. Now that I have a light installed, I can see all the places I botched the mud and paint. But hey, it looks good in pictures!
But seriously, I look at your closet and the first thing that comes to mind isn't Man, he didn't even tape or mud! I see that picture and I think Man, he needs some shelves in there! That's all kinds of wasted space!
Which is a good segue to my next post. (Give me a minute).
I made my closet door extra tall for exactly that reason. My (very old) house has 12 foot ceilings, but standard doors on closets, which leaves a lot of wasted space up toward the ceiling. There are shelves up there, but you can't get anything big up to the top shelves...
Beautiful is, actually, the right word (from my earlier post). This is fantastic. Nice work as always!

Careful; I might actually take you up on that. I travel to SF for work occasionally. If you ever find yourself in Milwaukee do the same[emoji482][emoji482]
Will do! I miss Milwaukee, actually. I'm sure it's changed a lot since I lived there in '91.
It's changed a lot since I moved here 5 years ago; you'd be amazed. Our weather ***** for half a year at a time, but I love this city...
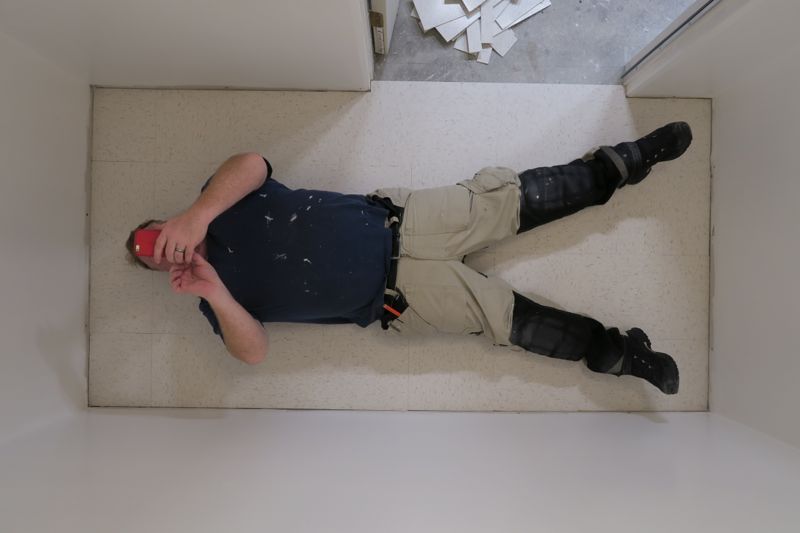
Bed sledding??
Bed sledding??
Sent from my iPad using Tapatalk

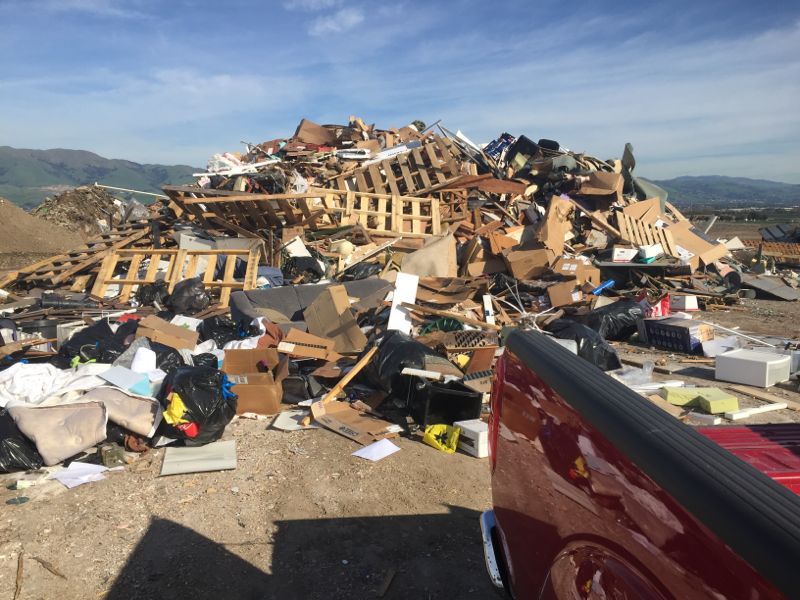
How are you ever going to get all that loaded into your pickup?

How are you ever going to get all that loaded into your pickup?
Looks really great. I love the "wood shop" and wish I could condense it into a closet. Hanging my MFT/3 was pretty close.
Keep it up!