OP
Modern Jess
Well-known member
Thanks for sharing so much of your process. Looking forward to any and all future posts!
Welcome, and thanks!

Thanks for sharing so much of your process. Looking forward to any and all future posts!
")
Yeah! The lights are on but nobody's homeChecks to see if the lights were left on.?

Glad to see you back posting
Thread to come. If you ever need a spare hand, I'm around.
PS. chicken coop

So happy to see you back. This has always been one of my favorite threads.
Just saw you posted on Gregor's Midcentury Moto and I was like, "Damn, he's back". Really happy to see you update this thread.

Beautiful work as always!
Do you still have the Tormach?
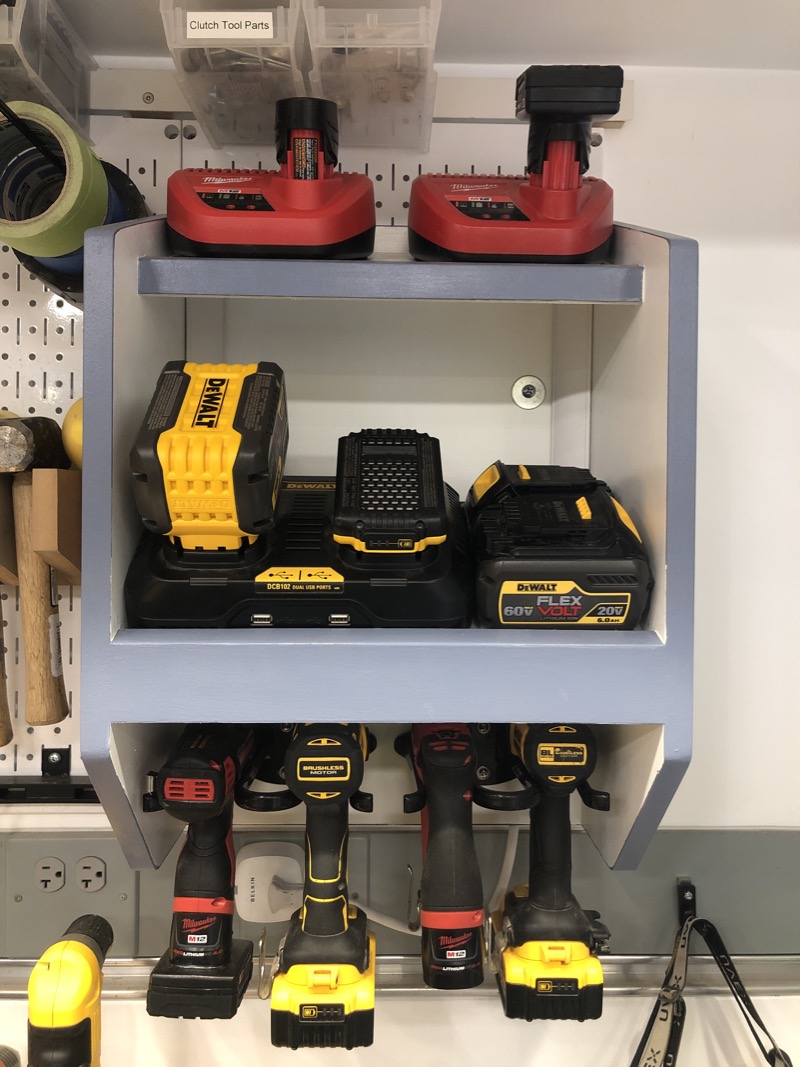
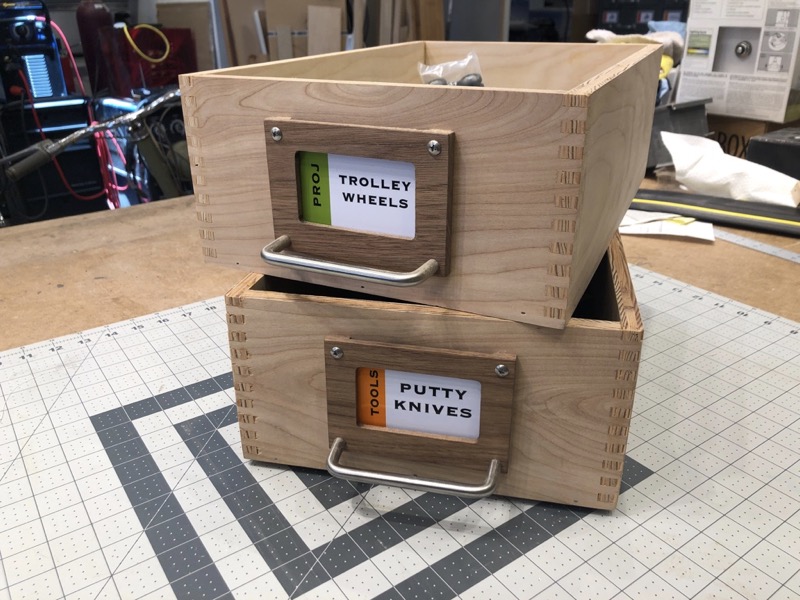
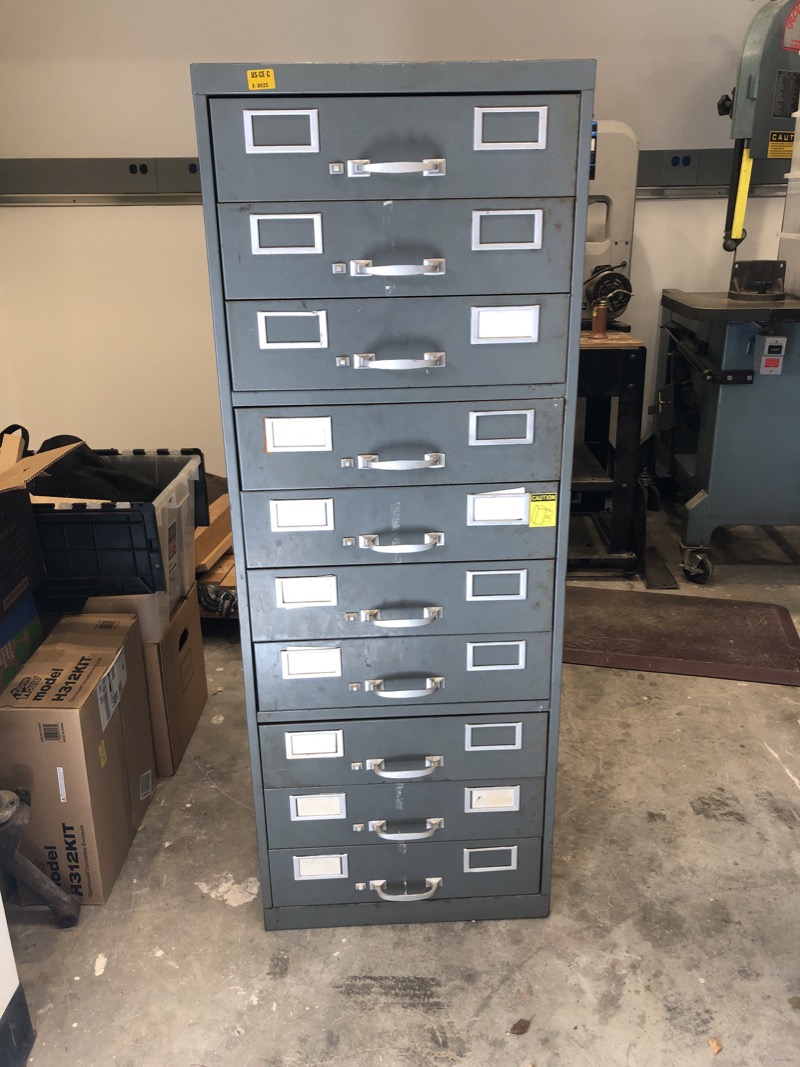
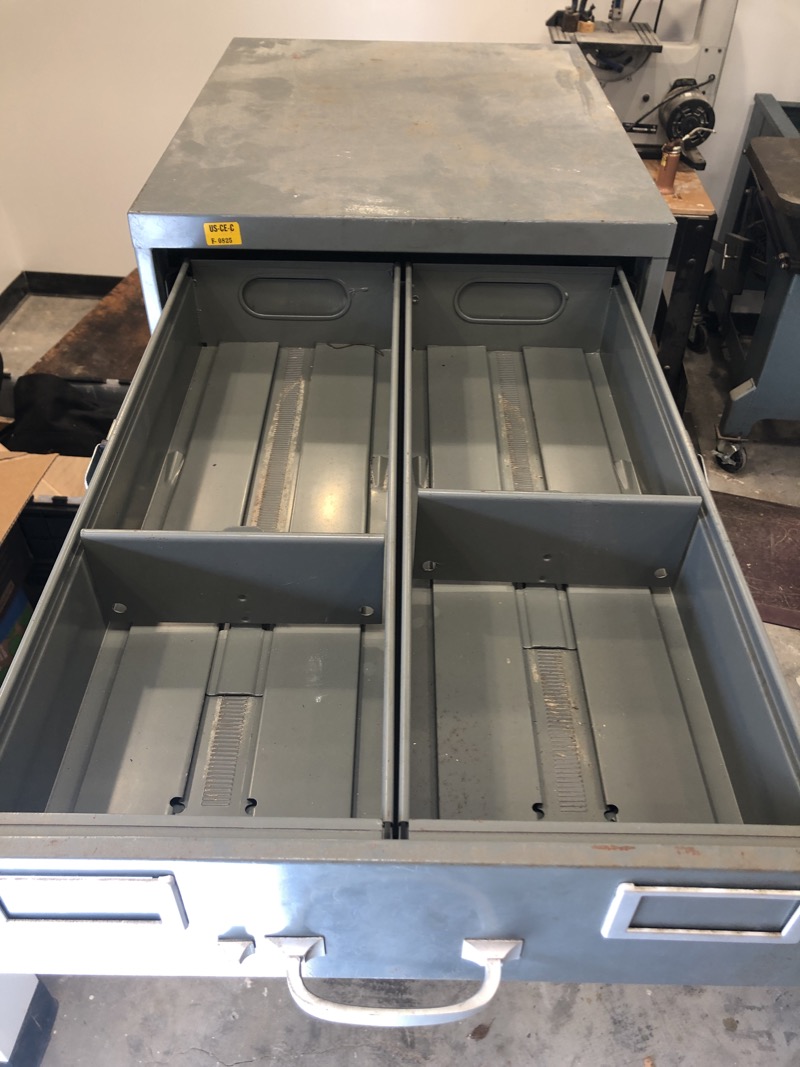
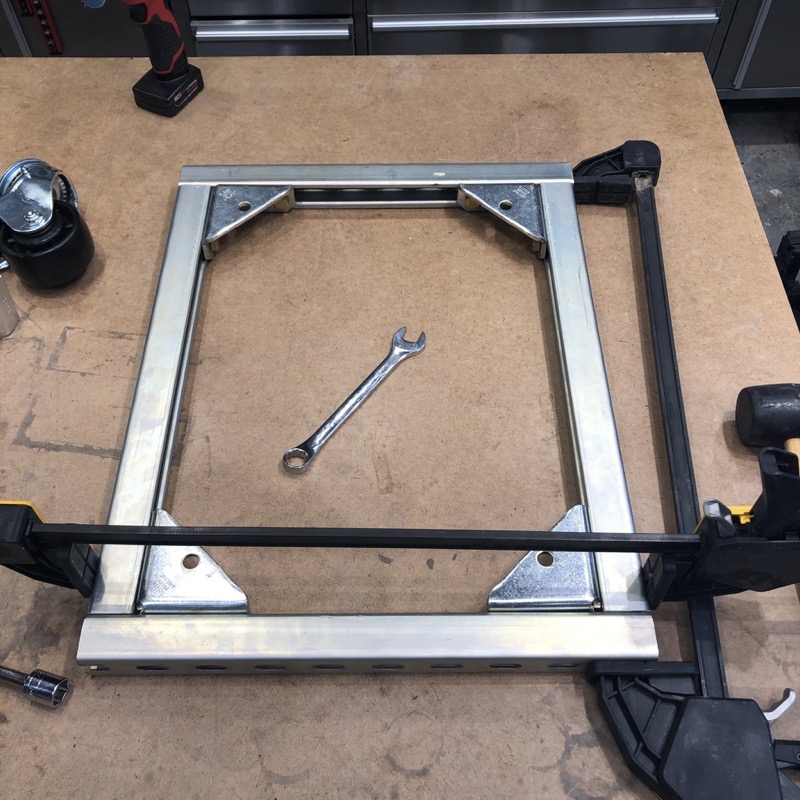
Today in my workshop, I set out to organize the last really awful corner of the shop. This has been a mess roughly since I first got the drywall up.

OK, I finally got to the end of this thread after binging on it over 2 days, absolutely brilliant.
Found this by following Gregor's thread.
Nice work on the workshop and keeping this thread updated.
These workshop build reports can be a blessing and a curse, great for motivating me to get in the shop and complete projects and get organized, but at the risk of not measuring up to the guys that have massive budgets or are just so much better at doing stuff than me, or more driven.
BTW Chicken Coop-19
Impressed as well as inspired by innovative and interesting projects all wrapped up in a great writing style along with wonderful photography.
I wish I had a garage that cleaned up after itself!
Nicely done. Very cool, little video.
Nice work!
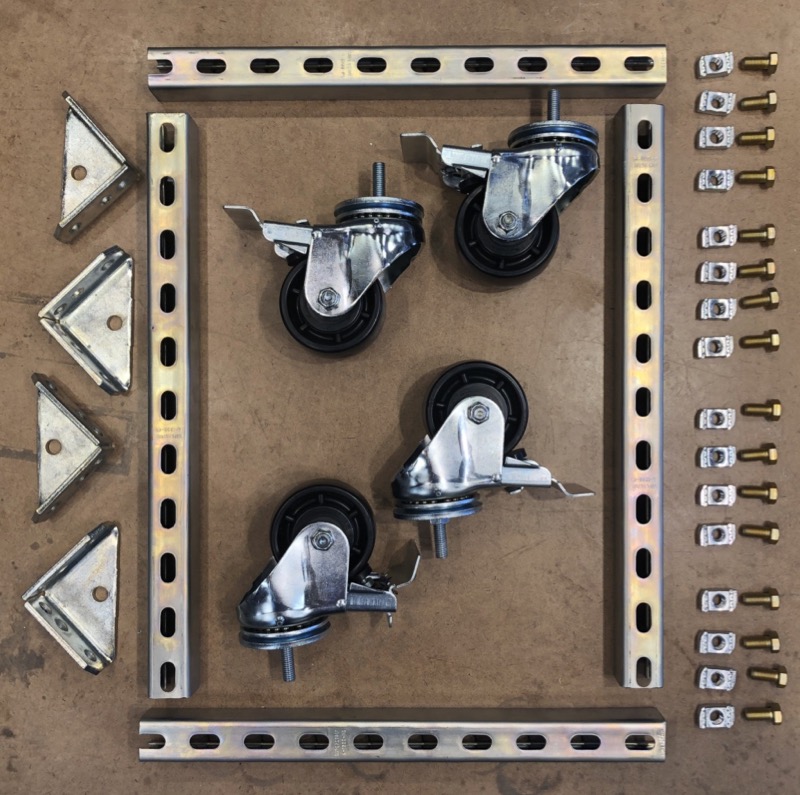
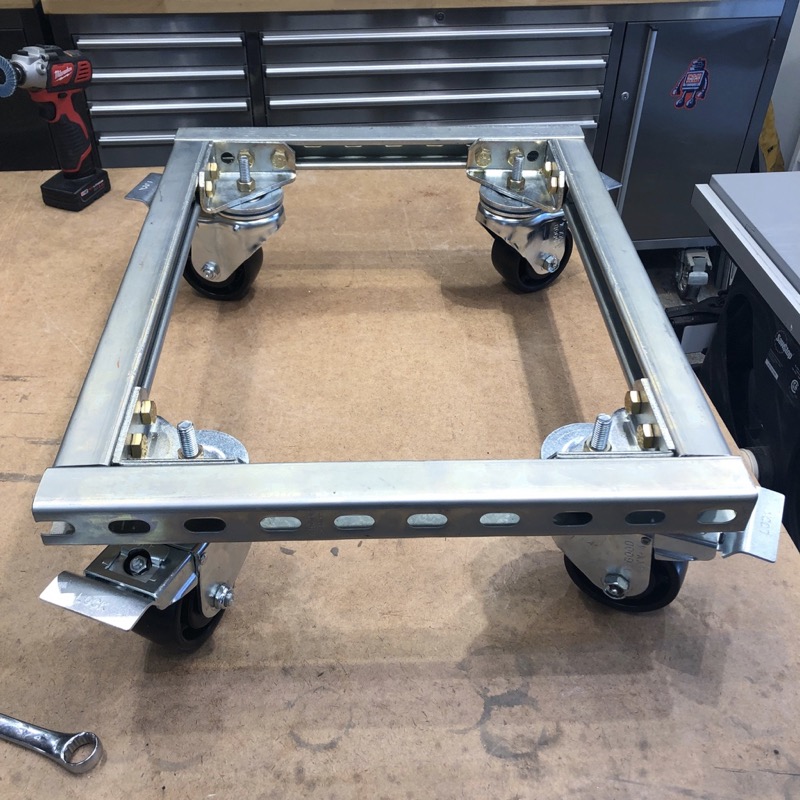
Where are you getting all this strut channel??