wasfast
Well-known member
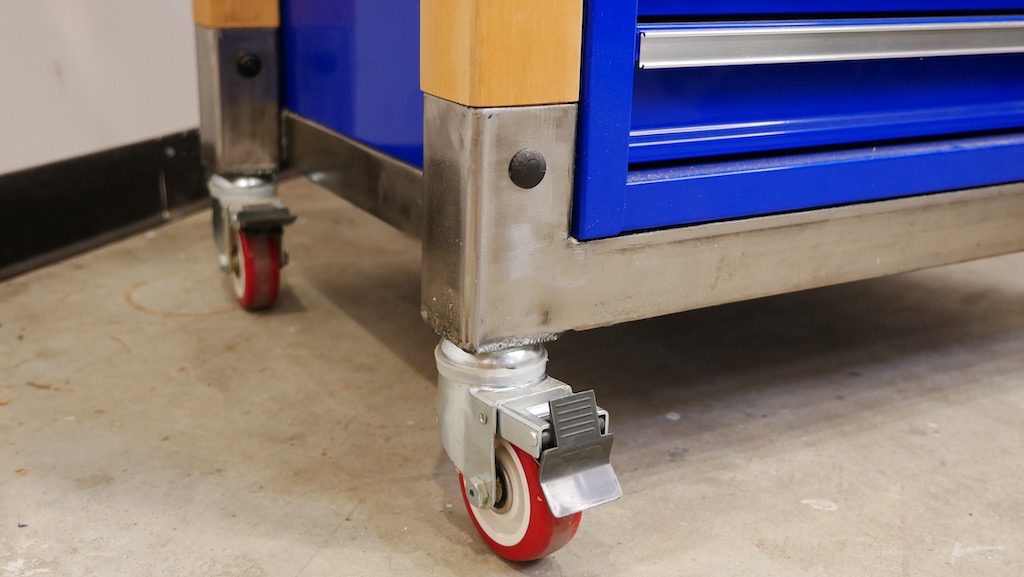
The boot rack is so much nicer that the cut PVC tube idea usually done. Nice.


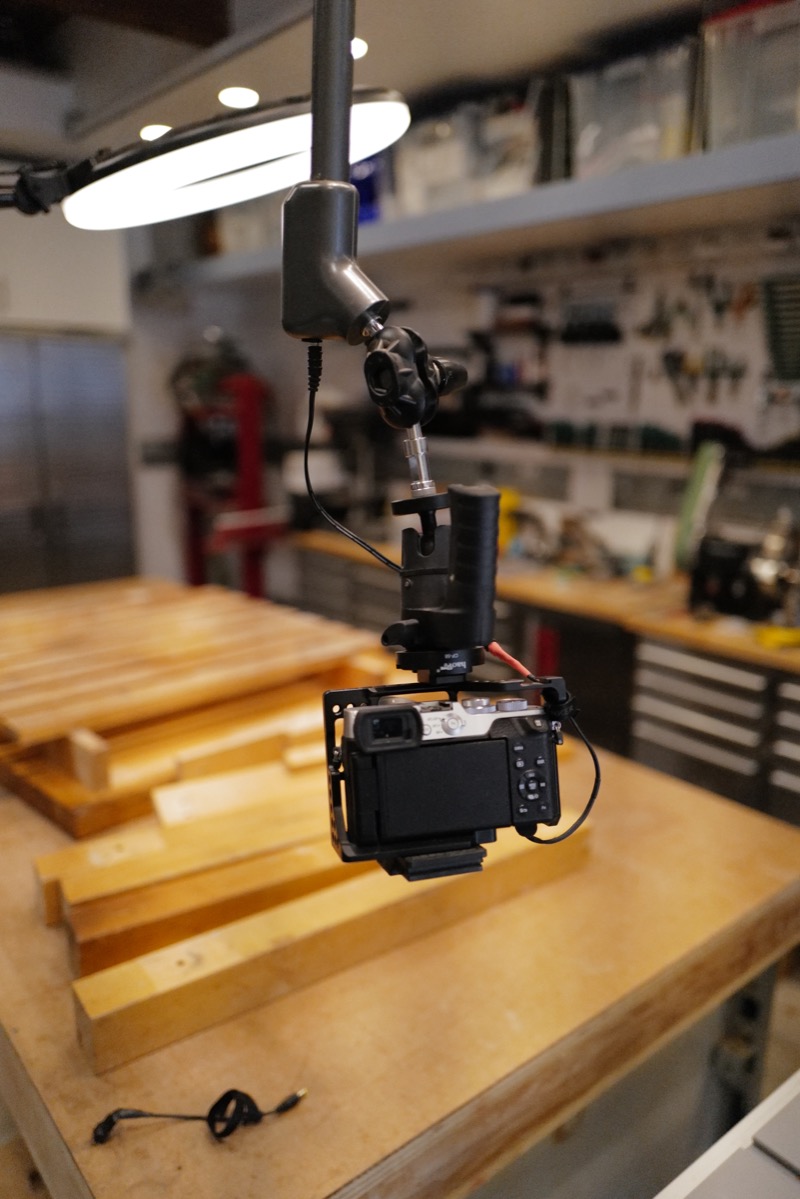

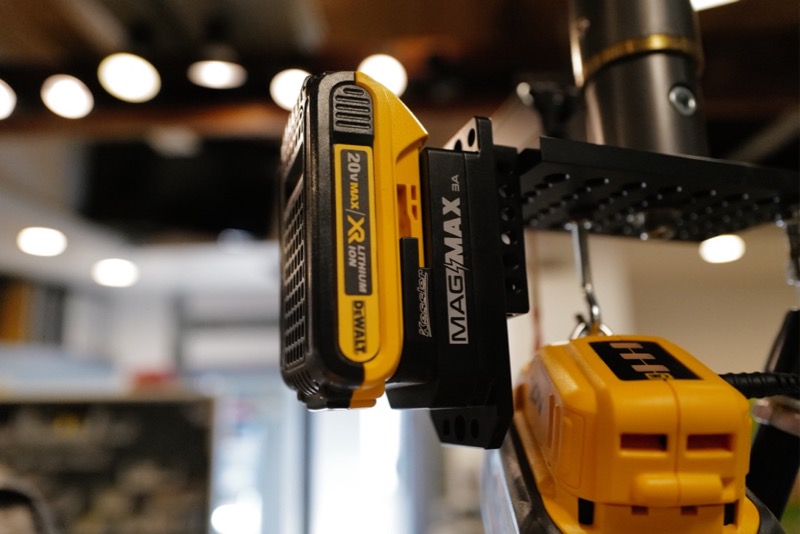
 ) and now just runs straight 18-ish volts from the battery. This is right within the range of the light I'm using, conveniently:
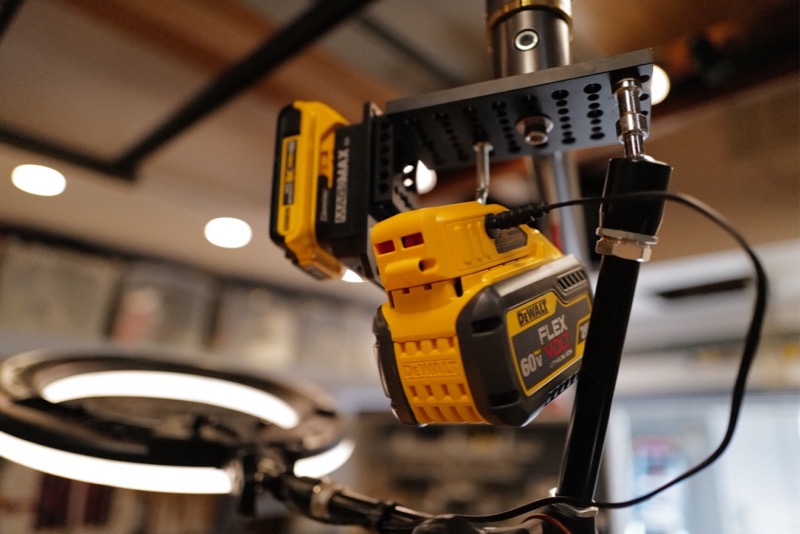
Who has red tools AND yellow tools. Unheard of!
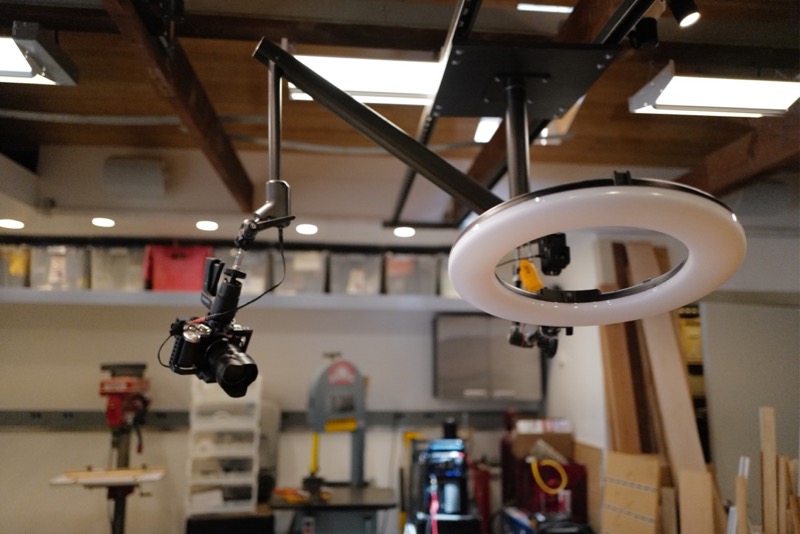
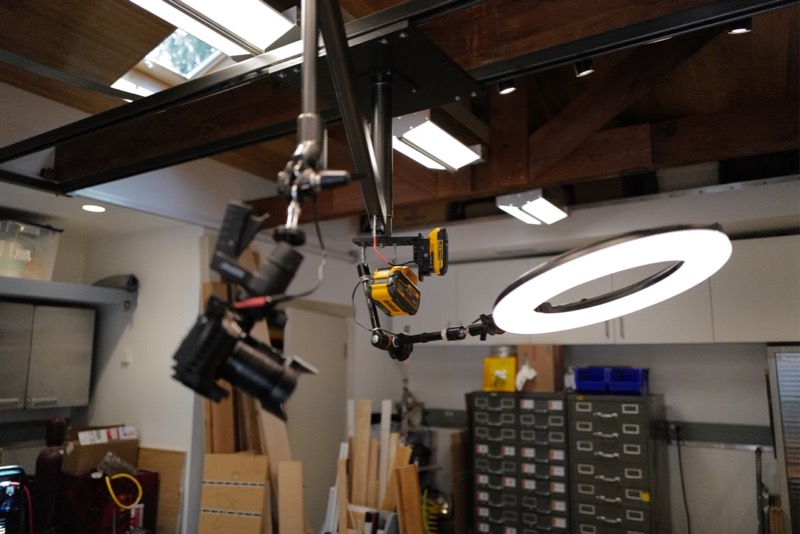
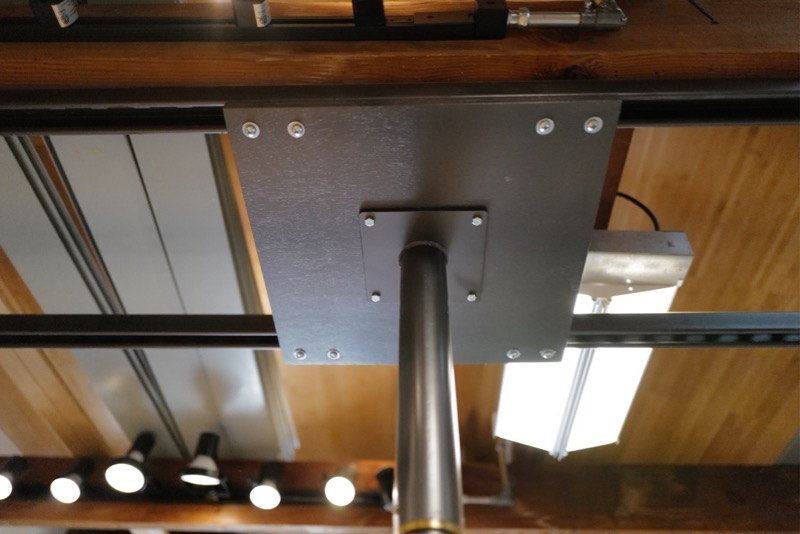
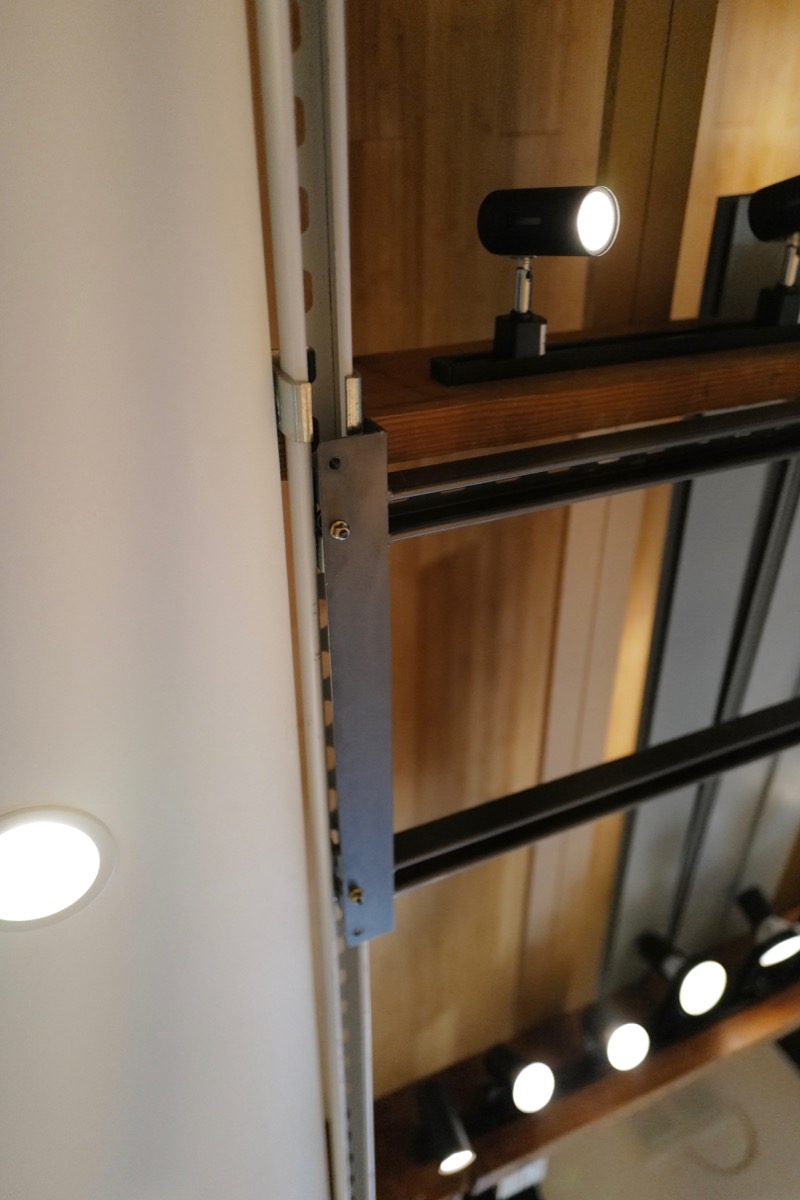
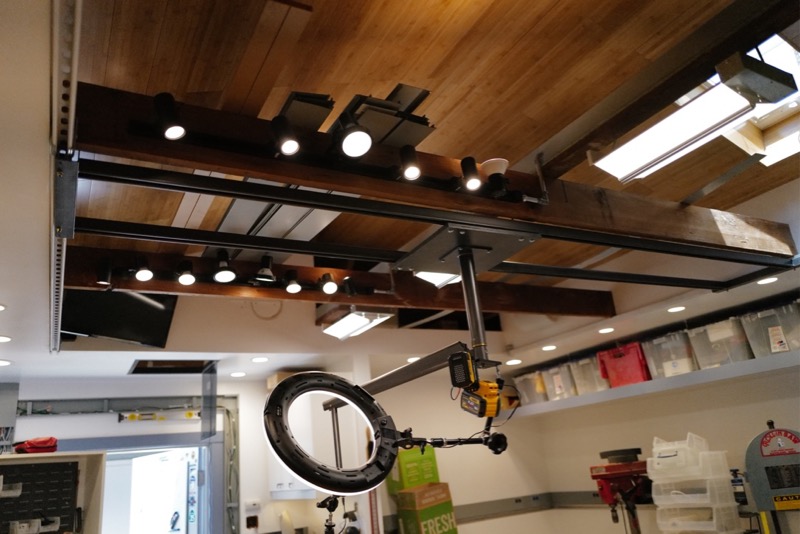
Some diagonal bracing in the gantry might go a long way to preventing racking.
The boot rack is so much nicer that the cut PVC tube idea usually done. Nice.
I have been considering something similar but not the gantry. That’s next level. But I have a Foba combitube kit that I’m planning on using on the ceiling. Look up Foba stuff as an option for arms and such.
")
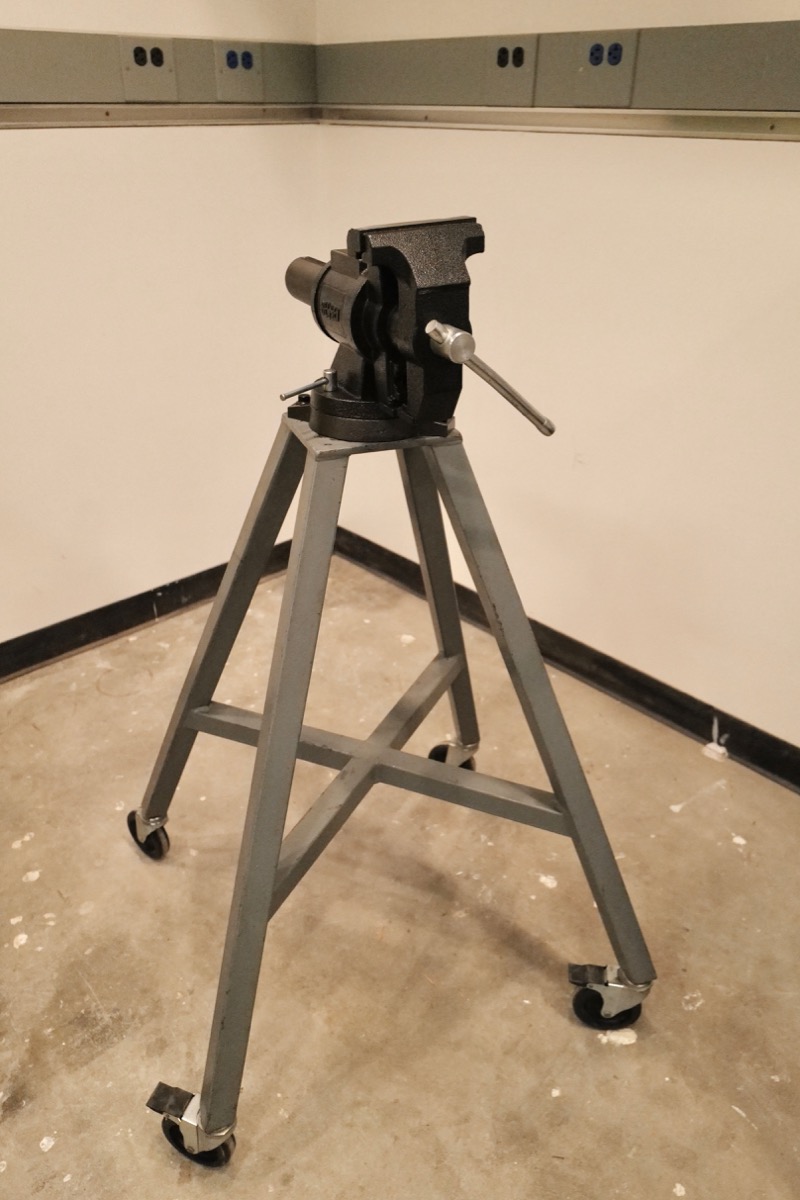

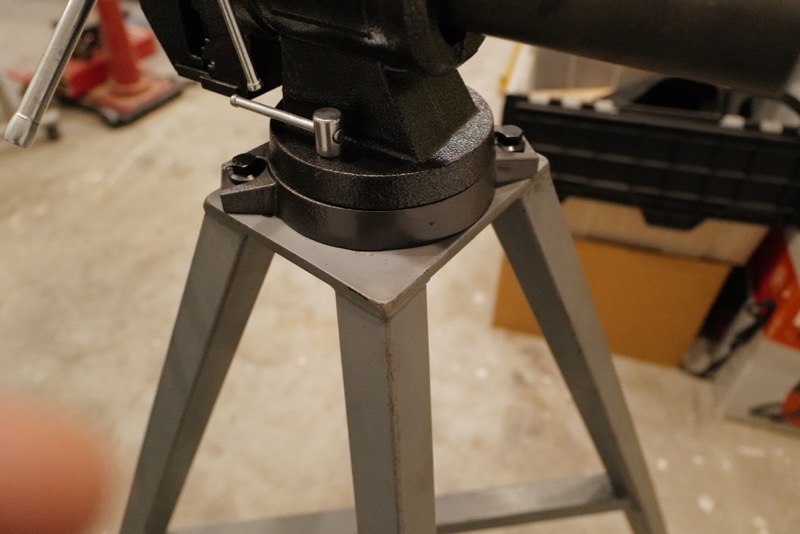
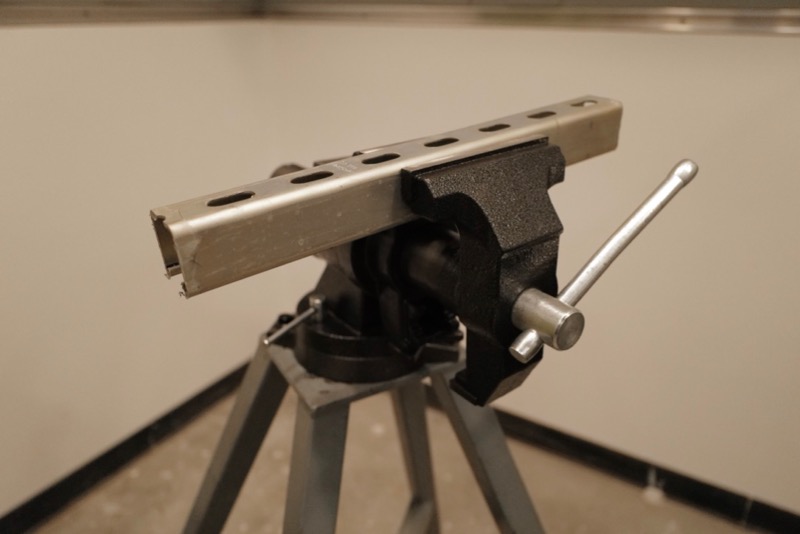
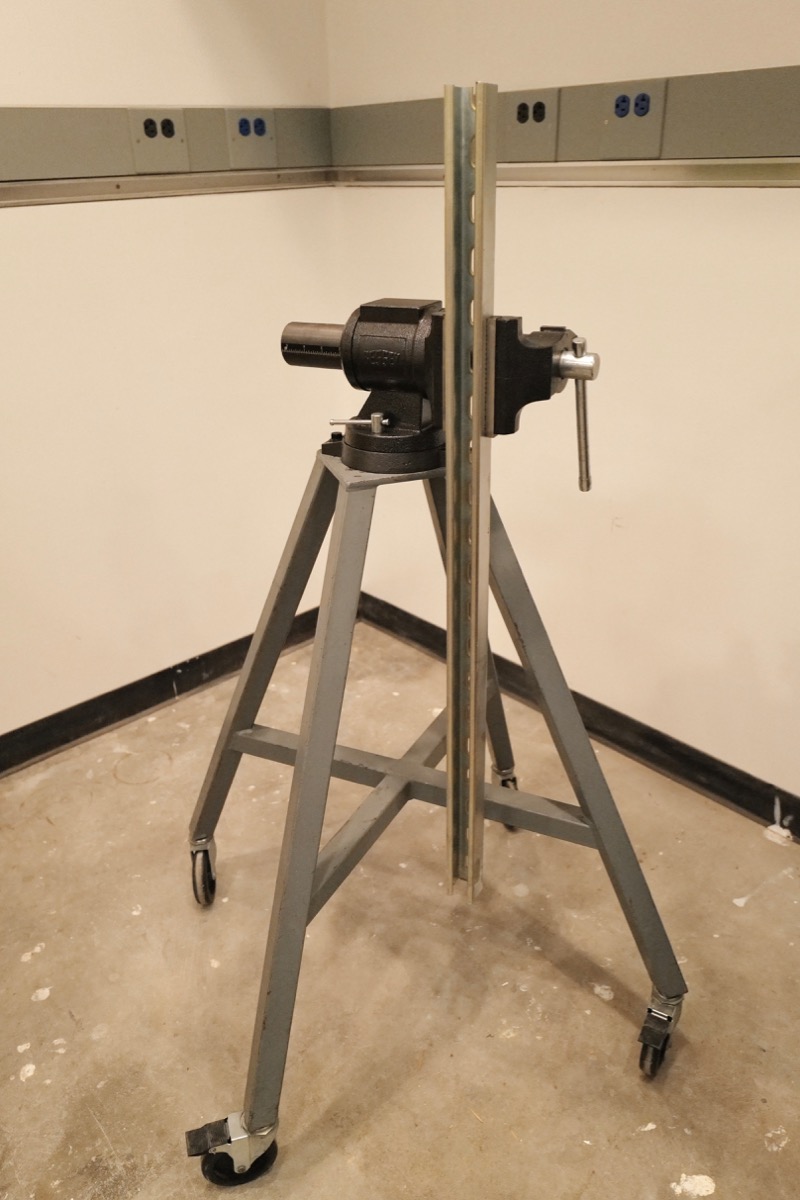
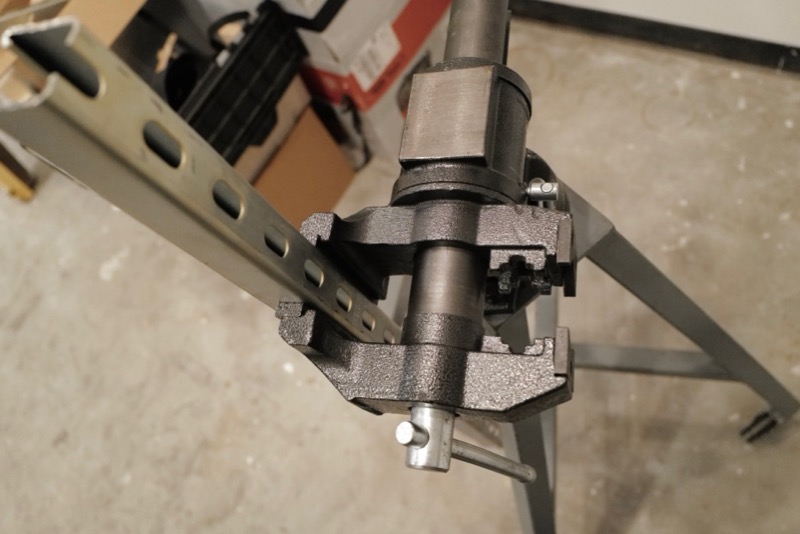
Brilliant! I have that same vice and have been trying to think of a good way to use it (particularly to rebuild MC forks with a set of soft jaws) and that is perfect! I will be looking to copy you!
Haha I randomly watched your corner cleanup Vid the other day and just saw this post about your gantry haha nice work. No you've put all that effort in to a gantry lets see some more vid's eh
Well, I just read through this entire thread...sooo it's not a "thread" for me anymore...It's a lifestyle.

Excellent throughout indeed! Your attention to detail is exceptional! LOTS of great ideas here for just about everyone. Well done, well done...
Been reading since the beginning! Keep it going
I'm still reading too, and I'm sure lots are!
Glad you're back posting, I'm enjoying the new projects and videos.
I admire your work but don't post often. Know that a lot of us are visiting even if we don't post.
Dude, you got a “wow” from Gregor. That’s, like, serious kudos. Lol
Jess, like a bunch of other before me on GJ, I’ve completed my binge read of your complete thread. Don’t know how I missed this enjoyable read all these years. Many things to learn and enjoy and many great ideas to borrow!
Thanks for posting it. All of it. Please keep it going. (An advantage of a binge like this: the pauses in posting only last a few minutes.)
Your chickens must be pretty old birds by now. Is it too late to acknowledge them here? And how’s the passive HVAC working? Haven’t seen an updated graph for a bit.......
Many things to learn and enjoy and many great ideas to borrow!.
Indeed - Jess, you inspired me to finally refurbish and upgrade the Harbor Freight motorcycle lift table that I have had sitting around with stuff piled on top of it for ages.
This is one of my favorite threads and I'm glad to see you back.
Just finished reading the thread and I’m truly impressed. Thanks for taking the time to document your progress.
On-Wheel still here !
Binge-read your whole thread in two days and loving it. I wrote down a few ideas to use in my own shop regarding parts organization and general shop build-out ideas. Please keep this thread going, it's fantastic!
[T]hat's my approach to many, many projects -- do it once and do it right. Of course, then I curse myself when I screw something up and have to figure out how to correct it, but since I'm not actually a master of any trade (except software) I think I will have to accept that.
I think it's more like a secret society than a support group. We meet under a bridge and gather around a 55-gallon drum fire. It's every 7th Tuesday unless it falls on the first or the sixth of the month. Then it's the Monday before the first or the Wednesday after the sixth (just to keep it simple).
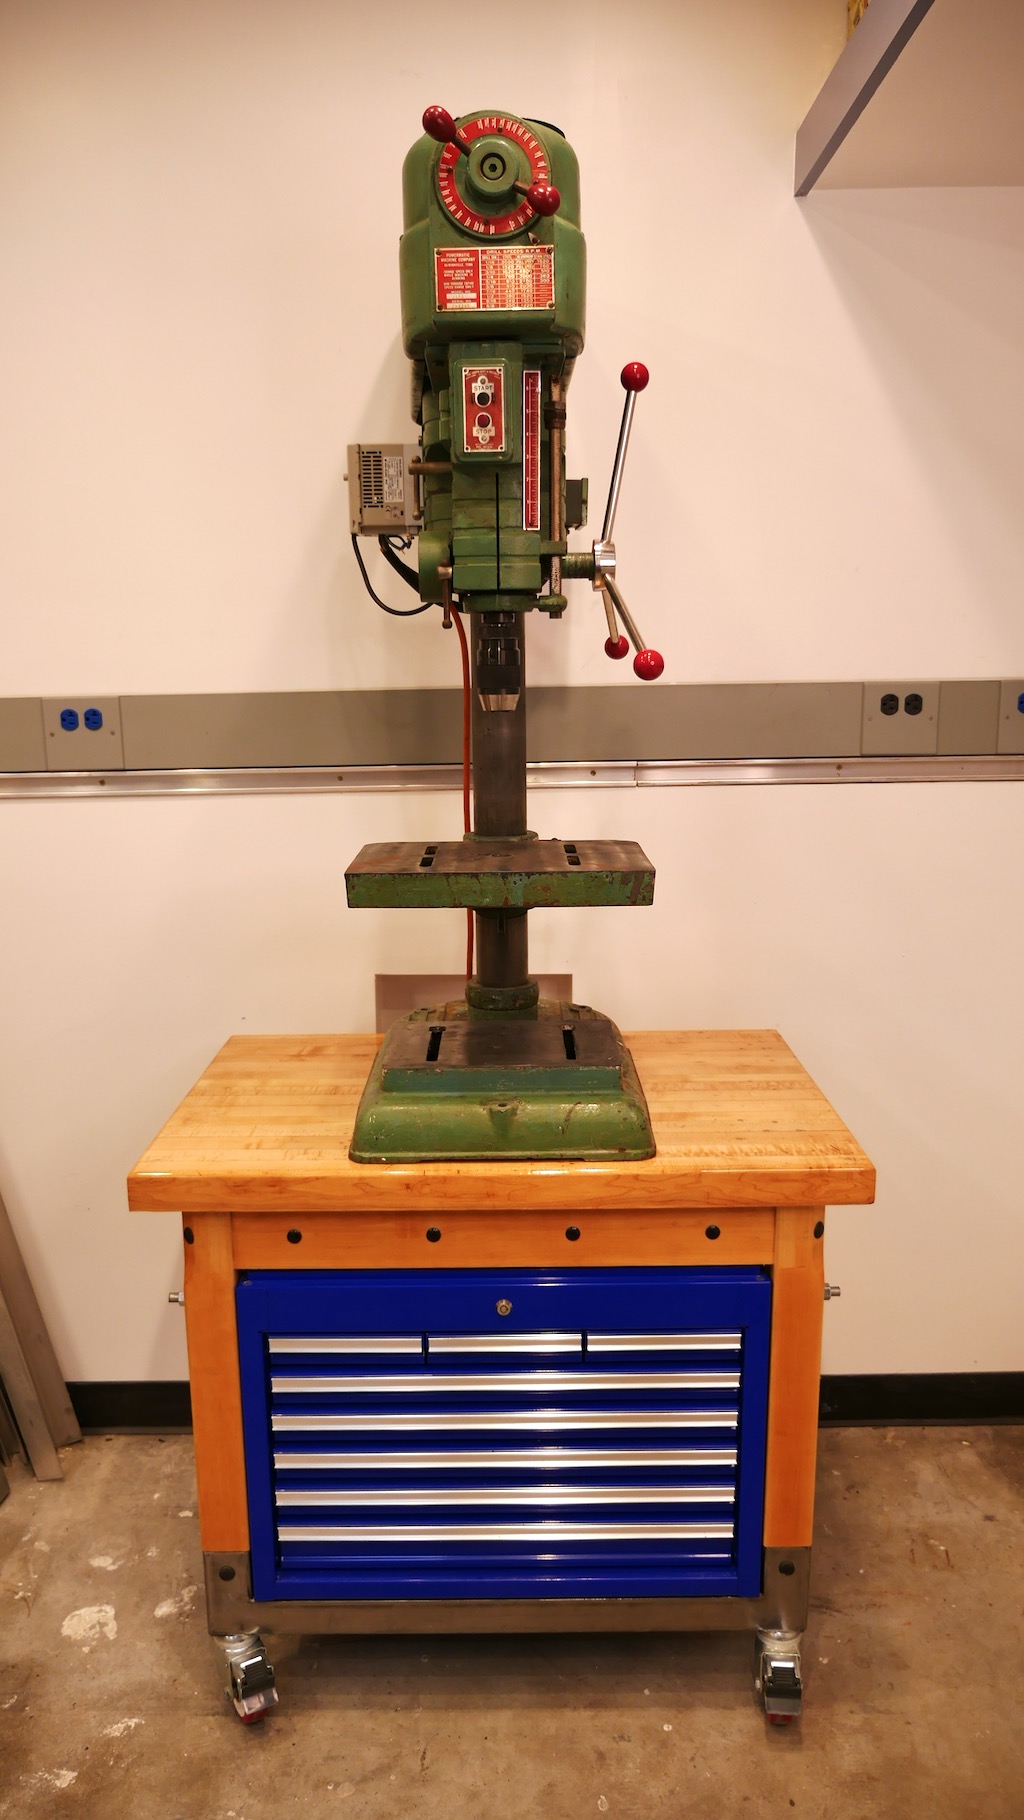
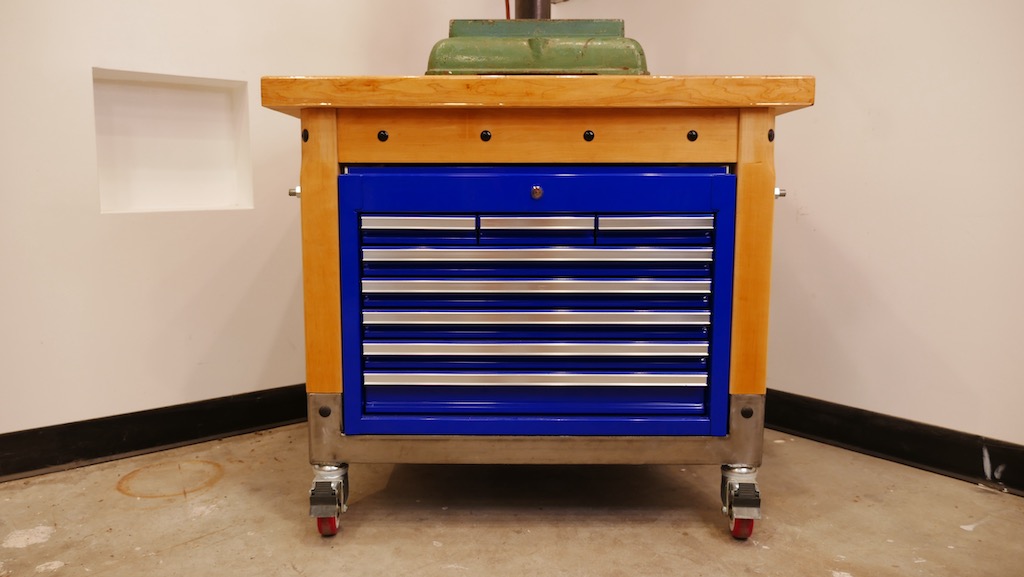
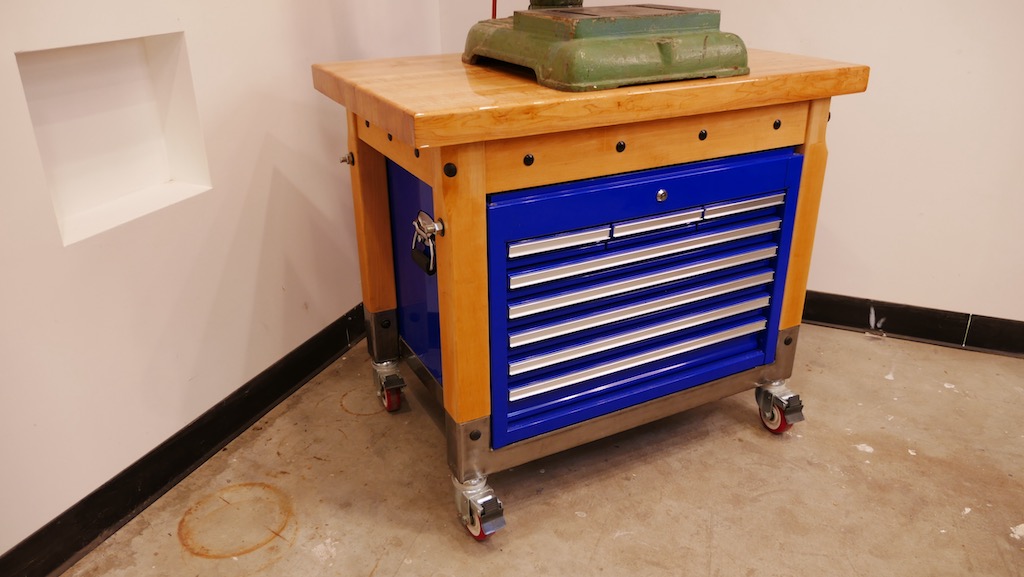
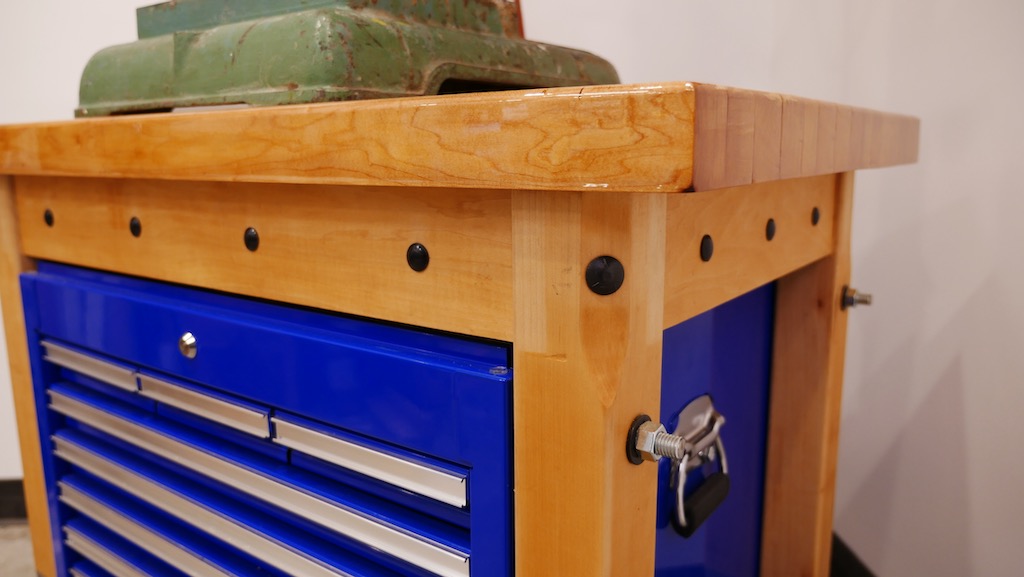
Today in my workshop, I set out to organize the last really awful corner of the shop. This has been a mess roughly since I first got the drywall up.
FWIW, I read many threads in Garage Gallery (it's where I spend most of my time on GJ) and often struggle with what to say on a thread. Often, I say nothing because I have nothing to add, even if I very much enjoy reading the content. So I certainly don't hold it against anyone who is lurking.
 I'll go back to lurking now.

"The chickens are in the coop".