Reaching the beginning - Part 1
Okay, sorry to go dark for so long. I had a lot of saved up progress when I started pushing out posts, and that allowed me to set a pace of updates that wasn’t very sustainable and made me look more productive than I actually am. I’m a pretty lazy guy, and this construction is done when I’m not working my daily job as a support engineer. My wife surprised me by moving forward her plans to open her own clinic, and I had some odds and ends to do there to make it suit her needs (Ask me about the Pee-Box!) Also, please bear with me if some of these reports are not particularly interesting. I tend to be fascinated by details that many will find pretty mundane, it is what it is.
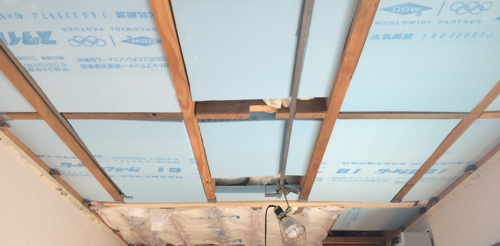
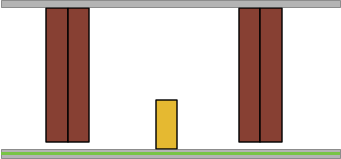
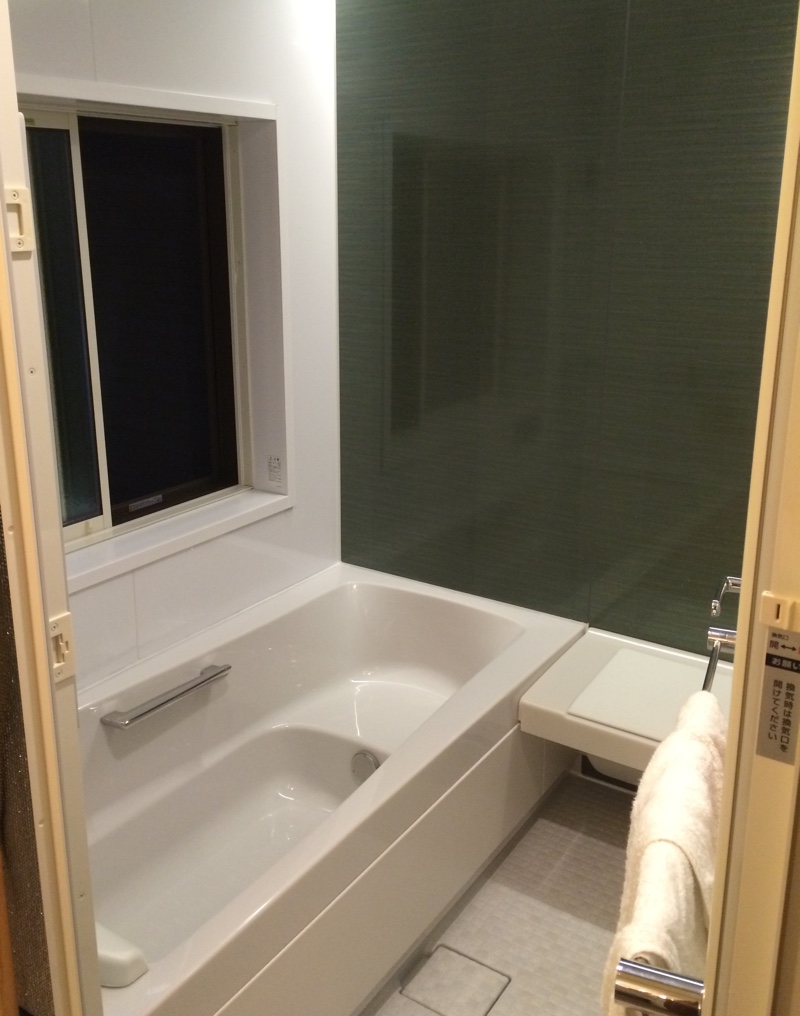
So at the last update, it looks like I had documented the Unit Bath installation, finishing the plumbing, and wiring up all the various electronics. This left the room below the bathroom - my shop - with no ceiling joists & sheetrock, lights or insulation. The existing design used separate staggered 2x4’s about a centimeter below the doubled 2x10 floor joists from the second floor in order to decoupling them, isolating the ceiling to reduce sound transmission. (Cross section below.)
As I had boxed out the center of the floor in order to recess the bathroom on it’s steel frame and have the uniform floor level, I needed to cut and mount all new ceiling joists. This required a lot more shorter sections, and it was at this point where I made one of my more major mistakes impacting efficiency. I think it is important to document my mistakes if this construct-a-blog is really going to serve any purpose beyond self glorification.
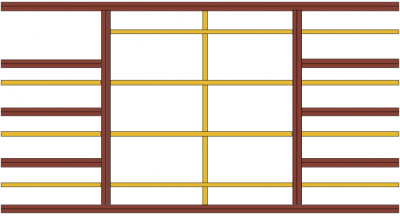
The Second Floor joists now looked like the
animated PNG above, and the ceiling joists to hang new sheetrock would need to be spaced so that the sheetrock edges would naturally fall where they were located. When I pulled the previous ceiling, it was using stainless clips to to fasten it around the perimeter walls, and I did my best not to damage them but I had to do quite a bit of repairs to them with pliers and a large flat punch to get them back into
biting shape. In typical construction the ceiling goes up first, then the walls are butted tightly against them supporting the edges, but allowing some float so expansion or settling doesn’t create cracks. I was going to have to do some gymnastics in order to squeeze the new sheetrock into this existing gap. Another soundproofing measure they made was to use two layers of 9.5mm sheetrock glued together, rather than the 15mm typically used throughout most of the house. This actually made things easier, as I was doing all this alone and they don’t have sheetrock lifts here in Japan (well they do, but they are called employees, and I am a one man show.) So I had to do a lot of strategizing about how the sheets would be staggered, how to insert them into the gap made by the existing wall sheetrock to engage the clips, the order they needed to go in since some of the sheets would have to be inserted into a gap on three sides, and the proper places to screw everything to make sure it stayed up.
But back to what I did wrong, the key takeaway I want to leave you with is
always get your ceiling joists (or wall studs)
as level as humanly possible. Sheetrock doesn’t really cover flaws or find its own level, it follows every bump, skew, lip, curve and contour. I was in a rush to make progress and I was so concerned about all the other factors I mentioned, I made the myopic decision to just level the sub 5mm discrepancies out with a skim coat. If you ever find yourself saying ’skim coat’, stop right there and heed my warning:
You don’t want to do that, it is a really bad idea.
Before putting in the insulation I needed to pull a lot of the new wiring (I mean I had the certified electrician that I totally hired do that.) I will go into detail on the wiring improvements across the whole house in a different post after
Nemo Denki replaces my main electrical panel, but having easy access to everything was an unusual treat as I’m typically pulling wires using only existing holes to access inside the walls and ceiling (light switch openings, air conditioner drain ports, etc.) This is nearly impossible and requires a lot of rare earth magnets, steel snakes, pull strings, chains, inspection camera’s and most importantly persistence and patience. I wish there was a magic way but It has become a sort of challenge to get a wire pulled somewhere as non-disruptively as possible, and my knuckles and arms usually bear the battle scars for weeks afterwards.
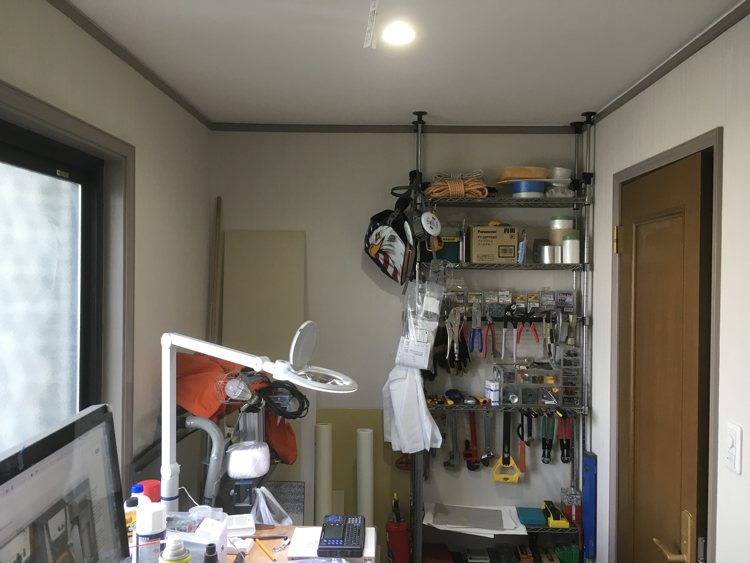
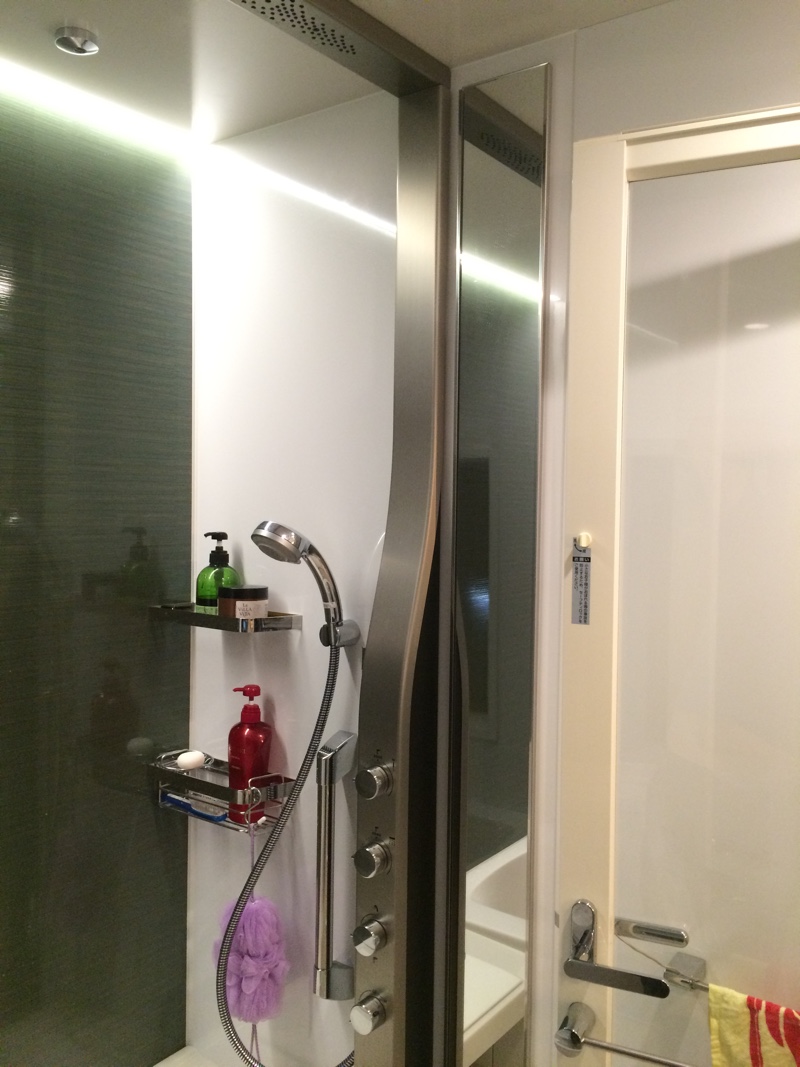
With a plan in place, I recycled much of the original hangers and laminated 2x4’s (which are really good for ceilings since they tend to be straighter and less prone to twisting or sagging.) I had to make allowances for some of the Unit bath bracing and plumbing, but it wasn’t difficult. I decided that I would do my best to install sound insulation, as the experience of standing in the ceiling-less room when the shower was in use convinced me of its need. The fiberglass composite floorpan seemed to amplify every drop that hit it like a water drum, and the shop below may need to return to being a bedroom someday.
I found a local source of Green Glue which has a very good reputation for sound absorption when bonding layers of sheetrock, and given the tiny dimensions of the room seemed worth a try despite the cost. So first I wrapped the plumbing in sound absorbing carpet underlayment, loosely packed fresh fiberglass batting in all the cavities, and then carefully cut 10cm rigid foam insulation to fill all the spaces under the bathroom pan and tub.
I’ve been updating the lighting to LED throughout the house, so I chose some white balance adjustable and dimmable 100w sealed can lights from Panasonic’s very extensive line. They provide the beam spread and luminance maps for all their products, so I could find the right units to properly light the space without any hot spots. I added a drop for one of the dc powered, networked file alarms I use as well. I’ll detail that system as part of the home security post I will eventually get to.
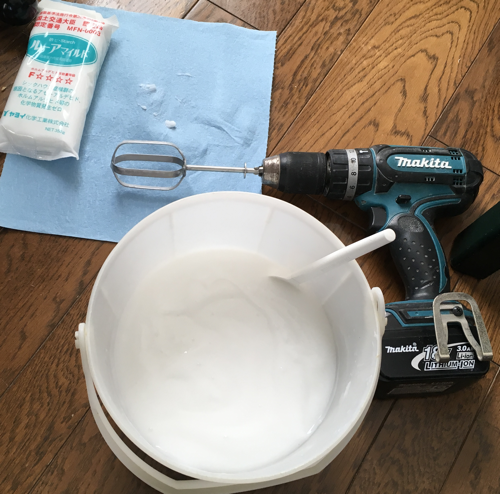
So, here we are all pre-wired and insulated. I had the wife pilot a 600cc engined rental micro-truck to the Big Beaver Pro to get our 10 sheets of water resistant 9.5 mm sheetrock, and a 2 kilo bag of all purpose 120 minute synthetic powdered gypsum mud. I will note that sheetrock and wall mud are only available at the most professional of building supply shops, not at normal home centers or hardware supply. I had a plan of how each piece would go up and I had a big bag of instant mud, so I was feeling super confident. Using my 6 axis laser level I projected onto some masking tape on the floor where the light fixture mounts and fire alarm holes would be centered, so I could later project back up to the ceiling and cut the holes perfectly when it was done.
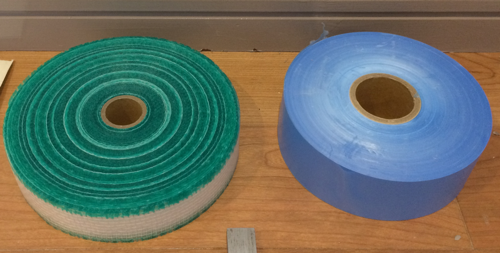
I decided that the first layer of sheets to go up would have the most joinery as I wanted to make sure the number of seams I would have to tape up and mud would be minimized. Please note when you look at my layout that Japanese use 3’ x 6’ sheets for everything (plywood too), so I didn’t have the option to get 4’ x 8’ sheets. They also don’t sell 15mm (standard 3/8”) which most of my house is built with, it is all 9.5 or 12.5mm. This is one of the reasons why I am so hesitant to make holes or otherwise mess with any of my walls. I found several odd sized offcuts of 15mm sheet rock hidden in the wall cavities when I did the new bath, so I saved that for emergencies.
The first layer went up without too much trouble. I of course made all the greenhorn mistakes, oversetting screws, missing the joist, cracking corners. It looked like hell actually, but it was solid and the second layer would surely hide the chaos below it (above really.) I committed to do a better job with the final layer by marking out where the joists were and properly sizing the sheets to minimize the gaps. I would spend the time getting these right in order to prevent the dreaded blowout from forcing it in too tight a fit. Never force sheetrock, it is basically dust being held together with paper. Super strong in shear, super not interested in being hammered into place. You will just cause it to fracture in a really unhelpful way that is in the exactly wrong place (the edge you are trying to fasten) and just rasping it would probably have been faster anyway.
This final stage also had the challenge of being the largest sheets, the two end sheets having to slot in on three sides to engage the clips inside the gap made by the existing walls. I know 9.5mm 3x6 sheets are as wimpy as they get, but all of them were covered on one side with the stickiest green liquid you’ve ever seen that costs more per cc than perhaps printer ink (some may disagree…) I correctly intuited that this was going to be really difficult, and it was, but I got them up, and it mostly worked as I expected. The resulting surface was far less like the cratered and rutted WW I French battlefields of the first layer, but retained the rolling hills of the charming countryside that the War to End All Wars was once fought upon. No problem, just mix up a bucket of mud and get floating.
So...
floating. It sounds so passive and nice…
There are many professional trades that I trample upon with my D.I.Y. laissez faire,
‘How hard could it be?’ attitude. It always leads me to respecting all the details and difficulties that these tradesmen have had to learn and overcome, and that’s part of the fun, getting your *** kicked by your ignorance to come out the other side with knowledge few possess or appreciate. Let me tell you, this was three months of my life I hopefully spent taking a bullet for the team. So, what was so difficult? Well, creating a flat surface overhead with mud and a thin piece of metal was obviously going to be a challenge, but I was unprepared for how many layers, how much sanding, how many bags of mud I would have to mix. I learned that .5 cm of deflection across a large area really adds up. I filled and filled and built up, and then scraped and sanded, and discovered new undulations and depressions to deal with. All of this accompanied by dust. I swear for every bag of mud I mixed up, I vacuumed two bags of dust after sanding. And there is nothing quite like plaster dust to get all over everything and everywhere. My wife never came closer to anger with me about anything more than this
dust, and I’ve subjected her to some pretty horrific hardships (as my readers must well know by now.)
So day after day, every weekend for months I would do the same thing, take the train to my one source of powdered mud, buy the last two bags I will need to finish (this time for sure!!) And in my mud covered overalls, on my mud covered ladder, using my mud covered tools, in the Martian dust storm of my shop, I would patently mark up the ceiling’s latest defects with a pencil. The high spots, the basins, the disjoints, the seams, the pin holes and the fish mouths. Then, mix up a bucket, and
start spreadin’ the new layers. Wait for it to dry, scrape off the crufty edges, sand it down, vacuum the bigger drifts, and repeat. I’m sure a pro could have done it in a day, and if I had to do it again,
I’d avoid making the mistake of not installing the ceiling flat in the first place! Have you even been reading this? That’s the whole point of what I’ve been saying!
")
You will note I didn’t document this part of my effort with photos, but pictures just don’t convey this sort of thing well, and I just wasn’t in the mood to take them. I got better, it got easier, and I did a far better and faster job the next ceiling I did (later post!) But please avoid my mistake, and if you ever come across a plasterer in the wild, buy him a beer, he deserves one.
Respect.


 :
: