Kevin54
MEMBER EMERITUS
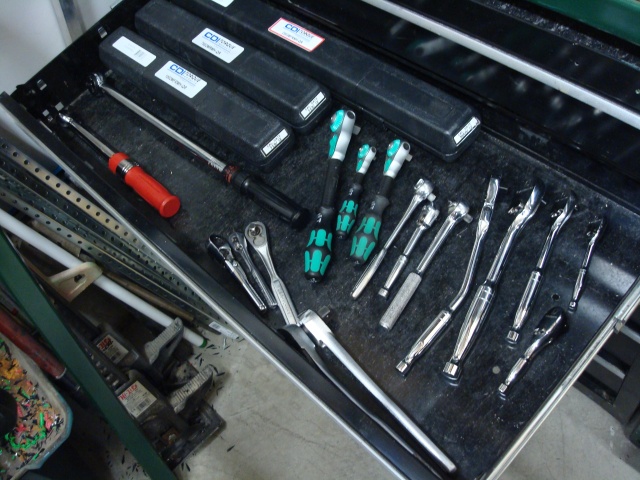
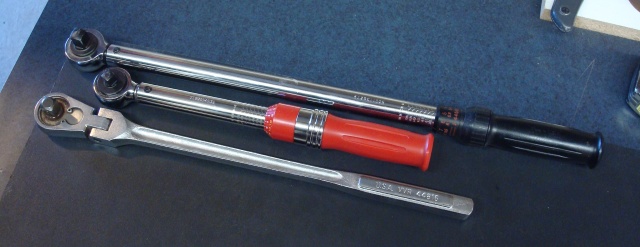
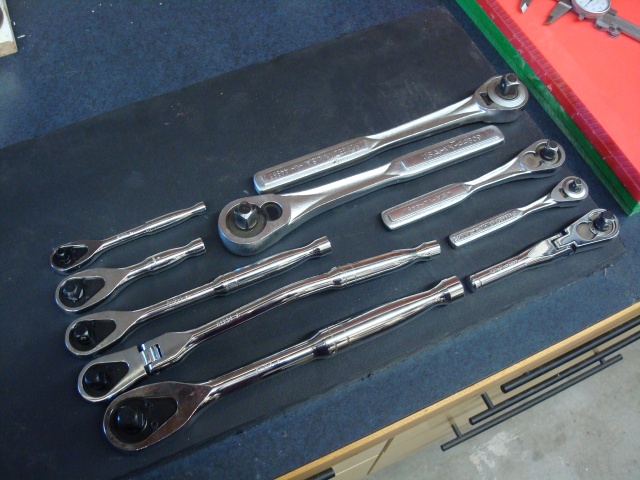
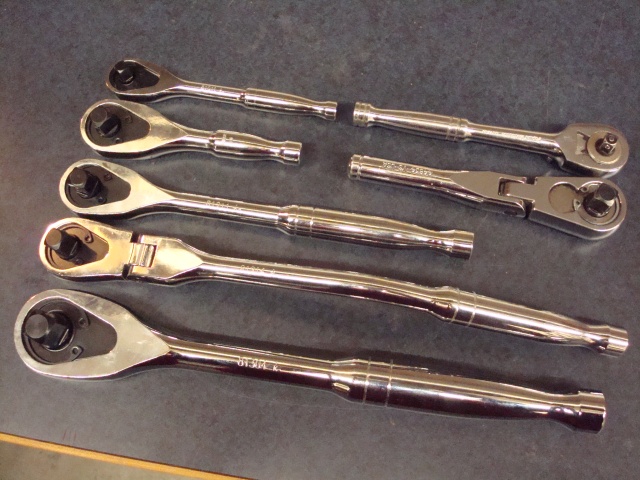
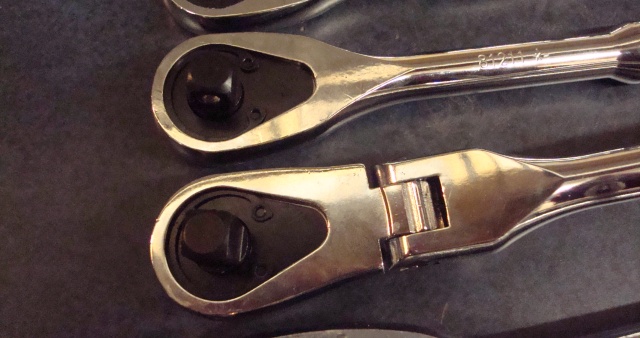
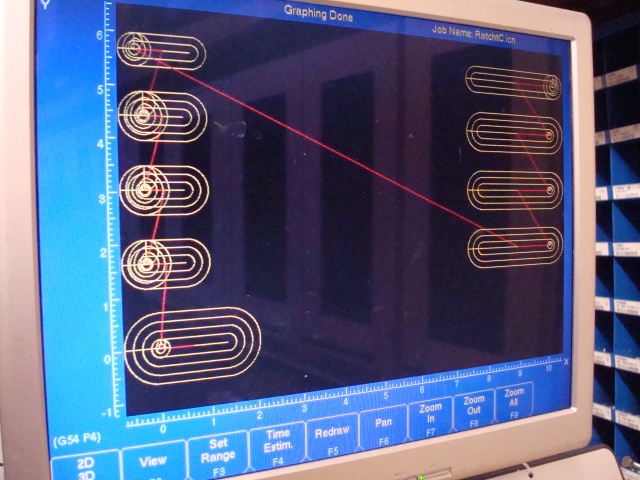
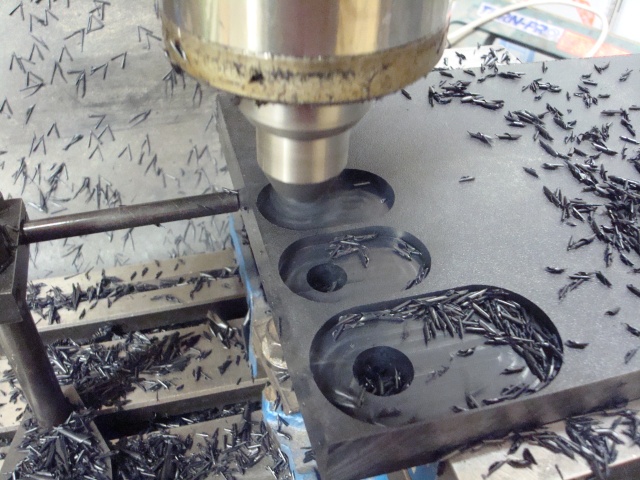
Scorpion....if you would, could you stick a link into your signature so this thread doesn't get lost. I know there are quite a few people on GJ that are really going to like the storage ideas. Two of the main things are the plastic holders, and the one main thing is all of the French Cleat stuff you have done. Quite a few times it comes up about hanging items on walls and French Cleats are always mentioned, but you have to do a lot of searching. If you have it in your sig, then all we have to do is find you and click on the link. It's up to you, but I think it's a good idea. You have a lot of storage ideas for everyone.