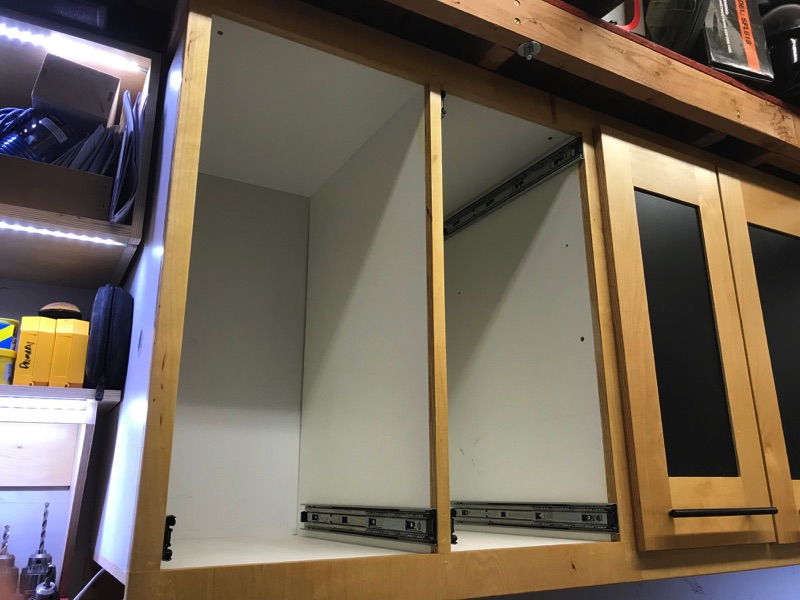
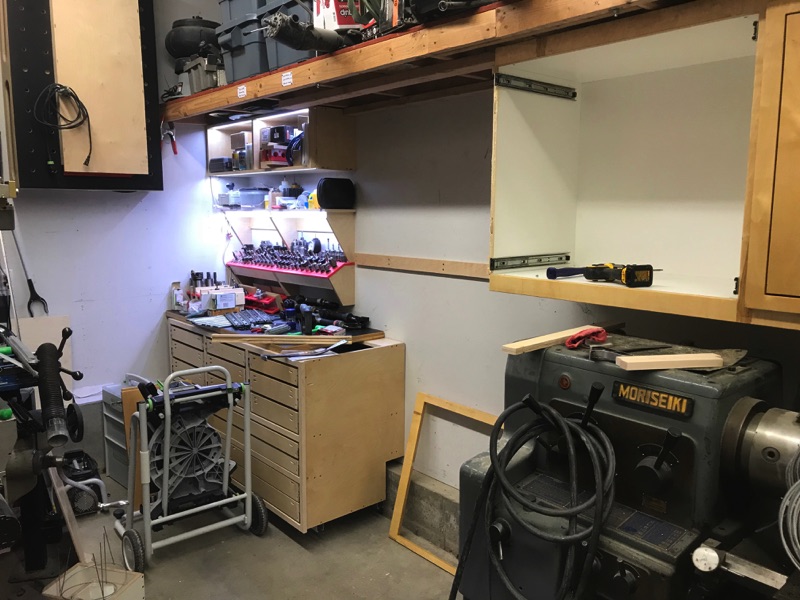
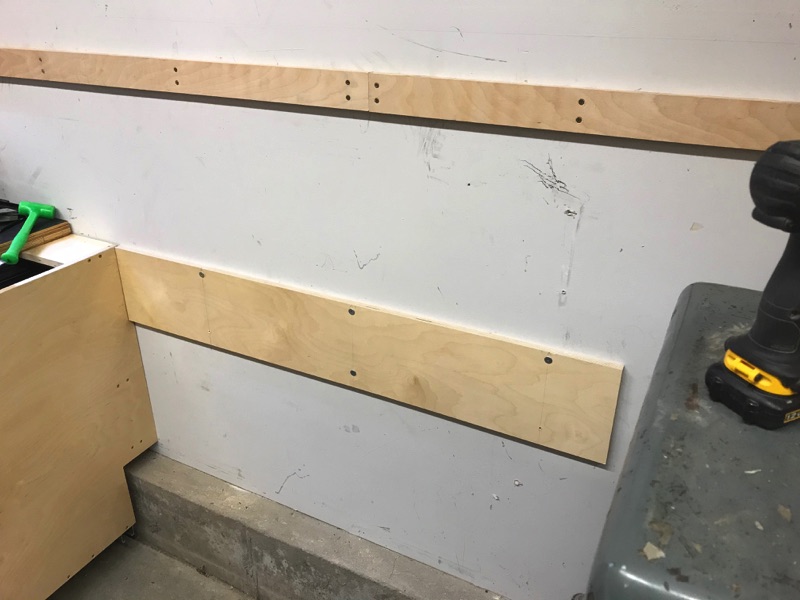
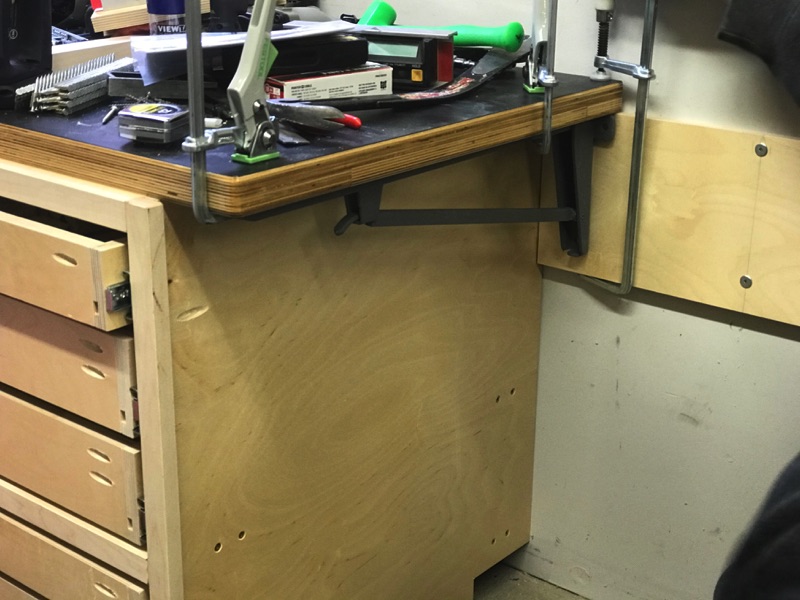
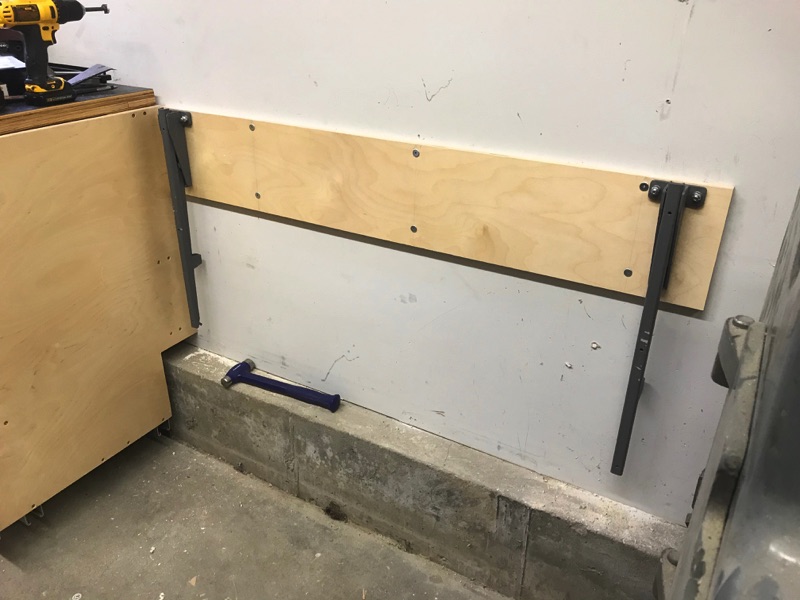
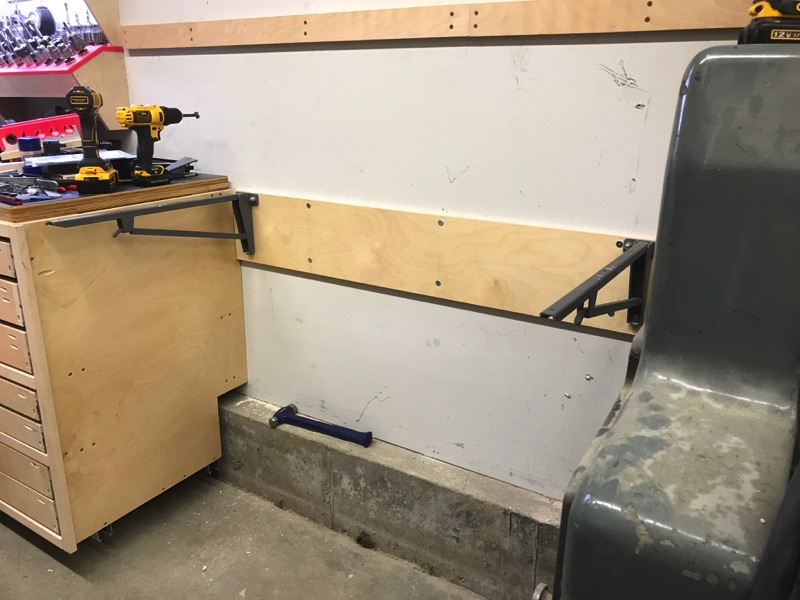
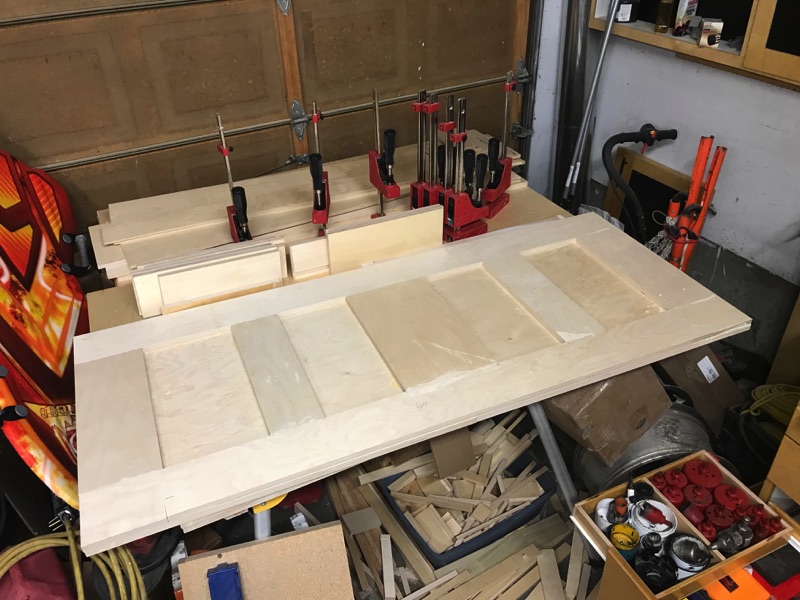
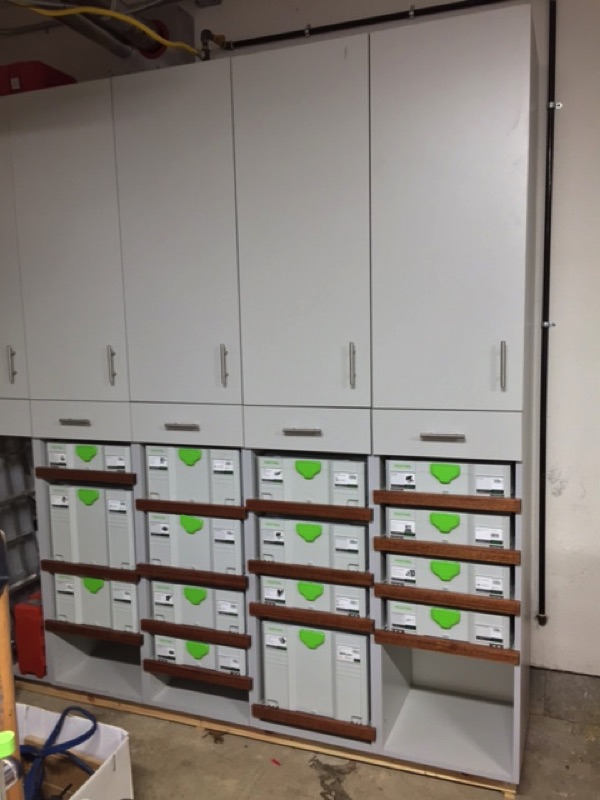
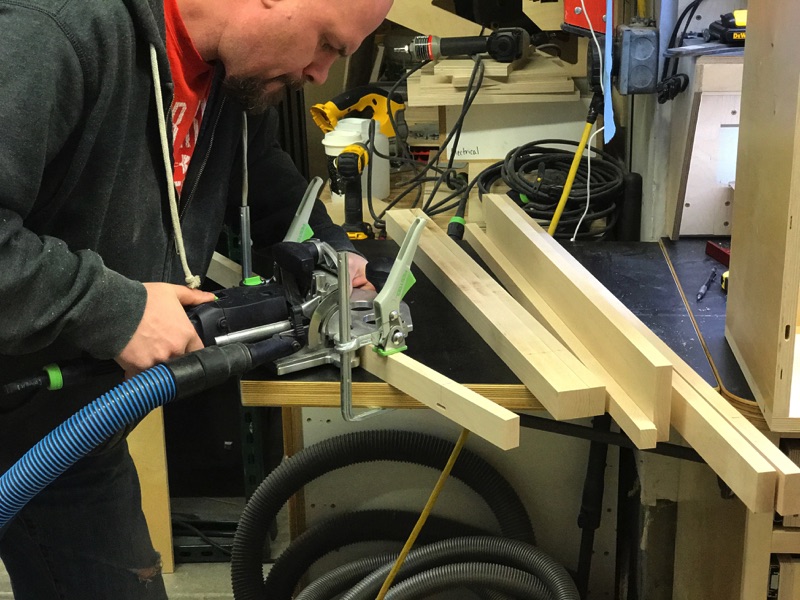
Time's getting away from me. New Job, Son's spring lacrosse, daughter's hot in the middle of dance competition season, and regular family stuff is all keeping me plenty busy. I'm still stealing time to make progress but I've slacked a little on updating the thread.
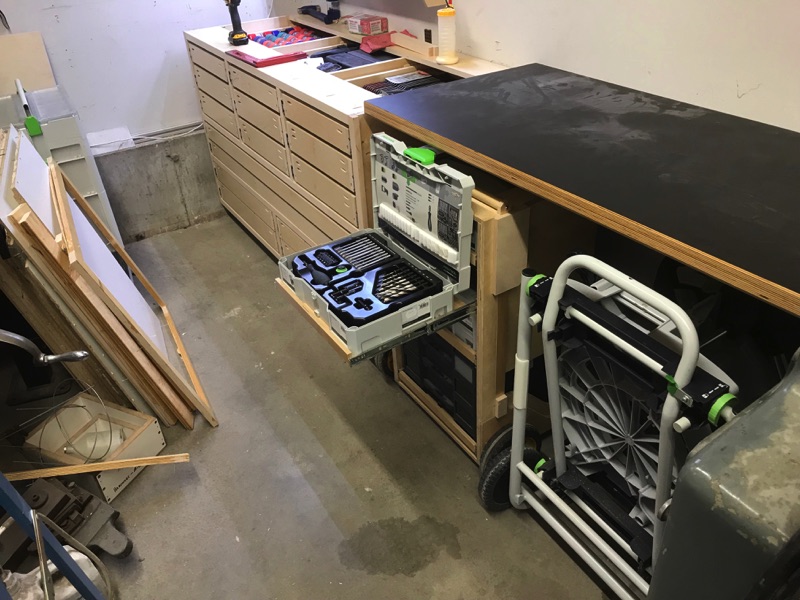
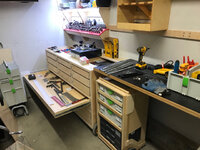
I wanted to get moved into the bench as soon as possible so I'd have easier access to my tools. When I moved the existing drawer bases I also managed to disrupt the location of many of my tools so finding stuff is now nearly impossible which makes spending time in the garage extremely painful. So I started with the easiest drawers which were size for size matches to the craftsman box and all I had to do was swap the organizers. Instant progress.
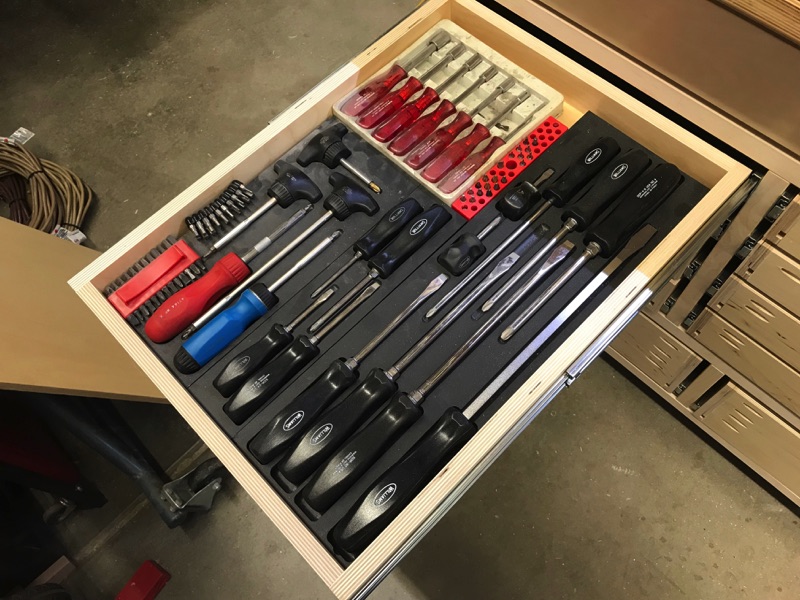
Williams Screwdriver Trays fit nicely. Almost hate dropping that Harbor Freight nut driver set in next to them. At some point I’ll need to buy a respectable set of nut drivers and pitch these. There brutal to use - Casting lines in the handles eat into your hand quickly and the shape is not very hand-like. Overall the trays fit nicely. I decided to drop one of my mechanics time savers for hex bits in there so I could have them in the same drawer as my universal ratcheting drivers. Previously I had to walk about 15 feet from my toolbox to the back of the tandem to get a different bit when I needed them. Now it’ll be in the same drawer (duh right?).
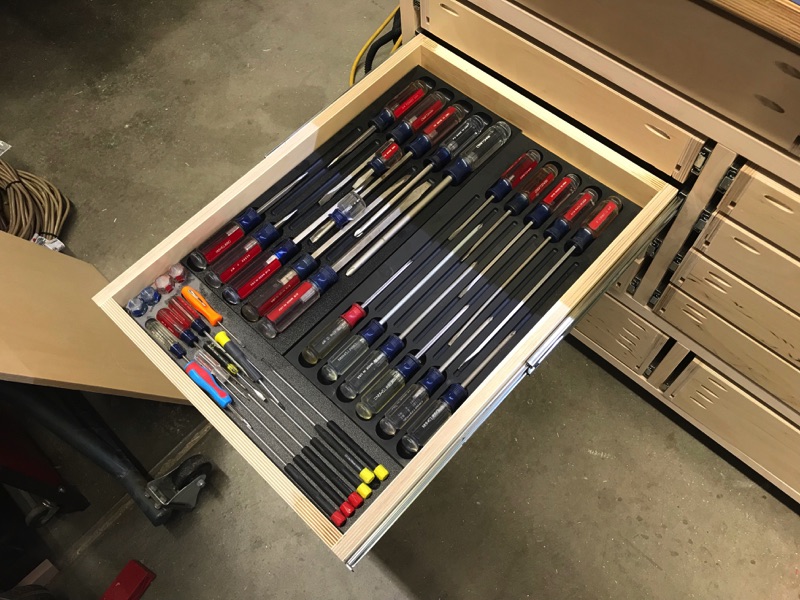
Craftsman Screwdriver Drawer organizers look good in the drawer too. I like the orientation better for both of the screwdriver drawers. Now I’m picking them up just like I’d have them in my hand. Feels more normal.
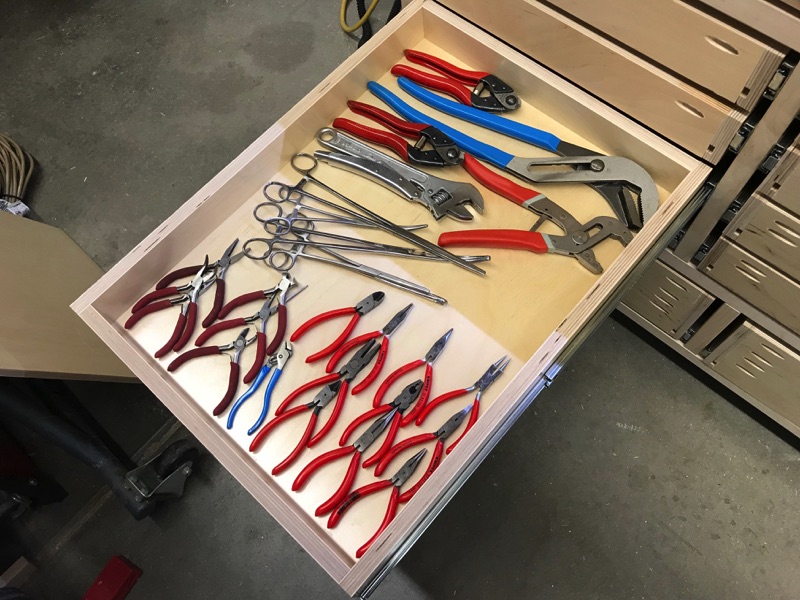
Small pliers and misc pliers drawer. This is a new drawer which is handling the overflow of my actual pliers drawer. I plan to make some organizers but I’m on the fence about keeping the small pilers here. Even with the pliers on end they won’t take up more than about a 1/3rd of the drawer and the other pliers that are sharing the space are all goofy pliers. I don’t have to commit to this drawer being for pliers but for now that’s where they’ll be.
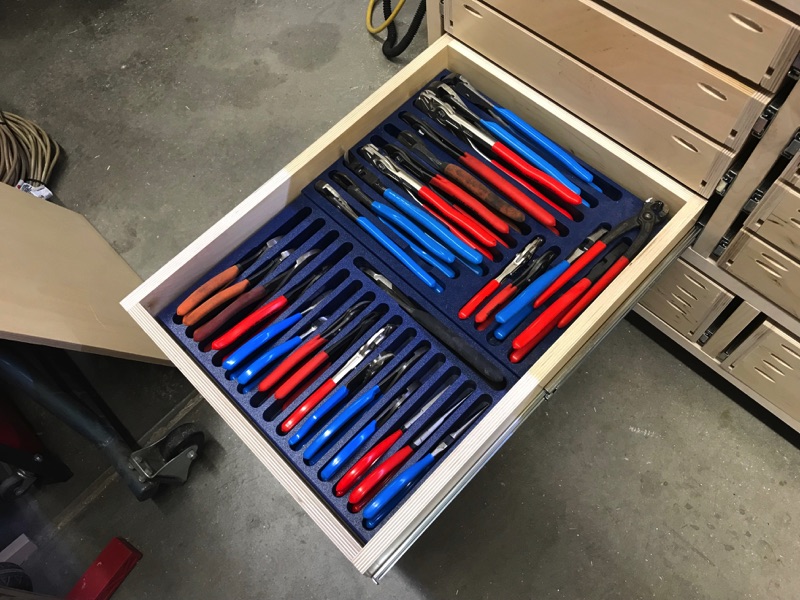
Pliers Drawer is equally as nice as the screw driver drawers. The orientation change is also positive and the most used pliers (mid-sized) are right in the front.
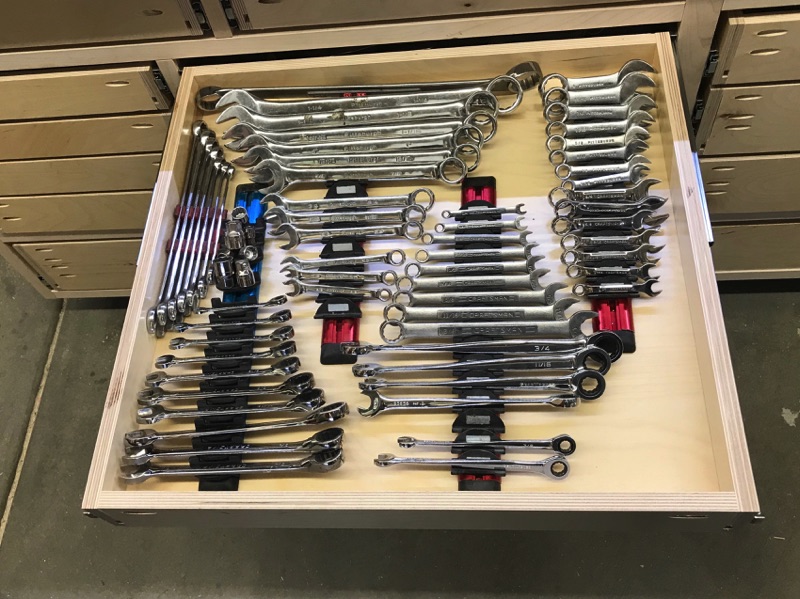
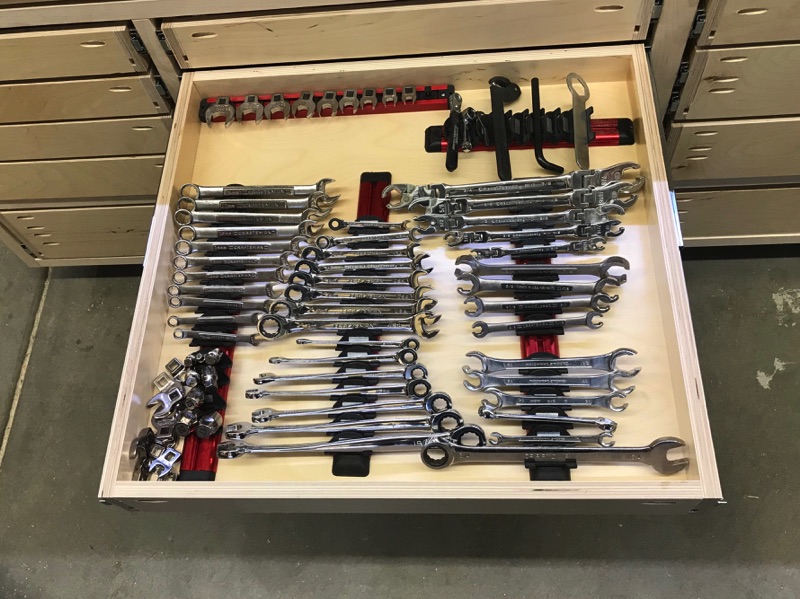
SAE Wrench Drawer. The wrench drawer is slightly tighter than I’d like but it seems like it will work well. the depth turned out perfect. Missing’ some wrenches has me thinking that it’s time to maybe upgrade to some Williams Super Combos?
Metric Wrench Drawer (since I nearly exclusively use metric wrenches maybe I should put this above the SAE drawer?). A little room to grow.
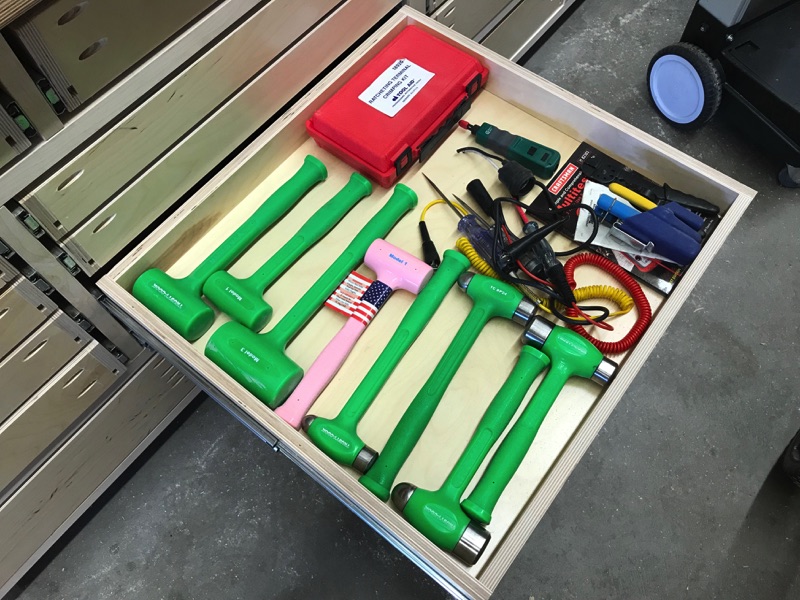
Heres’ the drawer I’ll keep my woodworking/remodeling hammers in and some of my electrical stuff that didn't fit in the electrical drawer (or I may not want to put in the electrical drawer).
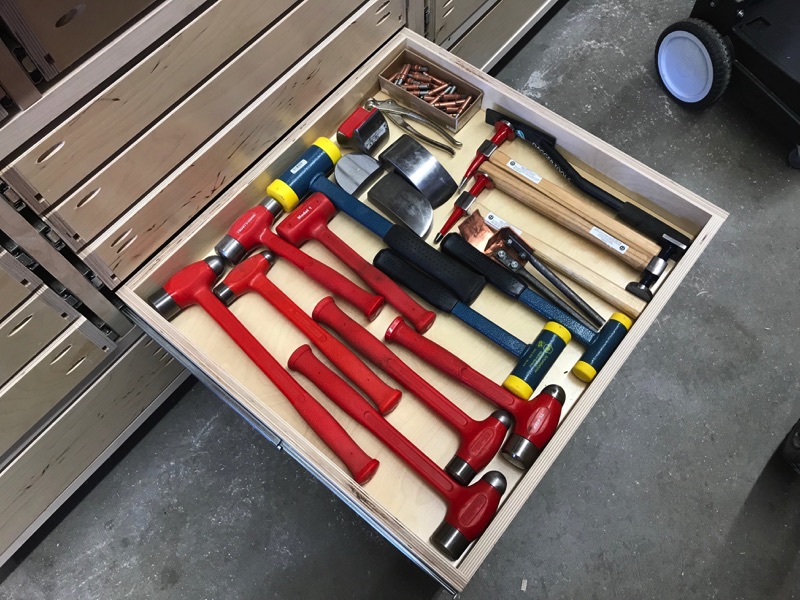
This will be the automotive hammer and body work drawer. Some of you may want to know why I have two drawers. After a couple of random moments where I unintentionally failed to clean a hammer that I put away I grabbed it while I was doing some work on/in the house and got oil/grease on my hands, my clothes, whatever I was working on, the carpet...it was a crappy moment. My wife joked and said "you need two sets of hammers"...so I got a second set.
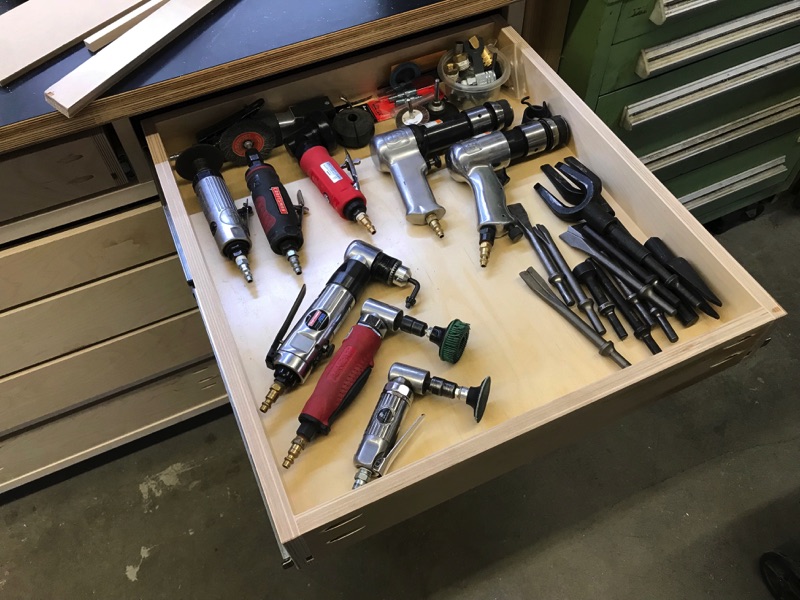
Air tools. Way more room to grow than i have any concept of growing into. At this time there might be one or two tool's I'd like however I'll be the first to admit I don't, and likely won't, need. I'm thinking a divider may be a good idea in this drawer.
Standard sockets, extensions, and miscellaneous impact tools. Previously I did't have enough space to leave sockets in their container when i received them so I always needed to consider organization at the same time of purchase. Now it's not as much of a concern. With this much space I may move my 3/4-inch sockets into the drawer as well.
My metric sockets may be the most comprehensive set that I have and they don't barely fill the drawer. May also need to add a divider and split the drawer's duty with something else.
Here's my paint drawer. These organizers needed to be rotated 90 degrees in order to fit in this slightly smaller drawer. I actually like the orientation better as they're now facing me the way I always access the drawer (from the front of the garage). The only thing I dislike is that the cup organizer is just slightly too tall which makes the metal cup just barely hit when the drawer closes. I'll come back and address it later.
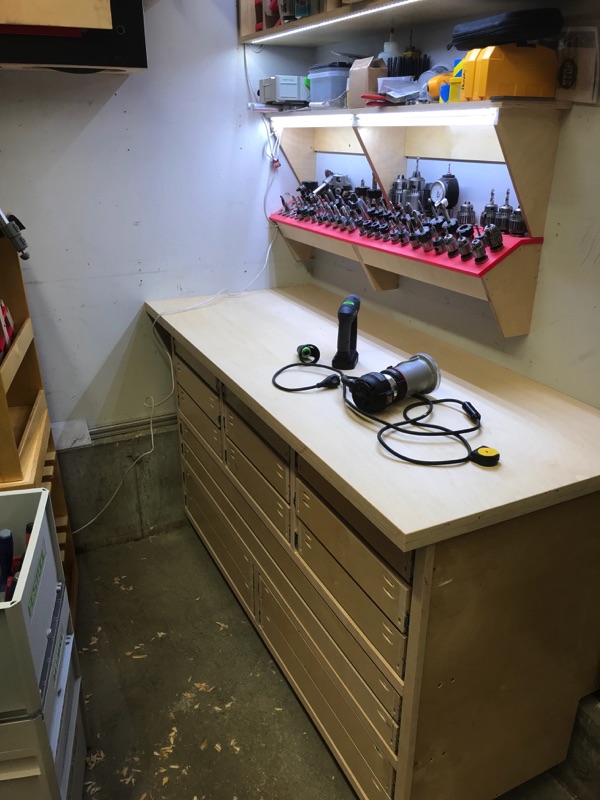
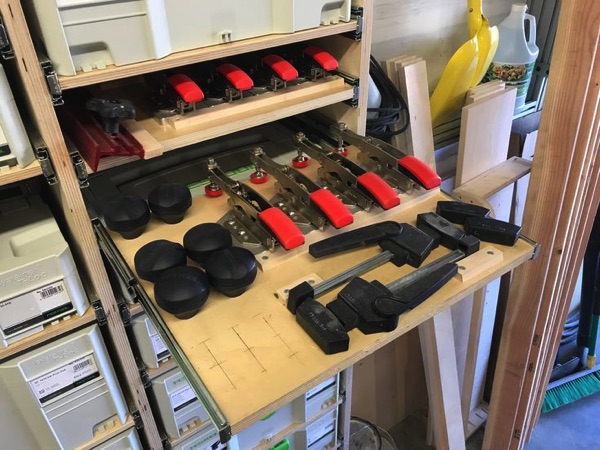
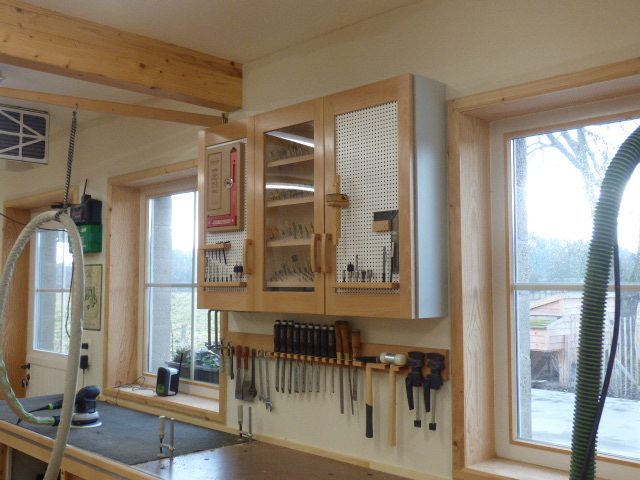
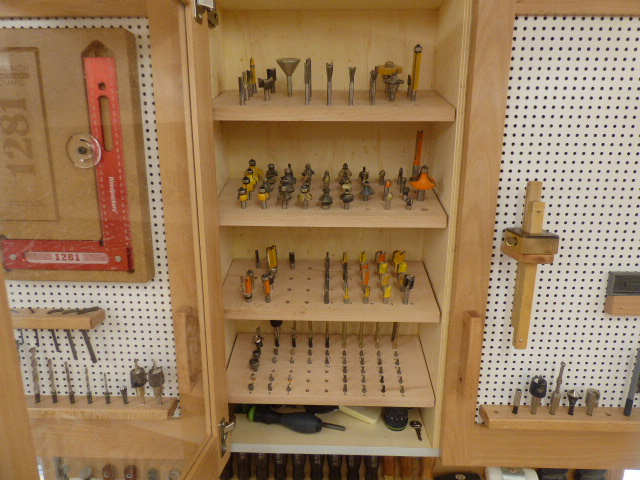
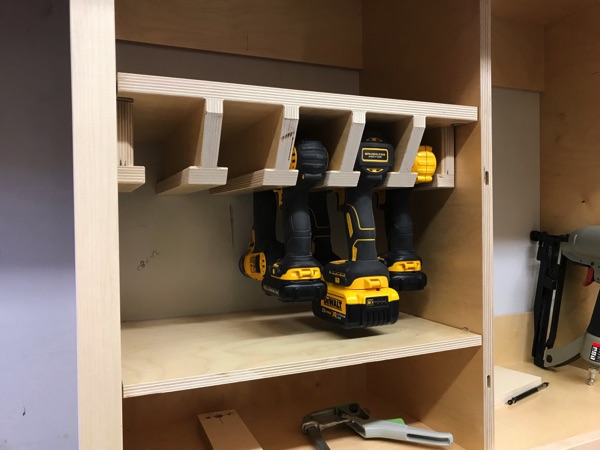
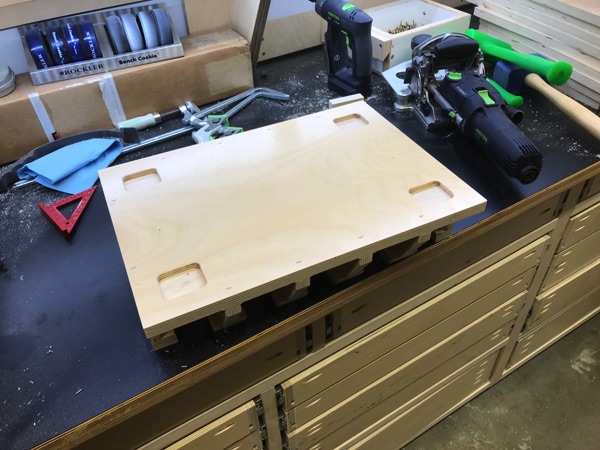
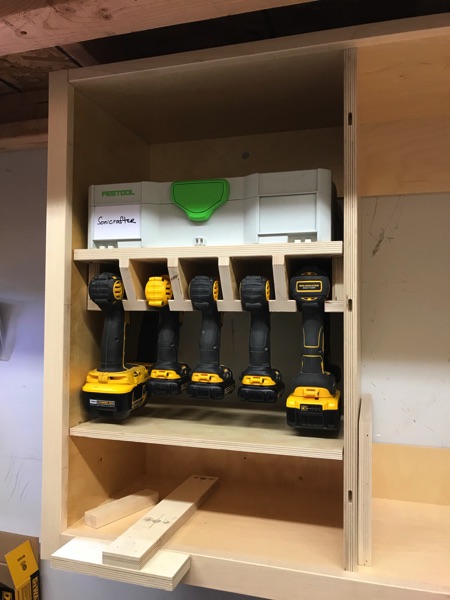
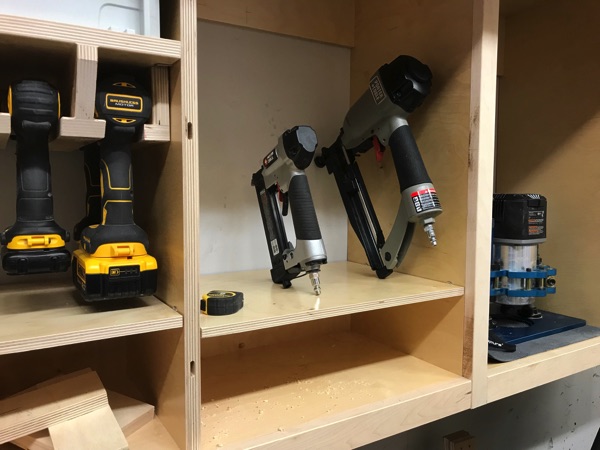
Router drawer used to be packed but two things changed which now makes me feel like maybe I don't actually need a drawer for "router stuff". The first is that I'm going to store all the bits in a Systainer. The other is i'm going to build a rack of sorts for the routers installed on the router plates. This will work for now but I need to figure out what the longer-term plan is.
I didn't really have a good plan for this drawer - punches, picks, etc but I do know it's not usable like this. Maybe I'll add a sliding upper drawer or something? None of the items are really that tall so a drawer within a drawer could work.
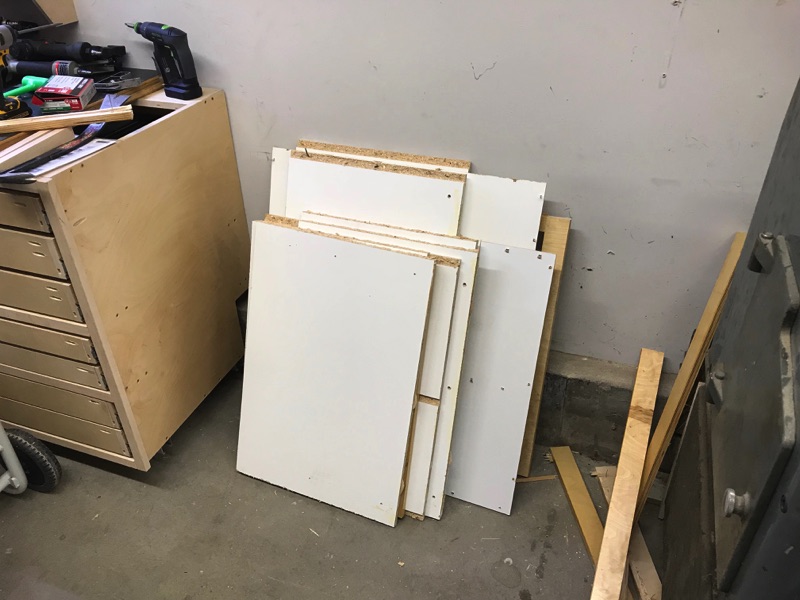
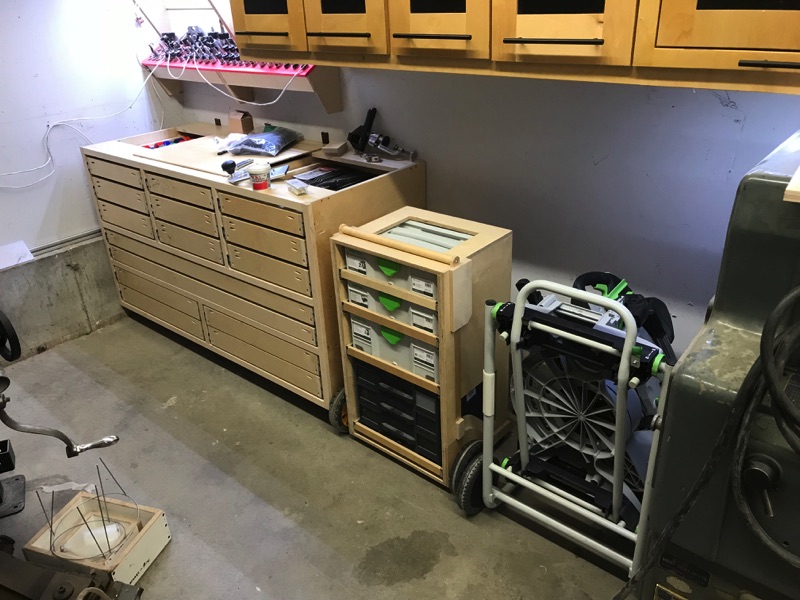
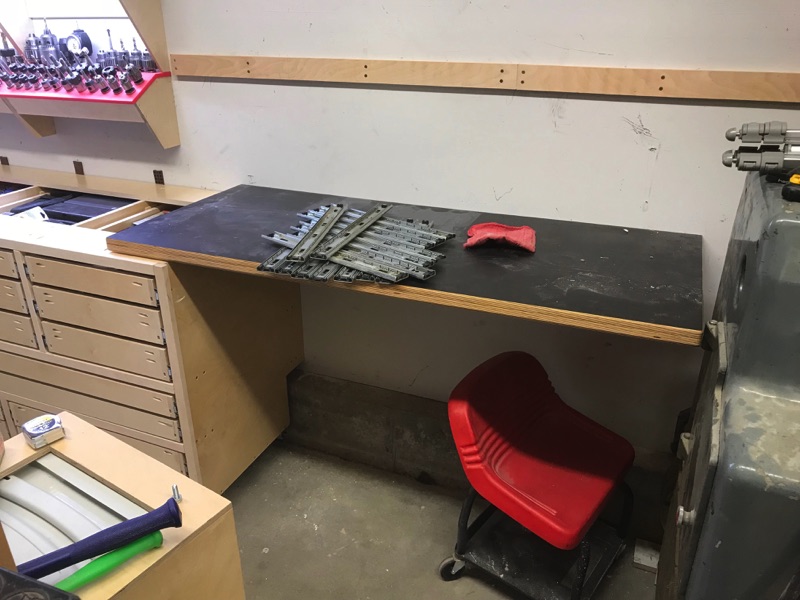
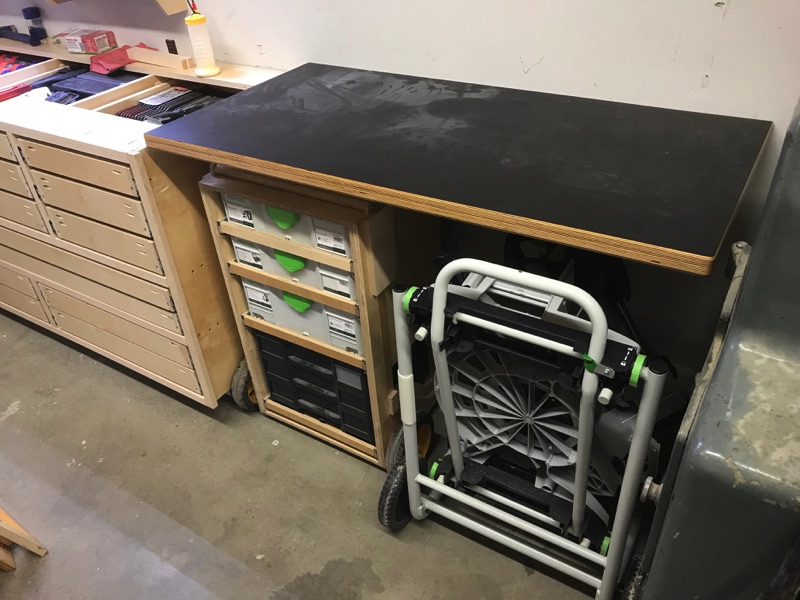
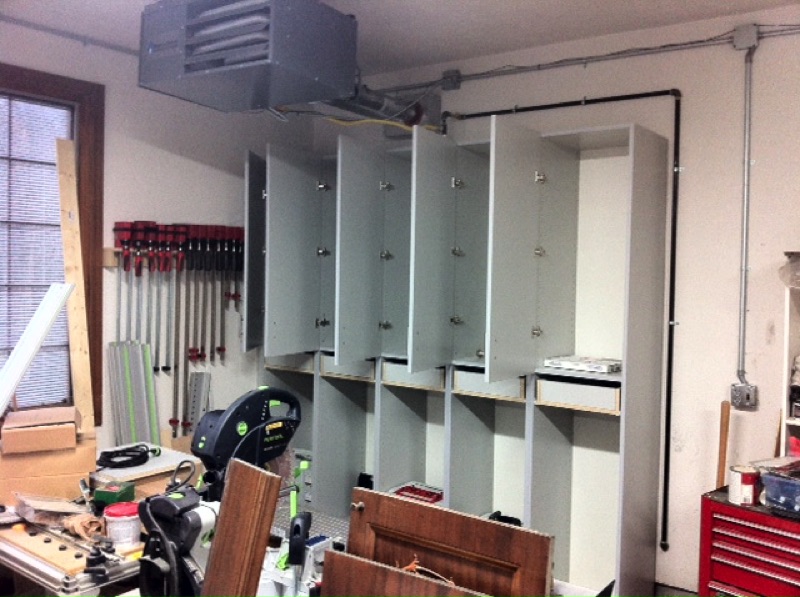
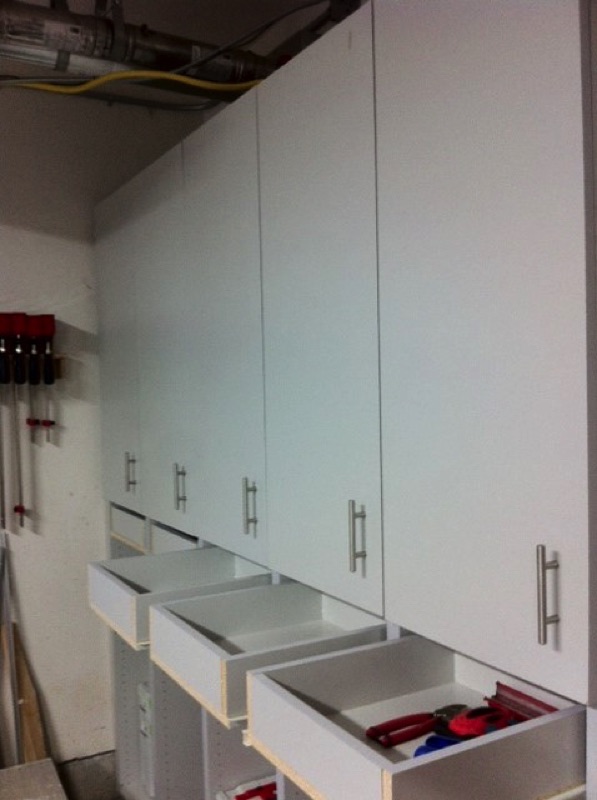
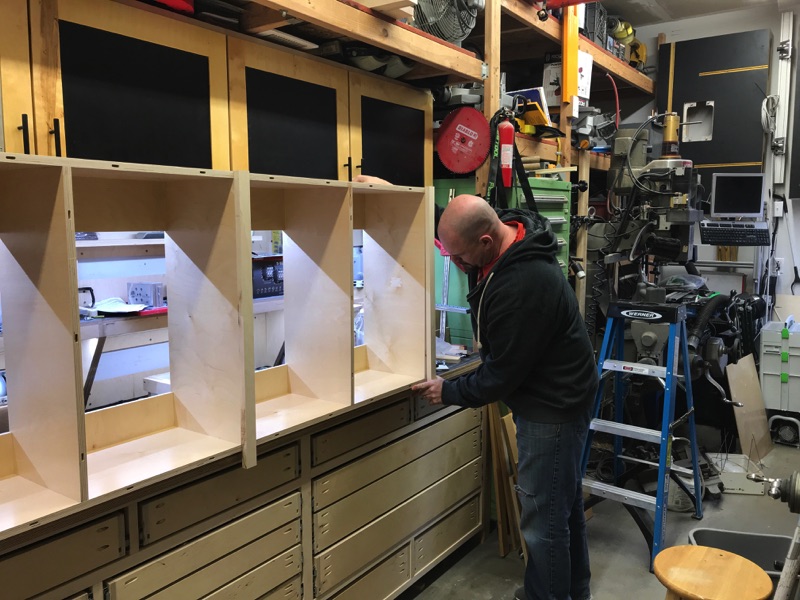
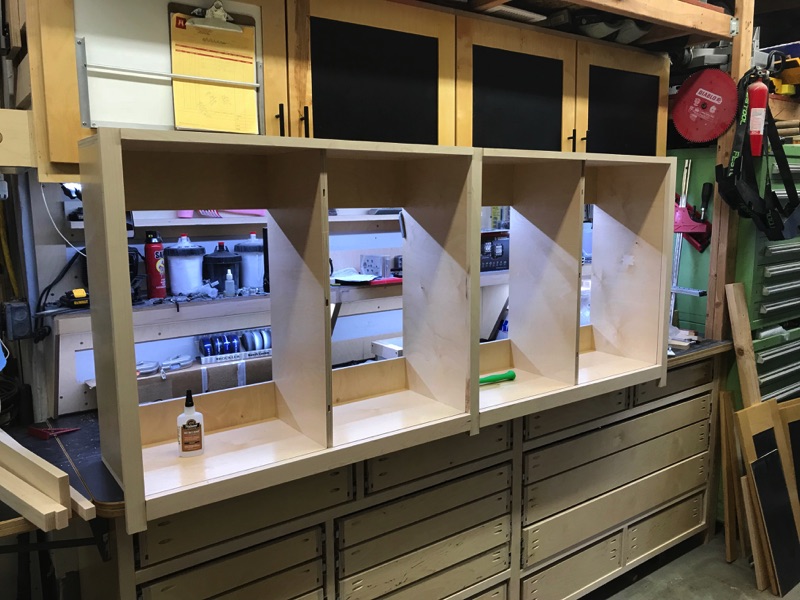
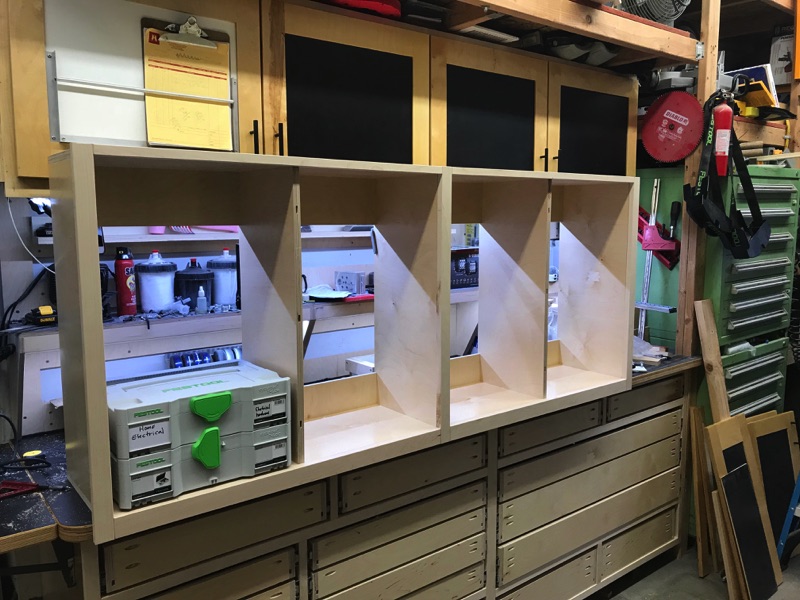
That's a good chunk out of the drawers from my bench from before. There's a few items that I'm going to get rid of and a couple drawer's worth of materials, hardware, and other components that will find another home. I still have 2 of the top drawers that are empty and two left to move. Good start and usable again.


 <snip>