I really enjoy following your work, and gain lots of inspiration from your build.
I've been thinking about picking up some CA glue and finally ordered some tonight. Was looking at the fastcap, but decided to go with the titebond that you've been using. I haven't done much as far as cabinets go, but I think you've inspired me to give a go at building some garage cabinets. I've been trying to find a local supplier of baltic birch ply. Not sure I'll be able to find it prefinished though...
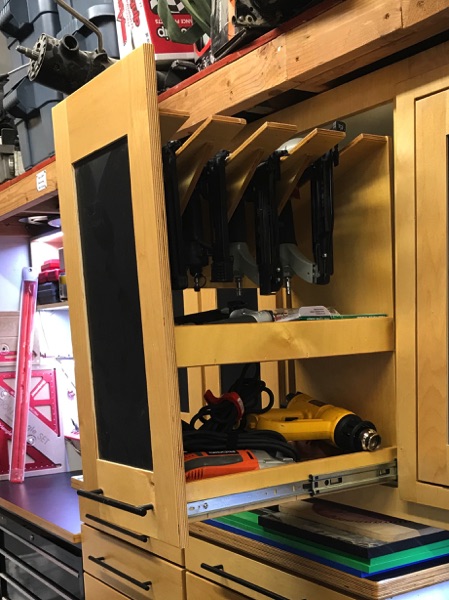
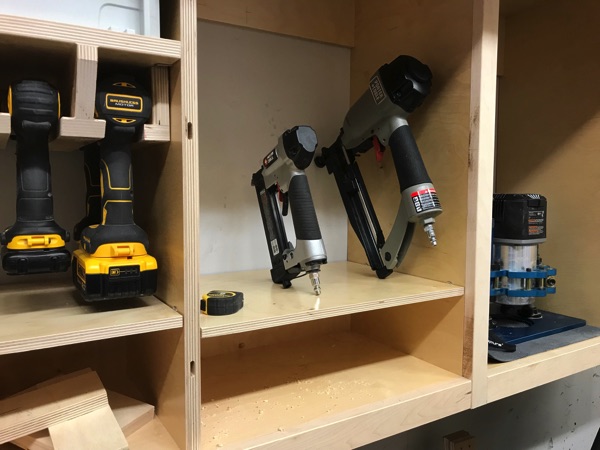
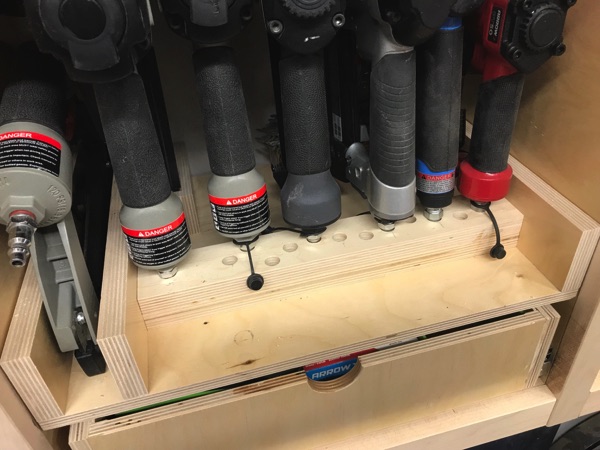
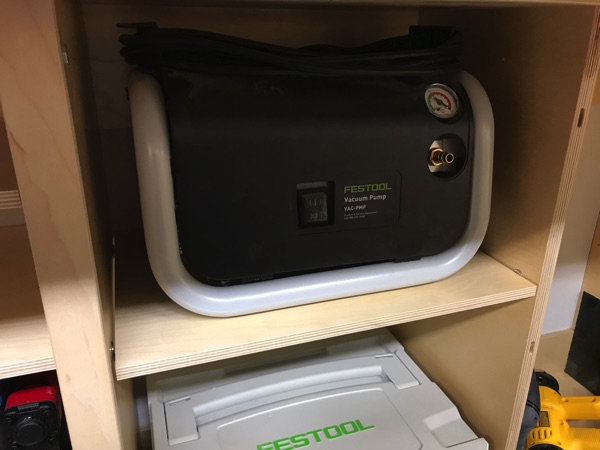
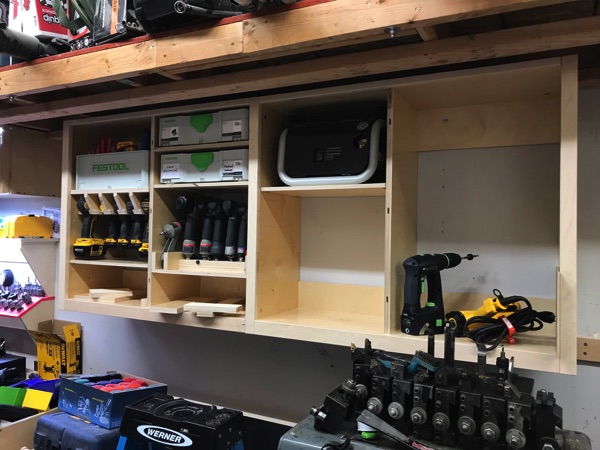
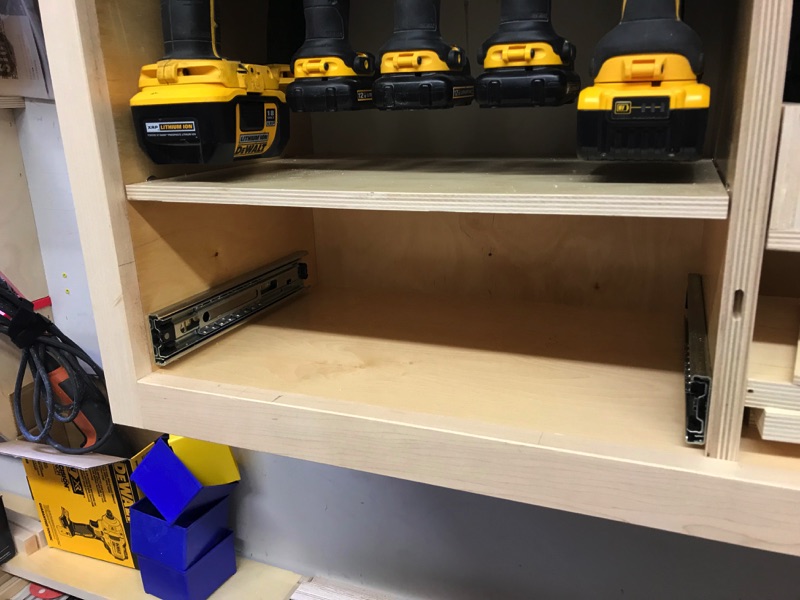
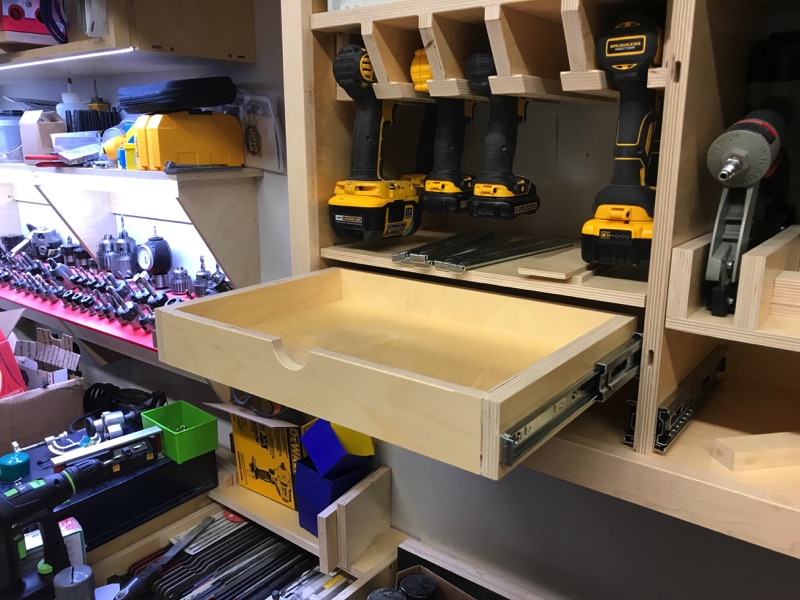
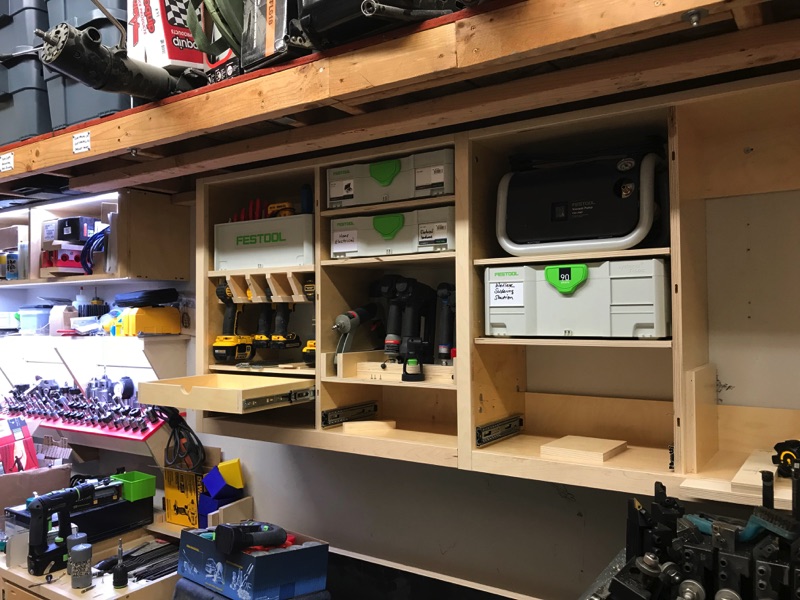
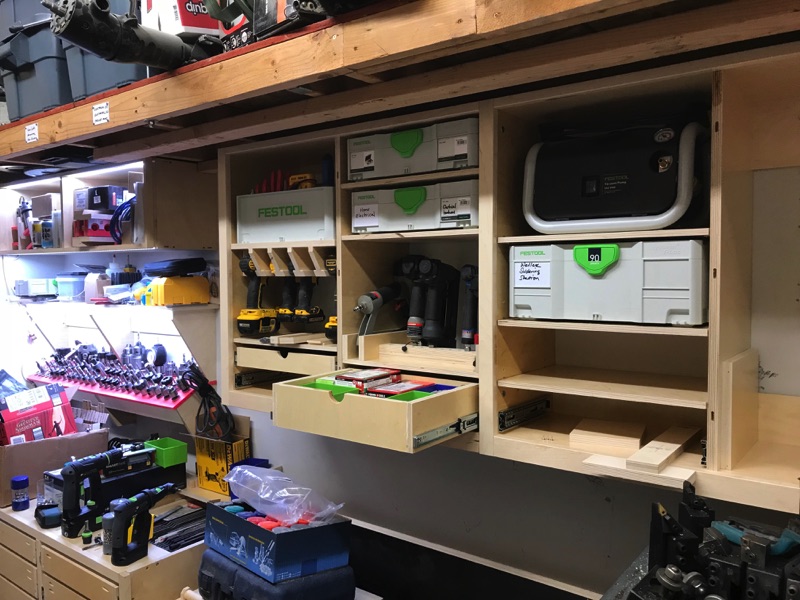
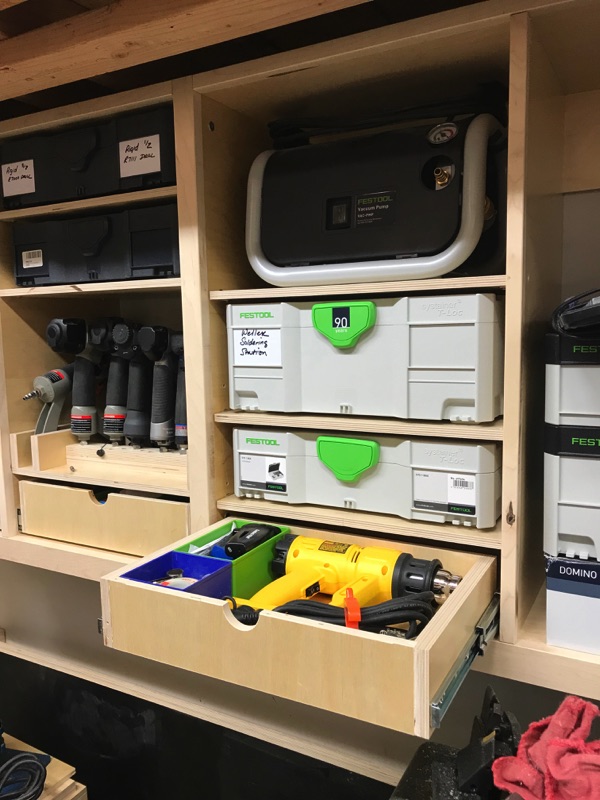
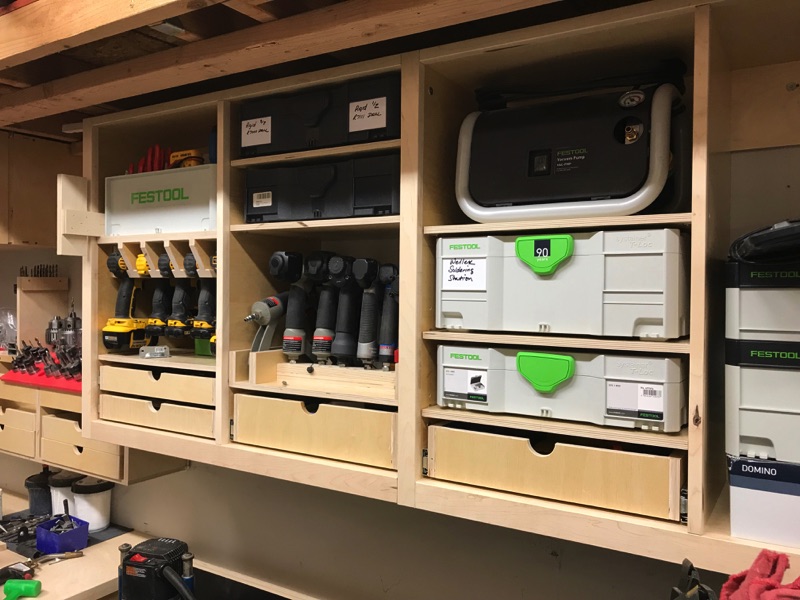
A couple of quick questions about your latest post. Is there reason the shelves aren't at the same level? I see that your jig has three holes in it. Is the multilevel shelves intentional?
I've been thinking about picking up some CA glue and finally ordered some tonight. Was looking at the fastcap, but decided to go with the titebond that you've been using. I haven't done much as far as cabinets go, but I think you've inspired me to give a go at building some garage cabinets. I've been trying to find a local supplier of baltic birch ply. Not sure I'll be able to find it prefinished though...
A couple of quick questions about your latest post. Is there reason the shelves aren't at the same level? I see that your jig has three holes in it. Is the multilevel shelves intentional?