XJSuperman
Well-known member
Im beginning to wonder if you just like making cabinets lol.


XJSuperman said:Im beginning to wonder if you just like making cabinets lol.
Nooooo don't hold out on us!! We love cabinet posts! Post away every week if you have time please.You’re not the only one. This weekend I realized I’m running out of steam and I’ve not done much actual organization yet other than loading my new drawers. In that realization I also began to feel like my posts may not be of value at the weekend level of frequency and that maybe I should just consolidate and post either bi-weekly, monthly, or only when I have something worthy of posting. Maybe I need to go on a vision quest.


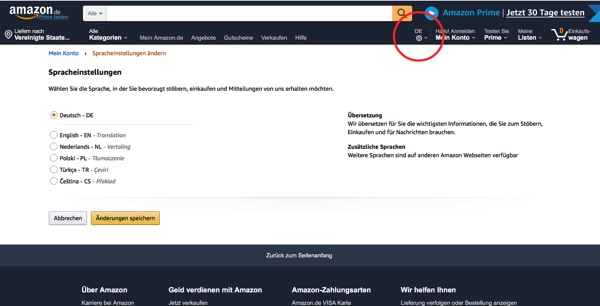
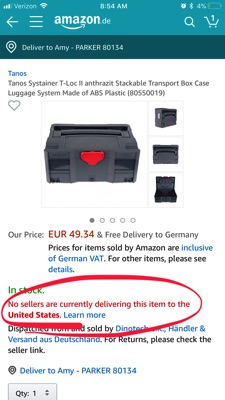
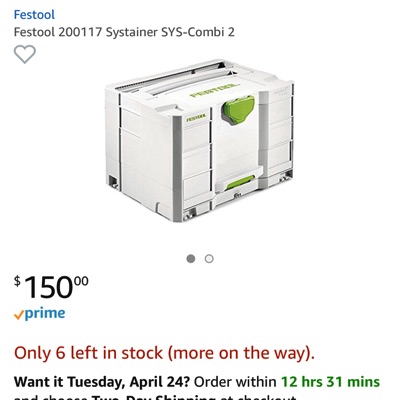
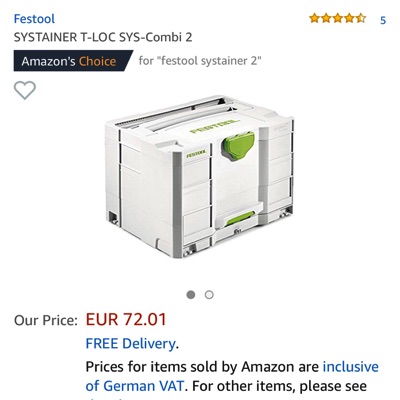

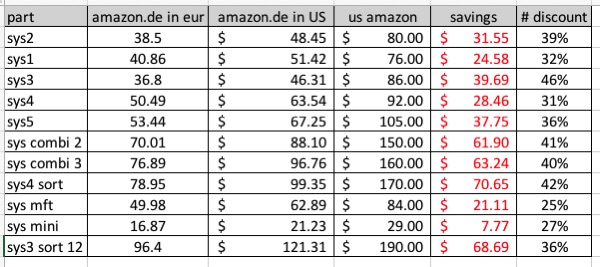
Words of caution Remember that electrical tools run off of different power in other countries thus have different motors than us in the US. Sure you can switch the cord, the motors may run, but they're designed differently which could lead to fault or other problems. To date, the only thing i've purchased from Amazon.de is systainers.
follow me on Instagram subscribe to #toolingreorg for more real-time project and shop updates.

blatterjr said:I looked down this avenue last year when deciding which Festool extractor to purchase; wanted to see if the discount was worth it. There ended up being a distributor around the corner who gave a hush discount, so I skipped the overseas risk.
b-dog said:Subscribed and just realized you are in Denver. I'm in Lakewood. [emoji481]
Did you get the pocket hole plugs yet? We're all eagerly waiting to see those put in!

I like hush discounts. Either the dealers I know don’t give ‘em to guys like me or I have a kick me sign on my back that also says sucker. Lol

tab2 said:I know you are the hunt for systainers but have you tried to find any of the other festool accessories (LR32 for example) through the German amazon site?


I hear you. I think I’d spent thousands before I found AHTurf and then thousands before I learned to call. It’s painful to think what 10-15% of my total drawer-slide purchase would be over the last 5 years..tab2 said:I wish I knew about the AH Turf discount by calling them. I dropped about $700 for my kitchen hardware. Next time I guess...
tab2 said:Since you were talking Hitachi nail guns, I get Hiyachi stuff from http://www.bigskytool.com. The Class C reconditioned stuff is in fantastic shape. My 23 gauge pinner looked brand new. They even threw in a pair of safety glasses and a small thing of oil.
") .
.
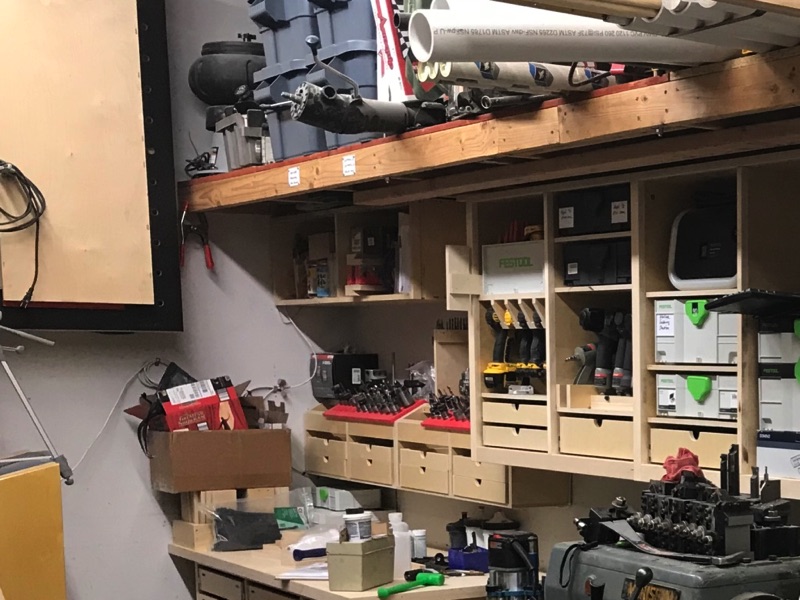
mod600 said:lilscorpion -
Where do you buy your plastic material? (The Starboard and HDPE)
Thanks!
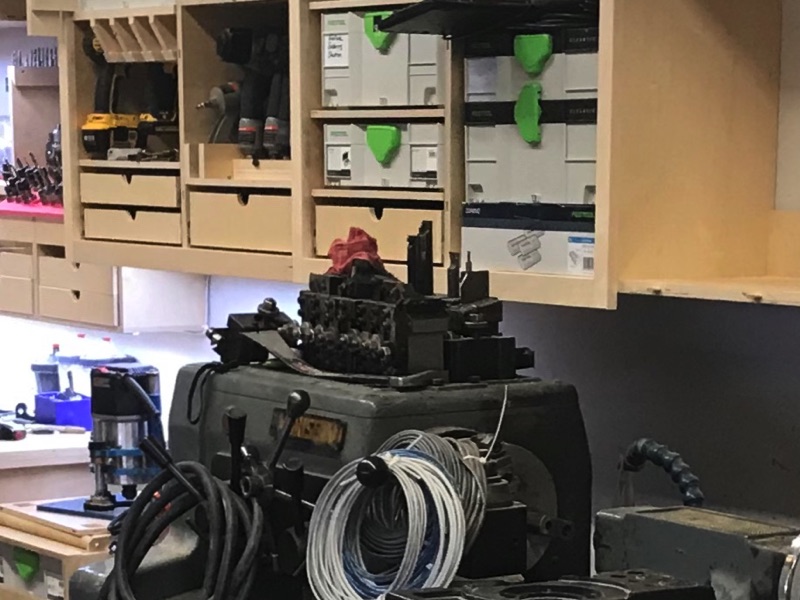
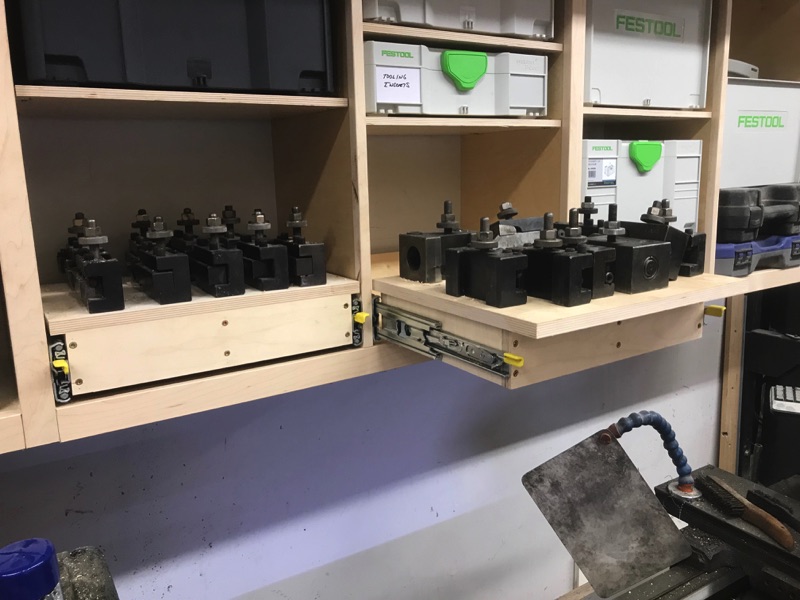
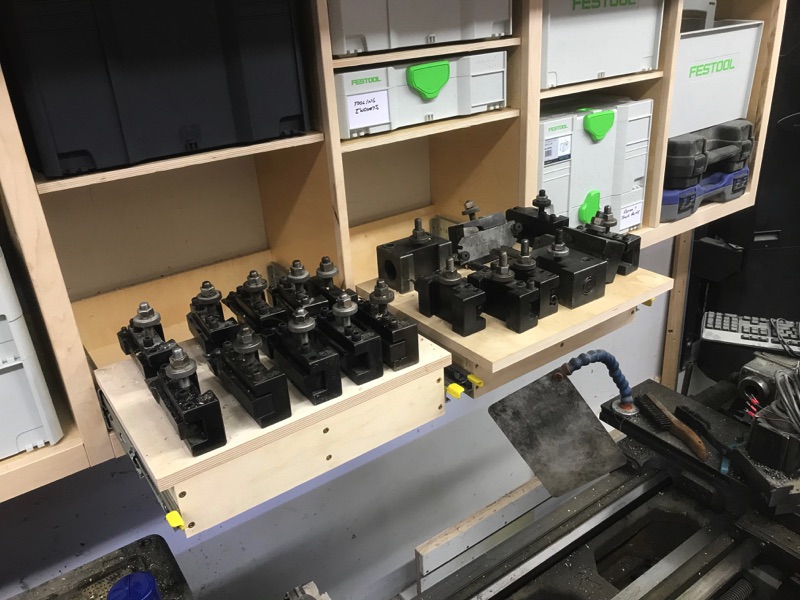
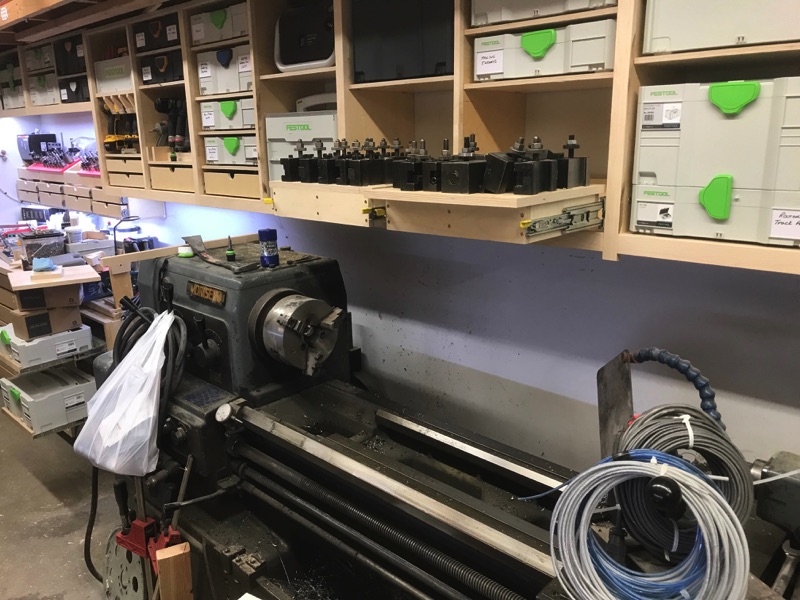
Tyberius said:Is there usable space under the tooling holders or are they open on the bottom? Are the tops of the trays permanently affixed?
neilc said:Amazon also offers HDPE. Another alternative is PVC sheet. You can get it at Home Depot.
Strouty said:Amazon.DE works well, I also use Amazon.JP for other tools.
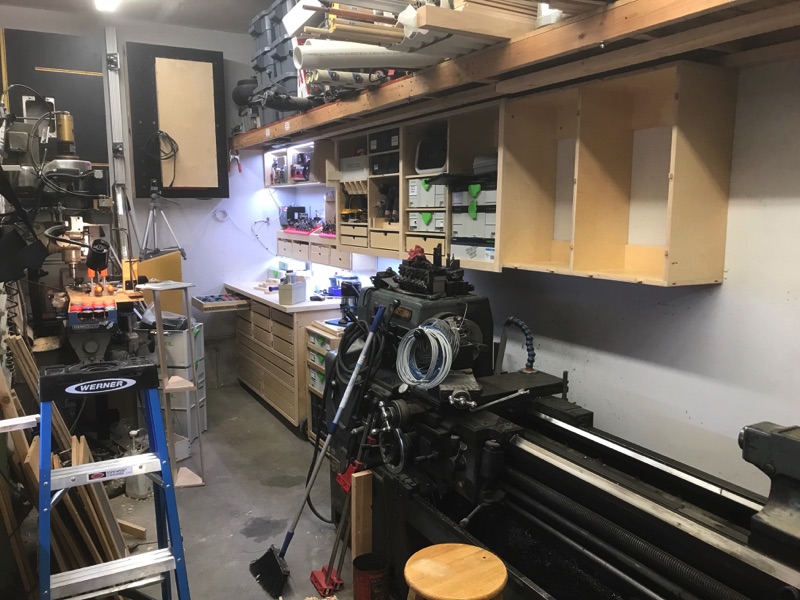
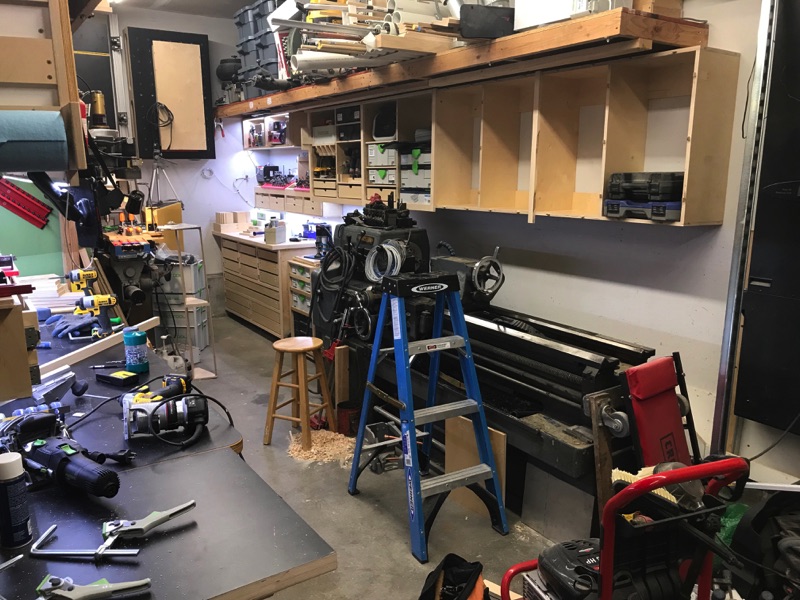
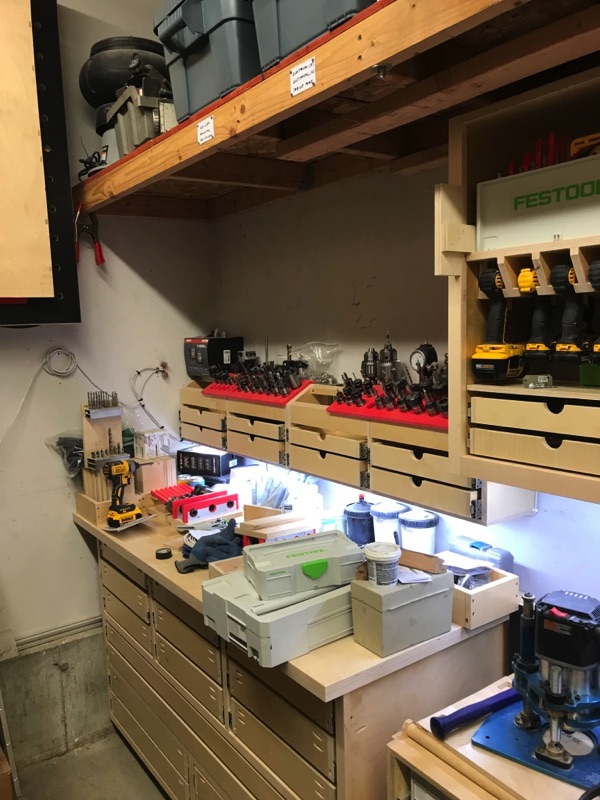
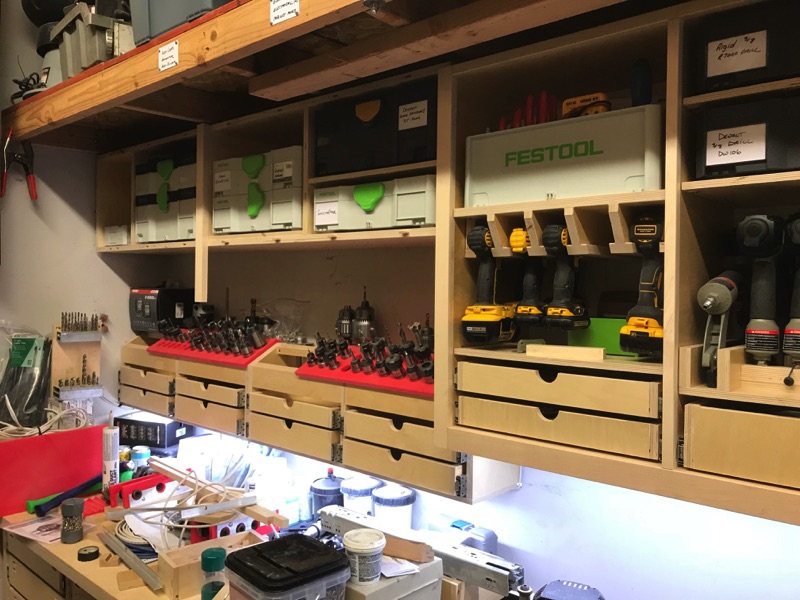
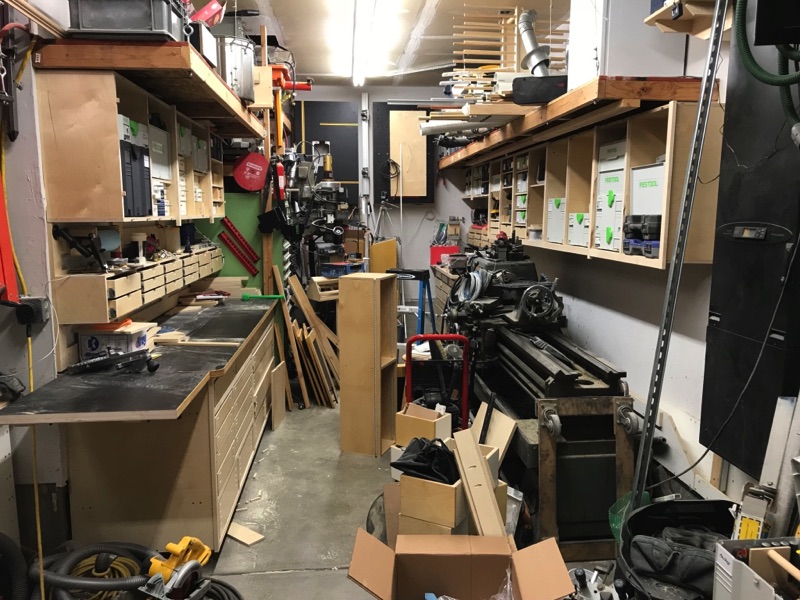
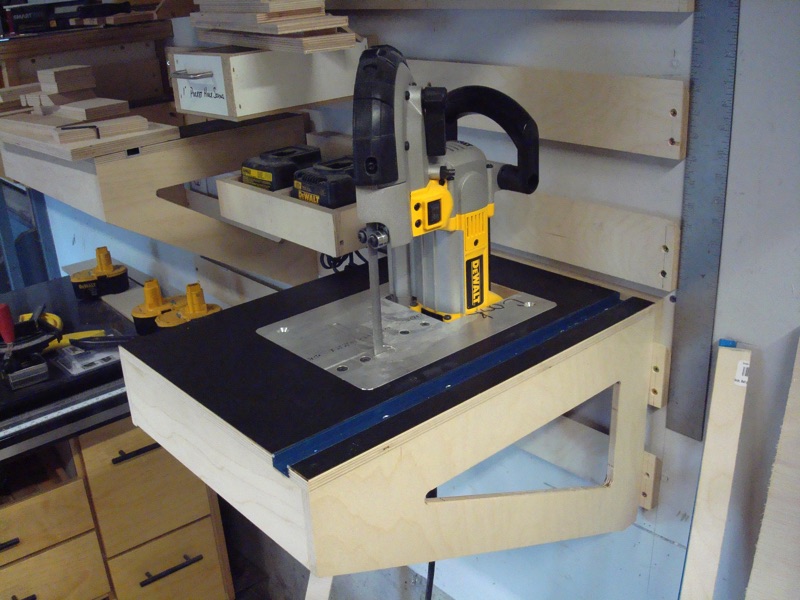
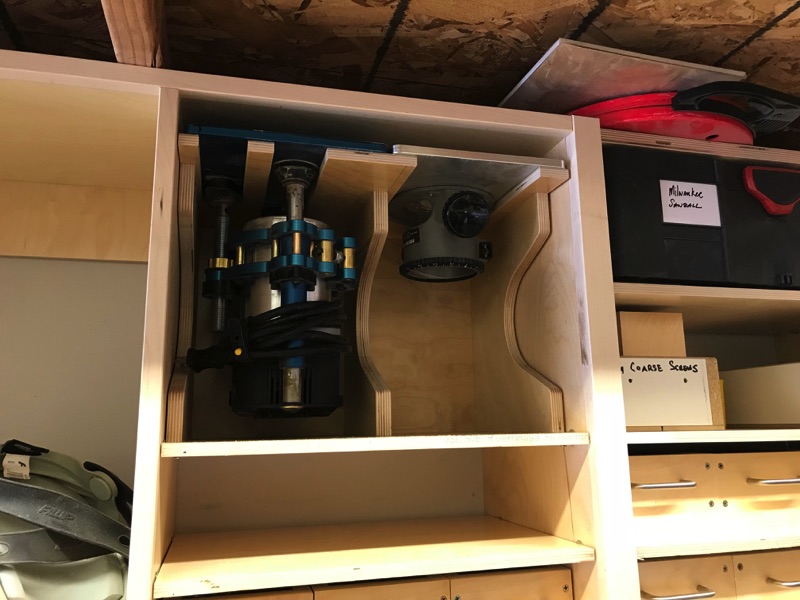
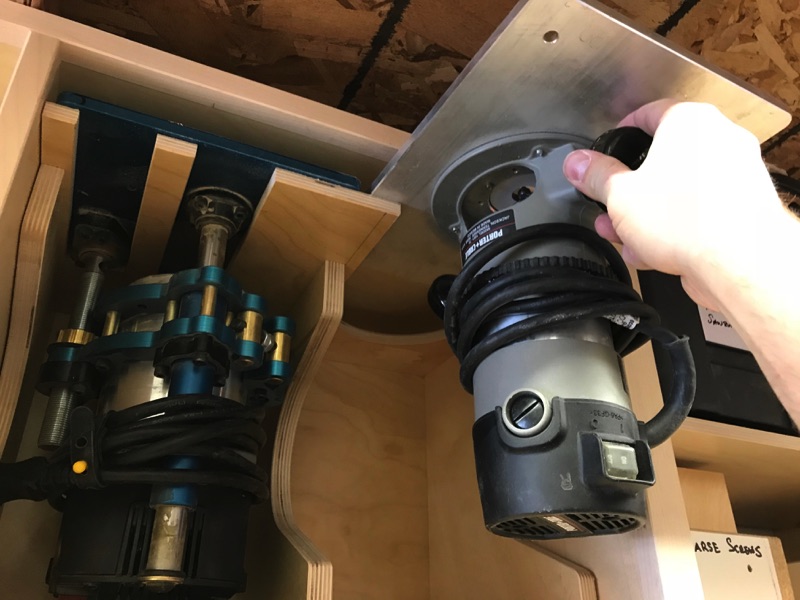
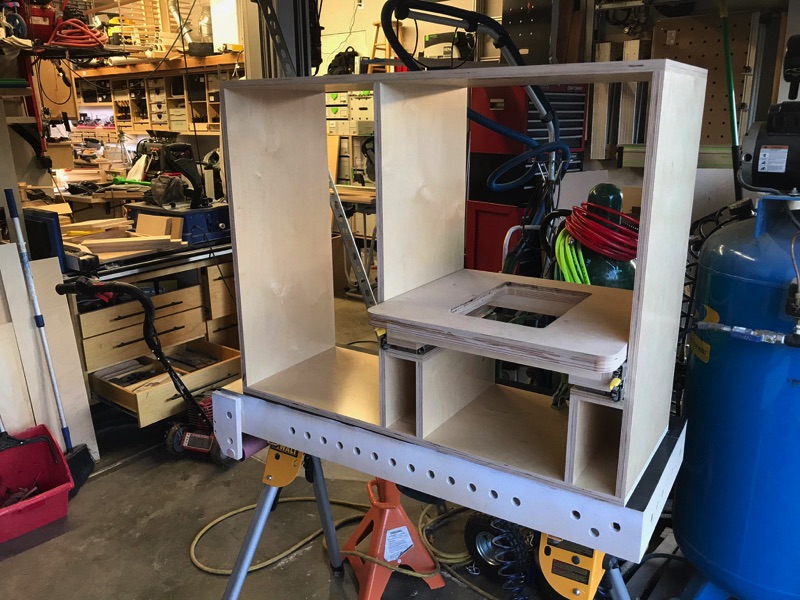
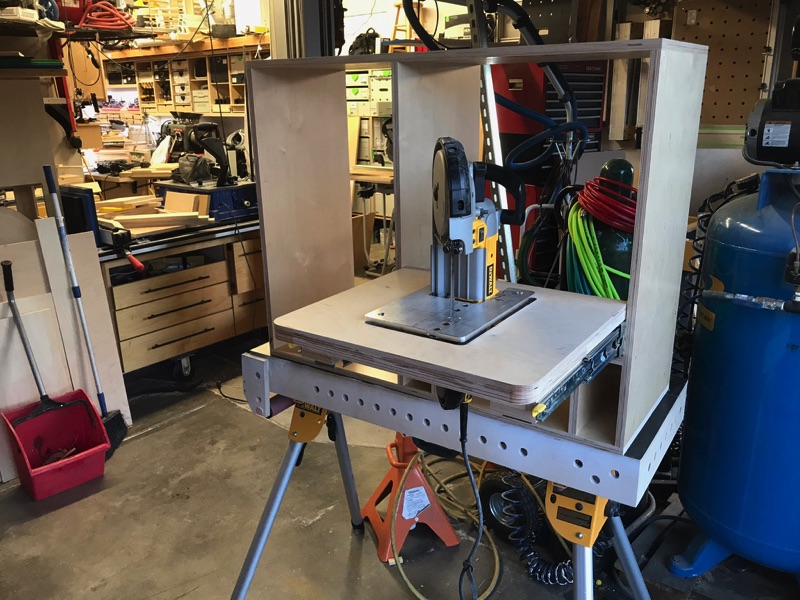
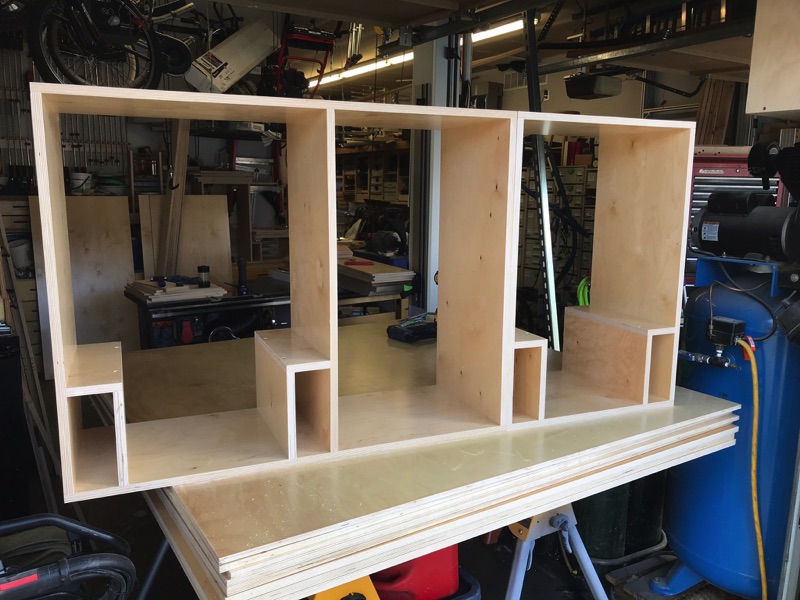
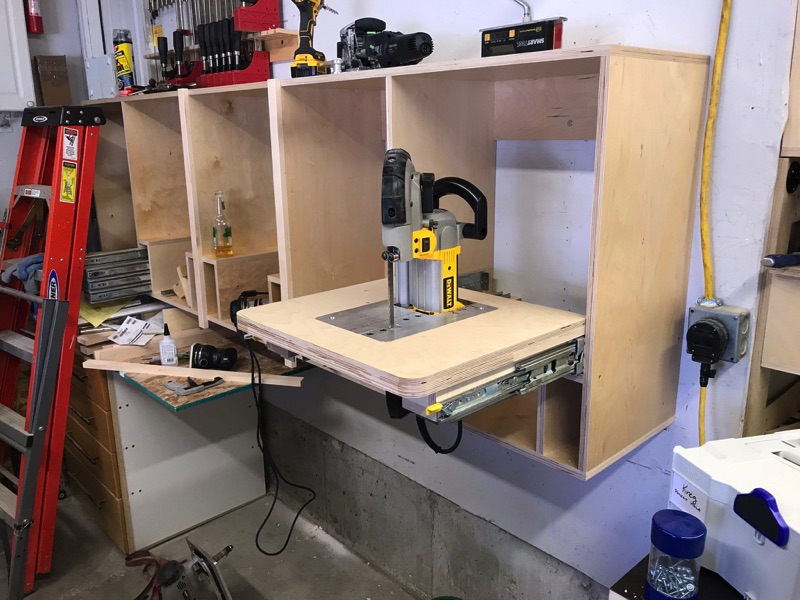
Strouty said:Now I am going to be a bit on the critical side......... The shelves for the aloris holders seems like a lot of wasted space. If you were using it for collets and they were going to be recessed I could see it that way. You will probably have a plan that none of us know about, so sorry if I am being too forward, love watching the transformation, don't want to scare aways updates!
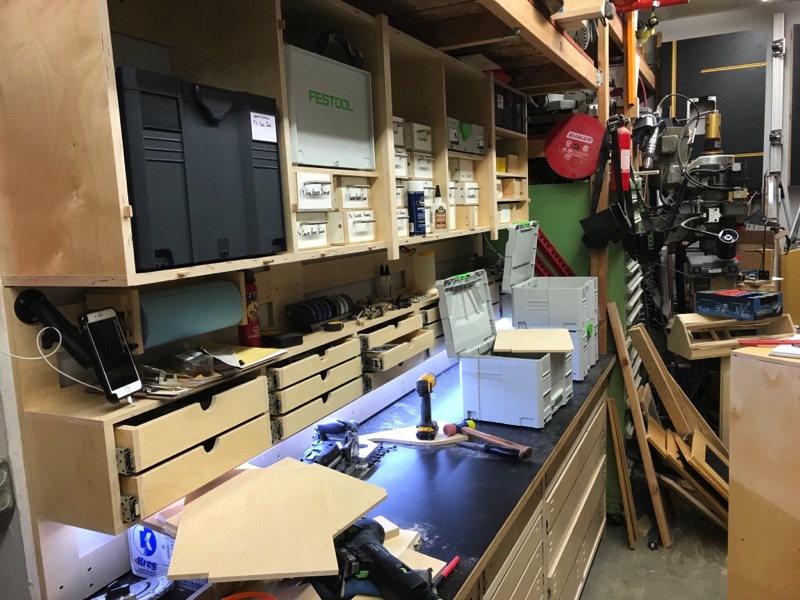
No, you’re right. There’s nothing inherently creative or space saving in the design. In fact I probably need to re-think the plan. I didn’t like the idea of them being in drawers when up that high but maybe I should make one and see how I like it.
I do appreciate the feedback.
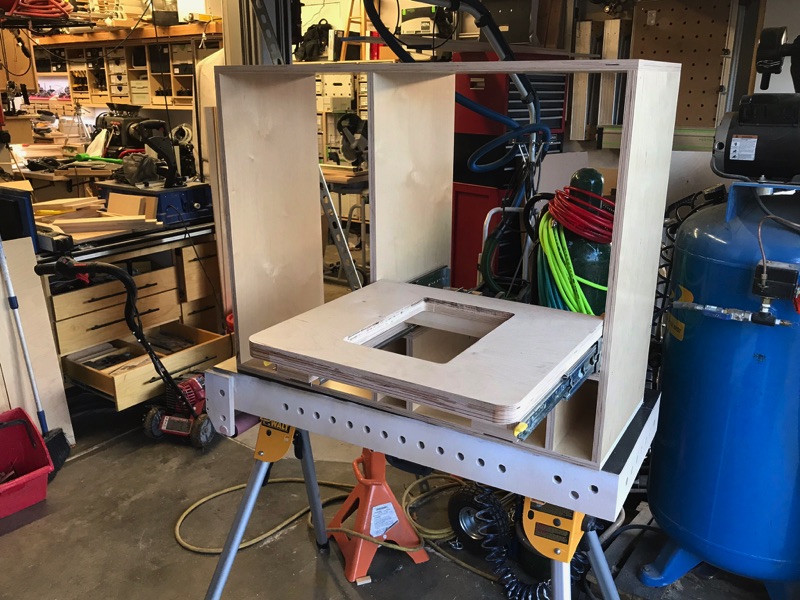
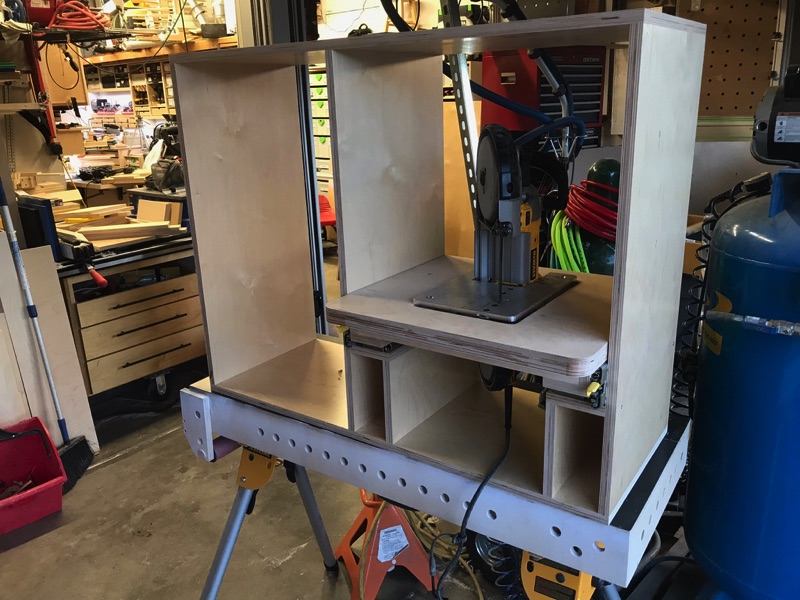
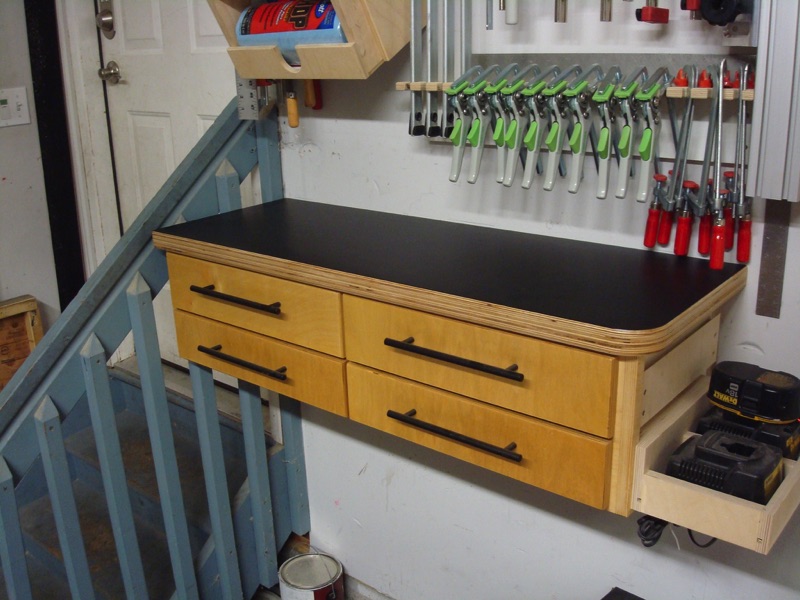
Honestly, I didn't understand the intent with those platform drawers either but I was waiting to see what happened. I assumed you were going to do something more with them and I'd think, "aaahhhh, that's awesome".
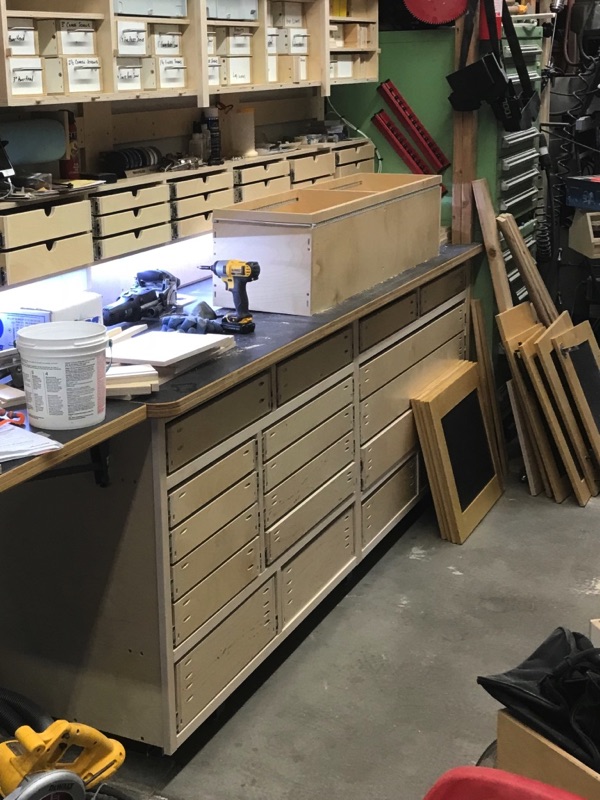
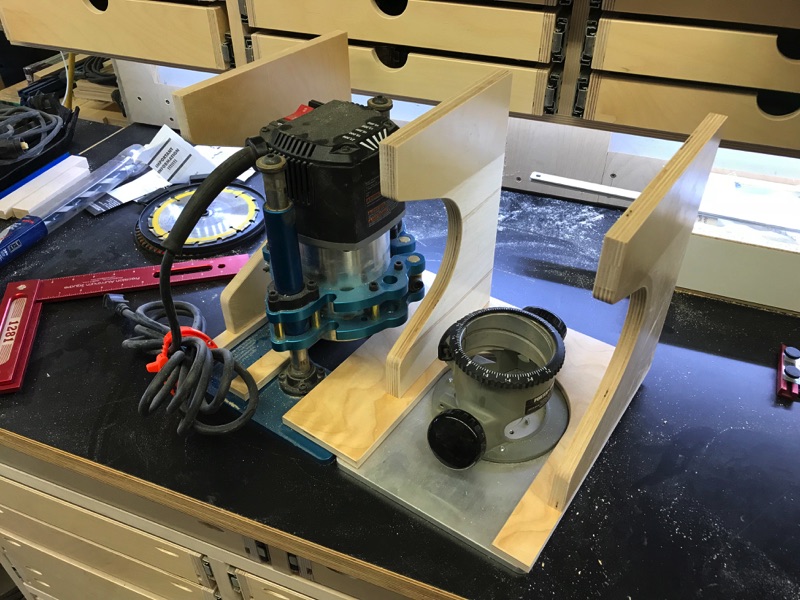
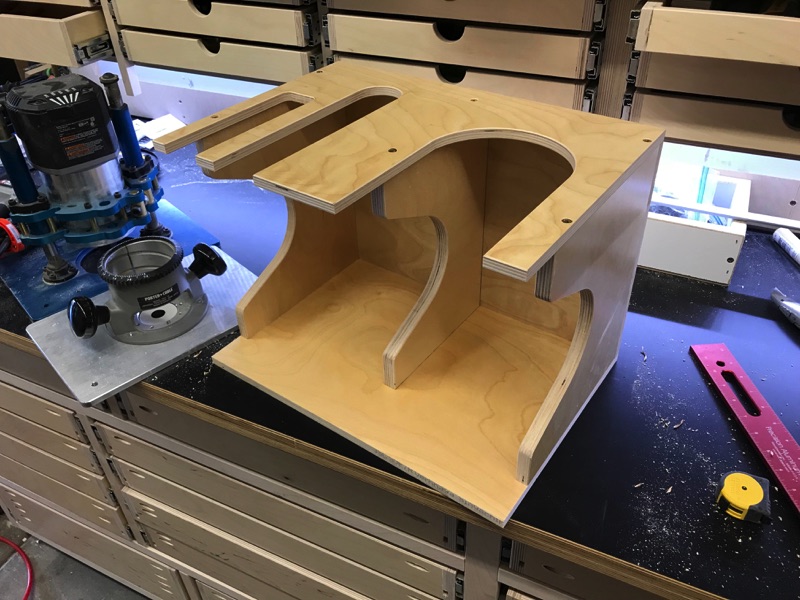
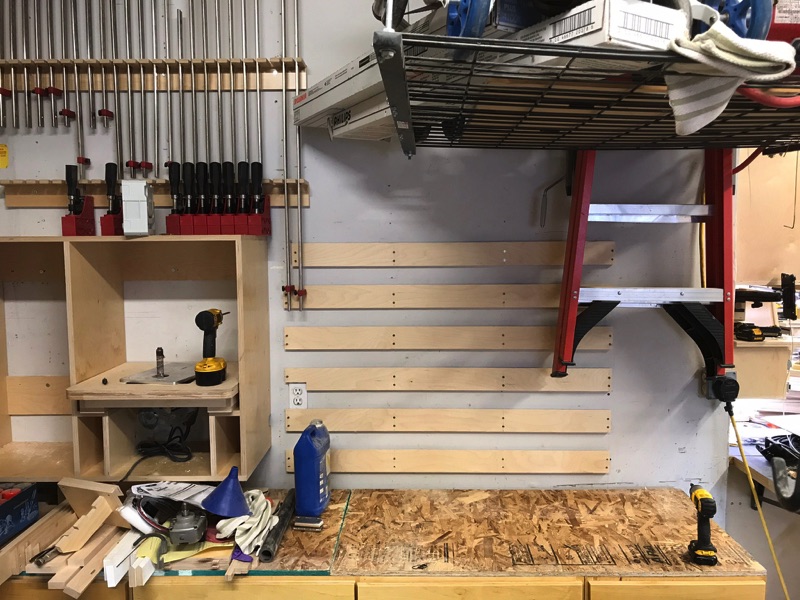
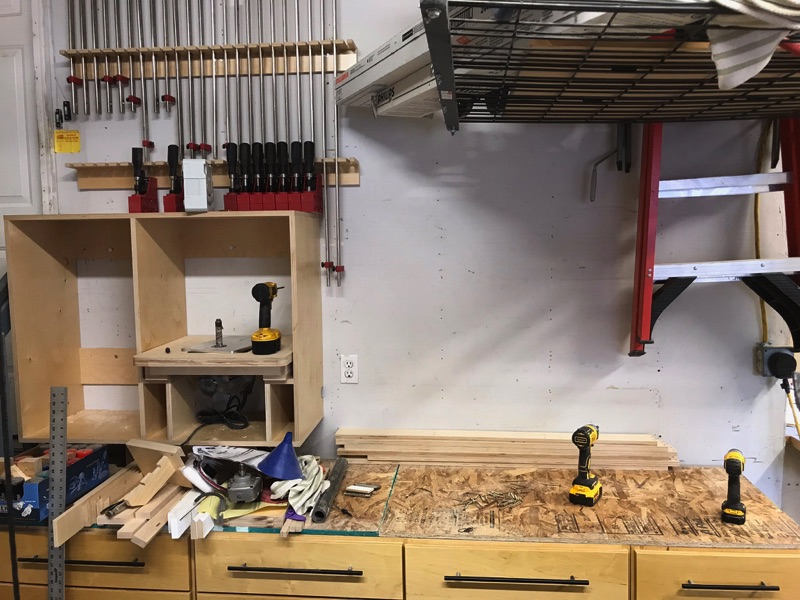
I just came in from the garage where I stood in front of these drawers for about a hour where I drank a few beers and spent some time thinking through what I was really trying to accomplish. On the third beer I had an idea, followed almost immediately by another. Hmm, maybe at beer 3 I enter a "creative zone"? Need to order a few parts.
/http://s3.amazonaws.com/manmadediy-uploads-production/photos/15692/cliff-clavin-on-beer-reprint-of-a-classic-diatribe-from-chee-demotivational-poster.jpg)
What kinds/brands?
I do appreciate the feedback.
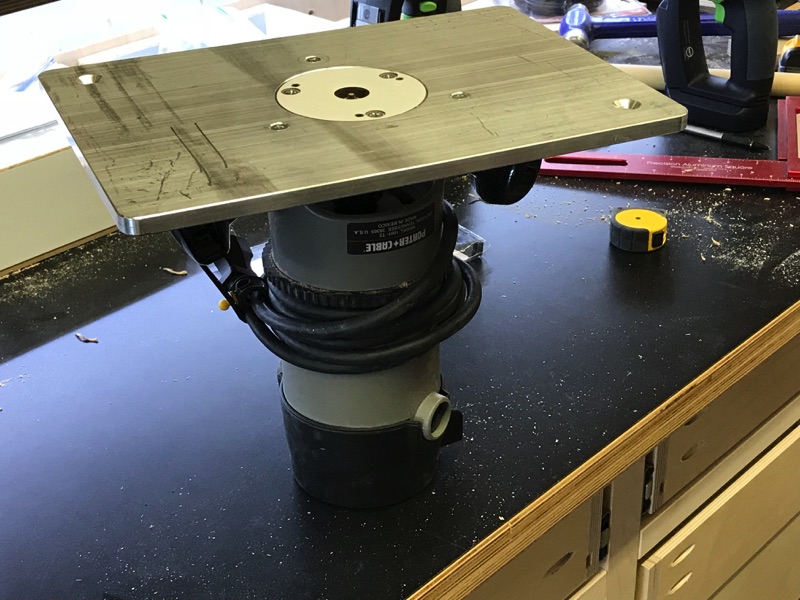

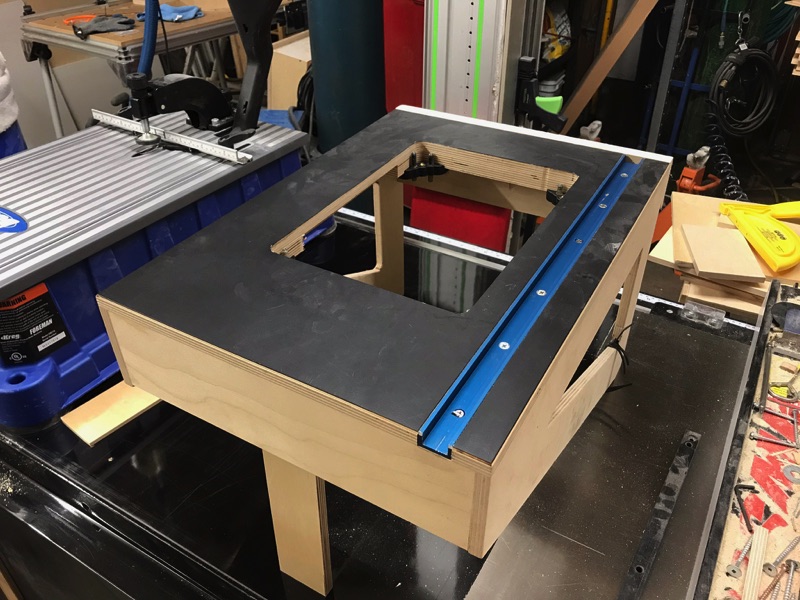
Strouty said:That is slick!
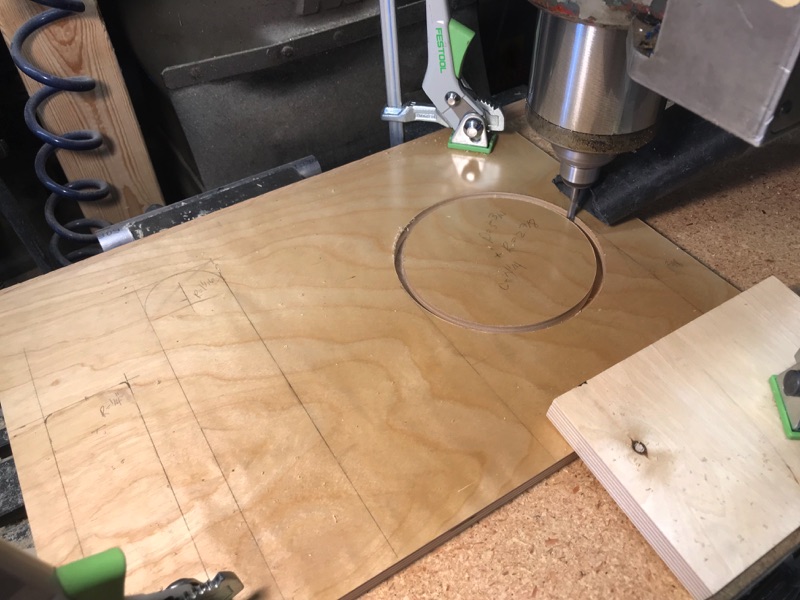
Also never thought about using mill for wood. How deep can you cut in one pass?
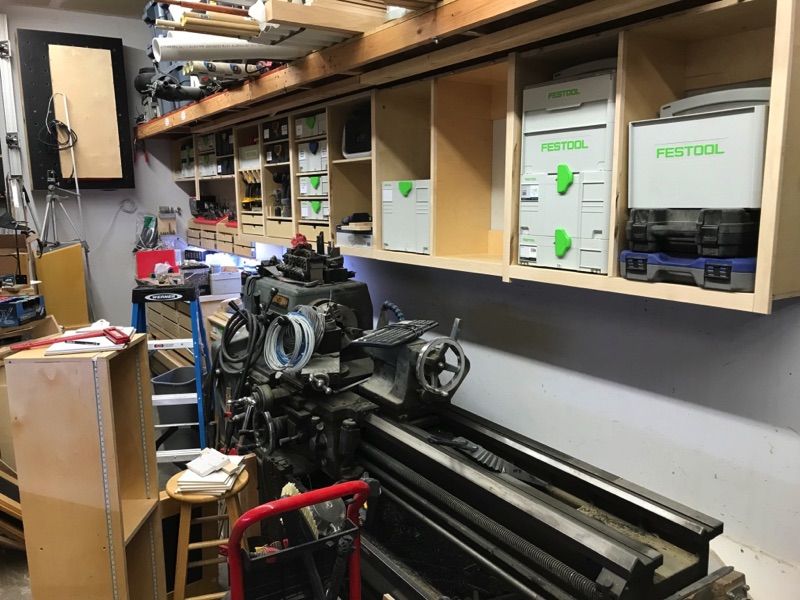
I just bought a 2 axis CNC Bridgeport and this is very interesting.
Any progress on the FT-5?

Sweet, is it in good shape?
Motorell said:What brand of palm nailers would you advise to choose? I thought about this, might have googled this but thought it'd be better to ask someone real, not read a pile of doubtful articles, don't you think so? In fact, I think it's much better to use screws instead of nail but a good man who has to be a joiner too, must have a nailer in his household!
Strouty said:It appears to be in great shape, I have not been able to use it yet, but it powers up and will home itself, then the controls work and the read outs read. I am hopeful. It is interesting as it is designed to be full manual or CNC. I will be learning how to use it over the next few months. Shop time is getting harder to come by with that pesky work type stuff getting in the way.

That mill is setup like our Mills here at work. You are going to be very happy with that mill.This unit has a 3 axis DRO (quill is the third), so it is an awesome setup for a manual mill. I have done enough research and I am confident that if there is any part that has issues, I can get a replacement. The company that has the rights to the software is very helpful. I spent 30 minutes on the phone with one of the owners and he says that they have all computer components and software to make it work in case of any failure. Of course it all costs money, but my first impression is that it is fully functional.
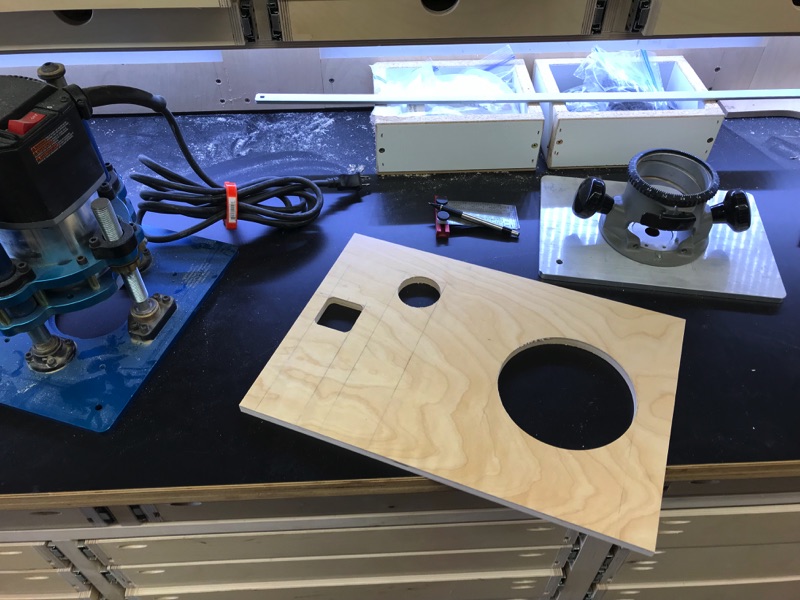
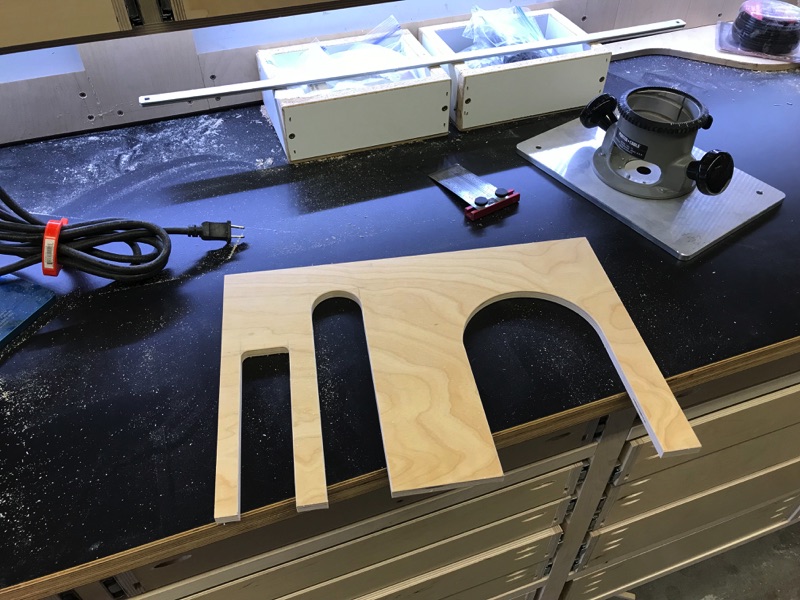
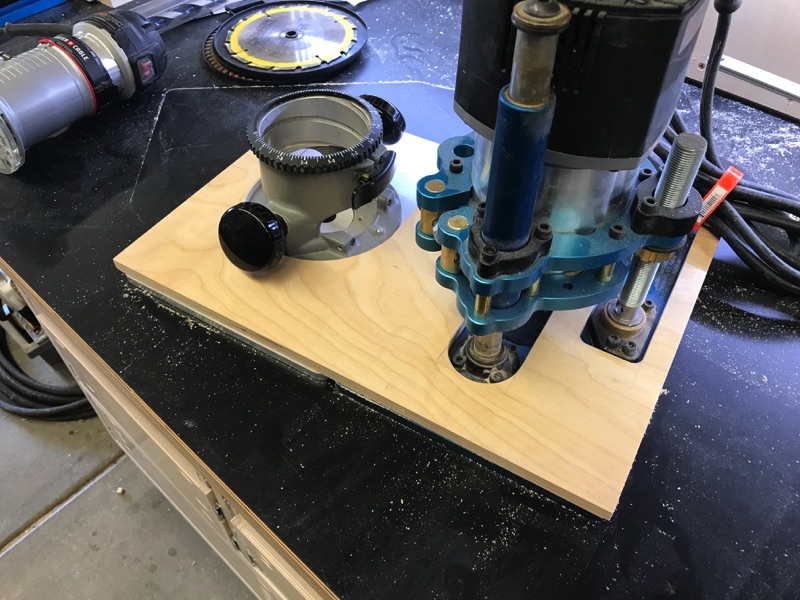
Thanks to lilscorpion, I will most likely be using it for making organizing items. I definitely want to try it on wood, that just seems like an awesome idea and the results are clearly great.