Strouty
Well-known member
Looks great, I need to do some similar organizing, I made up a temporary Lista cabinet, but I need to do something that really fits the tooling better.


Looks great, I need to do some similar organizing, I made up a temporary Lista cabinet, but I need to do something that really fits the tooling better.


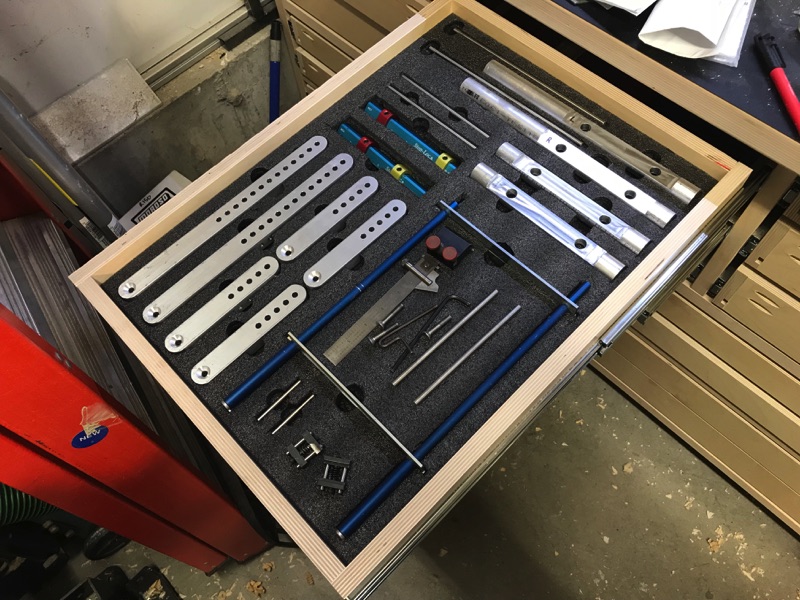
The foam is awesome, until you need to reconfigure, then it *****. Ask me how I know.
I still love it and plan on using it again, it just hurts to have to start over. The issue that you have (Me too!) is that you don't want to do half assed jobs. Lean is technically all about fast and cheap, so a true lean shop would have made those drawers out of used cardboard boxes and duct tape.

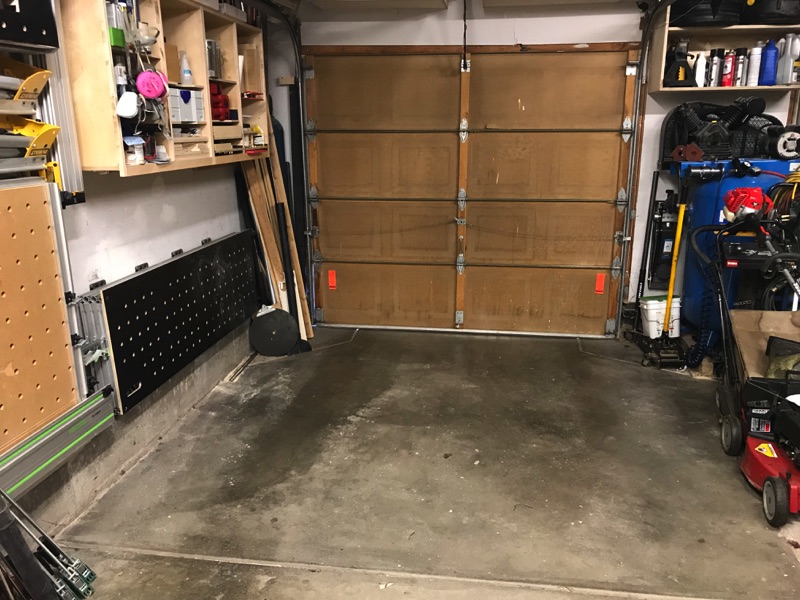
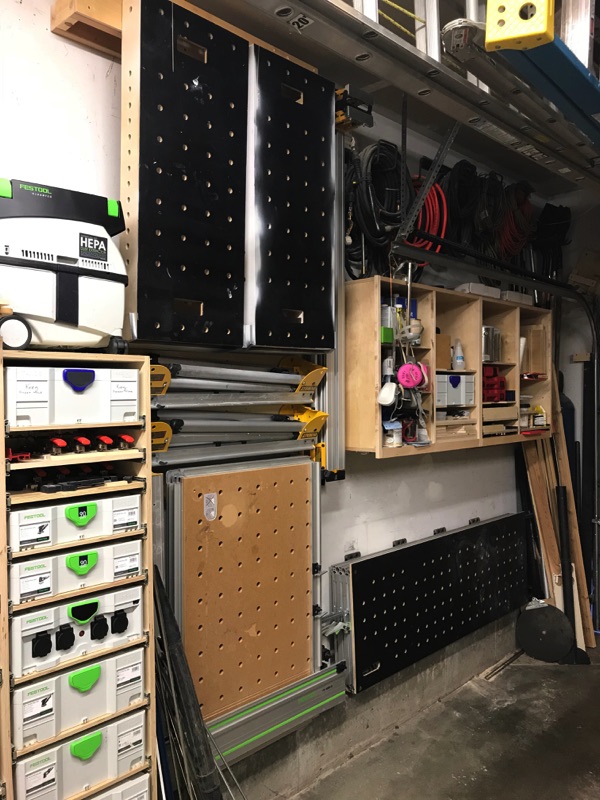
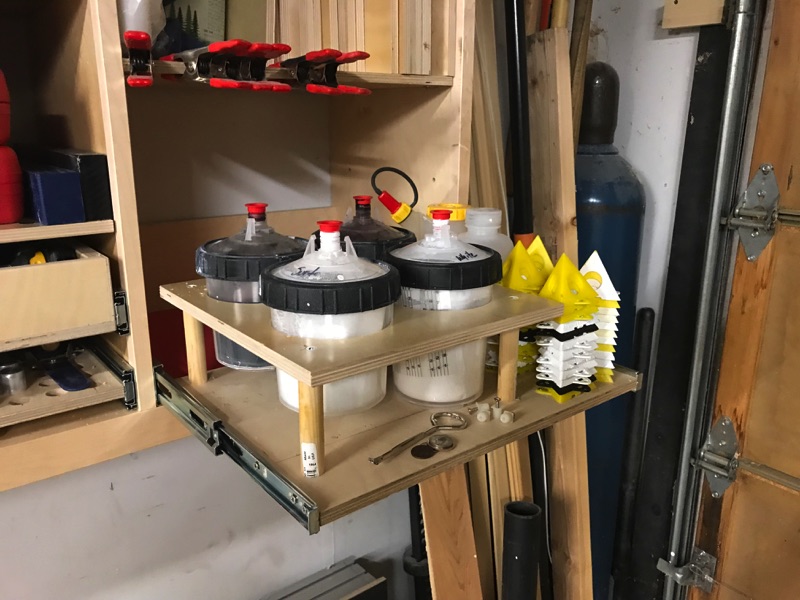
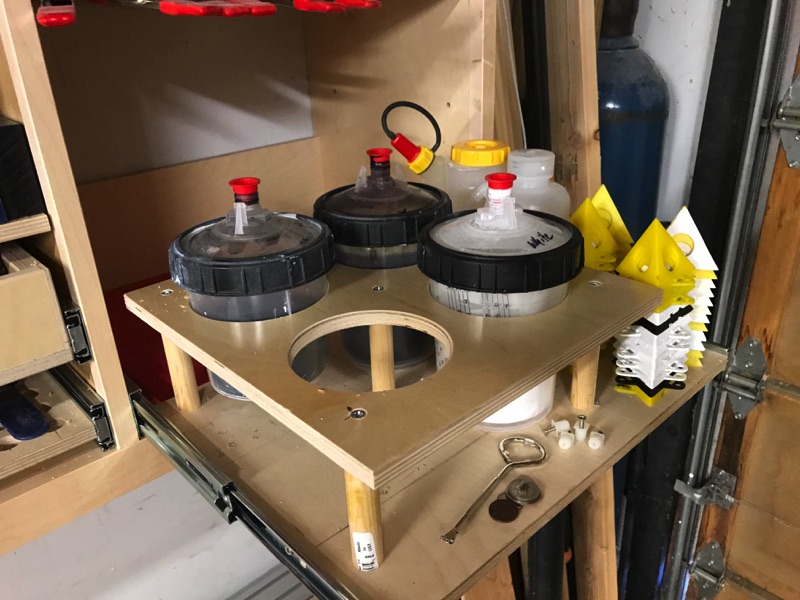
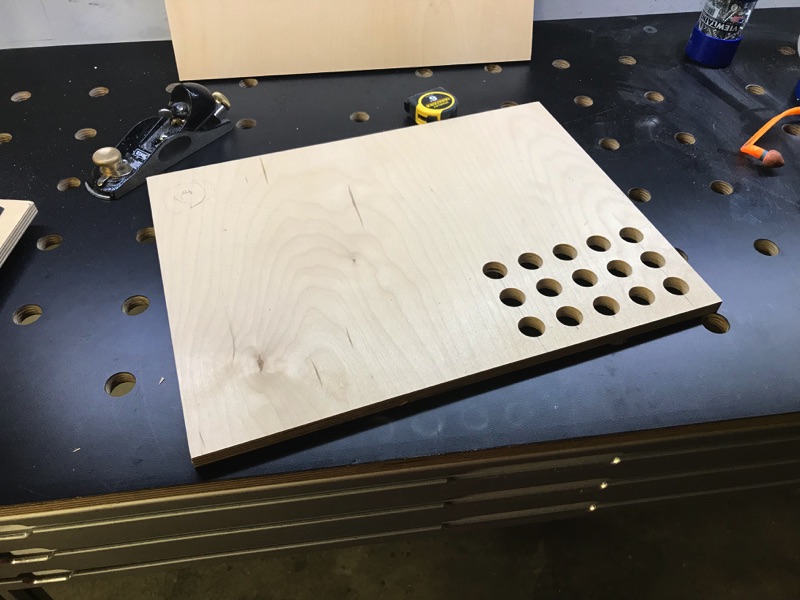
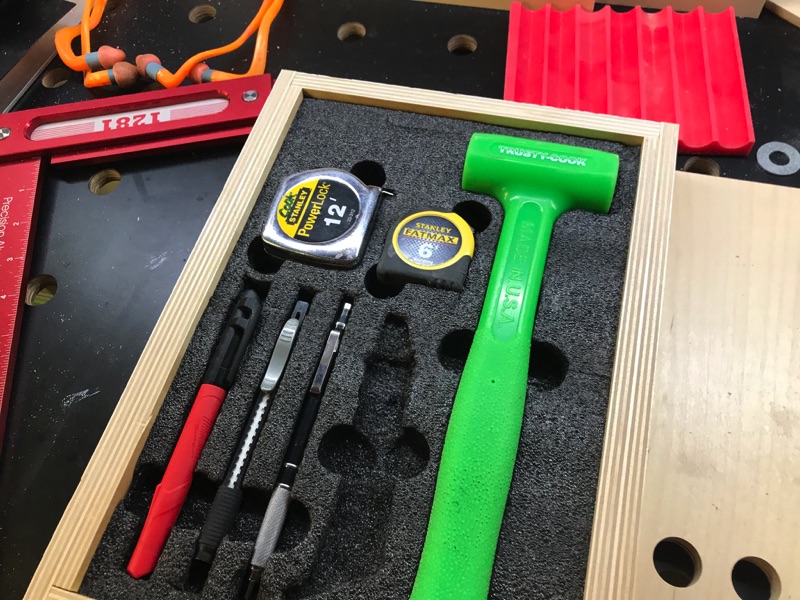
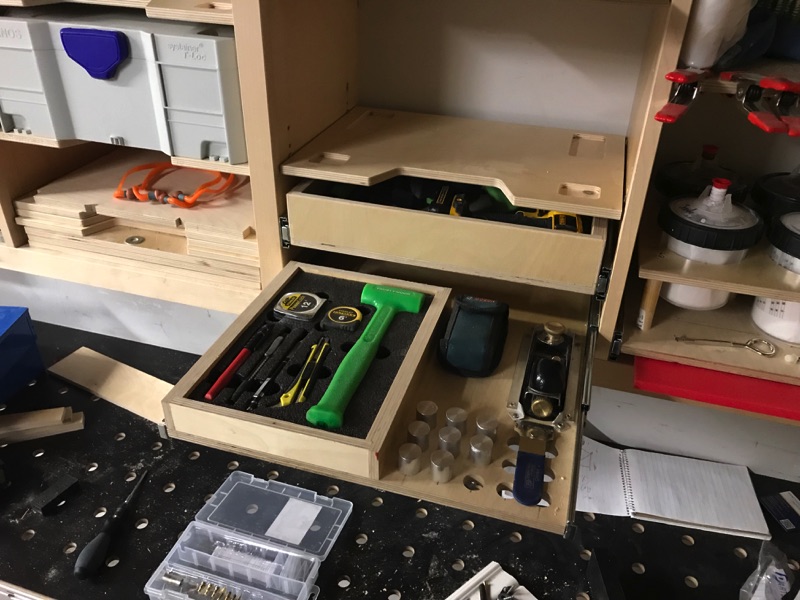
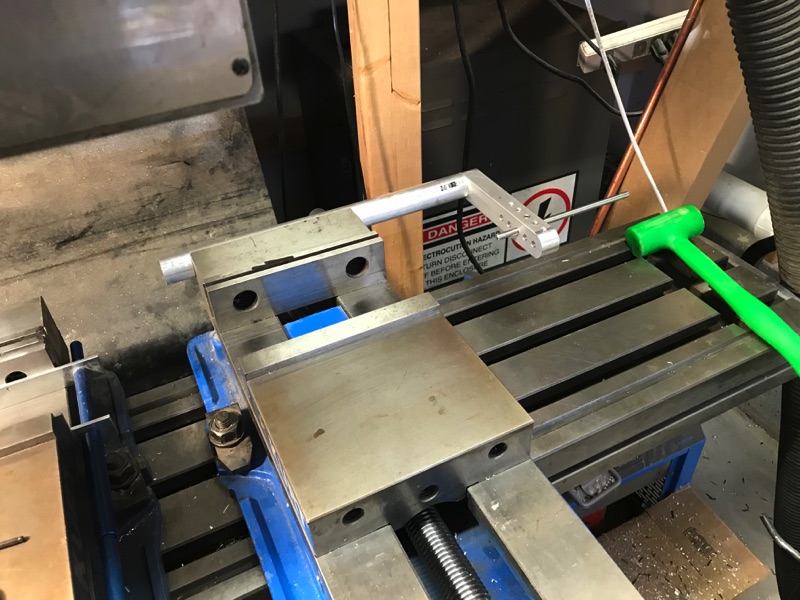
All of your work is just amazing.The key to optimizing a workflow is to establish a starting place. To do so, you really need to use a new space for a while to see how you’re going to use it. In this case - my new fabrication bench and it’s above shelving. This fold-away bench has become the most used bench in the shop for 1 reason and one reason only - I always, always, to fold it I have to clean it and I have to fold it in order to put the Jeep away…so it’s always clean…and the clean bench always gets used.

All of your work is just amazing.
Does the Jeep ever get parked outside overnight because of a project on the bench?
It is perfect for the workstations in a multiple process situation where time and money have a very specific relationship. I find that you have to apply it correctly or it is a waste of effort. I had a drawer that was setup well, but when I sold the cart, the foam wouldn’t fit anything else I owned.
It had two layers and fit very well, I tried to fit it somewhere else, but it was a waste of space. Took me hours to make and it looked like ***, but worked great.

Strouty said:I would love to have an entire toolbox with all the drawers setup this way, but it would be expensive and I would need a couple more boxes.
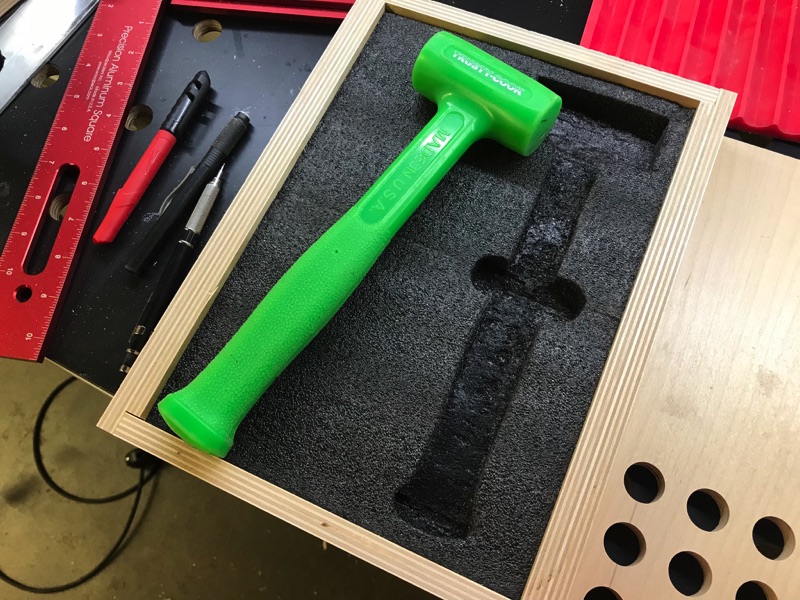
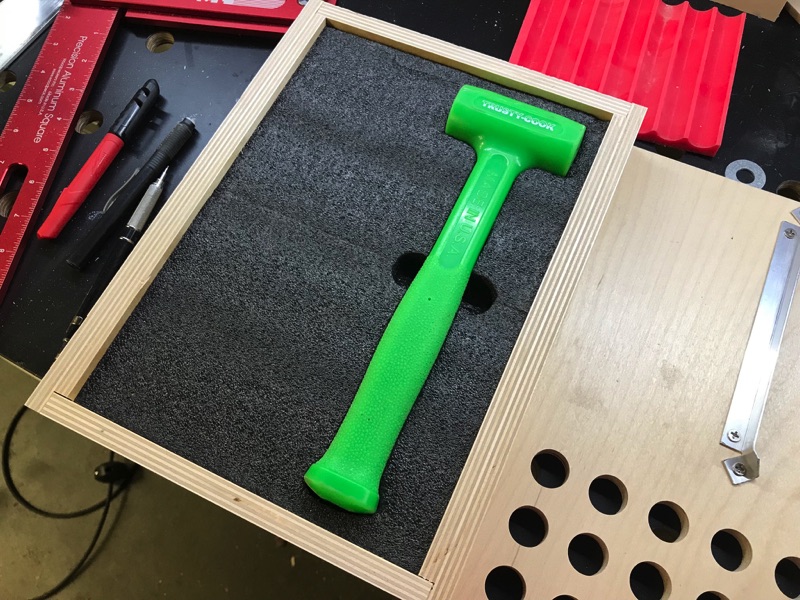
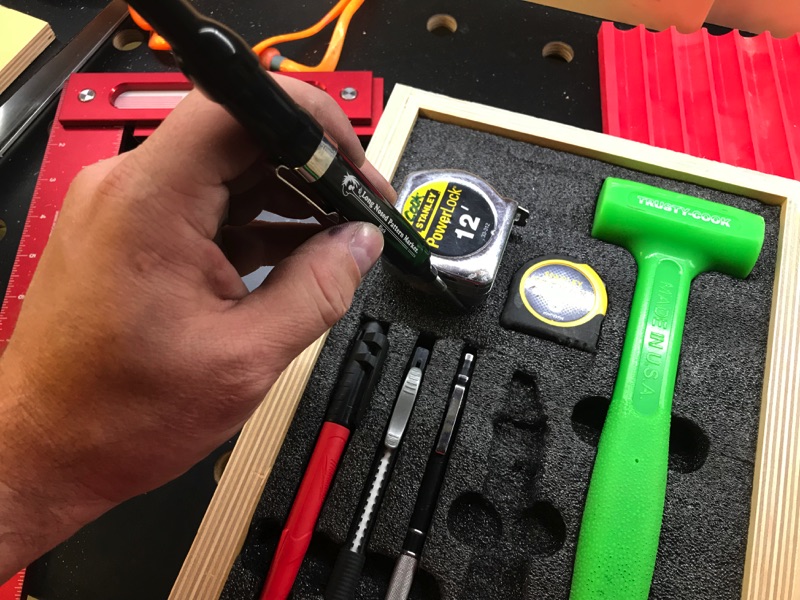
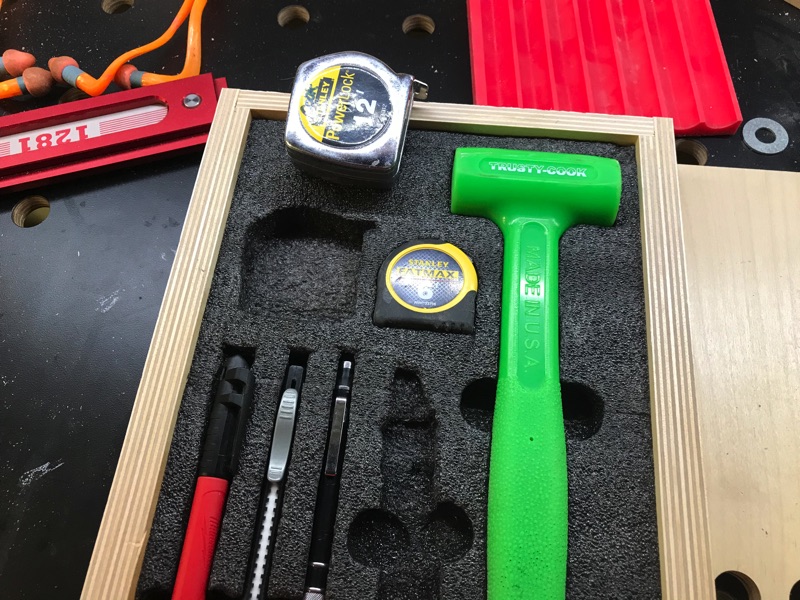
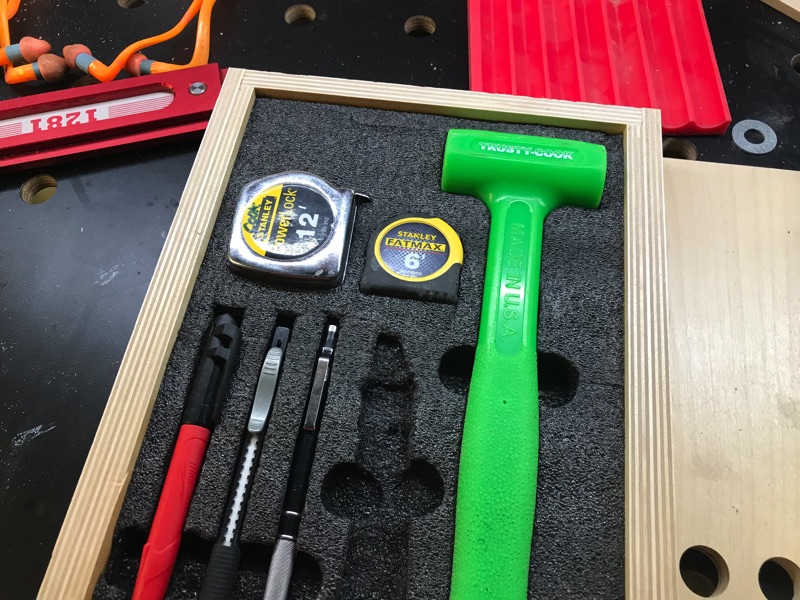
beelsr said:the foam is great. I don't use it for "storage" in the tool chest because of the density issue but it works great for task/job specific setups. Like on a toolcart next to the mill. I've used it in setting up production shops so that each cell has a set of tools so they don't have to go hunting simple tools down to fix something - like every place needs their own deadblow hammer to set th epiece in the parallels or an alcohol or lacquer sprayer and a box of wipes. and a tape measure. and an 11-in-1. and dykes, etc...
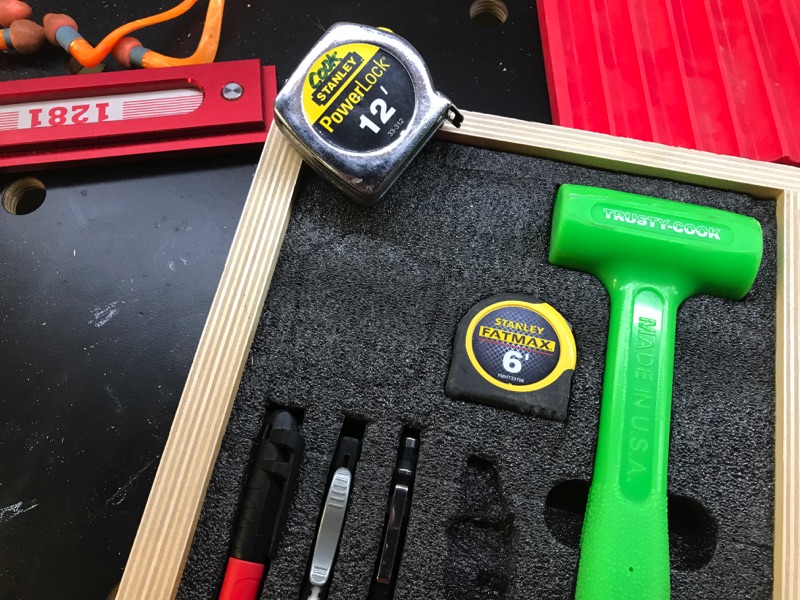
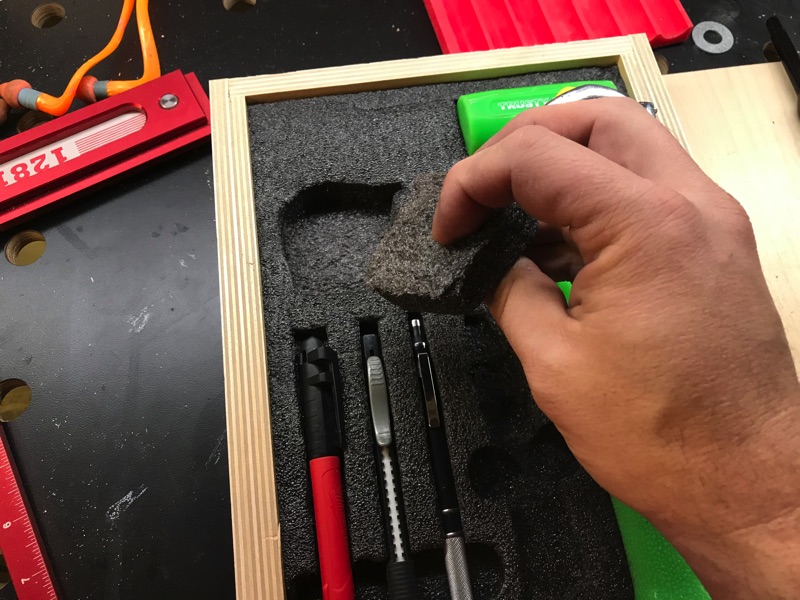
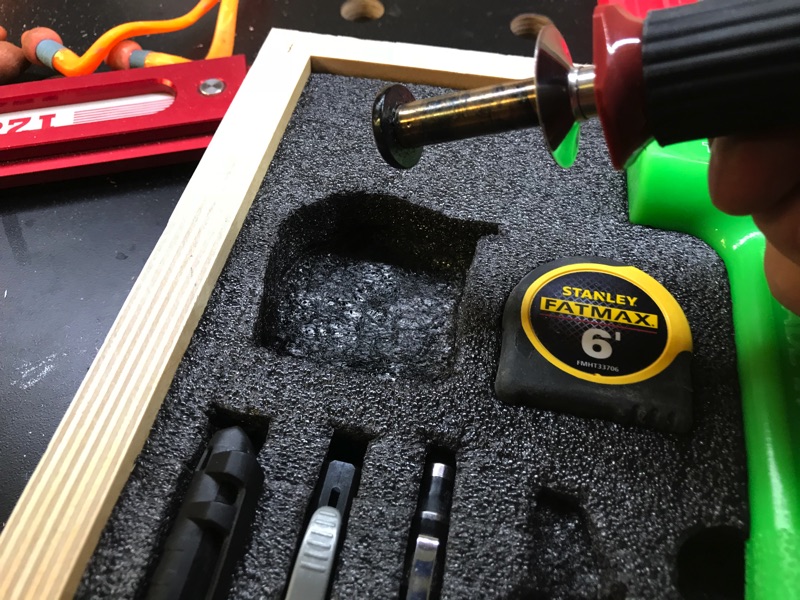
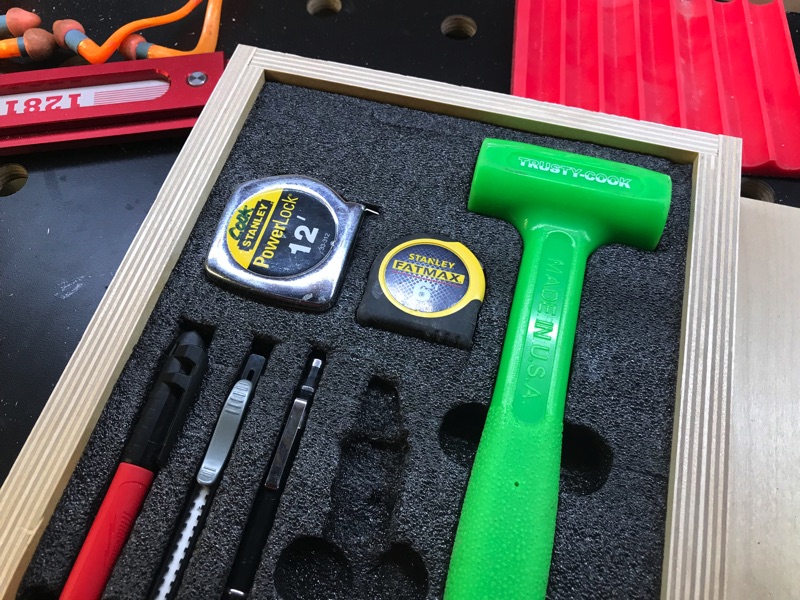
The next level is to paint the foam so that the color jumps out at you when a tool is not in its spot.
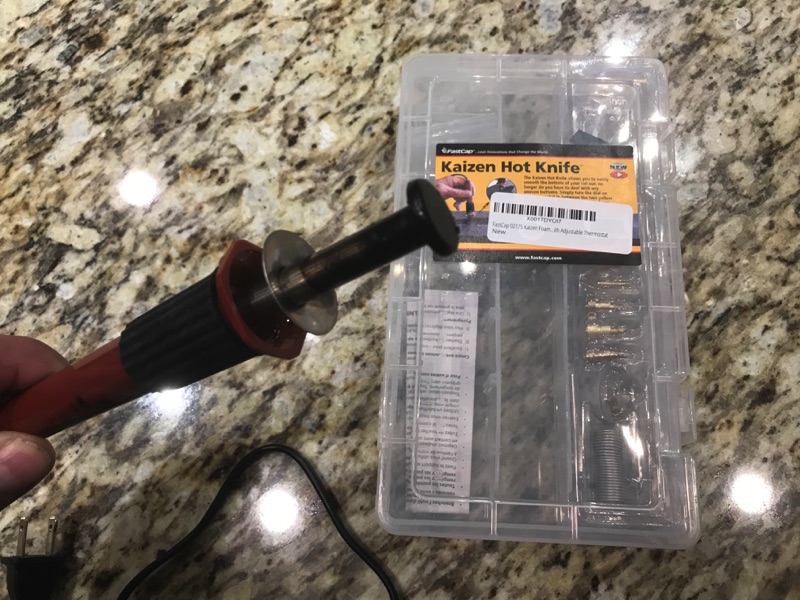
The next level after that is to start watching fastcap's youtube channel and then realize the sun is coming up...


Was there a discount available from them mentioned at one point in this thread or maybe your previous Organization thread?
Never mind I found it. Placed my order over the phone rather than online and got a nice discount. Seems backwards from the way the world is spinning. But I wanted to confirm that my items were in stock and would ship rather than back order. Worked out good for me.


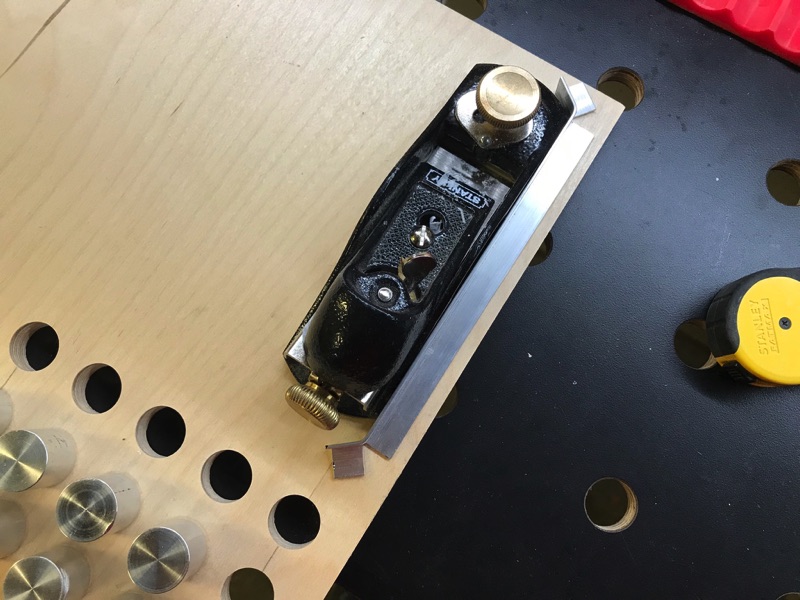
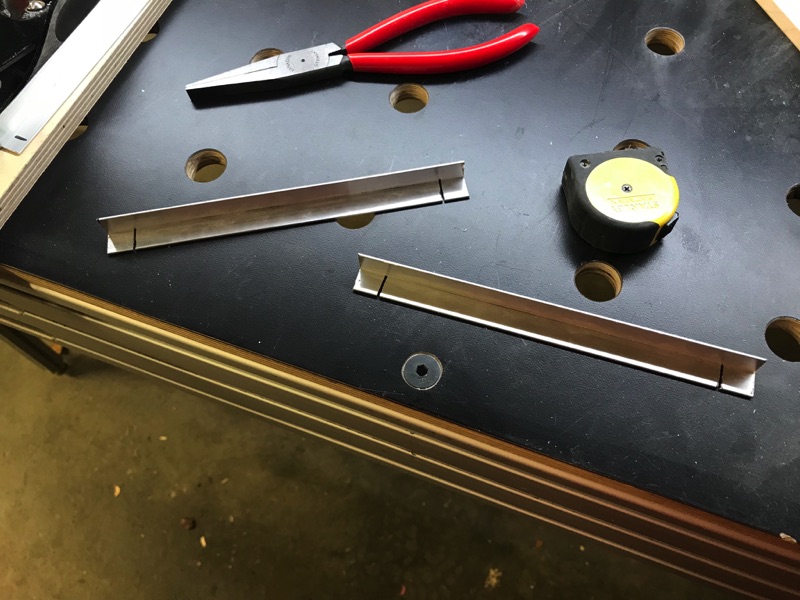
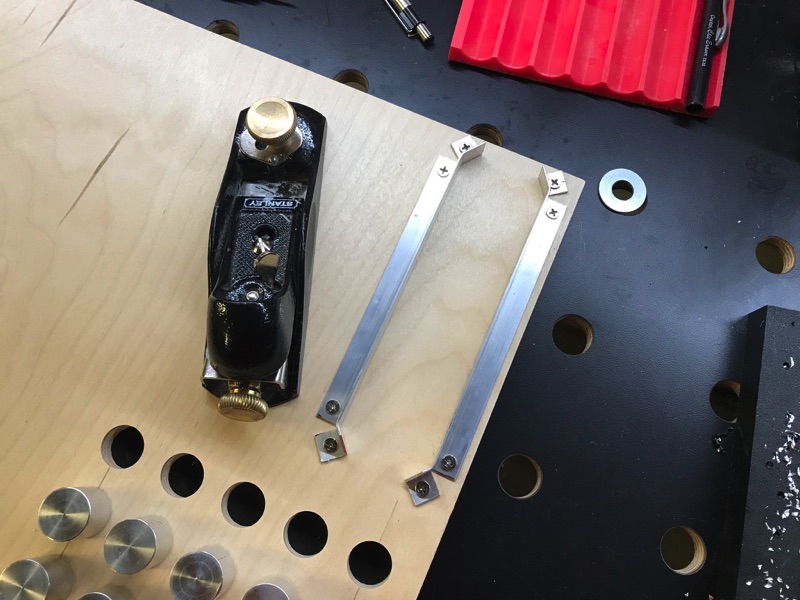
Looks good, I too need to make some stops, I think it would be a great project for me as a newb. Kaizen foam or any foam always looks beautiful, but you have hit the nail on the head, it wastes space almost always. I do like it for things that are a “set”, this way you know when a piece is missing, but I would need two or three times the drawers to fit everything, then I would have to take a year off to cut all the foam or mortgage the shop to have the fancy stuff cut after scanning all the tools. I am planning on using it for my screwdriver drawer and the drawer I use for socket extensions, I think the foam can actually improve storage for those types of things.
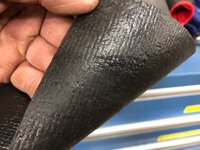
I have not found anything that compares to the snap on liner, it is thin, yet still molds to the tool that sits on it. I know people were using yoga mats or other material like that, but it is thicker. The snap on stuff is expensive, one was free, after I bought the tool box..........
i think he sells both but the mat is the "good stuff". i used the mesh (cheaper) under pliers racks and other drawers where "motion control by the liner" wasn't important.
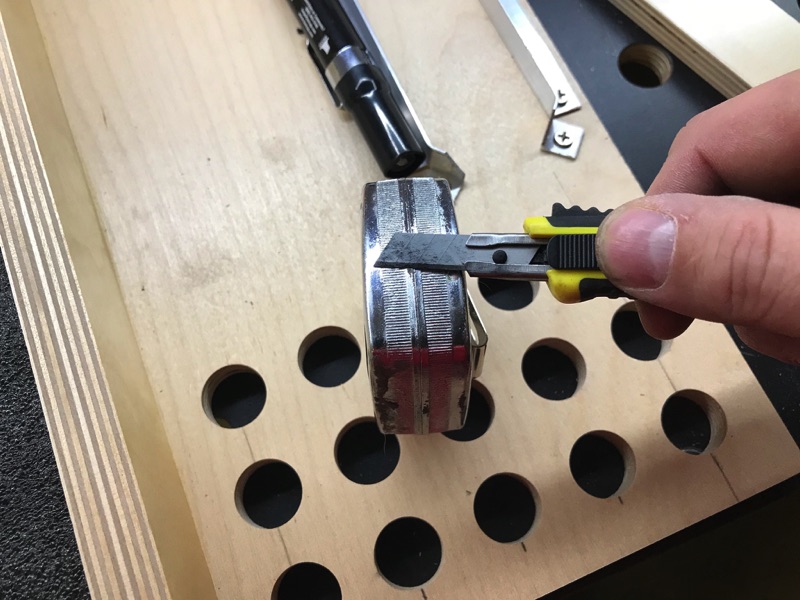
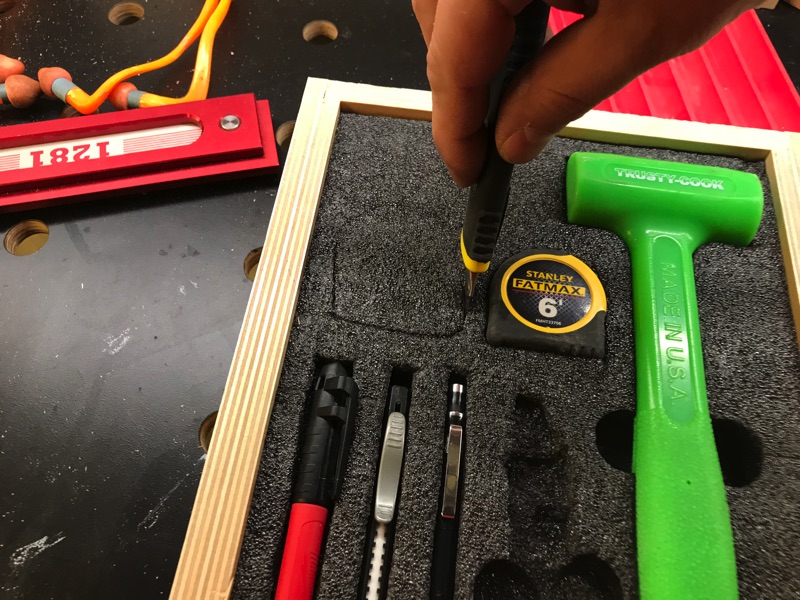
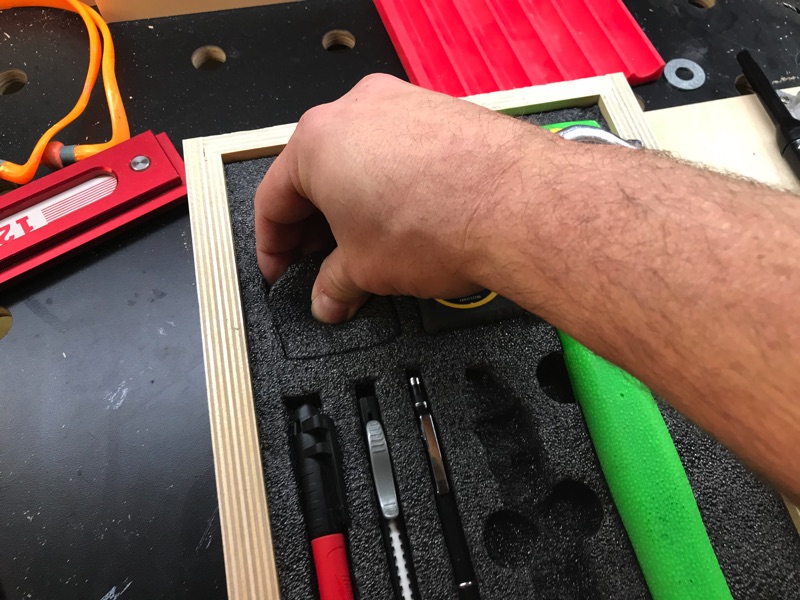
yep. tape measure, framing square and an olfa snap-blade knife. and bob's your uncle. unless he's your father-in-law like mine.
The mesh is not cool, make sure to get the mat, I even tried to hot glue the mesh, but it is terrible. When I bought all my Lista cabinets, that stuff was in almost every drawer, I tossed all of it, the mechanics had zip ties trying to hold it in place and it still moved around.


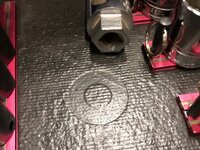
The snap on stuff seems the same on both sides, I will have to order some of the eBay stuff to compare it. Basically anything you set on it gets kind of stuck to it. The stuff doesn’t slide around at all in the drawers like some of the other ****. You can see how it indents to the tool, of course when you take away the tool it comes back to flat after a bit.
If you have perfectly round things laid down, they will roll, but that is true with anything but magnets, clips, and foam cut outs.