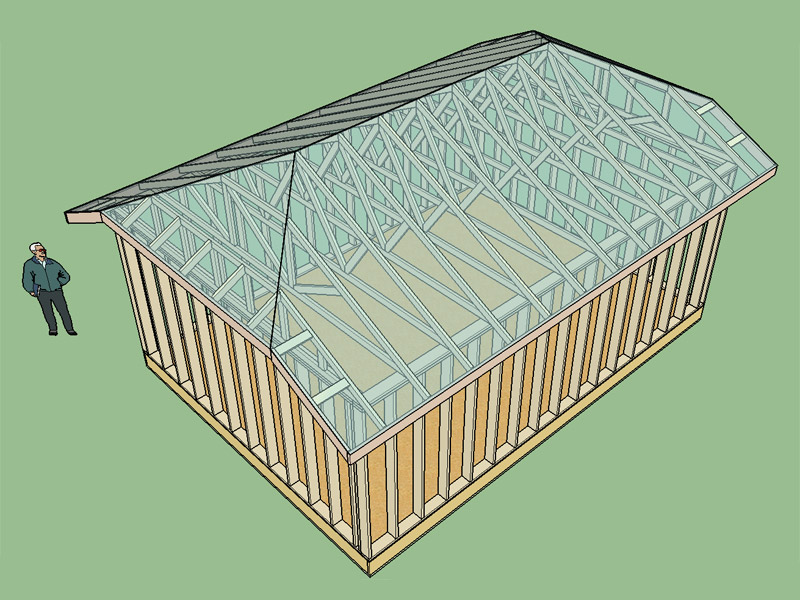
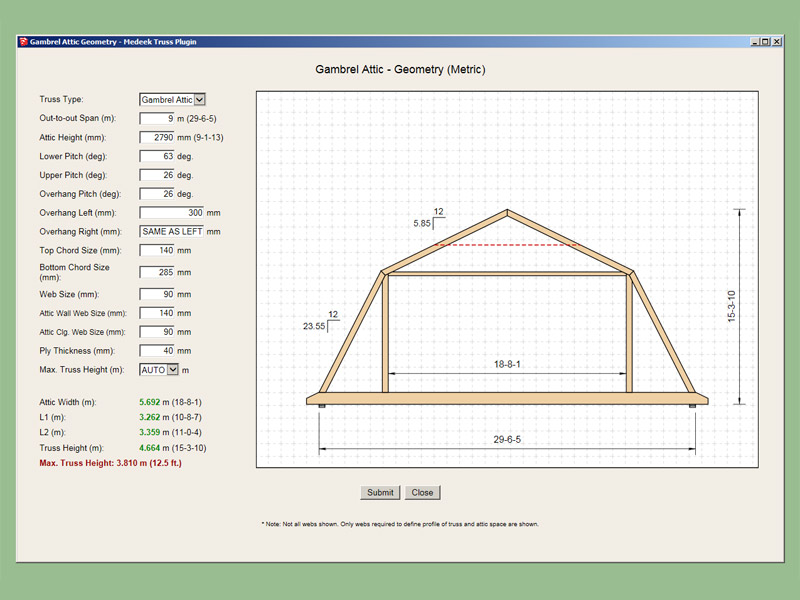
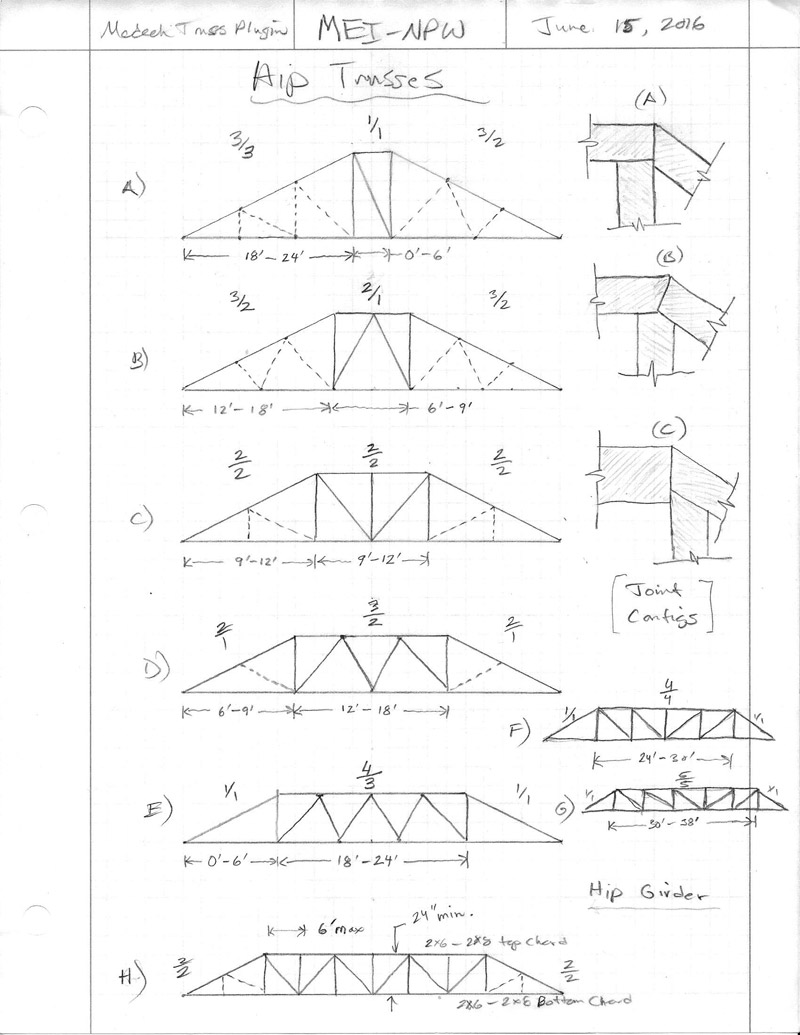
To avoid these ads, REGISTER NOW!

Truss Design

Qualitytools

Well-known member
Joined
Apr 30, 2014
Messages
2,859
Location
SOCAL
I stumbled on this post and read it from beginning to end as I am planning on making a little play house for my son,or a fort of some sort so he can hide and play around in it. I Love what you've done and thank you for educating and helping the DIY guys like me :)
 
To avoid these ads, REGISTER NOW!
OP
M

Medeek

Well-known member
Joined
Jan 13, 2013
Messages
550
Location
Copalis Beach, WA
I'm glad that you have found this thread somewhat useful. Lately it has been mostly related to the truss plugin and not as much to the engineering aspects of trusses but that will change as I divert my attention back to the truss designer in the next few weeks. Most of the posts probably deal with issues which are somewhat beyond a playhouse or fort but the general construction and structural principals don't really change regardless of scale.
 

bczygan

Well-known member
Joined
Nov 4, 2009
Messages
22,002
Location
DETROIT! Arsenal of Scrappers
This thread is just plain cool.

As a designer who just knows how to look up members in charts, this is revealing.

Going to have to study it a lot more.

Kind of wonder how they did this...when they did:

b71c85947707cd3201c4b24a5c6a0f4f.jpg


Bill
 
Last edited:
OP
M

Medeek

Well-known member
Joined
Jan 13, 2013
Messages
550
Location
Copalis Beach, WA
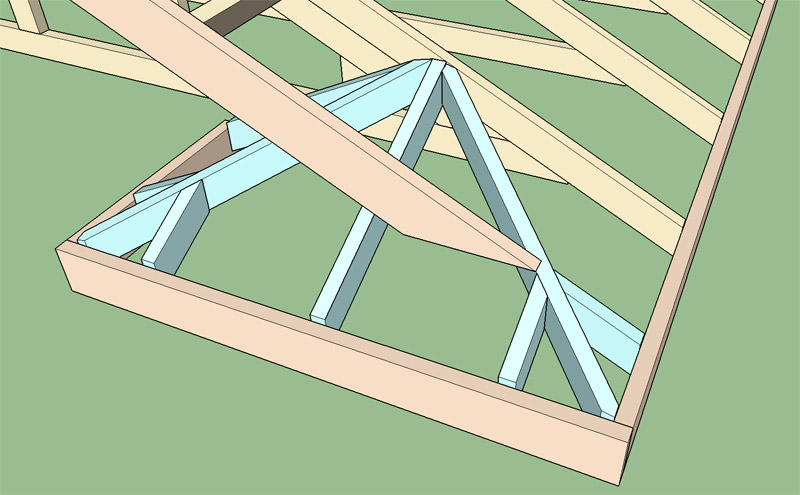
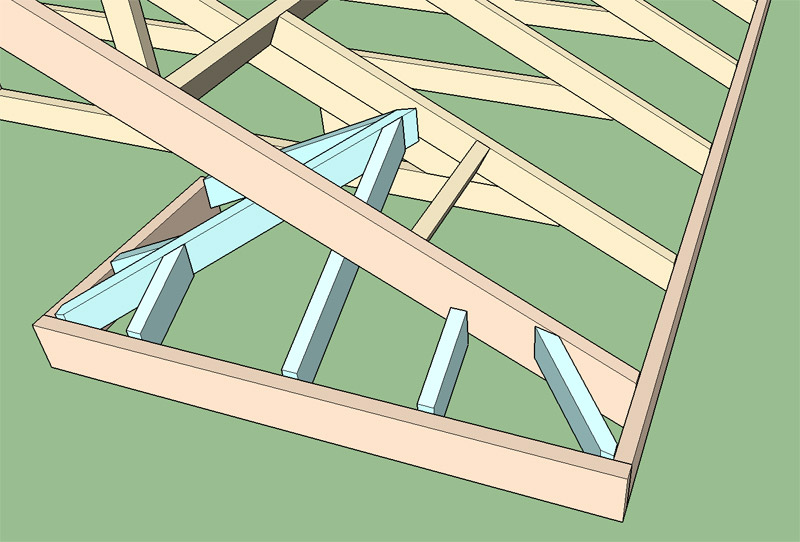
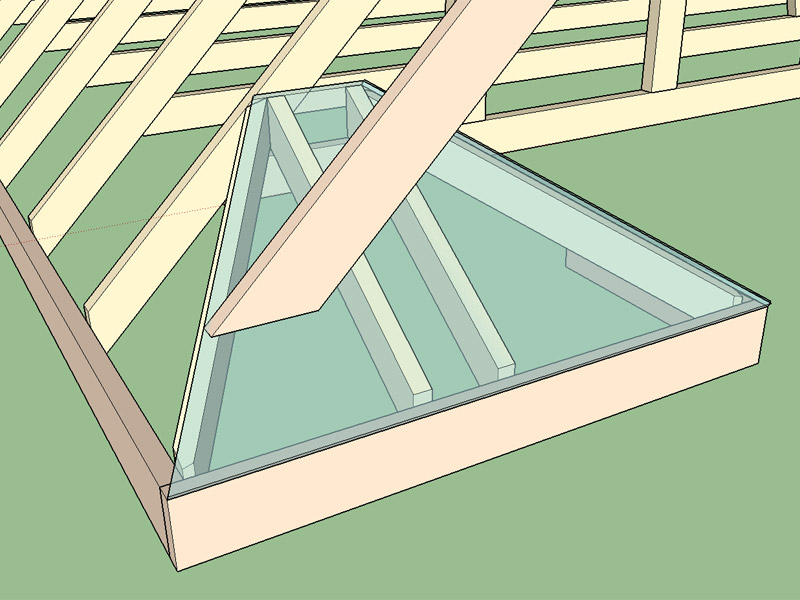
With non-structural lookouts would you frame them something like this? This question is mostly directed at the contractors and carpenters out in the field who actually have to build these roofs. Typically as an engineer I never worry about these details especially when they are non-structural.

truss_su132_800.jpg


In my opinion they aren't really doing a whole lot, much better to drop the gable truss and then cantilever them from the first in board truss (ie. structural outlookers).
 
Last edited:
OP
M

Medeek

Well-known member
Joined
Jan 13, 2013
Messages
550
Location
Copalis Beach, WA
OP
M

Medeek

Well-known member
Joined
Jan 13, 2013
Messages
550
Location
Copalis Beach, WA
Version 1.6.3 - 06.19.2016
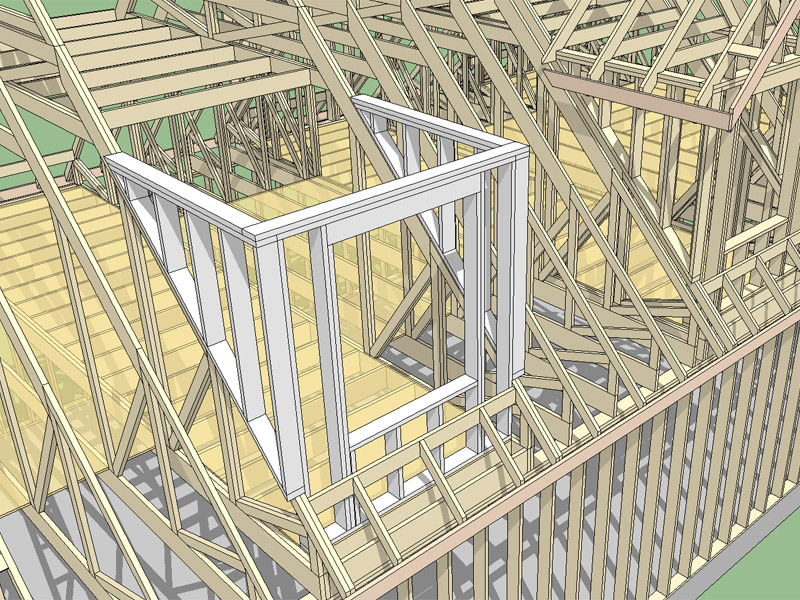
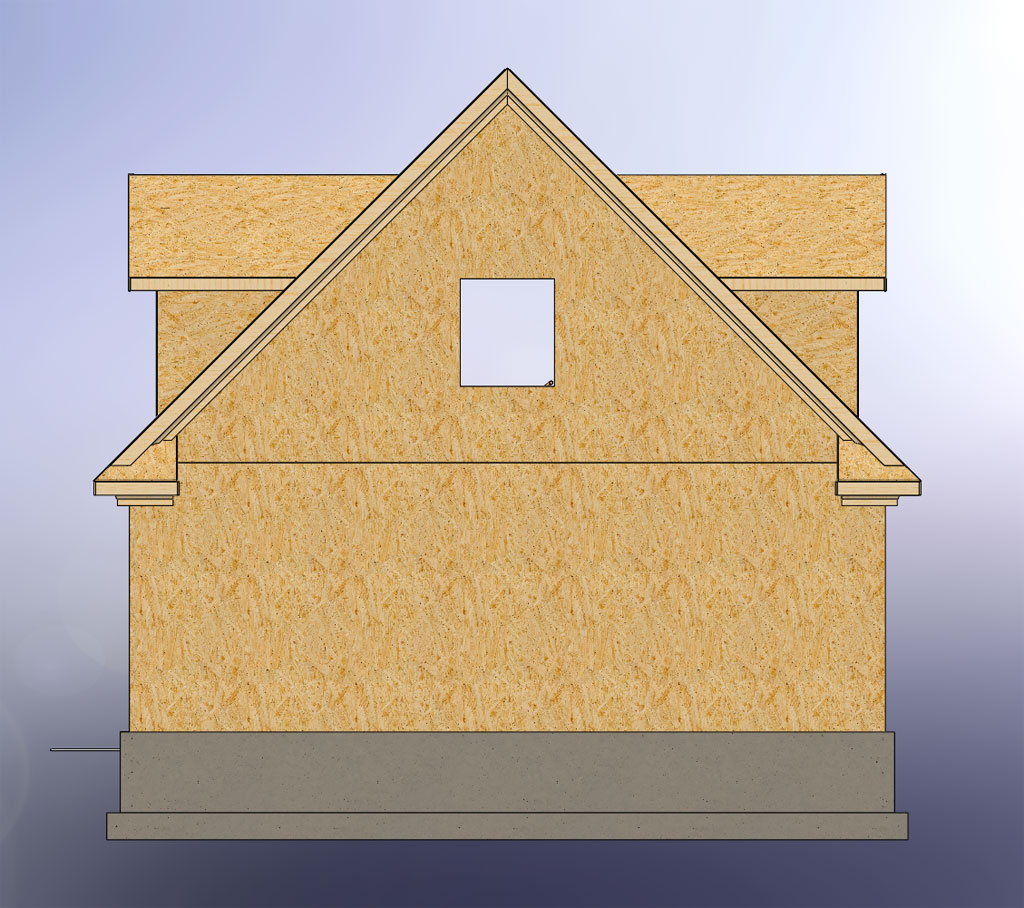
- Added Gable Dormers to the Minor Roof Sub-Menu (dormer walls only).

For now only the walls of the dormer are created:

truss_su134_800.jpg


View model here:

https://3dwarehouse.sketchup.com/model.html?id=e17866e5-2e1d-4fb7-8203-fcb6484e8f08

I am still ironing out the details on how to best model the roof geometry. I will probably offer either a rafter or truss option. Other details such as multiple windows will also come later.

For now please test the metric and imperial wall creation. I will probably need to post a tutorial video on how to use this feature since it involves selecting the main roof plane (top of a rafter or truss) and then two points that define the width/exterior corners of the dormer.
 
OP
M

Medeek

Well-known member
Joined
Jan 13, 2013
Messages
550
Location
Copalis Beach, WA
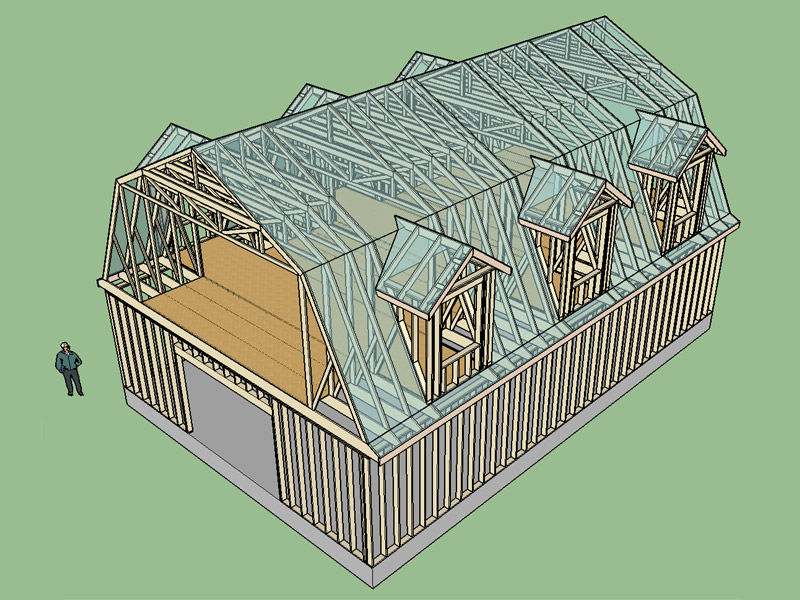
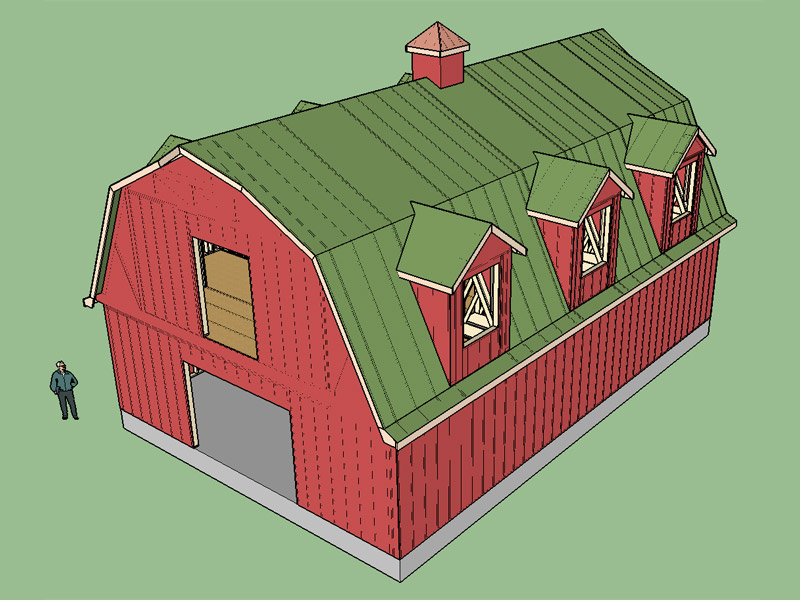
Testing the dormer (wall) feature out with a gambrel attic truss:

truss_su135_800.jpg


These dormers have a typical gable profile but it might be useful to have a gambrel dormer option as well to match with a gambrel style roof. Note that I have not shown all of the ladder framing in the model. On a roof like this it could get quite extensive.

To generate the dormer roof I just used my rafter roof feature and then trimmed the elements back manually.

View model here:

https://3dwarehouse.sketchup.com/model.html?id=315004e6-6c2e-427e-981e-dc891371c77c

https://www.kubity.com/p/uCN2F6
 
OP
M

Medeek

Well-known member
Joined
Jan 13, 2013
Messages
550
Location
Copalis Beach, WA
Under advanced options for gable roofs (truss and rafter) I am thinking about adding a "roof return" option. Any thoughts on "greek returns":

GREEK_RETURN_FRAMING.jpg


SHEATHING_RIGHT.jpg


The images above shows a roof return with a gable termination, alternatively this could end with a hip termination as in below:

040619454852583.jpg


Or with a full greek which stretches across the entire span:

261132d1334631697-what-do-you-call-roof-full-return-jpg


Does anyone have any specific framing details on how best to frame these roof elements?

As far as the logic to add them into the plugin it won't be a big deal, just an additional module that plugs into the advanced roof module.

To simplify things I would used the same pitch on the returns as on the main roof. The three variables would be:

1.) Return Type: Gable, Hip, Full
2.) Length of the Return
3.) Extension beyond Rake
 
OP
M

Medeek

Well-known member
Joined
Jan 13, 2013
Messages
550
Location
Copalis Beach, WA
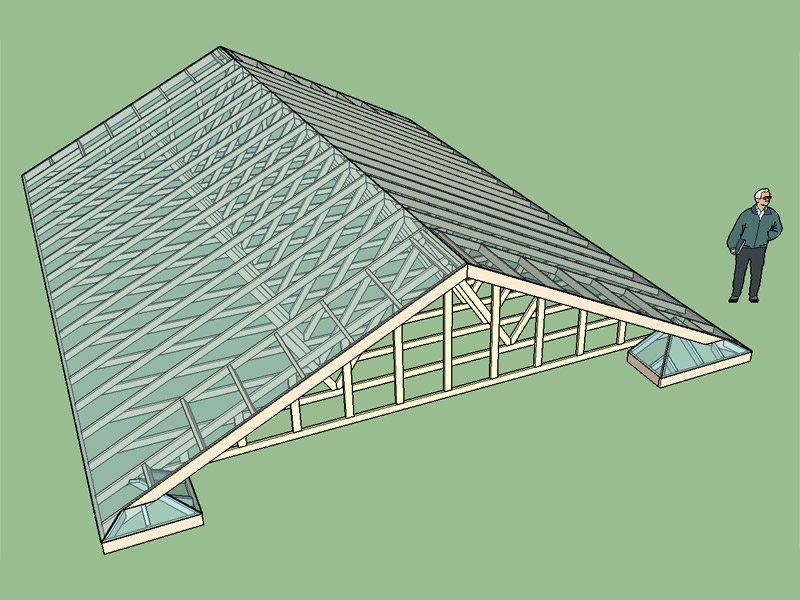
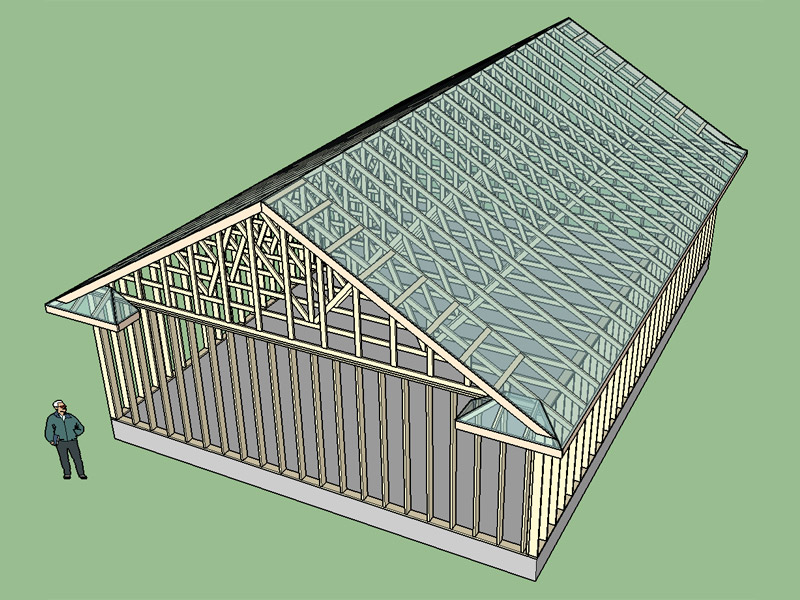
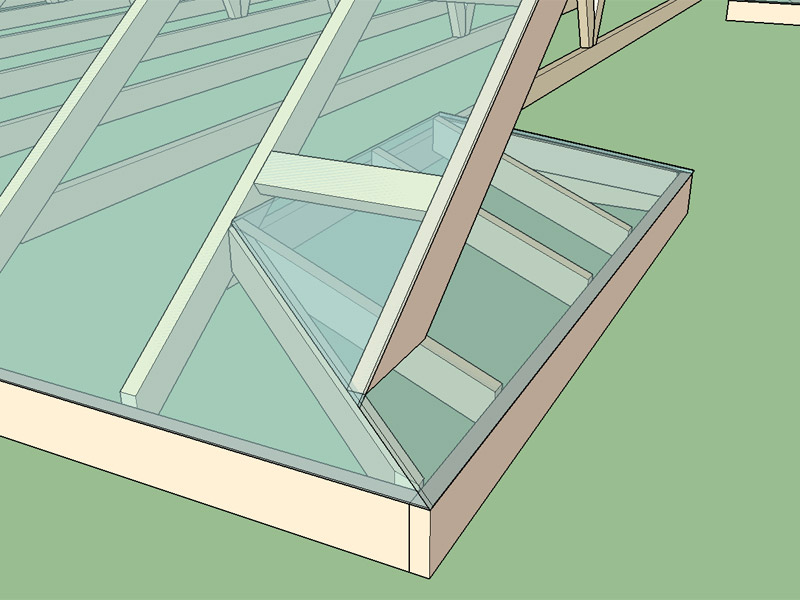
A quick study of a hip return:

truss_su137_800.jpg


Notice the inboard hip rafter does not terminate at the gable wall when the return length is too short. This poses some interesting framing given this situation, note the return on the right side of the roof is this case, not entirely sure how one would support/terminate the hip rafter in this situation.

When the return length allows the hip rafter to terminate at the gable wall then the framing is fairly straightforward.

The other question that I have is how to apply the sheathing to these small odd shaped roof segments. How far up under the overhang should the sheathing extend?

View model here:

https://3dwarehouse.sketchup.com/model.html?id=482d84f7-52a6-4b56-bf7d-4f373d825ec0

https://www.kubity.com/p/ytJPd4
 
OP
M

Medeek

Well-known member
Joined
Jan 13, 2013
Messages
550
Location
Copalis Beach, WA
This is an excellent link:

http://spot.pcc.edu/~rsteele/BCT122_123/return_eave.pdf

They run the outside hip rafter back to the gable wall and don't run the barge rafter (rake board) to the fascia like I've shown, maybe I've got this wrong...

This method would allow for sheathing of the return without having to notch around the barge rafter. I call this the floating barge rafter method:

truss_su138_800.jpg


Compare with extending the barge rafter all the way to the fascia board:

truss_su139_800.jpg
 
OP
M

Medeek

Well-known member
Joined
Jan 13, 2013
Messages
550
Location
Copalis Beach, WA
Version 1.6.4 - 06.27.2016
- Added roof return option within the advanced options menu for common, scissor and vaulted trusses, configurations: (HIP).

truss_su140_800.jpg


View model here:

https://3dwarehouse.sketchup.com/model.html?id=790b256d-72fe-46c9-b49c-dd7da0209a02

This option is available for most typical triangular shaped trusses.

I will be adding the gable and full return at a later date, currently only the hip return is available. Another limitation is that the return roof pitches currently default to the main roof pitch. I need to add some additional code that will allow the pitch of the return portions to be set independent of the main roof pitch.
 
OP
M

Medeek

Well-known member
Joined
Jan 13, 2013
Messages
550
Location
Copalis Beach, WA
12:12 main roof with a 8:12 hip roof return. The interesting part is the hip rafter
where the return meets the main roof plane. The dropped hip rafter is off center so that it supports the sheathing from both planes. The calculations might prove challenging.

truss_su141_800.jpg


Typically the return pitch is less than or equal to the main roof pitch. In fact I don't think I've ever seen a return with a pitch greater than the main roof.
 
Last edited:
OP
M

Medeek

Well-known member
Joined
Jan 13, 2013
Messages
550
Location
Copalis Beach, WA
Roof return pitch can now be set independent of main roof pitch:

truss_su142_800.jpg


The calculations for a hip rafter that handles two pitches was insane as expected. I've also made some other minor adjustments and bug fixes related to the sheathing and rake board when the roof return extension equals the gable overhang.

I've set it up so that the return pitch can also be greater than the main roof pitch but its doubtful if this will find any usage.
 
OP
M

Medeek

Well-known member
Joined
Jan 13, 2013
Messages
550
Location
Copalis Beach, WA
OP
M

Medeek

Well-known member
Joined
Jan 13, 2013
Messages
550
Location
Copalis Beach, WA
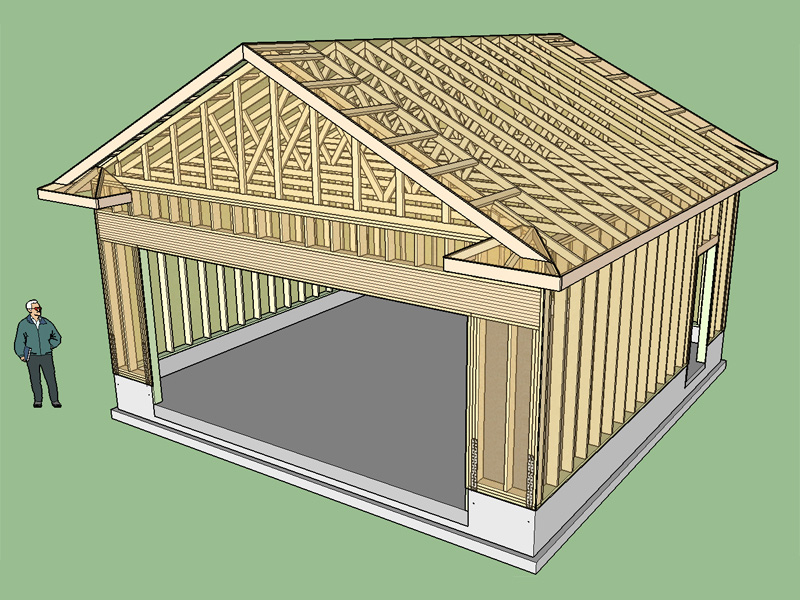
This is an example of a 24' x 24' garage that I would like to build on my property this summer or the next.

truss_su146_800.jpg


View model here:

https://3dwarehouse.sketchup.com/model.html?id=77329ddc-a170-4dde-945e-4e413304f620

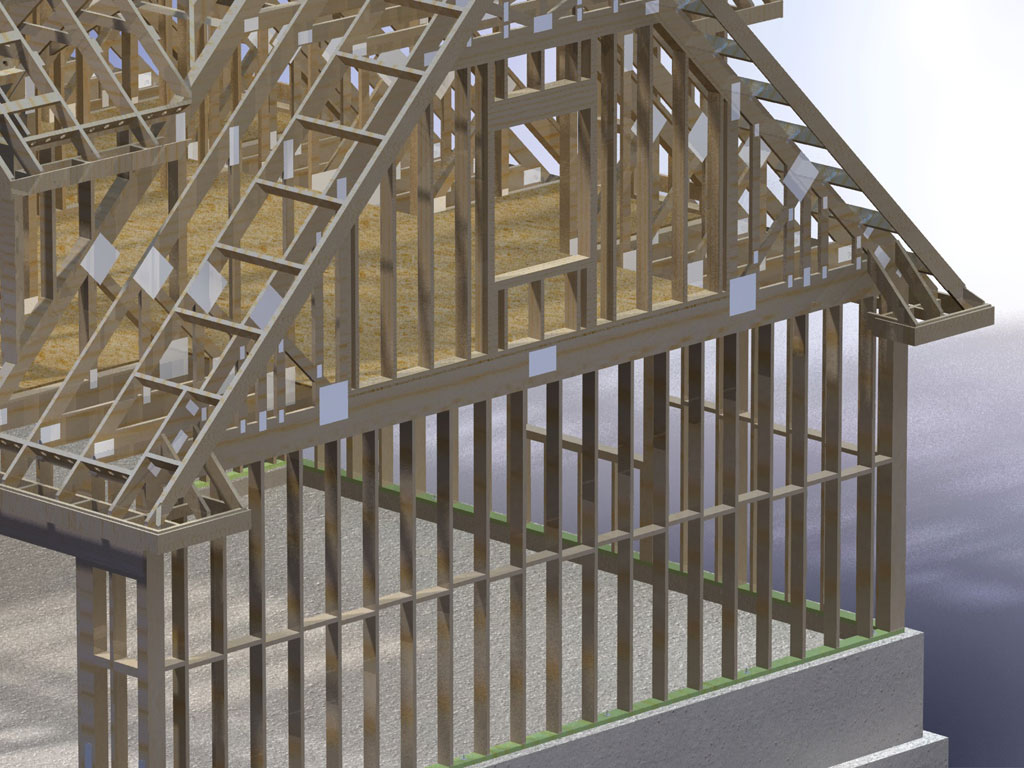
I created the foundation and roof with minimal effort using my own plugins. The walls were created initially with the housebuilder plugin however I then manually edited the walls. Note that the top plates overlap properly as they should.

Also note that the garage door wall is a double portal frame. I would like for my wall plugin to automatically create this standard type of portal frame (PFH) both single and double (ie. Garage Door Option). Notice the embedded Simpson Strong-Tie STHD14 holdowns.

I like to use 2x jamb boards around the door perimeters when the stem wall projects above the concrete slab, this may be atypical constructon for others. Local contractors like to embed a pressure treated nailer into the concrete.

In theory I should be able to create this exact model using the Foundation, Wall and Truss Plugin and do it all within 5 minutes or less. That is the goal.

With the wall plugin I will have the standard linear wall tool but I would also like to have a rectangle wall tool that will immediately throw up 4 walls given three user selected points, similar to the truss and roof plugins.
 
OP
M

Medeek

Well-known member
Joined
Jan 13, 2013
Messages
550
Location
Copalis Beach, WA
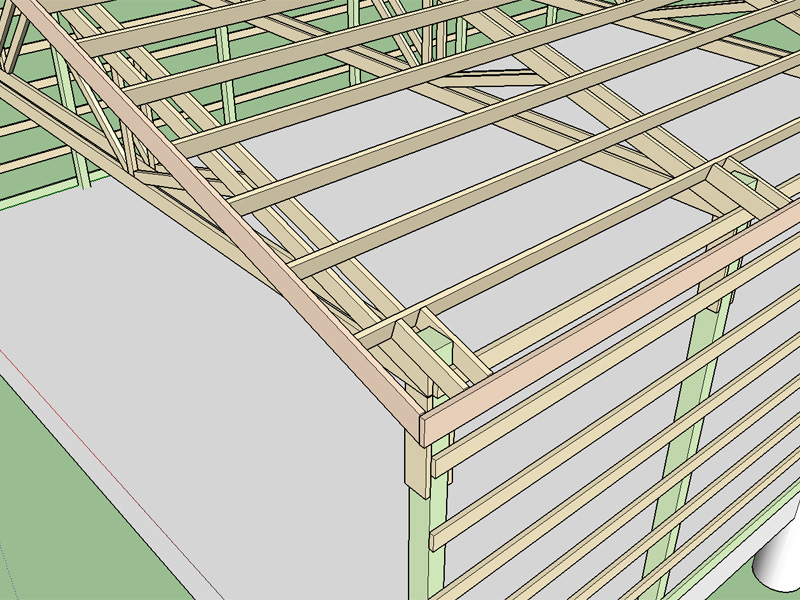
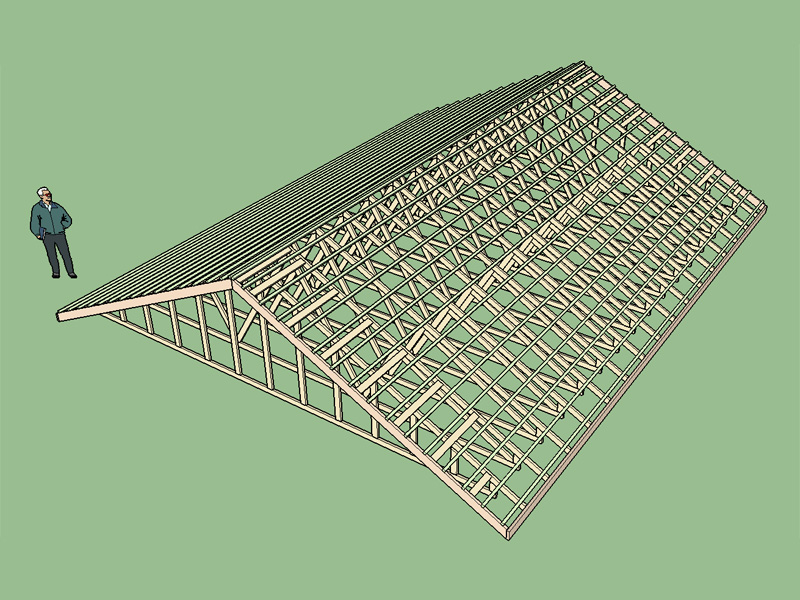
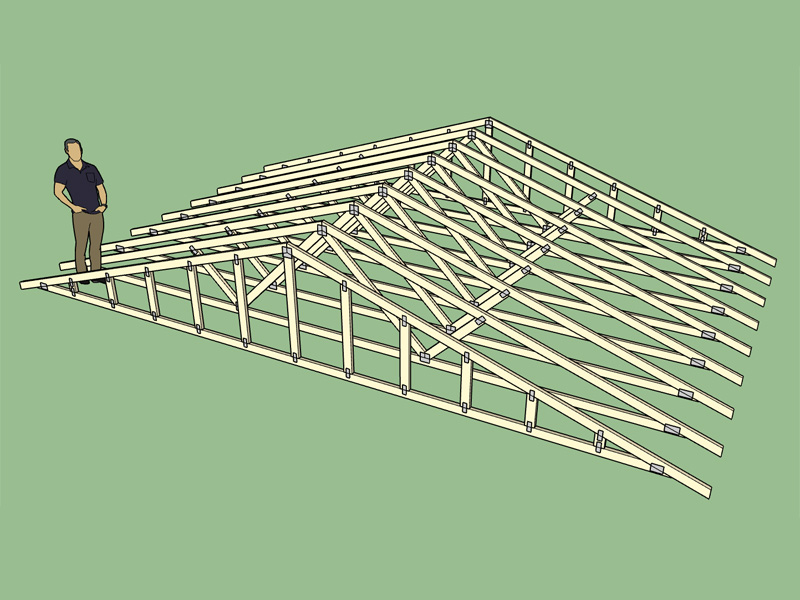
This is a quick study of a post frame roof using doubled trusses with 2x6 purlins @ 24" o/c. This is pretty typical for a pole barn or post frame building constructed locally:

truss_su147_800.jpg


View model here:

https://3dwarehouse.sketchup.com/model.html?id=0240f563-8350-460d-b07c-9f7dae117782

Notice how the rake and fascia boards are raised above the trusses so that they are flush with the roof plane and purlins. The overhang can be achieved a number of ways but one method is to extend rafters from an inboard purlin and also attach to the post as shown.

226037-pole-barn-roof-question-image-547175564-png


There are a number of other ways to frame the overhang, a quick search online will attest to this. Sometimes a header is used between posts which allows for a truss spacing which is closer than the post spacing.

Purlins position right at the peak seems fairly standard, based on some plansets that I have.

When you add end walls with posts you can usually eliminate the doubled truss at the gable ends and you often will see a gable end truss that has girts (horiz. members) instead of studs.

postframeendtruss.jpg


With a purlin roof I almost need to create a separate menu item and module to properly deal with it.

Here is an interesting double truss design but with scissor trusses:

6dcf332463c812ea9427438de8adb2c2.jpg
 
To avoid these ads, REGISTER NOW!
OP
M

Medeek

Well-known member
Joined
Jan 13, 2013
Messages
550
Location
Copalis Beach, WA
Version 1.6.6 - 07.15.2016
- Added roof battens option within the advanced options menu for common, scissor and vaulted trusses.
- Battens can be offset from the fascia board.
- Battens at peak option enabled.

truss_su148_800.jpg


View model here:

https://3dwarehouse.sketchup.com/model.html?id=e7f7a812-53da-4c57-b40a-b28bbacf96e2

Currently this feature is only available for truss roofs, I still need to add it to hip and gable rafter roofs.

If sheathing is enabled with battens, the battens are placed on top of the sheathing.
 

jarhead

Well-known member
Joined
Jul 9, 2006
Messages
705
Location
Colorado, near Morrison
I'm glad that you have found this thread somewhat useful. Lately it has been mostly related to the truss plugin and not as much to the engineering aspects of trusses but that will change as I divert my attention back to the truss designer in the next few weeks. Most of the posts probably deal with issues which are somewhat beyond a playhouse or fort but the general construction and structural principals don't really change regardless of scale.

Is the plugin actually available in scetchup make?
 
OP
M

Medeek

Well-known member
Joined
Jan 13, 2013
Messages
550
Location
Copalis Beach, WA
Yes, you can use the plugin in Make or Pro. However, the span of the trusses are limited in the free version of the plugin in hopes that I will get a few more registered users.
 

cgrutt

Well-known member
Joined
Mar 4, 2016
Messages
8,401
I just bought a copy of the Sketchup plugin this morning. Worked great!
 
OP
M

Medeek

Well-known member
Joined
Jan 13, 2013
Messages
550
Location
Copalis Beach, WA
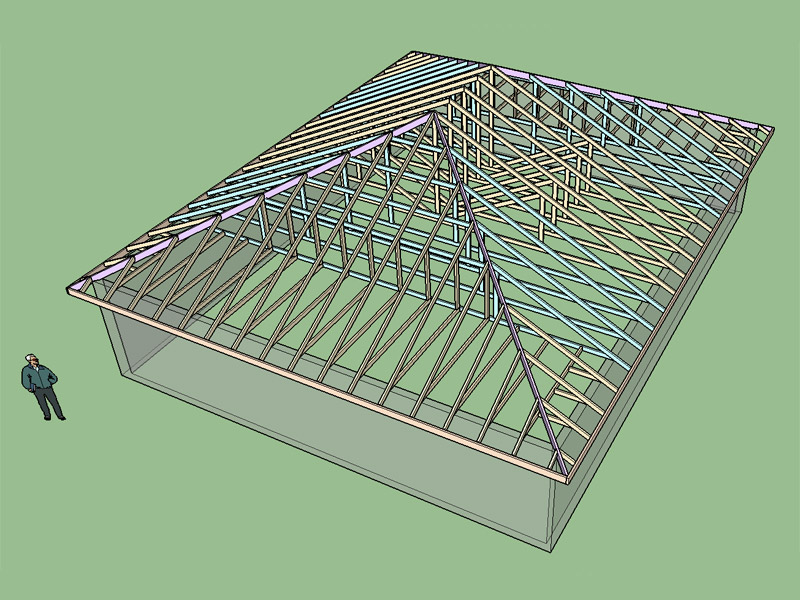
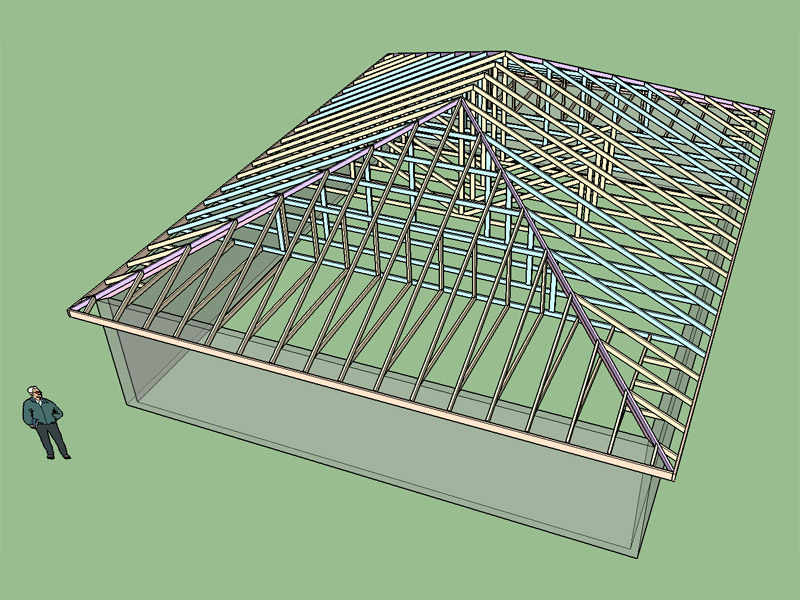
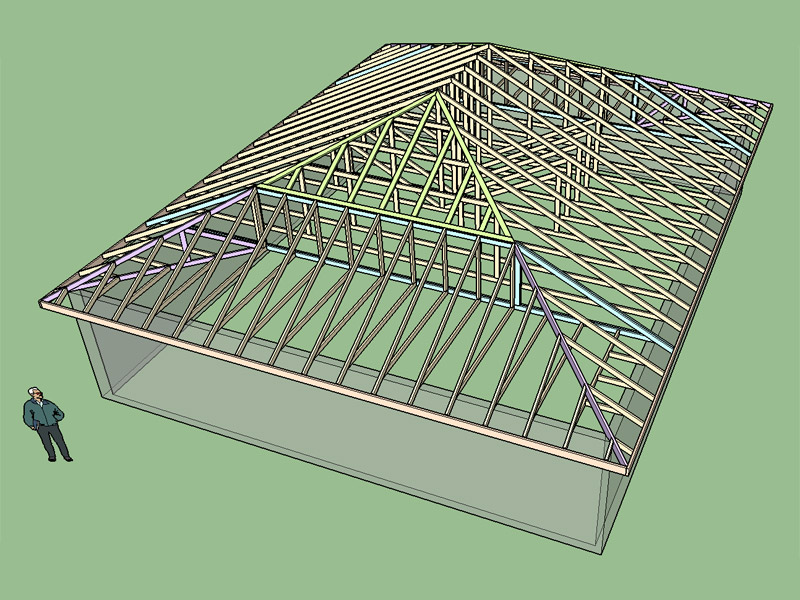
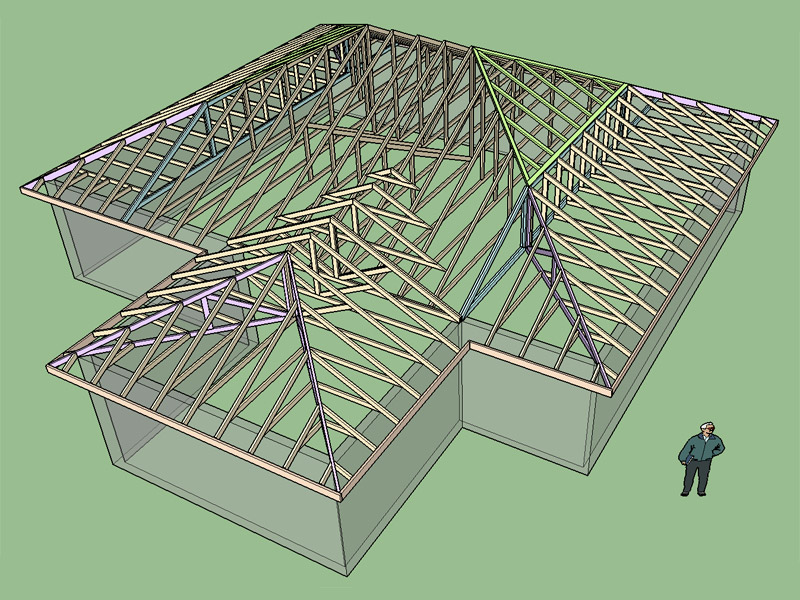
A smaller (16' span) standard terminal hip set attached to the main roof with girder truss and valley set.

truss_su158_800.jpg


View model here:

https://3dwarehouse.sketchup.com/model.html?id=beb29cf5-e571-42ab-8df5-526793a49332

The addition of the hip sets into the plugin will allow the creation of more complex hip roofs with minimal manual intervention.

I now just need to hunker down and get some heavy coding done to make all of these hip set variants a reality. Once I have one the rest will fall out fairly easily since the overall logic for all the variants are quite similar. I've spent the last 2-3 days reviewing some texts and shop drawings to make sure I've got things more or less correct with my models/templates. So far no one has complained to loudly about any of the configurations so I think it is now time to proceed and add the hip sets into the plugin.
 
OP
M

Medeek

Well-known member
Joined
Jan 13, 2013
Messages
550
Location
Copalis Beach, WA
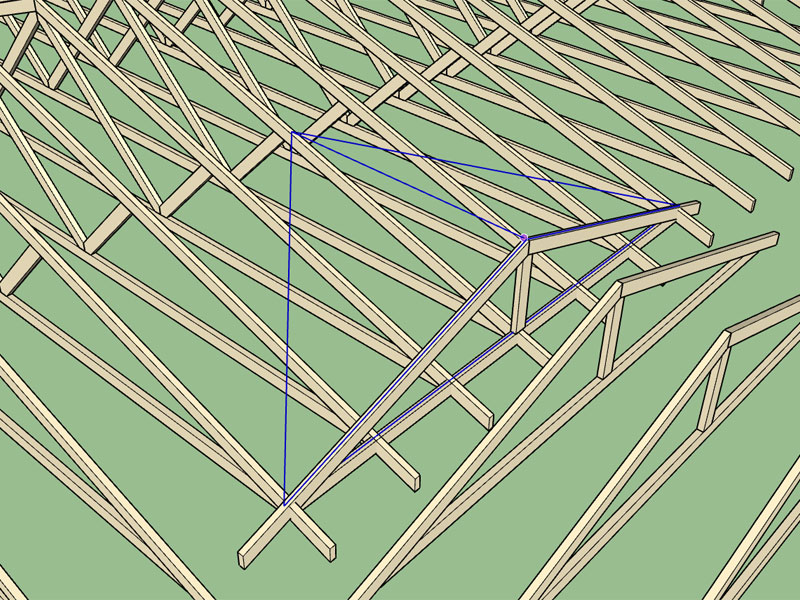
Version 1.6.9 - 09.14.2016
- Added some enhancements and wireframe (temporary) graphics to the valley set function.
- Fixed bug in the trim function.
- Fixed bug in the roof battens option.
 
OP
M

Medeek

Well-known member
Joined
Jan 13, 2013
Messages
550
Location
Copalis Beach, WA
Version 1.7.0 - 12.04.2016
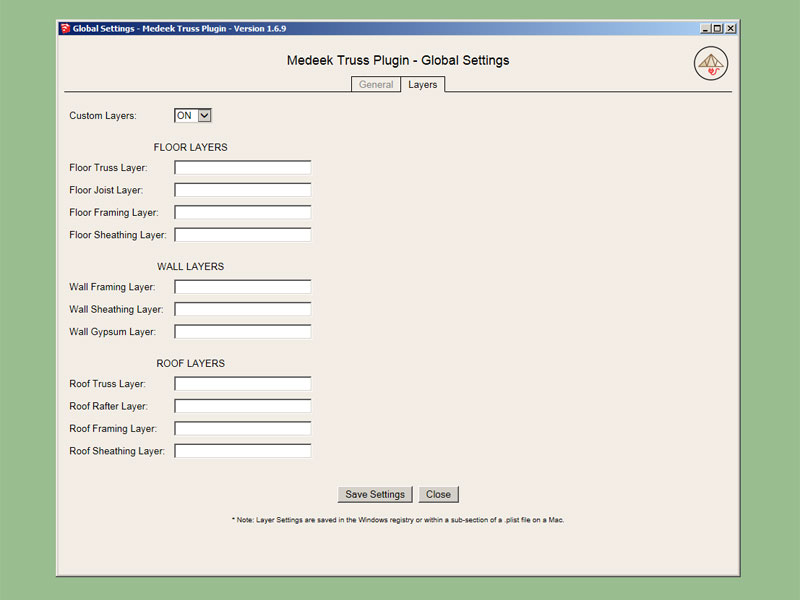
- Added a "Layers" tab within the global settings; roof, wall and floor components can be assigned to specific layers.
- Enabled custom layers for the common fink truss.

Note that I have only enabled custom layers for one type of common truss (fink). To enable custom layers for all other truss types, rafter roofs and other misc. items will take a few hours of going through each module of the plugin and adding in the "layers" code or conditional statements. My arm/neck is not holding up very well but I thought it would be nice to at least get this out there for the most common truss type for testing purposes and feedback.

truss_su160_800.jpg
 
OP
M

Medeek

Well-known member
Joined
Jan 13, 2013
Messages
550
Location
Copalis Beach, WA
What I think I will do is add in one more option in the global settings which allows one to toggle the plate sizing to either auto or manual.

If auto is selected I will create a basic algorithm that looks at the truss span, truss pitch and depth of the TC, BC and webs and then sizes the plates accordingly. I already have such an algorithm built into my Truss Designer here:

http://design.medeek.com/calculator/calculator.pl

If manual is selected I will have an additional html input screen appear that shows the location and size of each plate as well as the outline of the truss. The input will look similar to this:

truss_su125_800.jpg


As each plate is adjusted it will immediately change in size showing exactly the configuration of the truss with its connector plates. This involve quite a bit more coding however once I create one such html input, creating more will not be such a big deal. Each plate will be labeled P1, P2, P3 etc... Typically the location and rotation of each plate will have an optimal setting that does not need user input or adjustment.

The only question now is how to handle the gable end trusses. I think for now I will auto-size the plates on them using the same heel and peak plate sizes as the common trusses. For the the vertical studs I can use an algorithm that looks at stud length and then chooses either a 1.5x3 or 2x4 plate for connection to the top and bottom chords.

Adding connector plates adds a whole new level of complexity, but there have been enough requests for it that I think it is a valid endeavor. After all this is the "Truss Plugin" and I might as well get the trusses right.
 
OP
M

Medeek

Well-known member
Joined
Jan 13, 2013
Messages
550
Location
Copalis Beach, WA
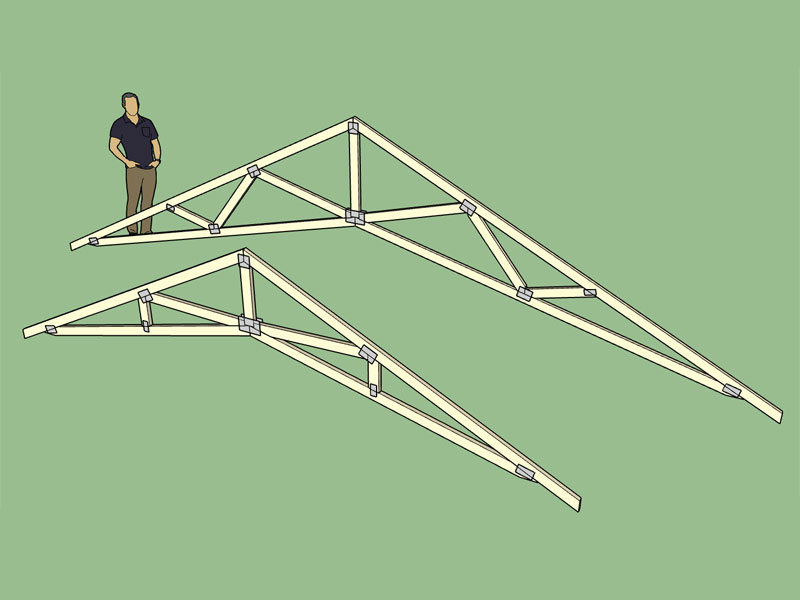
Enabled metal plate connectors for the 4/4 and 6/4 scissor trusses:

truss_su164_800.jpg


Each truss type and configuration needs its own special function to locate and auto-size each plate. The code required is not difficult since most of it can be recycled but it is still time consuming to generate for each and every truss type with all of the many possible configurations. I have not even considered raised heel trusses yet. At some locations (ie. heel plates on a scissor truss) the truss configuration may cause the plate to fall outside of the perimeter of the truss in this case some additional logic is required to check for these instances.

View model here:

https://3dwarehouse.sketchup.com/model.html?id=16954124-d987-4a72-be11-5089a6be6221
 
OP
M

Medeek

Well-known member
Joined
Jan 13, 2013
Messages
550
Location
Copalis Beach, WA
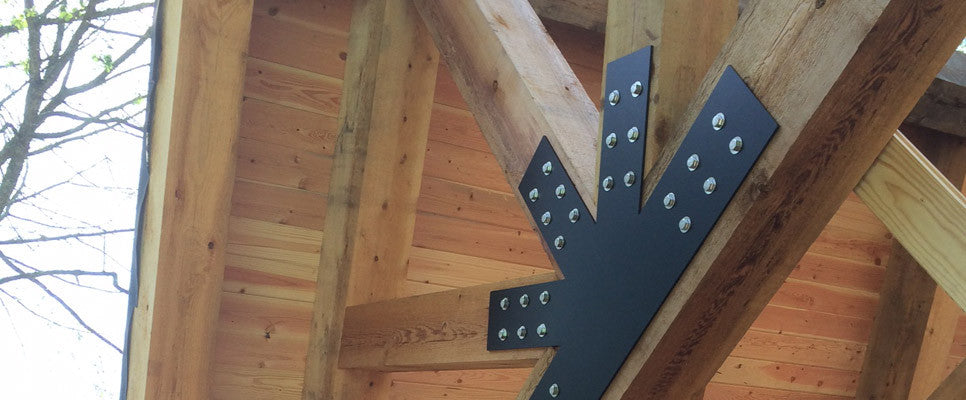
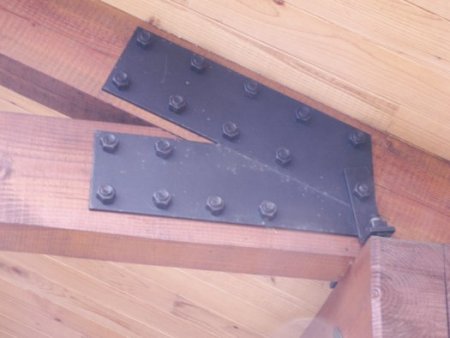
When it comes to plates and connectors there is also the bolted plate connected trusses with larger timber members used for more architectural and ornamental work. I am wondering if there is any interest in having a separate module for those truss types?

Something along these lines:

heavy%20timber%20trusses.jpg


slideshow_2.jpg


Pict0309a.jpg
 
OP
M

Medeek

Well-known member
Joined
Jan 13, 2013
Messages
550
Location
Copalis Beach, WA
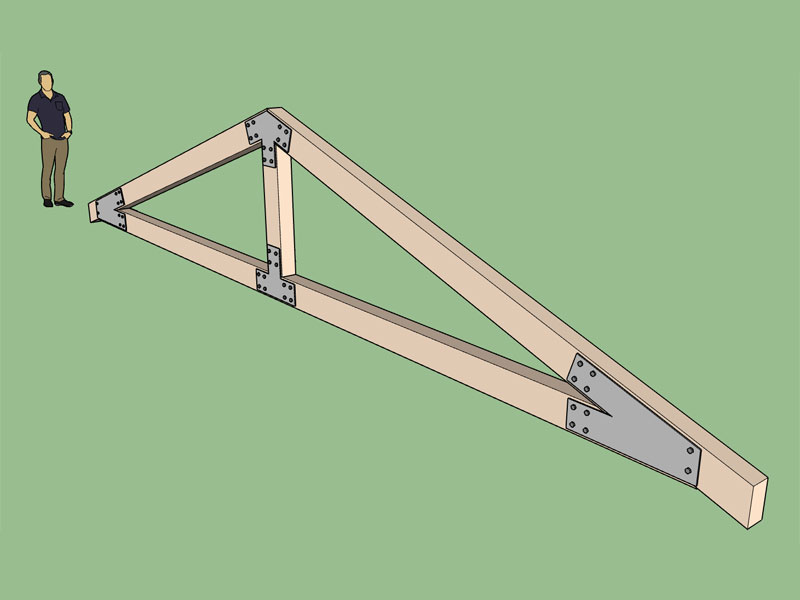
I need to review some of my old files (local residential designs) to get a better idea of timber truss designs but out of curiosity I attempted to manually create a sample timber truss to see how long it took me create one. About an hour into it I had come up with this:

truss_su165_800.jpg


View model here:

https://3dwarehouse.sketchup.com/model.html?id=355ab1aa-b040-4fca-a5c2-393f49bf71d8


Specifications:

- King Post truss with 4:12 pitch, 12" overhang and 1/4" buttcut, span 28'
- 6x10 Timbers (TC, BC, King Post)
- 3/8" Thick Connector Plates
- 5/8" DIA. Heavy Hex Nuts and Bolts
- 2 Rows of Bolts
- 4.5" between rows of bolts
- 4" bolt spacing between bolts in a row
- Plates offset from timber by 3/4"
- Bolts offset from end of plates by 2"
- Bolts offset from edge of plates by 1.5"
- No washers

This particular connector plate configuration uses two additional bolts at the apex of the heel plates, many other variations are possible.

Please feel free to comment. This example is just a concept to give me a better idea of the design parameters and issues with this type of truss.
 
OP
M

Medeek

Well-known member
Joined
Jan 13, 2013
Messages
550
Location
Copalis Beach, WA
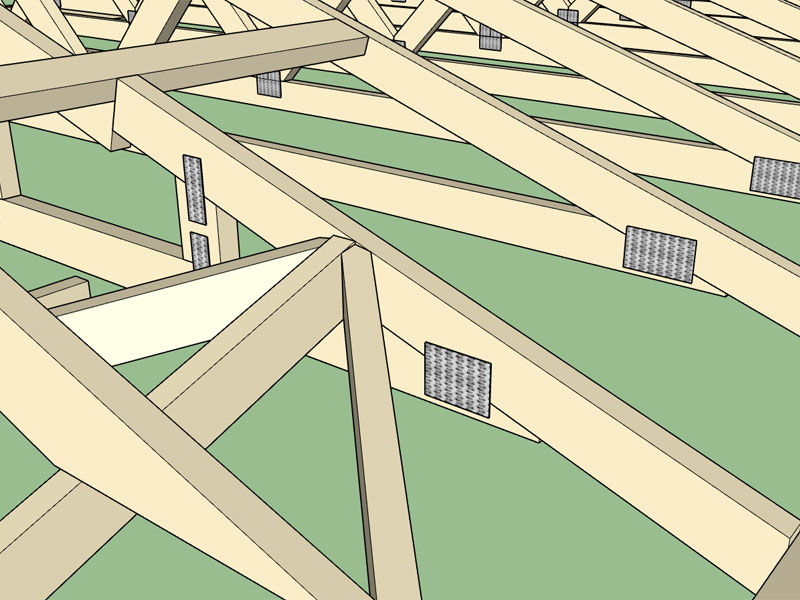
Version 1.7.2 - 12.16.2016
- Enabled custom layers for roof returns, battens and counter battens.
- License renewal enabled in Medeek Account Manager.
 
OP
M

Medeek

Well-known member
Joined
Jan 13, 2013
Messages
550
Location
Copalis Beach, WA
Version 1.7.3 - 12.17.2016
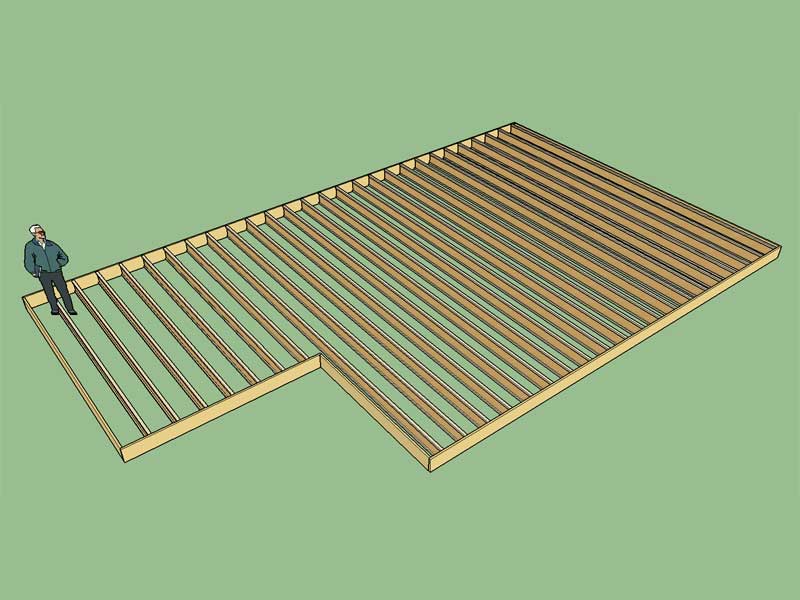
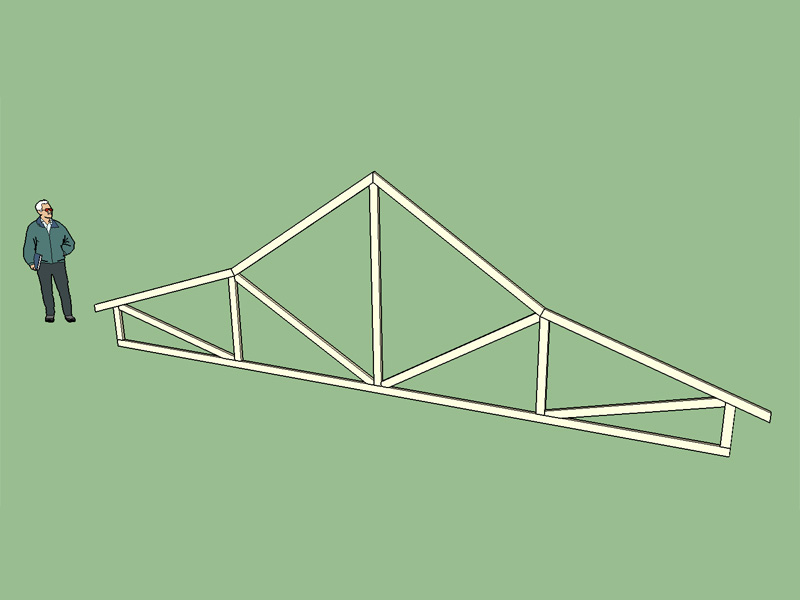
- Added a "Materials" tab within the global settings; Auto material assigment (colors and textures) is now an option.
- Enabled materials and custom layers for floor trusses and joists.
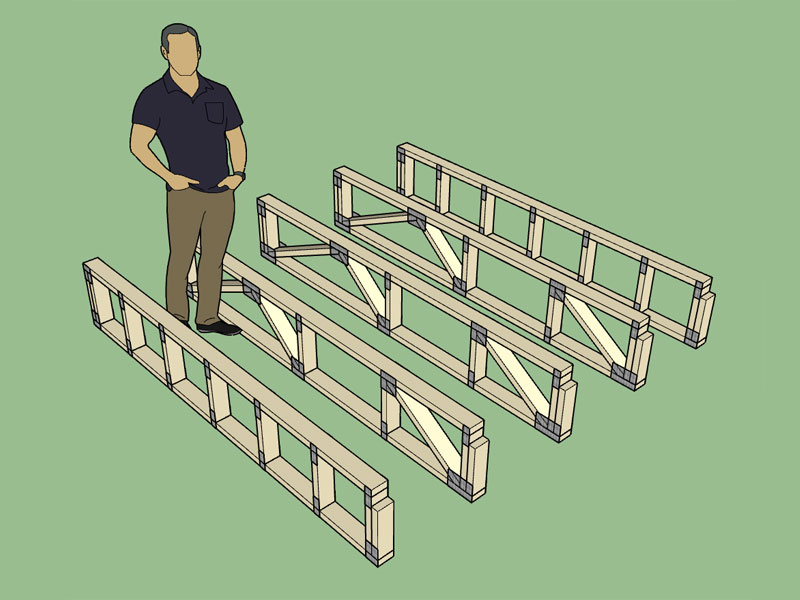
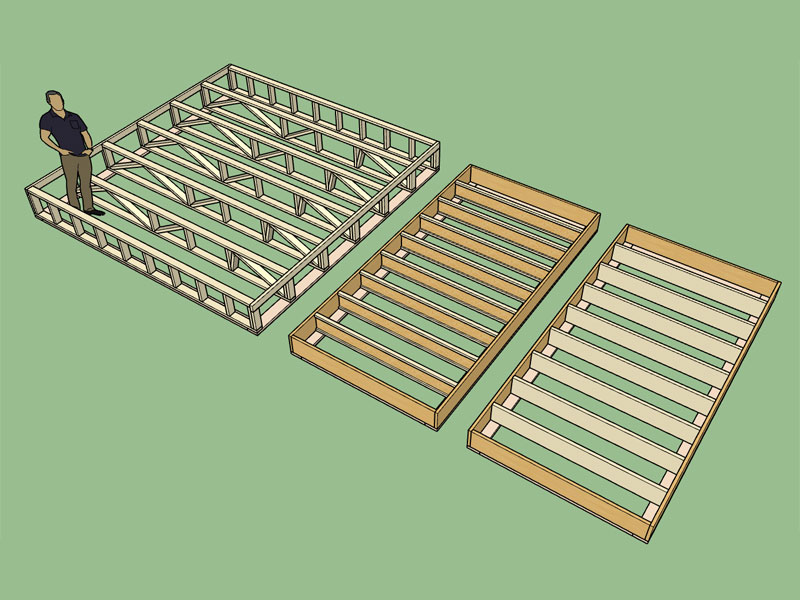
- Enabled materials for common trusses: metal plate connectors, lumber, and OSB.

truss_su167_800.jpg


truss_su168_800.jpg


A big thanks to those on the SketchUcation and SU board who helped me with the custom materials part of the API, the SketchUp community is a great asset.

By default the metal plate connectors, custom layers and auto materials is turned off in the global settings.
 
To avoid these ads, REGISTER NOW!
Top Bottom