Cleaning a handplane
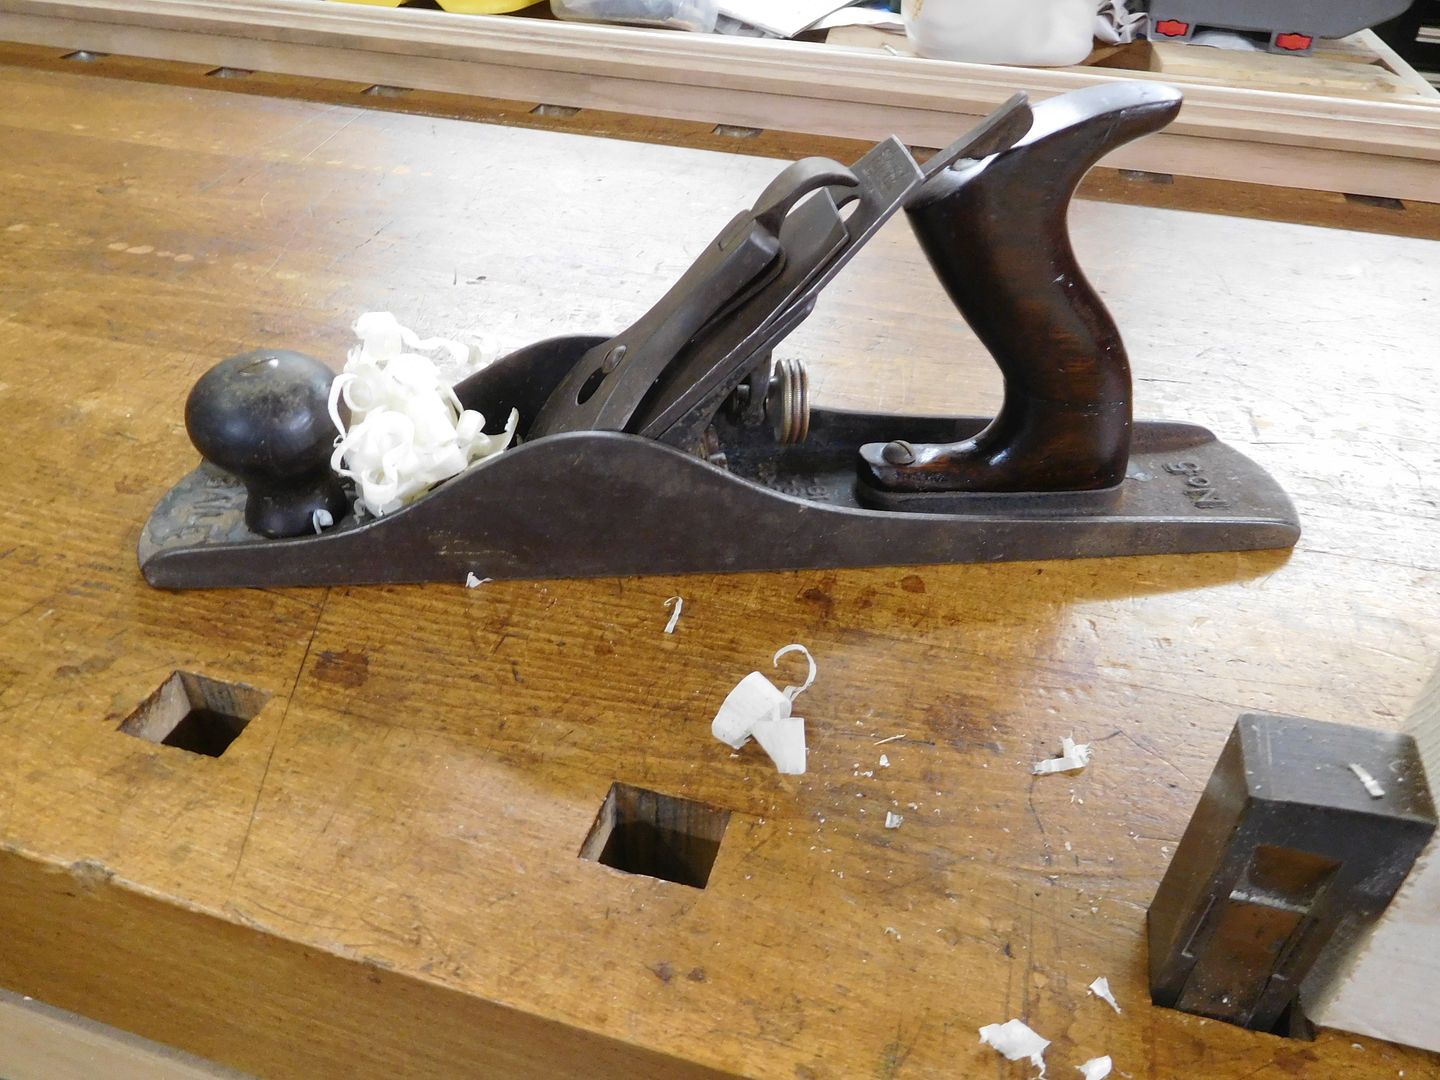
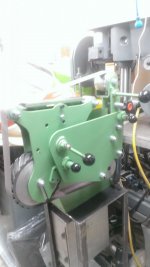
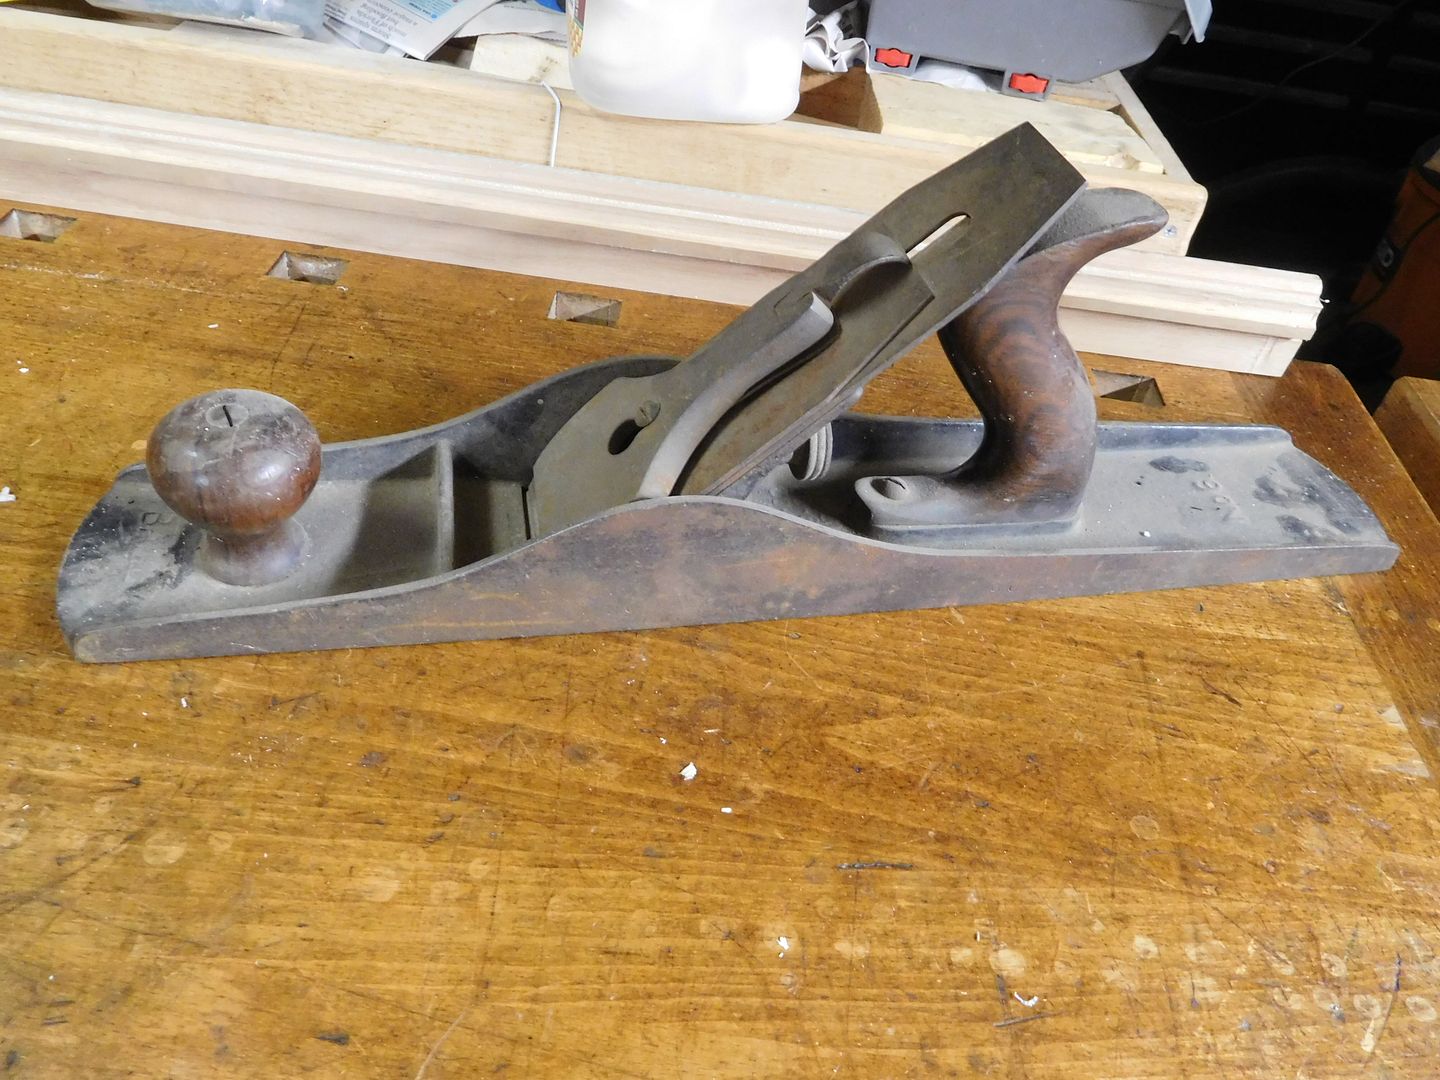
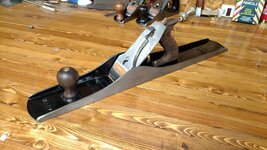
So you found a treasure. What is the next step? I like to start with an assessment so I can develop a plan to put the plane back to work. Here is a likely candidate I just plucked from the boneyard.
It is a Type 11 Stanley Bailey #5C bench plane. The 11s were made from 1910-1918 and are very desirable as user planes. The feature set did not change after this time and quality went into a steady decline. Find a good type 11 and you will probably find a keeper.
Our assessment continues with a strip down.
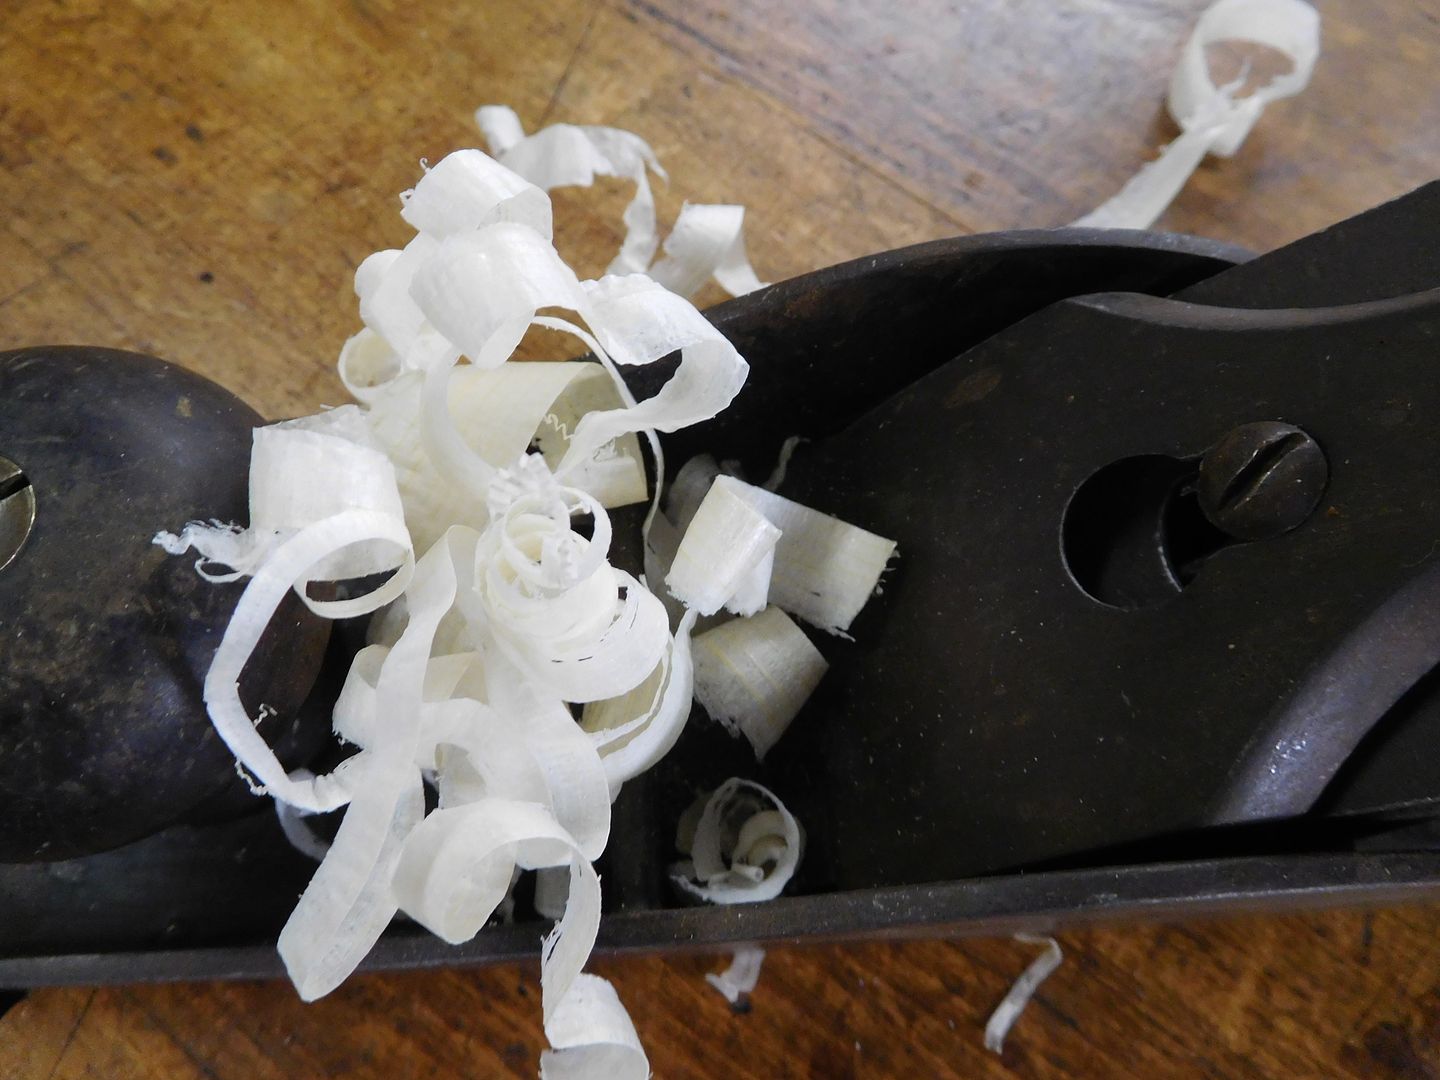
The plane has standard shop dust, wood shavings, and the obligatory white paint spatters. Someone repaired the tote (poorly) with Gorilla Glue and put it back in place so the glue could adhere to the tote rod. Otherwise, the plane is in really good shape. I ground and sharpened the blade during a forgotten previous session and it is ready to cut. The plane has about 50% of its original japan finish remaining and the corrugated sole is in great shape.
My assessment shows that this plane just needs a good cleaning and tune up. I will start with the bent tote rod. This plane probably took a dive off the workbench that was hard enough to break the tote and bend the rod. I will use my HF anvil to make the rod straight again.
Next up is the frog adjustment screw. It looks pretty nasty but a steel brush will fix that.
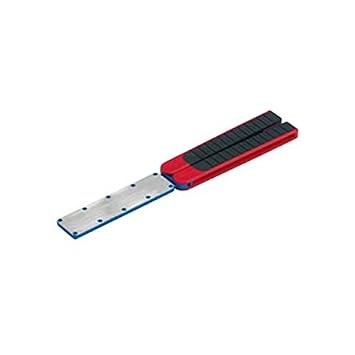
I need to clean the bed but it has lots of nooks and crannies. I need a soft stick. Luckily, I am a ww and have a bin full of scrap.
The stick is great for cleaning out hard to reach places without doing damage.
The blade is not flat. I will (carefully) beat in into submission.
Then I drug the bevel and back across the sandpaper for a light honing. It has a mirror finish.
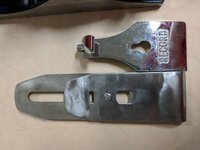
The chipbreaker also gets a drag. The surface that meets the blade usually needs a tune up. It should seat properly so it will provide uniform stiffness. And it needs to be a close fit so shavings don't get stuck in it.
Stiff brushing reveals the three patent dates.
There is white paint on the toe. A pocketknife takes care of that.
The corrugated sole gets a stiff wire brush.
Here we are so far. The cardboard drink flat contains the mess and keeps the parts together. I use the Spam can to hold the cleaned hardware pieces.
Front knob rod looks nasty. It gets brushed--steel brush for the rod and brass brush for the nut.
The nut did not want to come off the rod so I left it in place. No need to damage the nut and a frozen rod nut does not affect service.
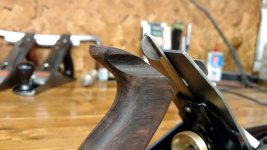
The tote was poorly repaired. I removed glue squeeze out with a pocketknife and used coarse sandpaper on the tote to reshape it around the repair. The white and green paint drips were carefully scraped off with a pocketknife.
Then I hit it with fine sandpaper and cleaned it with turpentine.
The cleaning is done mostly with brushes. I used nylon, steel, and brass depending on the task. Some people like to use soap and water on a plane like this. It works but introduces a rust risk. I like to keep things dry to prevent future problems.
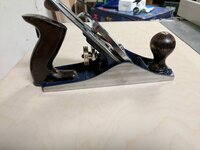
Next step is to put it all back together and make some shavings. Stay tuned.

")


 to that