To avoid these ads, REGISTER NOW!

Woodworking 101--Tools and Tips

OP
J

jimreed2160

Well-known member
Joined
Aug 7, 2016
Messages
3,589
Location
Tallahassee FL
Happy--Great job on your #7. That size is one of my favorites. And don't worry about the powdercoating. The reason original japan finish is cherished by most is because lots of japan finish means the plane is in great shape. Once it is gone, there is no reason to replace it. Stanley used japan (asphaltum and linseed oil) because it was the industrial finish of the time. Just think Ford Model T era.

In my opinion, modern finishes, like the fantastic powder coating on yours, are far superior.
 
To avoid these ads, REGISTER NOW!
OP
J

jimreed2160

Well-known member
Joined
Aug 7, 2016
Messages
3,589
Location
Tallahassee FL
Rehabing a plane blade

So rehabbing an old plane is great but what about the business end, the blade? I have acquired hundreds of vintage planes and maybe one or two had a blade that could be used right away. Most vintage planes suffer from either no sharpening or (worse) poor sharpening. In my experience, the older planes show more sharpening--sometimes the WWII and later planes still have factory grinding marks.

Anyway, I am refurbing a Type 11 #6 bench plane. It was made sometime between 1910 and 1918. And the blade was a surprise--it was a replacement made in 1938. Here is the date code.

DSCN2664.jpg


Stanley used a date code from the late 1930s until the mid 1940s. This code means that the blade was made in the 2nd quarter of 1938. To me that is a good sign because date stamped blades are good quality and a replacement means that someone loved and used this plane. It looked a little wonky so I sent it for a brief anvil beating.

DSCN2665.jpg


And it is a little rusty on top. A little sandpaper will fix that.

DSCN2666.jpg


Backside after cleaning looks pretty good.

DSCN2667.jpg


Now for the bad news. The previous owner ground the blade off square AND he held it against the side of the grinding wheel. That is where the circular marks on the back came from. Bad news.

DSCN2671.jpg


Time for Mr Grinder. I will use the pink wheel. The Veritas tool blade rest is set at the correct angle (about 30 degrees) and I will just free hand it from there.

DSCN2673.jpg


I use a light touch in short (5-10 second) sessions and check for square after each grind. When the blade warms up, it gets a dunk in water. In all, it took me about 5 minutes to square this blade.

In the next session, we will go through the honing process. Stay tuned.
 
OP
J

jimreed2160

Well-known member
Joined
Aug 7, 2016
Messages
3,589
Location
Tallahassee FL
Sharpening the blade

So far, I straightened out the blade, cleaned rust from it, and ground the blade bevel edge square. Now it is time for honing. Why not use it straight from the grinder, you ask? Good question. The freshly ground edge is rough. Under magnification it would look like a serrated knife edge. Yes it would work in the plane, but it would leave marks and the resulting finish would be rough. In addition, we need to correct some defects on the flat side.

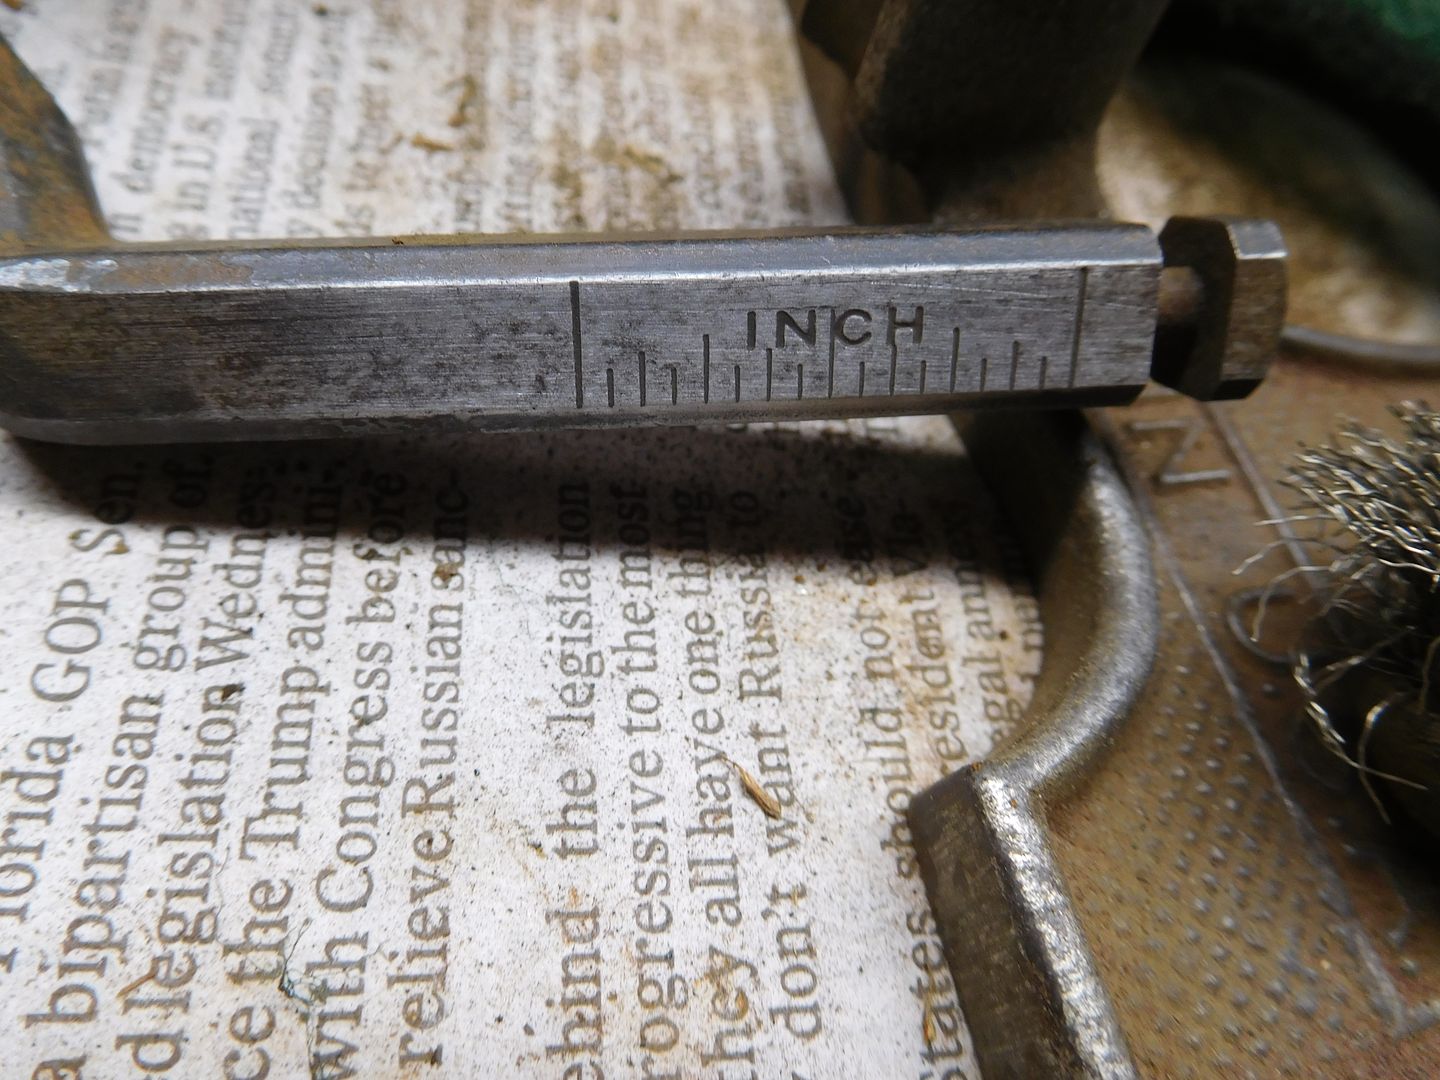
For honing, I use Aluminum Oxide (AO) sandpaper on a marble floor tile. The coarse grit I most frequently use is 220. Fine grit varies from 400 to 600 and even 800. It really depends on what I pull off the stack. I reuse paper until it is pretty far gone and then I refresh. I like to use the used up paper for rust removal. So there is always plenty of used paper in the box. For a blade like this, I grabbed some relatively new 220 paper.

I hold the blade freehand at 30 degrees and drag it across the plate while applying pressure.

DSCN2674.jpg


Number of strokes depends on how well I did the grinding and how fresh the paper is. I think I drug this blade about 50 strokes. I mostly concentrated on the last 1/16" of the bevel. Then I drug it across the 600 paper for about 10 strokes. The result was a nice and shiny even cutting edge.

DSCN2675_1.jpg


Next I started working on the back. Remember that we need to remove those circular marks from the previous owner's attempt of making a flat back. For this operation, I move the marble tile to the edge of the bench and rub the blade back and forth sideways on the coarse (220) sandpaper. I use short and quick strokes. It took about a minute of stroking and checking to remove the marks near the cutting edge. No need to remove them all.

DSCN2676.jpg


DSCN2677.jpg


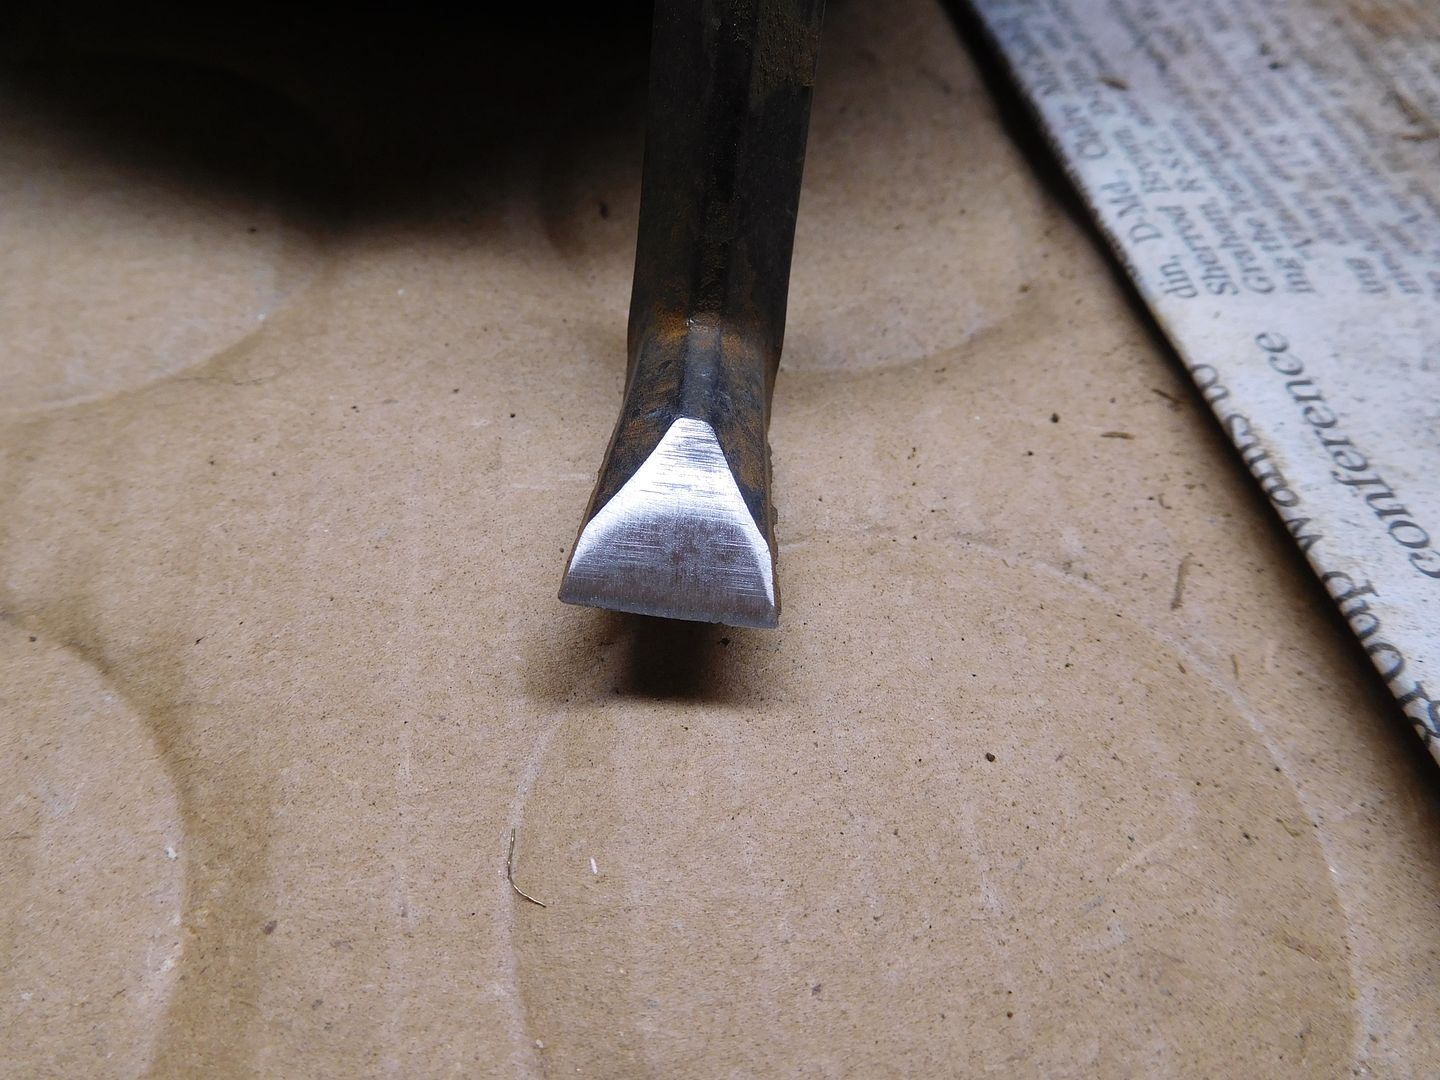
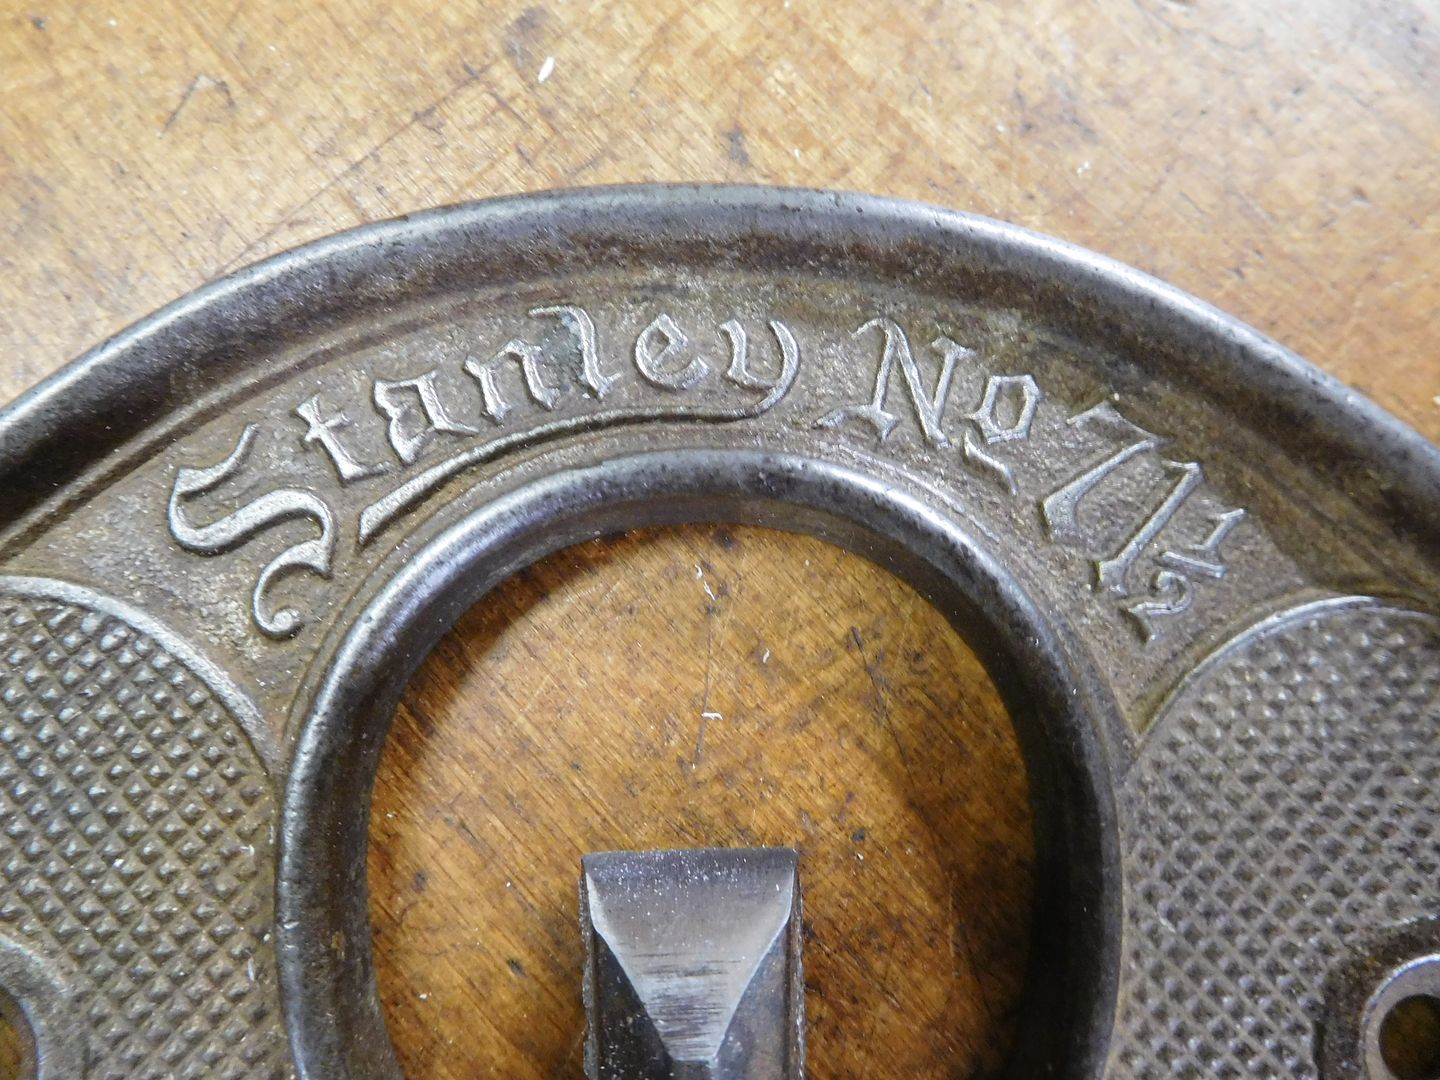
This blade had some deep scratches near the cutting edge so I used a trick to save some time. I elevated the blade about 2-3 degrees and honed for a few seconds to put a slight back bevel on the blade. This is a trick that works to salvage damaged plane blades. This picture shows what we are working with.

DSCN2678.jpg


The back bevel works on plane blades but is not so good for chisels. Most ww use the flat back of a chisel to register on the project and help guide the cut. A back bevel throws this operation off. But a back bevel can be effective on a bevel down bench plane blade. Remember that the angle of the cut is determined by the angle of the frog. On a bench plane, this angle is 45 degrees. When you install the blade bevel down, that 45 degree angle is replicated on the flat side and your plane cuts at 45 degrees. BUT when you put a slight back bevel on the blade, the cutting angle is increased. In my case, the increase was 2-3 degrees and that meant the effective cutting angle of the blade was increased to 47-48 degrees. A higher cutting angle usually leaves a smoother cut but can make the plane harder to push. I have found that the difference is so slight that I cannot tell. So that is a bonus. When a blade has defects like poor sharpening or rust pitting, it can be saved by a backbevel. Remember this tip when you are restoring vintage planes.

After I honed the back and put on the backbevel, I polished it with the 600 paper. Here is the after shot of the back.

DSCN2679.jpg


Here is the front bevel after polishing at 600.

DSCN2682.jpg


If you do your honing correctly, you will notice a wire edge forming. Just keep honing each side until that wire edge breaks off.

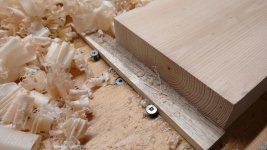
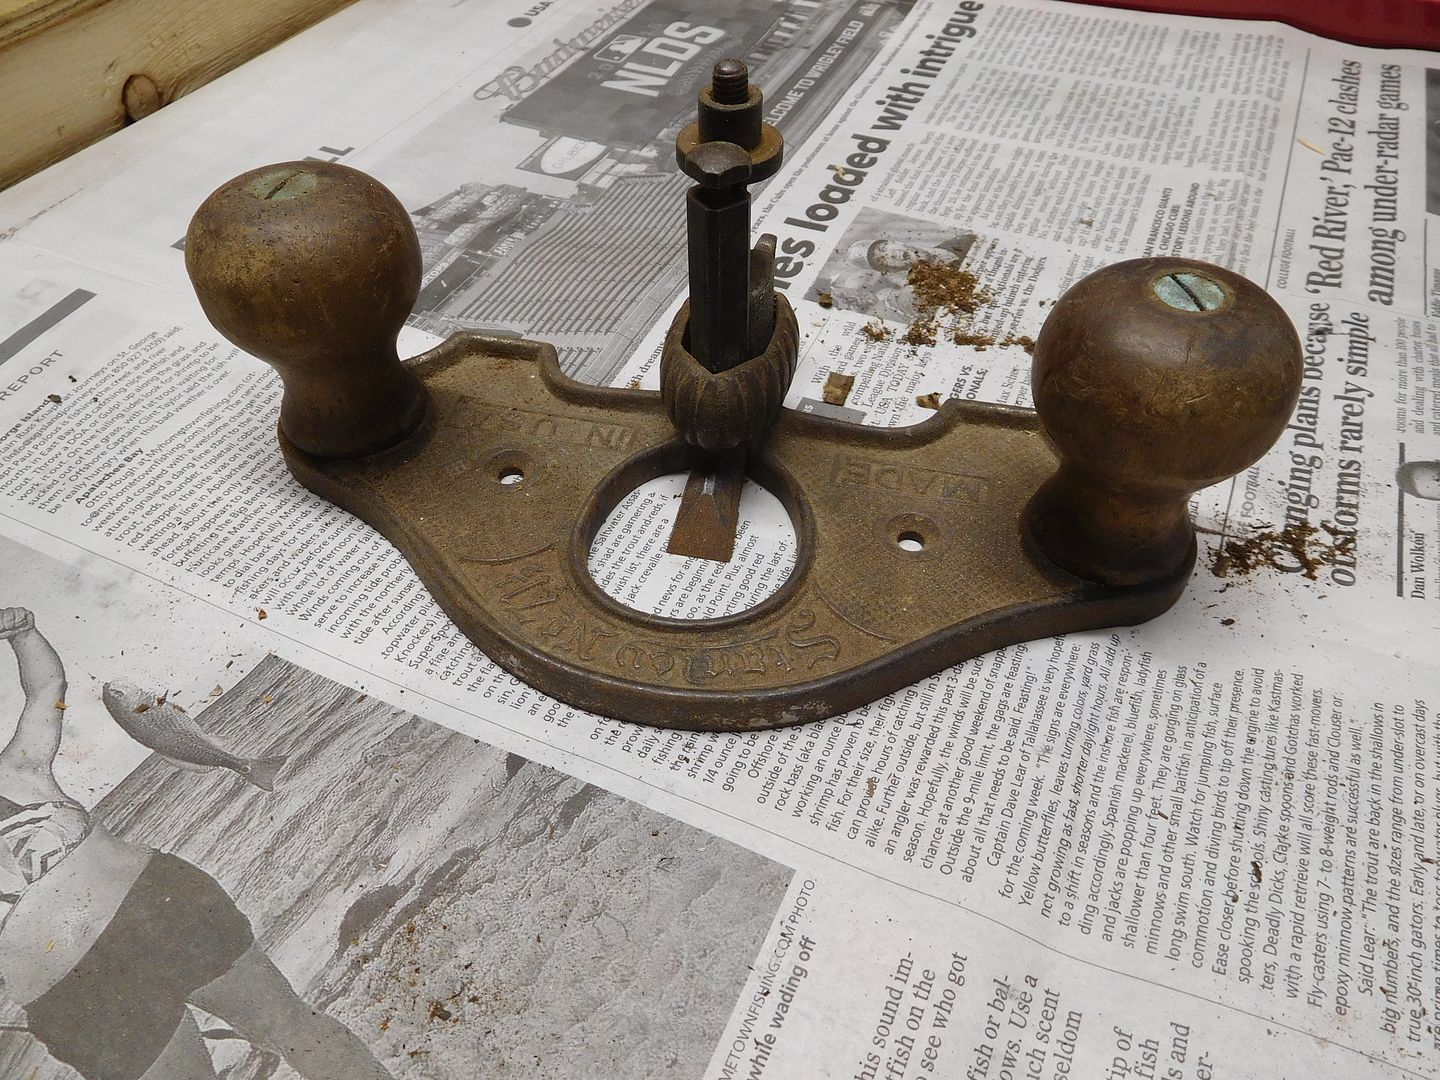
After the blade is done, I like to check the chipbreaker. They usually need some attention. Unfortunately the previous owner ground this one sharp on the end. I am sure he meant well. BUT no cigar for him. The chipbreaker needs to stay flat against the flat side of the blade. It stiffens the blade to prevent chatter and also deflects shavings to the outside. If it does not fit tightly, it will not do its chatter mission well and it may also let shavings get stuck under it. The fix is simple. Just swipe it across the coarse paper.

DSCN2683.jpg


DSCN2684.jpg


And make a good mating surface.

DSCN2685.jpg


I like to marry the chipbreaker and blade so the chipbreaker is about 1/16" from the cutting edge. It seems to perform better that way.

DSCN2686.jpg


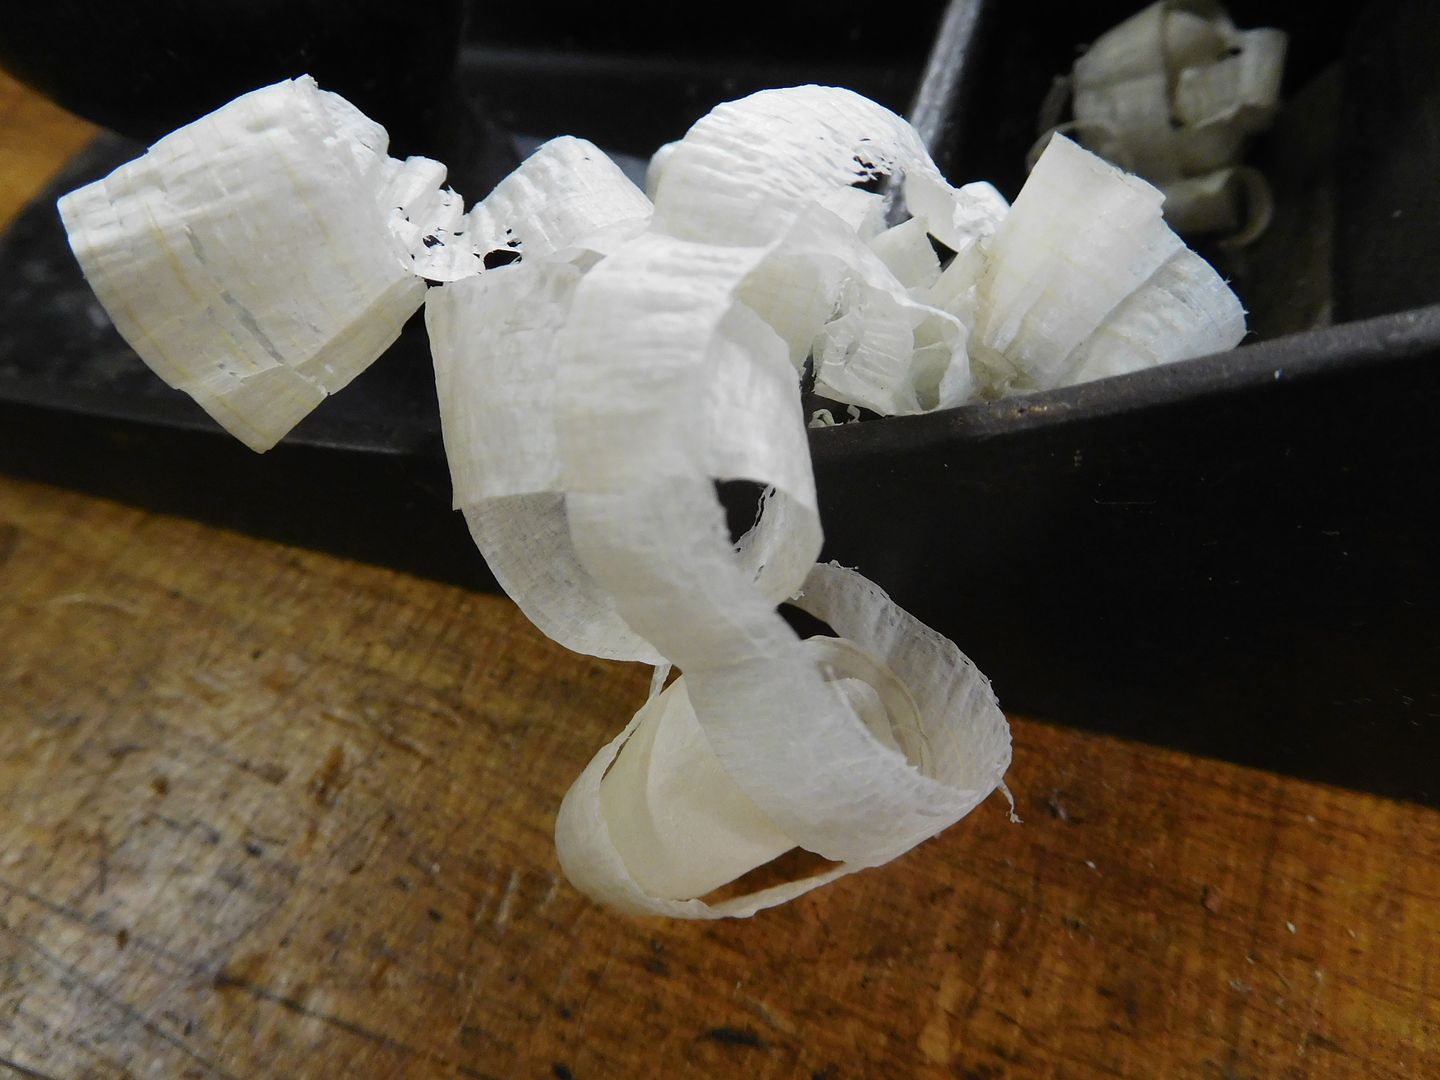
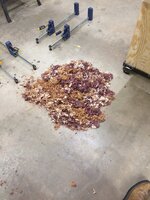
Of course, the proof is in the shavings.

DSCN2689.jpg


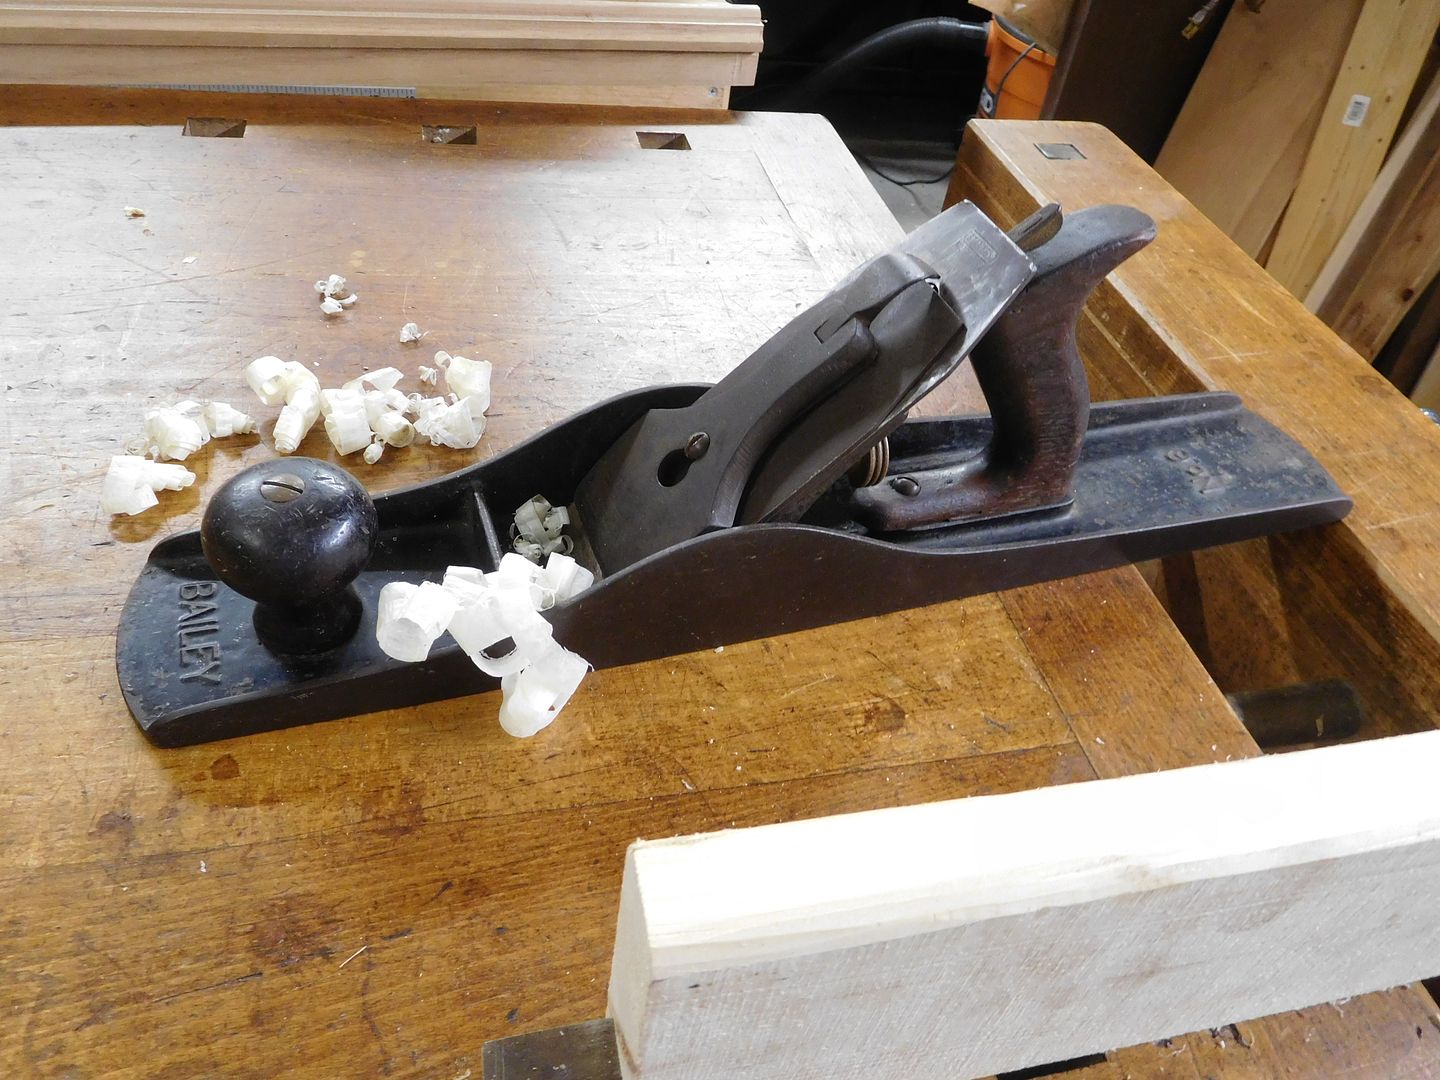
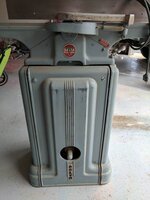
Now the plane is clean and the blade is sharp.

DSCN2690.jpg


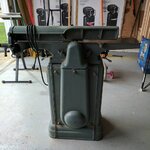
Time to put it back to work. Thanks for watching.
 

happymachinist

Well-known member
Joined
Jul 2, 2015
Messages
118
Location
Central NE
Happy--Great job on your #7. That size is one of my favorites. And don't worry about the powdercoating. The reason original japan finish is cherished by most is because lots of japan finish means the plane is in great shape. Once it is gone, there is no reason to replace it. Stanley used japan (asphaltum and linseed oil) because it was the industrial finish of the time. Just think Ford Model T era.

In my opinion, modern finishes, like the fantastic powder coating on yours, are far superior.
Thanks!

Yeah, I love the durability of powder coat and only did it because as shown in the first pic it was shot!! The japanning on the little No. 3's in the background is probably 95% intact and untouched by me.

That's a good write up on the sharpening the iron. I've learned a lot from Paul Seller's YouTube videos on sprucing up an old plane and sharpening the iron.

I think why my little No. 3's are in such good shape is that the original purchaser didn't know how to resharpen the iron and there they sat for 70 years unused. Okay by me!!

The No. 7 actually had the iron in upside down with the bevel up!! It was so pitted with rust on the back side I had to cut an inch off to get to some decent steel. I'm on the look out for a replacement if I can ever find one.


Sent from my XT1254 using Tapatalk
 

ADNICK

Well-known member
Joined
Feb 6, 2017
Messages
45
Location
Comfort TX
Thanks!

Yeah, I love the durability of powder coat and only did it because as shown in the first pic it was shot!! The japanning on the little No. 3's in the background is probably 95% intact and untouched by me.

That's a good write up on the sharpening the iron. I've learned a lot from Paul Seller's YouTube videos on sprucing up an old plane and sharpening the iron.

I think why my little No. 3's are in such good shape is that the original purchaser didn't know how to resharpen the iron and there they sat for 70 years unused. Okay by me!!

The No. 7 actually had the iron in upside down with the bevel up!! It was so pitted with rust on the back side I had to cut an inch off to get to some decent steel. I'm on the look out for a replacement if I can ever find one.


Sent from my XT1254 using Tapatalk


Like the powder coating.....just buy a Hock iron, have one in my #7 and it's my go to Jointer for many projects. The blade by itself is a nice upgrade but the bade and cap iron is even better.

Some tool dealer on Amazon is selling them for the best price I've seen.

Andy
 
OP
J

jimreed2160

Well-known member
Joined
Aug 7, 2016
Messages
3,589
Location
Tallahassee FL
More totes

Now that I have a workbench open, I can set up the oscillating spindle sander on a long termed basis and work on tote repair. Here are the first two.

DSCN2691.jpg


DSCN2692.jpg


As you can see, the repair wood covered the tote rod opening. It does add a different challenge in the rehab.

For one thing, you need a really loooong drill bit to start with.

DSCN2693.jpg


At least the rod hole provides a guide for the nut on top. I looked for something the right diameter and 29/64 seemed to be right.

DSCN2694.jpg


The real challenge is holding the tote steady during drilling.

DSCN2695.jpg


Perfect.

DSCN2696.jpg


Now I need to do some test fits and then sand the tote and prep it for finish. Only a few dozen to go.
 

cheechi

Well-known member
Joined
Feb 29, 2012
Messages
4,384
Location
Triad, NC
the correct angle (about 30 degrees) and I will just free hand it from there.
is there one correct angle for plane blades or does it matter the type, manufacturer, etc? Do you choose different angles for different work or materials?

The #33 I worked on was at exactly 25 degrees from the factory so I just stuck with that and honed it. Should I have changed it?
 
OP
J

jimreed2160

Well-known member
Joined
Aug 7, 2016
Messages
3,589
Location
Tallahassee FL
EZ--Thanks for your suggestion. Dimpling is more user error as I get the hang of this sander. Sometimes I get carried away with the 80 grit paper.

Cheechi--There have been countless discussions about bench plane sharpening angles. Like everything else--it depends. For normal uses 30 degrees is the accepted angle. Sometimes the angle can be made more acute as far as 25 degrees for working soft woods like pine and fir. Conversely, the angle can be increased to 35 degrees when working hard and tough woods like cherry and African hardwoods.

The iron is a determining factor. Higher angles are OK with most blades, but lower angles can be problematic. Soft steel can deform on a small edge. It can also crush and break. It is my experience that most Stanley bench plane blades are pretty soft and do not like angles lower than 30 degrees.

I sharpen almost all of my blades at 30 degrees and try to keep them honed sharp. But I also keep lots of planes around so I can get another and continue my project if a blade is acting up.

As for your plane with a 25 degree factory angle, I would hone it over time to a good 30 degrees. It will probably last longer and perform better at 30.
 

ez-duzit

Well-known member
Joined
Jun 24, 2013
Messages
5,096
Location
Marina del Rey
Picked up an 8" Powermatic model 60 jointer, yesterday, in remarkable condition. Has a Leeson 1-1/2 hp dual voltage motor presently wired for 110-volts. It is so smooth running! Doesn't appear to have many hours on it. Came with the mobile base for $700.

PM-jointer-1_zpsuwclfapi.jpg

PM-jointer-3_zps4mauriqf.jpg
 

superautobacs

Well-known member
Joined
Oct 31, 2008
Messages
3,997
Location
Vancouver, BC
I'm very slowly getting my WW bench constructed. After sharpening my blade , I had so much fun making these shavings.


attachment.php


I don't have a bench with a planing stop or dog holes, so this is how I deal with it. :D

attachment.php
 

Attachments

  • IMG_20170326_160016526.jpg
    IMG_20170326_160016526.jpg
    145.8 KB · Views: 587
  • IMG_20170326_160030395.jpg
    IMG_20170326_160030395.jpg
    147.8 KB · Views: 584

happymachinist

Well-known member
Joined
Jul 2, 2015
Messages
118
Location
Central NE
OP
J

jimreed2160

Well-known member
Joined
Aug 7, 2016
Messages
3,589
Location
Tallahassee FL
More shop organization

My shop organization project got a real boost today when HD put those 46" Husky workbenches on sale. I cleaned up a corner of my shop a few months ago and put one of those workbenches in the finished area. It really went a long way towards organizing things. So another should do the same, right? Anyway, here is the challenging area.

DSCN2697.jpg


It is a table made from a commercial solid core door with a 2x4 base. The top is 3' x 6'. Seems good but all it seems to do is collect junk. And the storage shelf underneath is not very productive.

And then there is the other problem area--the table behind my workbench.

DSCN2698.jpg


I used it to clean saws but lately it is just a stuff magnet. There is a nice workbench underneath all the junk and newspapers.

DSCN2700.jpg


Here is a nice shot of it cleaned off. Even clean, it is a little too wide for its spot and just does not have enough clearance to make it a nice bench for projects.

DSCN2701.jpg


So out it goes and in comes the Husky workbench. That will give me lots of storage and also open up the area a bit.

DSCN2703.jpg


And here is a parting shot of Mr Door Table.

DSCN2704.jpg


The "New" workbench is ready for action. Now maybe I can use the patternmaker's vise more.

DSCN2706.jpg


Of course, now the rest of the shop is in disarray. I guess the weekend plan is to straighten up and load those Husky drawers.
 
OP
J

jimreed2160

Well-known member
Joined
Aug 7, 2016
Messages
3,589
Location
Tallahassee FL
EZ--Thanks for your kind words. This cleanup is a slow process but I am making progress. The progress is rewarding because every cleanup leads to higher productivity and more fun.

In fact, I had a cup o joe this morning on my new bench and went over some ideas for next projects.

DSCN2707.jpg


This is for all of you GJ'ers stuck in an office somewhere. The weekend is almost here. Hope that means that everyone has some quality shop time.
 

rrich1

Well-known member
Joined
Oct 7, 2015
Messages
793
New addition to the garage workshop yesterday! Would have loved the find a long bed but it will work for what I am doing right now. All cast iron. And runs great. Needs the usual clean up. Maybe at some point I'll do a full restoration on it. No sn tag to get a birth date on it. 08a4dbced1b867d0390ecce69ad4ba5f.jpg710a1d5afa00dc58efd1ecc2a62ef990.jpged94ddfaeb7beb7fd60ef14ebfd2b75a.jpg

Sent from my Pixel XL using Tapatalk
 

Attachments

  • 08a4dbced1b867d0390ecce69ad4ba5f.jpg
    08a4dbced1b867d0390ecce69ad4ba5f.jpg
    85.9 KB · Views: 0
  • 710a1d5afa00dc58efd1ecc2a62ef990.jpg
    710a1d5afa00dc58efd1ecc2a62ef990.jpg
    78.5 KB · Views: 0
  • ed94ddfaeb7beb7fd60ef14ebfd2b75a.jpg
    ed94ddfaeb7beb7fd60ef14ebfd2b75a.jpg
    111.6 KB · Views: 0
OP
J

jimreed2160

Well-known member
Joined
Aug 7, 2016
Messages
3,589
Location
Tallahassee FL
Good score on the jointer. It looks nice and clean for its age. Lotsa heavy cast iron. I like the screwhandle adjusters, too. Nice addition.
 
To avoid these ads, REGISTER NOW!

cheechi

Well-known member
Joined
Feb 29, 2012
Messages
4,384
Location
Triad, NC
all your jointers here are inspiring me to ask a question in the form of a rambling general idea type thing.

part of this is me thinking about getting a jointer. Not likely to have the purchasing power for really nice vintage type stuff. I don't really want a lathe, but few 'full' shops are lacking one I may have to get one at some point. Most of the projects I want to start I really want to get a 735 planer. Well, I really want one of those regardless but I have been starting projects that need some flatness at the end result and I don't have the patience or time or the hand plane collection for all hand work.

so the way jointers are long and skinny, and lathes are long and skinny, have you guys seen someone do a flip around table like that? too much weight over such a long span to make it ideal? Most of the flip around tables I see are for more square type stuff.

What I was originally going to do was build a cart with a thickness planer on a lower shelf and a benchtop jointer on top. but as far as outfeed/supports it would probably be easier doing it the 'normal' way with the stand they sell or at least at the height of their stand if I build one.

So as far as jointers in general, should I just bite the bullet and either make some dedicated space or build a cart for it on its own, or do you think I could get away with classifying it as an occasional use tool and store it accordingly? Are these big beefy stands indicative of how it's supposed to be treated and used?
 

ez-duzit

Well-known member
Joined
Jun 24, 2013
Messages
5,096
Location
Marina del Rey
ch--you can get away for a long time without a jointer, but not a thickness plane. I use my thickness plane virtually every time I use the bandsaw, another indispensable machine. And a good plane is a heavy beast, though a mobile base solves that (my 13" is stationary). Mobile base for a good jointer, too. HTC for the mobile base.
 

250

Well-known member
Joined
Oct 16, 2014
Messages
537
Location
West of the Sierras
I've heard a lot of people recommend the planer earlier on. I got my jointer first because it presented itself first. No other reason.

I also wouldn't write off picking up an older piece either. You can't go out and order up a 1950's piece most the time, though you could post a 'want to buy' on an appropriate site, such as OWWM. I just took a look at their want ads and there are 2 6in jointers for sale for roughly $300. The other caveat is it might need a little work to get going smooth. It can be a slippery slope to start down.
 

250

Well-known member
Joined
Oct 16, 2014
Messages
537
Location
West of the Sierras
EZ- nice pick up on the jointer. I'm a big powermatic fan myself.

rrich- delta did make some really nice looking stands at one point. More interesting for sure than the steel boxes of the powermatics.
 
OP
J

jimreed2160

Well-known member
Joined
Aug 7, 2016
Messages
3,589
Location
Tallahassee FL
Cheechi--Jointers are precision tools where bigger is almost always better. We would all love an aircraft sized jointer but most of us have to settle for less. If you are looking at low volume, I am sure there are some lower end machines out there that would work. But I would start with a 6" minimum.
 

ztorres

Well-known member
Joined
Sep 22, 2016
Messages
195
Location
Iowa
Here's the pile of shavings I made tonight hand planing. The muscles are sore and I'm really wishing that I had a planer to do this. But there is some pride in doing it by hand. 2fb396ff6dc9a5c954f496239427abf9.jpg


Sent from my iPhone using Tapatalk
 

Attachments

  • 2fb396ff6dc9a5c954f496239427abf9.jpg
    2fb396ff6dc9a5c954f496239427abf9.jpg
    665 KB · Views: 0

ADNICK

Well-known member
Joined
Feb 6, 2017
Messages
45
Location
Comfort TX
Have become a hand tool guy for the most part, being disabled forces me to keep my machines, but if I ever do sell them I will keep 3:

Planer--mine is an old Parks and it leaves a smooth surface on any wood put through it....

Band saw-- ripping and re-sawing

Drill press

Regards,
Andy
 
OP
J

jimreed2160

Well-known member
Joined
Aug 7, 2016
Messages
3,589
Location
Tallahassee FL
So far my shop organization plan has added over thirty drawers for random workshop stuff. Remembering where I stashed this stuff is becoming a problem. The problem is compounded by the fact that I am still organizing and that means moving stuff around. It quickly became clear that I needed a flexible labeling system. Here is what I started with.

DSCN2726.jpg


I am using magnetic tape strips because all of the drawers are steel. Measuring the drawers showed that I have about 2" of height and 10" of width on even the small drawers. That sounded like a 2x6 to me, so I sliced one up.

First I crosscut the 2x6 at ten inches using my miter saw. Then I used the bandsaw to slice the piece into 1/4" strips. They are roughly 1 1/2" tall, 10" wide and 1/4" thick.

DSCN2727.jpg


Then I stuck the mag strip to the rear. BUT the glue is not very aggressive and the strips started to come off. I may have to hot glue them.

DSCN2728.jpg


Since I am using clear packing tape on the front, I decided to run a piece on the back. The strips are sticking to that much better--for now. Hot glue may be in my future.

Then I used MS Word and my laser printer to print out some labels. Here are some of the first drawers to be labeled.

DSCN2729.jpg


DSCN2730.jpg


So far, so good. Even my tired ole eyes can read the labels. If I manage to do about five or six every day, I should be done with this project soon. It sure is nice to have a ww shop.
 
OP
J

jimreed2160

Well-known member
Joined
Aug 7, 2016
Messages
3,589
Location
Tallahassee FL
Update on drawer signs

Well this test did not take long. I went into the shop this morning and found some of the signs already failing. :dunno:

DSCN2735.jpg


The packing tape pulled away from the wood on the sign that fell off. On others, the tape is pulling away from the packing tape.

Next step--hot glue gun. Stay tuned.
 

ez-duzit

Well-known member
Joined
Jun 24, 2013
Messages
5,096
Location
Marina del Rey
Use Post-it notes if you just want temporary labels; self stick labels if you want them to be more permanent. The wood strips are unnecessary.
 
OP
J

jimreed2160

Well-known member
Joined
Aug 7, 2016
Messages
3,589
Location
Tallahassee FL
Router plane rehab

I found this nice little router plane in the boneyard this weekend and decided to clean it up. It is a Stanley 71 1/2, type 4. It was made sometime from 1911-1924. It looks like it needs only a brush up.

DSCN2732.jpg


DSCN2733.jpg


DSCN2734.jpg


So I went after it with a variety of brushes and Scotchbrite pads. Hack-cough.

After brushing off the rust, I noticed a marking under one of the knobs. Perhaps a casting date? 1920 would be appropriate for this type 4. Anyway, here is another hidden treasure--the blade has tick marks stamped into the side.

DSCN2737.jpg


Lucky that the previous owner did not abuse the blade. It sharpened pretty easily.

DSCN2738.jpg


Cleaning continues. Stay tuned.
 
OP
J

jimreed2160

Well-known member
Joined
Aug 7, 2016
Messages
3,589
Location
Tallahassee FL
Router plane cleanup

And here he is back at work!

DSCN2741.jpg


These planes are used differently from modern routers. They do not make dados, they clean up dados. The 71 1/2 is a finishing plane. Once the dado is roughed out the router plane is used to refine the bottom and also to make sure the dado has a uniform depth.

The cleanup went well.

DSCN2743.jpg


I think the script on top is especially nice.

DSCN2744.jpg


During the late 19th century and into the early 20th century, toolmakers responded to demand and spent time and energy adding beauty to their tools. This plane is a fine example of tools as art.
 

cheechi

Well-known member
Joined
Feb 29, 2012
Messages
4,384
Location
Triad, NC
flat plate. like for measurements and tool calibrations? Is it one of the granite ones or like the industrial resin ones or something else?

One of those things I've always wanted just because a lot of tool rooms I've been in don't have one.
 
To avoid these ads, REGISTER NOW!
Top Bottom