ez-duzit
Well-known member
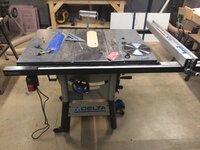
My 12" x 18" granite surface plate I found on eBay for ~$50 with a local pickup not far from my shop. You can just see it peeking out from between the rotary table and lathe.


flat plate. like for measurements and tool calibrations? Is it one of the granite ones or like the industrial resin ones or something else?
One of those things I've always wanted just because a lot of tool rooms I've been in don't have one.


that's how I do it too, I bought a separate one as a flat reference until I get my hands on a 'real' flat plate.Actually the flat surface plate is on the top of the bench. I keep a marble tile around for sharpening with sandpaper and that drawer is where it lives.
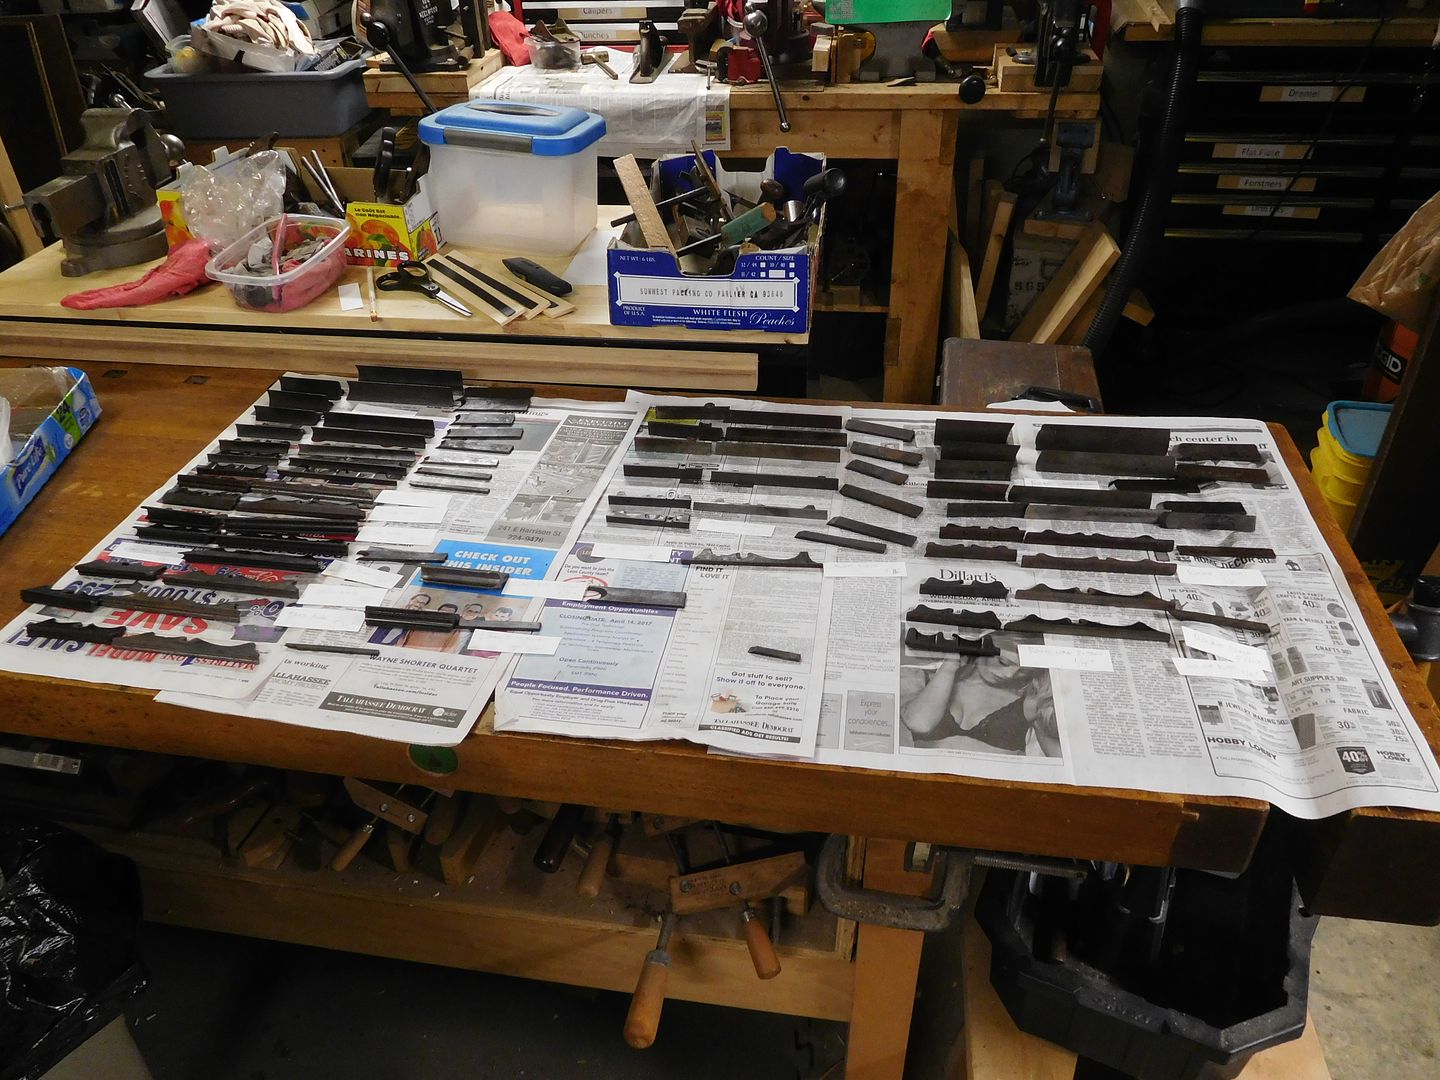
That's how I usually work on projects and do cleanup too.In the meantime, I took a few shots


Jim, that sounds very interesting and looks like a handful. Do you have any pictures/documentation/literature/etc. showing what this would look like in action/complete?

")


I managed to snag a few pictures before today's hospital journey. Surgery on the Queen is at 5:00am tomorrow.
Sometime in the late 19th century, Amos Fales had a fever dream and came up with an outrageous plow plane system. He believed in his invention so much that he patented it in 1881 and talked Otis Smith into making it. This was a very large manufacturing task because the complete plane system had over 240 separate parts. Otis manufactured and sold (or tried to sell) this plane system from about 1880 until 1917. Their complicated product was really good but never really set the market on fire. Stanley Tool Works crushed them with their less complicated #45 plane and turned the Fales/Smith plane into a toolbook footnote.
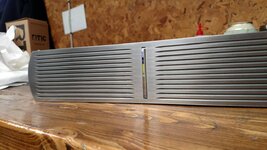
Well I really appreciate what Amos did. Unlike the #45, his plow plane has a real sole instead of runners and his blades cut on a slight skew. One day I will get mine into operation and enjoy the fruits of his active imagination. Until then, I am content to admire the box of stuff on my rehab shelf. Here is the base plane with its fence.
You may notice that the fence can also hold a blade for those complex moulding operations.
Here are two bodies which illustrate how the interchangeable soles work. The sole is actually two separate pieces.
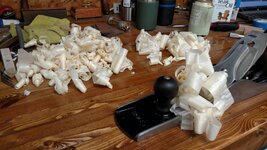
And here is the box-o-parts. It takes three pieces for each different blade--two sole pieces and one skew blade piece.
I need to do a rust treatment first. Then I can measure and sort the sole pieces into matched pairs and find the associated blade. Next task is to sharpen the existing blades and make new for the ones that are MIA. I need to devise some sort of case to hold everything separately. Sounds custom to me.
Maybe I can have a fever dream of my own like Amos and devise the perfect case. There will surely be some fitful nights in my near future.


Jim:
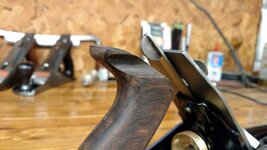
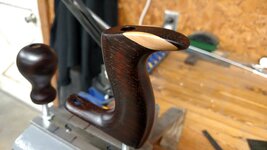
Tote jig is very clever....
Andy


the last photo the messy bits on the side there. Is that a machined surface that's meant to go up against another surface to square up an edge? whether if so or not, is cleaning up parts like that generally part of your rehab process? It looks like it's functional now but I wonder if that were flattened/polished/clean would it add any more function than what you have now?
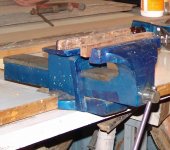
I converted an 8" bench vise into a dedicated woodworking vise and mounted it flush with the table. Some tweaking is still to be done for the height of the front jaw wood facing.
The Woodwrights shop television program is simply brilliant
...One of the issues I have is clamping them in position properly so the glue will dry...


...What are the advantages of epoxy over Titebond?