
CRSINMICH
Well-known member
Paul: Very nicely done! In order to get the glassy finish you're after you will have to fill the grain. It's not a difficult process but it is very time consuming. I haven't done it for some time but one of the tricks that I remember is to apply the filler with something like a wide plastic putty knife. Work the filler into the pores of the wood and then remove the excess by dragging the putty knife diagonally across the grain of the wood. If you go with the grain it could actually pull some of the filler back out of the pores. I haven't looked but I expect that there are You Tube videos about using grain fillers.
I once did a hand rubbed finish on the top a sofa table that was only a little bigger than the top of one of your cabinets. That process began with filling the pores. The whole thing took a long time to complete but 30 years later I'm still glad I did it. You've put a lot of time into these cabinets already. They're worth putting in some more. Good job!
I once did a hand rubbed finish on the top a sofa table that was only a little bigger than the top of one of your cabinets. That process began with filling the pores. The whole thing took a long time to complete but 30 years later I'm still glad I did it. You've put a lot of time into these cabinets already. They're worth putting in some more. Good job!


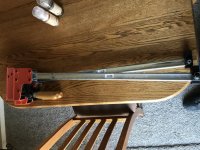


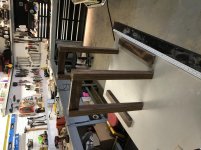

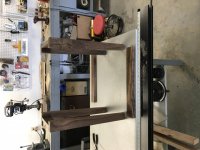


 I'm trying to use google images as recommended in the test section. I can see it fine from my end.


 )
)


