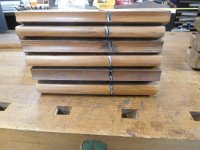
jim: Great job fixing that iron and returning the plane to its original use. If more people knew how well wooden planes worked with just a little fettling, they'd be much harder to come by. Mum's the word!
How true! Woodies rule!!!
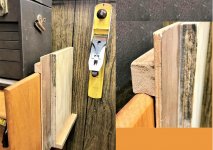
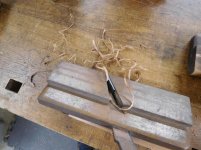
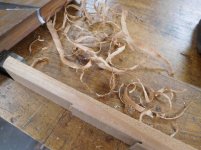
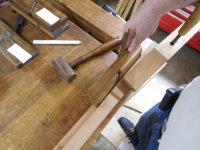
Here are some adjustment tips. I use whatever wooden mallet is available but have also used a scrap 1x1 stick with great success. Blade adjustment is easy with light taps so anything light duty will do well. Just don't use metal. I also like to have soft and knot free construction lumber available for testing.
Setting Blade Depth
I do this first and with the wedge slightly loose and the blade almost at the mouth. Just tap the end until the blade kisses the wood. Then I tap firmly to set the wedge. Not to hammer it home but to make it tight but still loose enough to remove with finger pressure.
Adjusting Blade Depth
Setting the wedge will almost always change the depth of the blade. If it is now too deep, firmly tap on the heel of the plane. If it is too shallow, tap on the front of the plane.
Lateral adjustment
Make test cuts on each side of the blade and adjust until they are even. Just tap lightly on the side of the blade.
I find that each plane responds differently. Some need firm taps and some need light taps. That is why I like to test drive each plane and work with it on scraps.
Wax
Wooden plane bodies like wax. The soles especially like wax. But the wedges DON'T like wax.
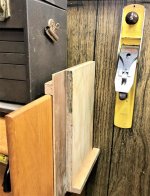
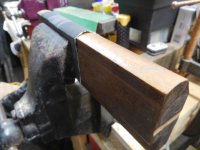
Wedges
Sometimes older plane bodies shrink and capture their wedges. Use a pocketknife to lightly scrape the sides of the wedge. Of course, leave the top and bottom working surfaces alone. Be sure to clean rust from the irons, especially on the bottom where they mate with the bed and on top where they mate with the wedge. If the wedge is STUCK HARD, clamp it in a vise (after protecting the surfaces from the vise jaws) and sharply rap the heel of the plane. The wedge should give it up after a few raps. And don't be afraid to make a new wedge. You ARE a woodworker, after all.