rlitman
Well-known member
Interesting. The last time I had more than an inch of West System left in the cup, it started to smoke as it cured.


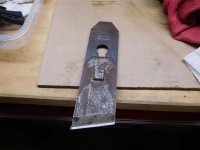
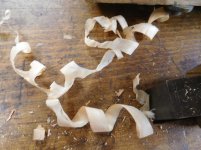
Just stunning stuff. And finished exceptionally well.

I just went to your blog and you have a lot of nice projects?
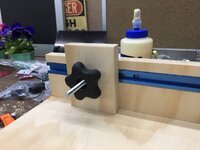
My Father-in-law got one of these for Christmas and I mentioned that I’d like one too! My wife surprised me with my own Grr-Ripper for Valentine’s Day.
On a side note, I went to Rockler and got some chucks for my lathe. I did some turning and showed it to a local work worker and he said my wood was too dry. How do you combat that? Soak it, mist it while on the lathe?
Sold lots of those grippers when I was at Rockler. They are nice but work too close for me. I use a birds mouth stick that is 24" long.
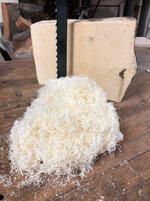
I understand that lots of bowl turners like to work green wood and that has a MC of about 90%. I know why because green wood works exceptionally well. It's like chucking a potato in your lathe.


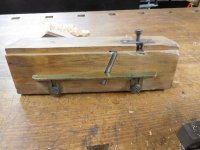
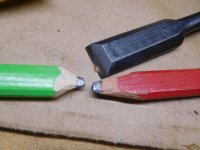
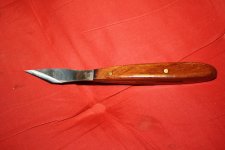
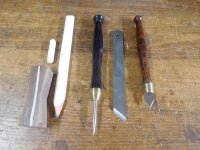
Carpenters pencils are OK for rough framing but, for work on cabinetry and furniture, etc, one needs more precise methods of marking, like marking gauges, striking knives and sharpened pencils.
That sounds like a call for pictures. I'm in. Pictures tomorrow. Who else has a favorite precision marker?
Carpenters pencils are OK for rough framing but, for work on cabinetry and furniture, etc, one needs more precise methods of marking, like marking gauges, striking knives and sharpened pencils.


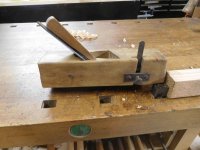
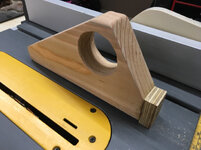
sda: Those are good looking push sticks. Since their main purpose is to keep fingers and hands well away from whirling blades, you should be able to use them for a long time - providing you use them every time. Good job!
A WW Buddy
Ten or twelve years ago I worked closely with a colleague named Dan. We discovered early on that we both liked woodworking. I was talking about planes one time and he got intrigued. I told him I could bring in a different plane each Friday and we could have show and tell. He asked how long I could keep it up. I replied, "Forever." His office was beside mine and I brought in a different kind of plane every Friday for over two years until he changed jobs. Those short sessions of ww bonding created some great memories.
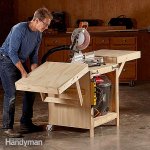
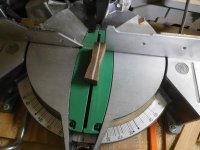
During that time, we talked each other into buying DeWalt contractors saws. When I unboxed mine, I set it up and then went to the bandsaw with a scrap of plywood and made my push stick. It has held up well over the years.