Thanks nkachur!
A few days after the accident happened, I made a list of the things I could do during the recovery period. Not all of them revolved around the shop like finishing up an exact scale model of my FJR motorcycle, but several did. One was making the sign. Another was making a new ceiling flag out of more durable Sunbrella material, but that project was tossed out after Mrs. Shopnut got a good look at the new ceiling vinyl and “we” decided it would be a shame to cover it up. Then there’s a bunch of pictures of my vehicles that are in need of framing so that is next, and they will go in the stairway. Lastly, for more variety of music while I’m working in the shop, I’m converting all our old LP’s to digital music.
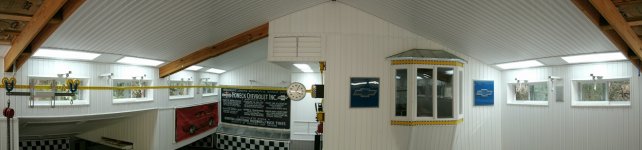
Another shop project I’m setting the ground work for is the installation of a TV out in the shop. The following pictures show the location of the TV, the rollup aluminum curtain (tambour style) I just won on auction for $50, and an example of TV with cabinet using a rollup door. I’m debating whether to strip the curtain to bare aluminum or paint it yellow. I think a 42” LCD will fit in there perfectly and I will be on the hunt right after the Superbowl when prices are at their lowest.


I’m not sure how long it will take to get back to 100%, so I’m now thinking of the “lightweight” projects I can start with once I get back on two feet. Some of these include reinforcing the door headers to support the front loft weight, installing that TV, and maybe working on the
docking workbench system that has been put off for too long. I may just break down and buy that car lift before building the front loft to give me a little elbow room during the construction work, but I doubt it.
I really don’t enjoy sitting around.


") .
.


 . And ya made it out leftovers to boot. Once you paint the letters and get it back lit it should really pop.
 (I couldn't have said it better!)


 ? You're a brave man
 .
.


