To avoid these ads, REGISTER NOW!

Raising the Rat Shack

FMC1959

Well-known member
Joined
Feb 9, 2014
Messages
2,305
Location
Montreal, Canada / Upstate NY
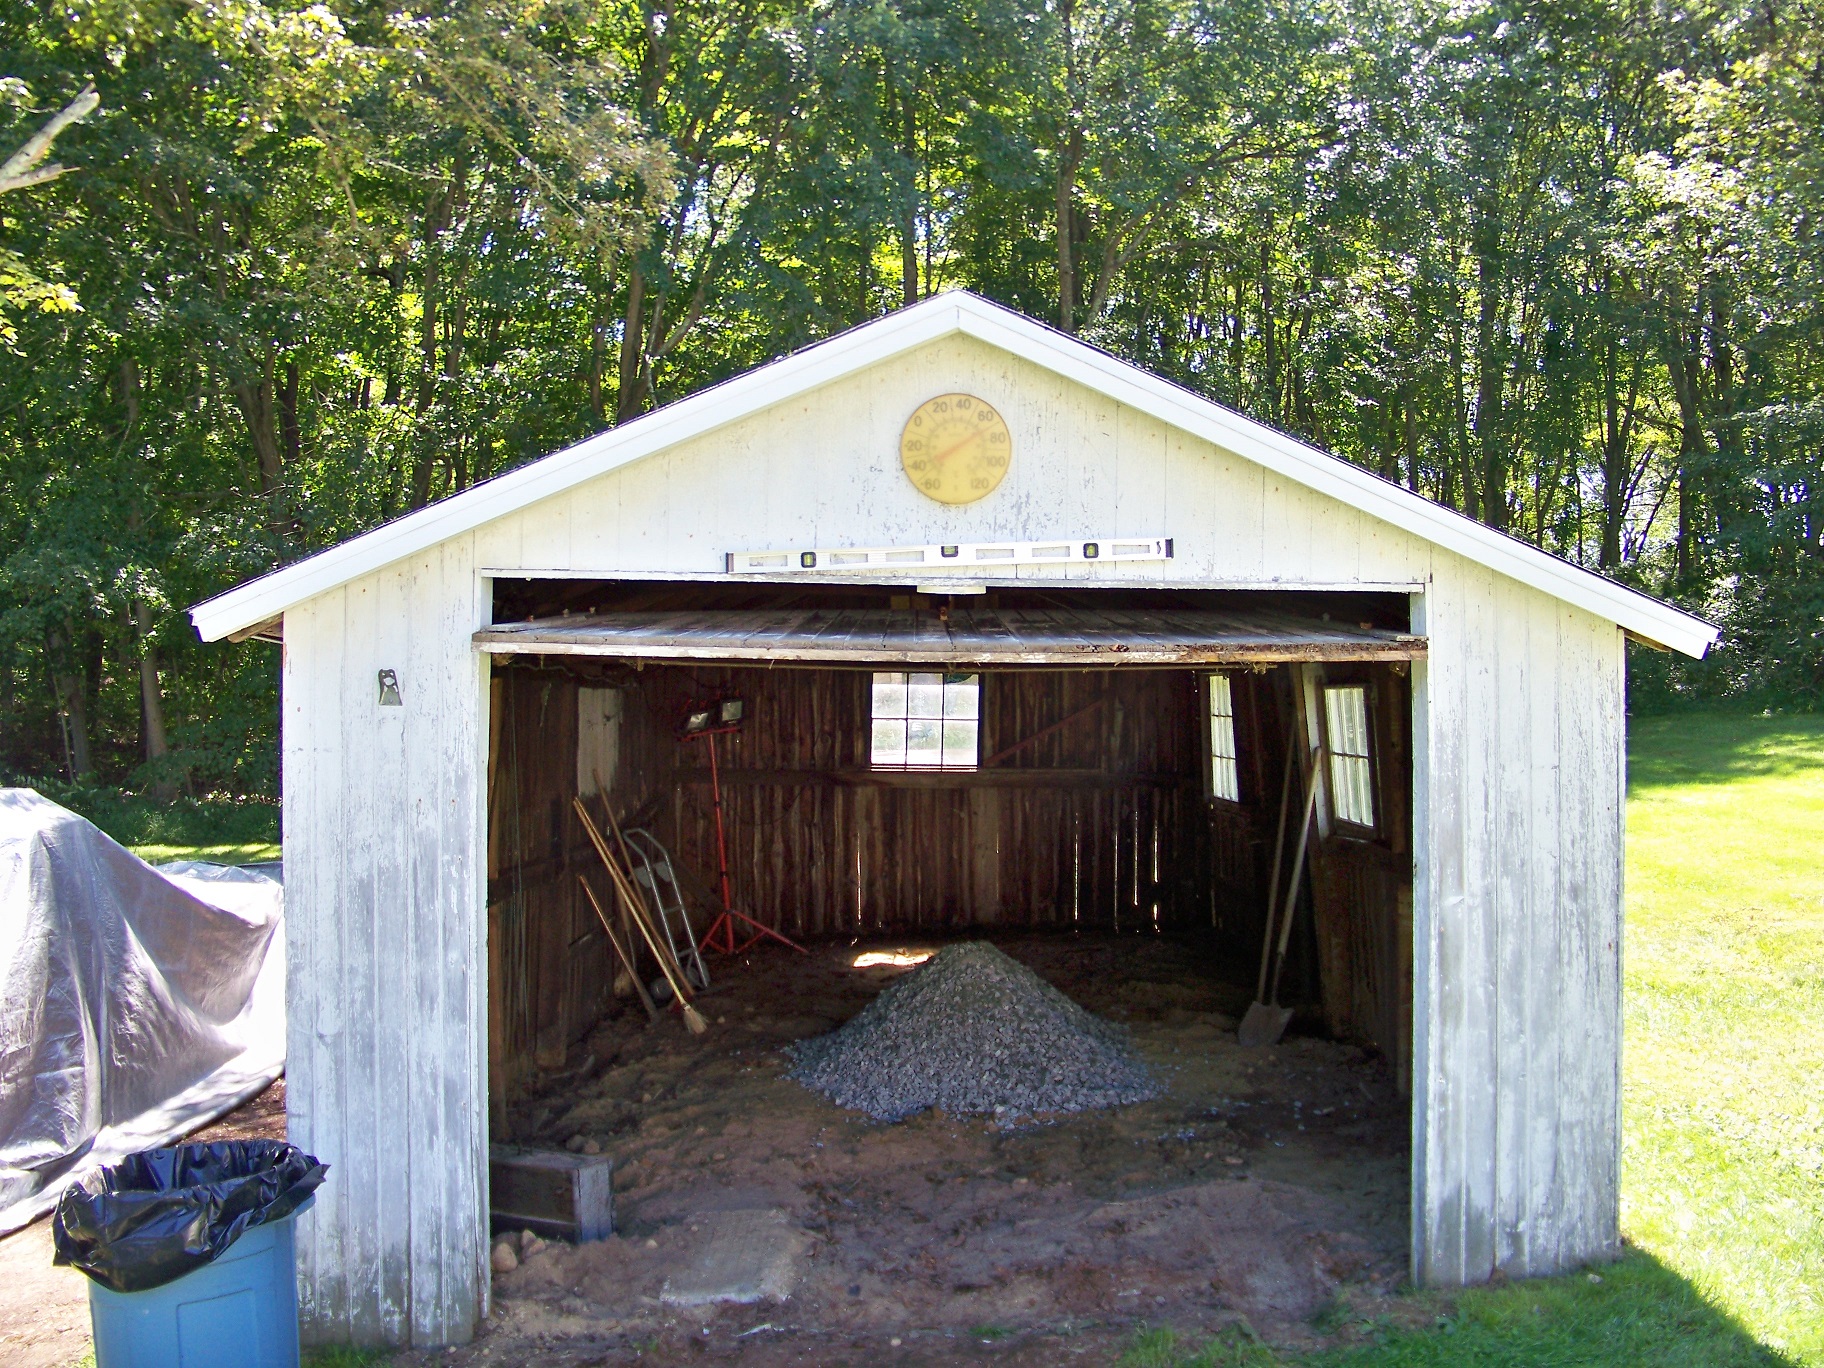
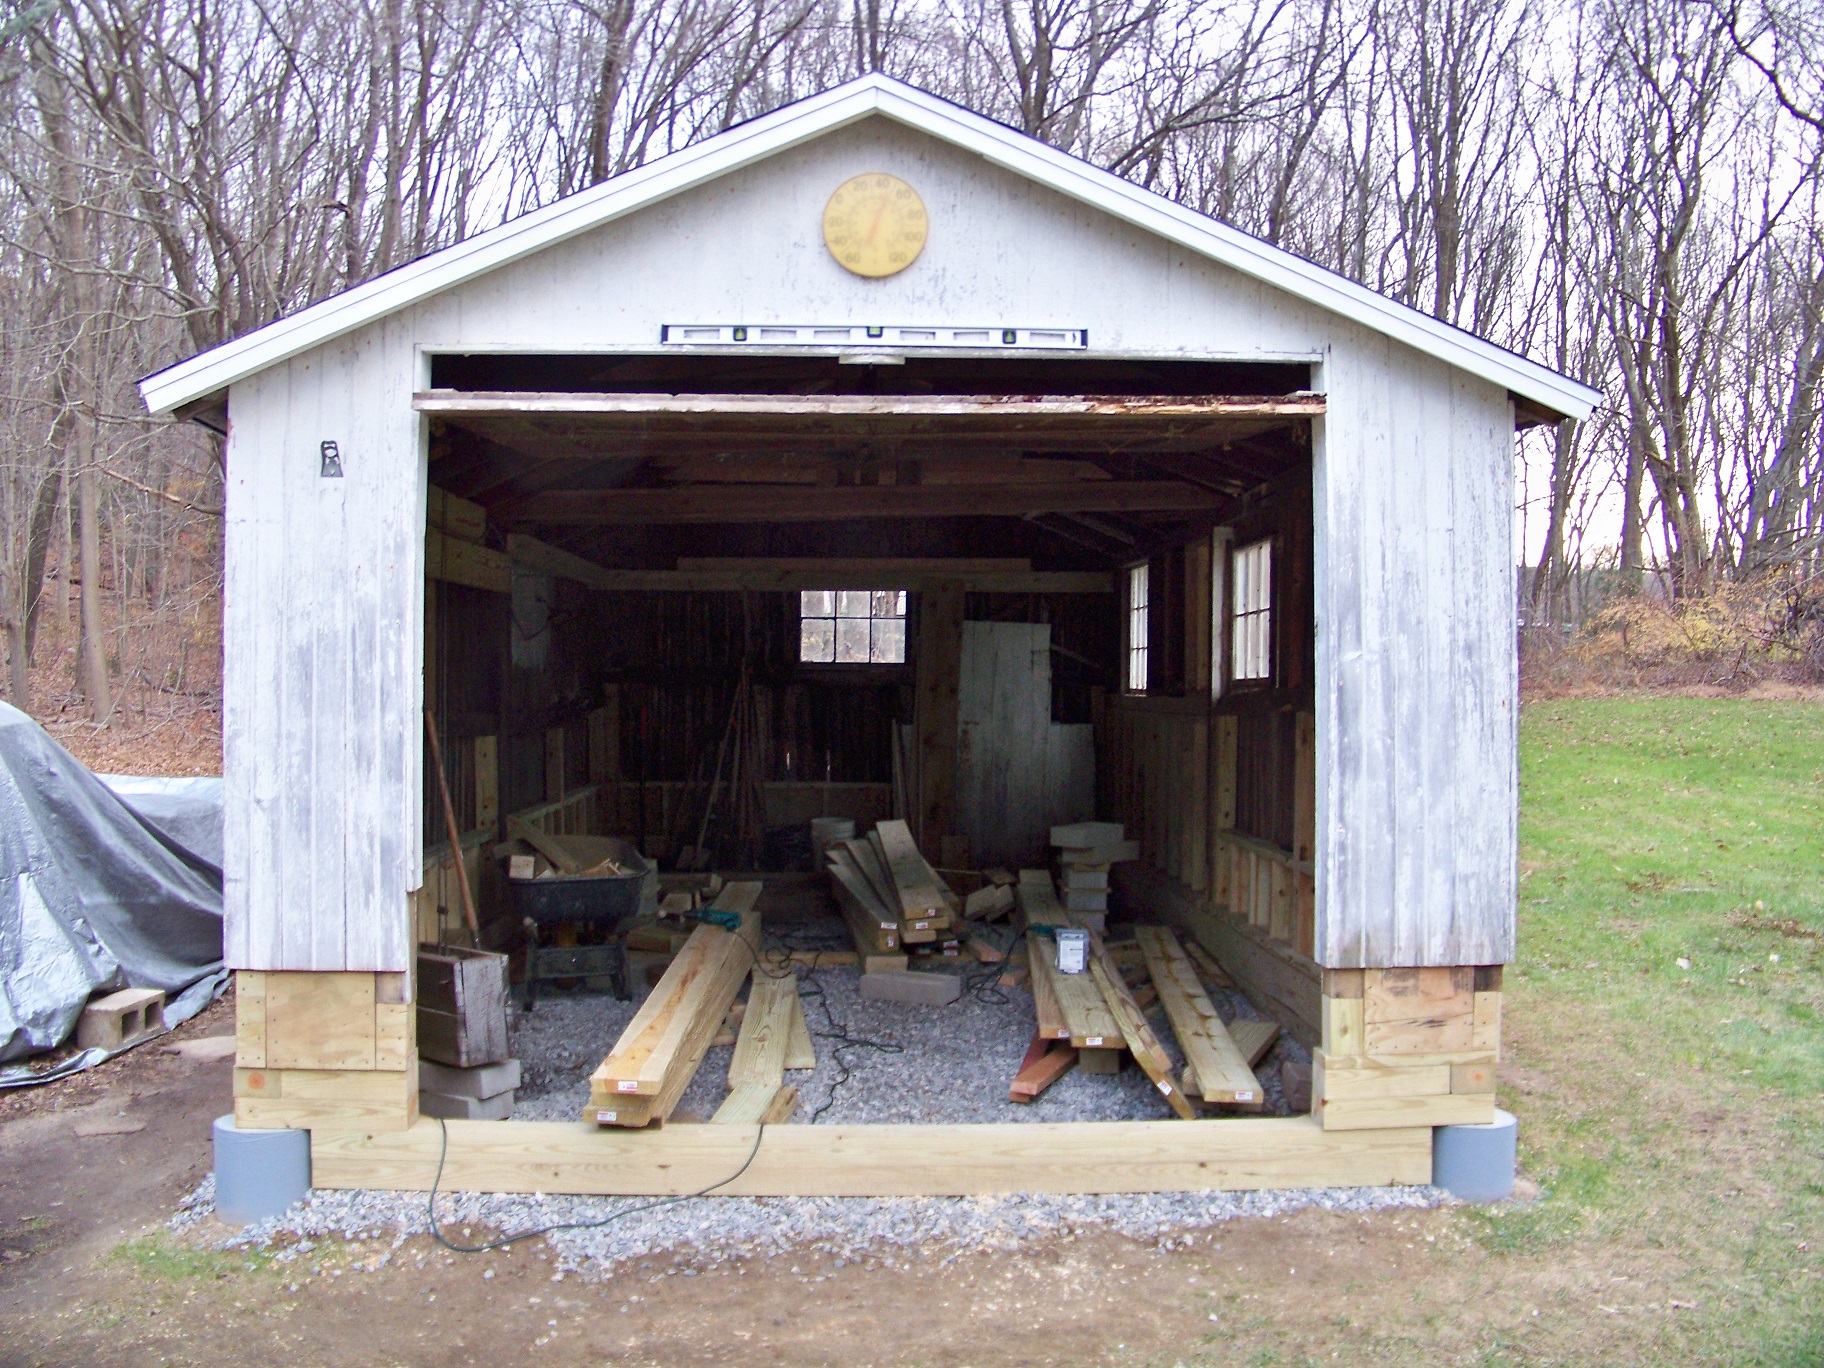
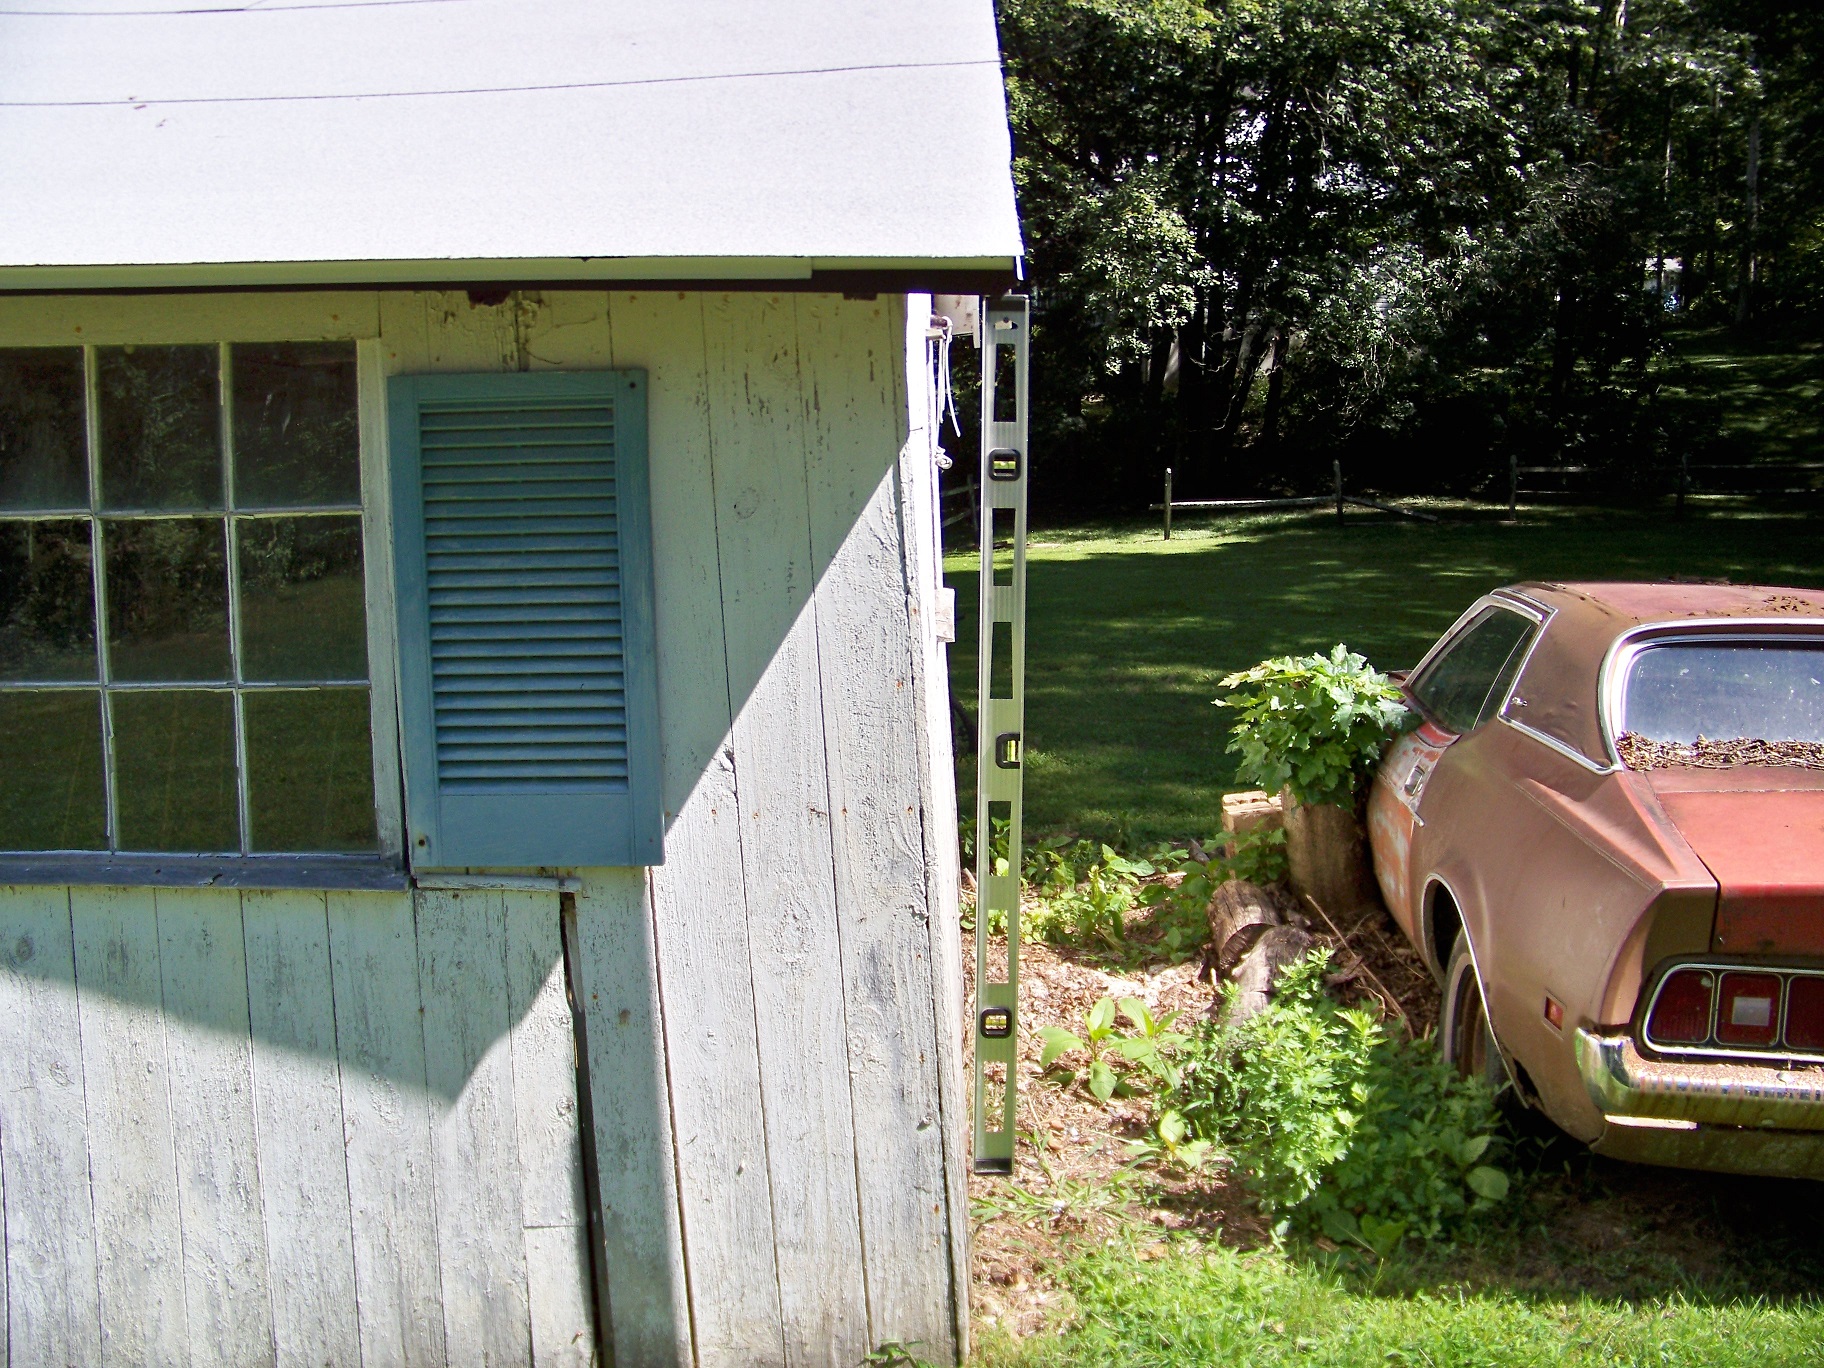
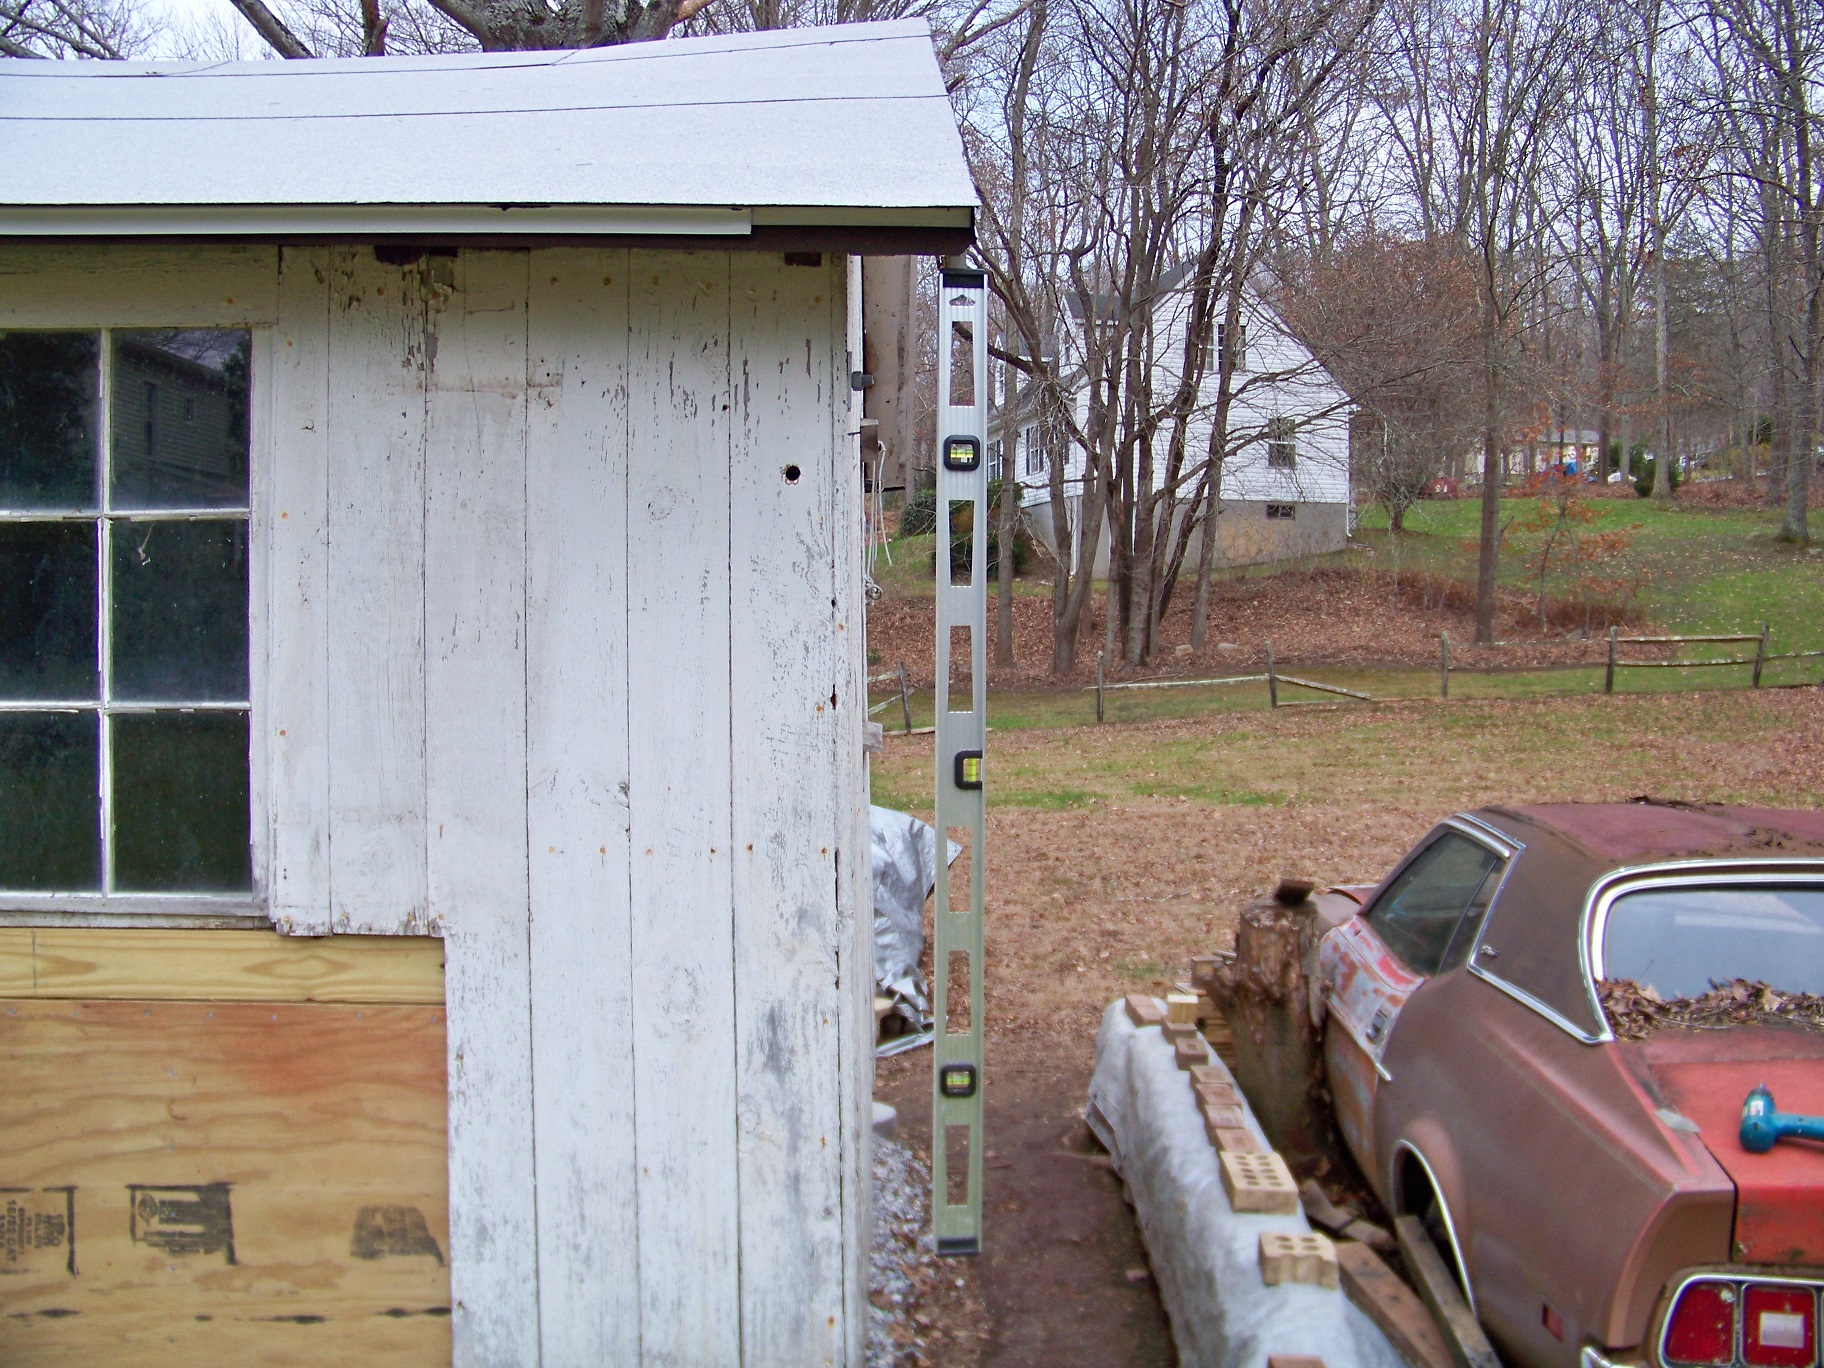
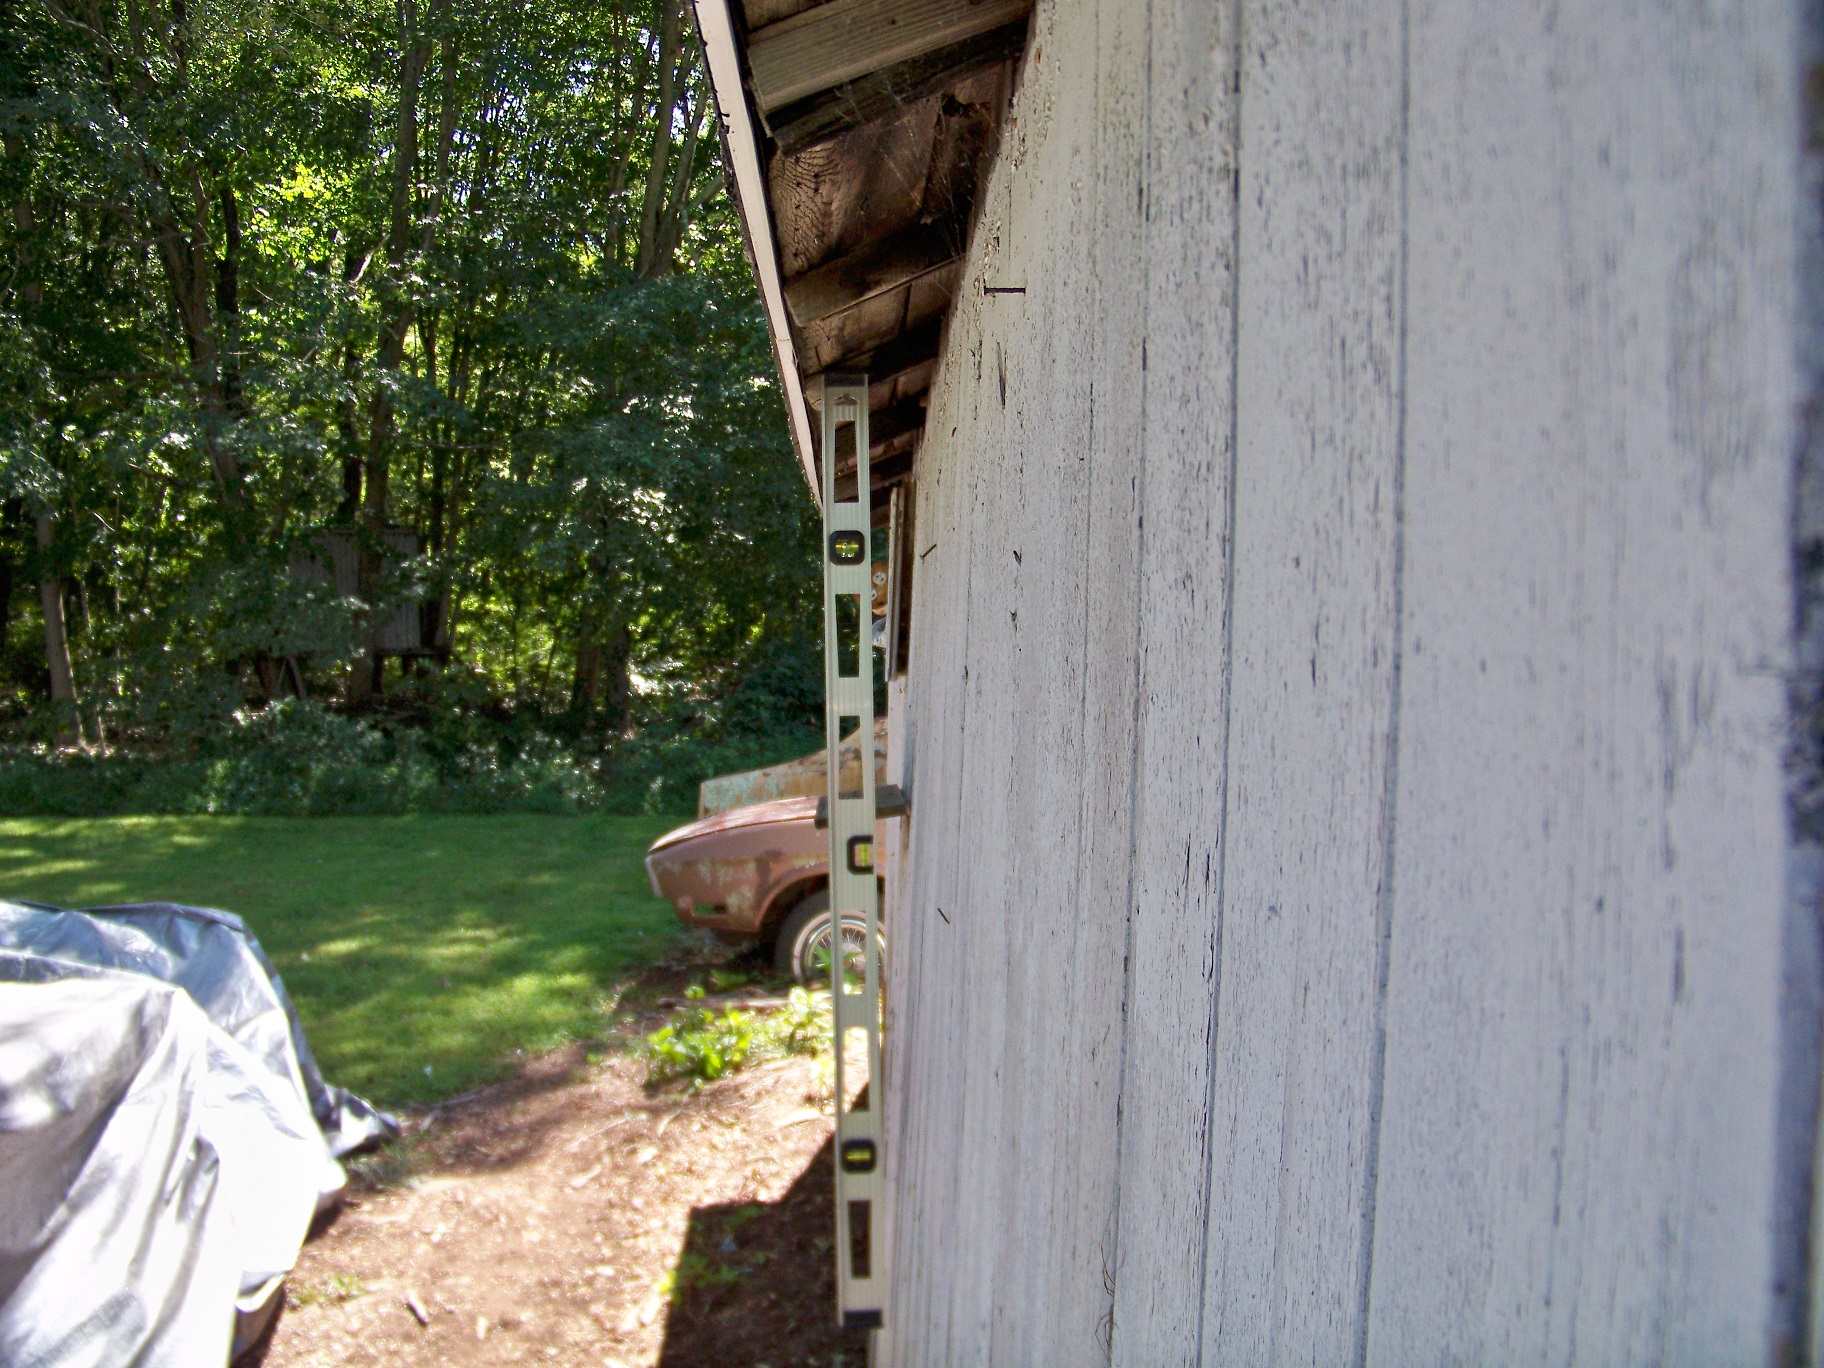
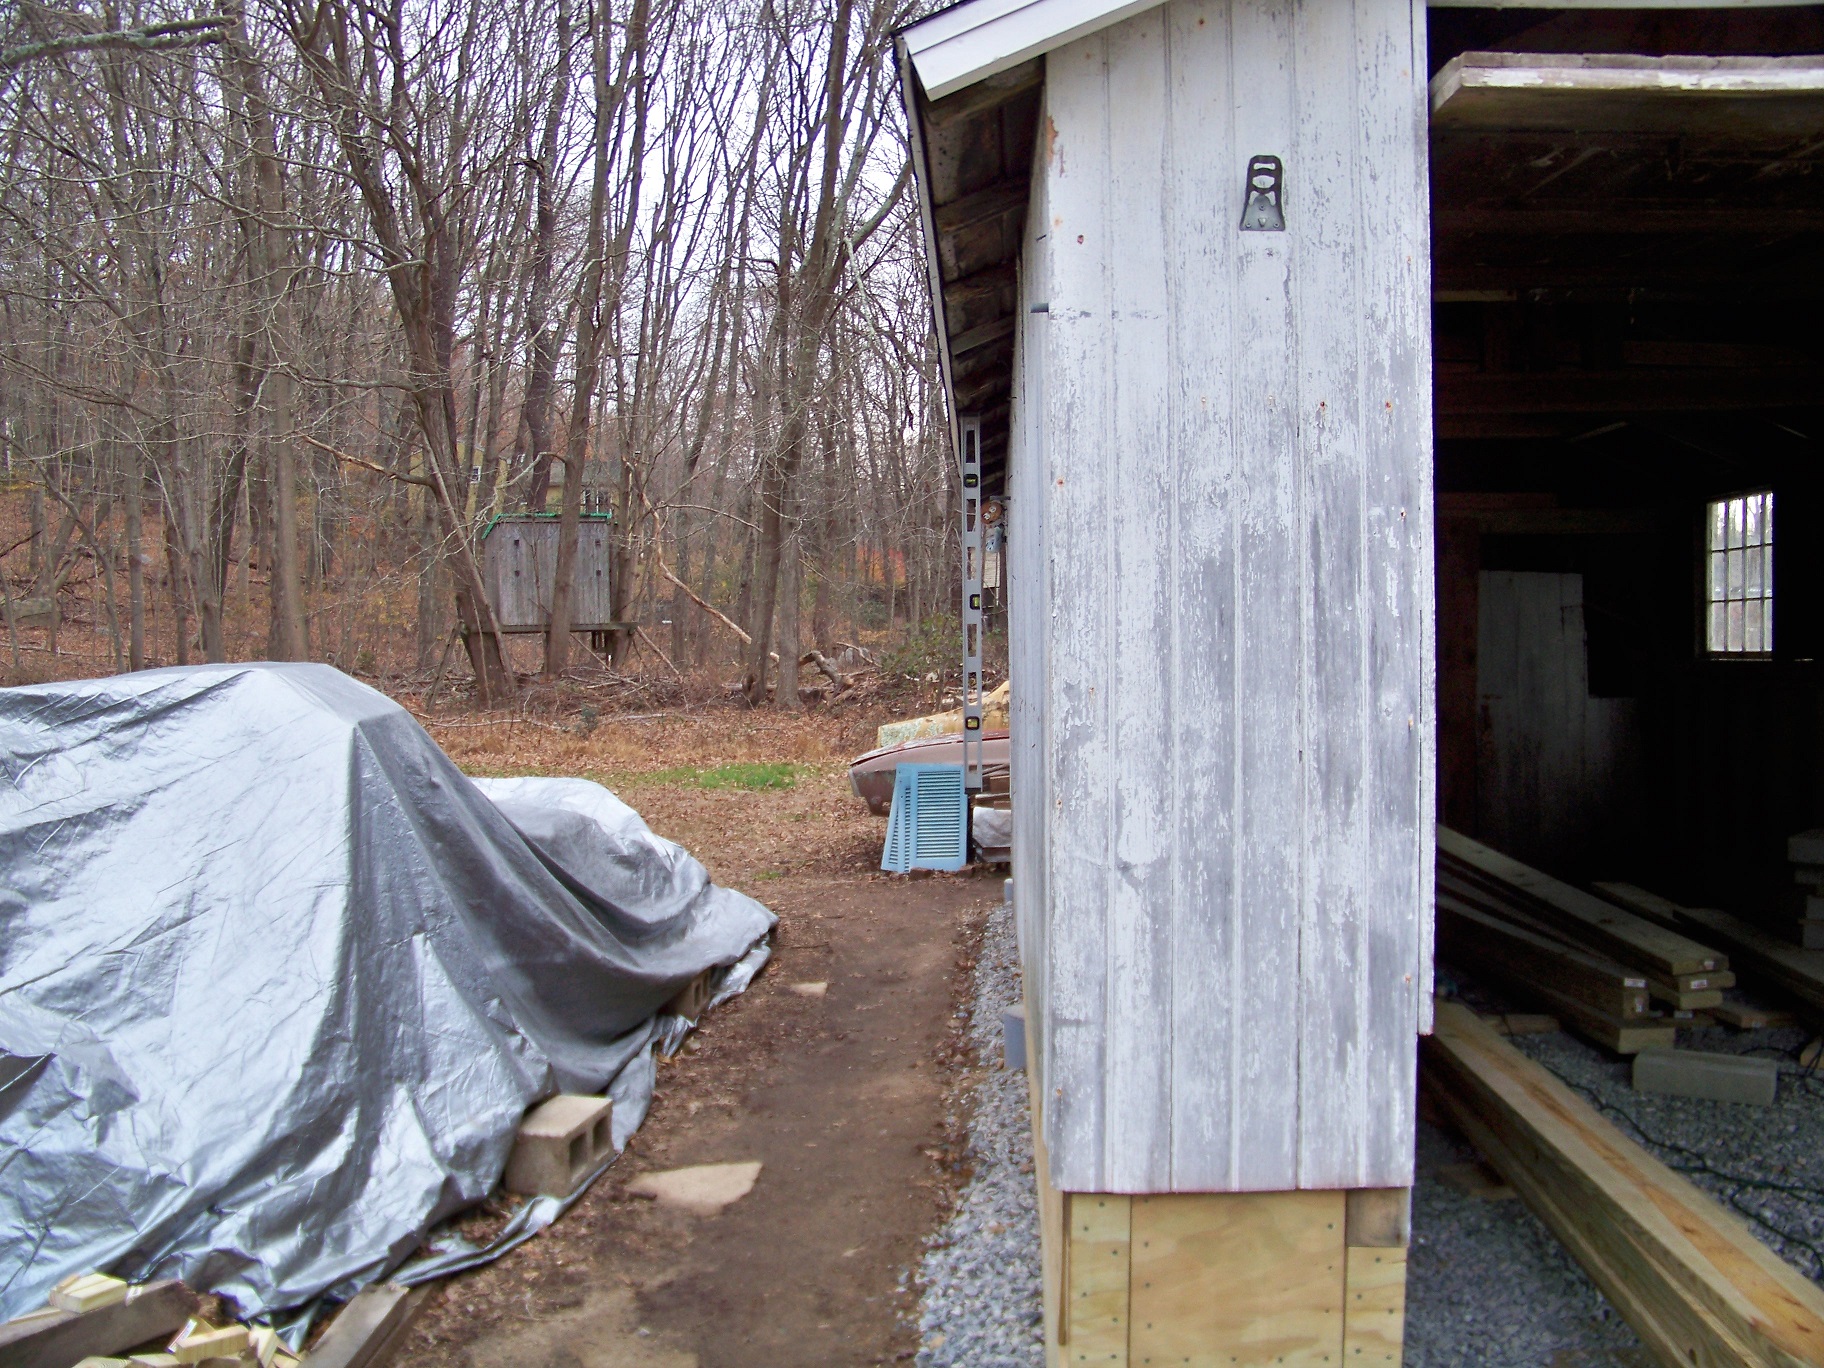
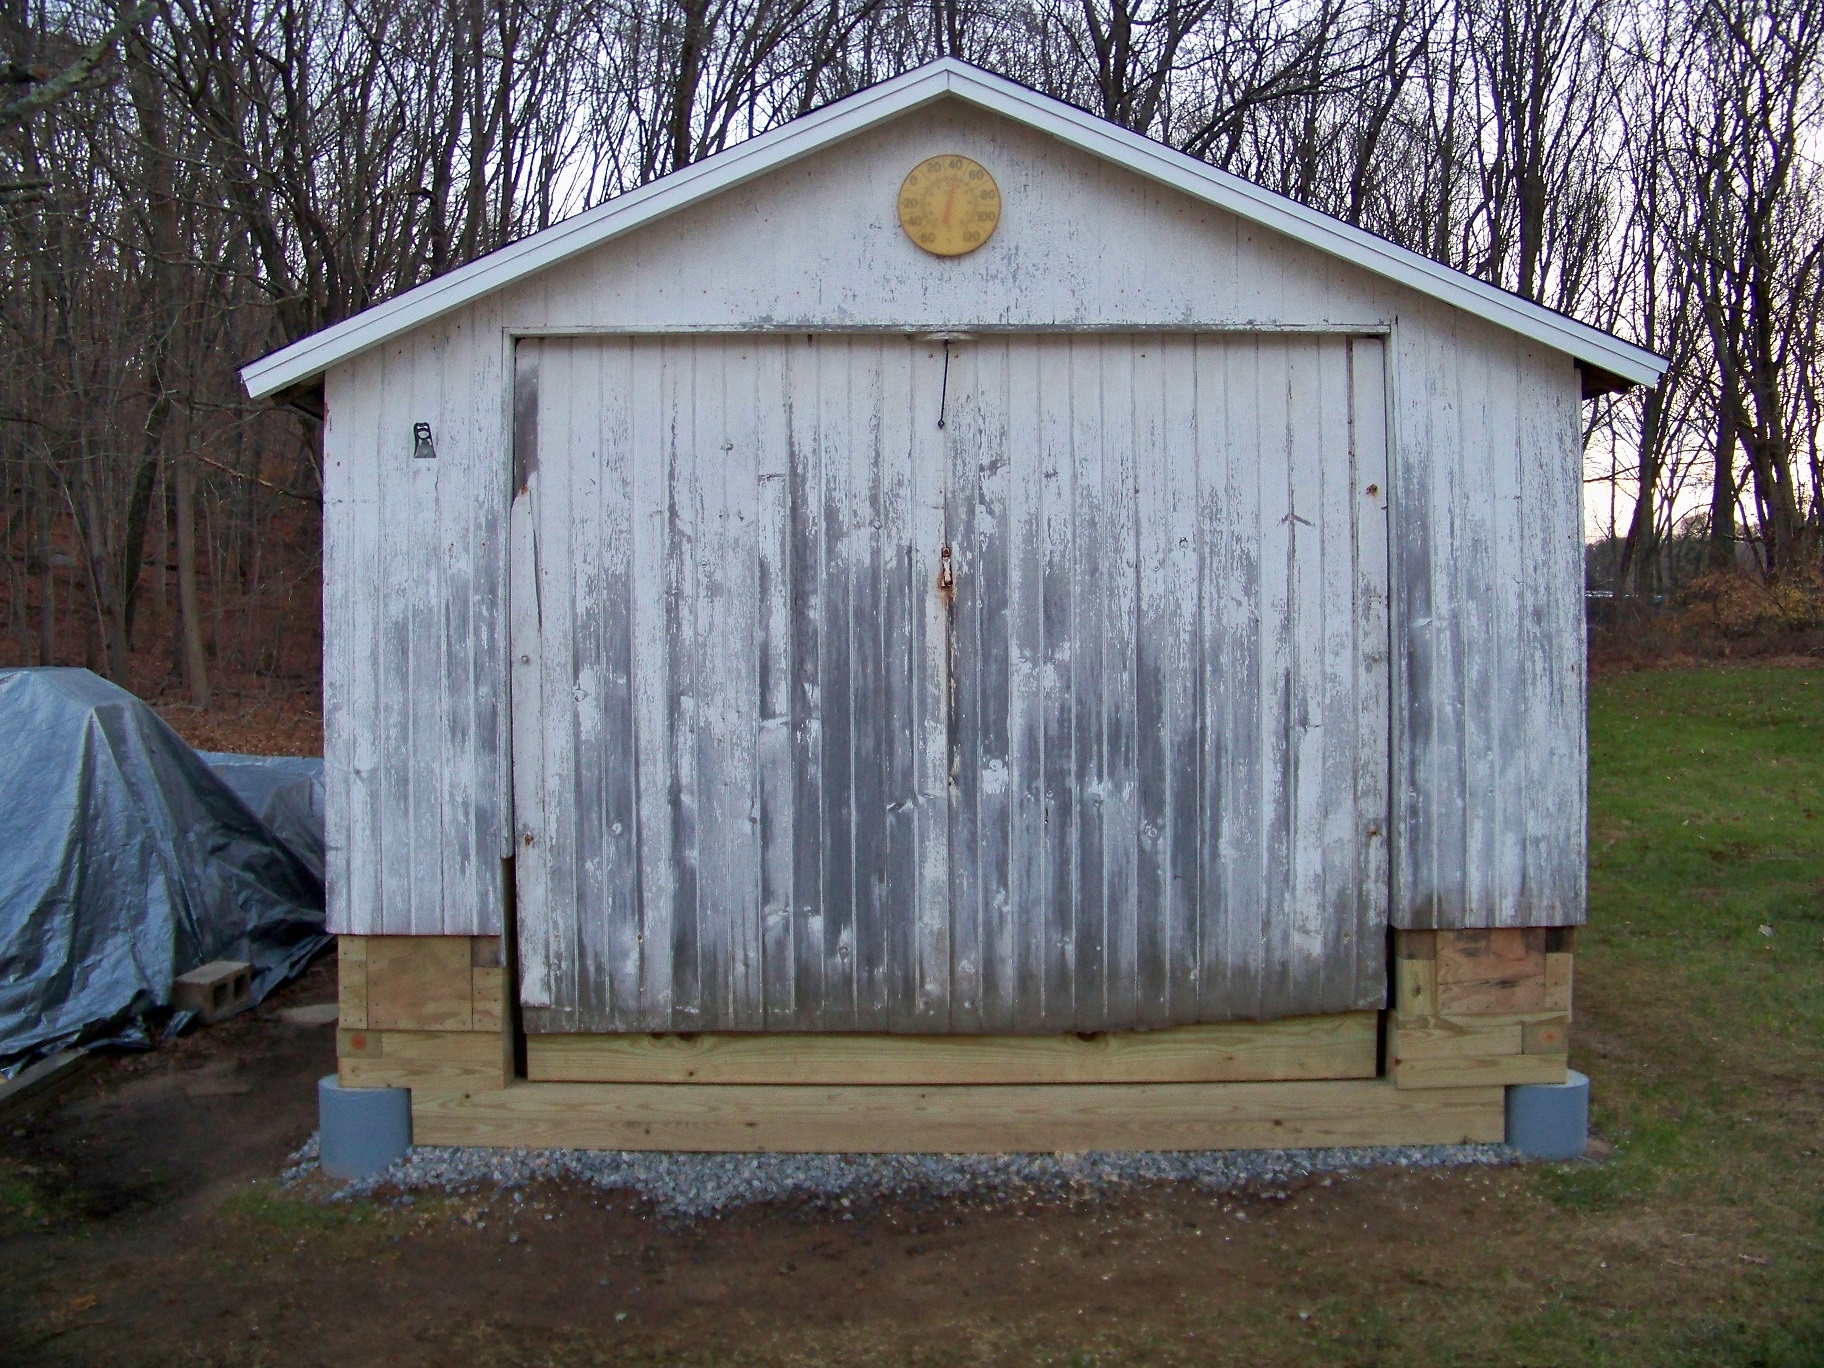
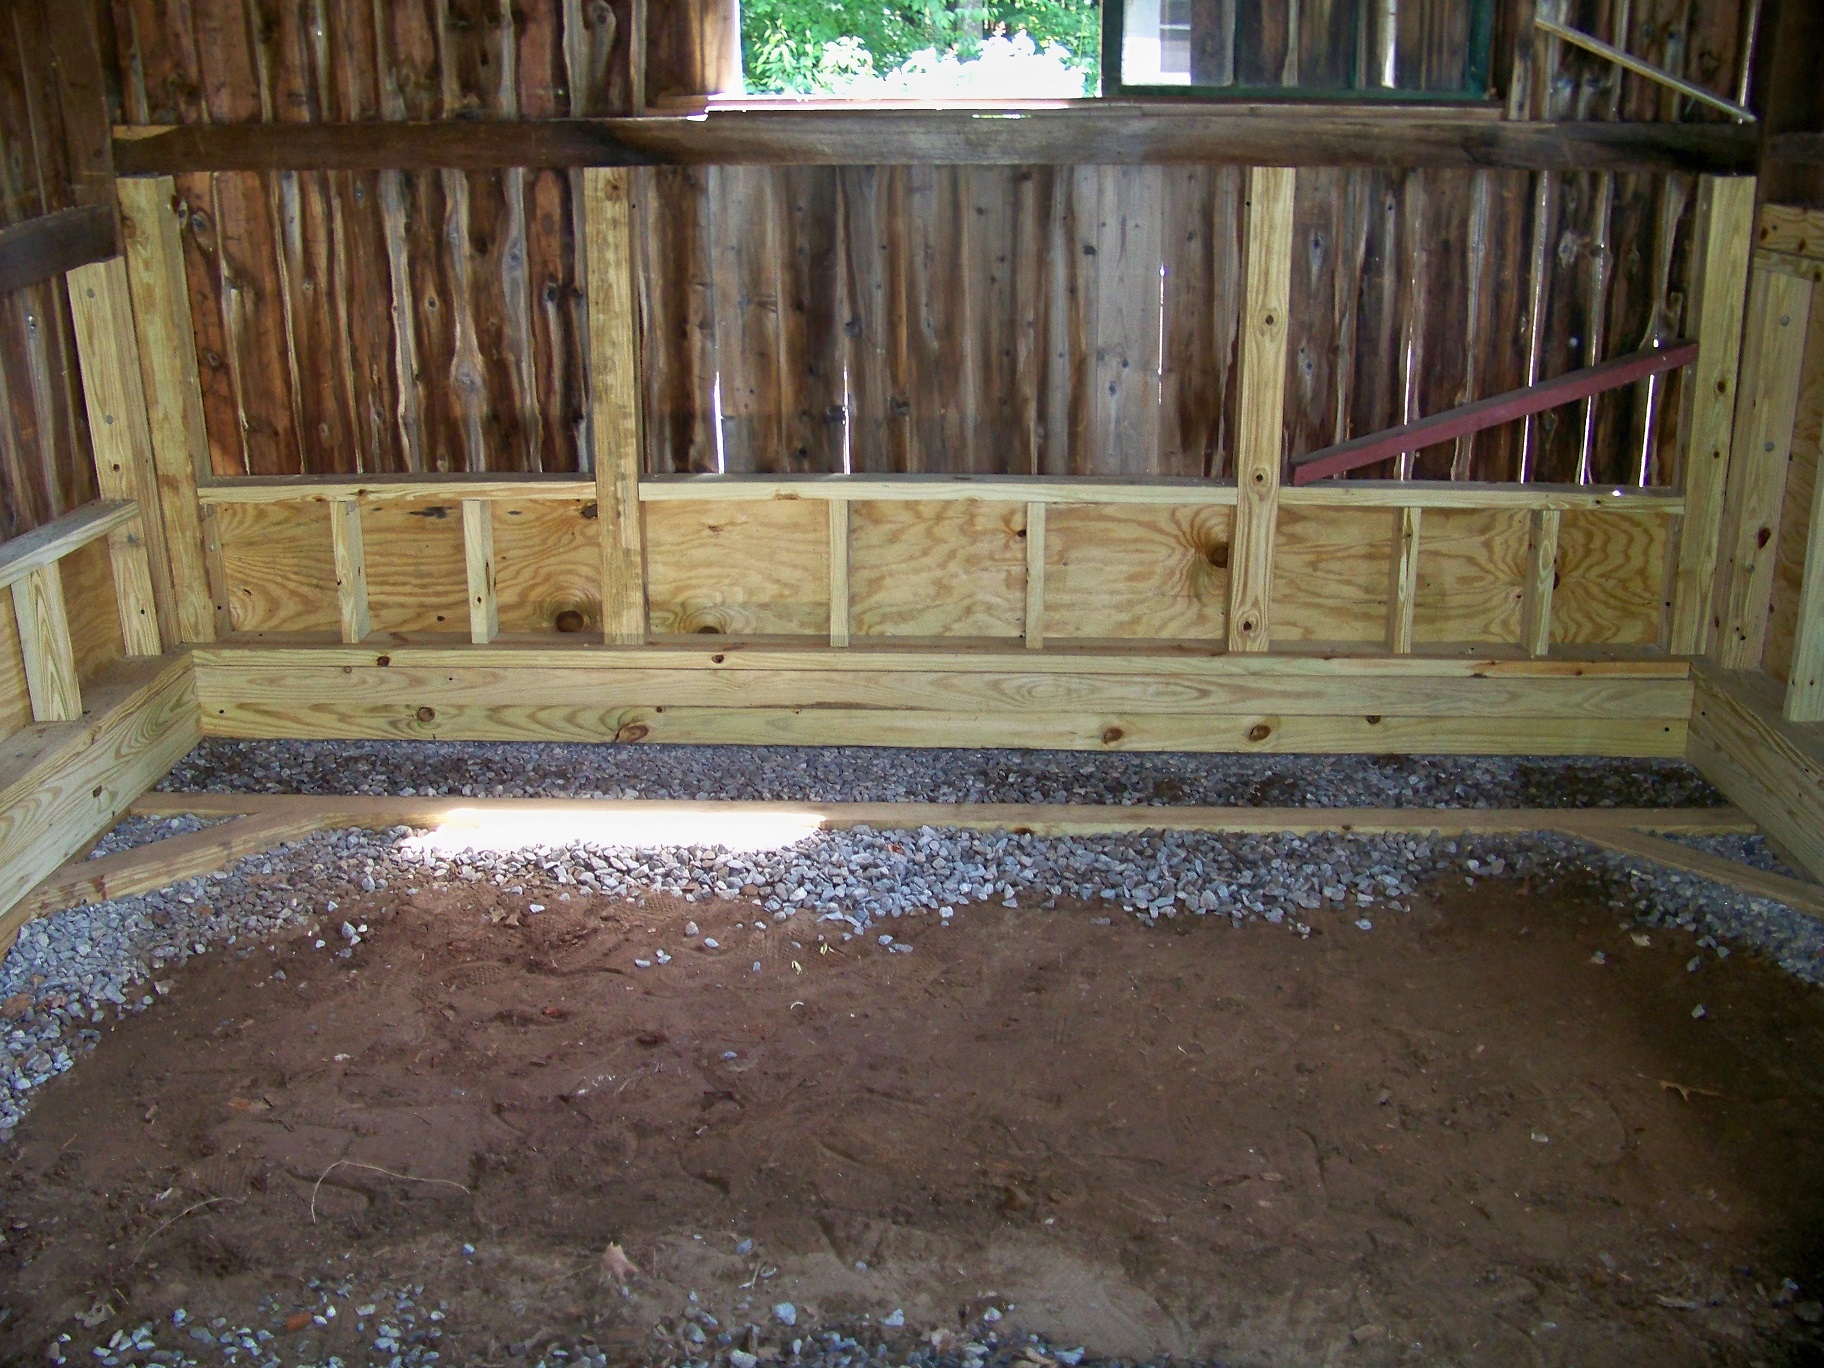
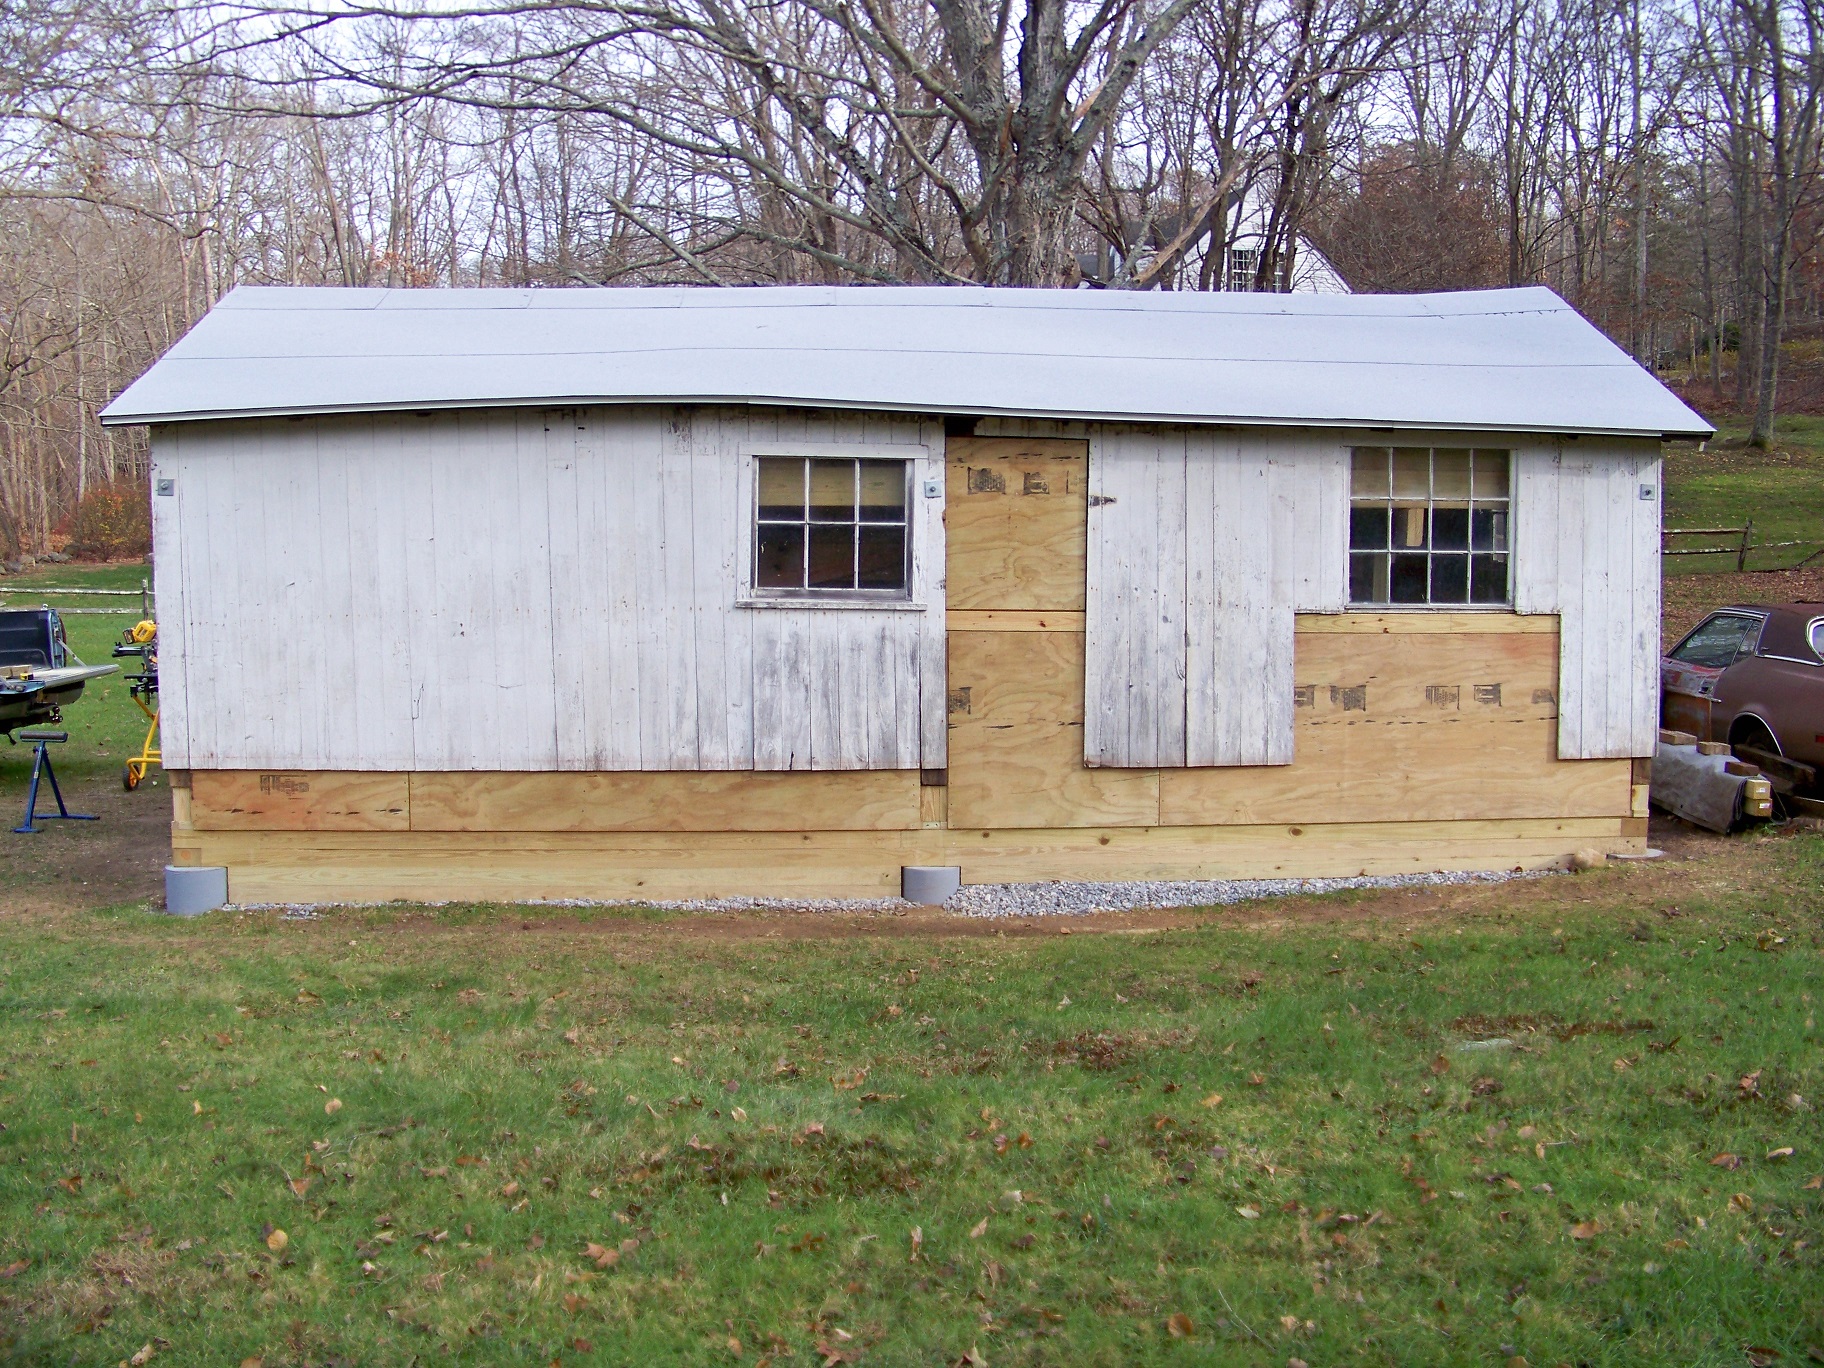
If you could find some repurposed siding to match as close as possible the newer bottom to the older upper outside finish, you will truly have a "wolf in sheep's clothing". Very solid structure you have there, although from the outside it looks like it is ready to blow over with a strong gust of wind.
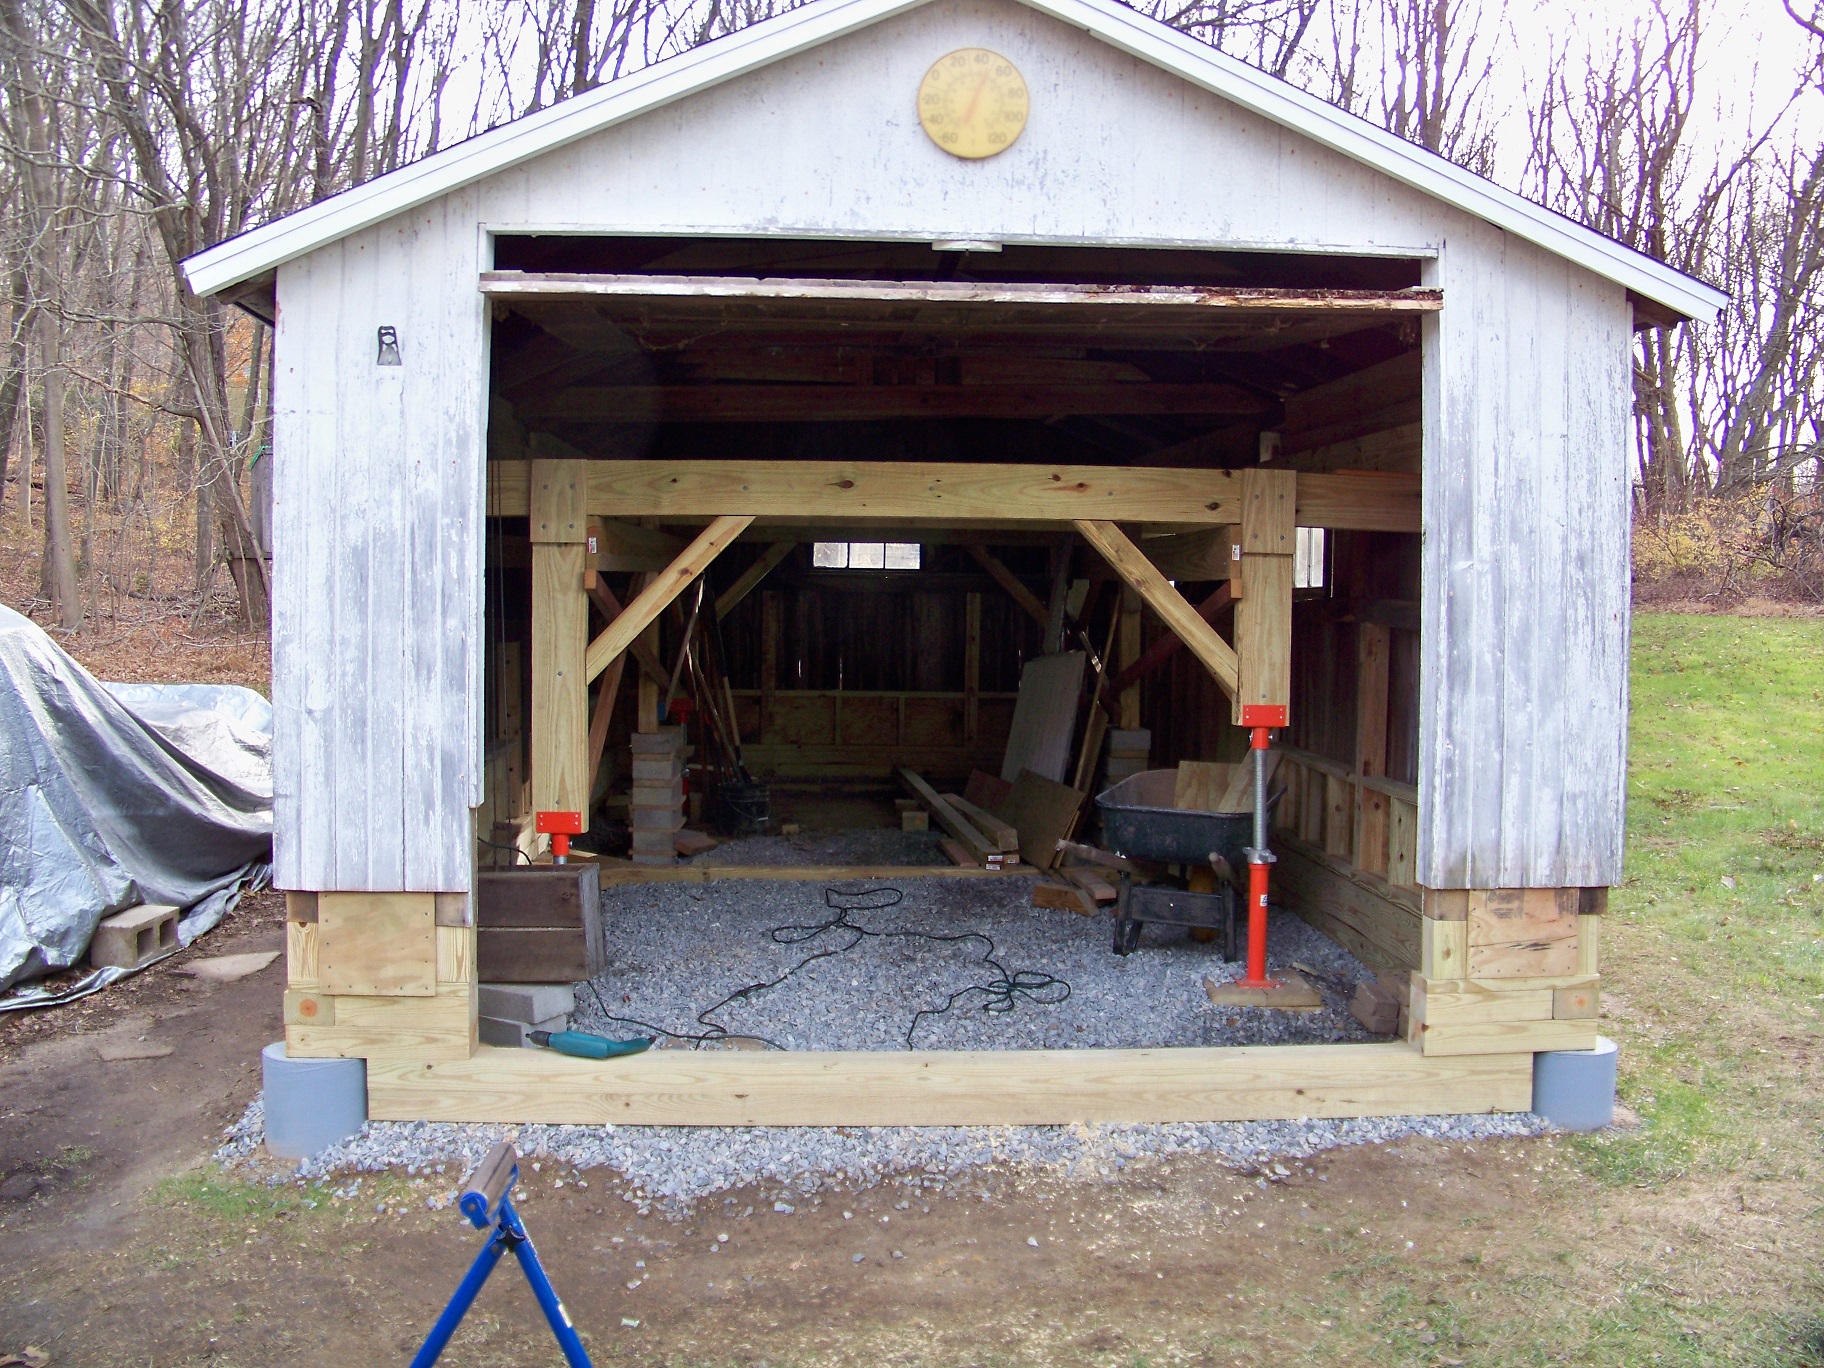
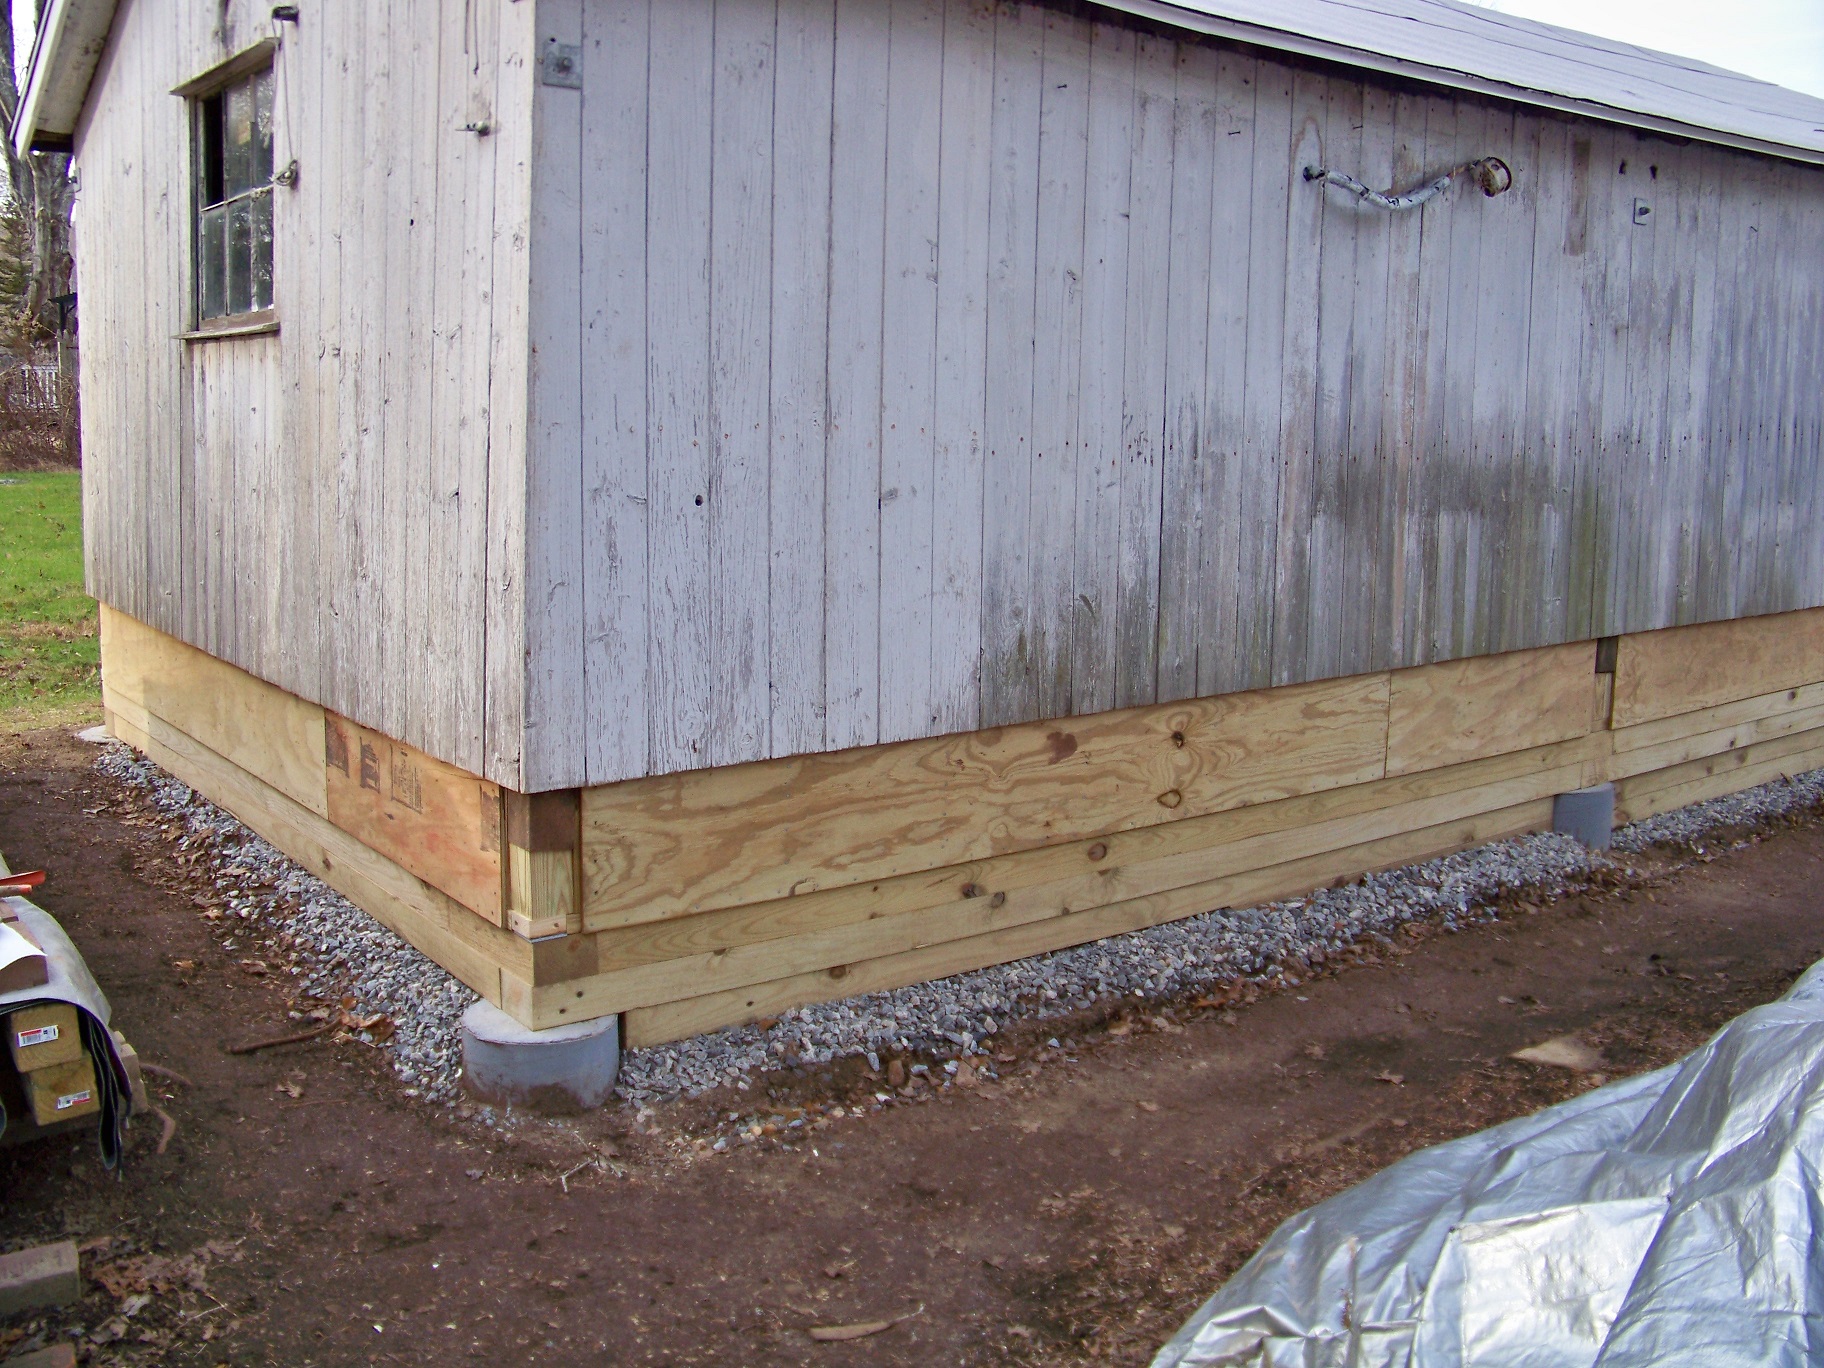
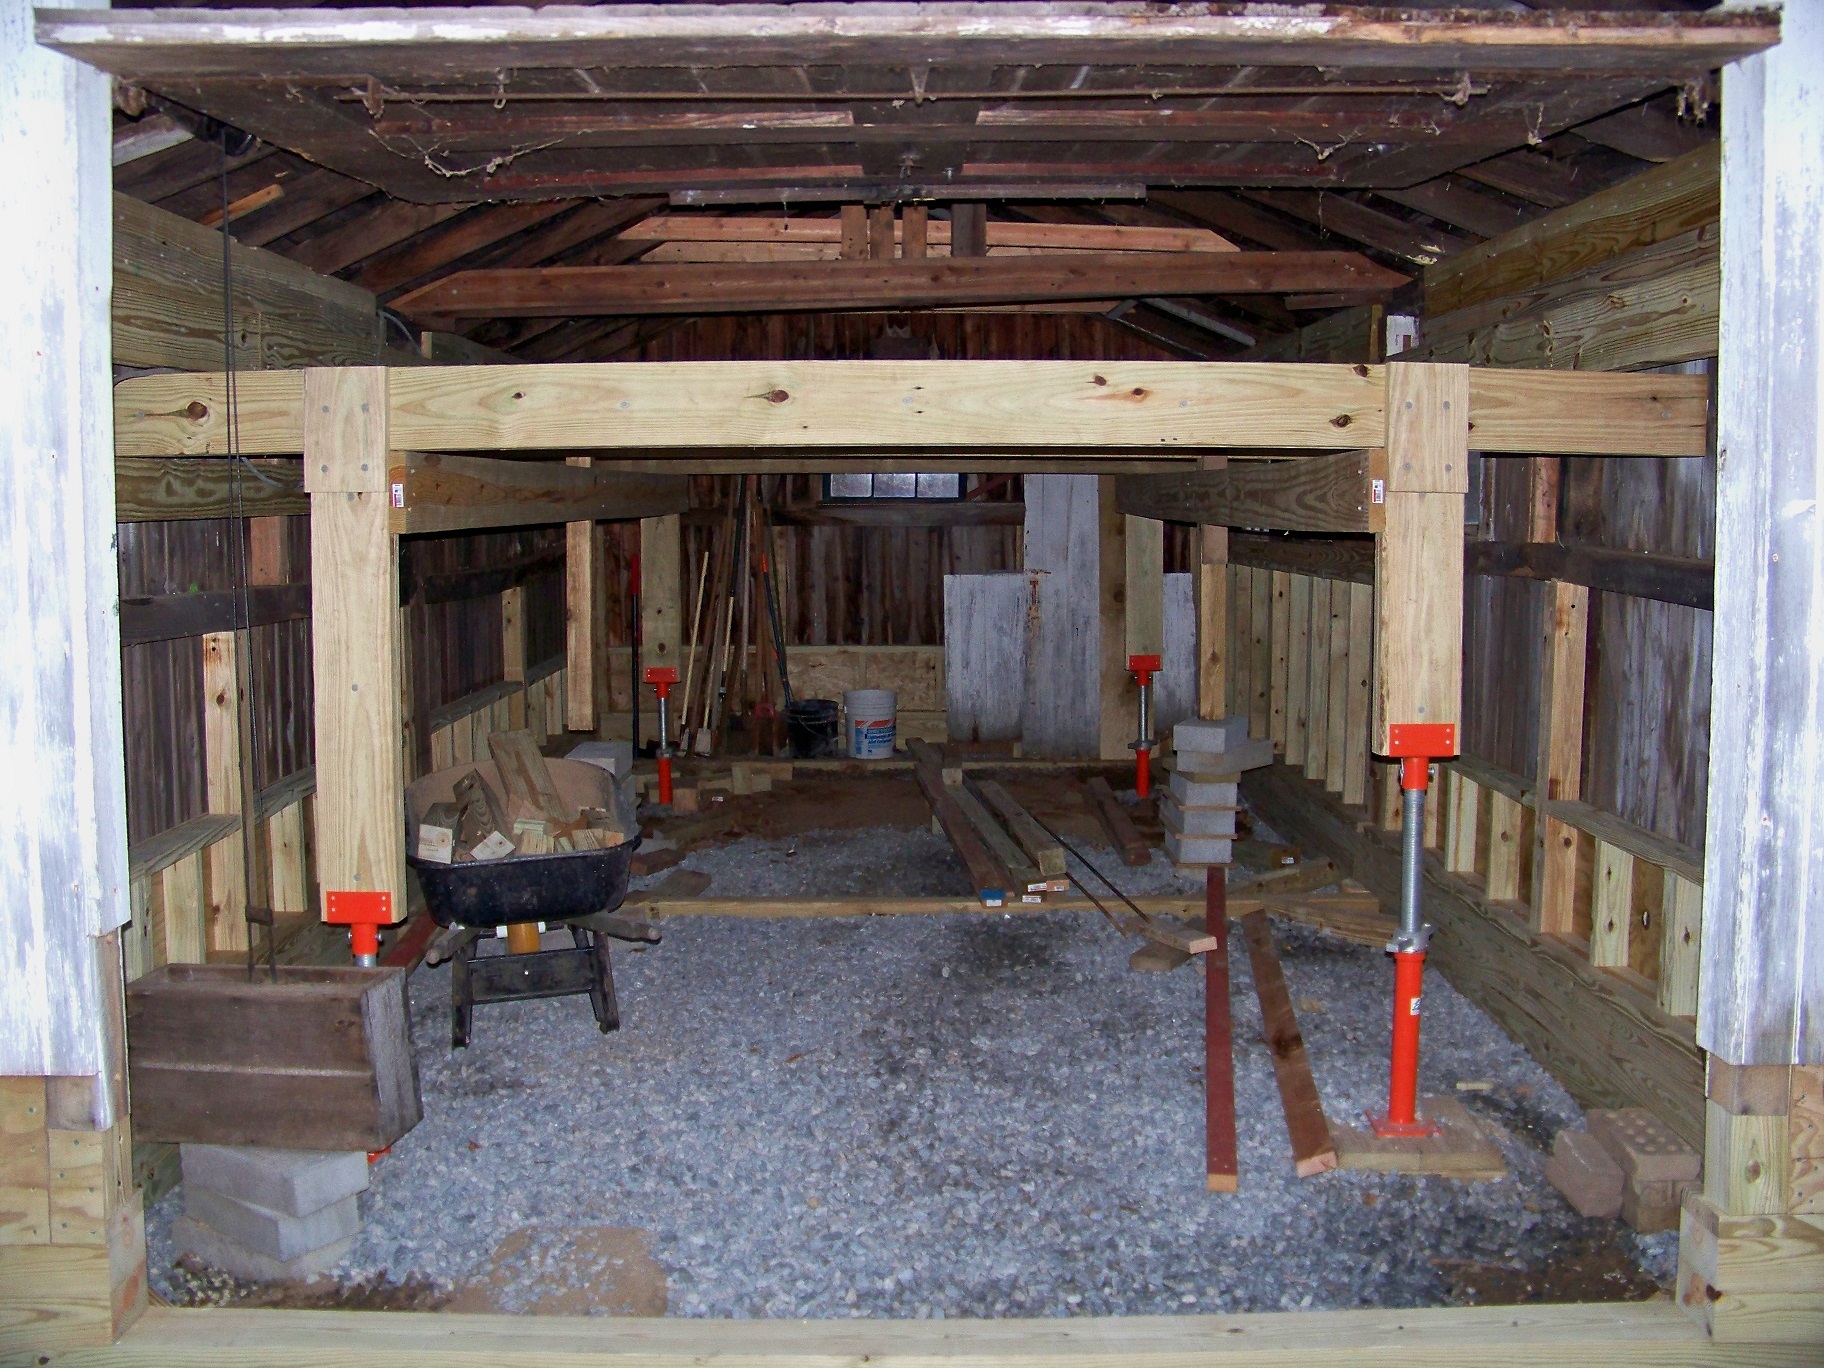
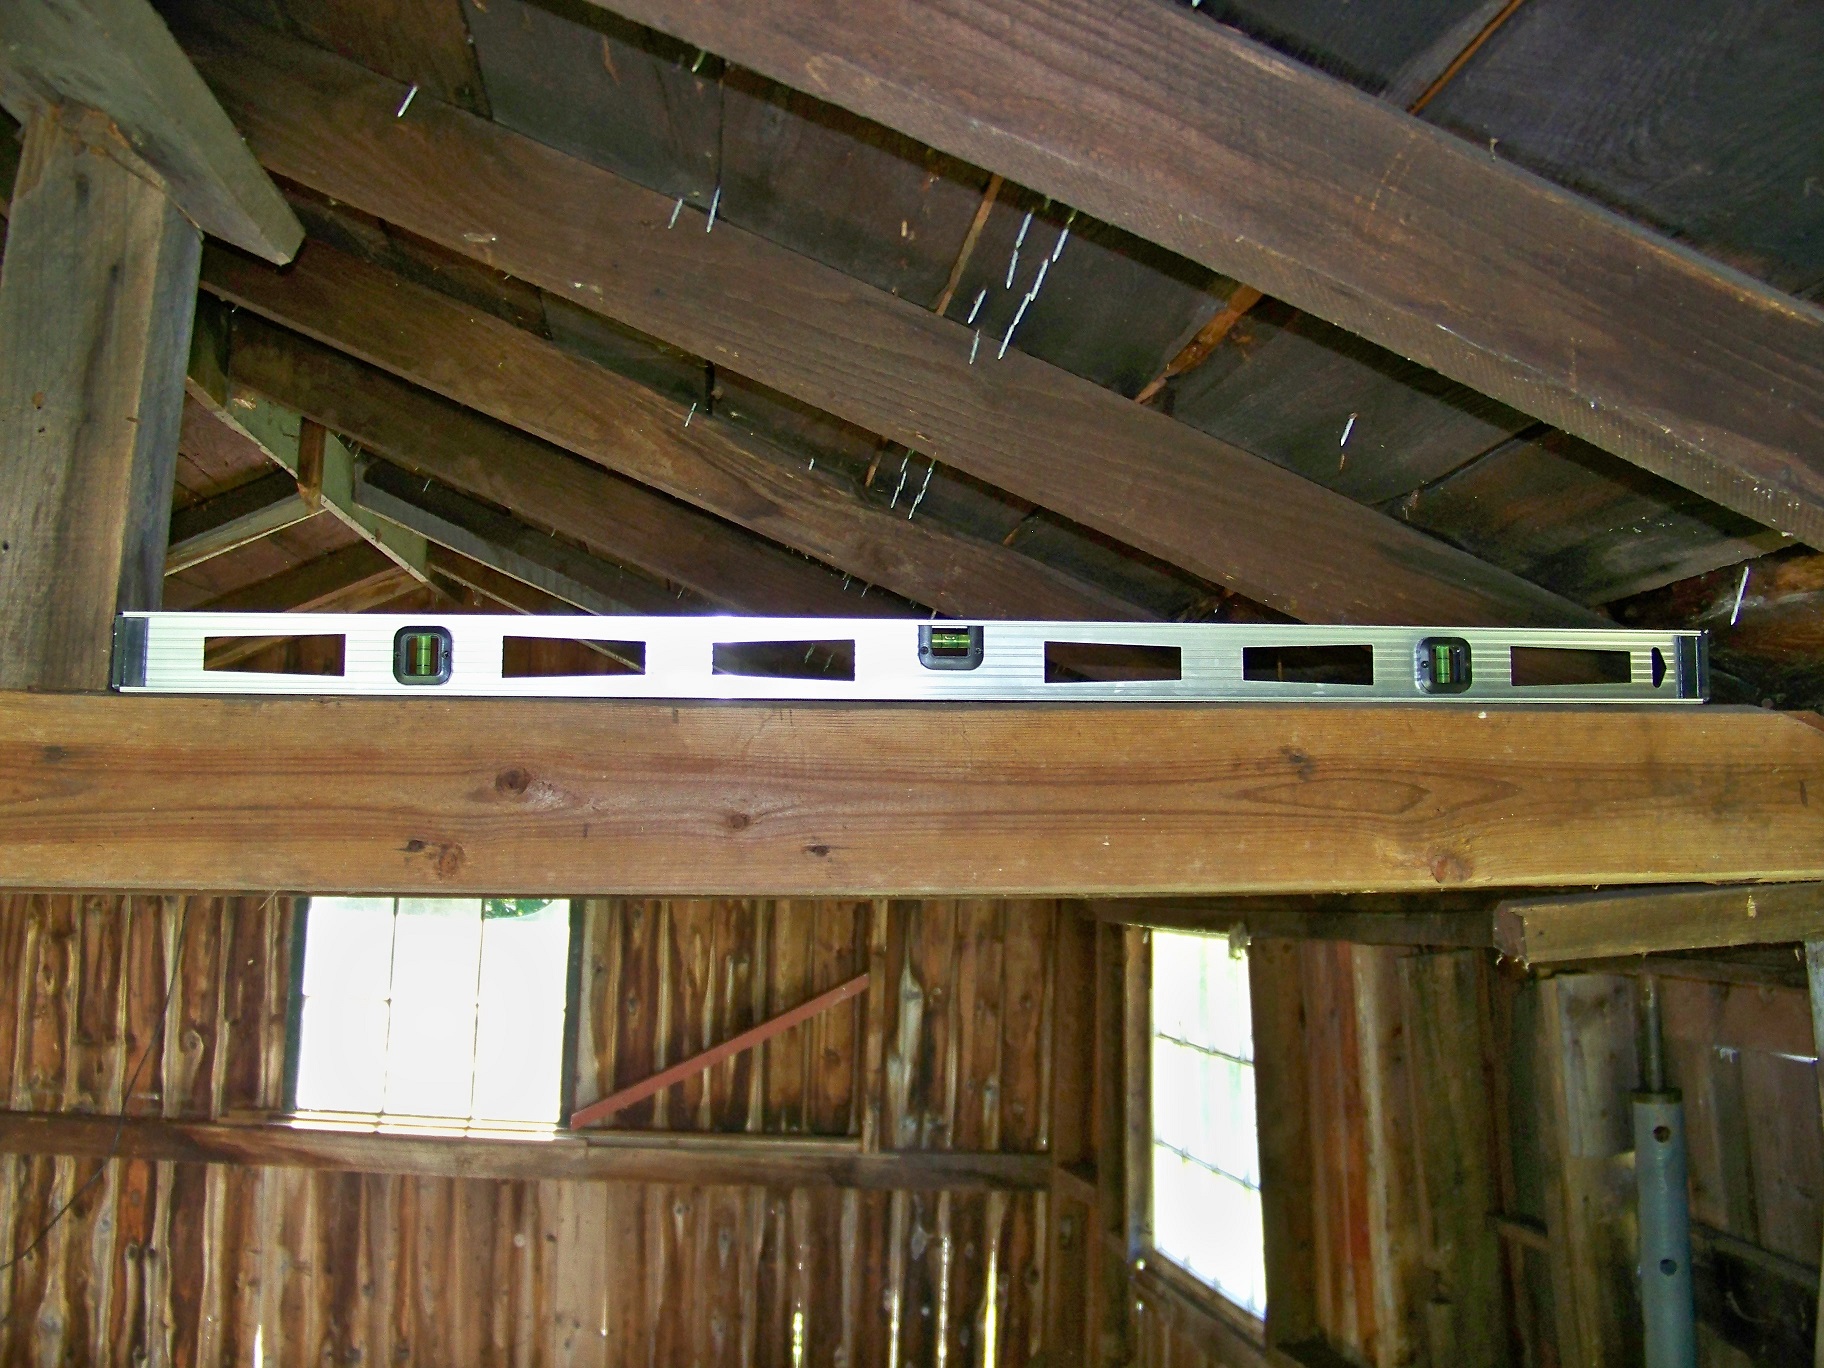
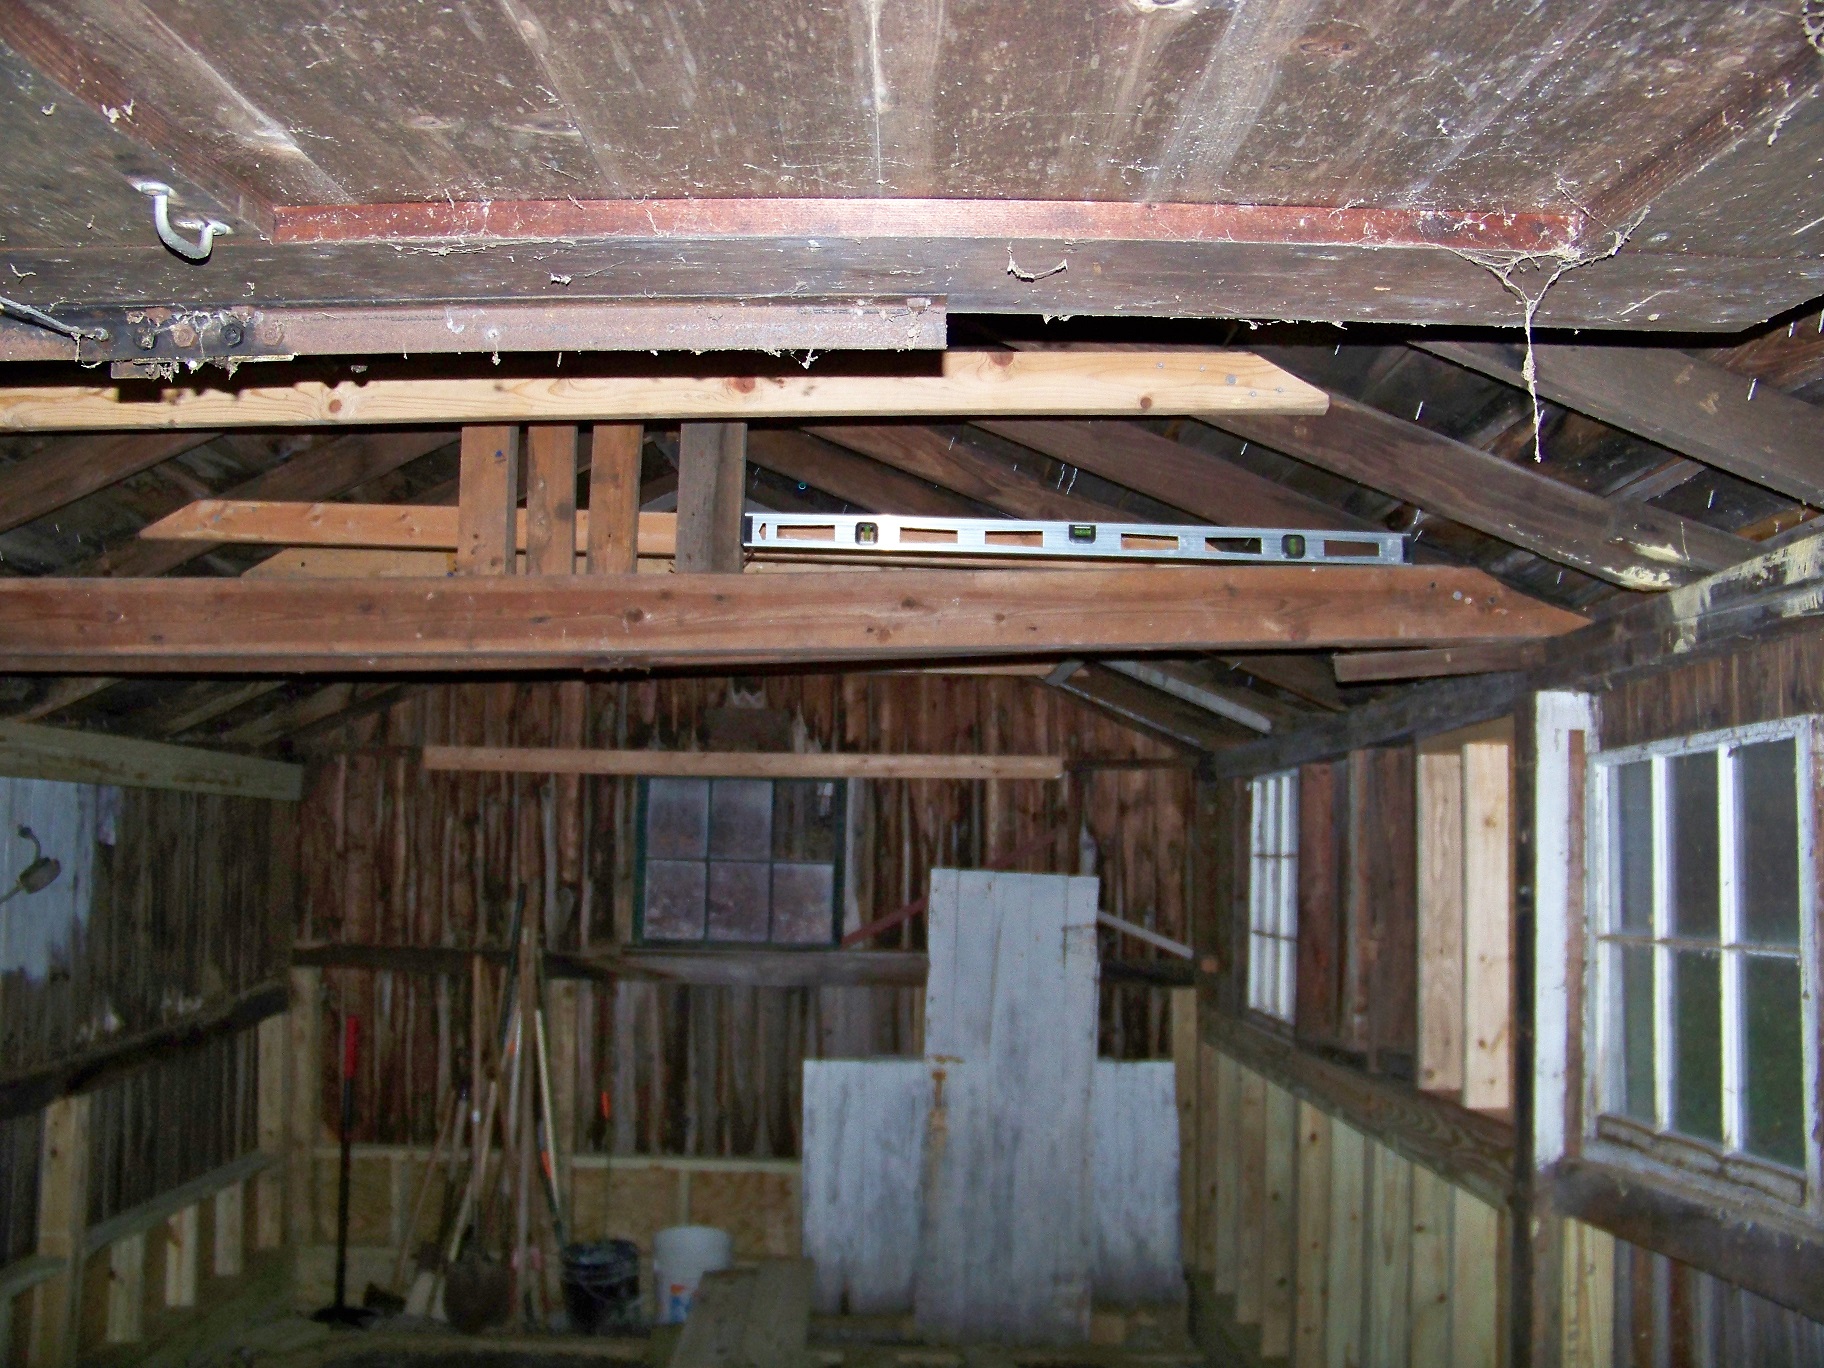
 
To avoid these ads, REGISTER NOW!
OP
P

Platonic Solid

Well-known member
Joined
Nov 29, 2014
Messages
3,587
Location
CT-USA
Progress Pics:

Finished the walls and putting 4x4s under old posts.


I hadn't noticed until today that I lucked out as the lifting frame ended up only 1/4 inch from the window glass after straightening the walls.


Lowered the lifting frame and the building is now standing on its own. :rocker:
Started disassembling the lifting frame.


MikeF2316

Well-known member
Joined
Dec 29, 2012
Messages
9,605
Location
Thornhill, ON
Progress Pics:

Finished the walls and putting 4x4s under old posts.
...

...
Lowered the lifting frame and the building is now standing on its own. :rocker:
Started disassembling the lifting frame.

All I can say is what I've already said. Awesome work.:bowdown::bowdown:

Regarding the frame almost hitting the window... You planned it that way. :lol_hitti

I'm kind of sad to see you're done, I've enjoyed this thread.
 
OP
P

Platonic Solid

Well-known member
Joined
Nov 29, 2014
Messages
3,587
Location
CT-USA
I've hit a major milestone, but "done" isn't a word I can use just yet. Really looking forward to not hitting my head on that dang lifting frame. Now I gotta dig the lifting shores out of the ground so I can use them at my primary residence to hold up the second story sun-porch and rebuild the storage room beneath it. The shed project was practice for the pending sun-porch project. I have more PT wood than I know what to do with which is the result of me constantly changing my mind as to how I wanted to do this.

The purpose of the shed is for long term storage items for me as it's 20 minutes from home.

Remaining Shed projects:

  • Garage Door extension, overall fit adjustments and fix latching mechanism so I can actually lock it.
  • Rodent proof soffits
  • More gravel
  • Floating insulated floor without joists
  • Window repairs
  • Restore/Replace the thermometer
  • Tyvek and siding
  • Considering putting Tyvek and plywood on remaining interior walls
  • I should probably remove that nasty exterior electrical outlet and update the interior ones.
  • Paint Exterior

Then I think I can call it "done".
 

oldironfarmer

Well-known member
Joined
Jun 25, 2016
Messages
6,664
Location
Terlton, Oklahoma
It is permissible under forum rules to continue to post about anywhere any of the treated wood goes and is used. So don't leave us hanging like you left the Rat Shack for so long.:bounce:
 

Toothaker

Well-known member
Joined
Nov 25, 2016
Messages
1,367
Location
Wichita, Kansas
Ok, I just read this in one sitting. Amazing work, and a learning experience - for all, because you documented everything so well.

Regarding siding - what about harvesting the siding off the back wall and then using that to fill in the man door, the access door under the window, and the rest? Start on the right wall, as it seems to be the most visible, and continue on the left and see how far you got. Then you could use just about whatever exterior siding you wanted on the back wall.
 

oldironfarmer

Well-known member
Joined
Jun 25, 2016
Messages
6,664
Location
Terlton, Oklahoma
Ok, I just read this in one sitting. Amazing work, and a learning experience - for all, because you documented everything so well.

Regarding siding - what about harvesting the siding off the back wall and then using that to fill in the man door, the access door under the window, and the rest? Start on the right wall, as it seems to be the most visible, and continue on the left and see how far you got. Then you could use just about whatever exterior siding you wanted on the back wall.

Here we have an example of clear, logical thought. Did your wife help you with that?
 

Mikeske

Well-known member
Joined
Apr 28, 2017
Messages
2,122
Location
Washington State
OP
P

Platonic Solid

Well-known member
Joined
Nov 29, 2014
Messages
3,587
Location
CT-USA
I did consider stealing the back wall siding to cover the visible sides, but there isn’t enough there for the job. The old siding can't be pulled off anyway - the nails don't budge at all. I'd have to cut them or cut the siding above/below. Certainly possible, but easier to just install something new. Either way I have to install a drip cap. At the moment I’m still planning on going the cedar shingle route. Have almost a full box of cedar shingles left over from the house remodel 20 years ago when I removed 2 windows and a door. Been slowly using them as shims over the years. Probably just use tar paper for the backing since this isn’t a heated/cooled space. I hope to be able to put the siding from the removed doors back where they came from. Haven't spent any quality time looking at that yet.
 
Last edited:

MikeF2316

Well-known member
Joined
Dec 29, 2012
Messages
9,605
Location
Thornhill, ON
I've hit a major milestone, but "done" isn't a word I can use just yet. Really looking forward to not hitting my head on that dang lifting frame. Now I gotta dig the lifting shores out of the ground so I can use them at my primary residence to hold up the second story sun-porch and rebuild the storage room beneath it. The shed project was practice for the pending sun-porch project. I have more PT wood than I know what to do with which is the result of me constantly changing my mind as to how I wanted to do this.

The purpose of the shed is for long term storage items for me as it's 20 minutes from home.

Remaining Shed projects:

  • Garage Door extension, overall fit adjustments and fix latching mechanism so I can actually lock it.
  • Rodent proof soffits
  • More gravel
  • Floating insulated floor without joists
  • Window repairs
  • Restore/Replace the thermometer
  • Tyvek and siding
  • Considering putting Tyvek and plywood on remaining interior walls
  • I should probably remove that nasty exterior electrical outlet and update the interior ones.
  • Paint Exterior

Then I think I can call it "done".

Yes, I know you're not done in the sense the project is finished, but your done in the sense the broad "raising/foundationing/lowering" is done. I just put up a 12x8 shed from a kit, and I know how many details there were to take care of after it was up, and everything was supplied except shingles and paint!
 

Toothaker

Well-known member
Joined
Nov 25, 2016
Messages
1,367
Location
Wichita, Kansas
Here we have an example of clear, logical thought. Did your wife help you with that?

:lol_hitti Not this time. As I tell her often, 'even a blind squirrel find a nut once in a while!'

Dawn smiles patiently when I try to tell her the funny stuff I read off this site. She puts up with me, which proves she is an excellent person. Reading your thread, Andy, I know that you realized the value of a fine wife too! :beer:

I did consider stealing the back wall siding to cover the visible sides, but there isn’t enough there for the job. The old siding can't be pulled off anyway - the nails don't budge at all. (snip...)

I wondered if there was enough material, but I didn't think about the nails. You'd probably destroy the siding just trying to get them out. Ok, you're way ahead of me.
 
Last edited:
OP
P

Platonic Solid

Well-known member
Joined
Nov 29, 2014
Messages
3,587
Location
CT-USA
Progress Pics:

Got the lifting frame down and almost all building supports removed. I was swearing at myself all day for using so dang many screws. The hex head ledger lock screws were a breeze to remove, but those dang spax torx drive were a nightmare. Stripped the heads of 10 of them. I thought maybe it was the bit that they provide with the screws, so I took a T20 from the cheapo HF set I got for $10. The HF bit broke instantly - total ****. I quickly realized that I had better leverage when I inserted the screws than I do now that the building is 20 inches taller. I took a break to take some level pics for a before and after comparison.


Still a slight tip forward, but much better than it was.


The level beam that someone installed in a crooked shed is now a crooked beam in a level shed.

 
OP
P

Platonic Solid

Well-known member
Joined
Nov 29, 2014
Messages
3,587
Location
CT-USA
It occurs to me that since I can slip the cedar shingles under existing siding, I don’t think I need to use drip cap and Z-flashing.

Also considering cutting that crooked beam out of the center and just adding another collar tie. I'll have to take more pics to show how much of a cluster that beam really is. I'm not sure if there may have been a different beam there originally. More investigation required.
 
To avoid these ads, REGISTER NOW!

FMC1959

Well-known member
Joined
Feb 9, 2014
Messages
2,305
Location
Montreal, Canada / Upstate NY
Through the first pages of the thread, I thought you were a novice and needing all kinds of advice. Having seen the end result, it looks like you really knew what you were doing and maybe we should ask you for advice :headscrat
 
OP
P

Platonic Solid

Well-known member
Joined
Nov 29, 2014
Messages
3,587
Location
CT-USA
FMC1959 - I am a novice. I just research things to death and err on the side of safety - hence everything is overbuilt.

sublime68charger - I felt like Gene Wilder in Young Frankenstein (link to audio wav file) after lowering the lifting frame.

Today I bolted a 2x10 to the back side of the garage door. I'll remove it, cut the bottom of the door down and figure out something better when warmer weather returns. The whole garage pulley mechanism is kinda messed up. One of the cables has cut over an inch into a nearby rafter.


I took a closer look at the crooked center beam and though it's jerry rigged, the reason it's crooked is the right top plate is much higher than the left. Not going to play with that beam anytime soon (unless I hit my head on it after I put the floor in).
 

TractorJeff

Well-known member
Joined
Dec 8, 2013
Messages
3,309
Location
Elkhorn, WI
Well?
I've continued to read/follow after cheering you on to keep going.
Nicely Done!
Now go home to do your REAL lifting project!
 
OP
P

Platonic Solid

Well-known member
Joined
Nov 29, 2014
Messages
3,587
Location
CT-USA
Now go home to do your REAL lifting project!
Thanks for the motivational pushes. It really does make a difference.

Life just isn’t the same without the constant suspense of having a large structure flapping in the breeze in the back of my mind. I'll be making good use of the lifting shores, excess lumber and cement mixer soon enough.

Looking back at when I first lifted, that was 10/1, so it was up in the air for 2 months. I expect I could have finished that part in half the time if it was more conveniently located at my home.

I'll probably end up tossing half the stuff under the tarp from the shed as the tarp has been leaking. Naturally the item I have the most use for at the moment is plywood and that's what got wet.
 

smalltown

Well-known member
Joined
Jul 9, 2015
Messages
985
Location
Western Maine
Nice job all the way around Platonic. Glad to see you got to where it's at as the weather is turning quickly toward winter.
 
OP
P

Platonic Solid

Well-known member
Joined
Nov 29, 2014
Messages
3,587
Location
CT-USA
Cost of materials actually used so far:

Lumber permanent structural = $928
Screws (includes screws for lifting frame and temporary support beams) = $532
Nails, washers, nuts, threaded rod, gravel, concrete, concrete tubes, rebar = $361

Above Total = $1,821

Lumber for lifting frame and temporary lift structural support (reusable for other projects) = $211
 
OP
P

Platonic Solid

Well-known member
Joined
Nov 29, 2014
Messages
3,587
Location
CT-USA
lakeroadster - Sorry for the slow response. Been busy all winter doing lighting layouts for GJ members. Shack stood strong throughout the winter. Amazingly I don't see any signs of critters either ... yet.

I took the old thermostat from above the garage door home to see if I could polish it up. That failed miserably. The plastic lens was suffering from severe UV degradation so it cracked as soon as I attempted to remove it. No surprise there as it was there when I purchased the house in 95.
 
OP
P

Platonic Solid

Well-known member
Joined
Nov 29, 2014
Messages
3,587
Location
CT-USA
With this project being 20 minutes away, this thread is proving to be invaluable for getting me back into the grove after a long winter. Looking at various vapor barrier options, I decided to go with:

13'4" x 50' Roll 12 Mil Crawl Space Vapor Barrier, SilverBack (link) = $195.
Total price with 1 roll of seal tape added to push price over $200 and get discounted shipping = $230.27

Other options considered and rejected:
14' x 140' Roll 15 Mil Stego Wrap (link) = $450 (roll is 14ft long and I'd have to travel an hour to pick it up)
14' x 140' Roll 15 Mil Husky Yellow Guard Vapor Barrier (link) = $532 (roll is 7ft long)
 

FMC1959

Well-known member
Joined
Feb 9, 2014
Messages
2,305
Location
Montreal, Canada / Upstate NY
Is your shed insulated and are you heating it? If not, vapor barrier is a waste of money.

If anyone tells you otherwise, they do not understand the thermal dynamics of why a vapor barrier is used.
 

Shiftless

Well-known member
Joined
Mar 9, 2014
Messages
14,442
Location
East Bay SFO
I assume Platonic is going to install a floor and will be using that vapor barrier underneath the floor to keep soil moisture from creeping up into the building.
 

Bob2112

Well-known member
Joined
Aug 2, 2016
Messages
105
Location
Columbia, TN
I just read this in one sitting - great story and now I'm looking forward to seeing the floor come together. Nice work, Platonic!
 
OP
P

Platonic Solid

Well-known member
Joined
Nov 29, 2014
Messages
3,587
Location
CT-USA
Thanks for all the encouragement!

I cleaned all the lumber out of the shed. Filled the lifting shore holes. Leveled and tamped the gravel at the back wall.


There's frick'n spiders everywhere! Each one I see looks different from the last. I'll be setting off a bug bomb in there soon as a recent bug bite left me with "flu like symptoms" for a week (not really sure if it's related).


I ended up with quite a pile of lumber from the lifting frame and a bunch of 2x8s I purchased, but ended up not using. I was originally going to experiment with a joist free floating floor, but it's actually cheaper to use the lumber I have and make a regular floor.


So now my challenge is to see if I can make the whole floor (minus the plywood) from the existing wood pile.
 
To avoid these ads, REGISTER NOW!
Top Bottom