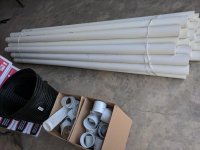
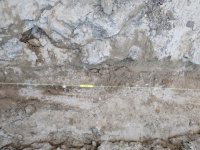
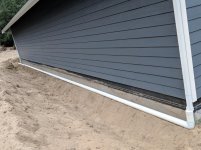
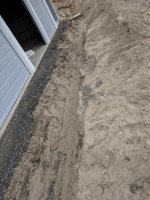
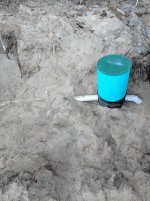
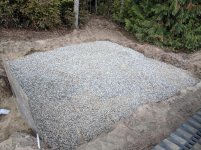
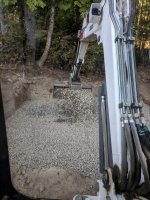
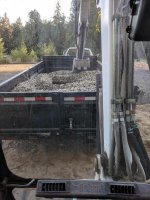
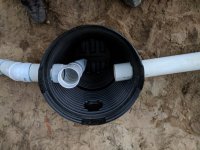
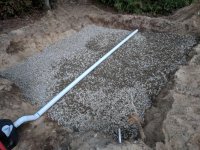
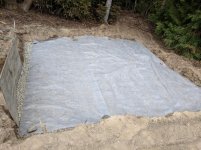
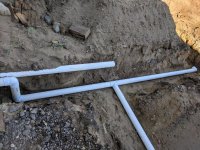
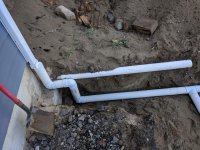
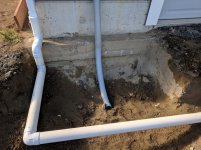
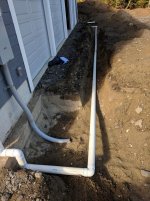
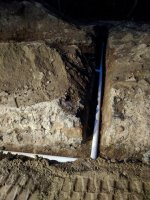
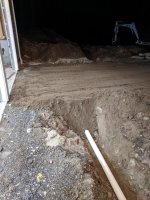
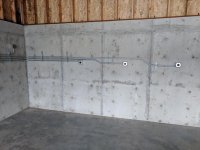
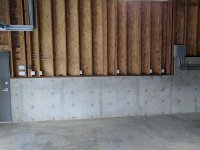
I started in on the installation of the I-pit this weekend. Pretty much all of the digging is done, and I made some progress on installing the drain pipe. Rear of the garage is in, and down the one side. I tied in the front corner and ran across in front of the doors also. One of the pictures shows some stakes and a line level that I used up front to run slope. Worked ok, I have line levels, but it got me close enough. I have that pipe installed now to but haven't taken any pics. Tomorrow if I have time I should be up to the point of tying into the sump basin. Then I have some machine work and hand raking to do in the pit to get it leveled out and ready for a 6" base of 1-1/2" drain rock. I've got the first load of rock waiting in the dump trailer. You can see in the pictures how I ran the rear section. I pulled back some dirt, then made a bedding along the foundation for the pipe run; that way I could get the amount of slope in the 60 feet that I wanted with light scraping with a square nose shovel. I've got a couple inches of fall there. Down the side of the garage my lot is sloped anyway so I just ran with the grade. The front is the tricky part since I have to dig deep to meet the adjacent sections. There's a lot of dirt (sand) above grade since it was so dry a lot of material has to come out due to sluffing. I'm glad to see the rain tonight!! Thank God! Maybe the burn ban will lift too...Hopefully by the end of next weekend I'll be ready for an inspection so I can get backfilled. I'll post more details of the rest of the drain system as I make progress.


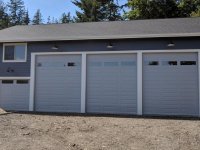


 you'll love the barn light electric site, they have some great products and the people are great. Made to order in the USA, what's not to like!
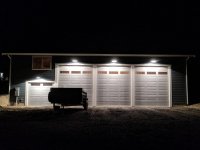