OP
nicholam77
Well-known member
Ok, here is an update and new project I can share.
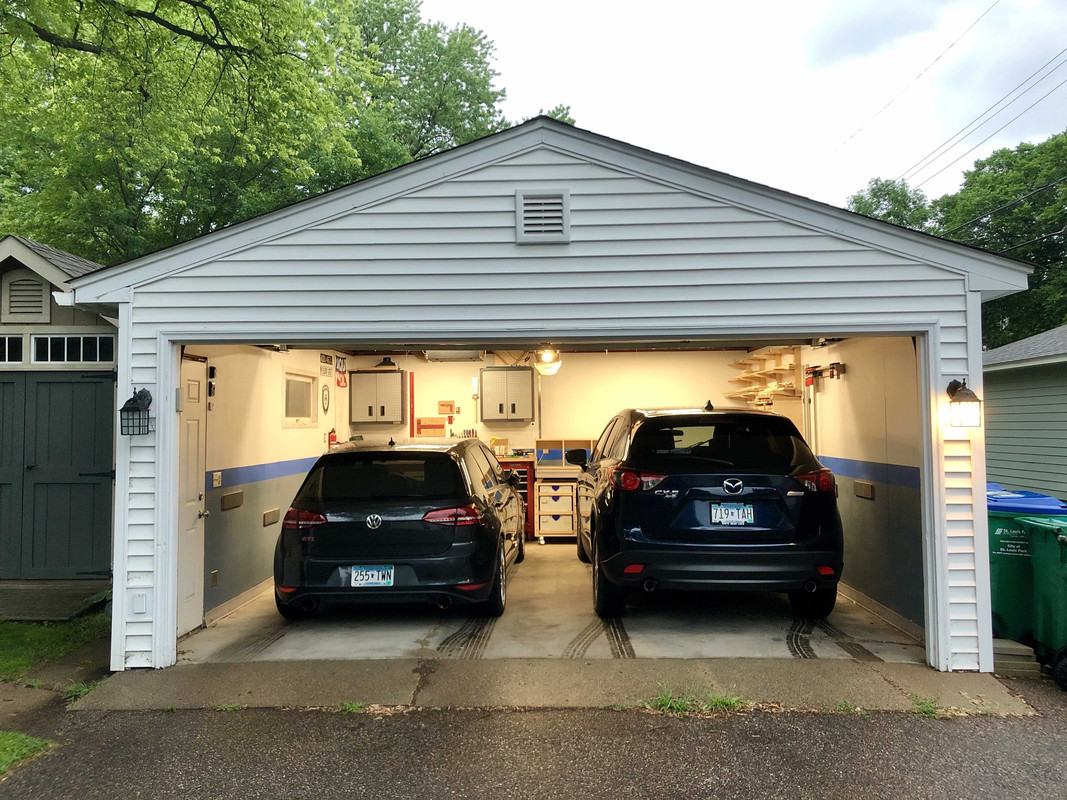
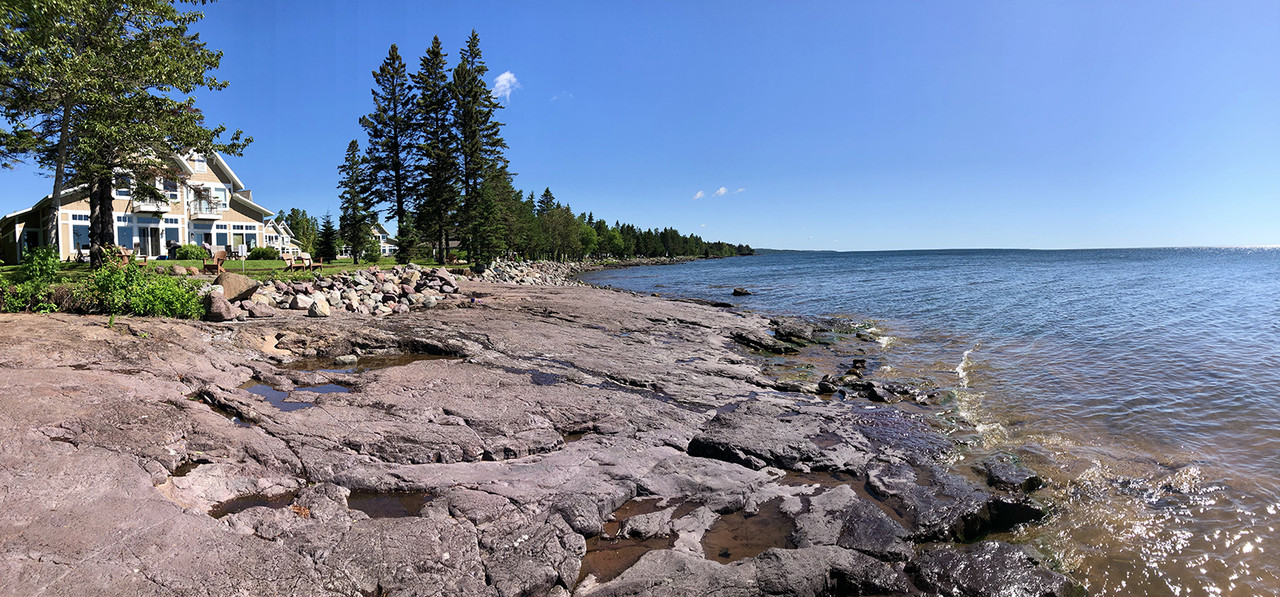
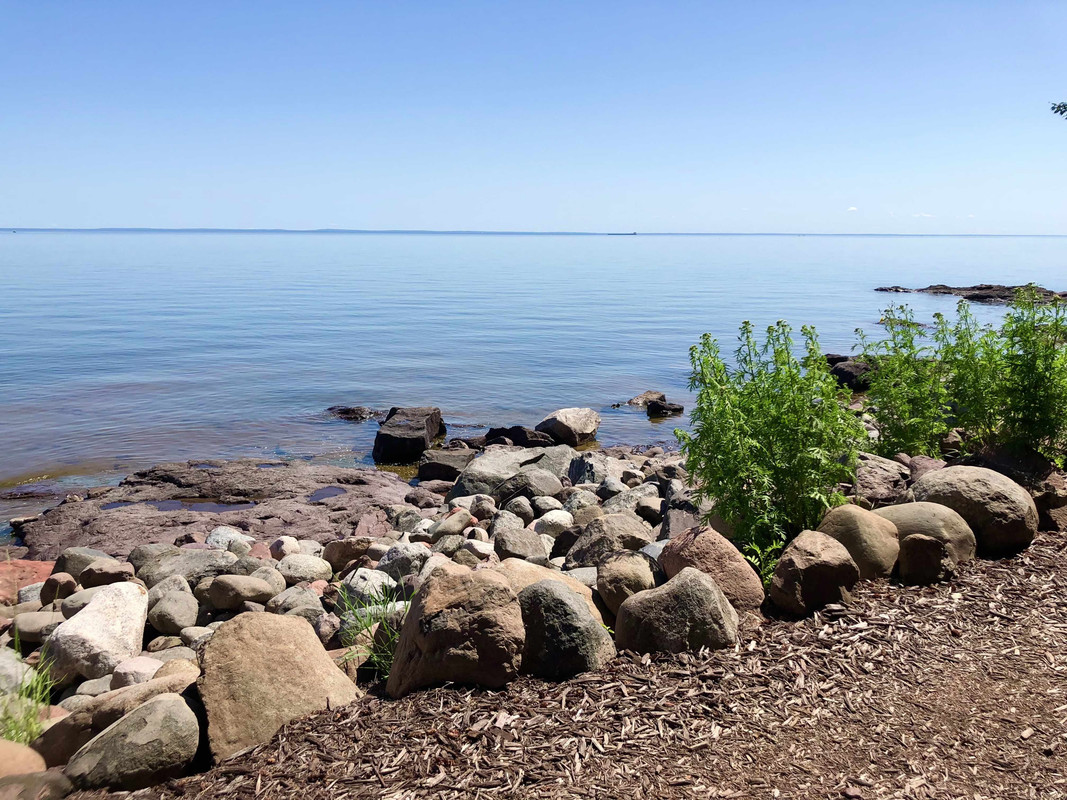
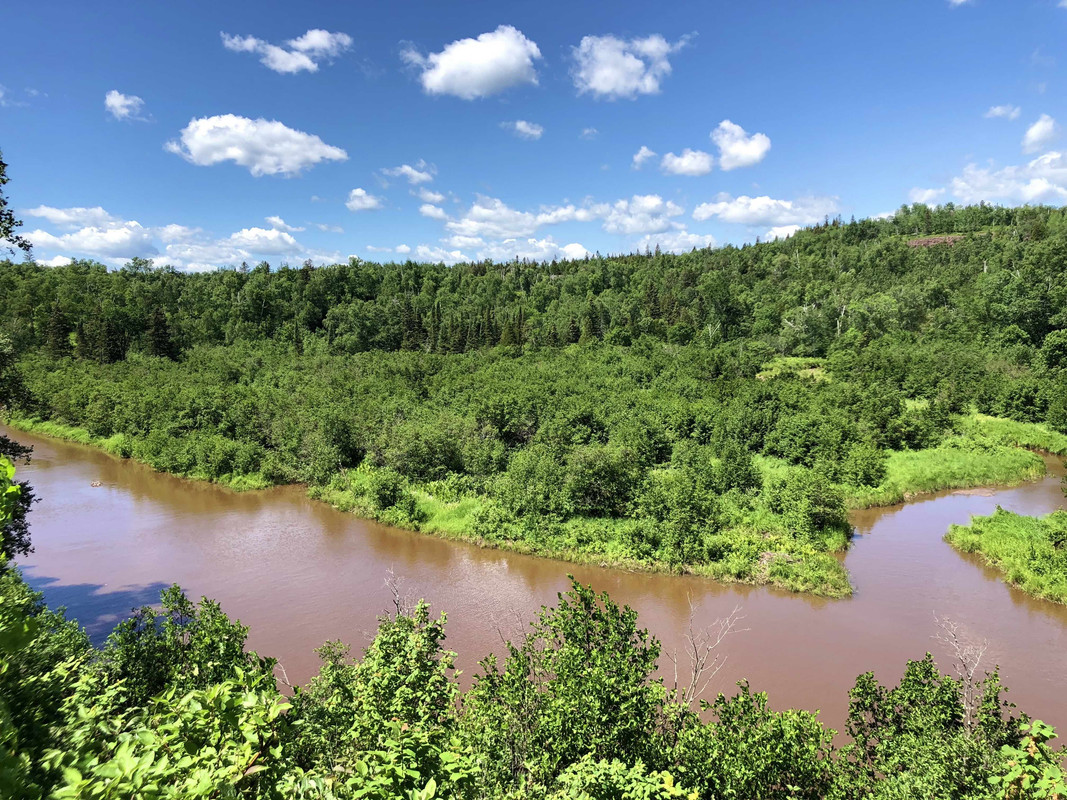
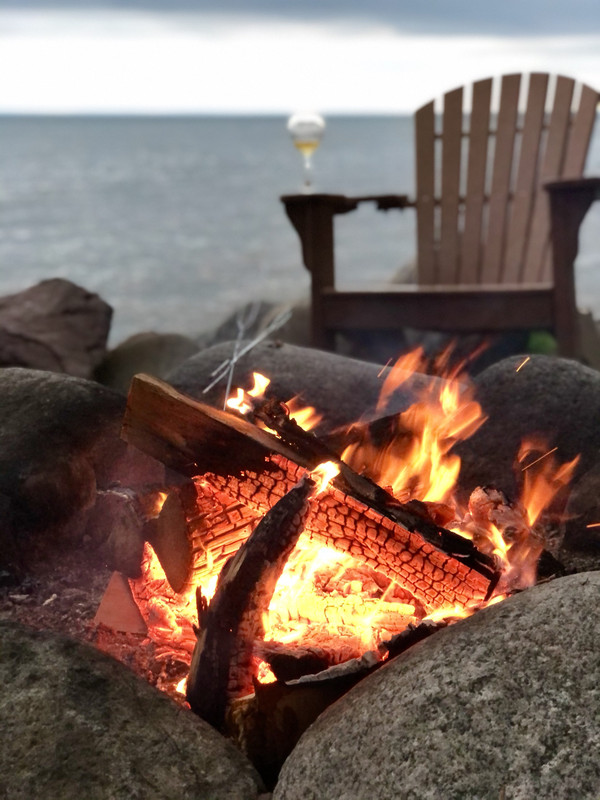
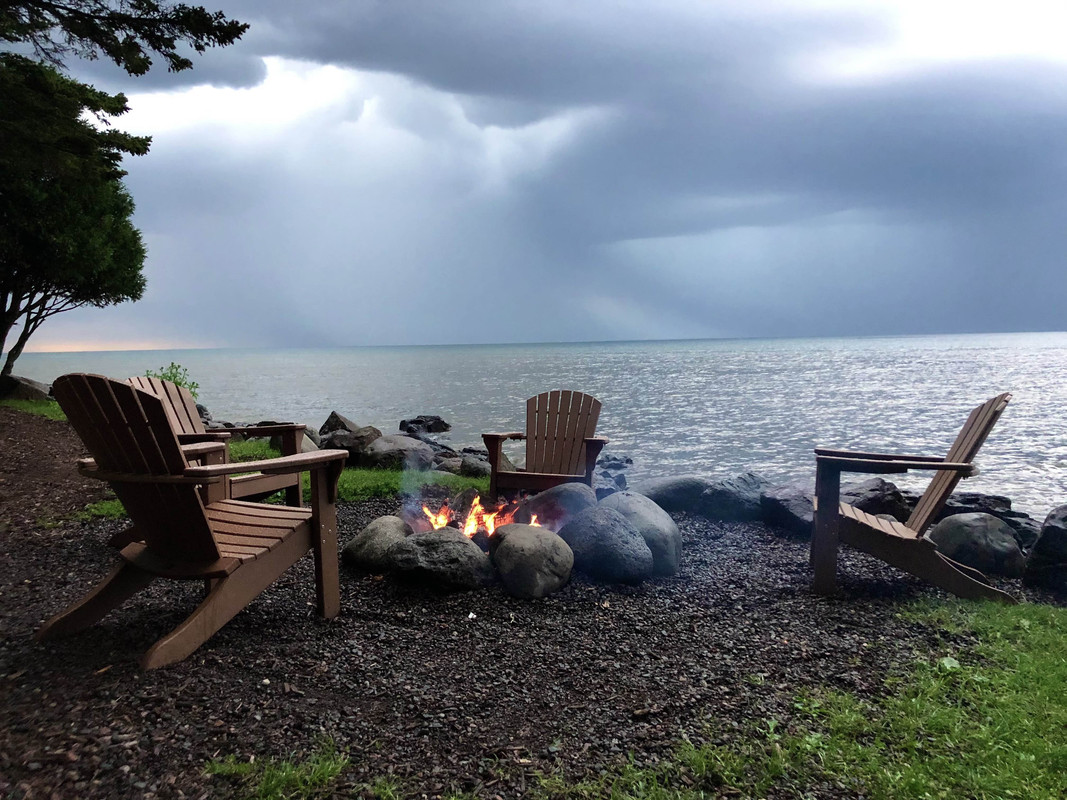
But first, since I am always posting big snow piles in winter, here is a pic of our summer gardens. It was 90 F today.

Back to the shop. When I purchased the kitchen toe kick material I got twice as many boards as I needed since I wasn't sure how well the kerf-bending would work and they took 3 weeks to ship. Didn't want to make a mistake and wait another 3 weeks for more. And they were cheap. But since it went well, I had two left over.
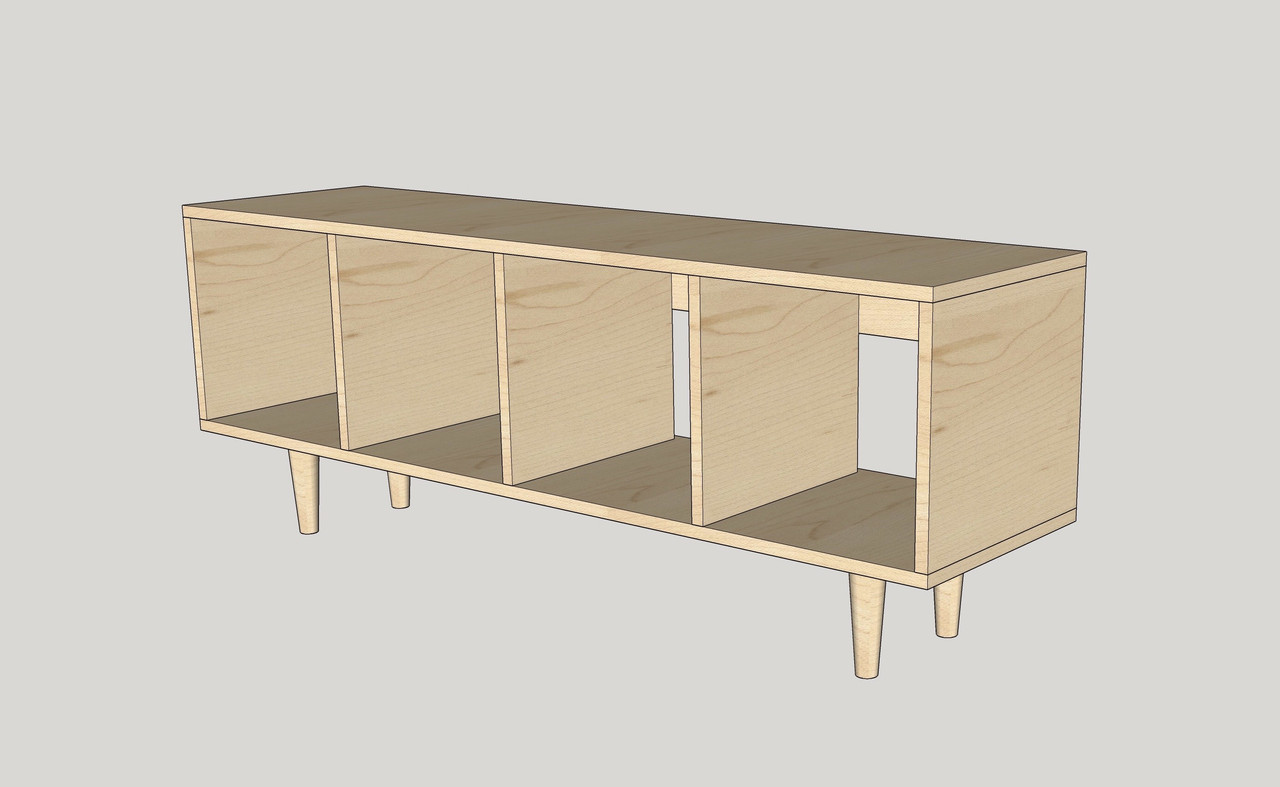
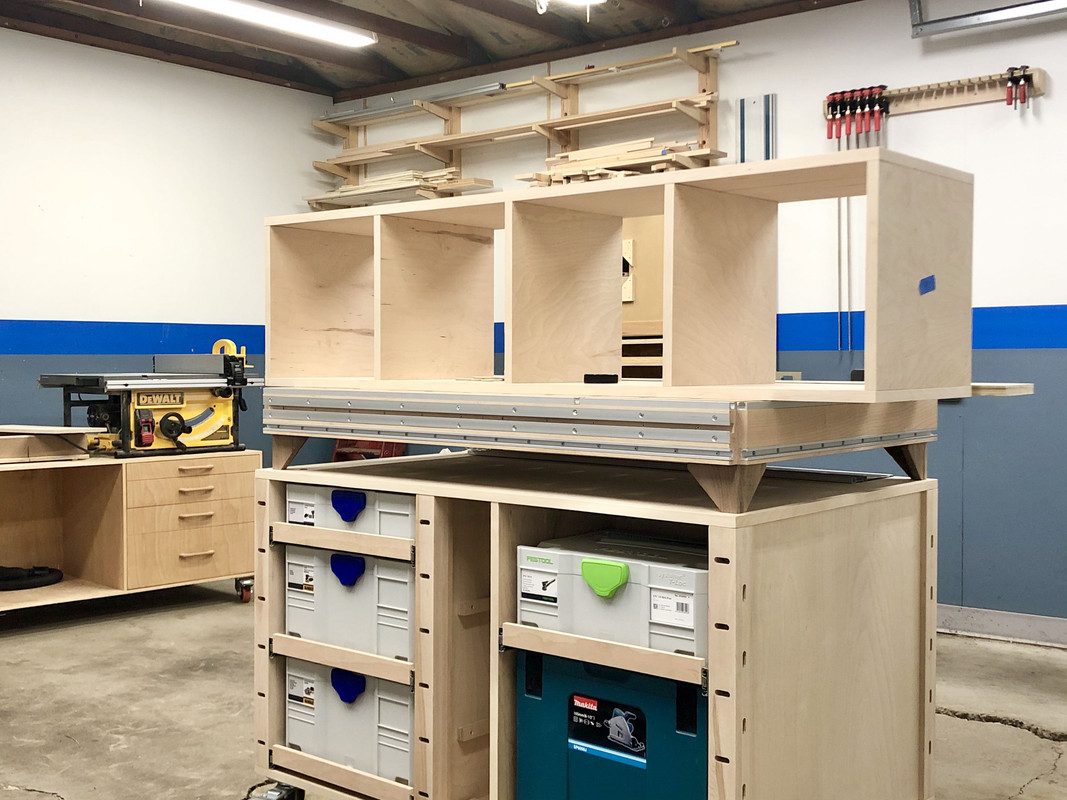
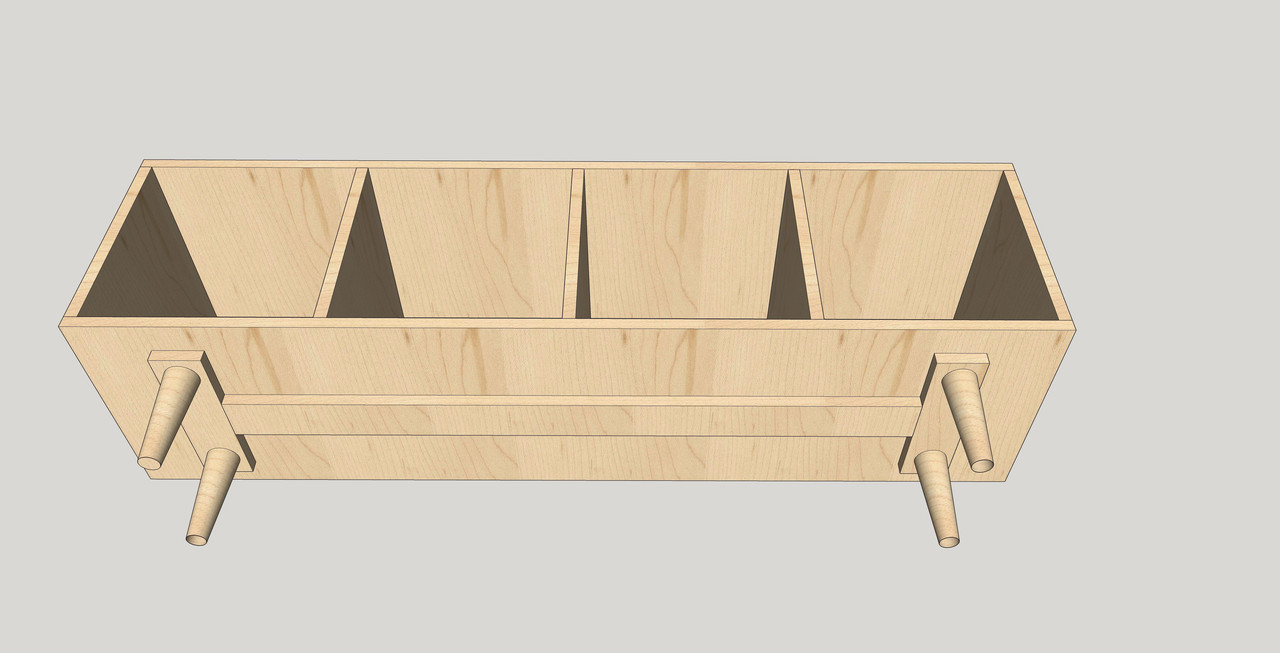
As part of the overall kitchen "remodel" I'd been meaning to make some floating shelves next to the stove some glassware. See Sketchup model Exhibit A:
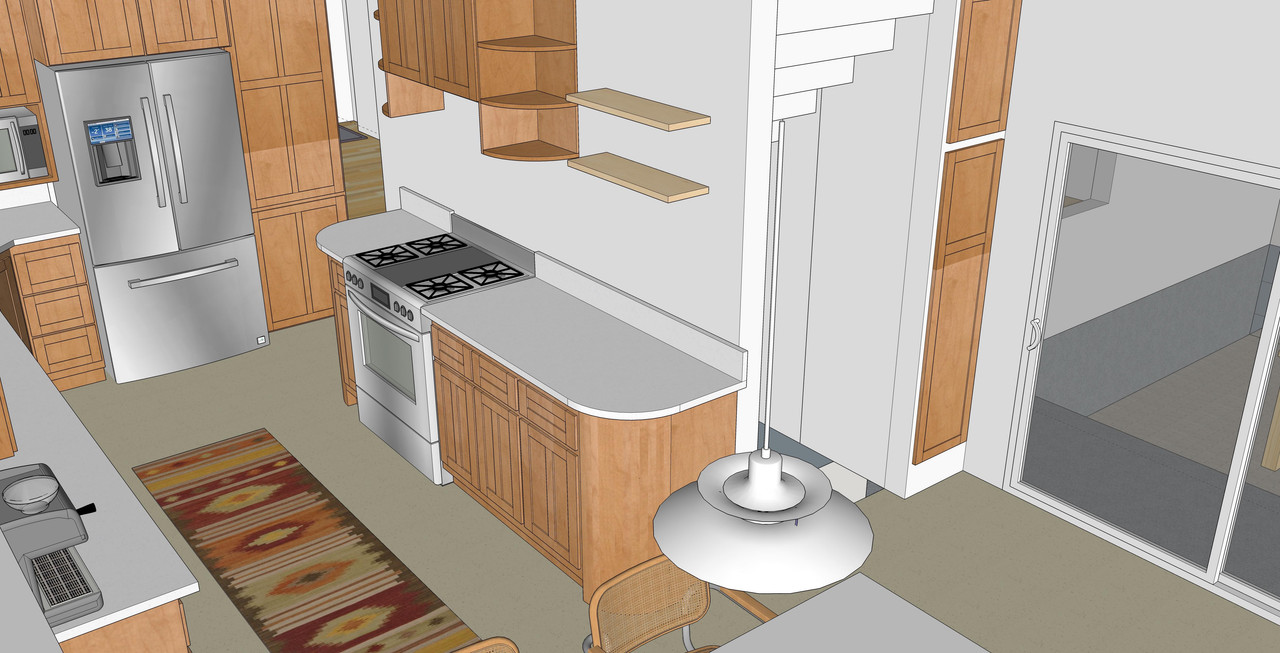
Looking at the construction of the floating shelves I had purchased for the bathroom a few years ago, I remembered the top and bottom pieces were maple veneered MDF, just like the toe kicks I bought, and edged in hard maple. And they were quite expensive, about $90 each. I had just enough hard maple on hand in the garage to make the appropriate sized shelves for the kitchen, so I thought I would use that and the veneered toe kicks to see if I could make the shelves with material on hand in the same construction method.
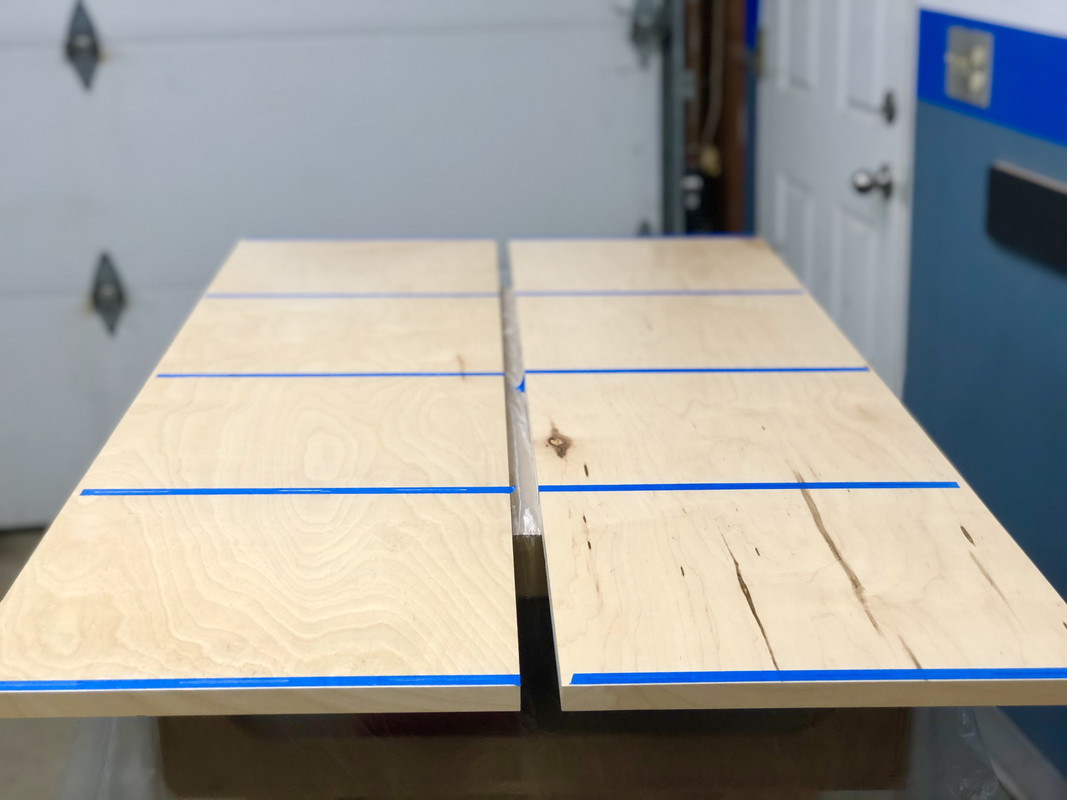
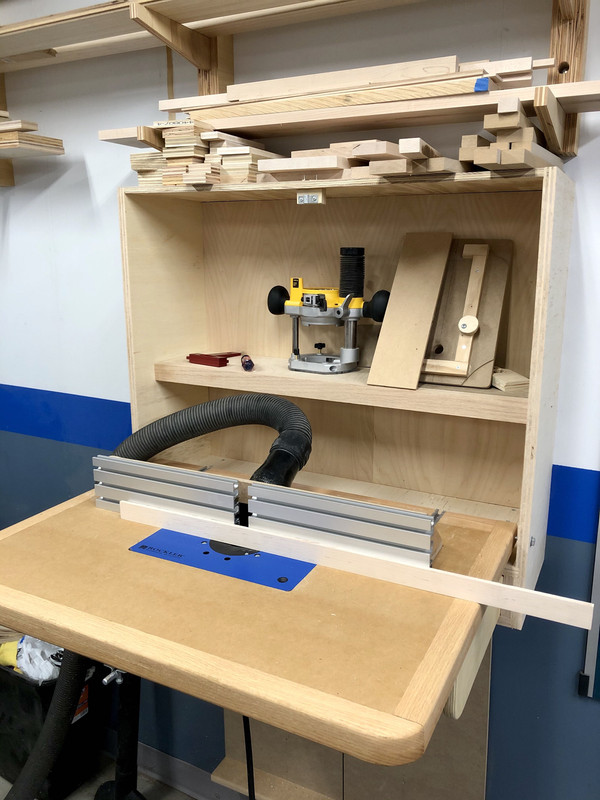
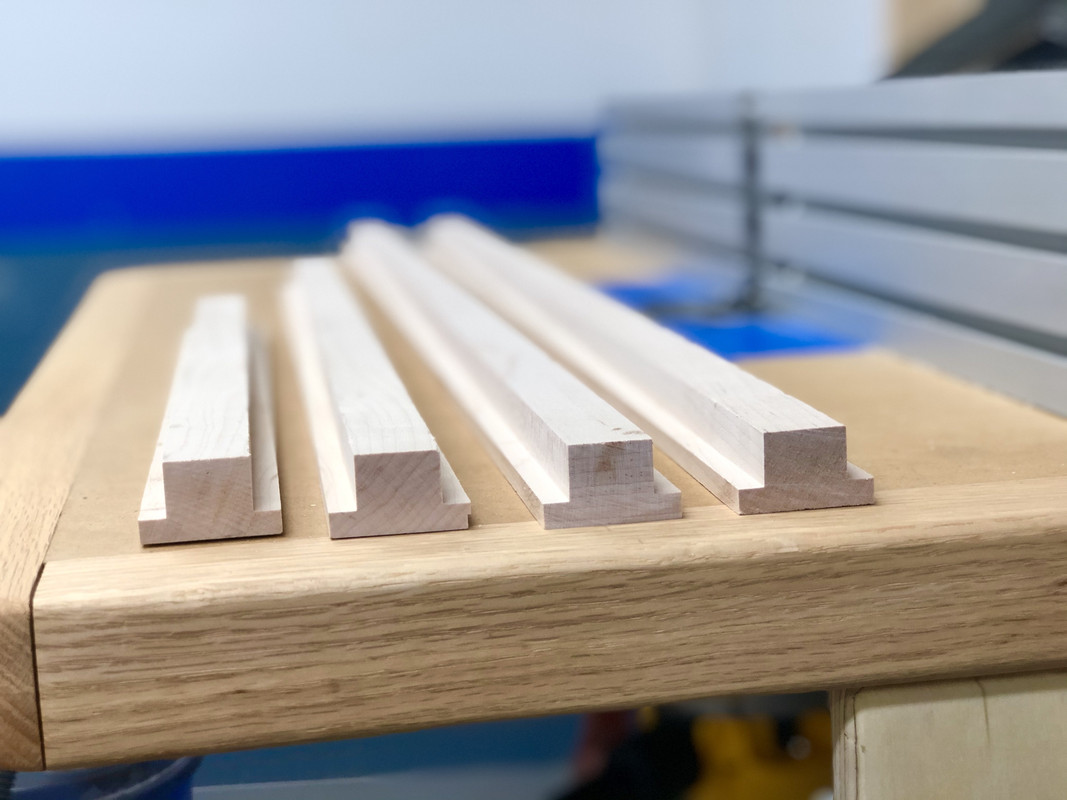
To start I ripped the front and sides to width and rabbeted out the top and bottom at the router table to make a "T" shaped profile:
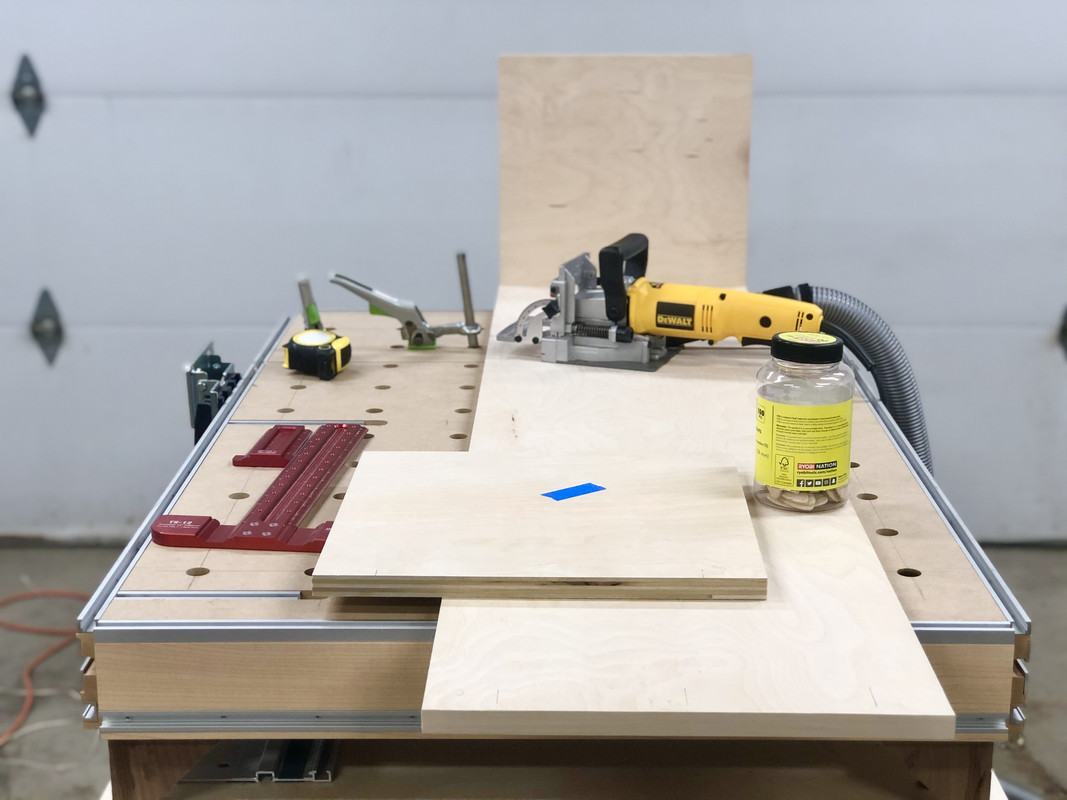
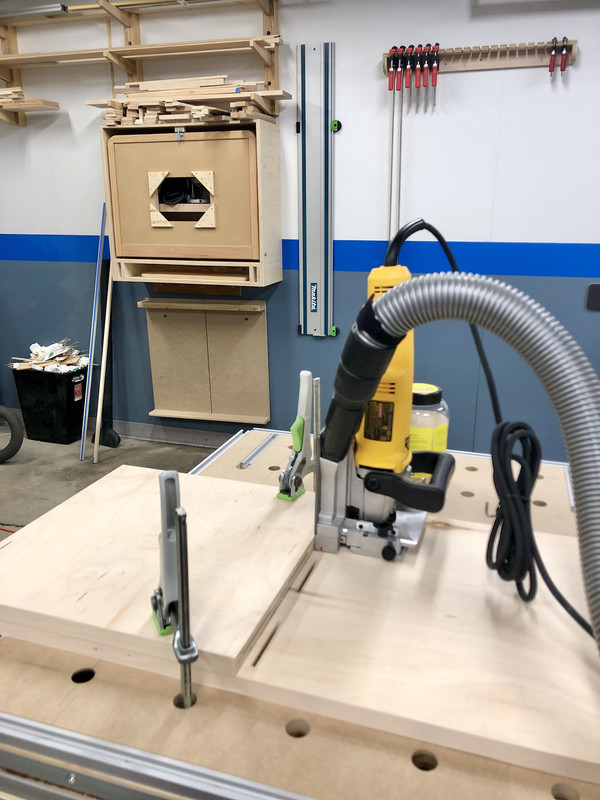
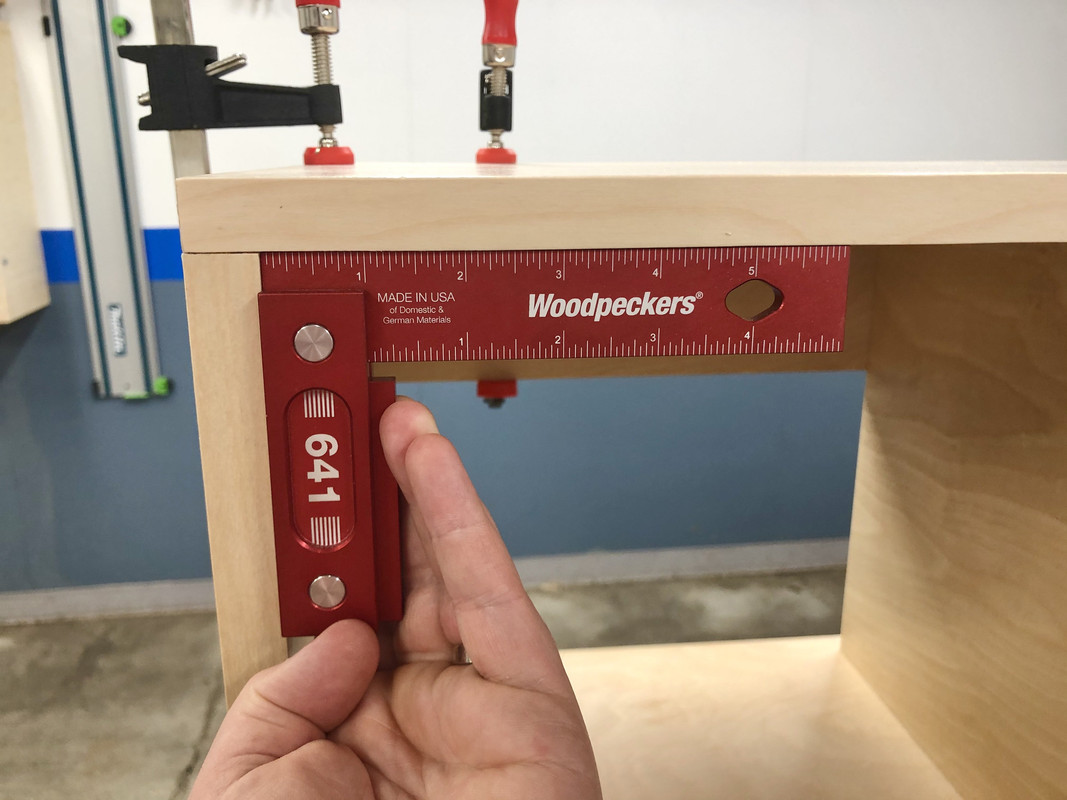
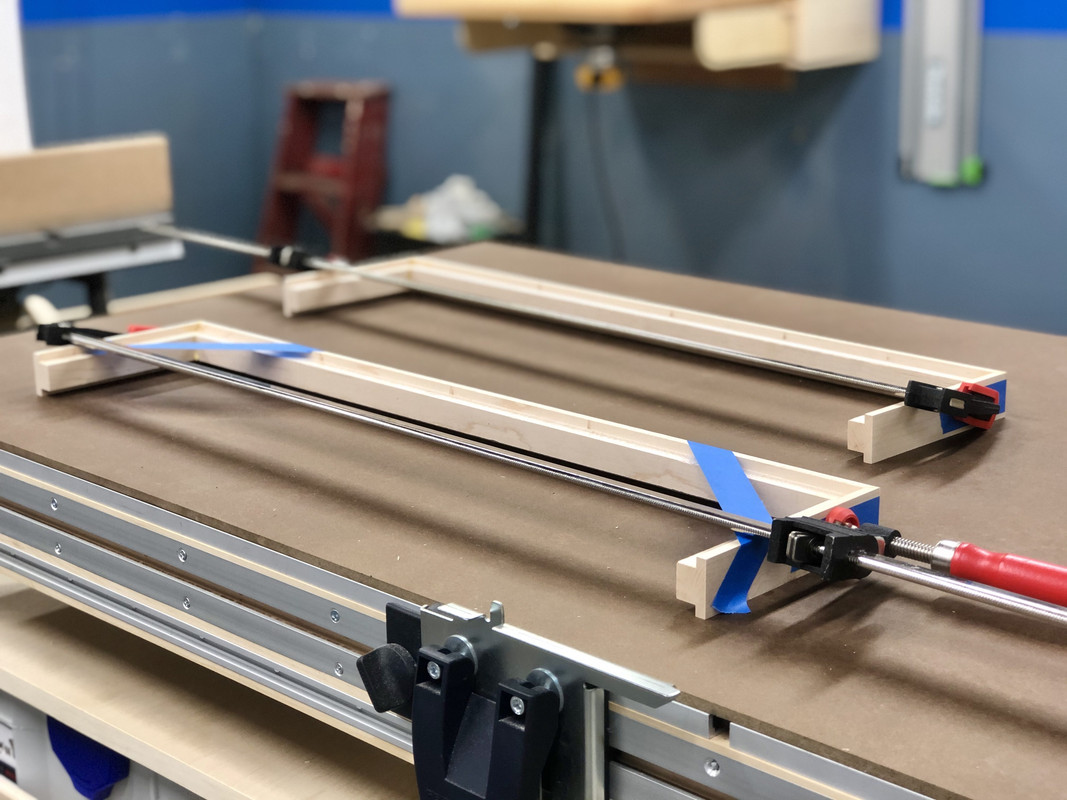
Then I carefully glued up the front to the sides, making sure everything was as flat and square as possible:
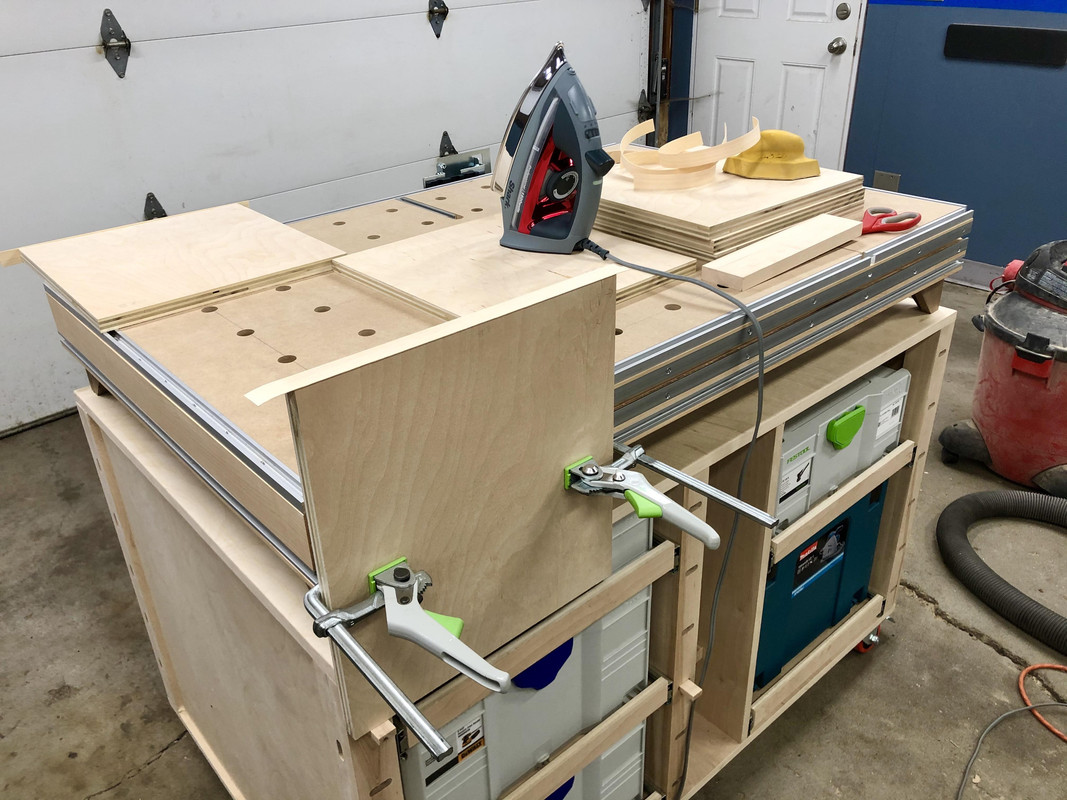
Then the veneered MDF is cut to size and glued in top and bottom:
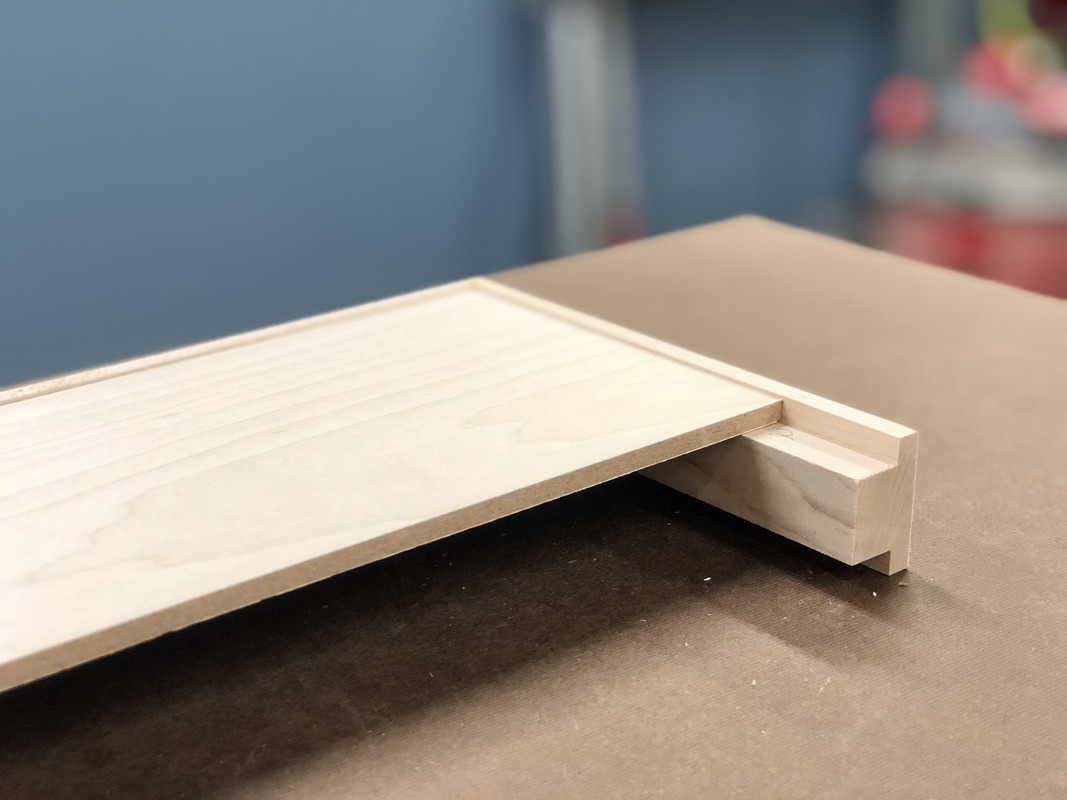
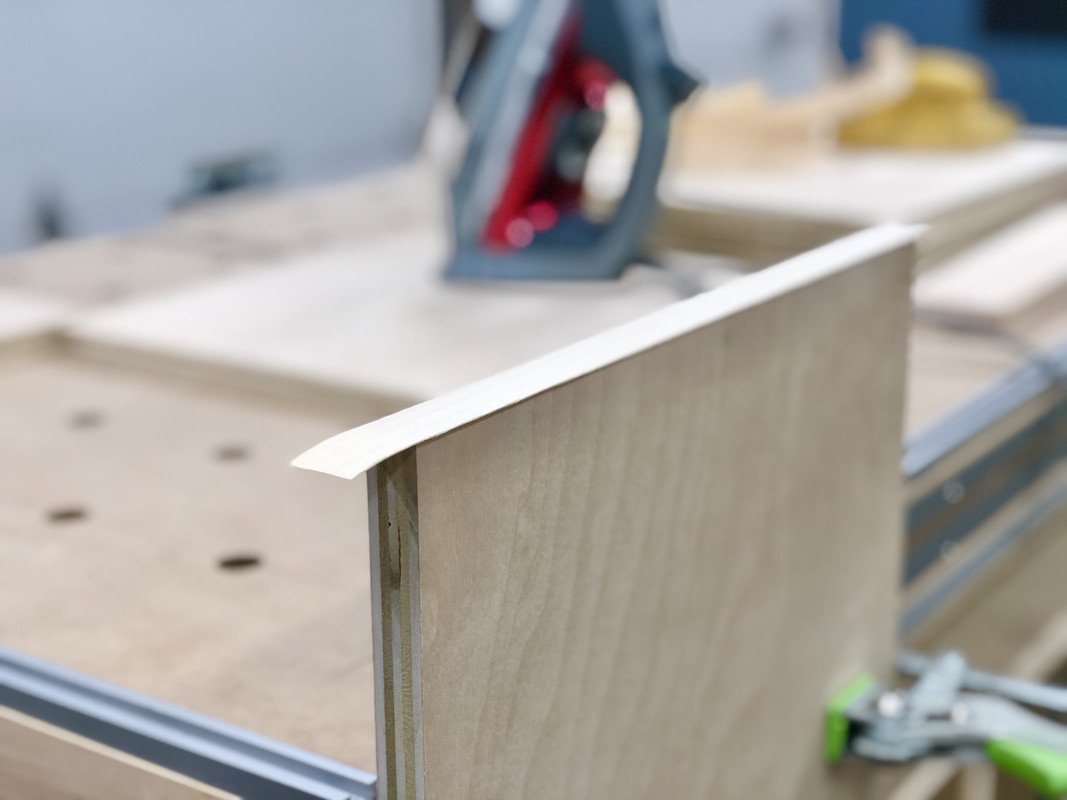
I made the rabbets slightly deeper than the toe kick material so the shelf edging remains ~ 1/16" proud.
This is so they can be flush trimmed back at the router table:
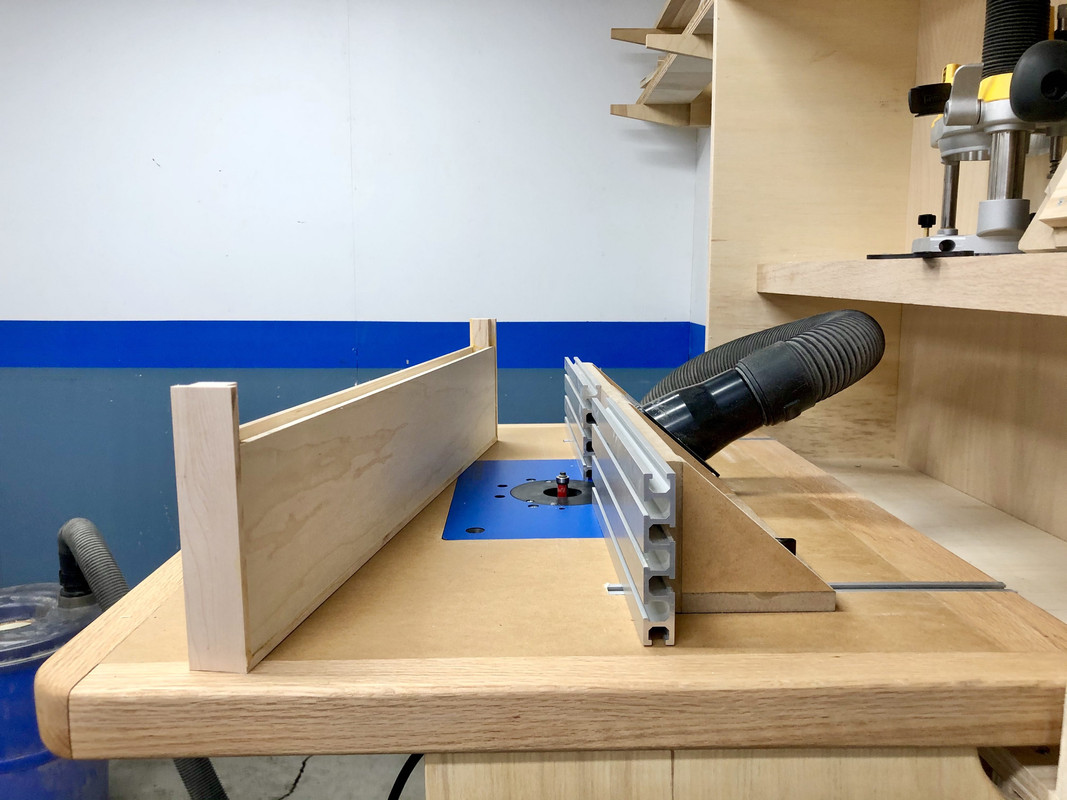
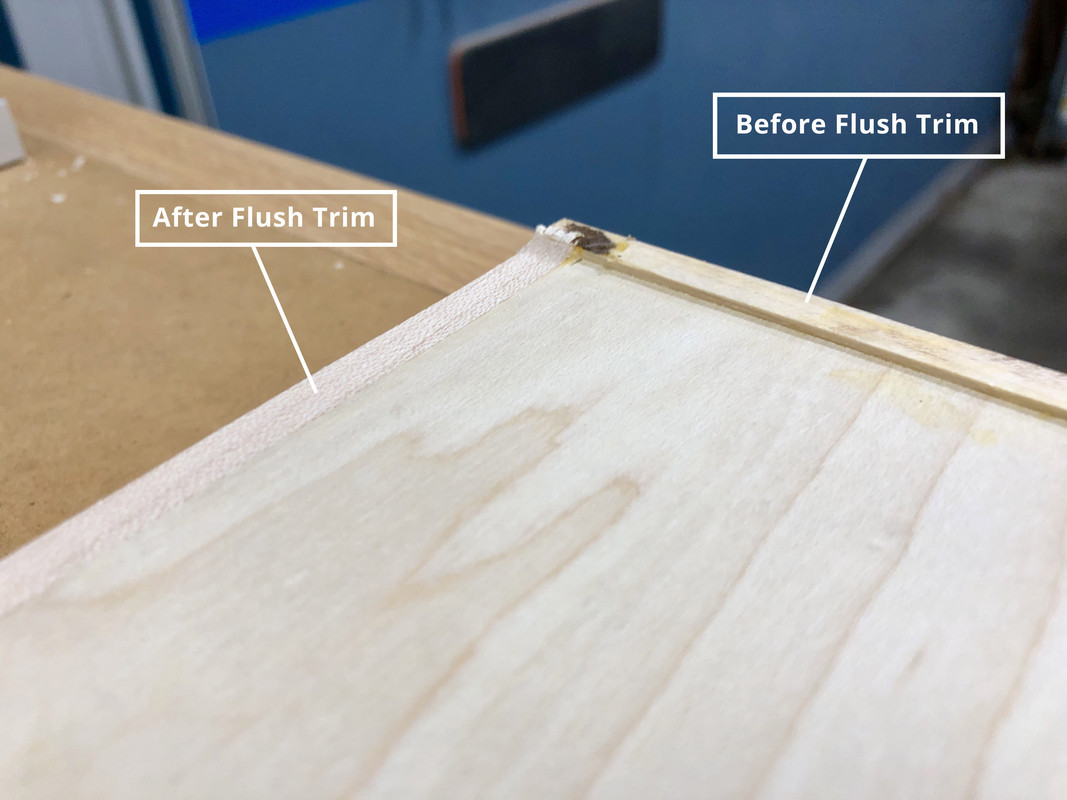
This leaves a very flush joint and almost the illusion that it is a solid board, even though it is hollow.
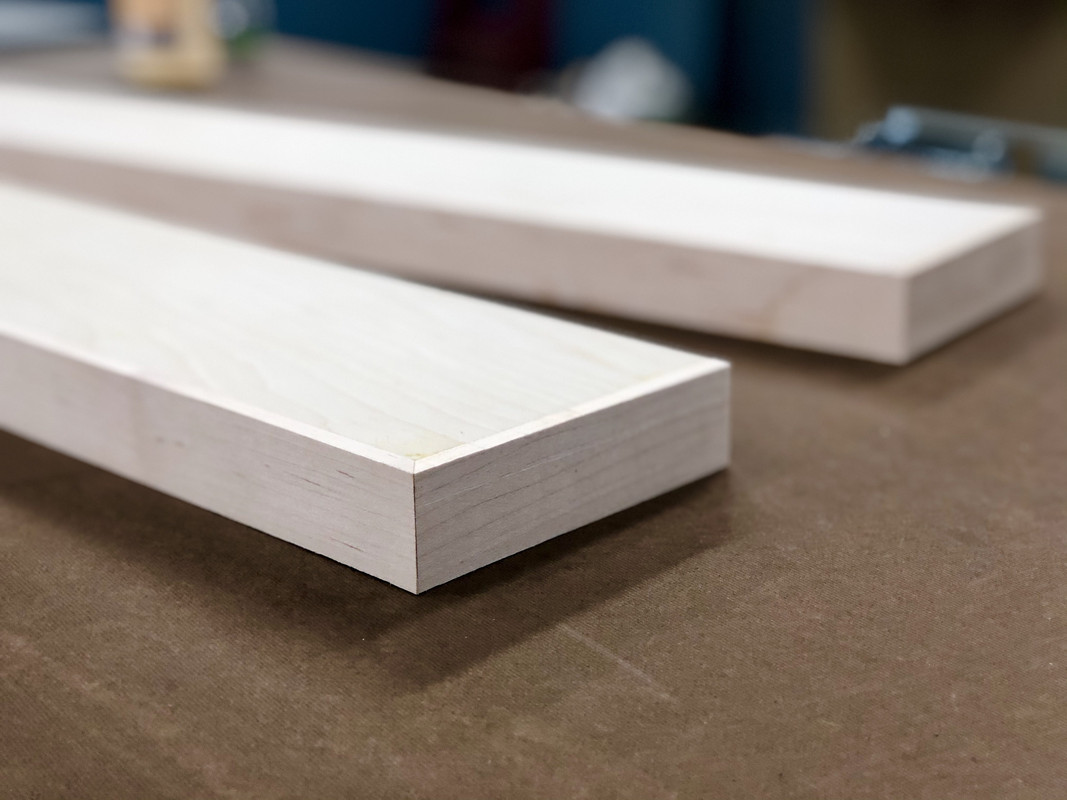
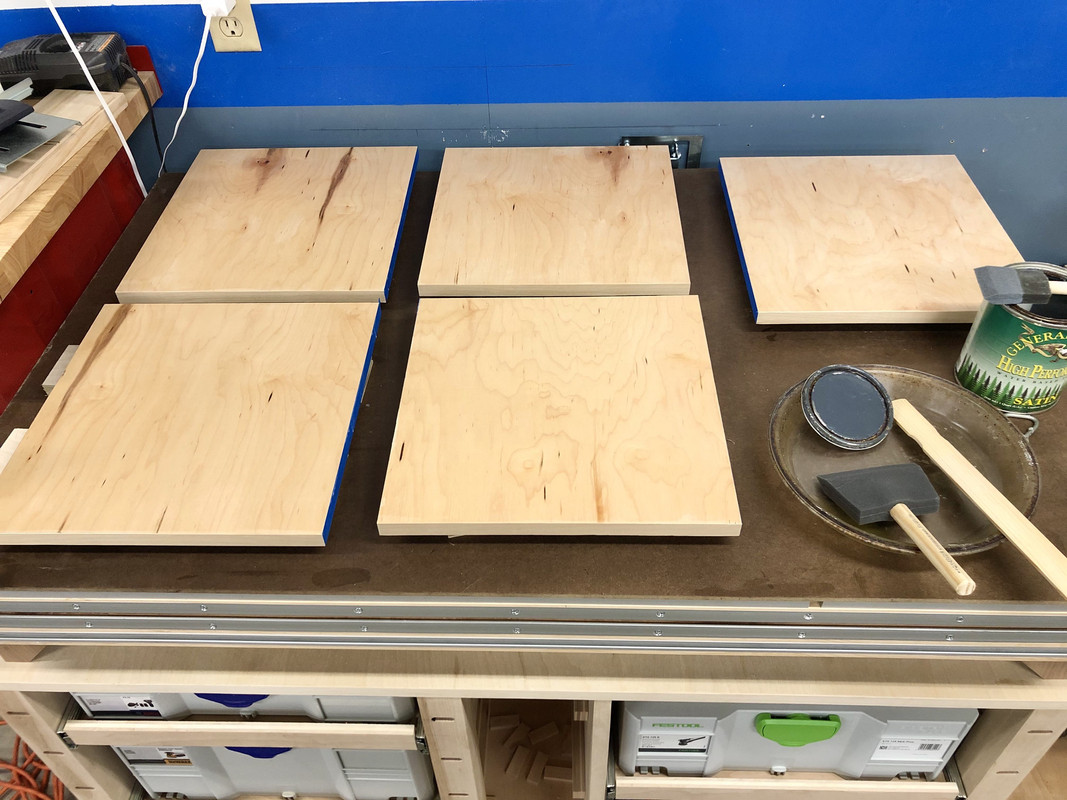
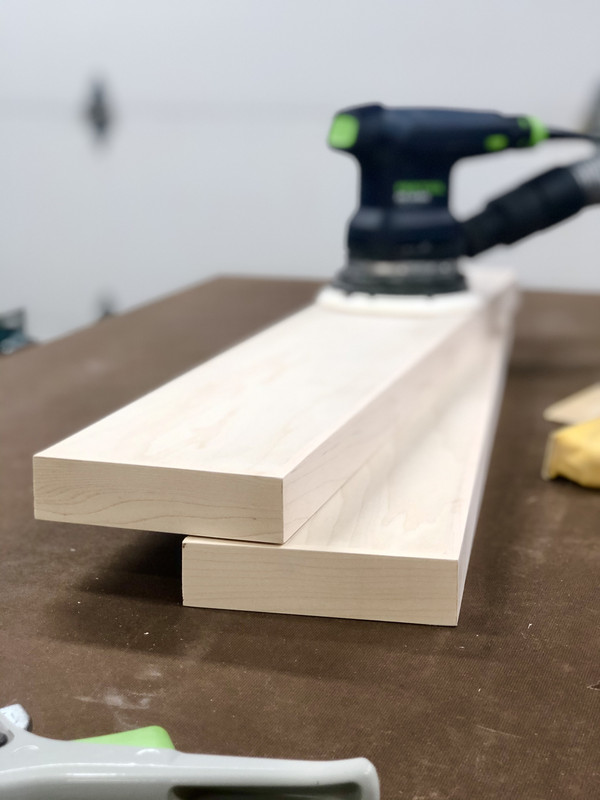
Next I carefully sanded them:
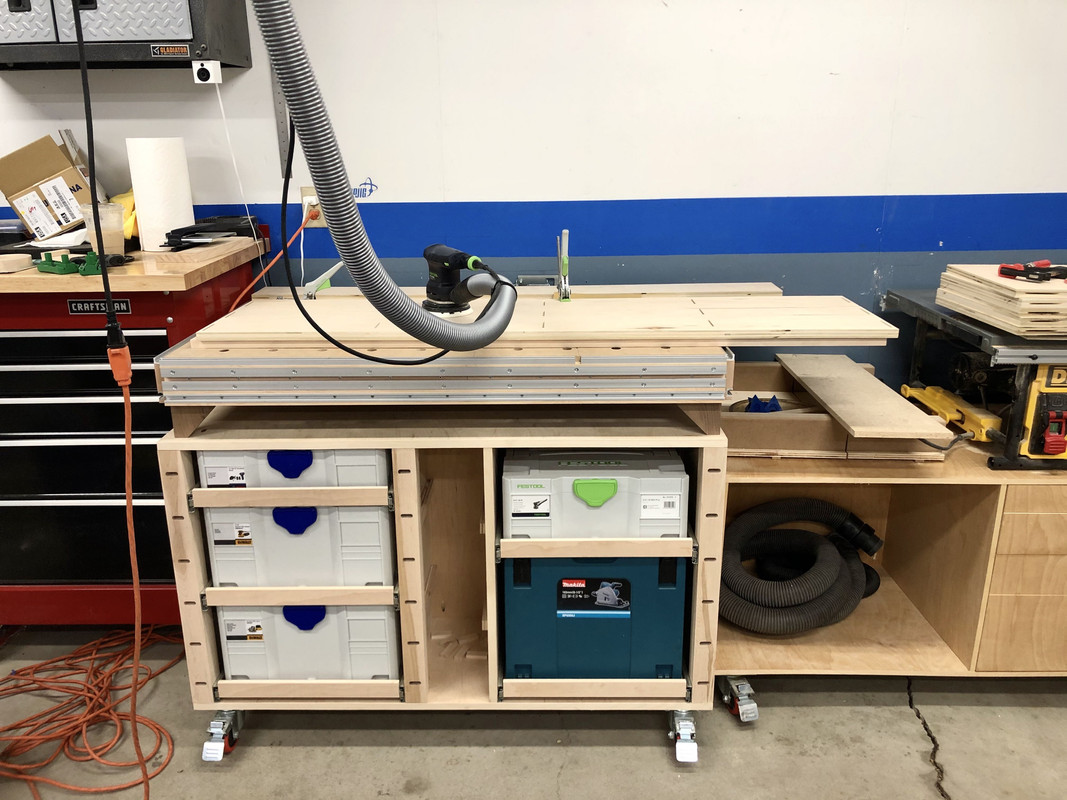
And made simple cleats of 3/4" plywood with some inexpensive L-brackets for support. These screw into the wall.
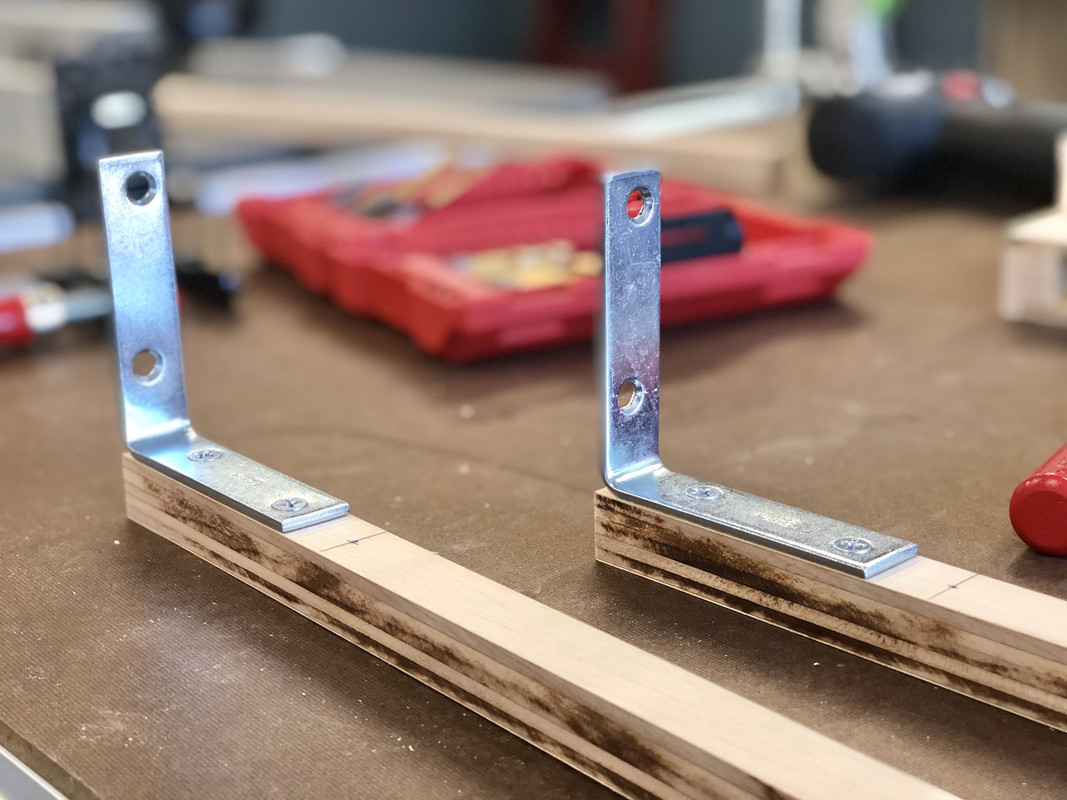
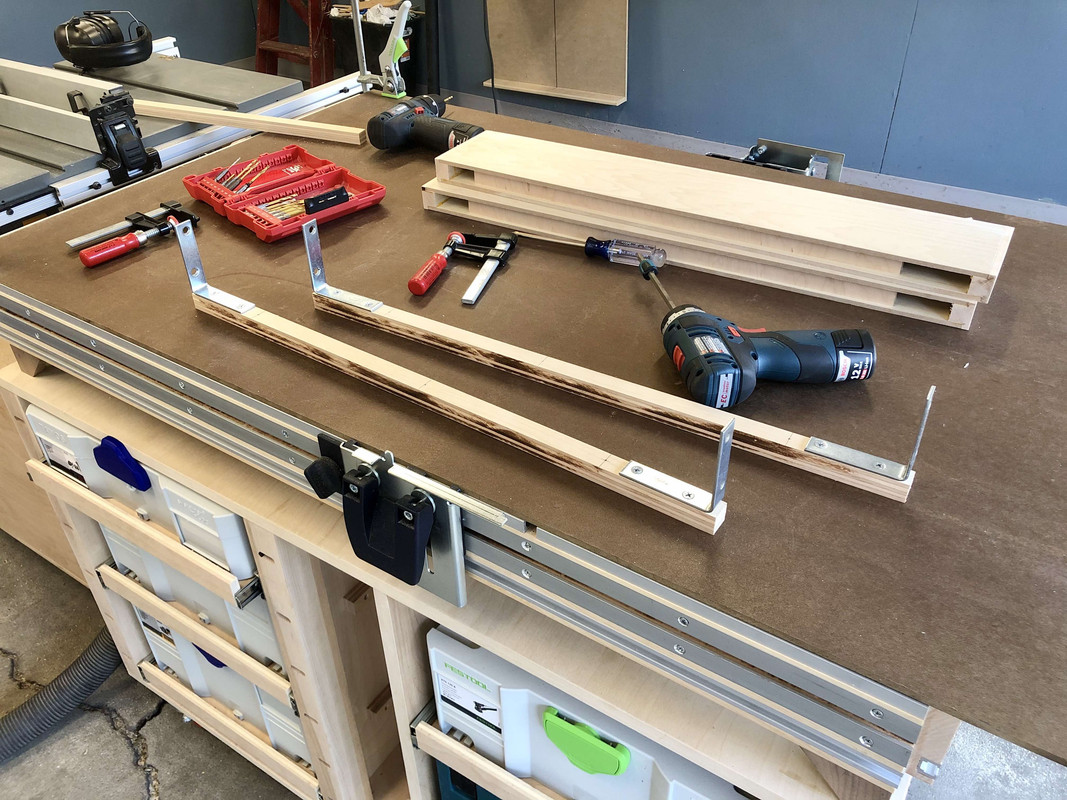
In the above pic you see the back of the shelves, I gently tapped in a friction fit piece of plywood for support of the veneered top and bottom towards the rear of the shelf, leaving a gap for the metal L-brackets to slide into.
I wanted them to be durable so I finished with 3 coats of General Finishes High Performance water-based polyurethane.
Here they are installed:
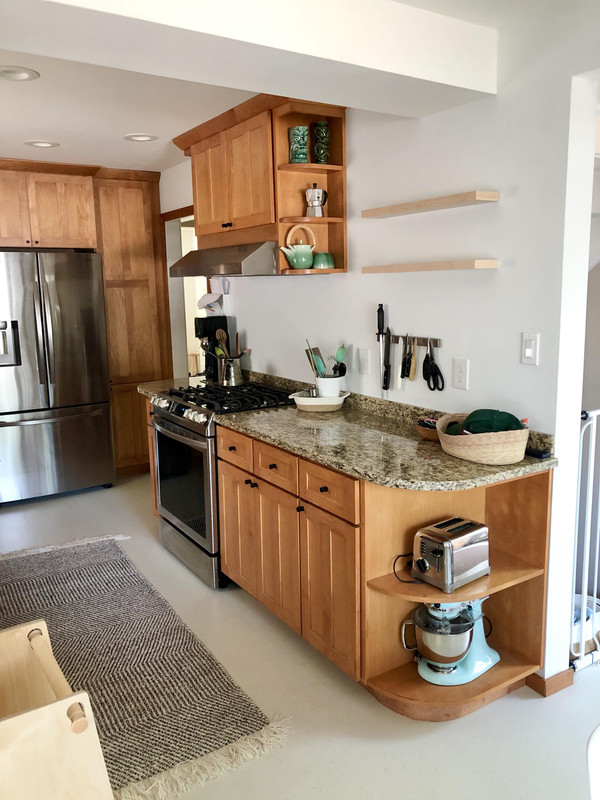
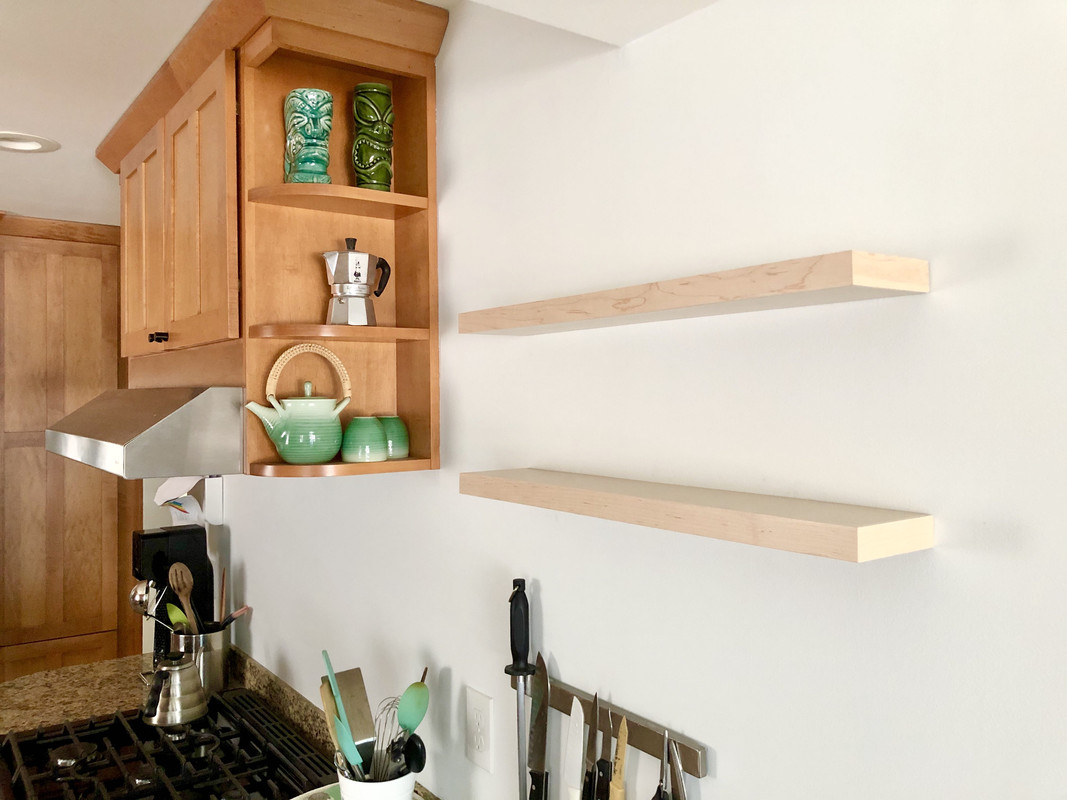
I am quite happy with how they turned out -- all the joints are very tight including the miters.
As things are progressing in the kitchen, I'm itching to get to the countertops, but due to cost and Covid it will likely be awhile.

But first, since I am always posting big snow piles in winter, here is a pic of our summer gardens. It was 90 F today.
Back to the shop. When I purchased the kitchen toe kick material I got twice as many boards as I needed since I wasn't sure how well the kerf-bending would work and they took 3 weeks to ship. Didn't want to make a mistake and wait another 3 weeks for more. And they were cheap. But since it went well, I had two left over.
As part of the overall kitchen "remodel" I'd been meaning to make some floating shelves next to the stove some glassware. See Sketchup model Exhibit A:
Looking at the construction of the floating shelves I had purchased for the bathroom a few years ago, I remembered the top and bottom pieces were maple veneered MDF, just like the toe kicks I bought, and edged in hard maple. And they were quite expensive, about $90 each. I had just enough hard maple on hand in the garage to make the appropriate sized shelves for the kitchen, so I thought I would use that and the veneered toe kicks to see if I could make the shelves with material on hand in the same construction method.
To start I ripped the front and sides to width and rabbeted out the top and bottom at the router table to make a "T" shaped profile:
Then I carefully glued up the front to the sides, making sure everything was as flat and square as possible:
Then the veneered MDF is cut to size and glued in top and bottom:
I made the rabbets slightly deeper than the toe kick material so the shelf edging remains ~ 1/16" proud.
This is so they can be flush trimmed back at the router table:
This leaves a very flush joint and almost the illusion that it is a solid board, even though it is hollow.
Next I carefully sanded them:
And made simple cleats of 3/4" plywood with some inexpensive L-brackets for support. These screw into the wall.
In the above pic you see the back of the shelves, I gently tapped in a friction fit piece of plywood for support of the veneered top and bottom towards the rear of the shelf, leaving a gap for the metal L-brackets to slide into.
I wanted them to be durable so I finished with 3 coats of General Finishes High Performance water-based polyurethane.
Here they are installed:
I am quite happy with how they turned out -- all the joints are very tight including the miters.
As things are progressing in the kitchen, I'm itching to get to the countertops, but due to cost and Covid it will likely be awhile.