littleponderosa
Well-known member

Thanks dude. That one I did not know.
Damn I like this place.
Bill

Thanks JM, I did not know that!
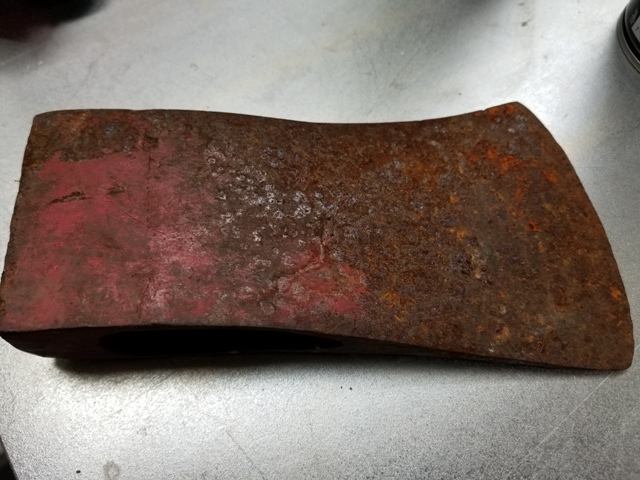
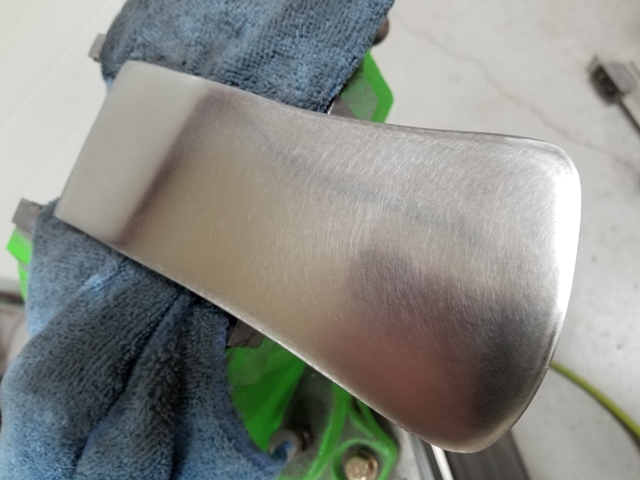
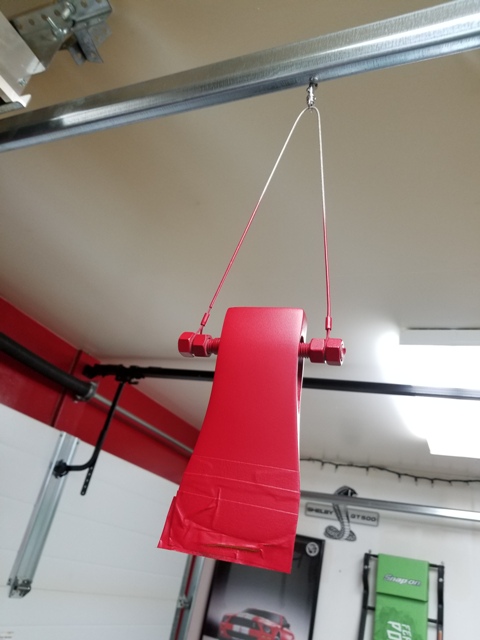
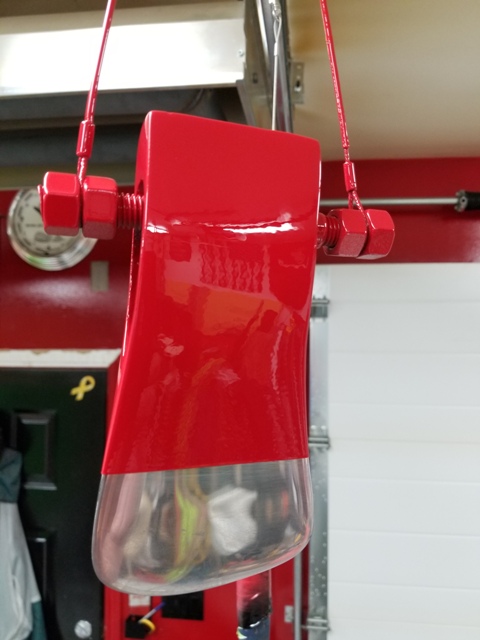
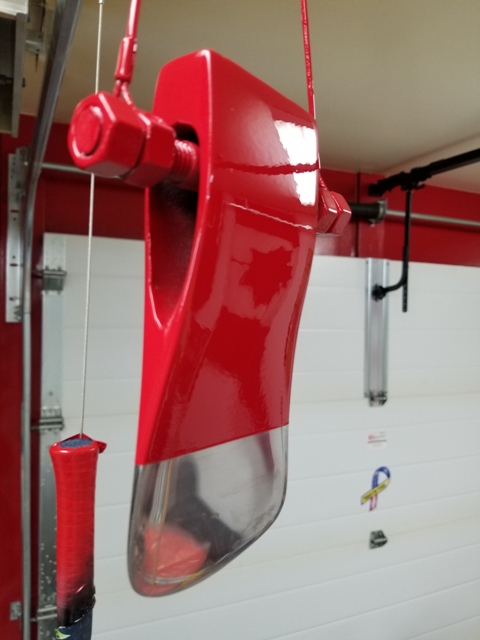
Does that work on aluminum. I am trying to clean up the attached jointer guard, I am not sure I want to polish it, just clean it up. Actually it looks a little worse in person that in the picture (but that's the way things work on the internet......I have heard).
View media item 76194

Thanks JM, I did not know that!
Does that work on aluminum? I am trying to clean up the attached jointer guard, I am not sure I want to polish it, just clean it up. Actually it looks a little worse in person that in the picture (but that's the way things work on the internet......I have heard).
View media item 76194
Trijeff...I have to give credit where credit is due, it was my wife's idea. I guess she is a keeper.Comet, what a great idea, saving that one for sure ... thanks!
 2017-12-09 15.40.11 by don long, on Flickr
 IMG_2625 by don long, on Flickr
 2017-12-09 15.41.33 by don long, on Flickr
 IMG_2628 by don long, on Flickr
 IMG_2633 by don long, on Flickr
 2017-12-09 15.42.05 by don long, on Flickr
 2018-02-15 13.01.23 by don long, on Flickr
 2018-02-15 13.02.55 by don long, on Flickr
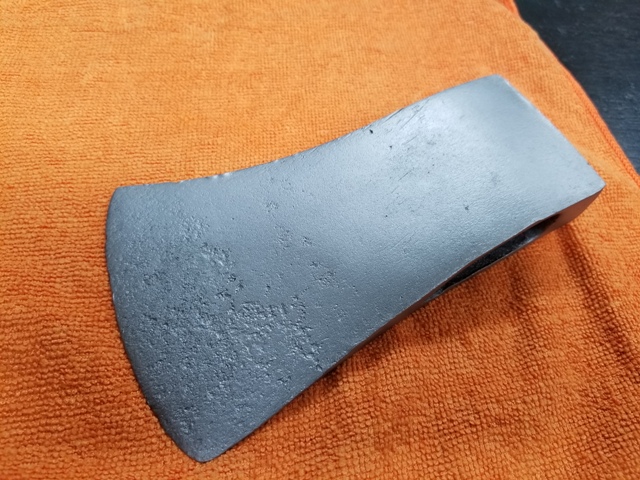
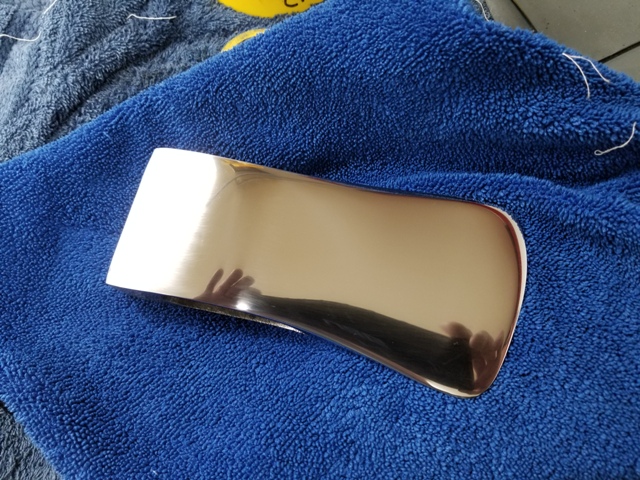
You probably wouldn't want to use the pencil trick on your jointer cover.....I would just use soap and water......
Depends on how shiney you want it to look....
.


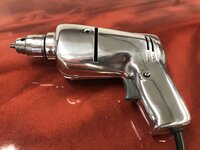
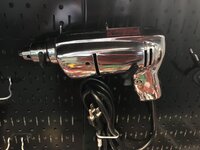
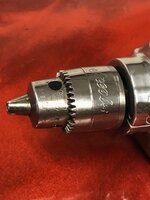
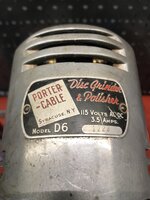
Here is a cool hand drill I bought for $5. I took it apart, added a new cord, regreased, and buffed it with my Craftsman block grinder. Pretty sure I have a new hobby now.
Sent from my iPhone using Tapatalk

Eric, nice job dude.
Bill
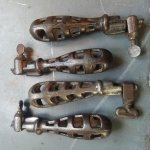
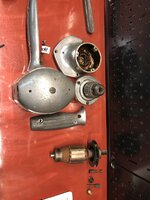
Rick: nice work polishing up the pieces of your drill press. just curious how you (or anybody) takes off the badges. cut, drill or pry?