Fretters: just curious since you have your Electrolysis tank outside. do you leave it on 24/7 or pull it off and bring in the electrical portion at night? also are you done cooking that cast iron leg to your lathe and did the cast iron anode make it a bit less of a mess?
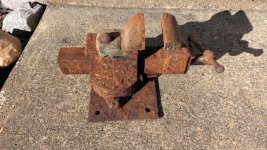
i dropped this Prentiss vise that might have been sitting outside for most of it's 80 years in 3 gallons of vinegar to see what would happen. after 4 weeks i pulled it out and it unscrewed so back in the vinegar for more rust removal until i get my "E" tank set up and running. i'm guessing the E bath will take maybe 3 days to get the same results, but this vise was pretty rusty.
Holy molly DIF...that is some serious rust! Sounds like you're getting close to diving into the Ebath...the vise that is.
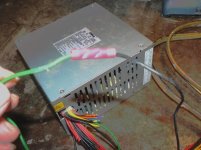
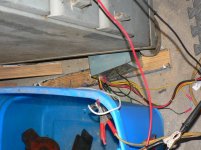
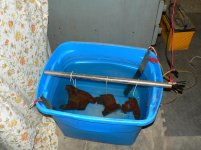
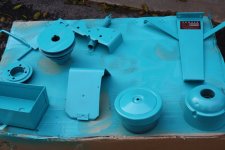
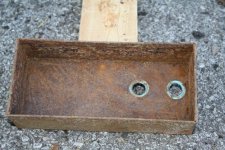
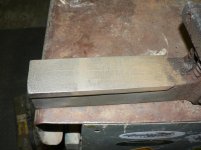
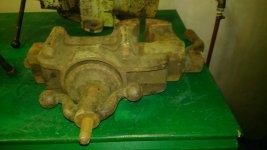
I just finished up with an Ebath this evening on my Craftsman 100 DP table and base. Here are before and after:
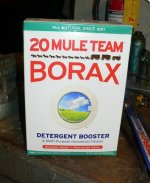
I used the standard setup; 6v-12v car charger and washing soda. Spent a total of 2 1/2 days bathing.
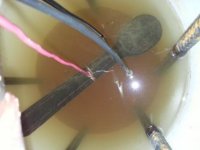
After 1 1/2 days, there was next to no bubbly action and the leads had very little spark left.
As such, I mixed a fresh batch of water/washing soda and also switched to anodes with more surface area (from 3/8" rods to 2" wide flat steel). Nice strong spark again. Some may frown on sparking near the Ebath but I was in a large basement area and I'm still here to type about it
")
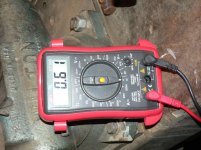
I'm not sure if the amp needle on my car charger is accurate but it was showing 5-6 amps on the 6volt setting and 11 amps on the 12volt setting

. I could almost make waves on the 12 volt setting...ok not really but there was considerable water motion. Most of the time was spent on the 6v setting.
Anyway, I suspect your vise will take every bit of 3 days and probably a water/soda refresh or two during the process.
This was my first experience with an Ebath so am by no means an expert but wanted to share what worked for me. Good luck