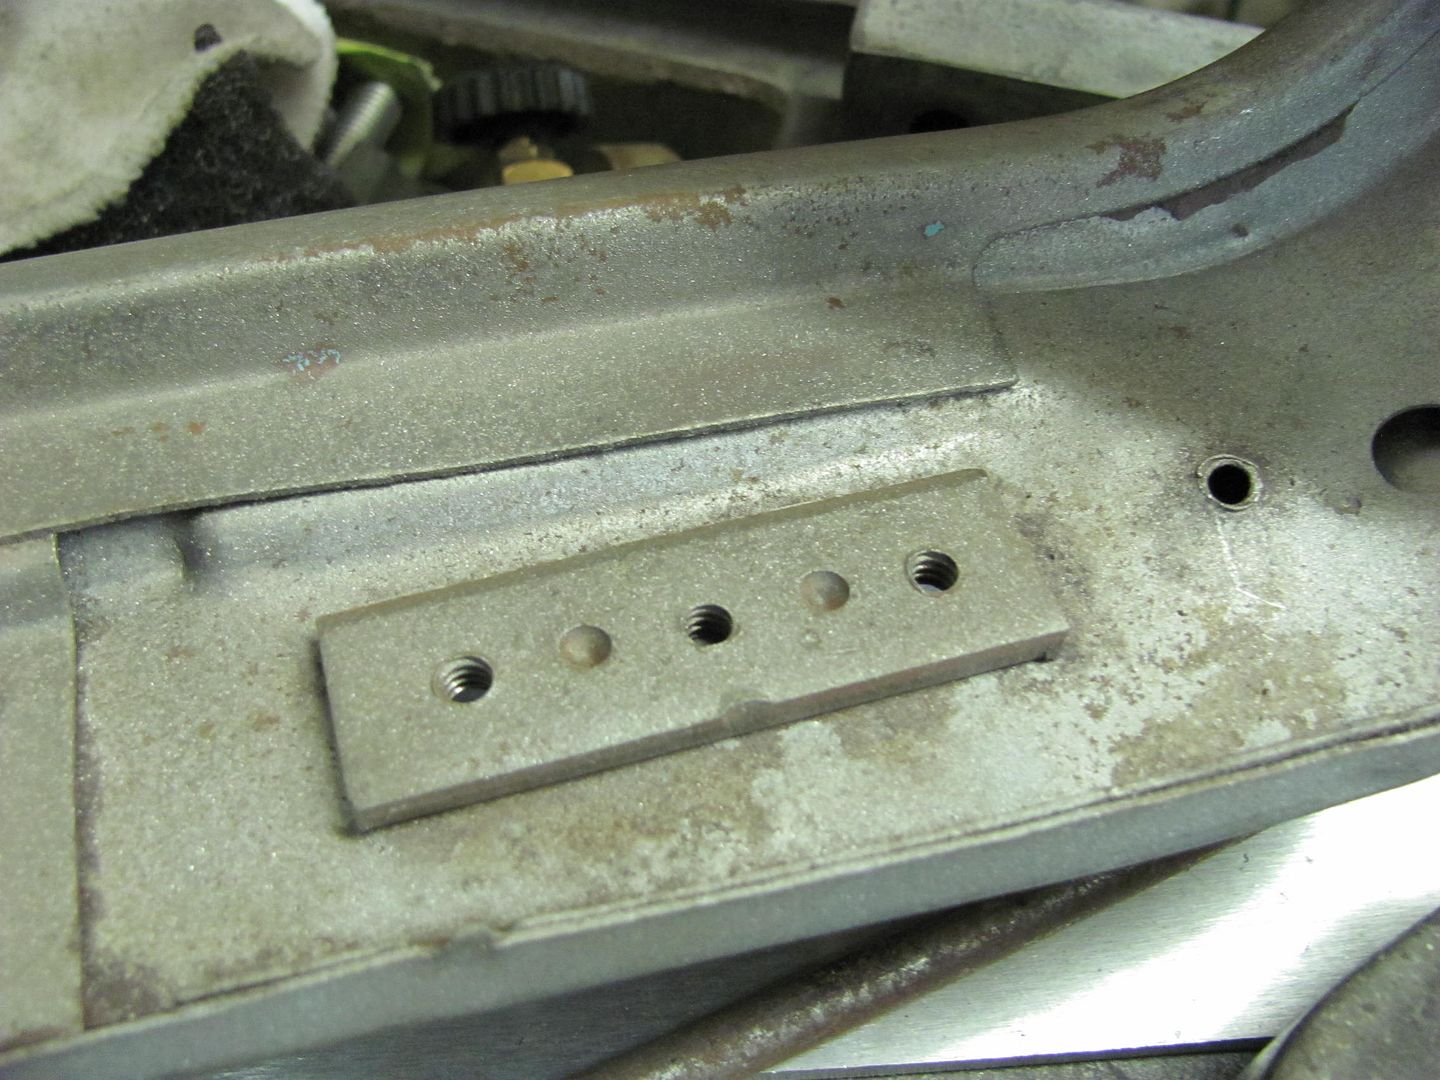
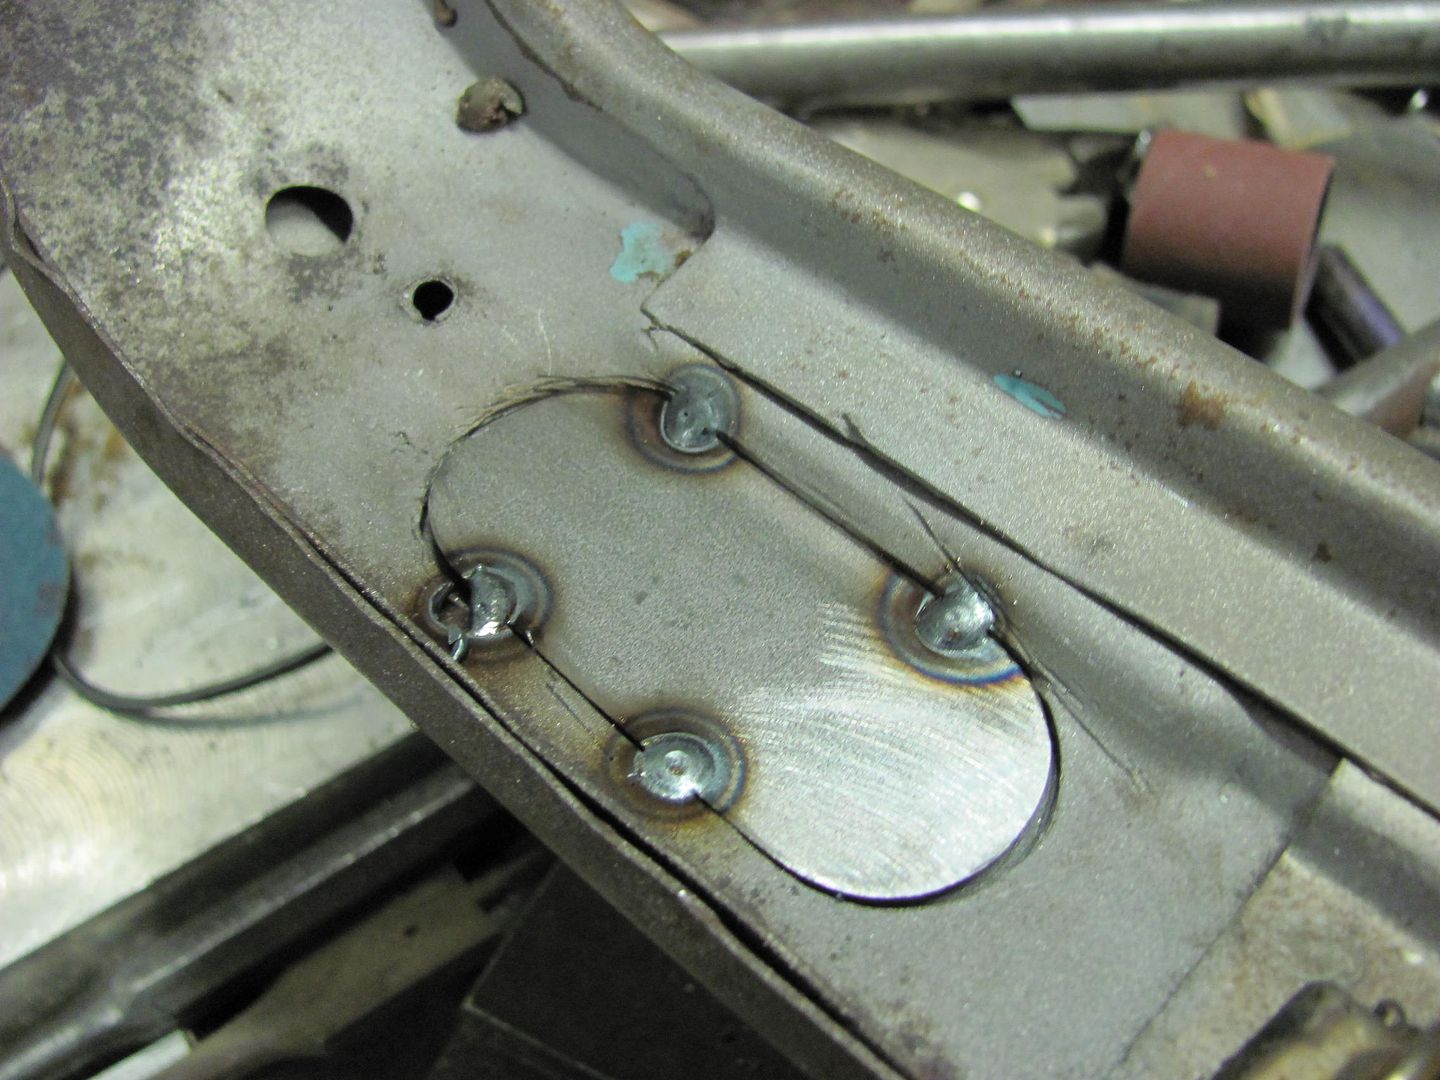
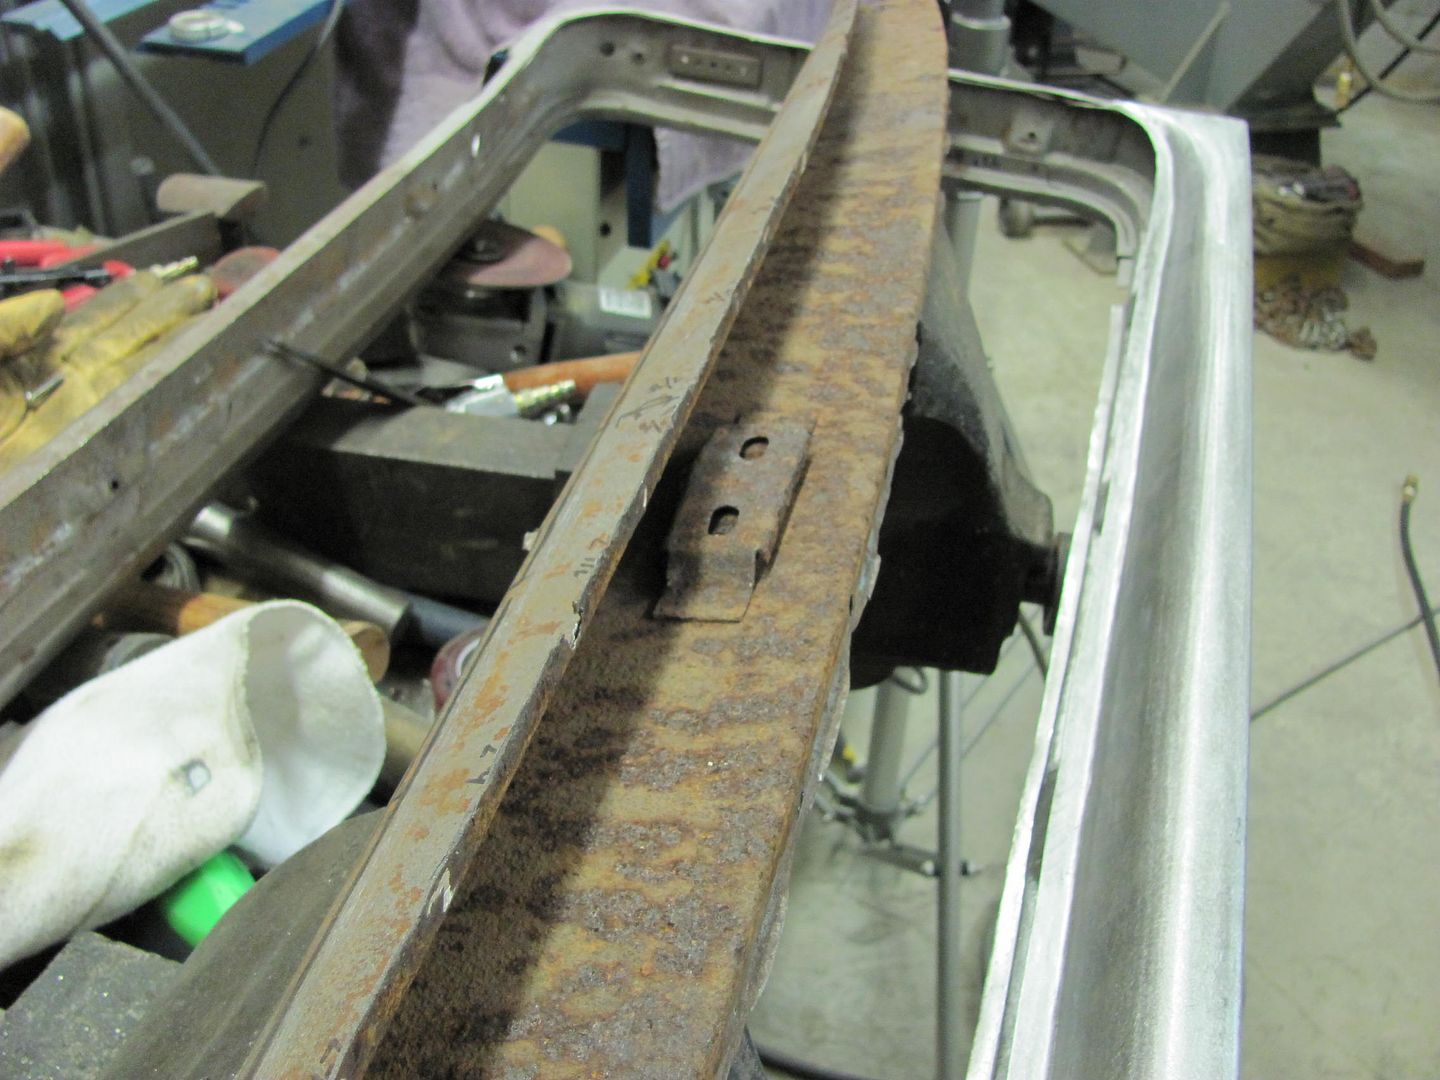
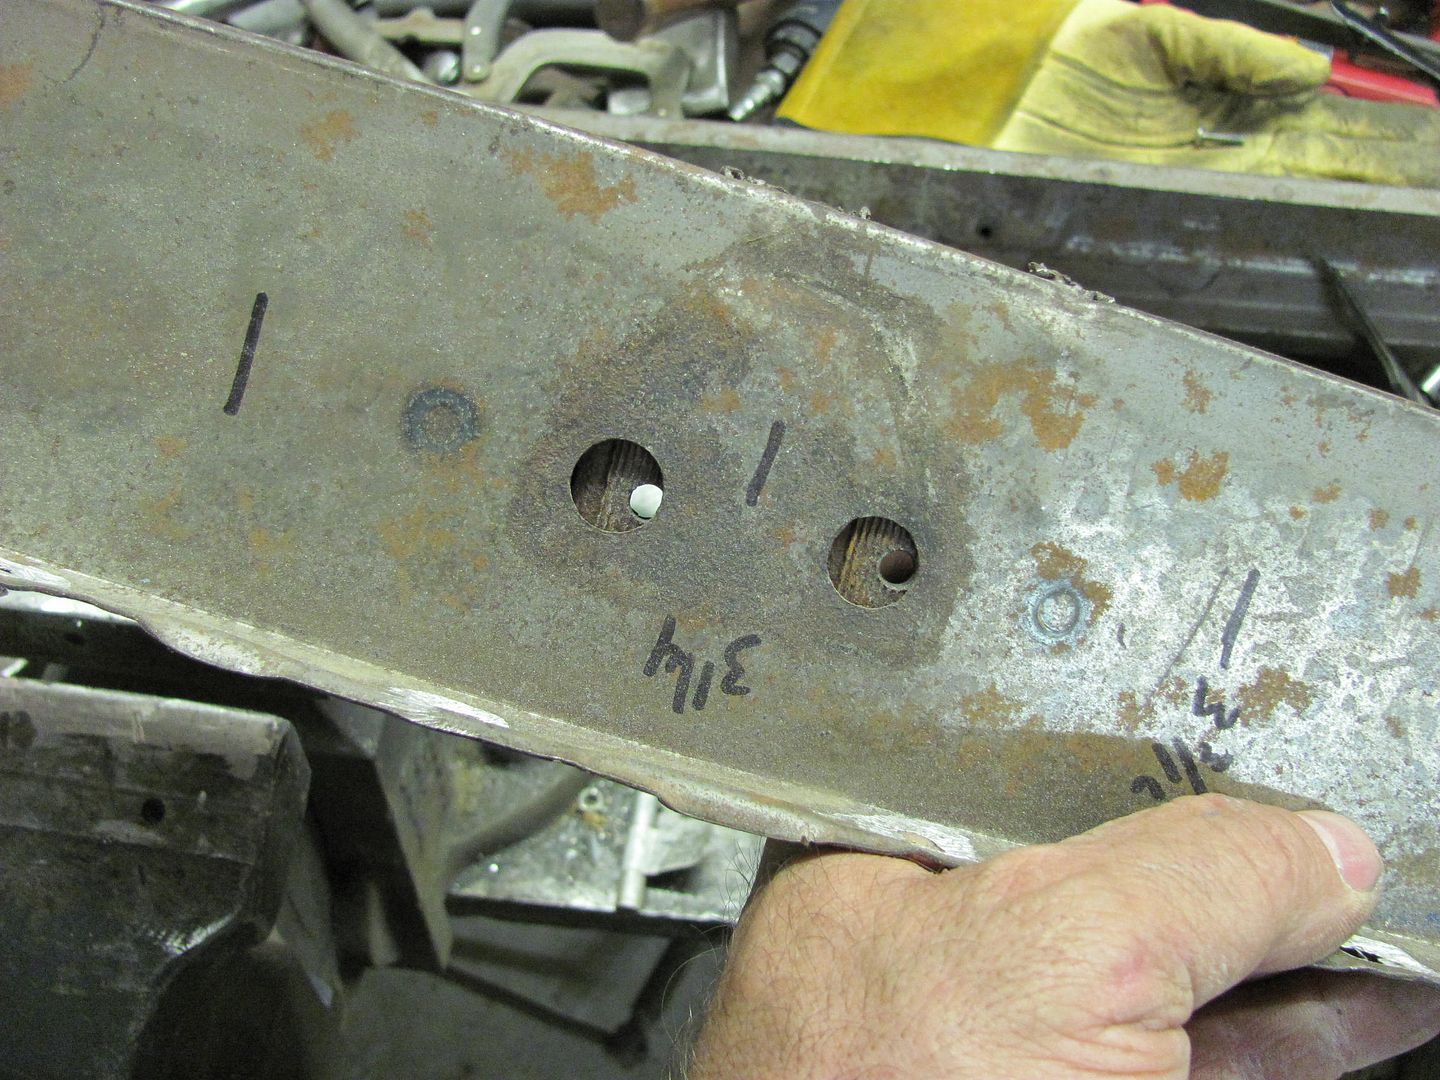
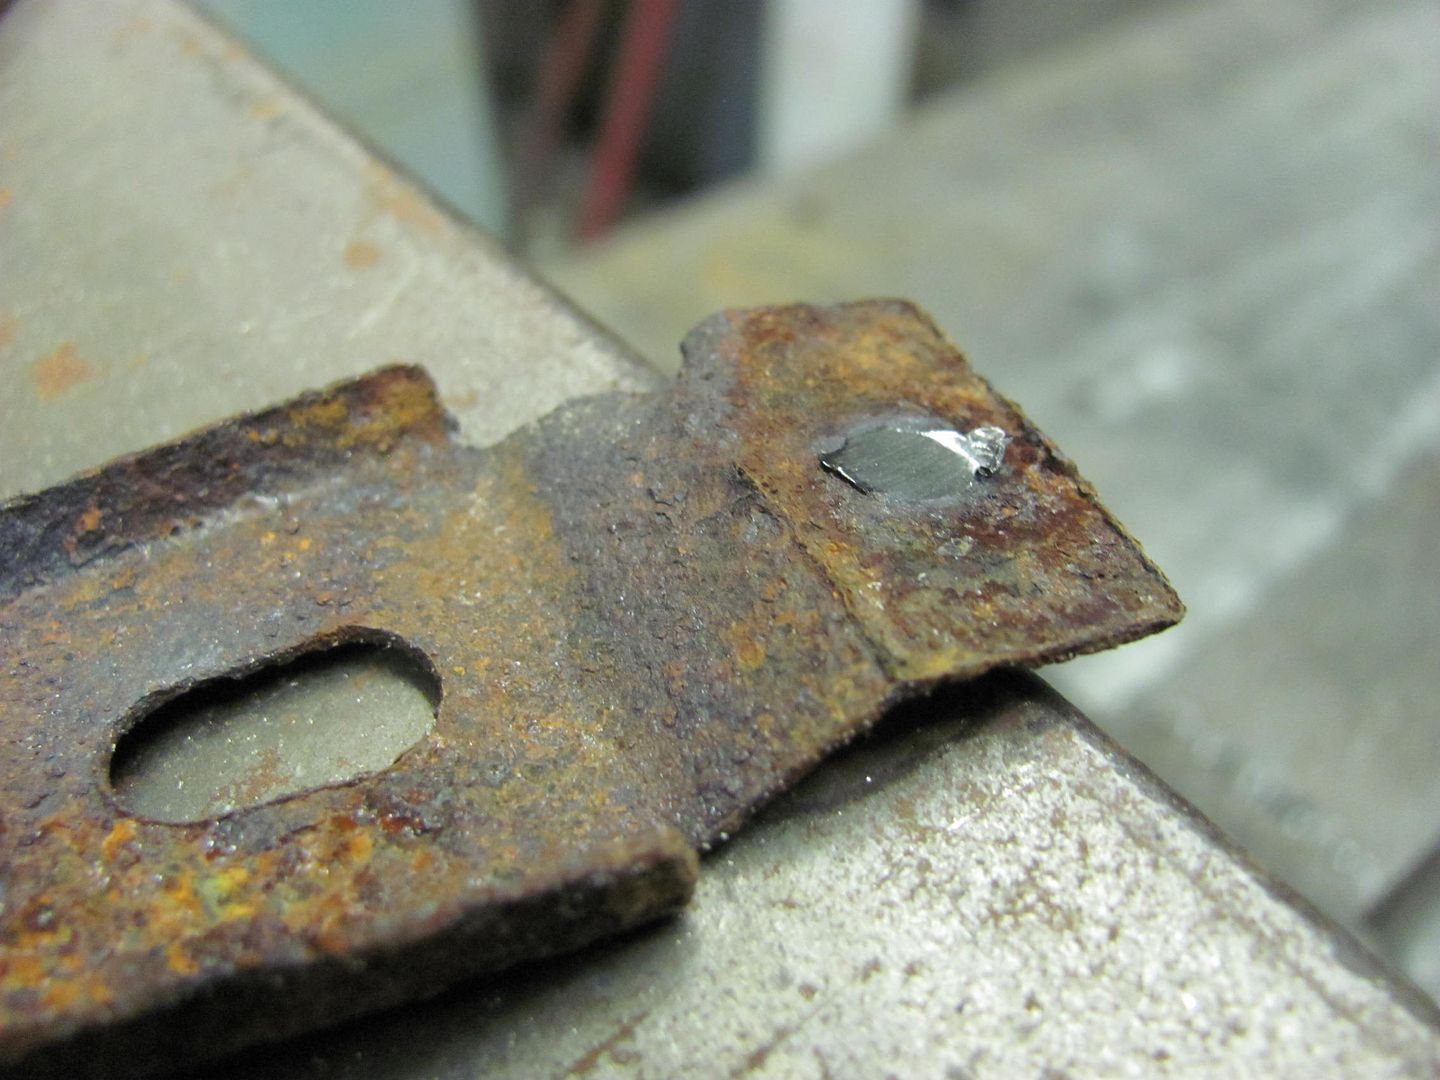
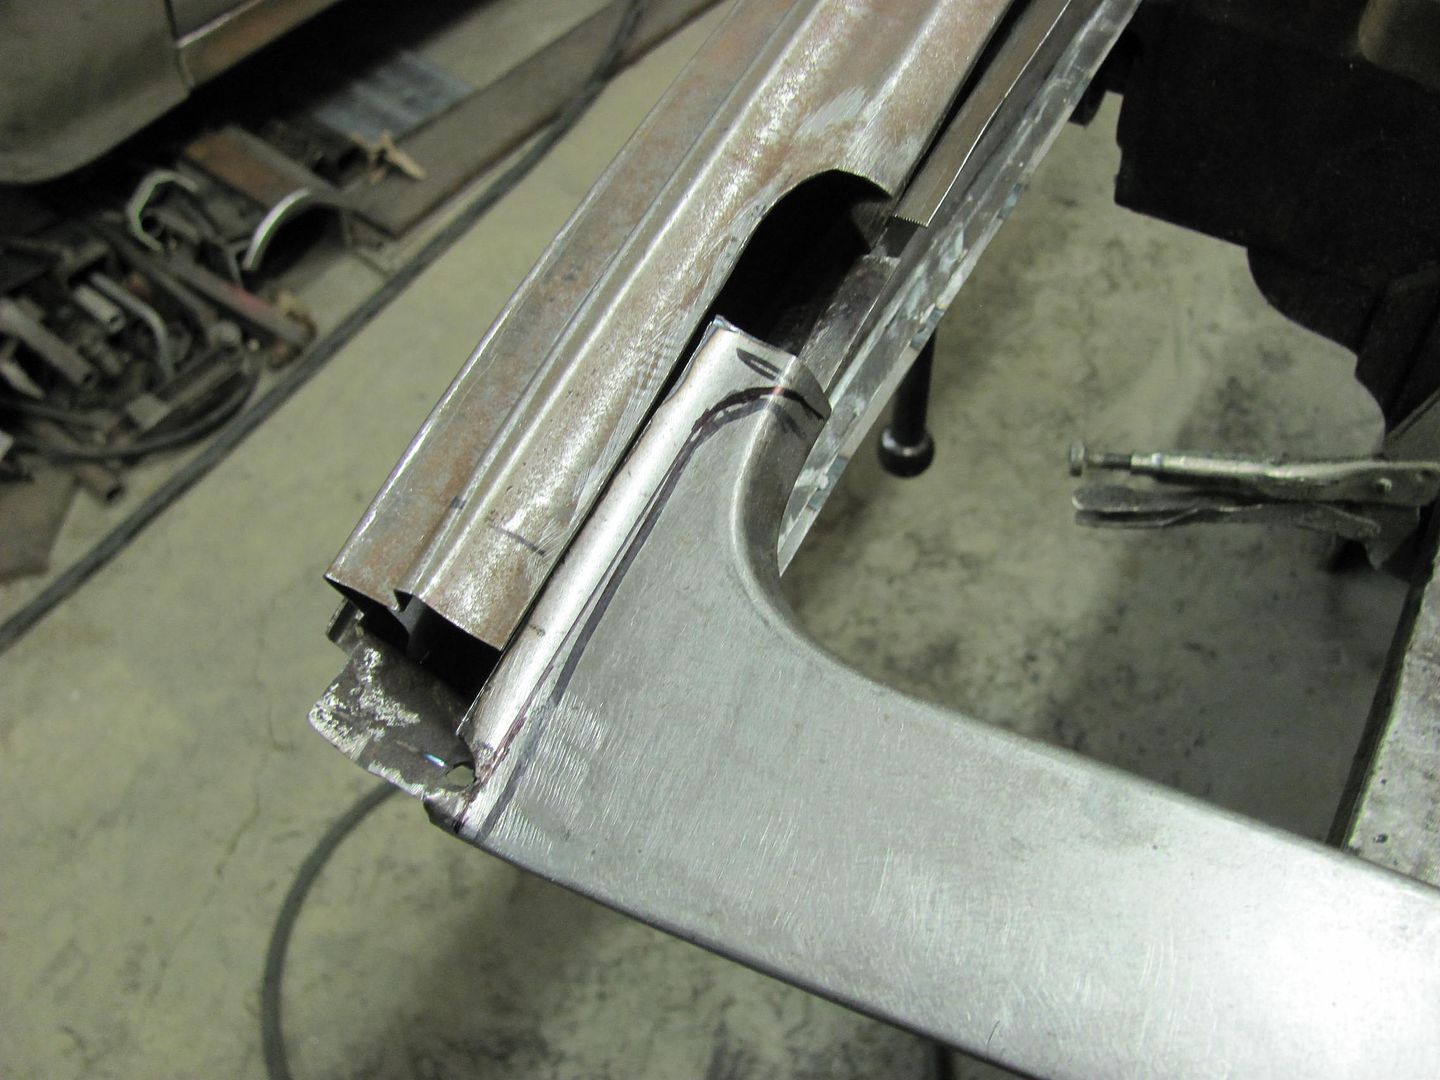
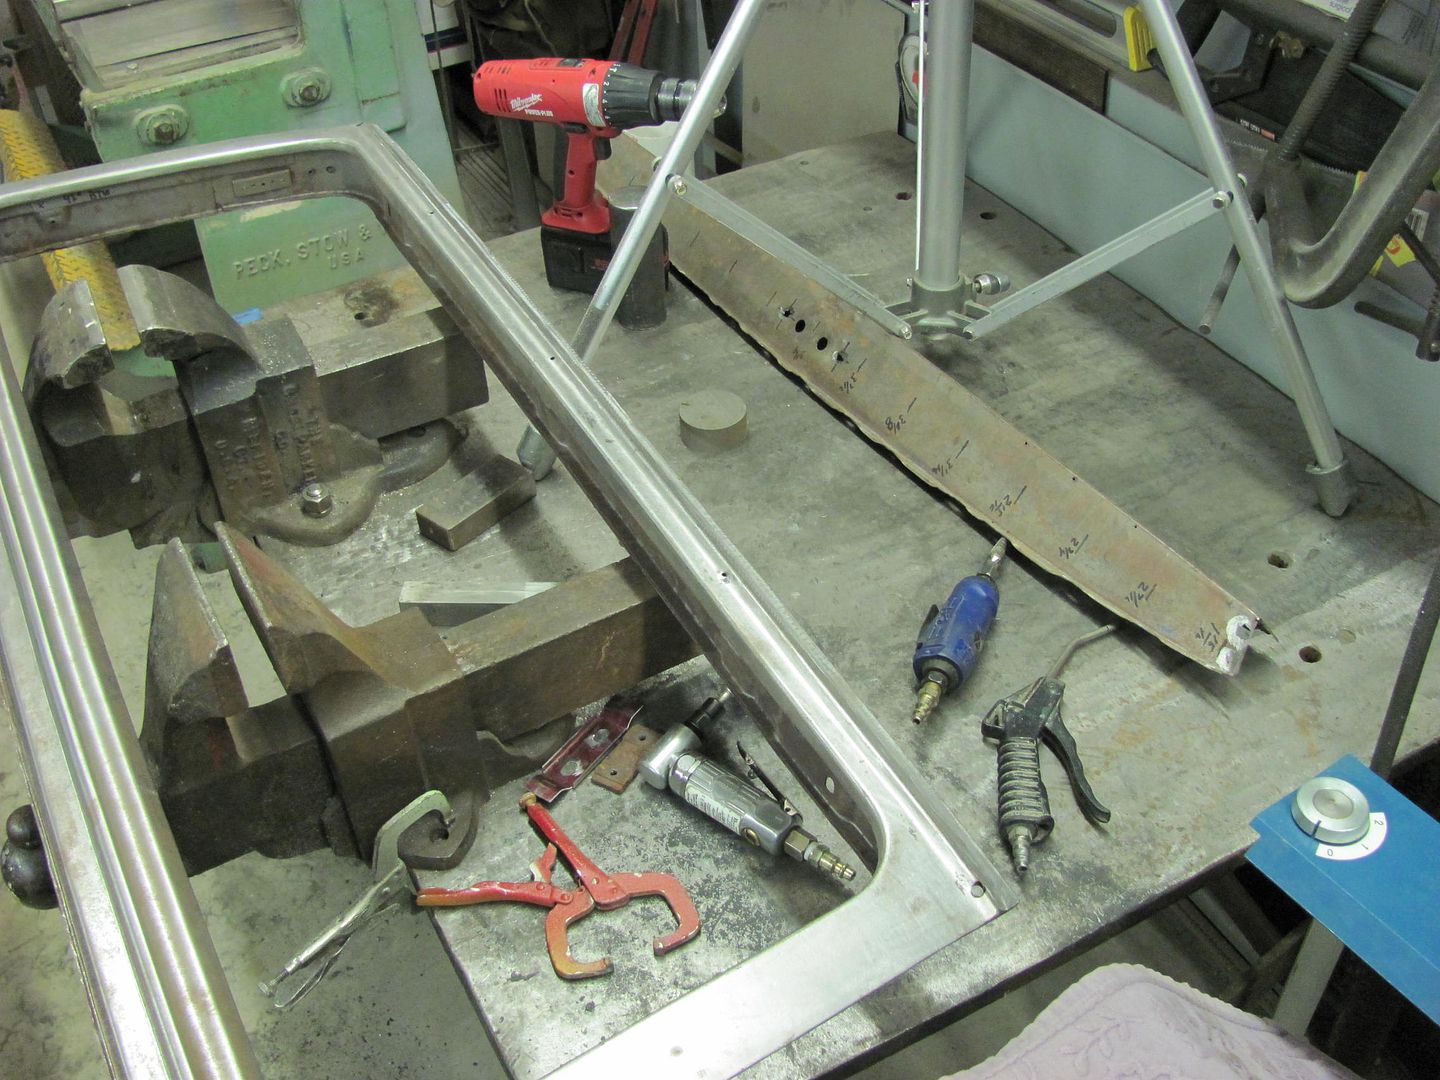
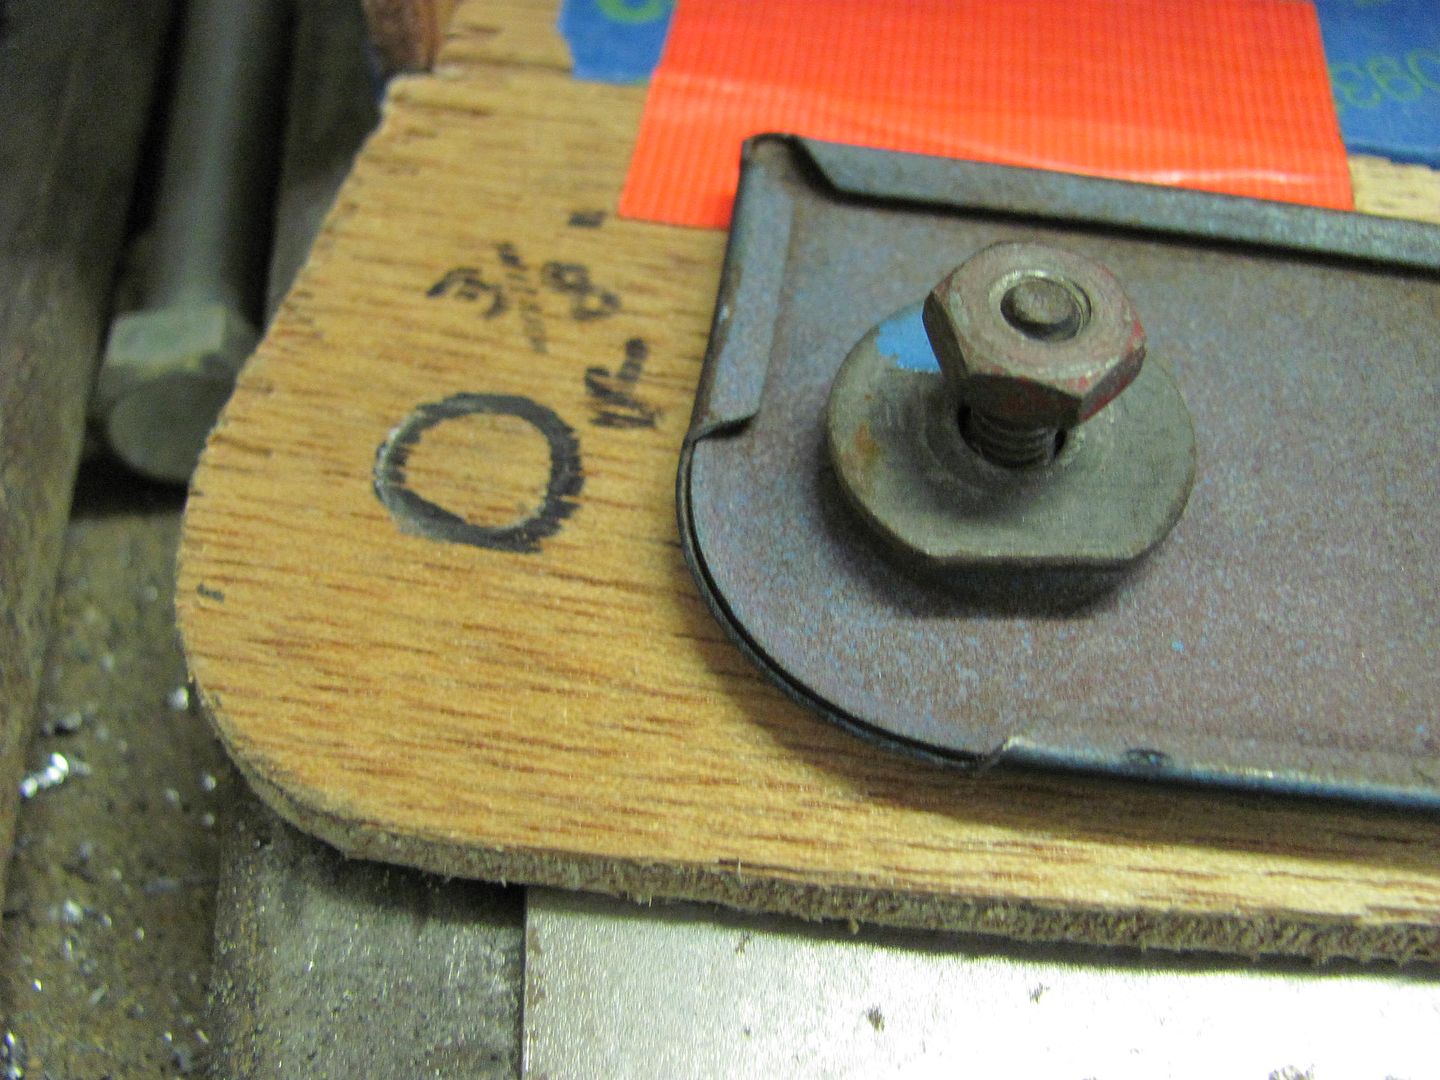
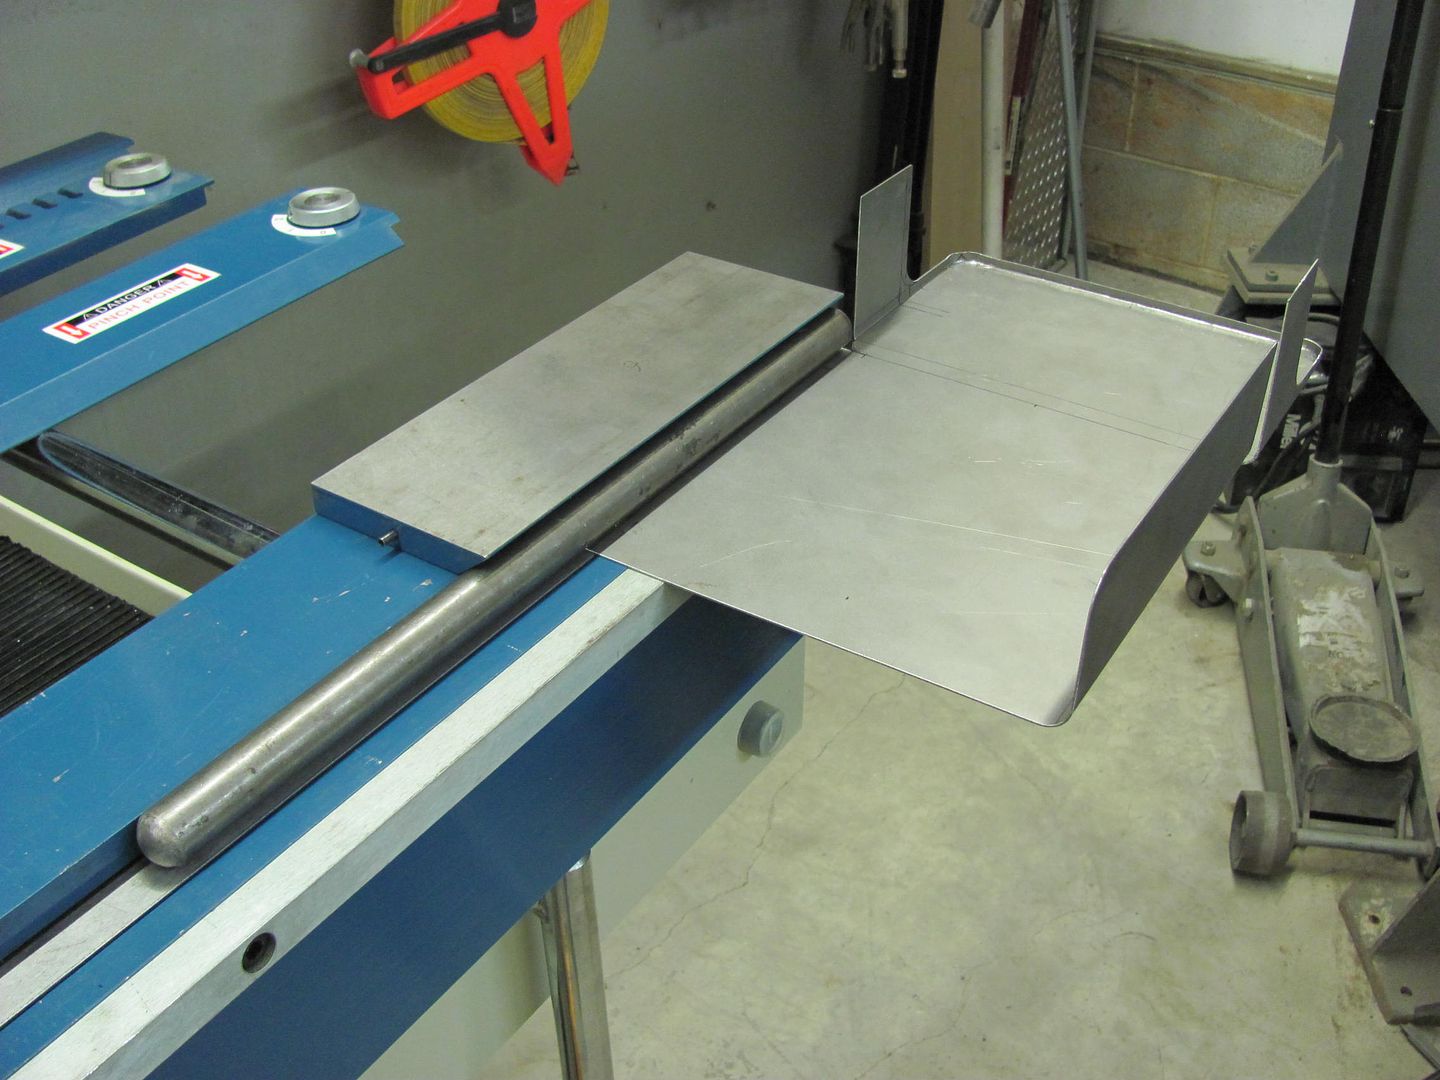
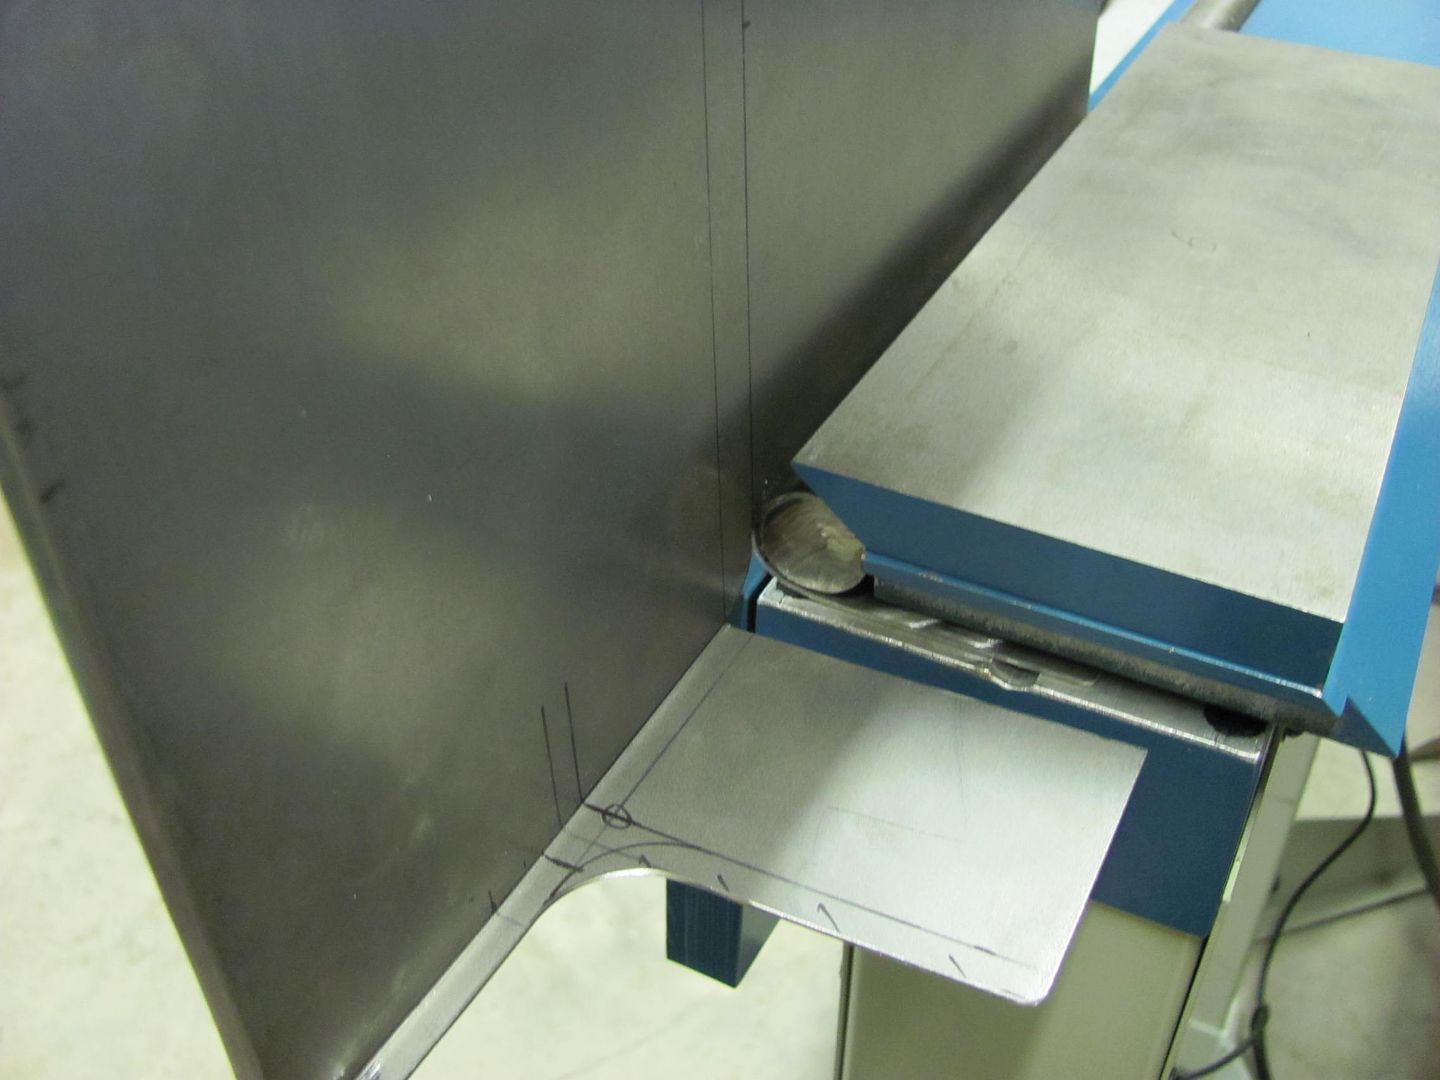
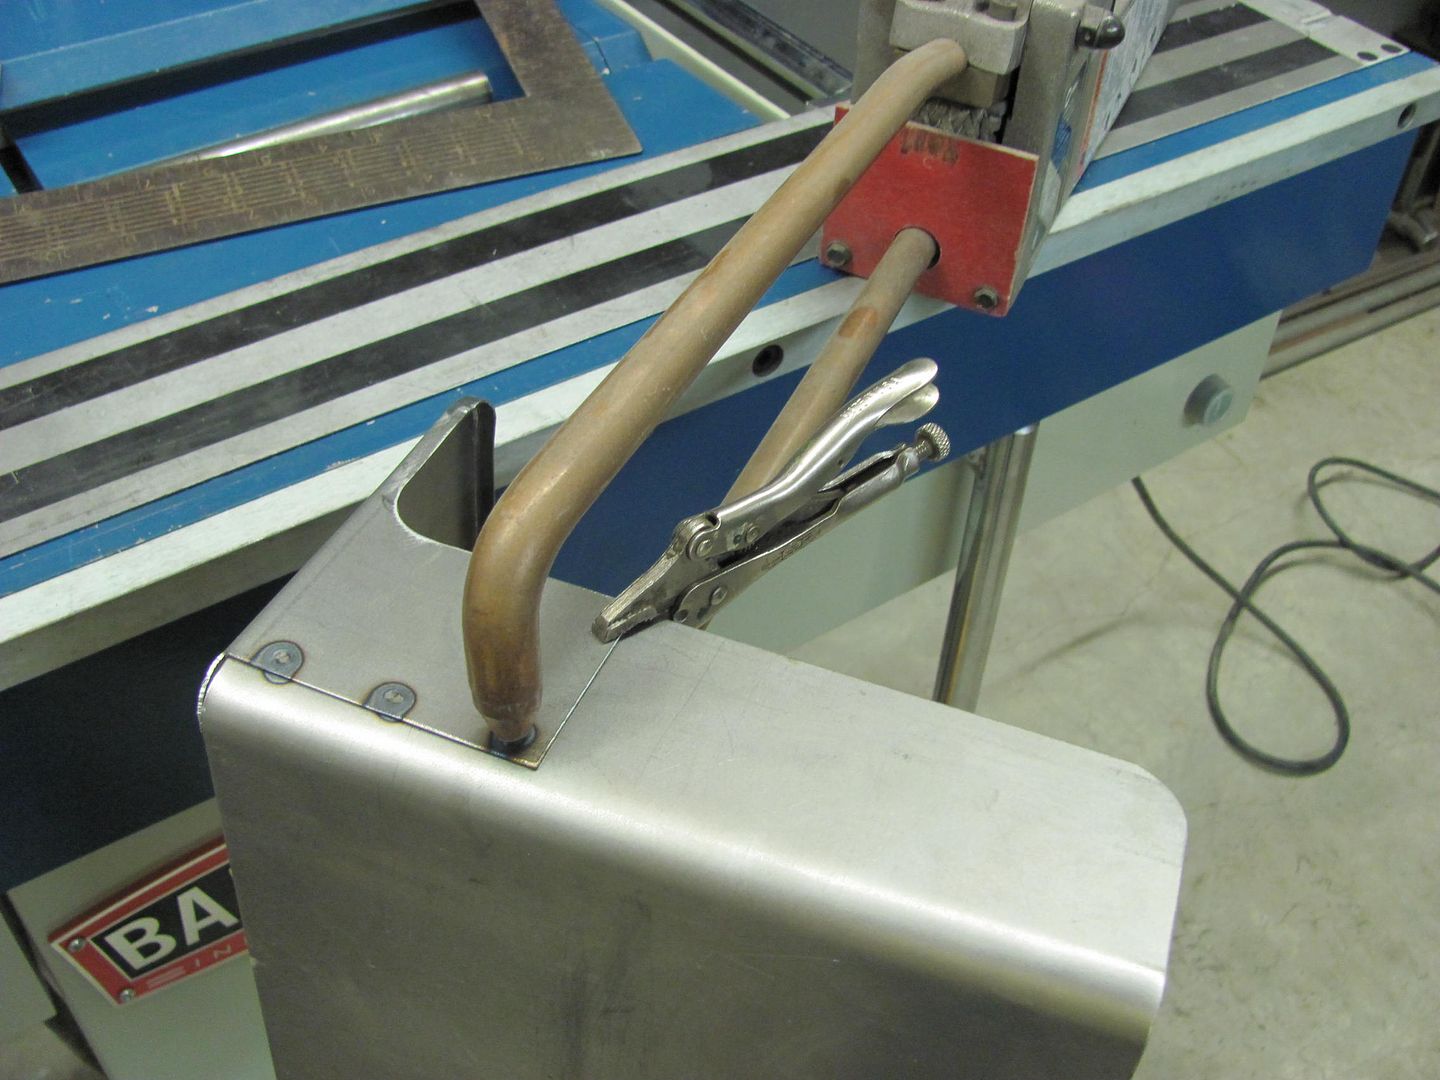
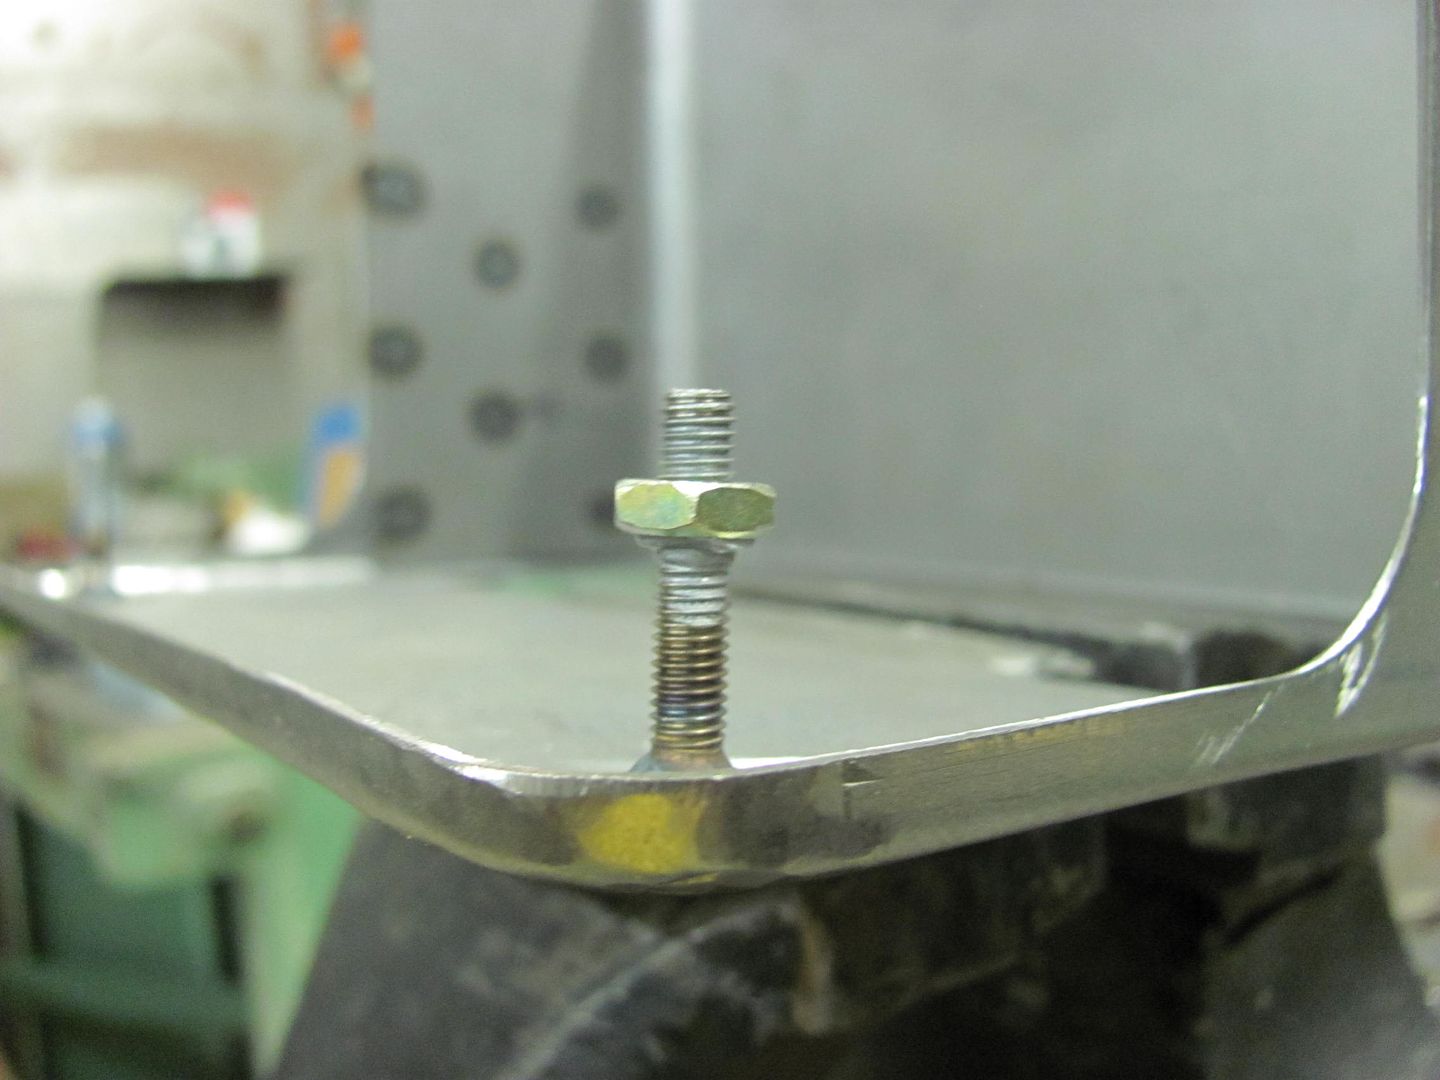
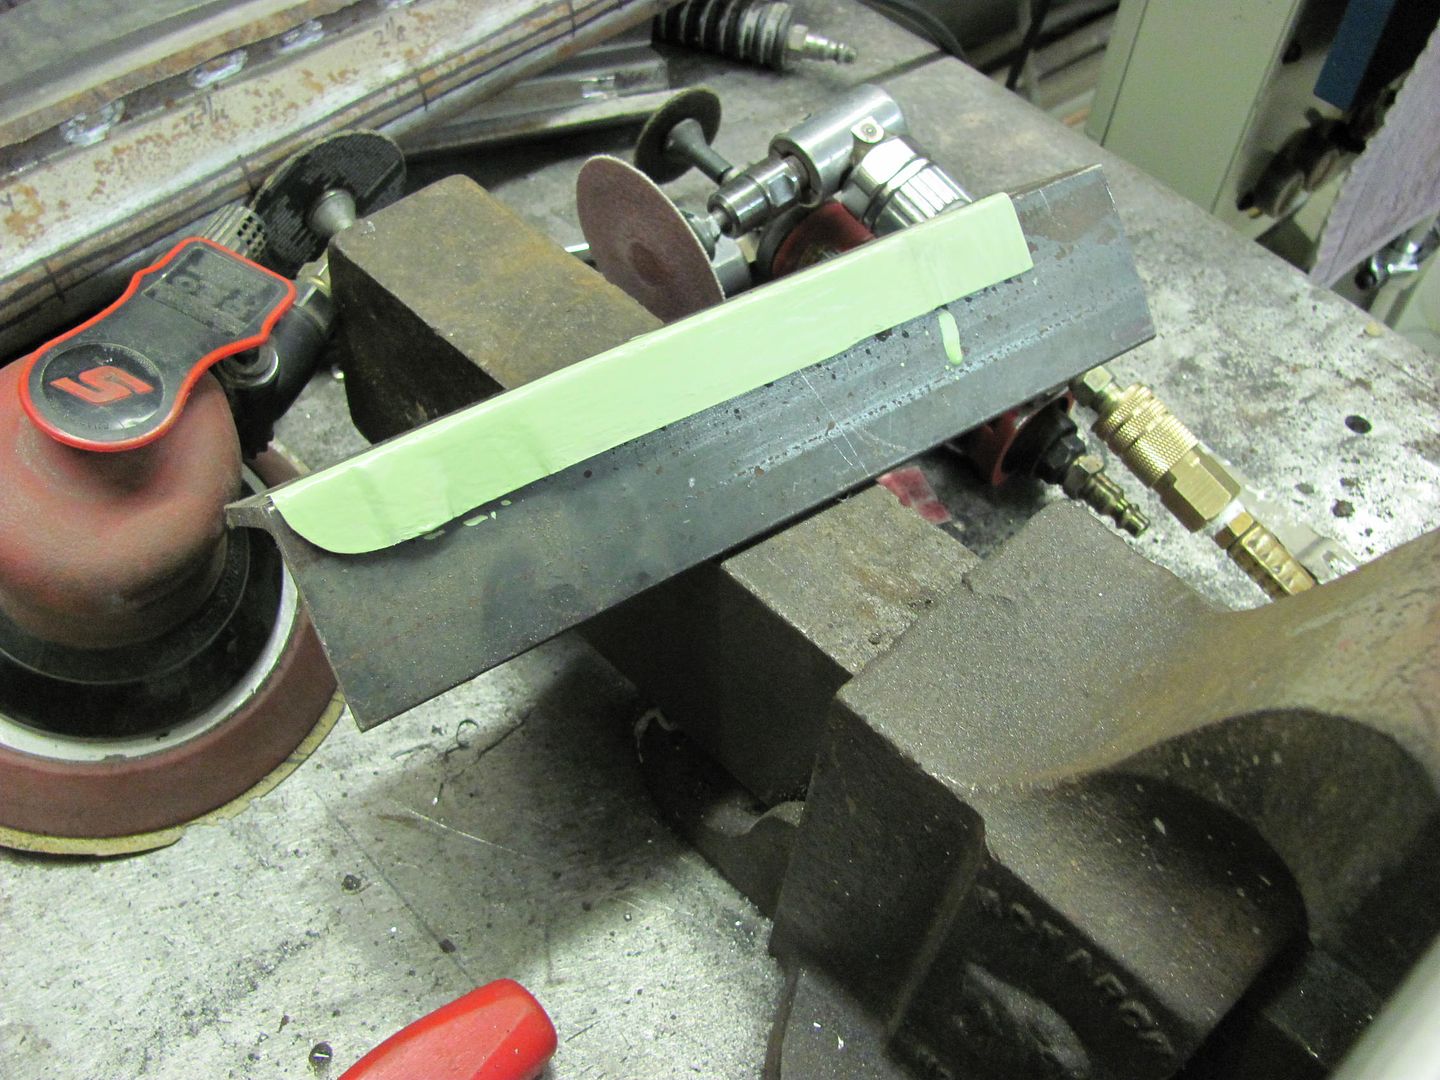
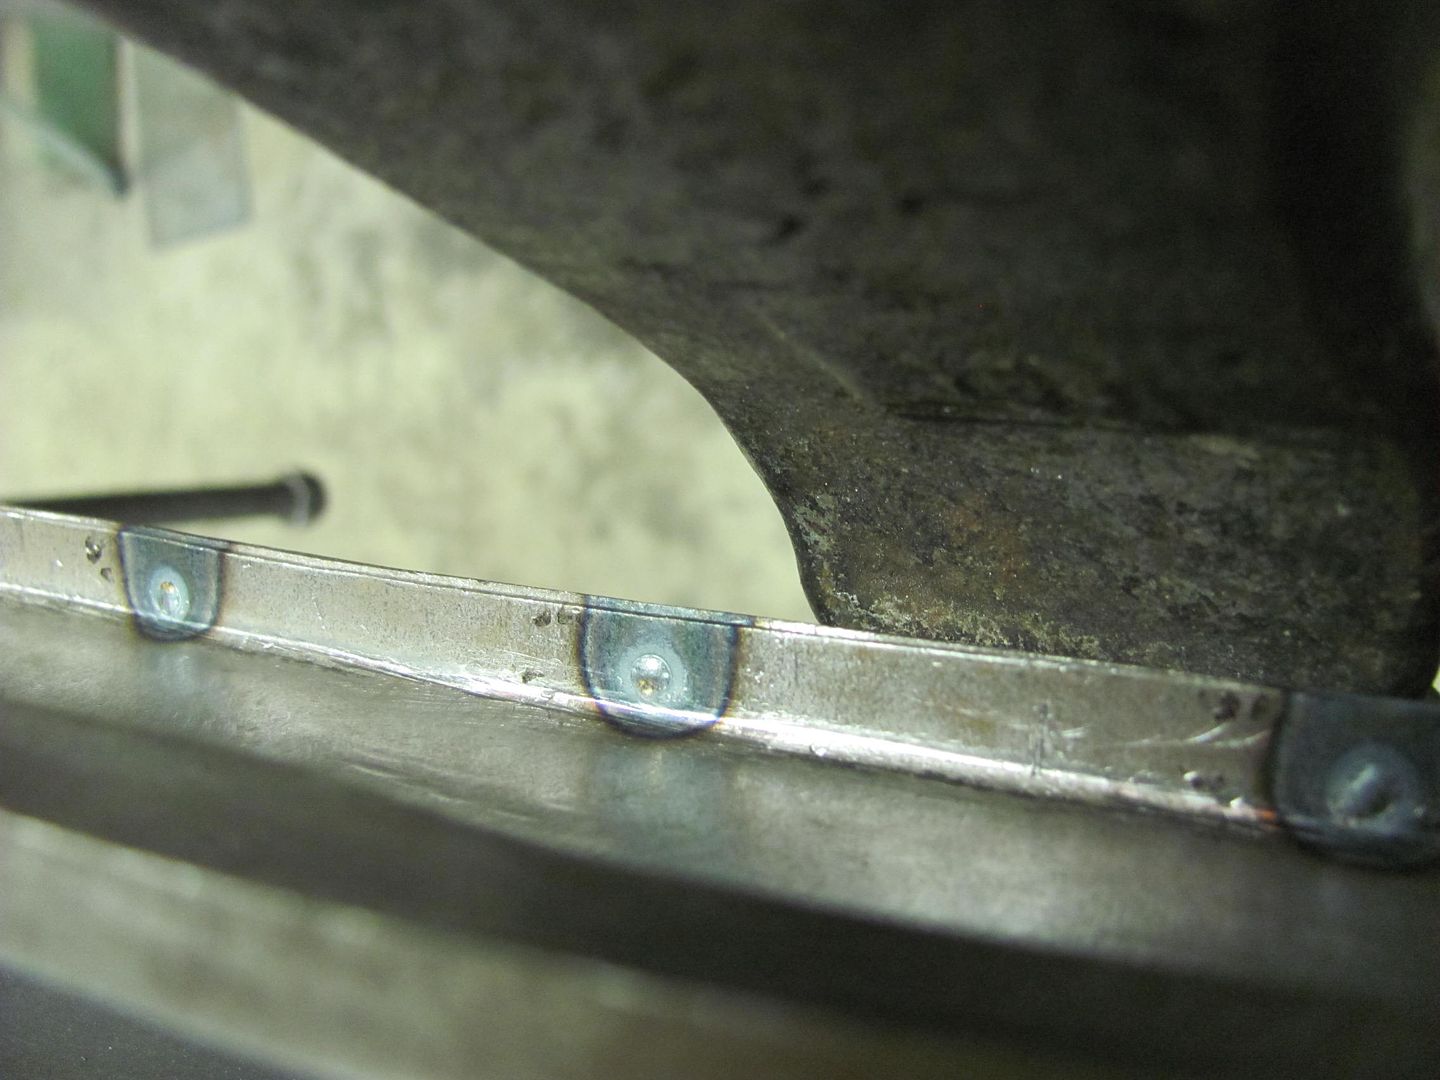
Finishing up the welding of the inner bottom panel....used a 3/16 hole for the plug welds this time. I normally use a letter A, but the flange here is a bit narrow, so a smaller hole it is. To make up for it the heat on the welder was cranked up a bit to insure a good weld.
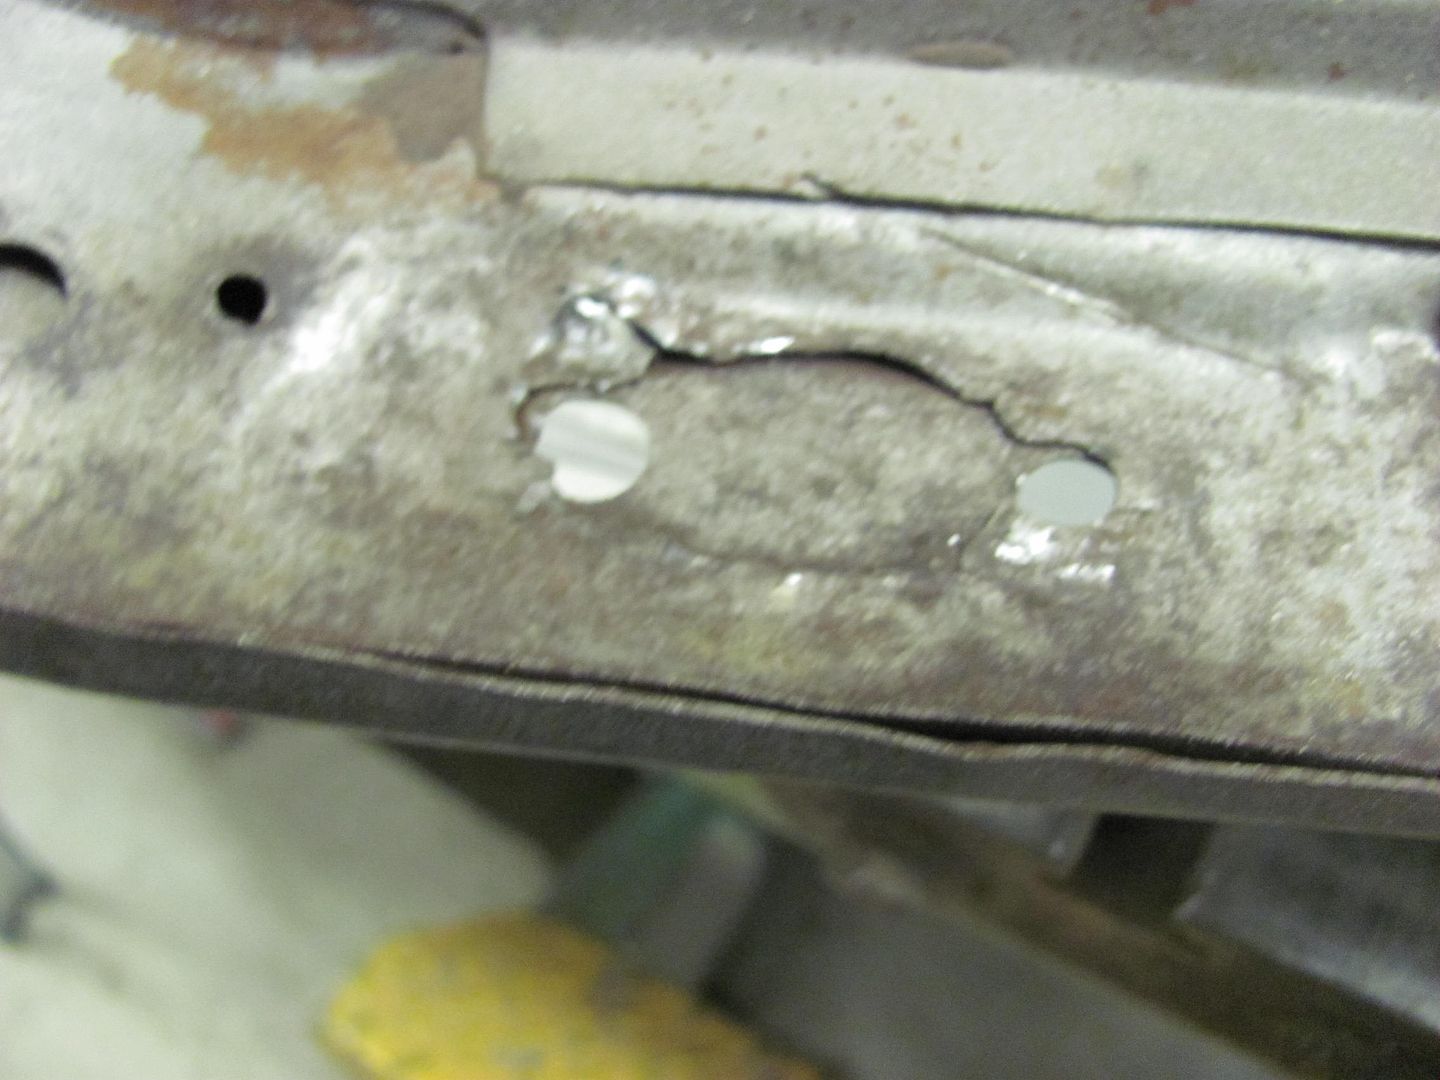
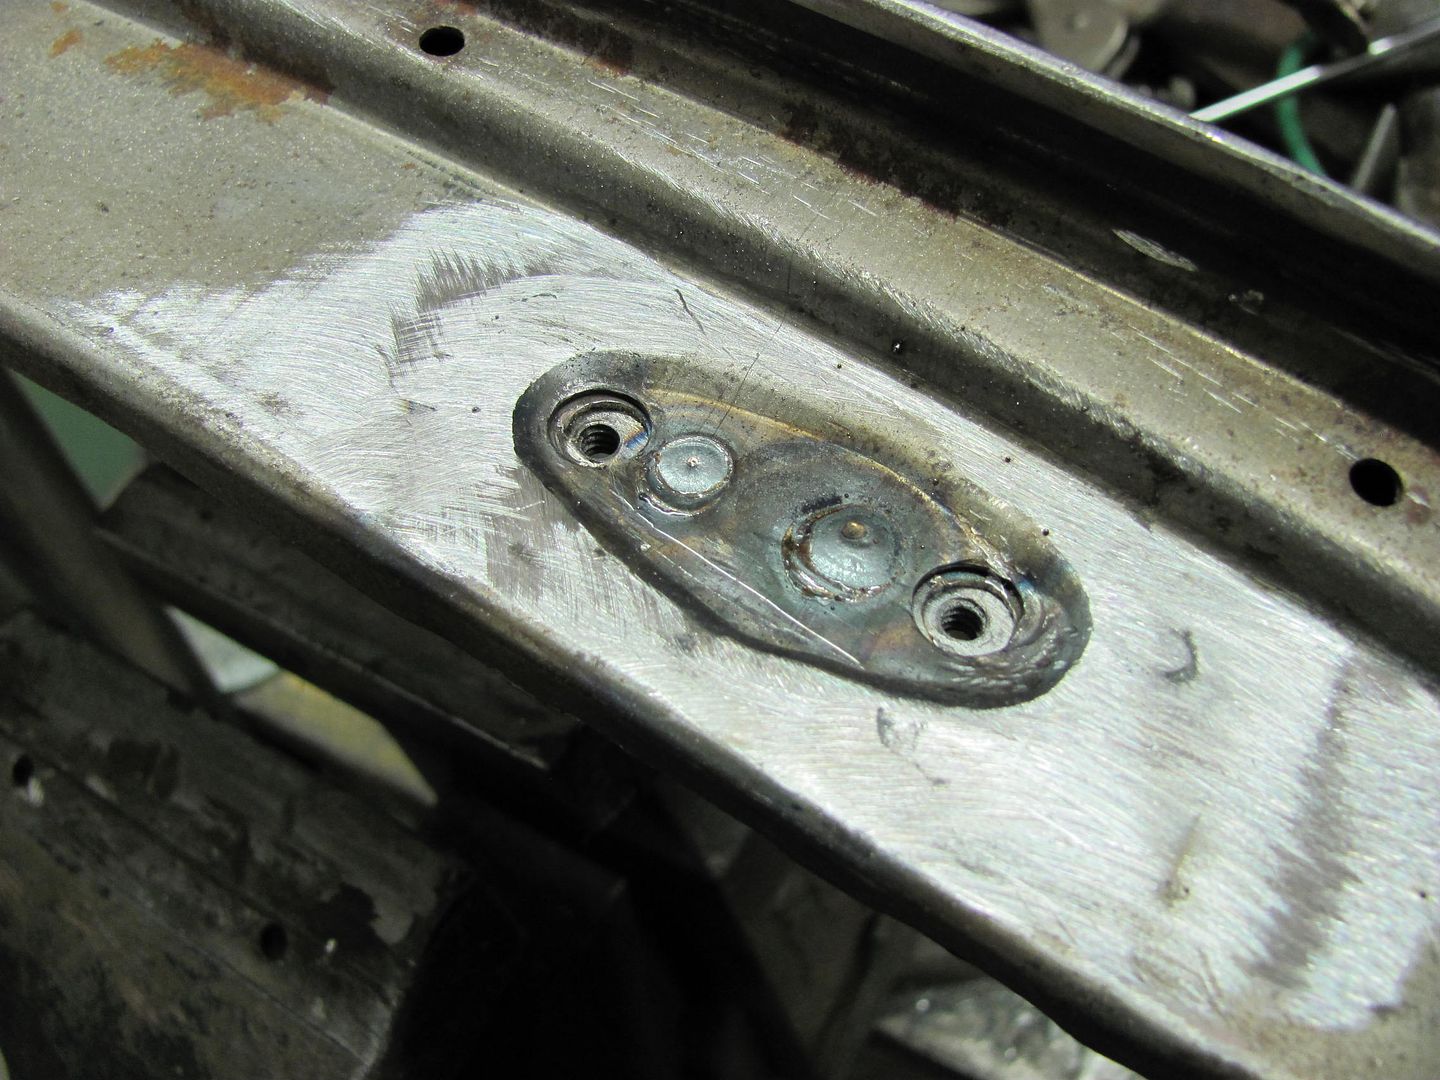
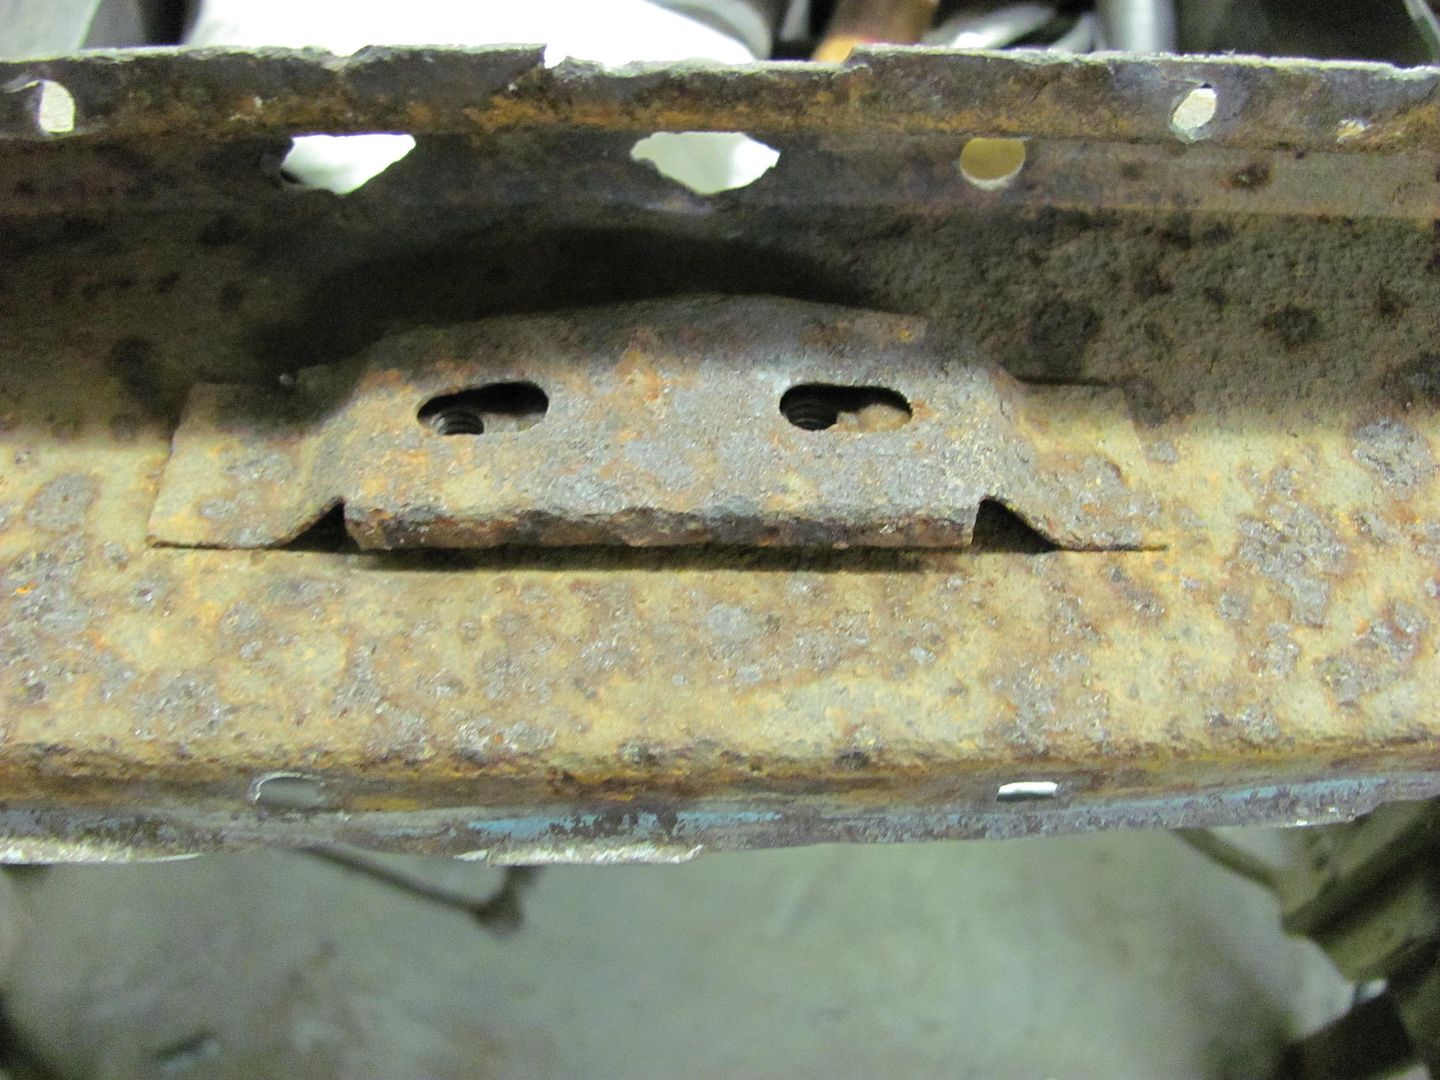
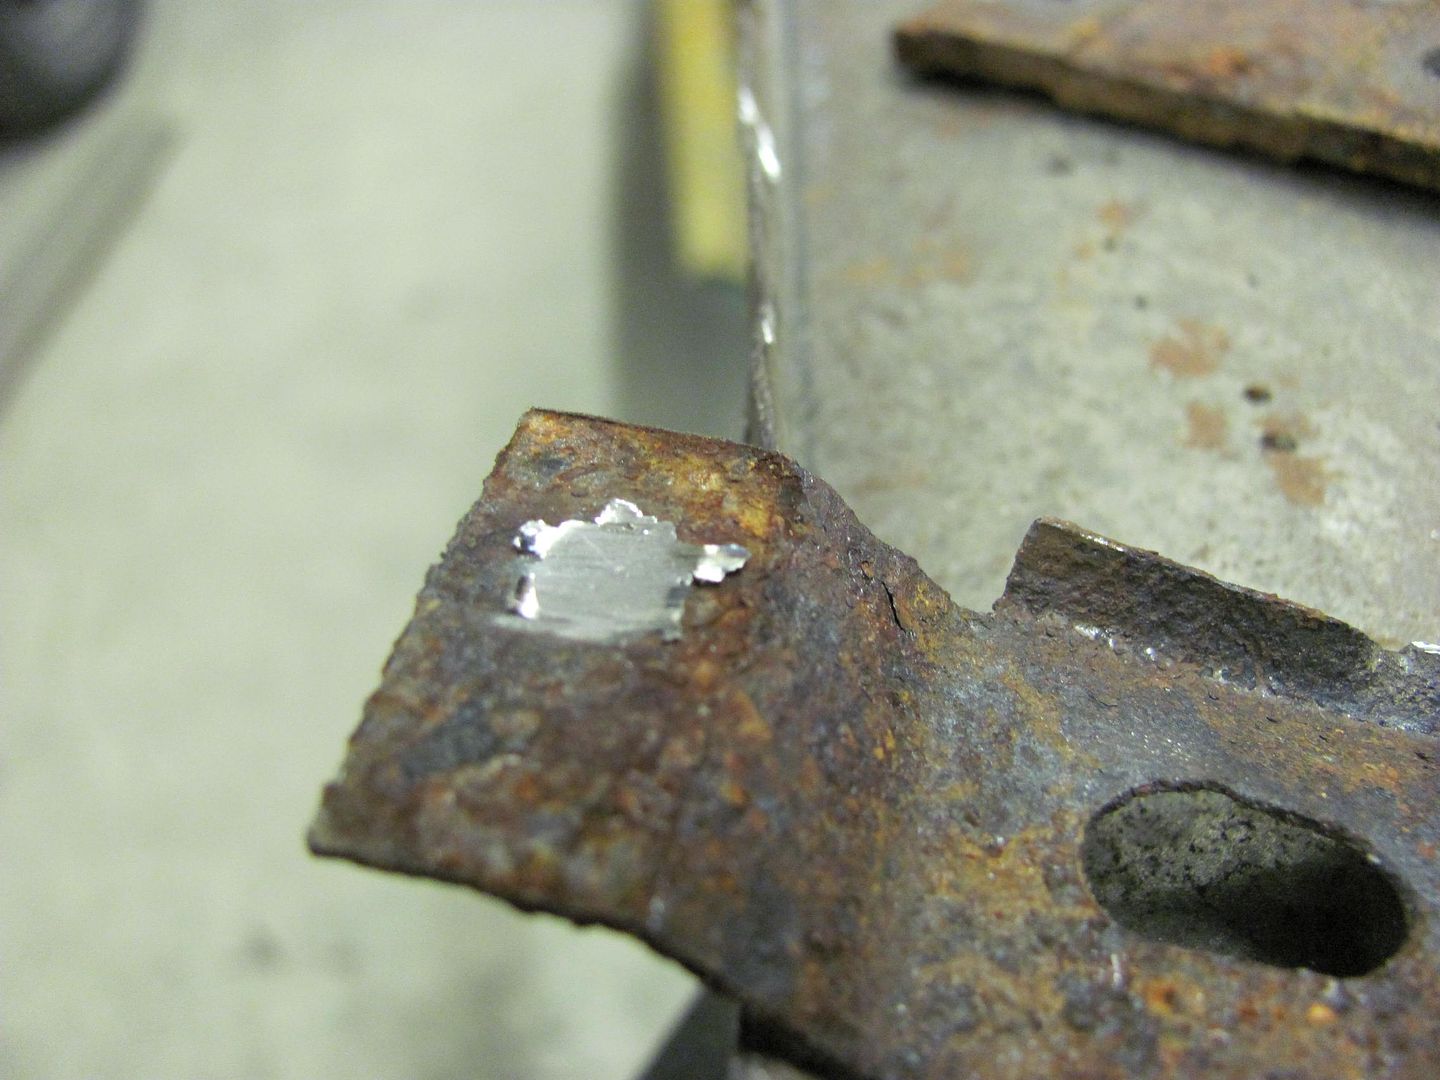
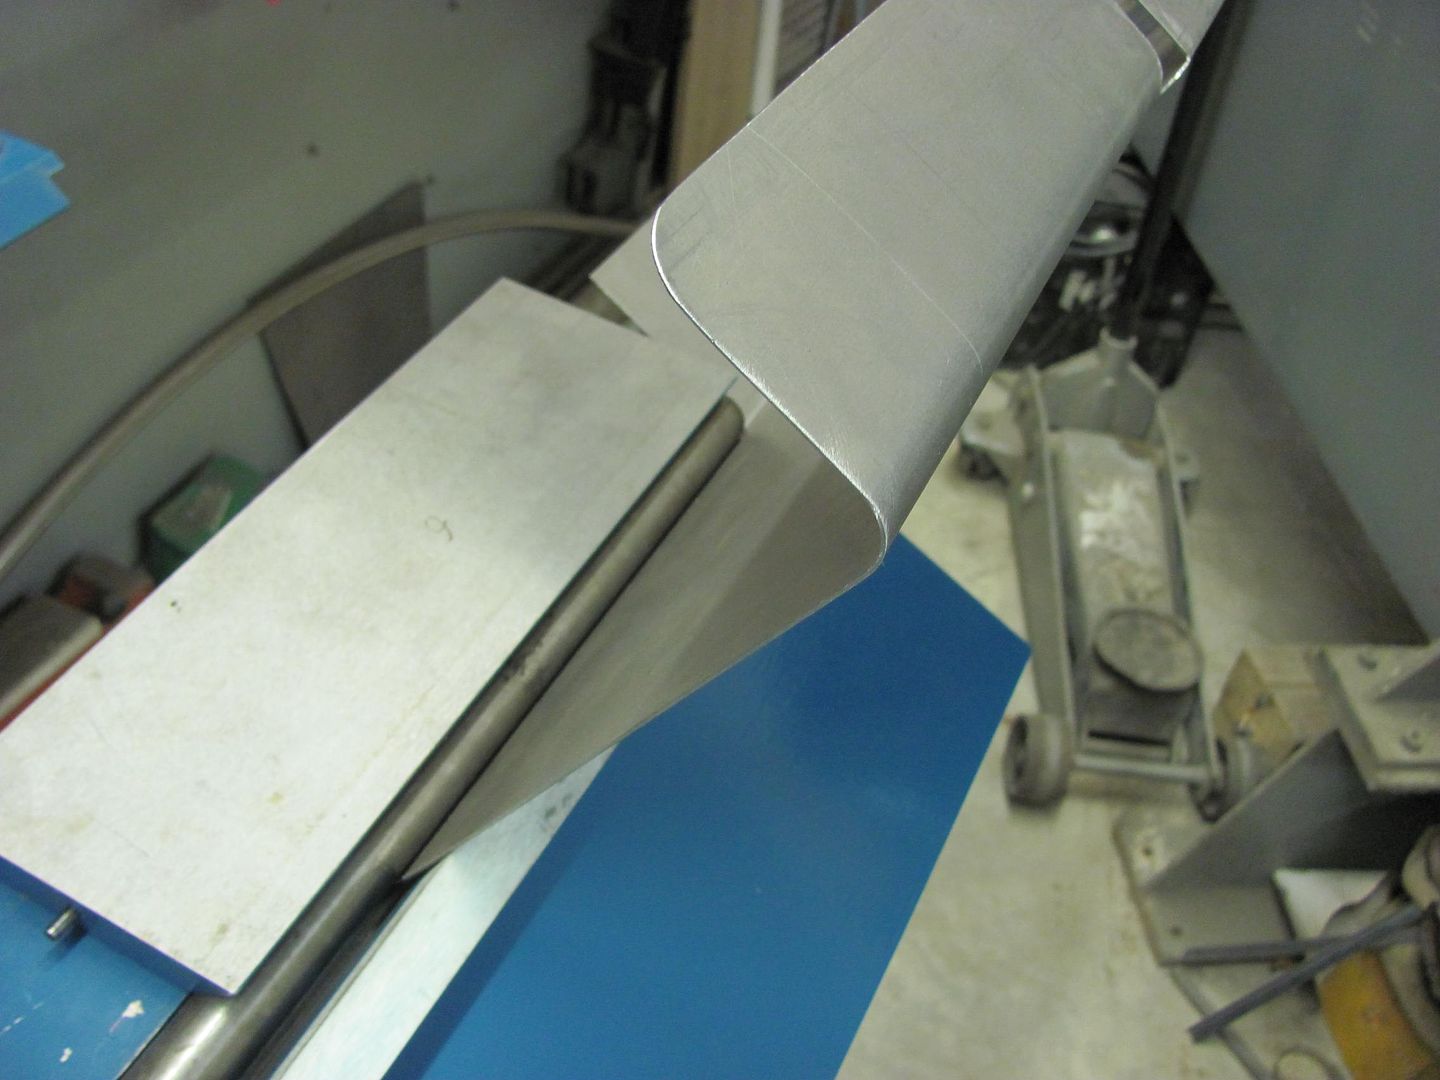
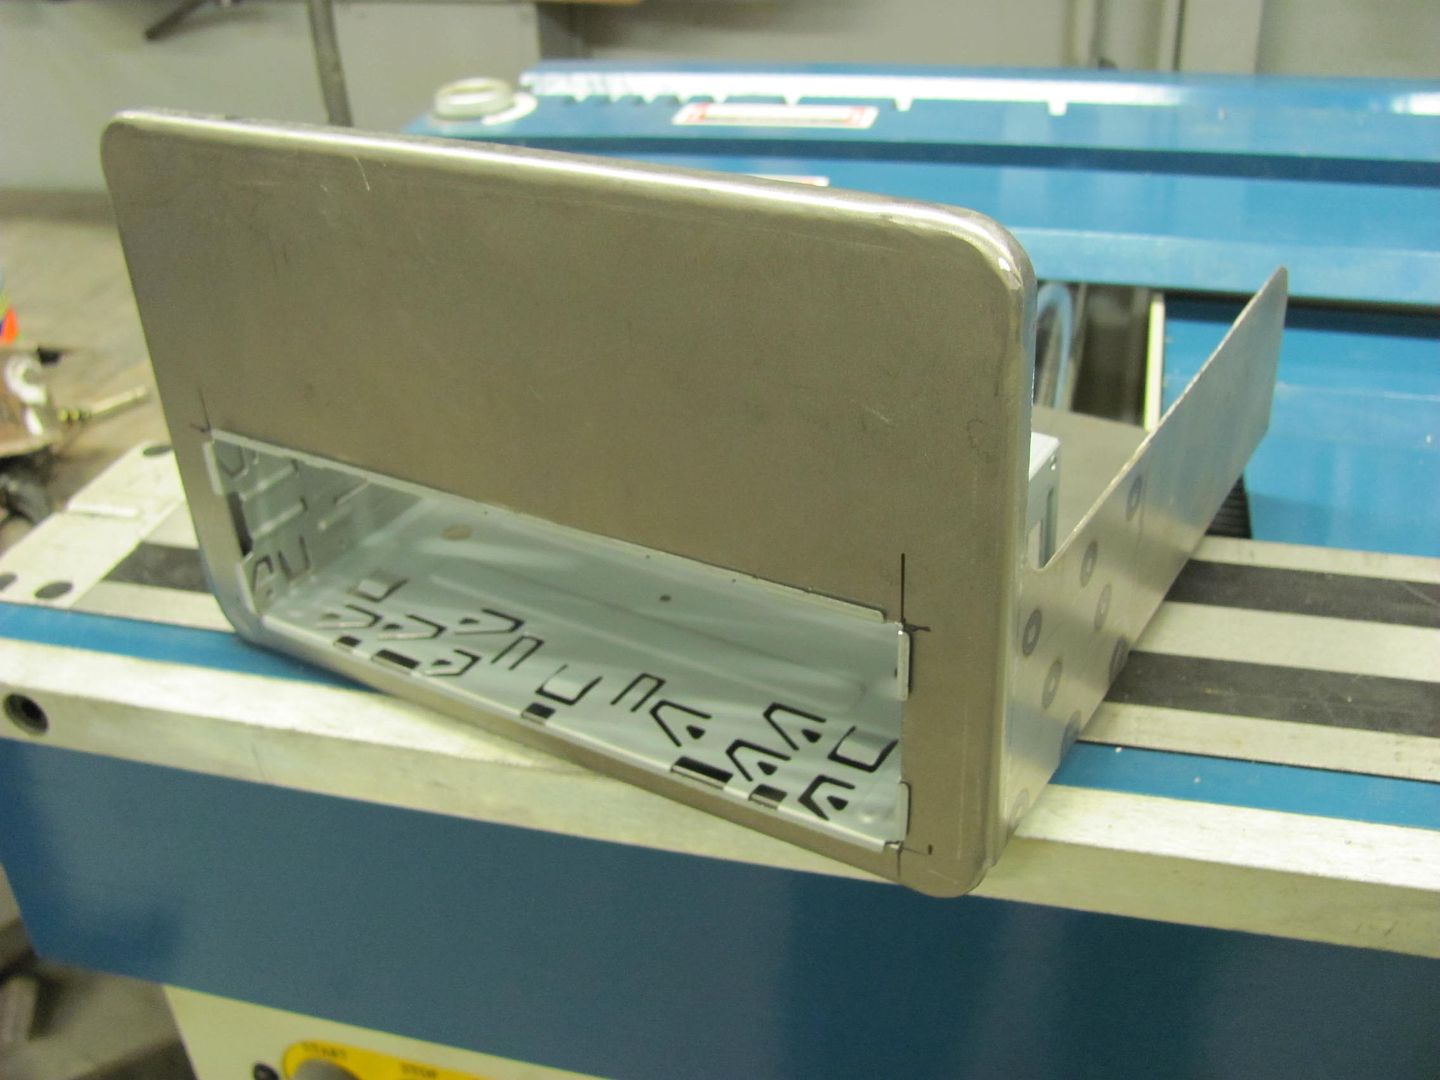
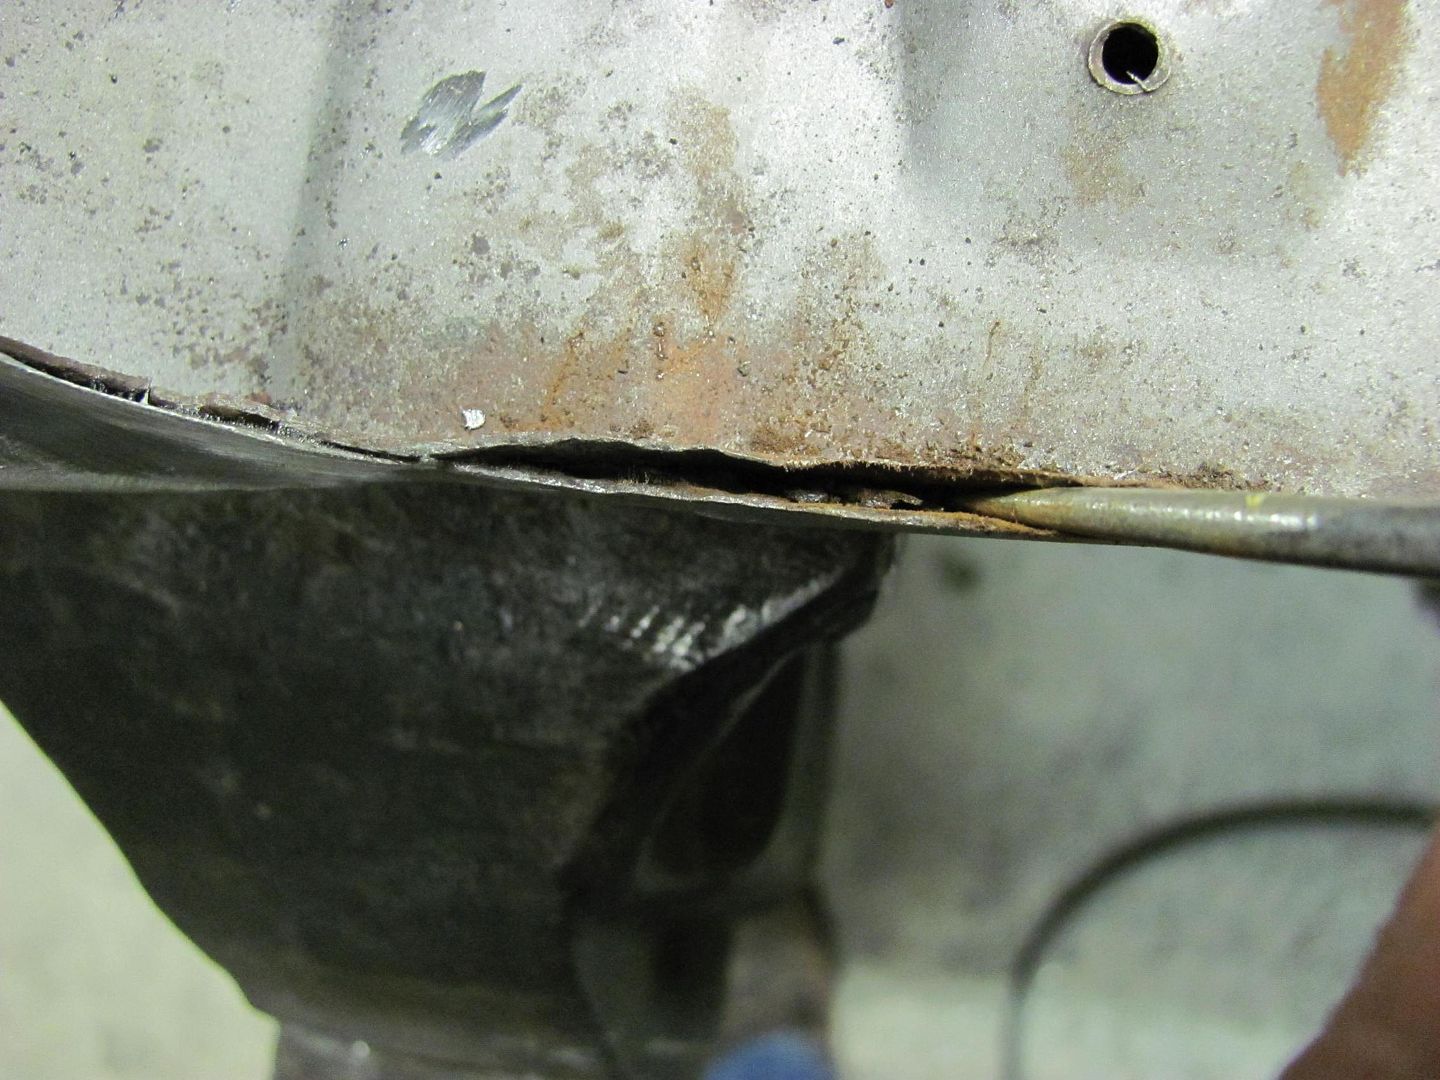
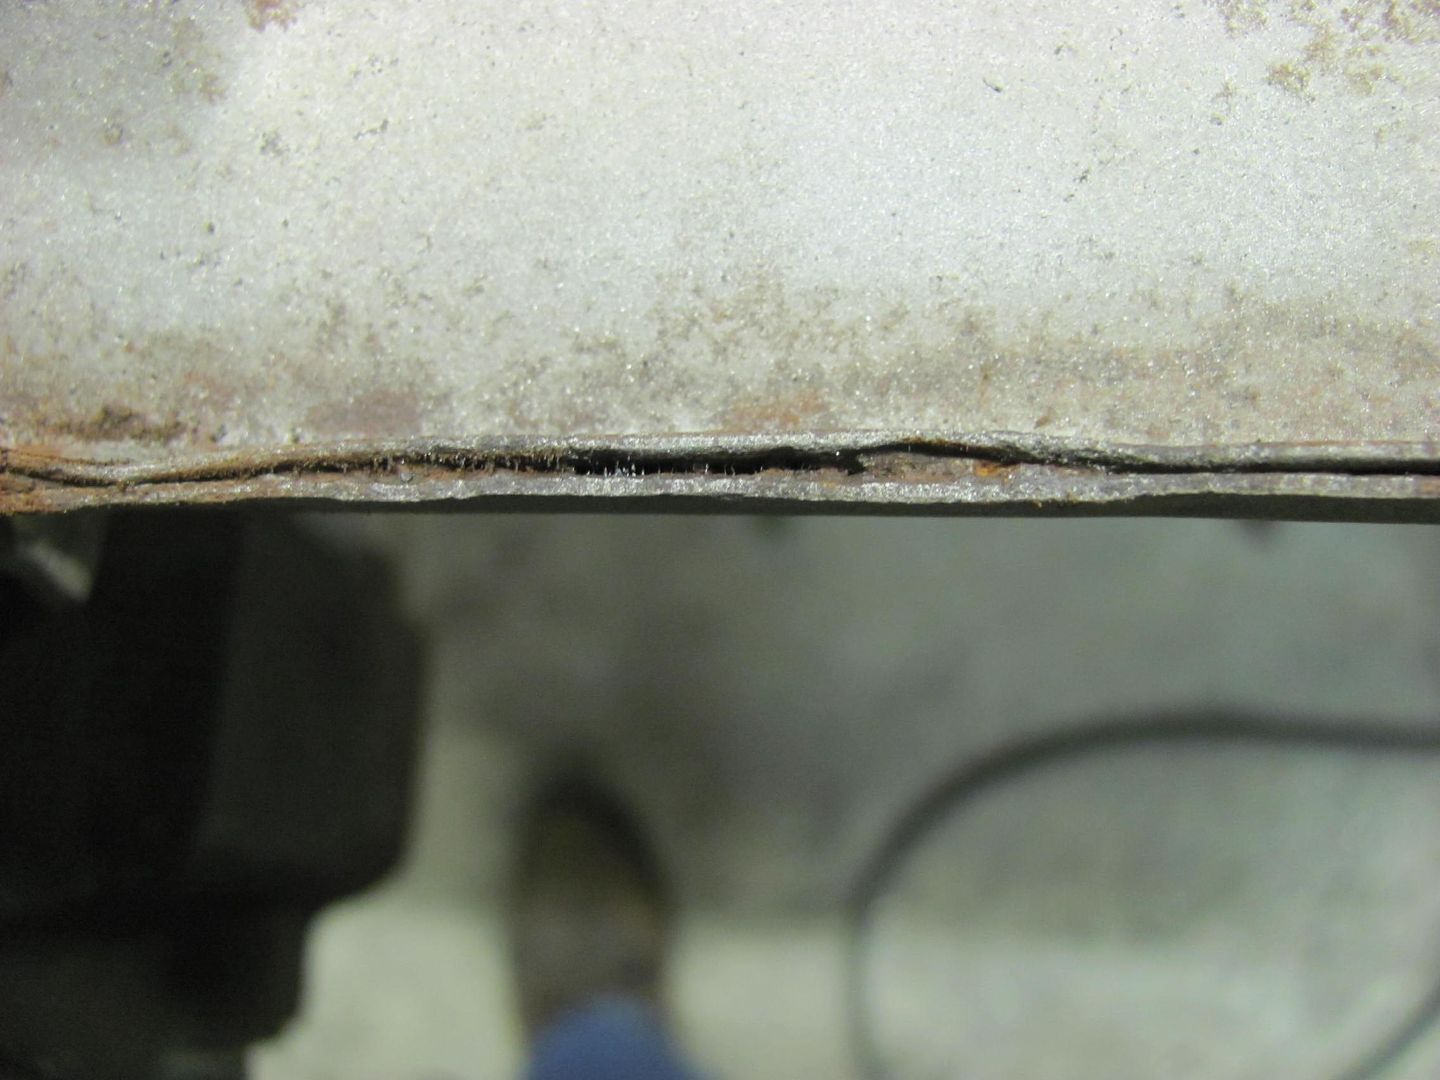
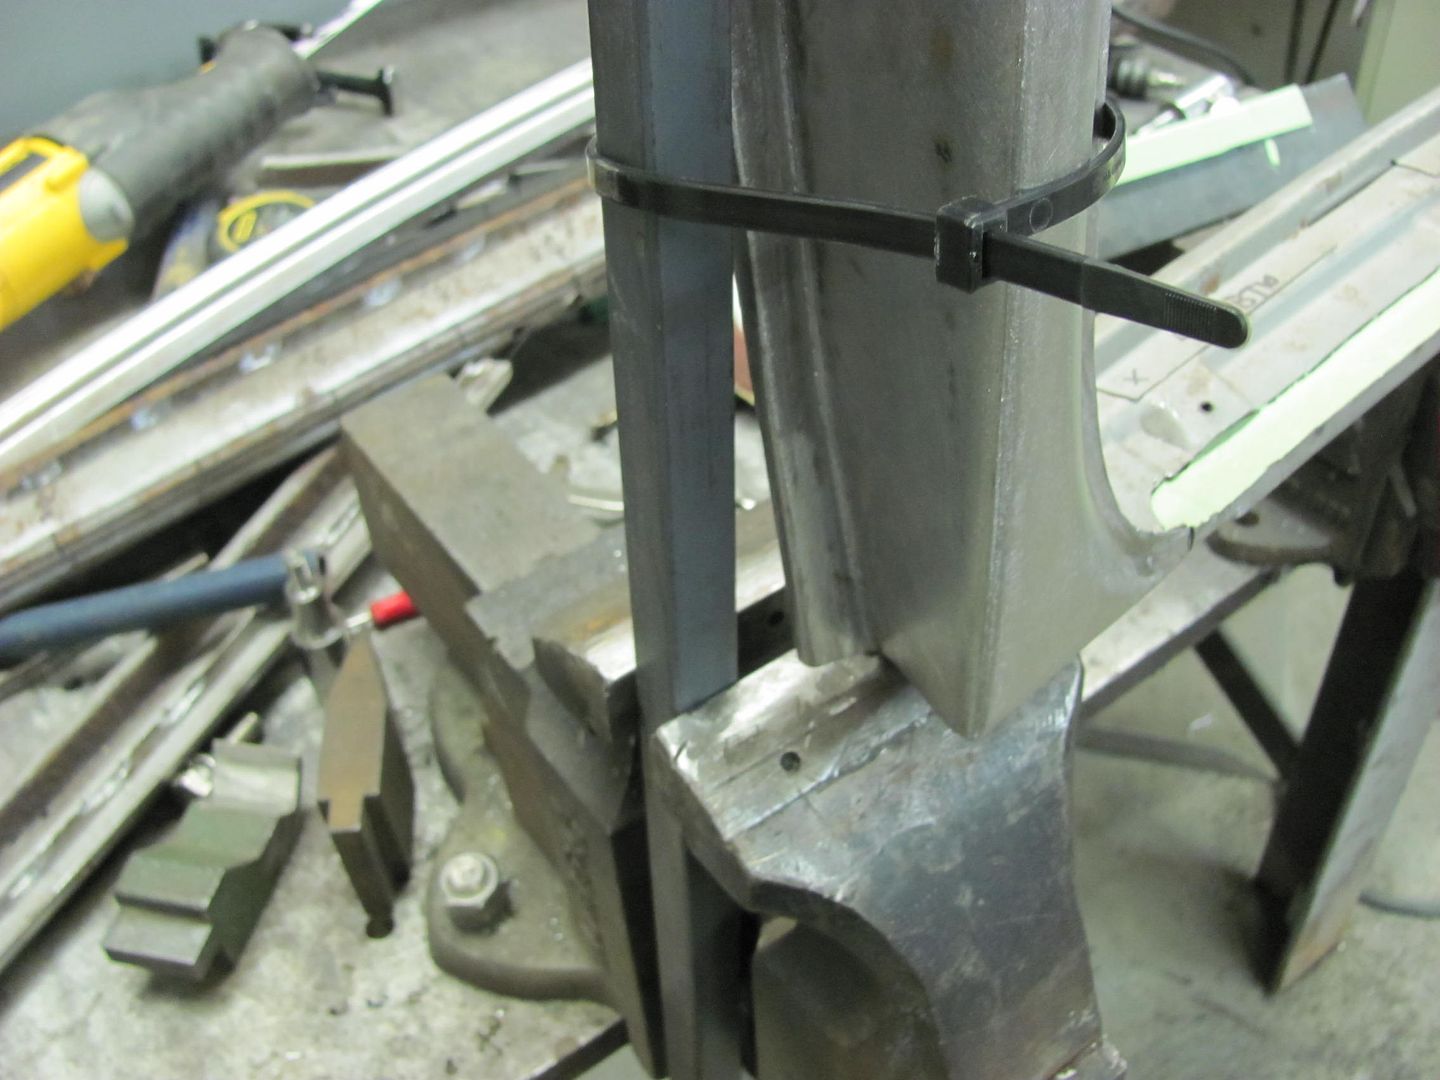
Looking at the back side, these should hold well.
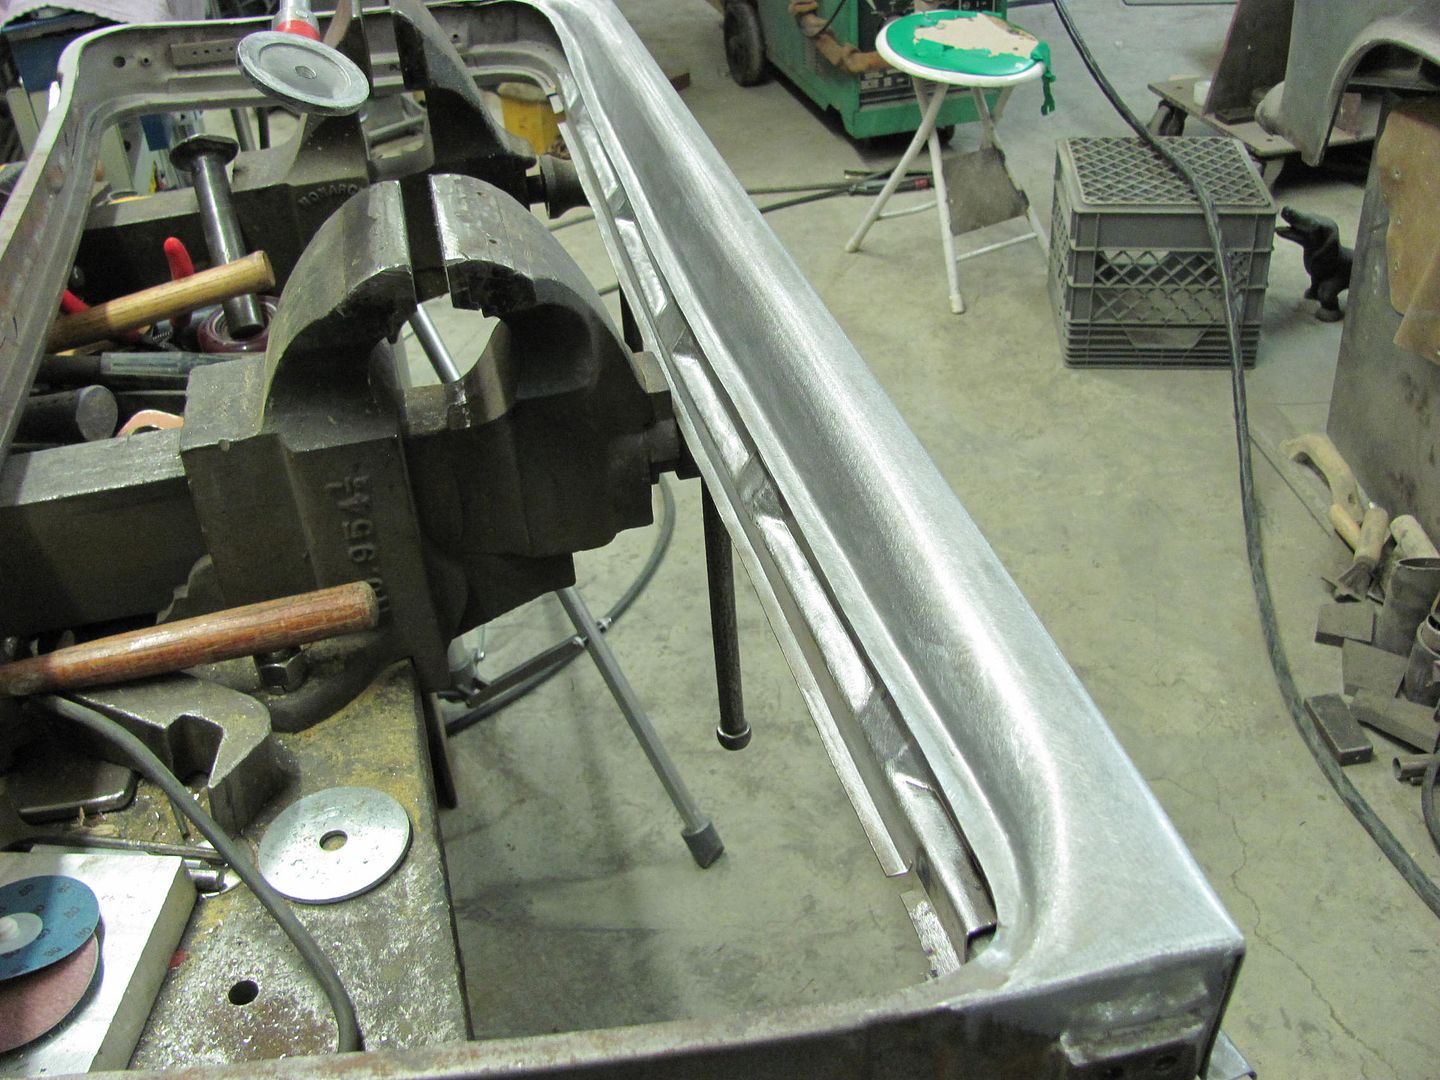
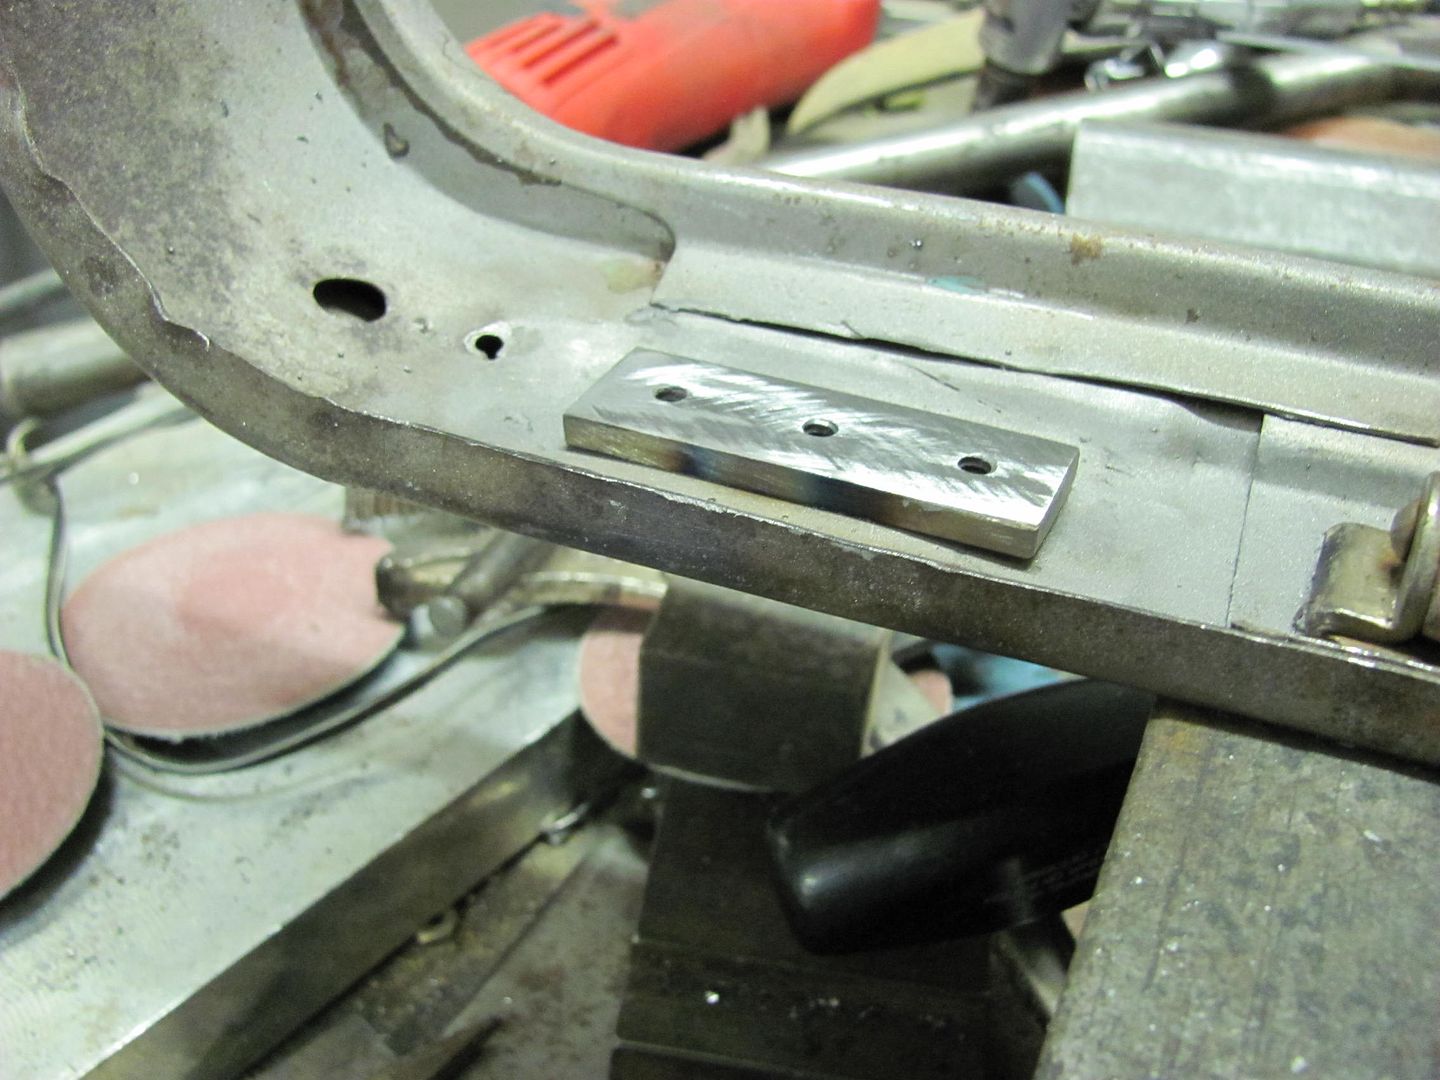
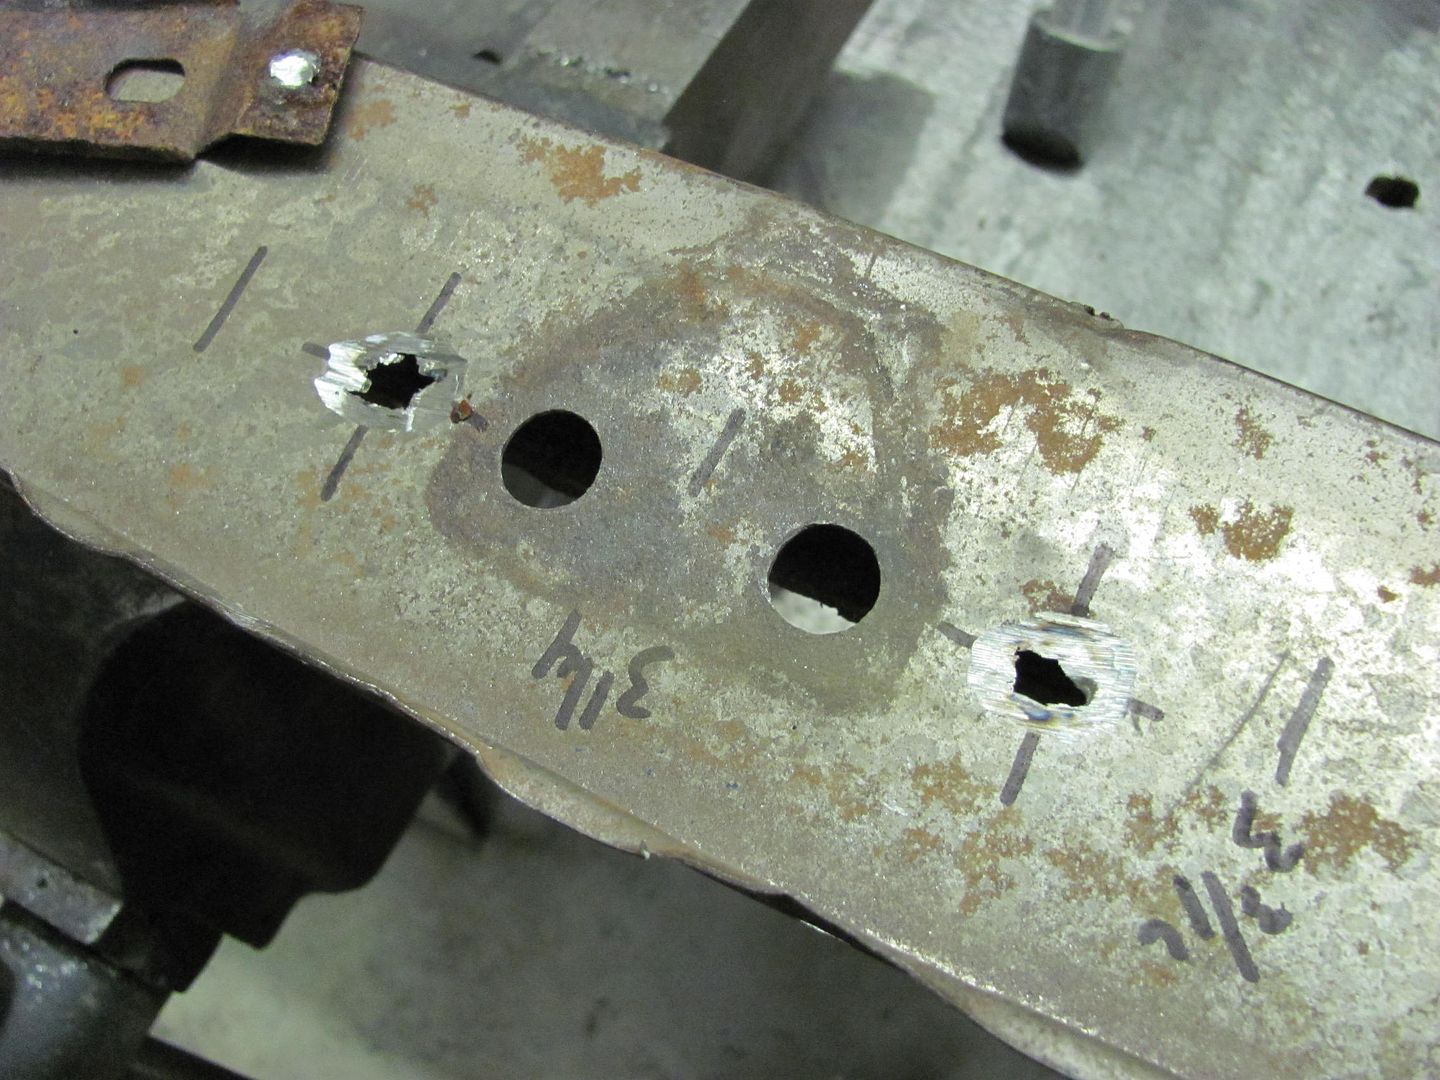
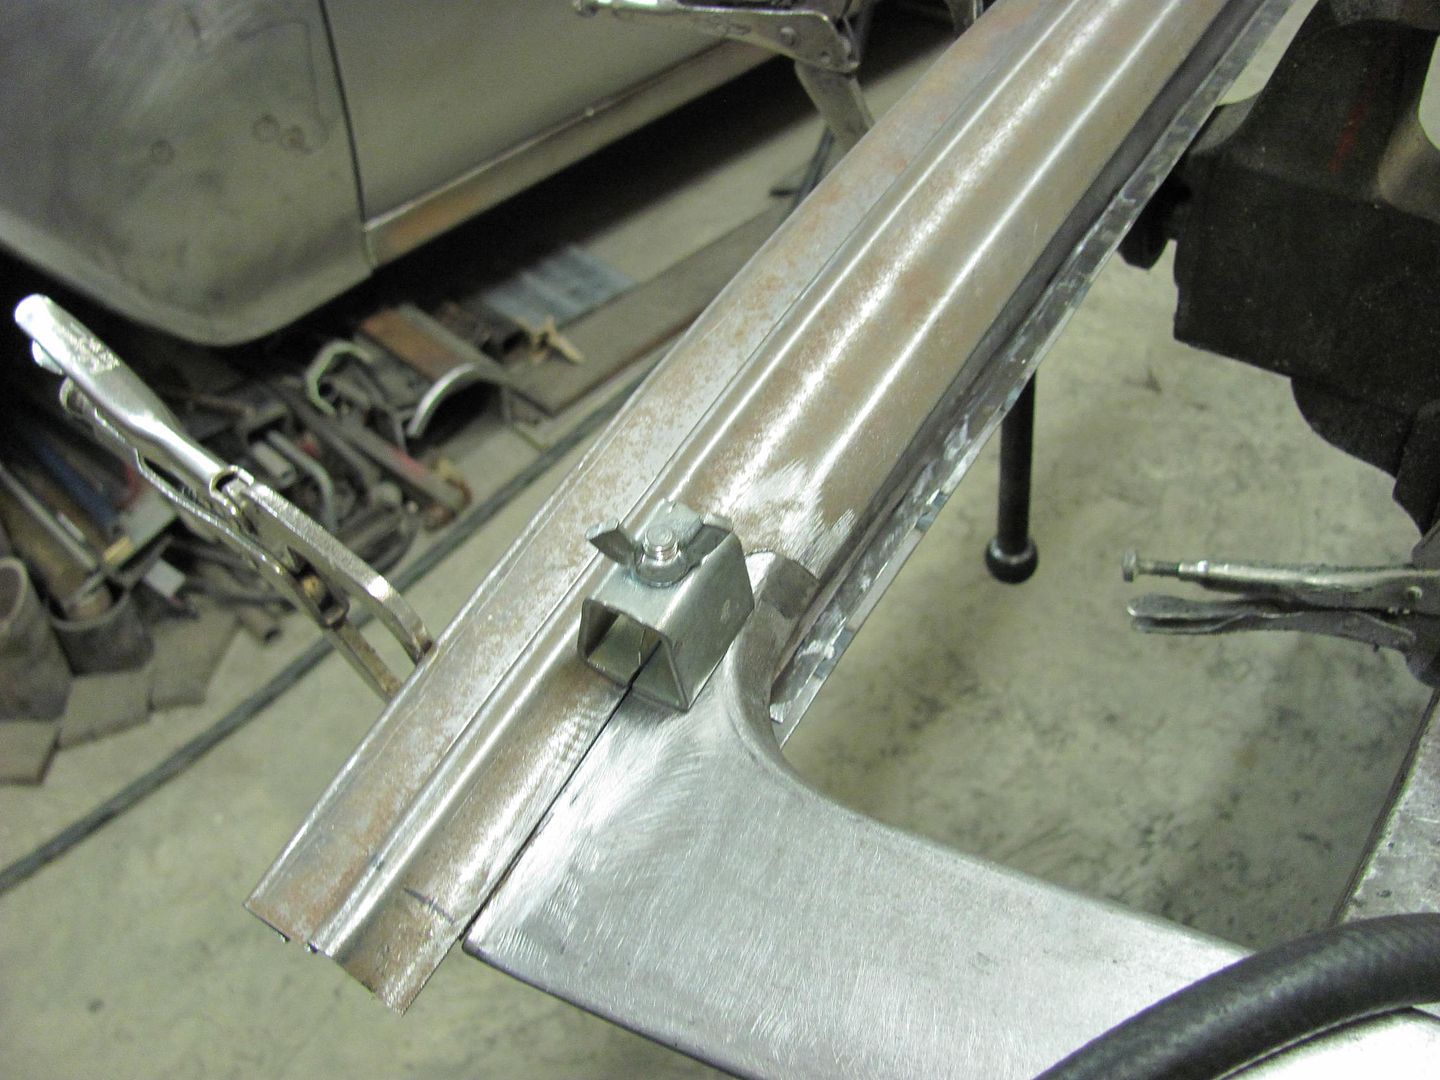
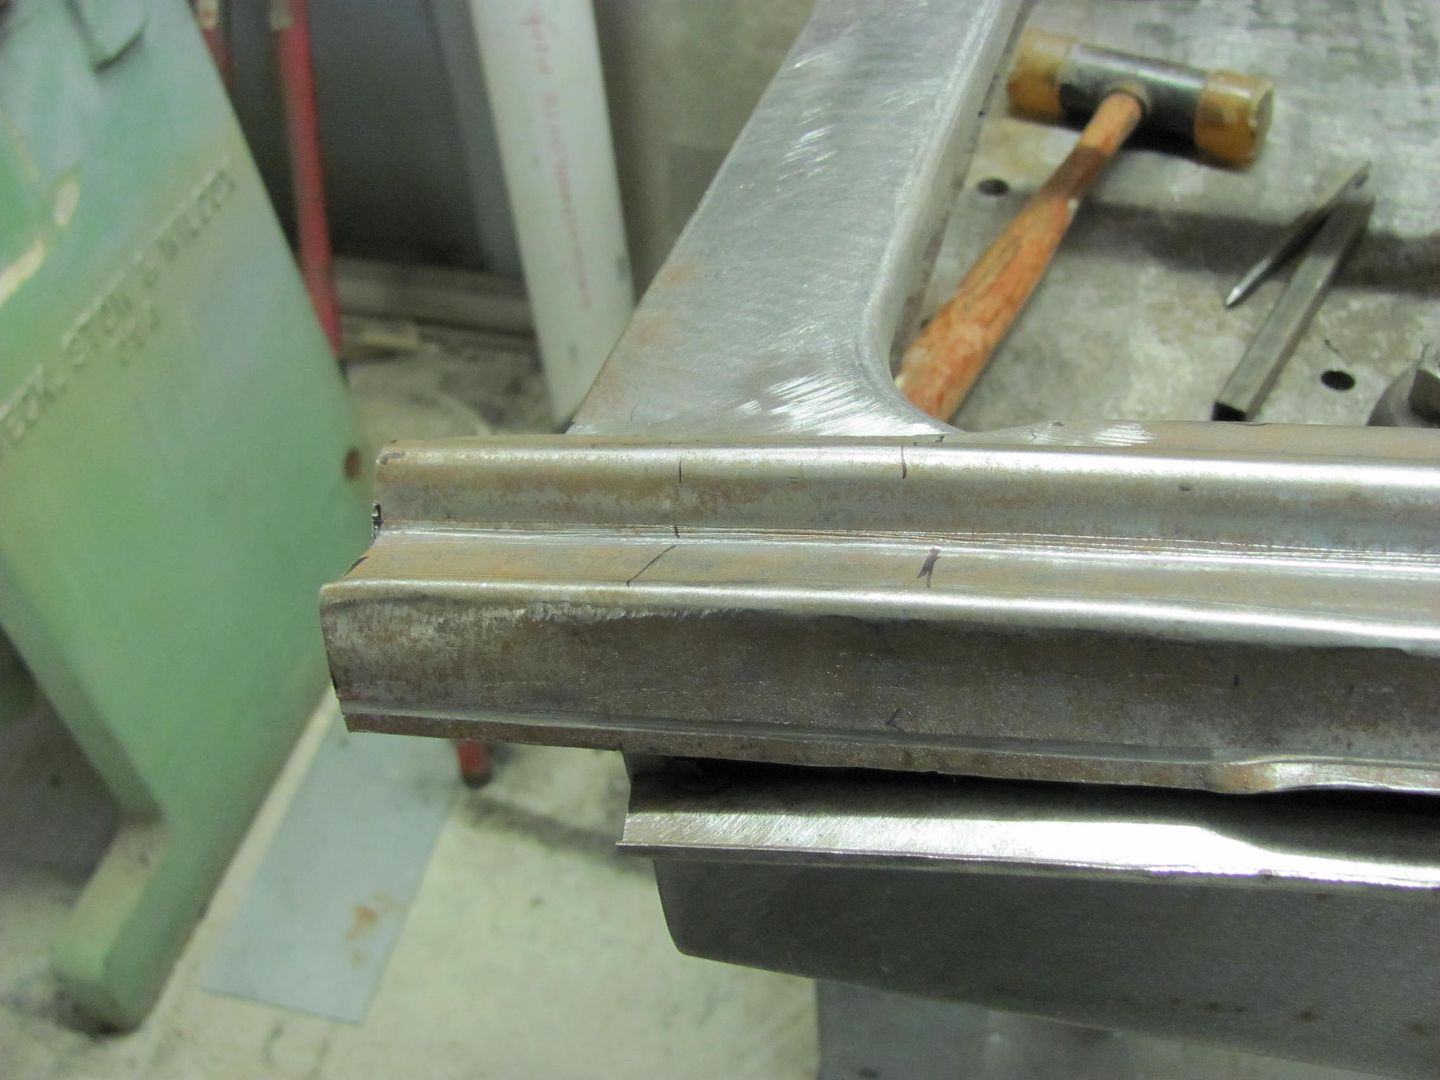
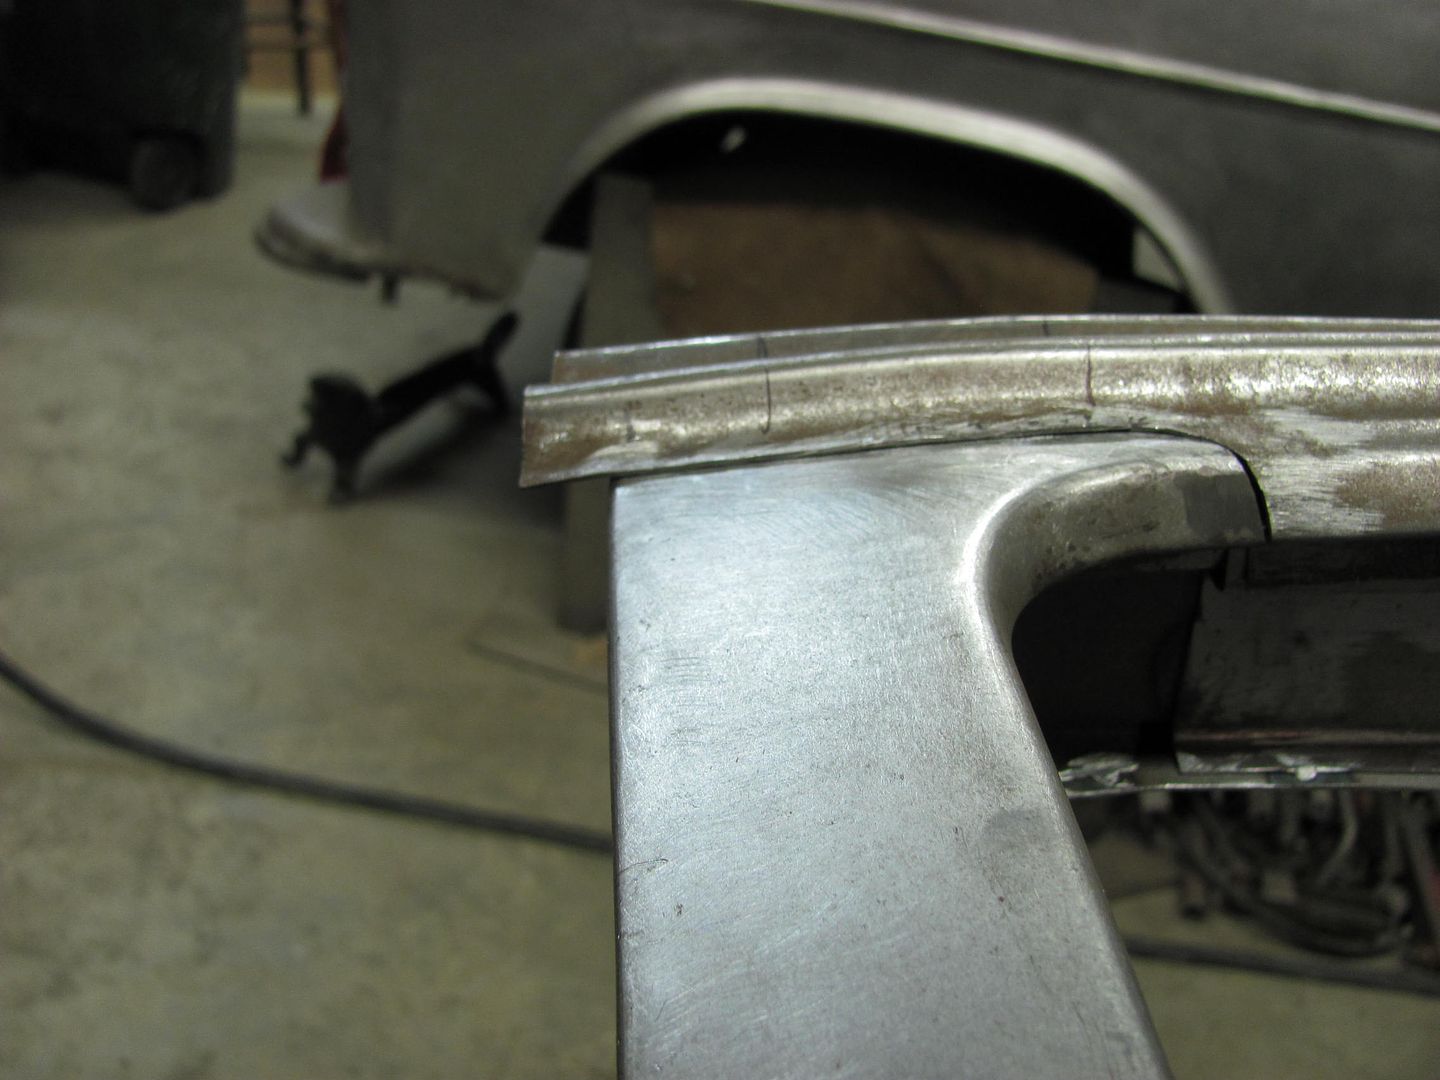
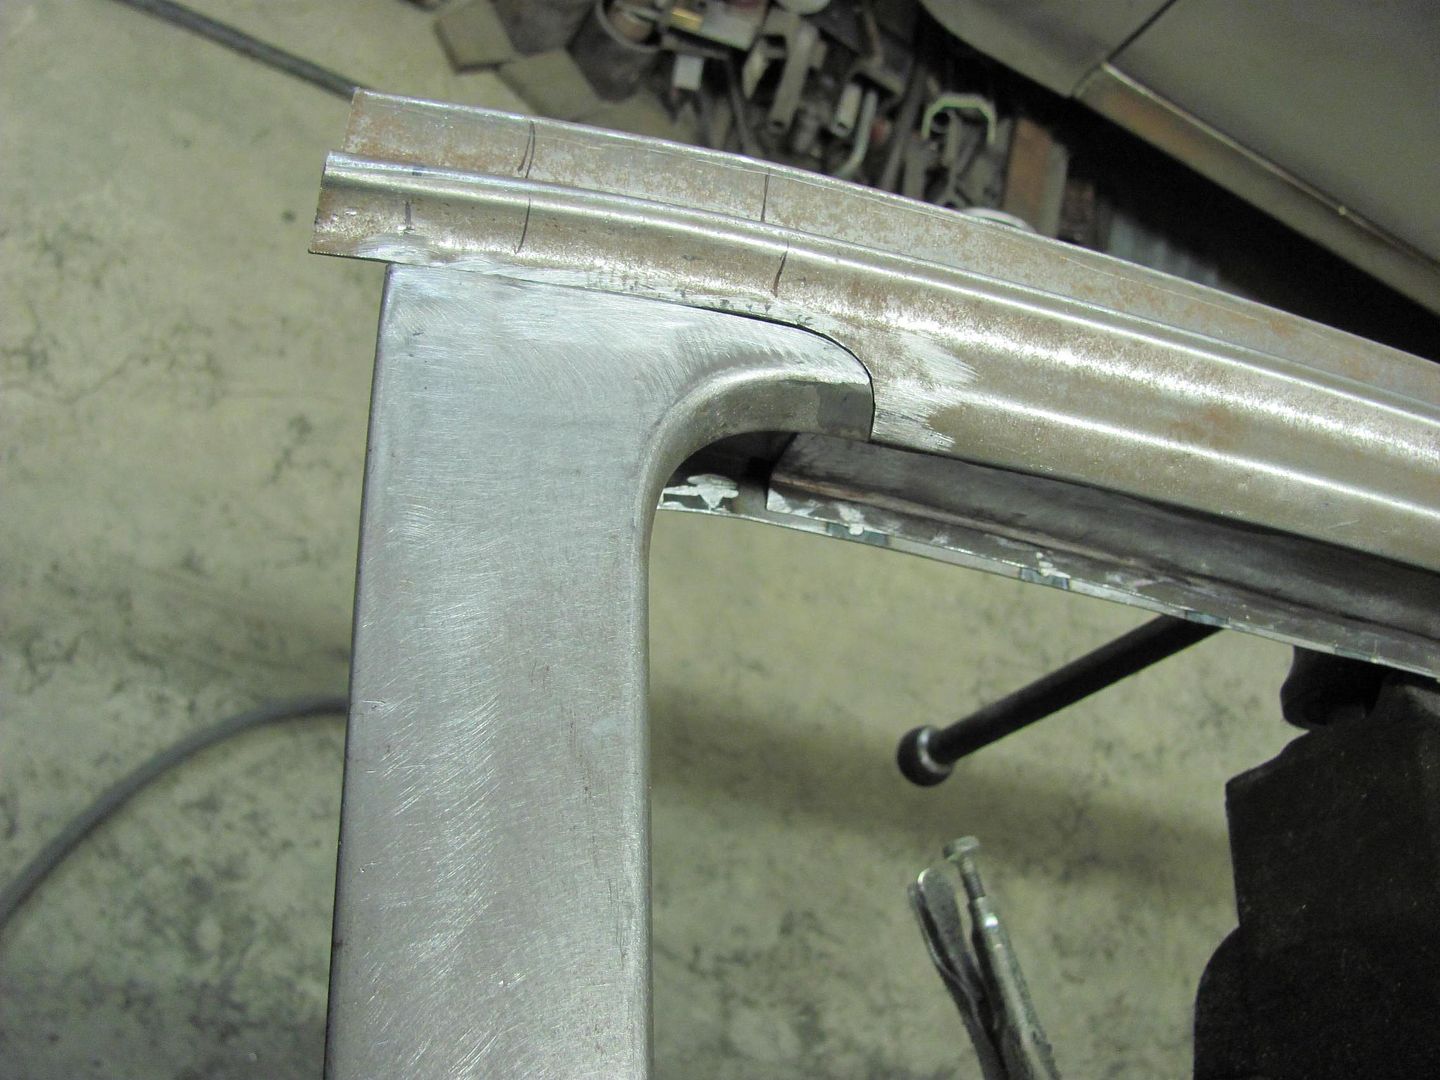
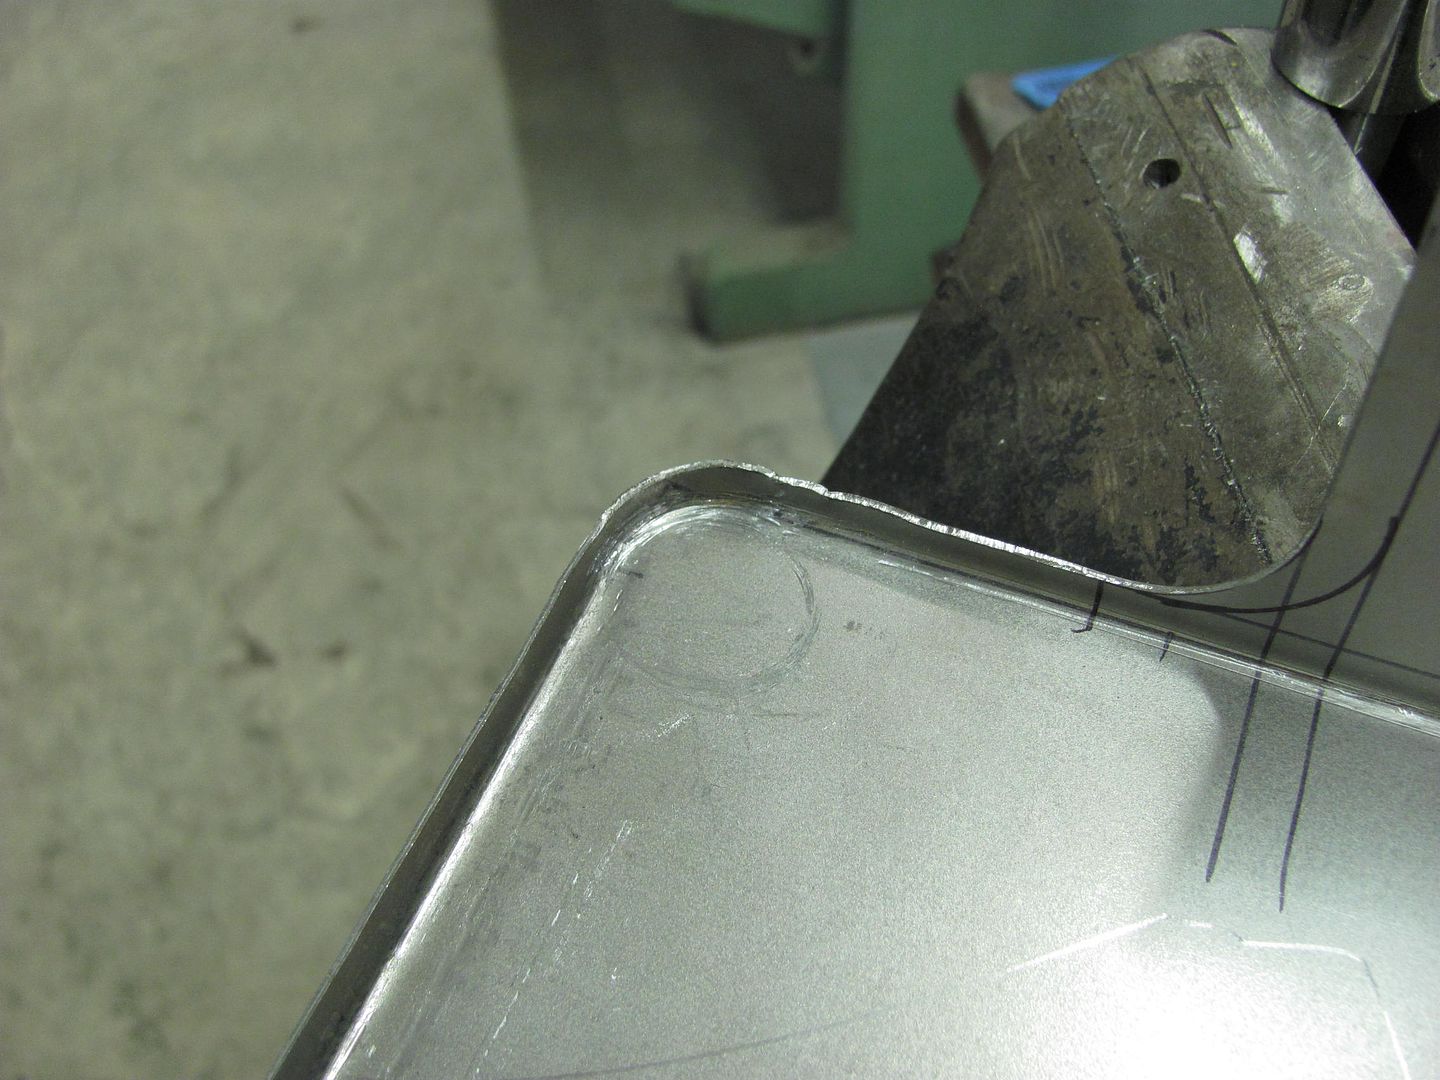
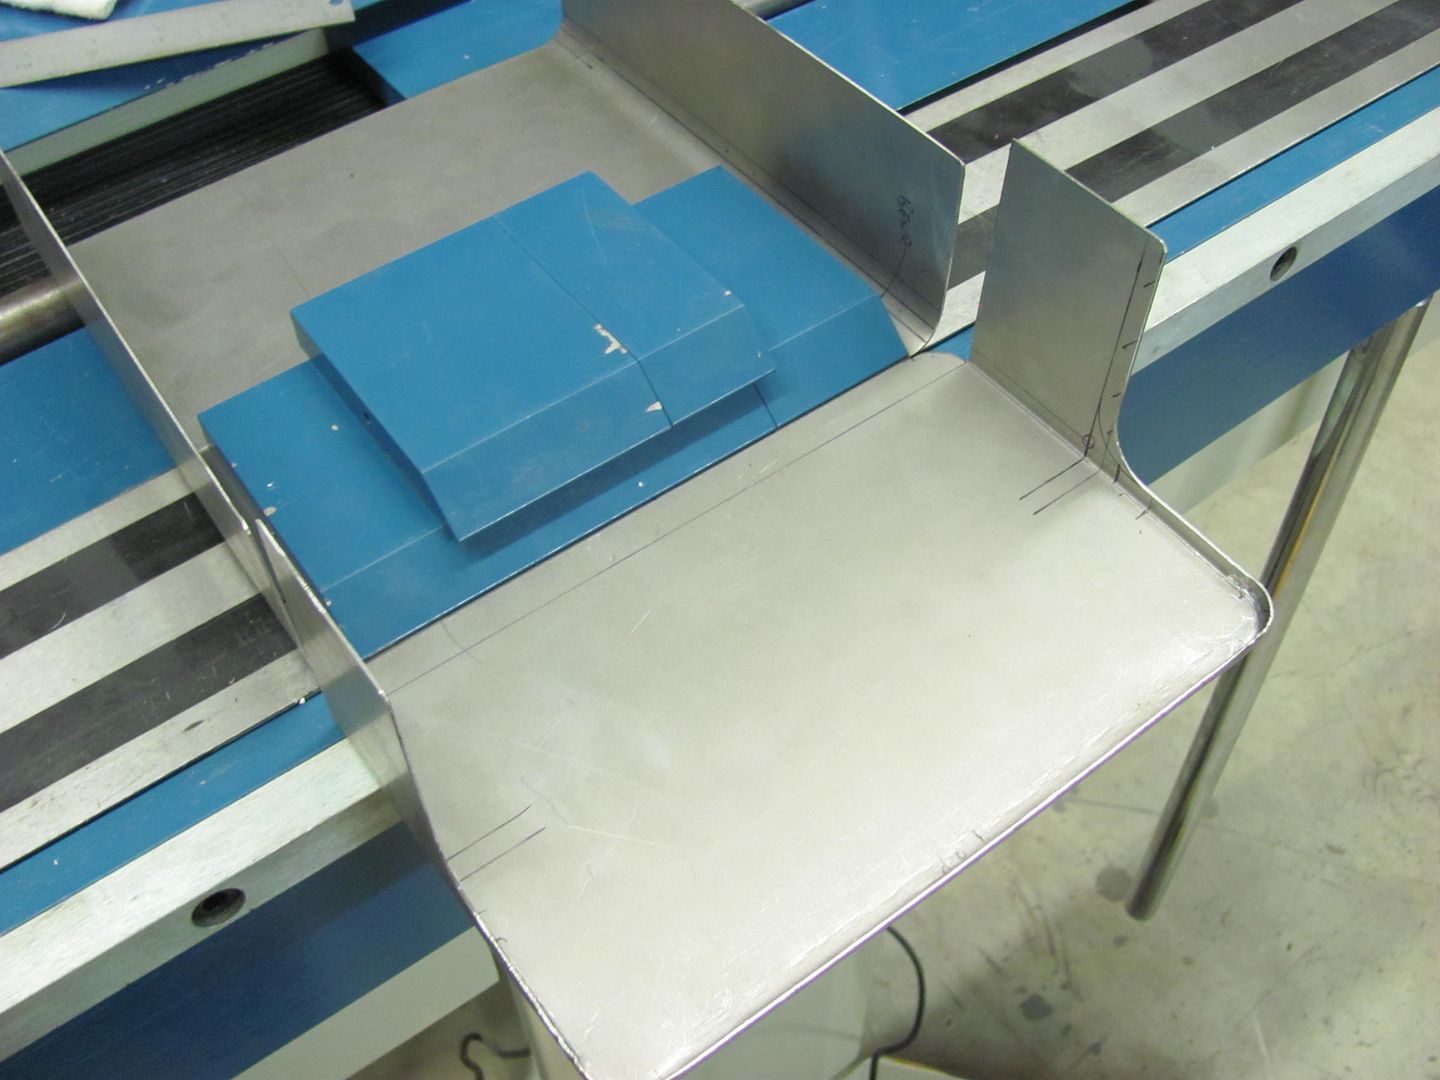
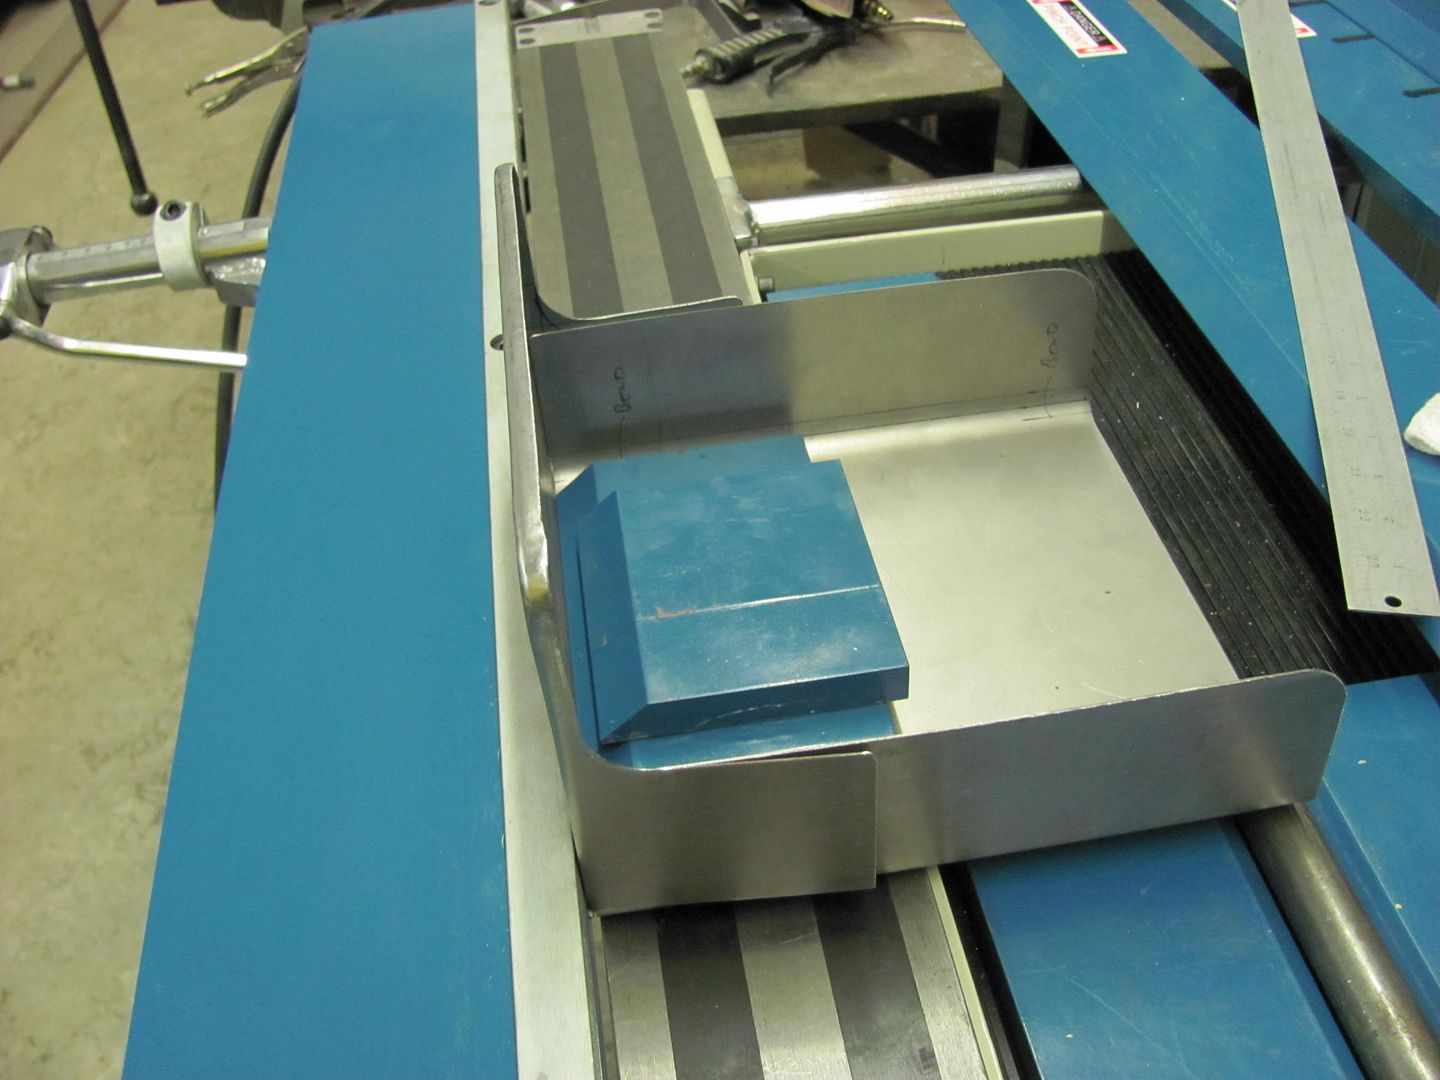
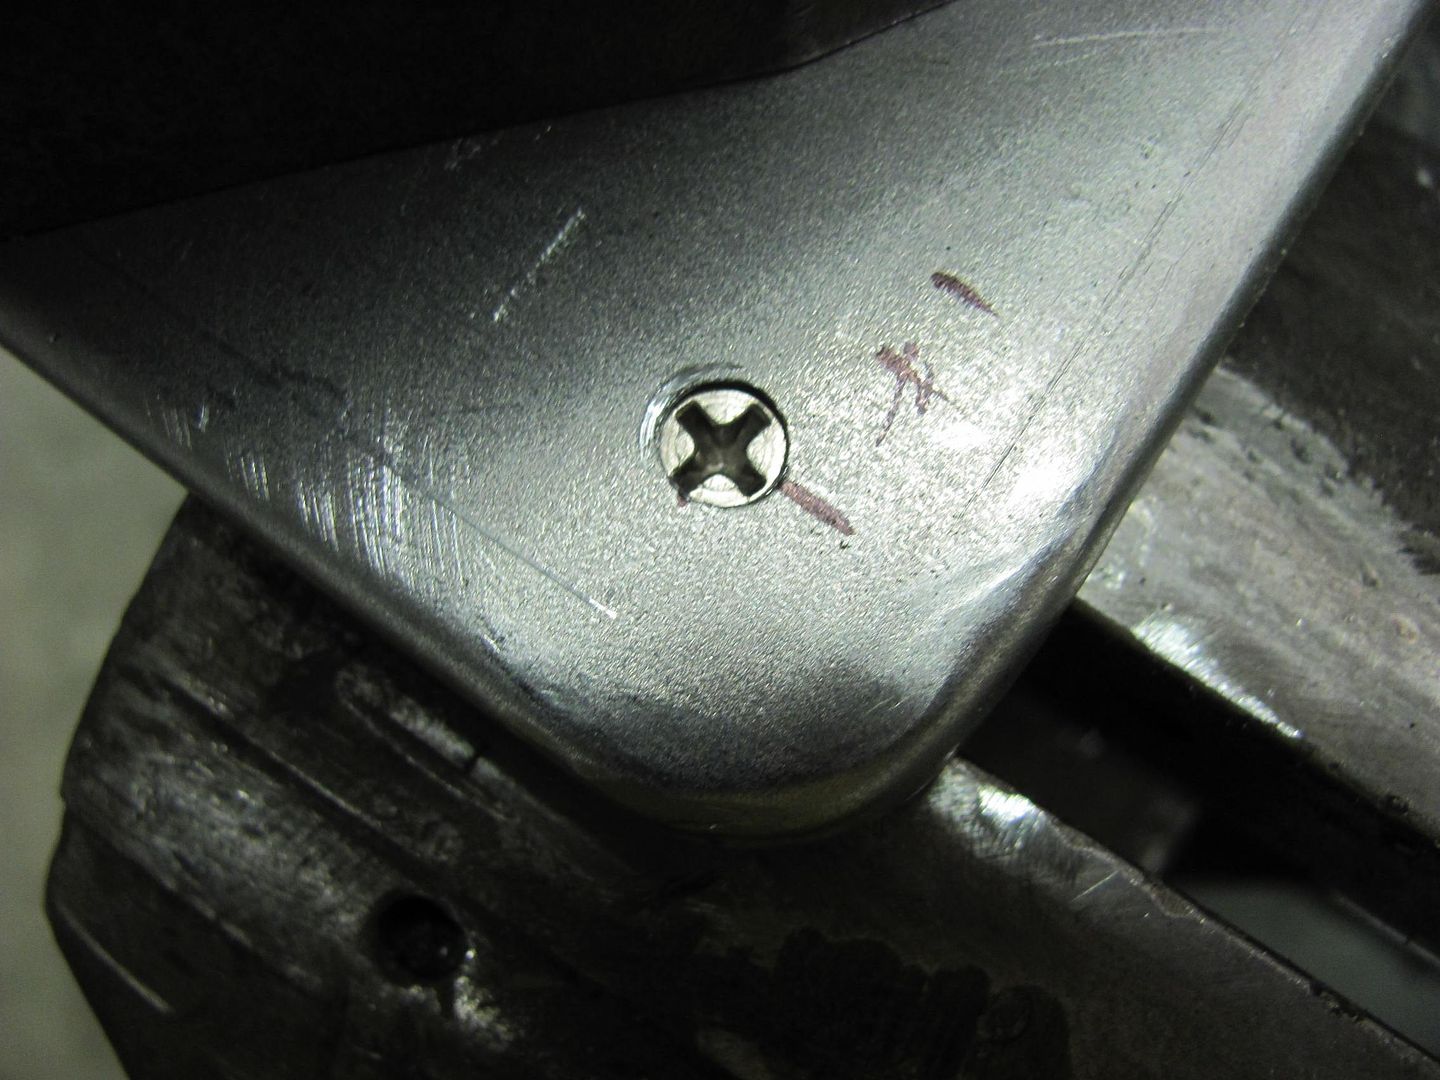
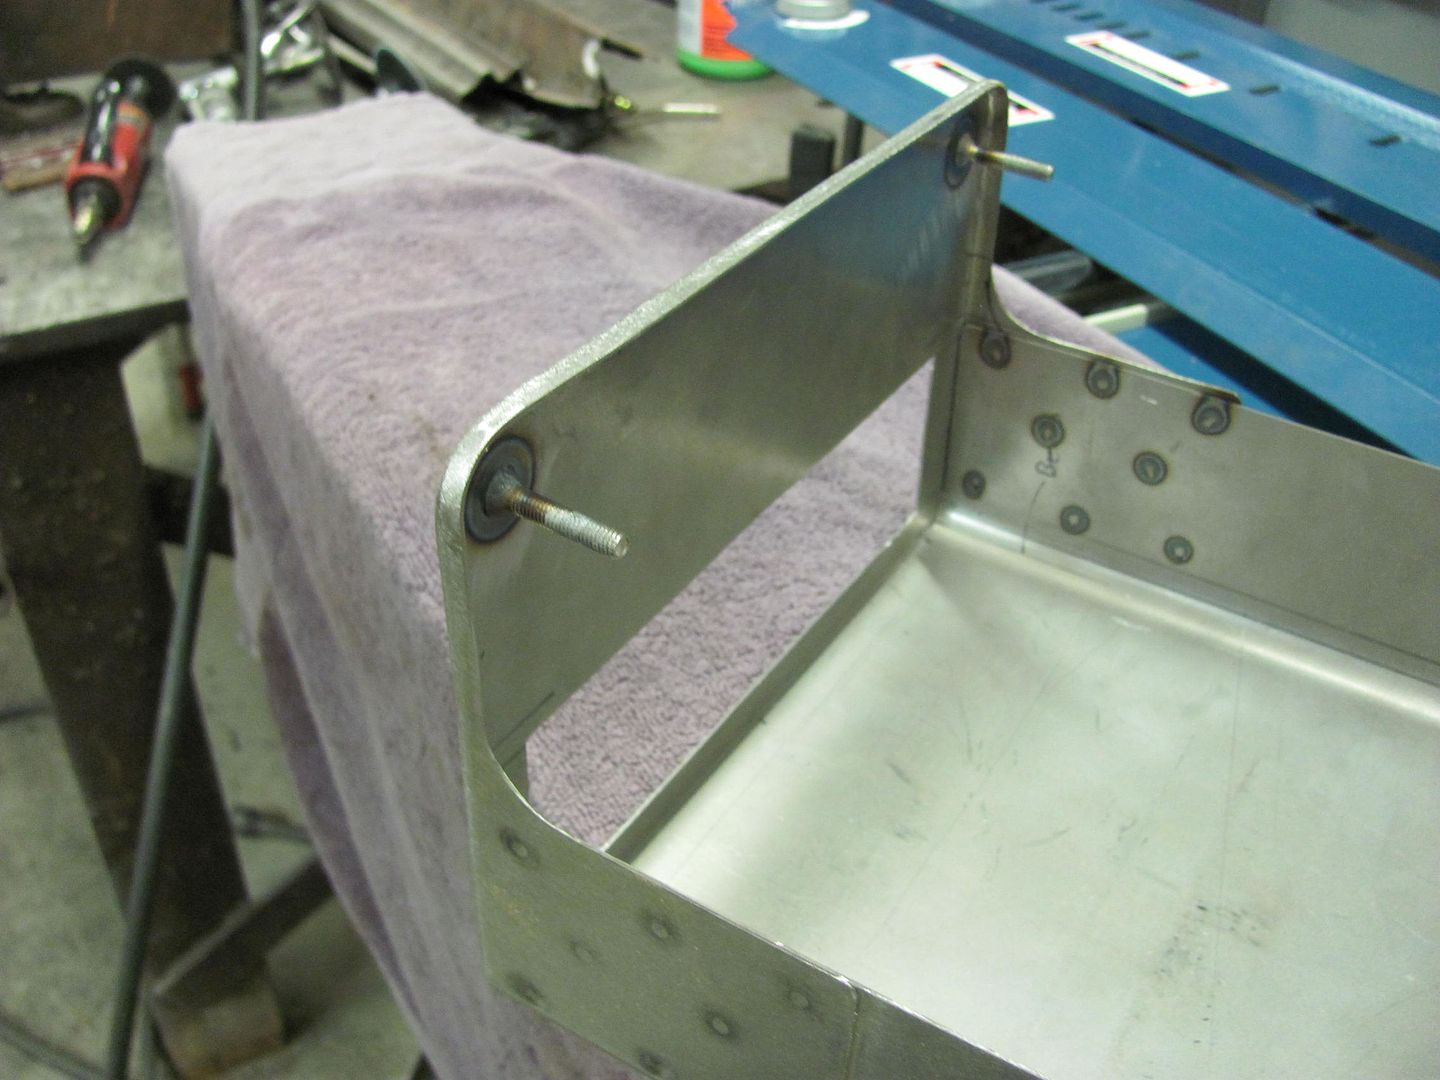
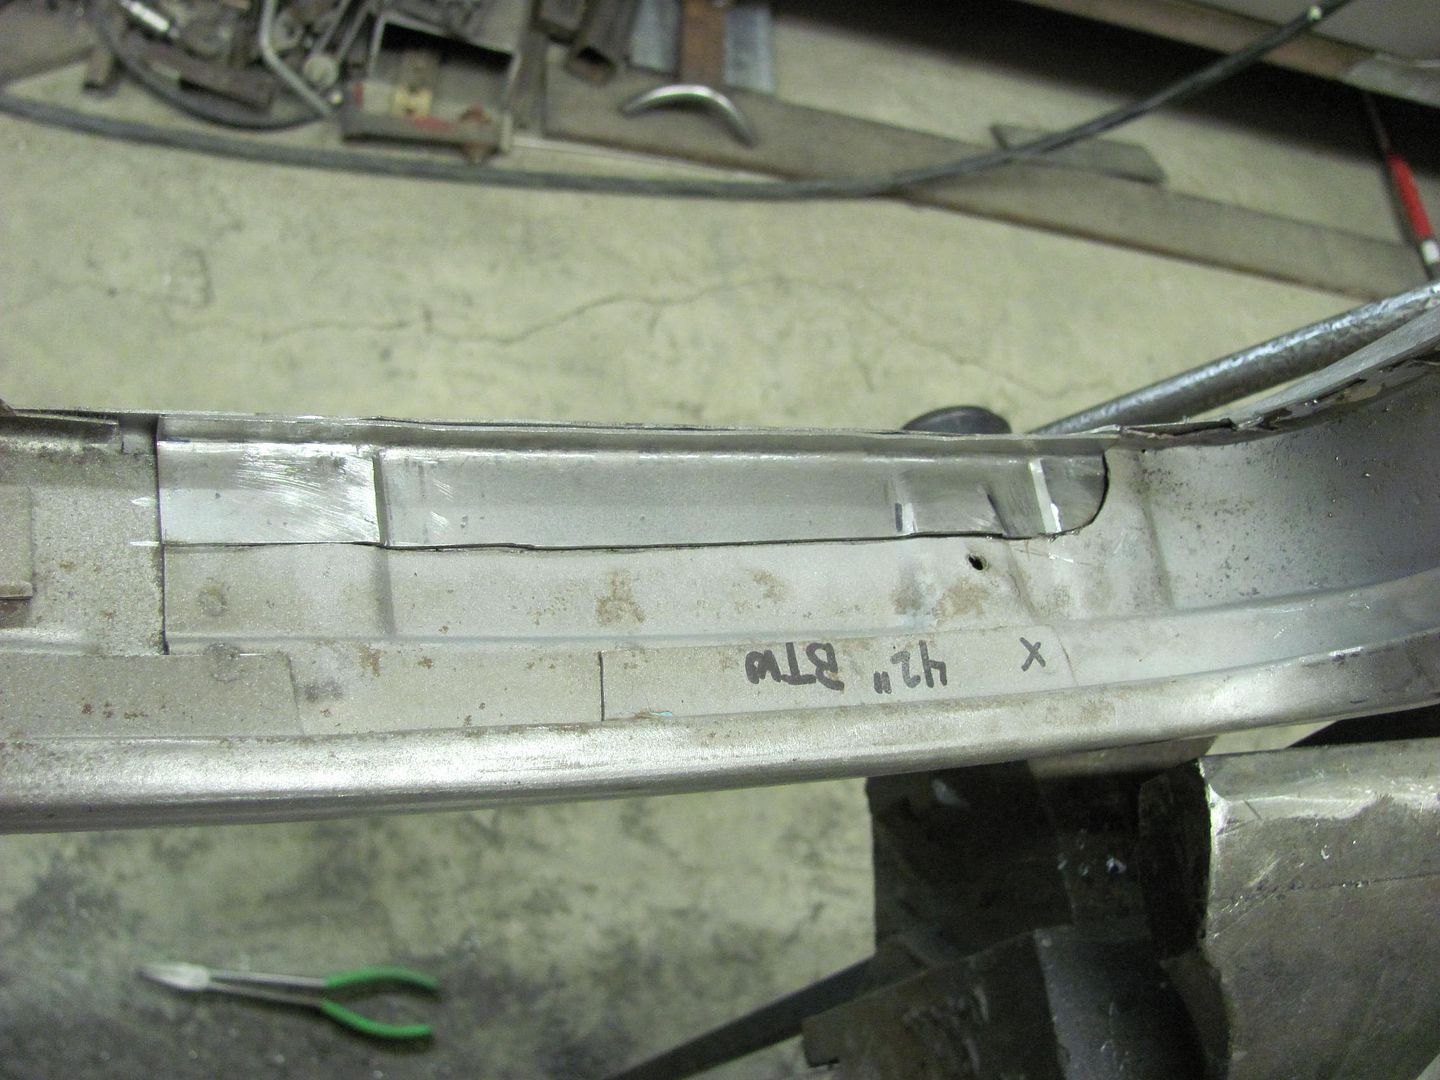
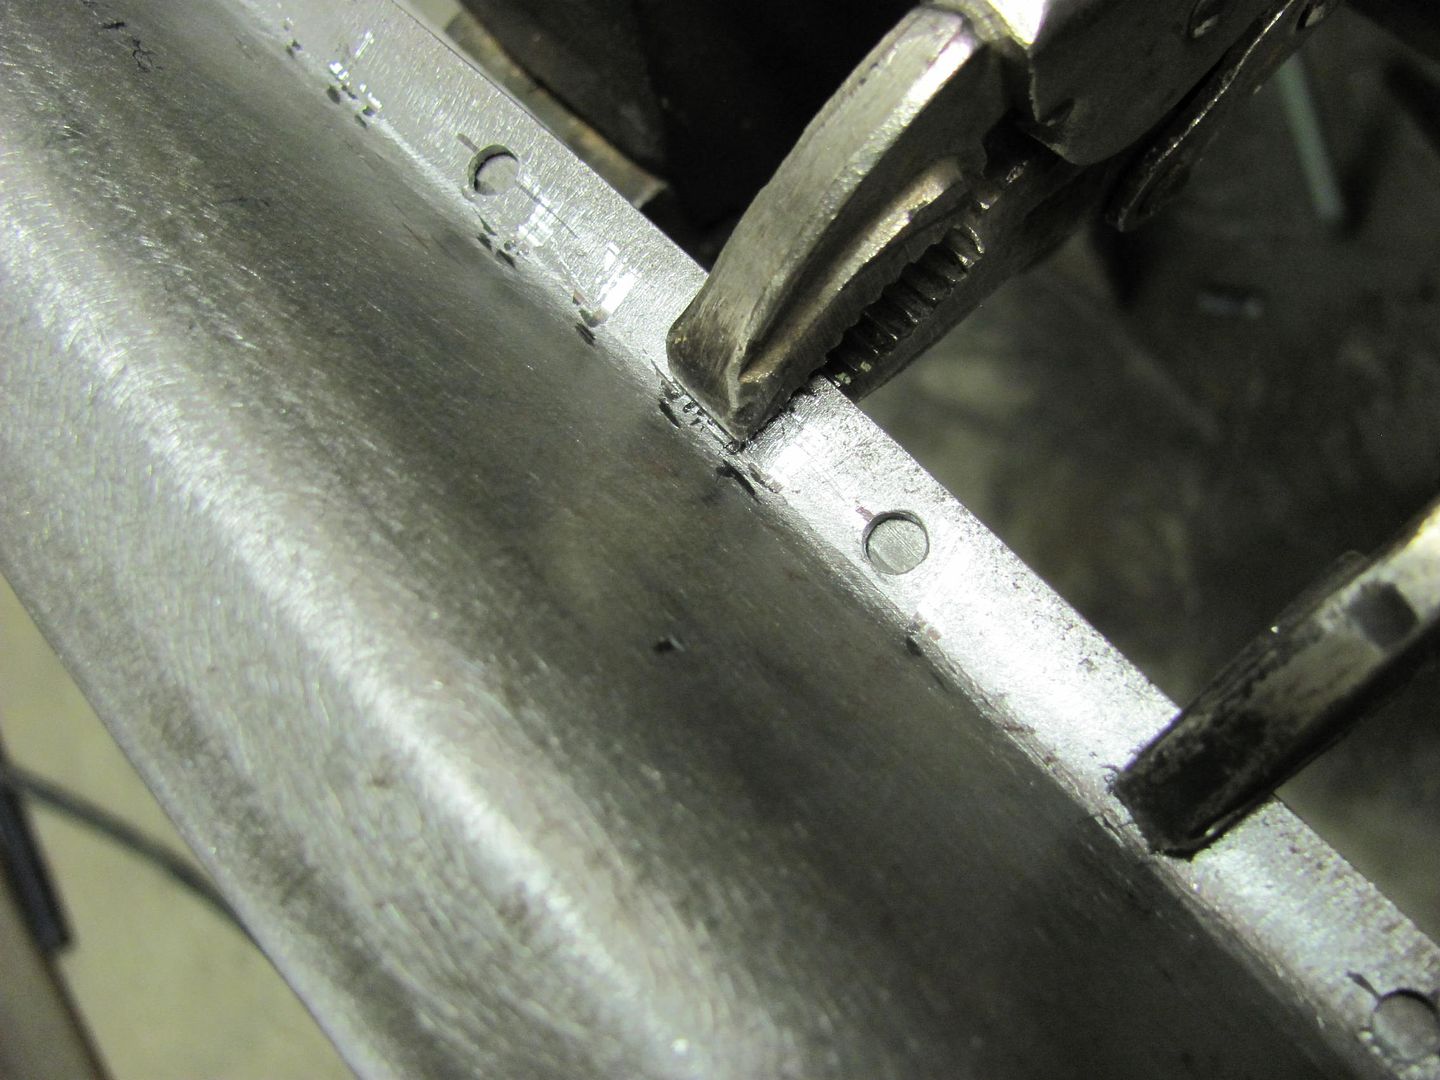
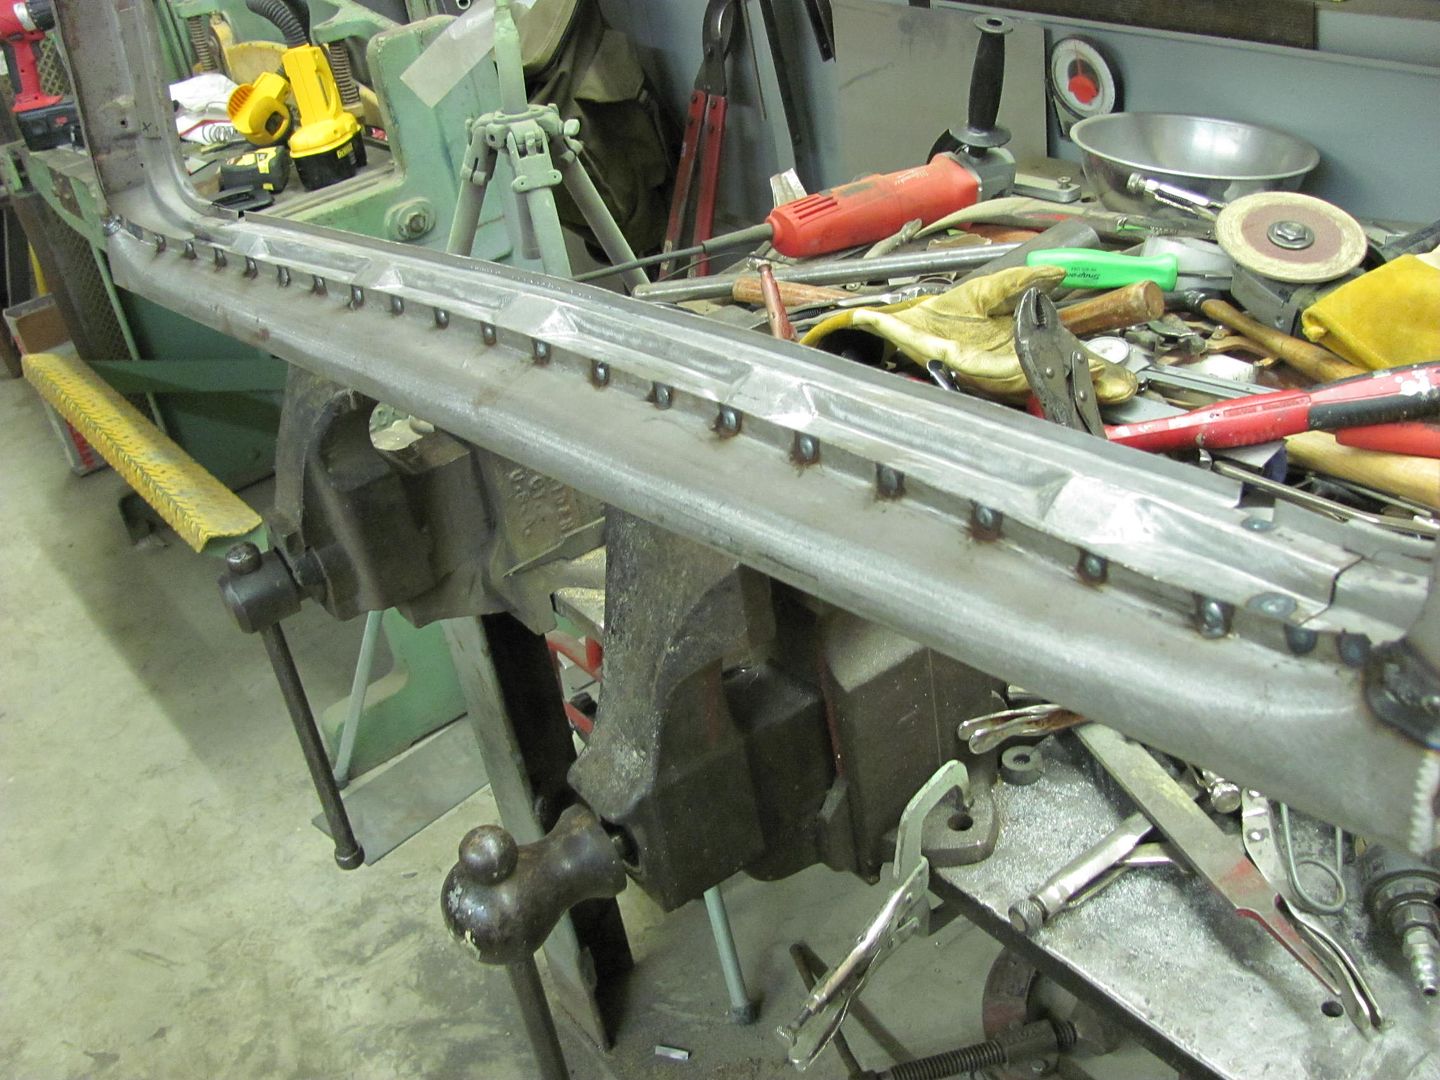
All the plug welds done, then on to the corner seams.....
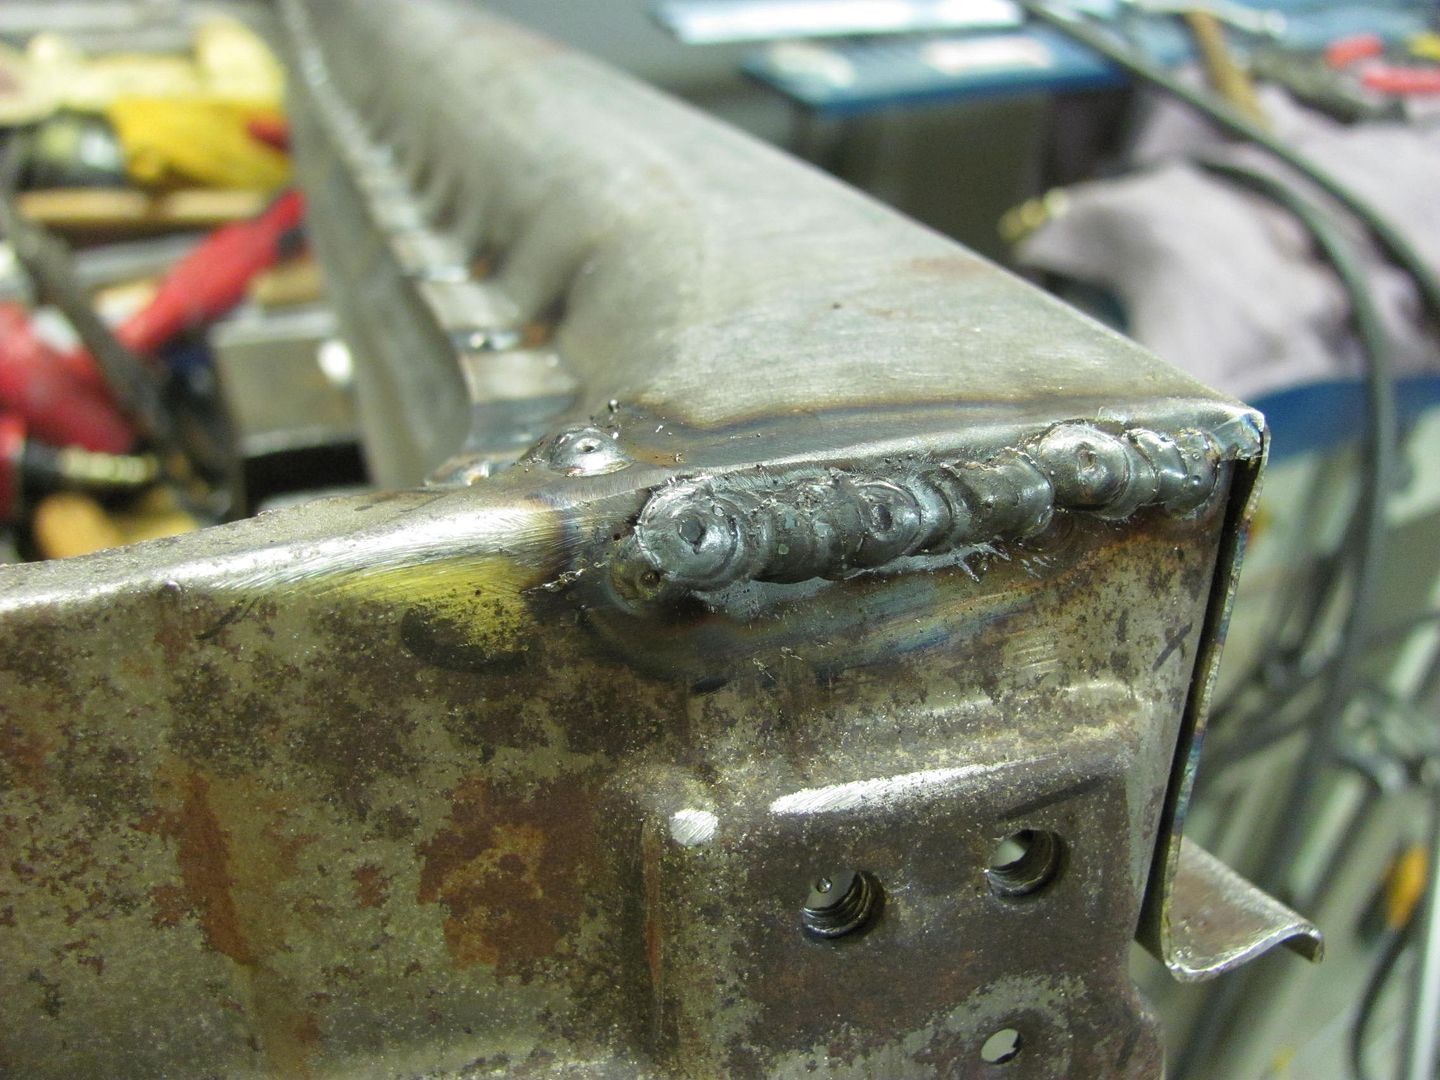
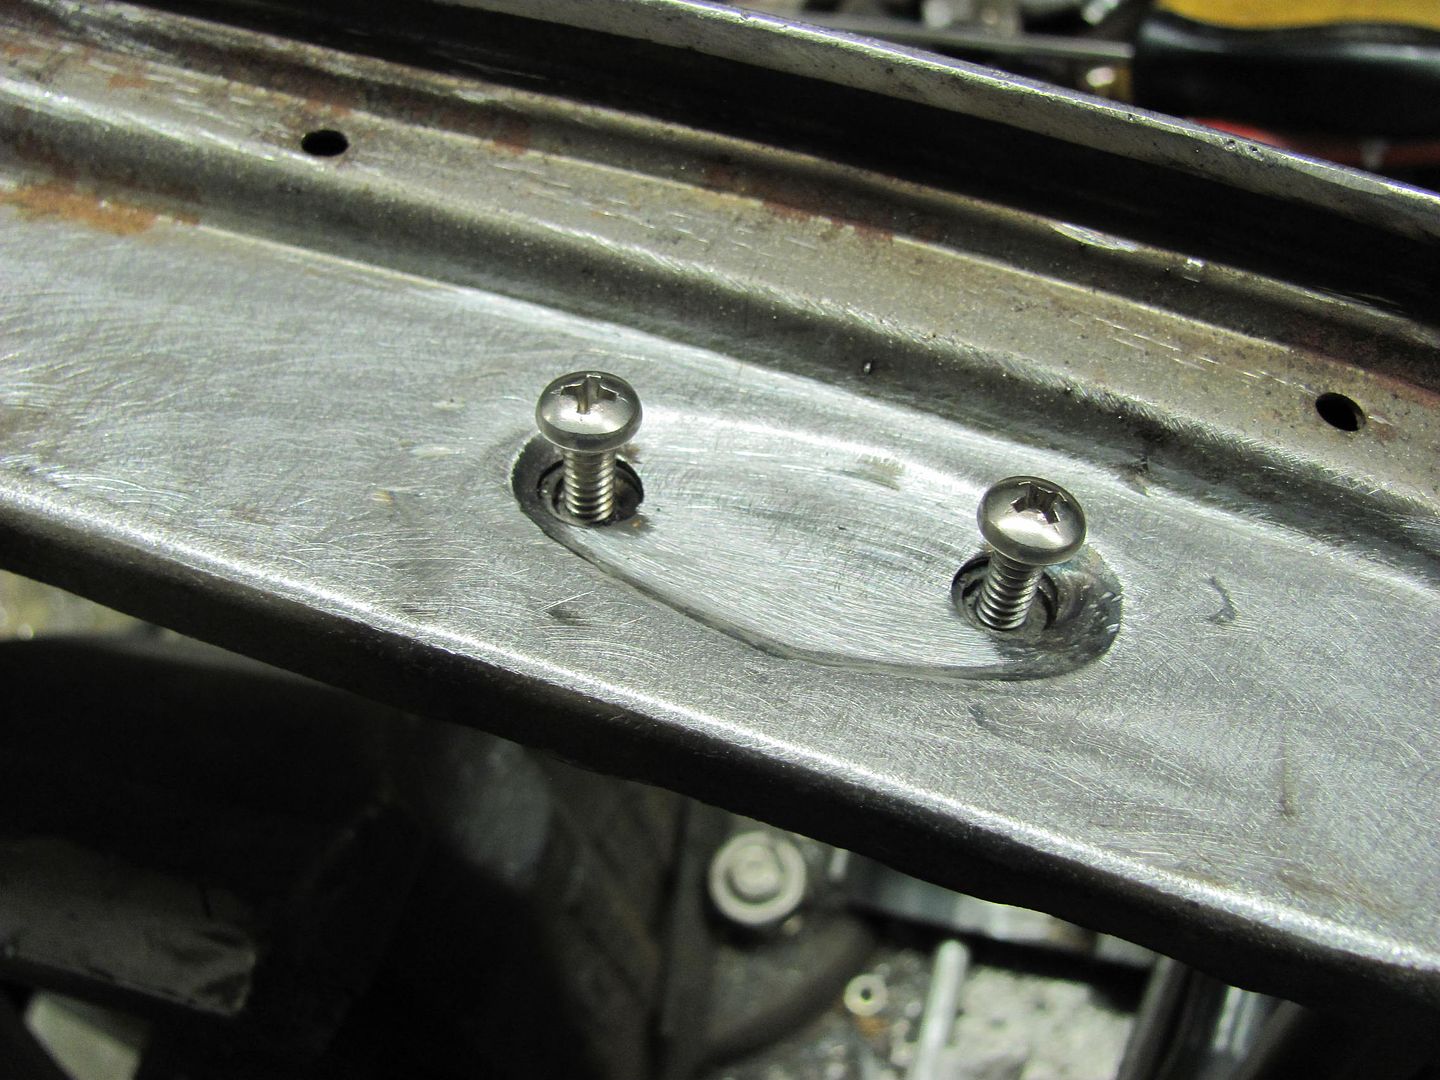
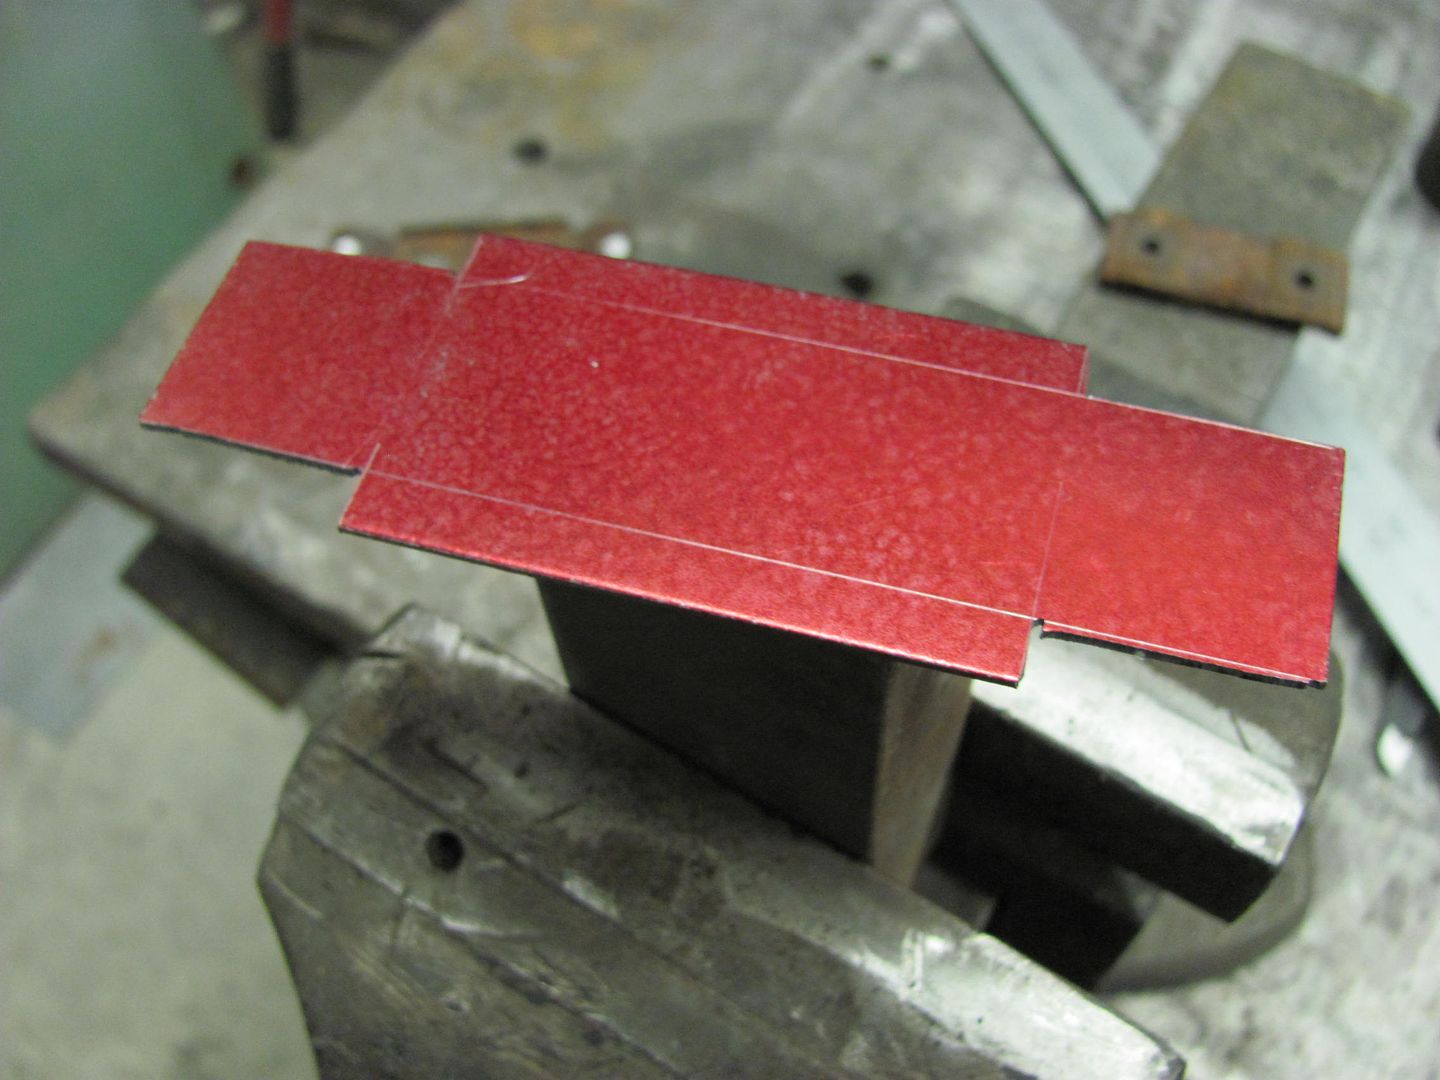
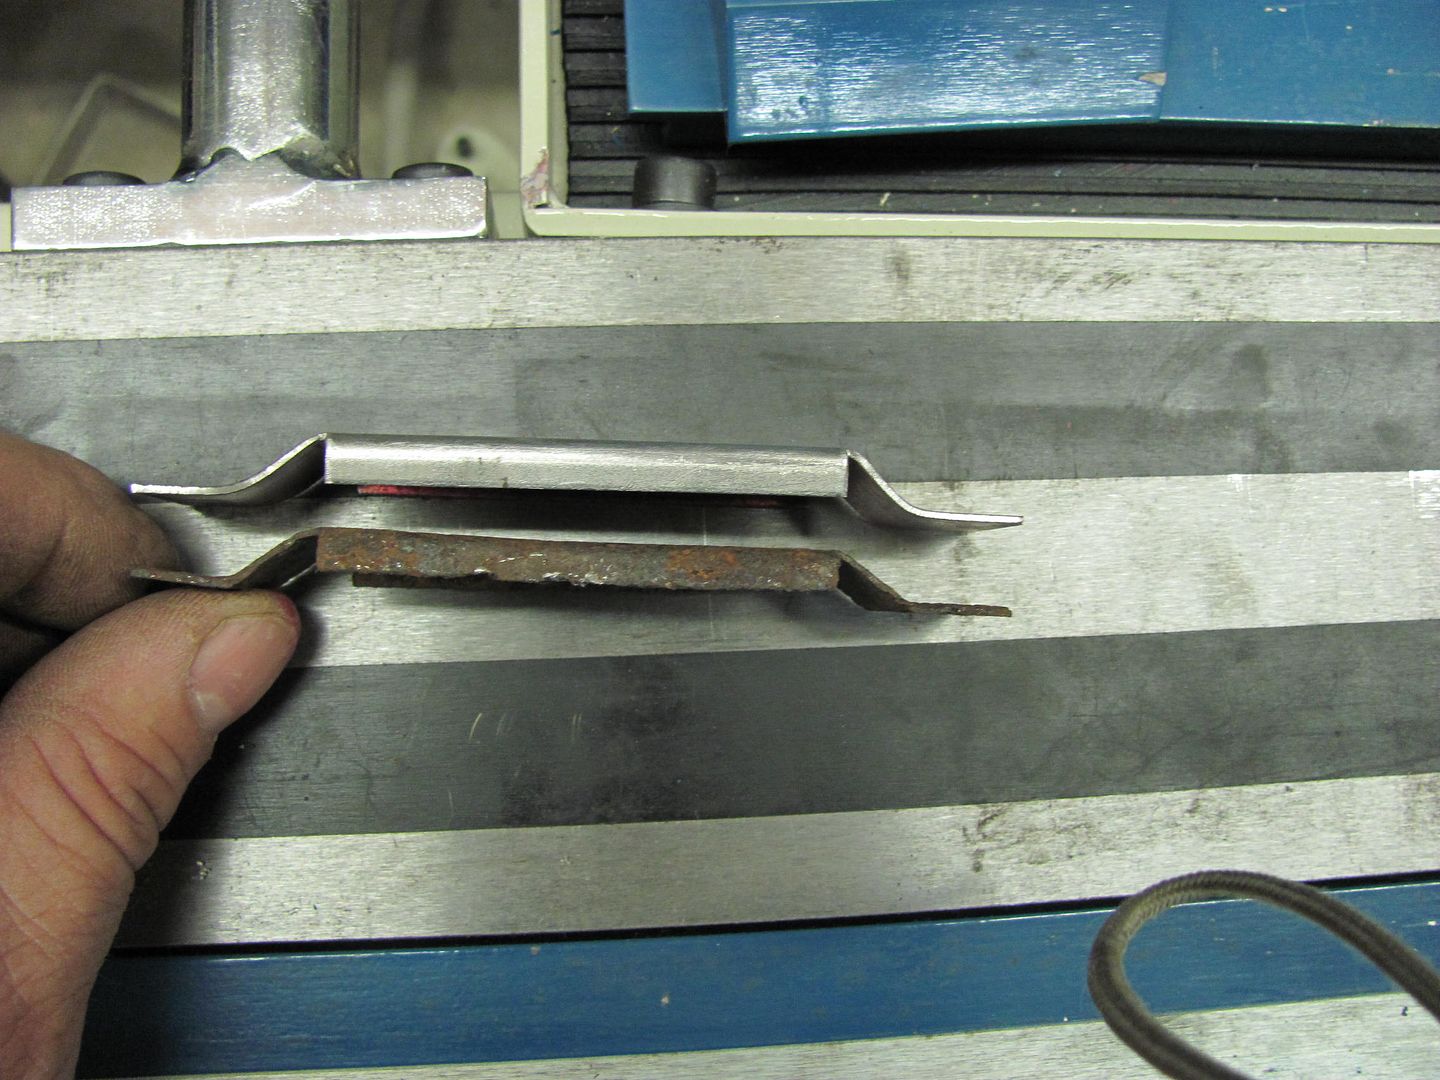
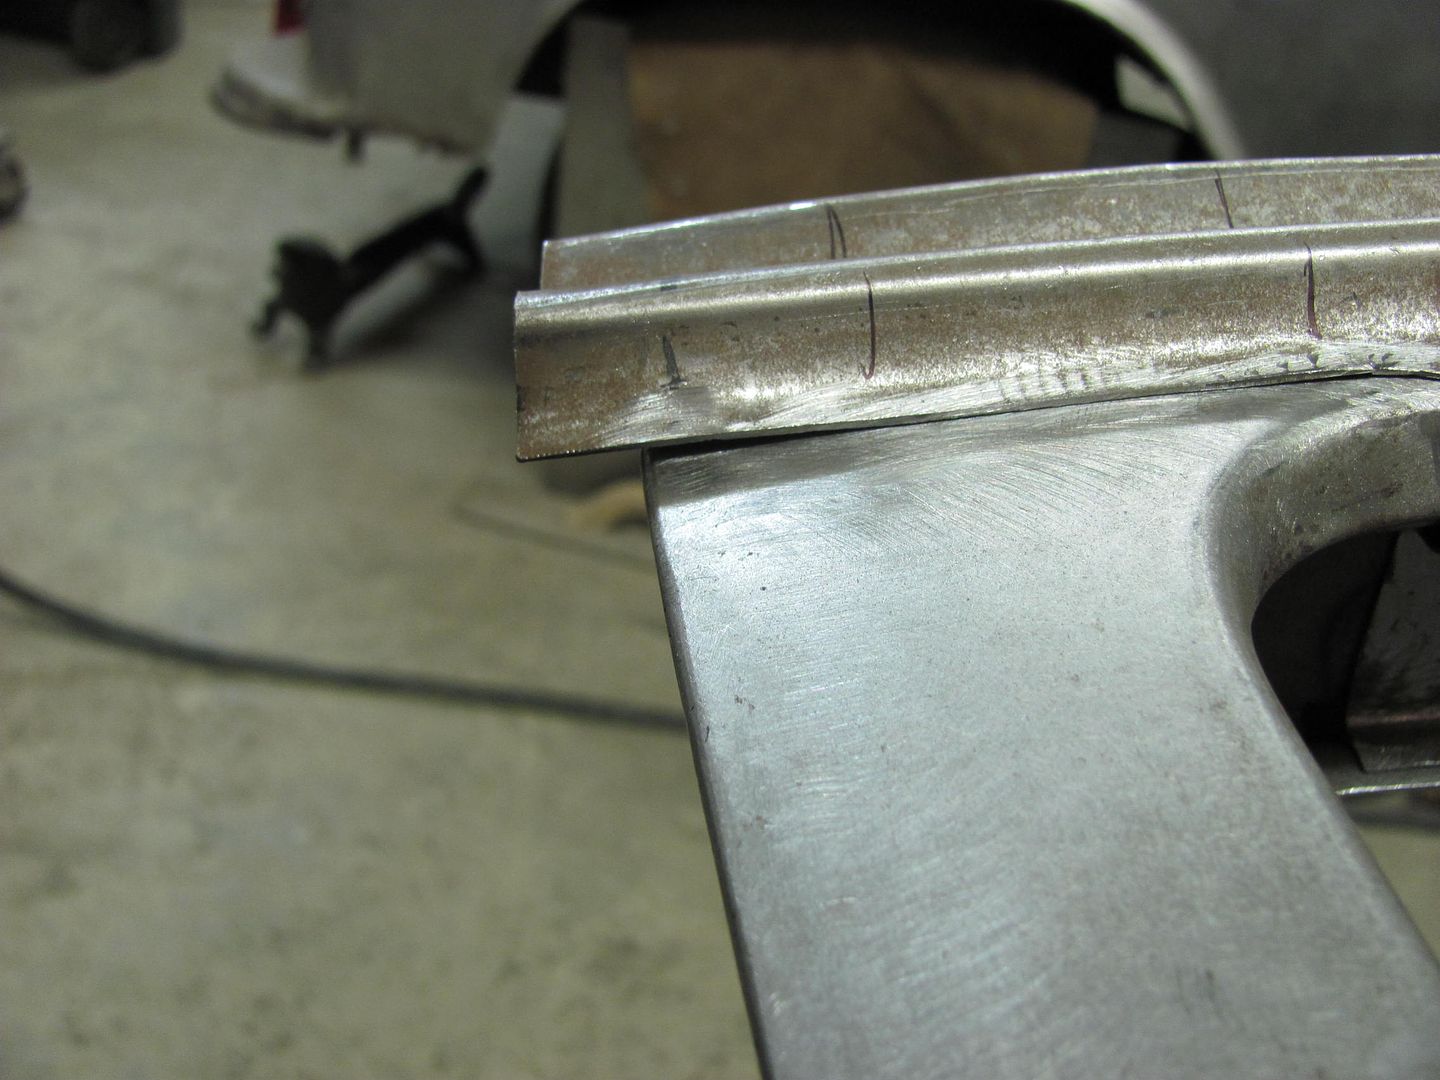
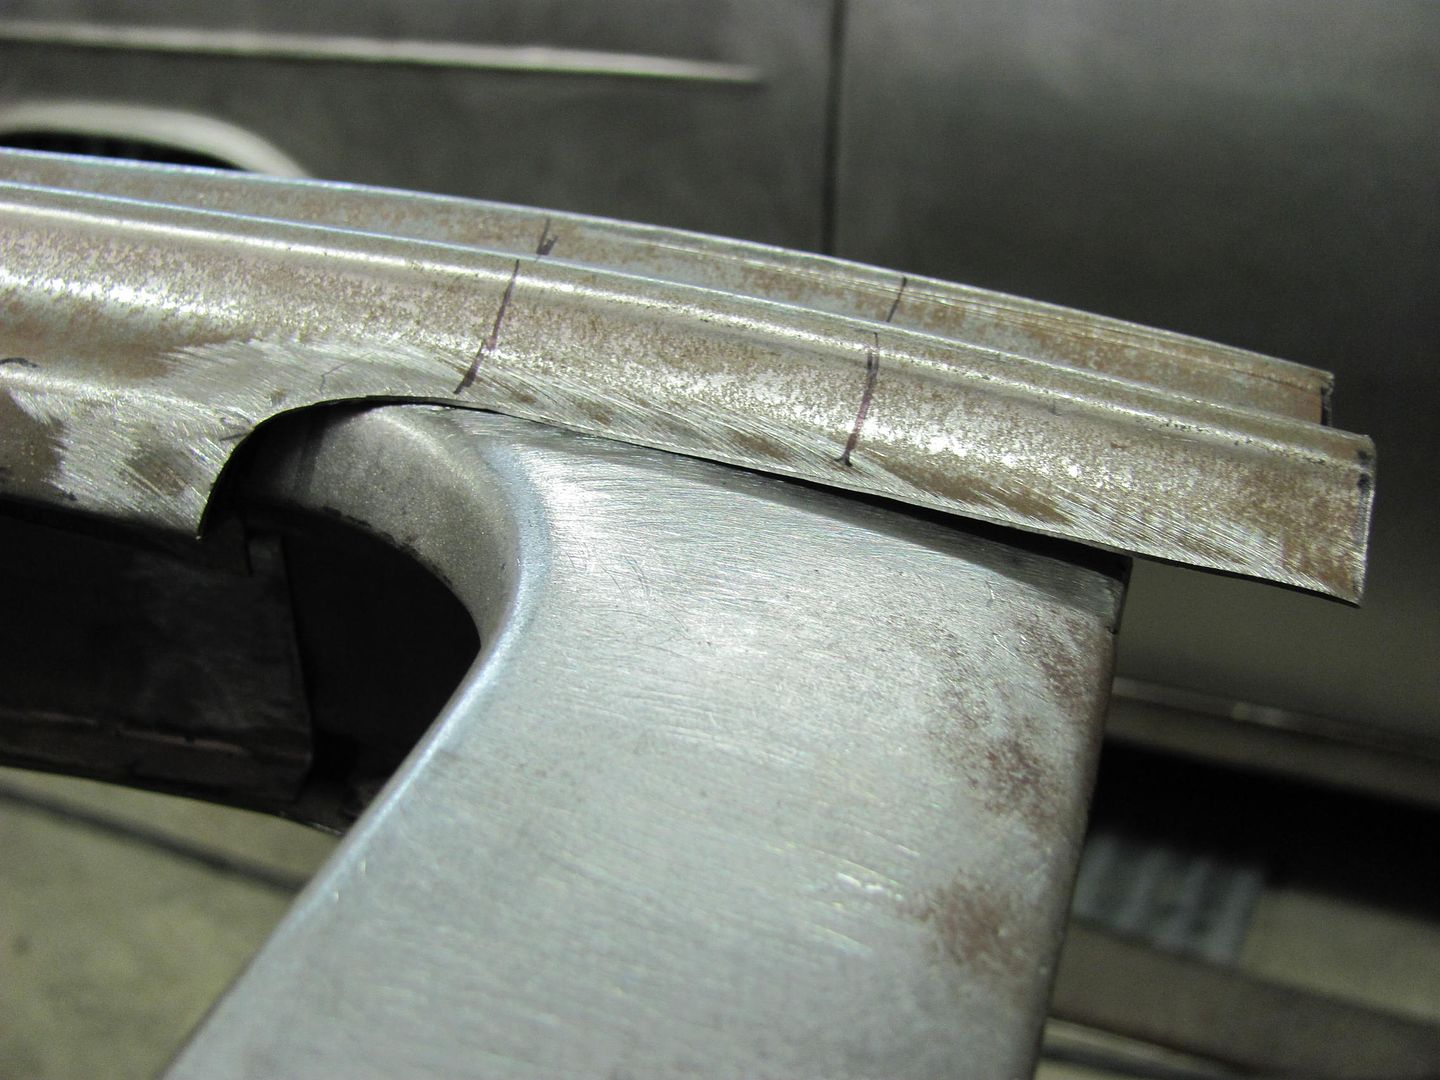
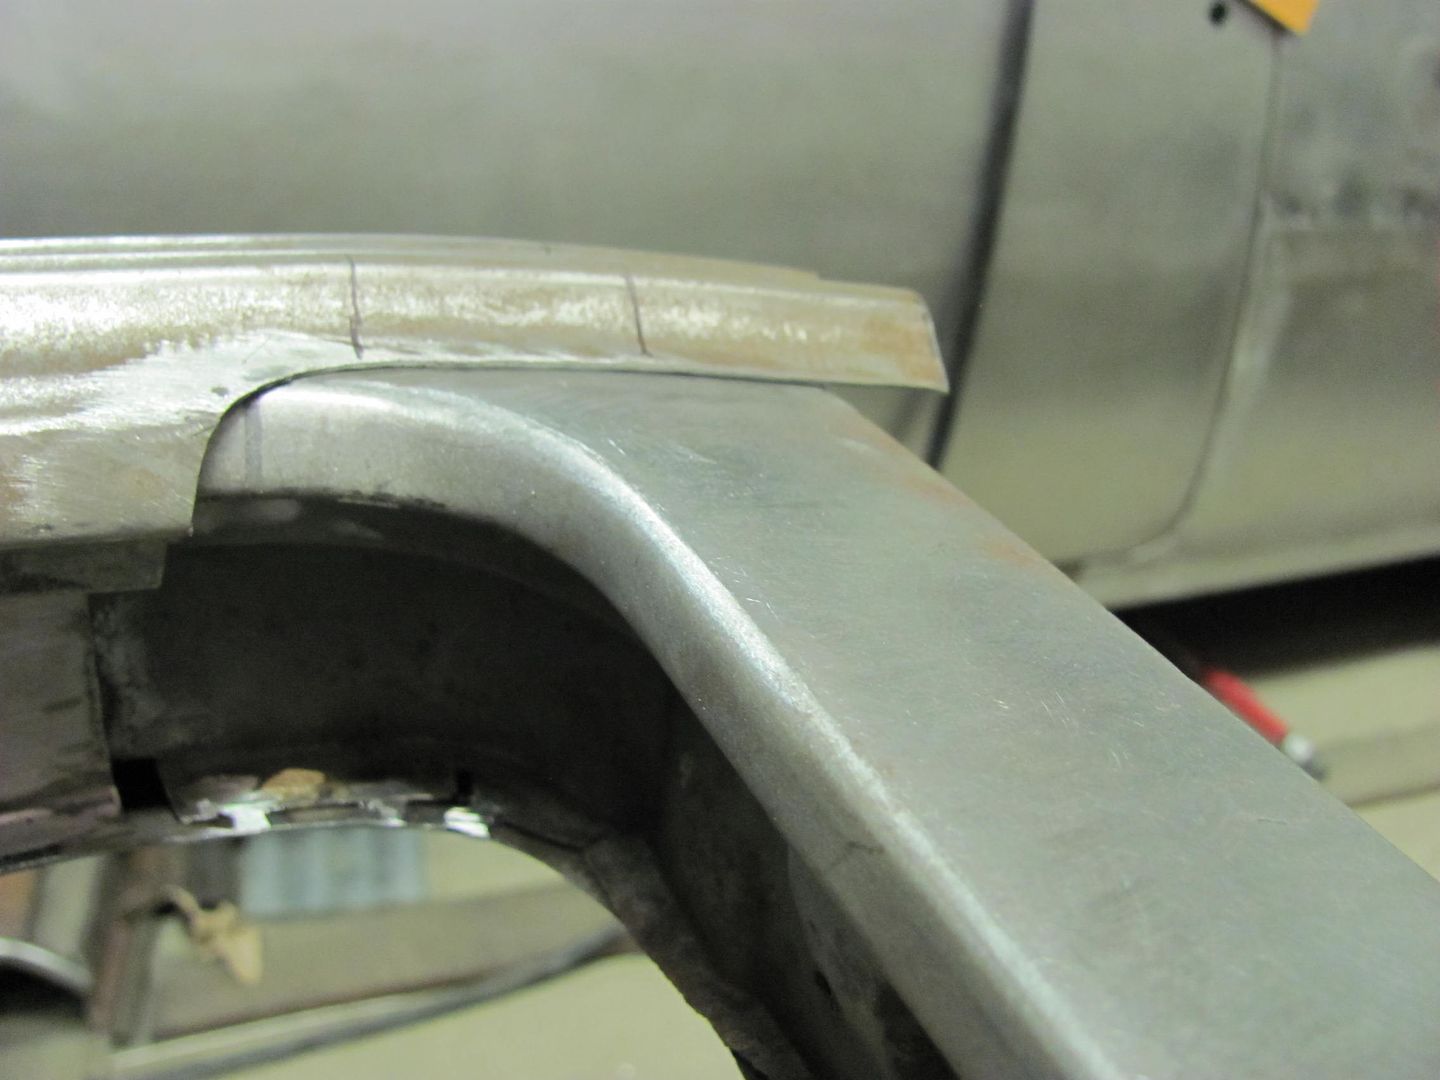
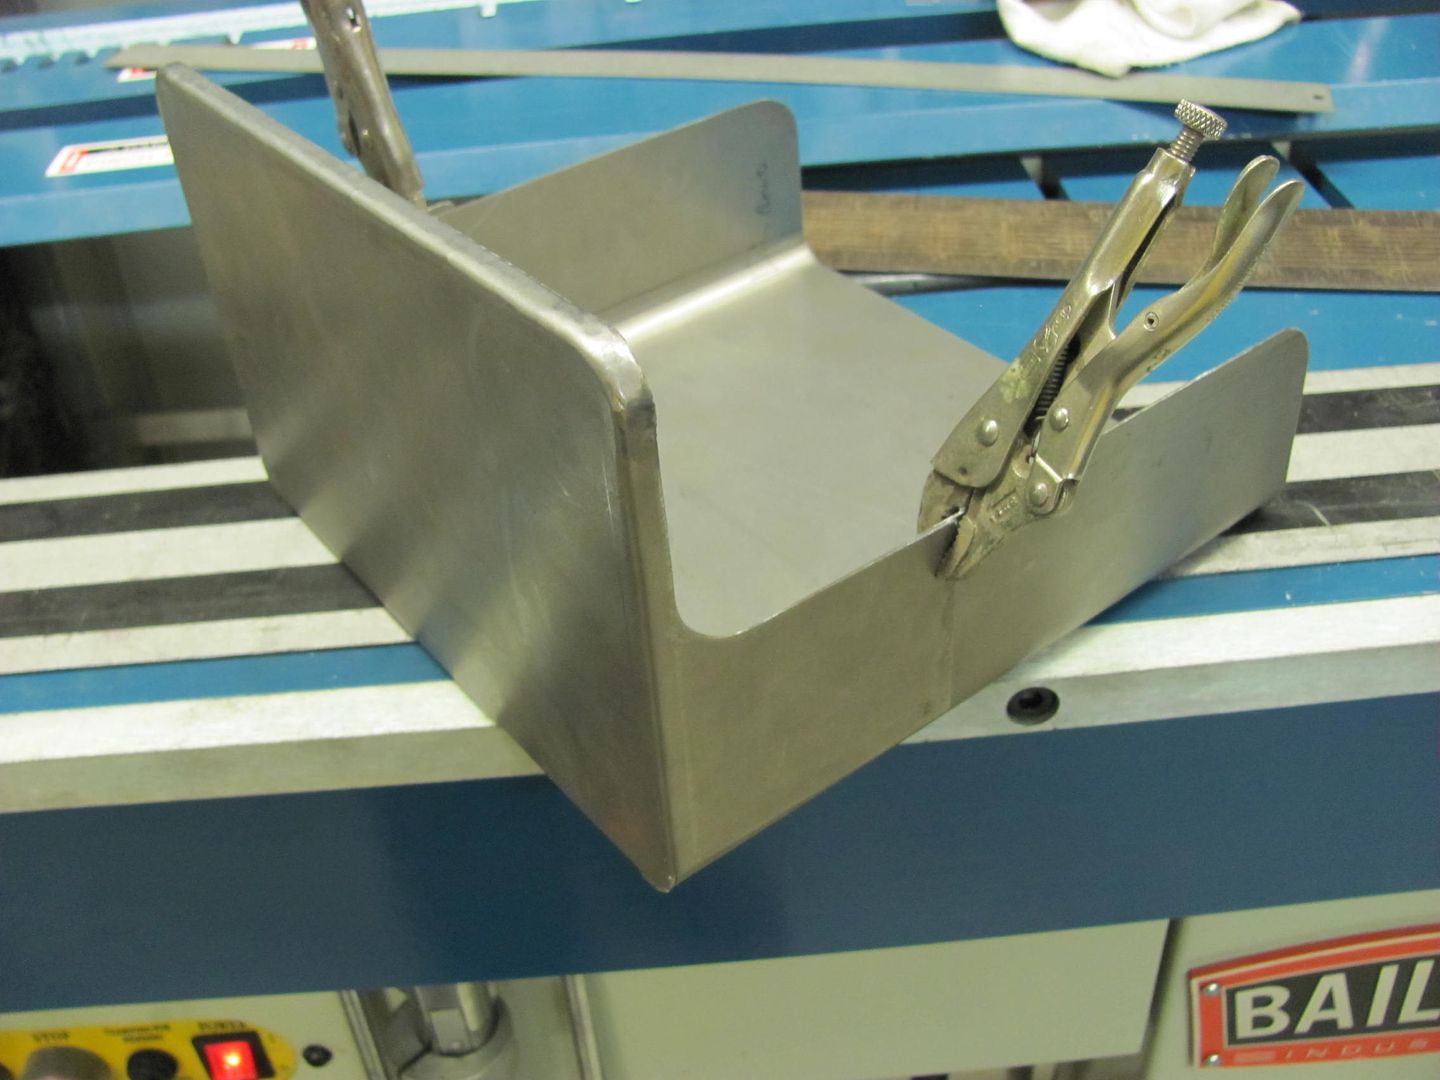
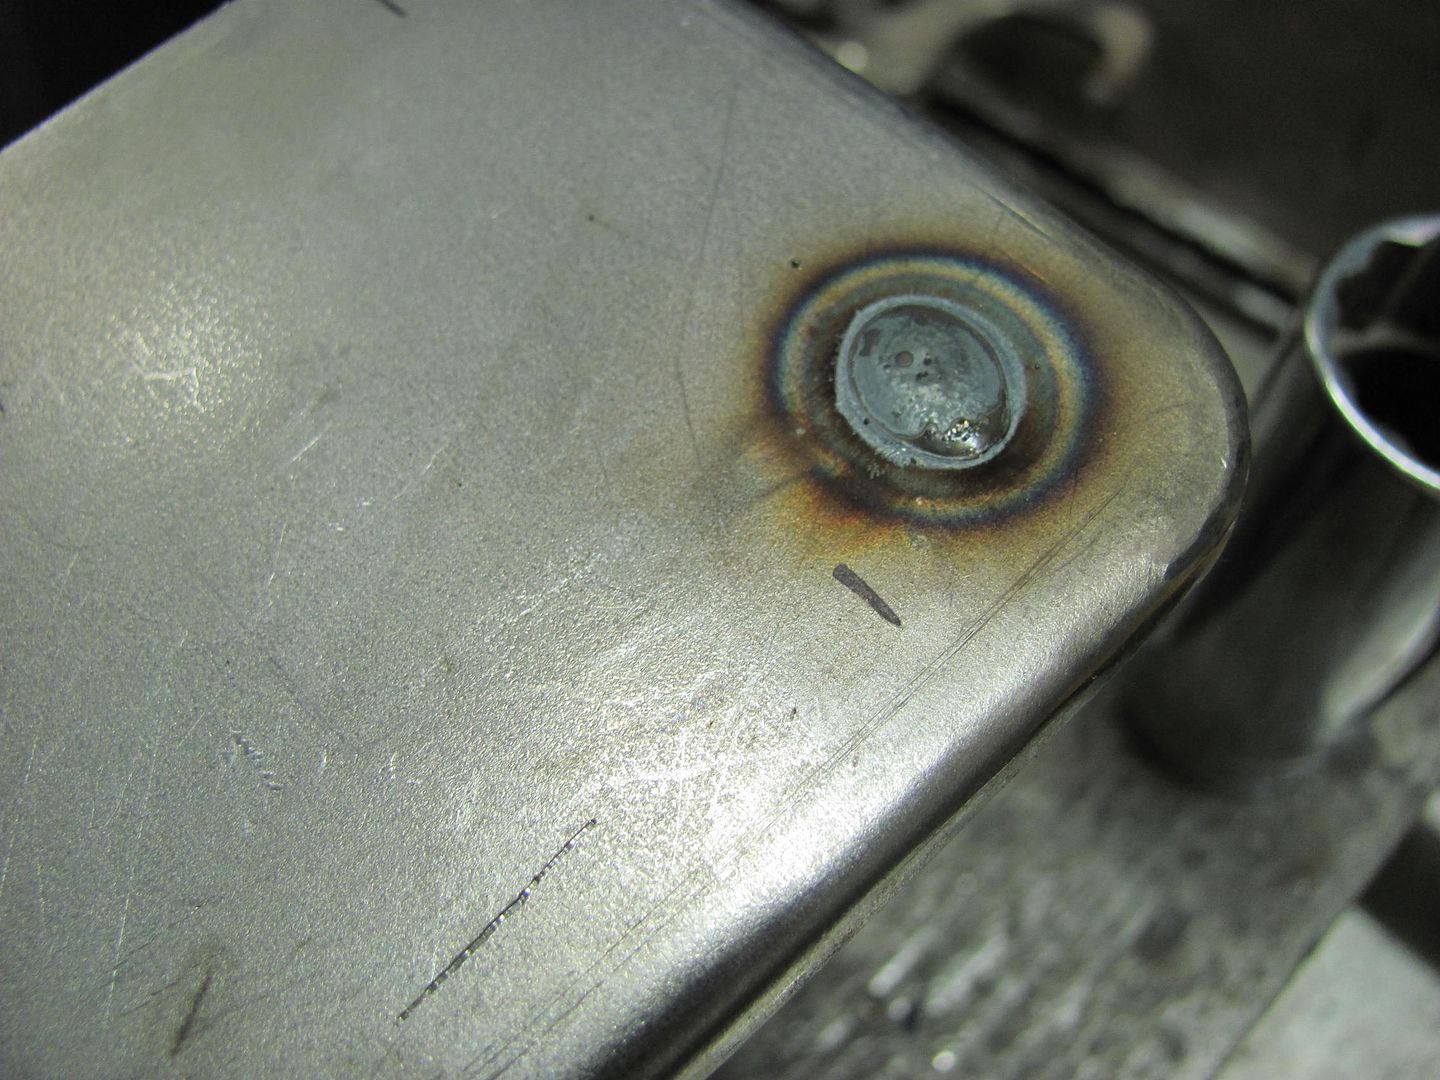
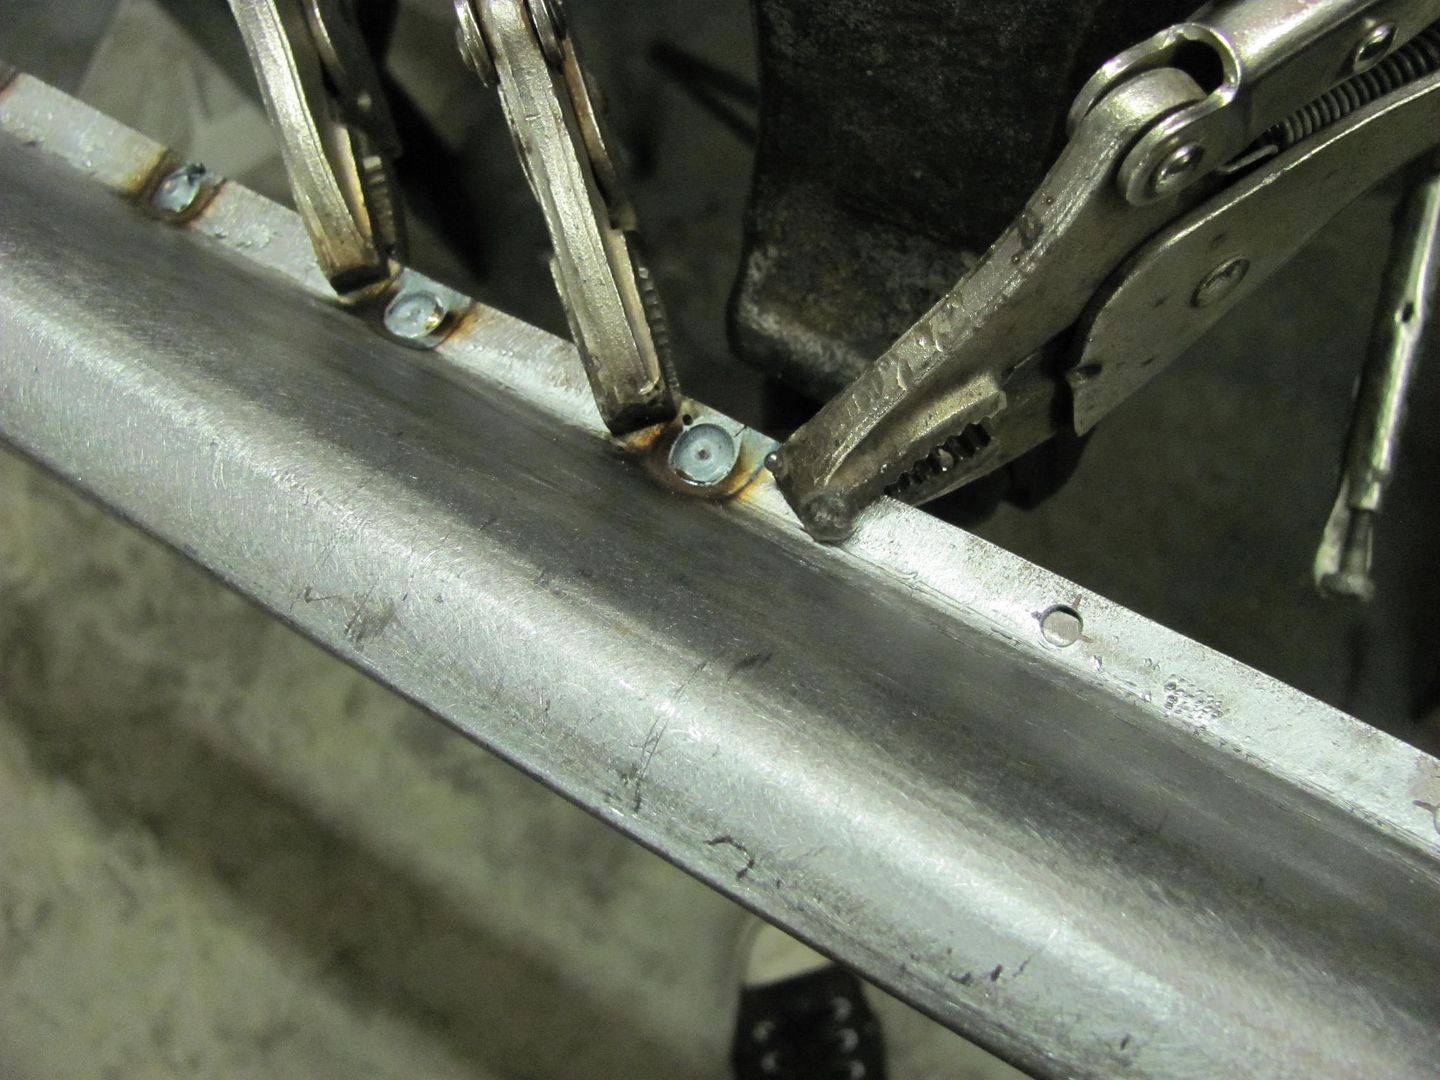
and after cleaning up the welds.....
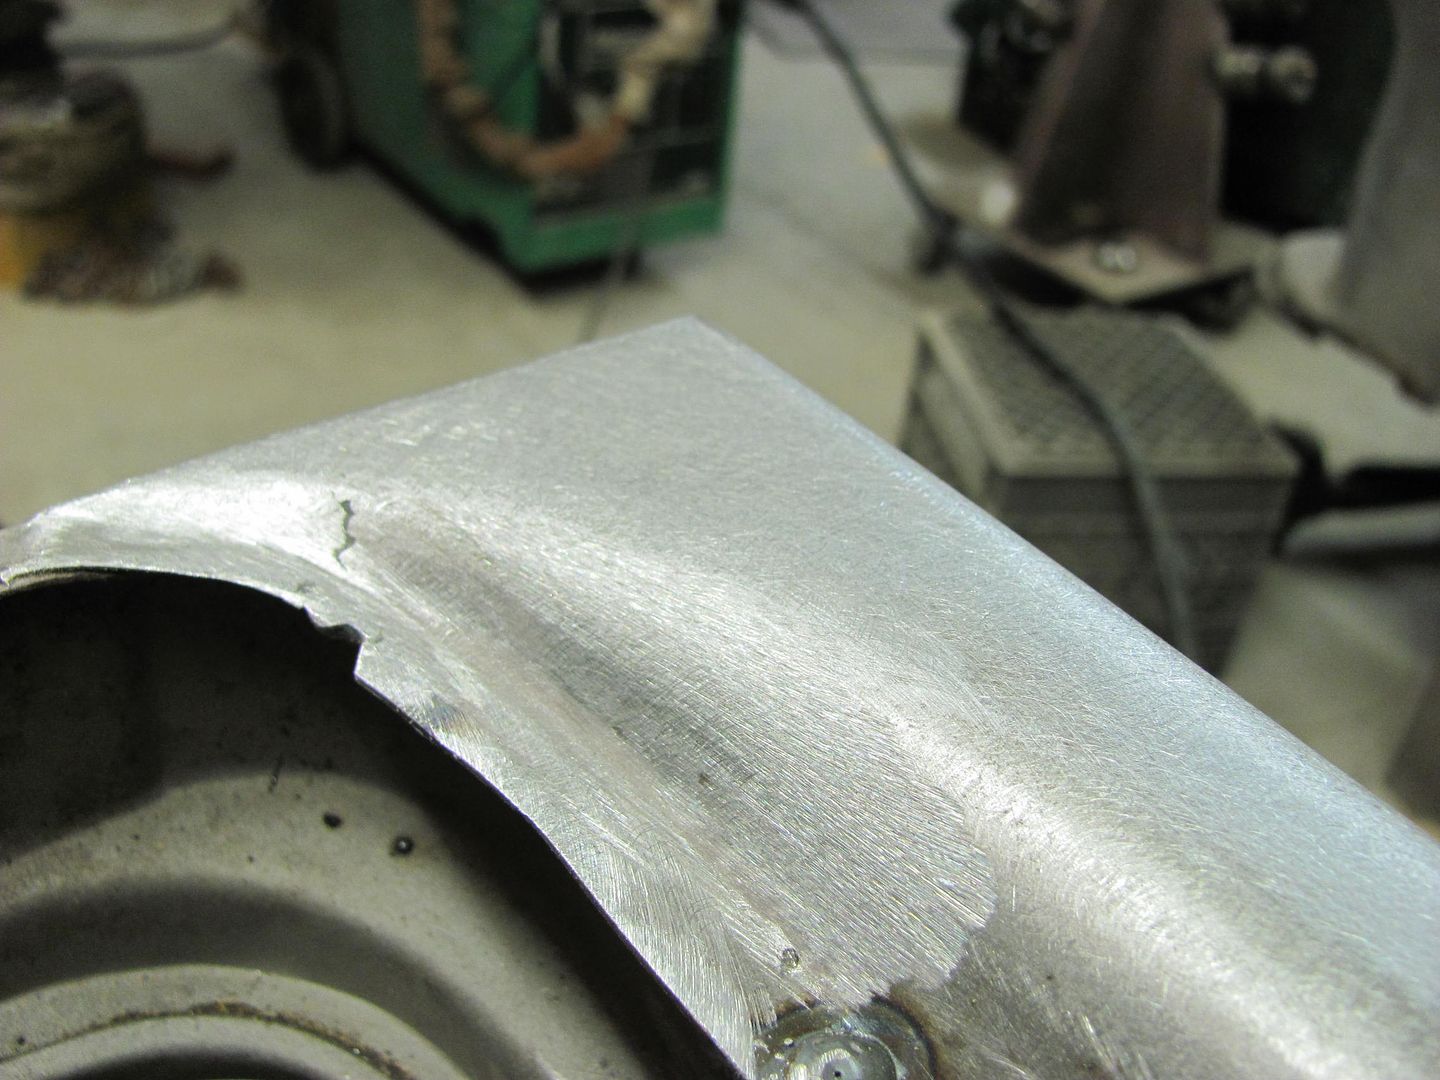
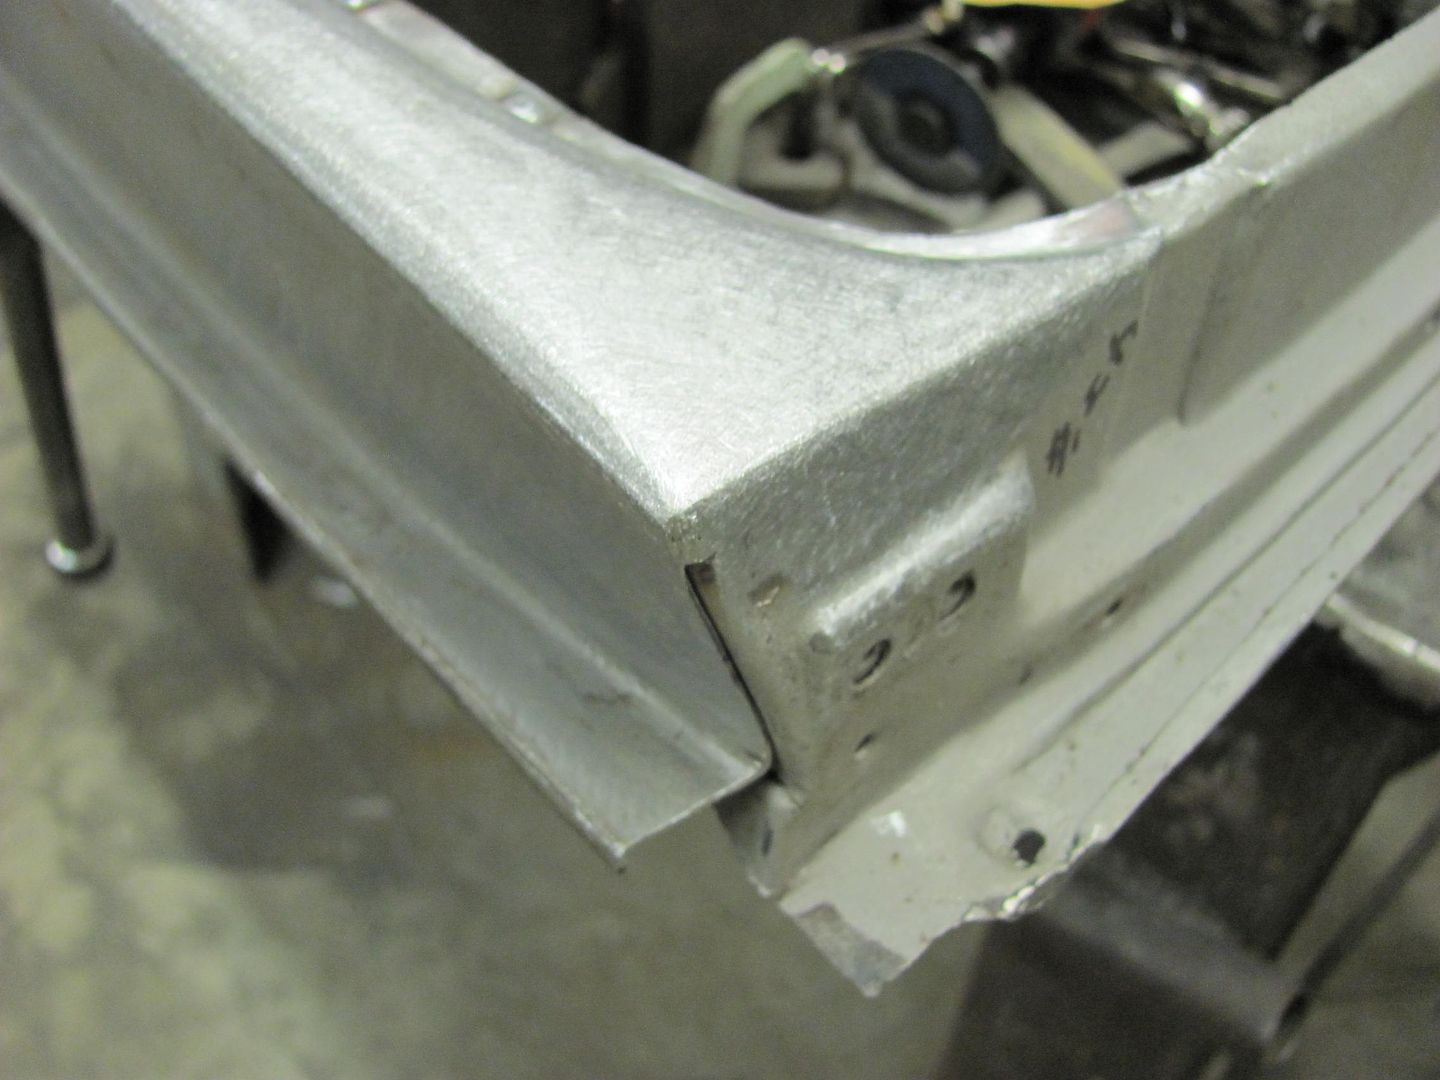


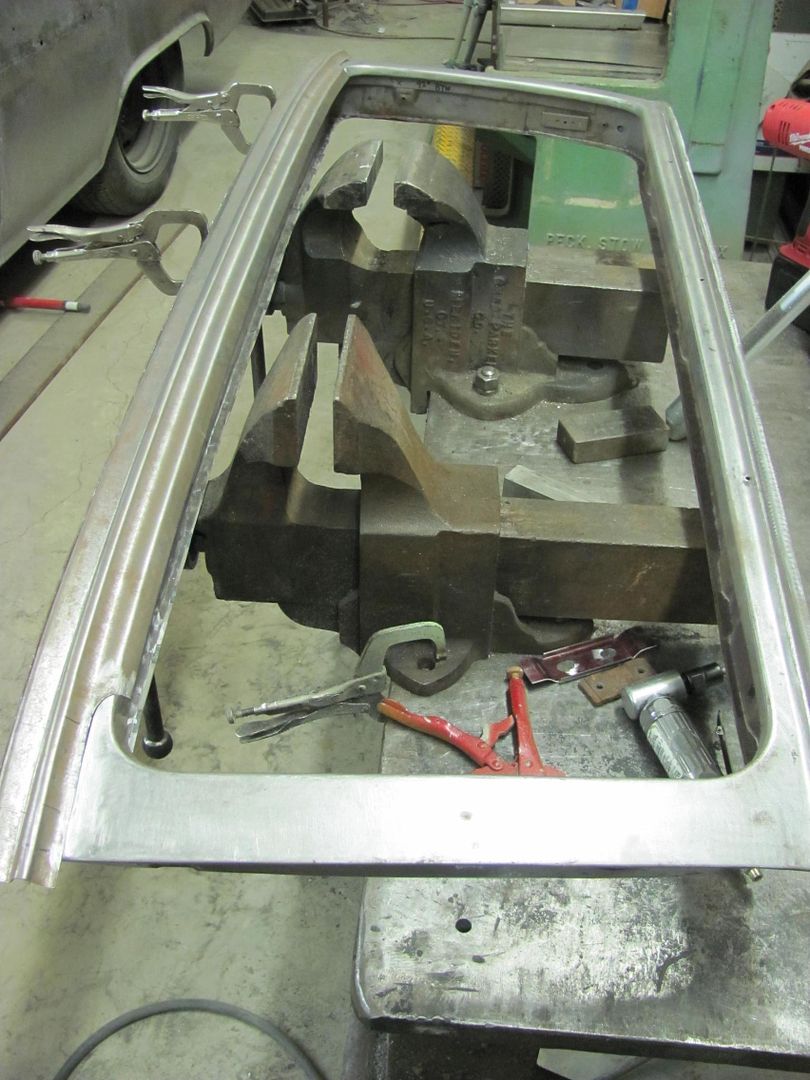
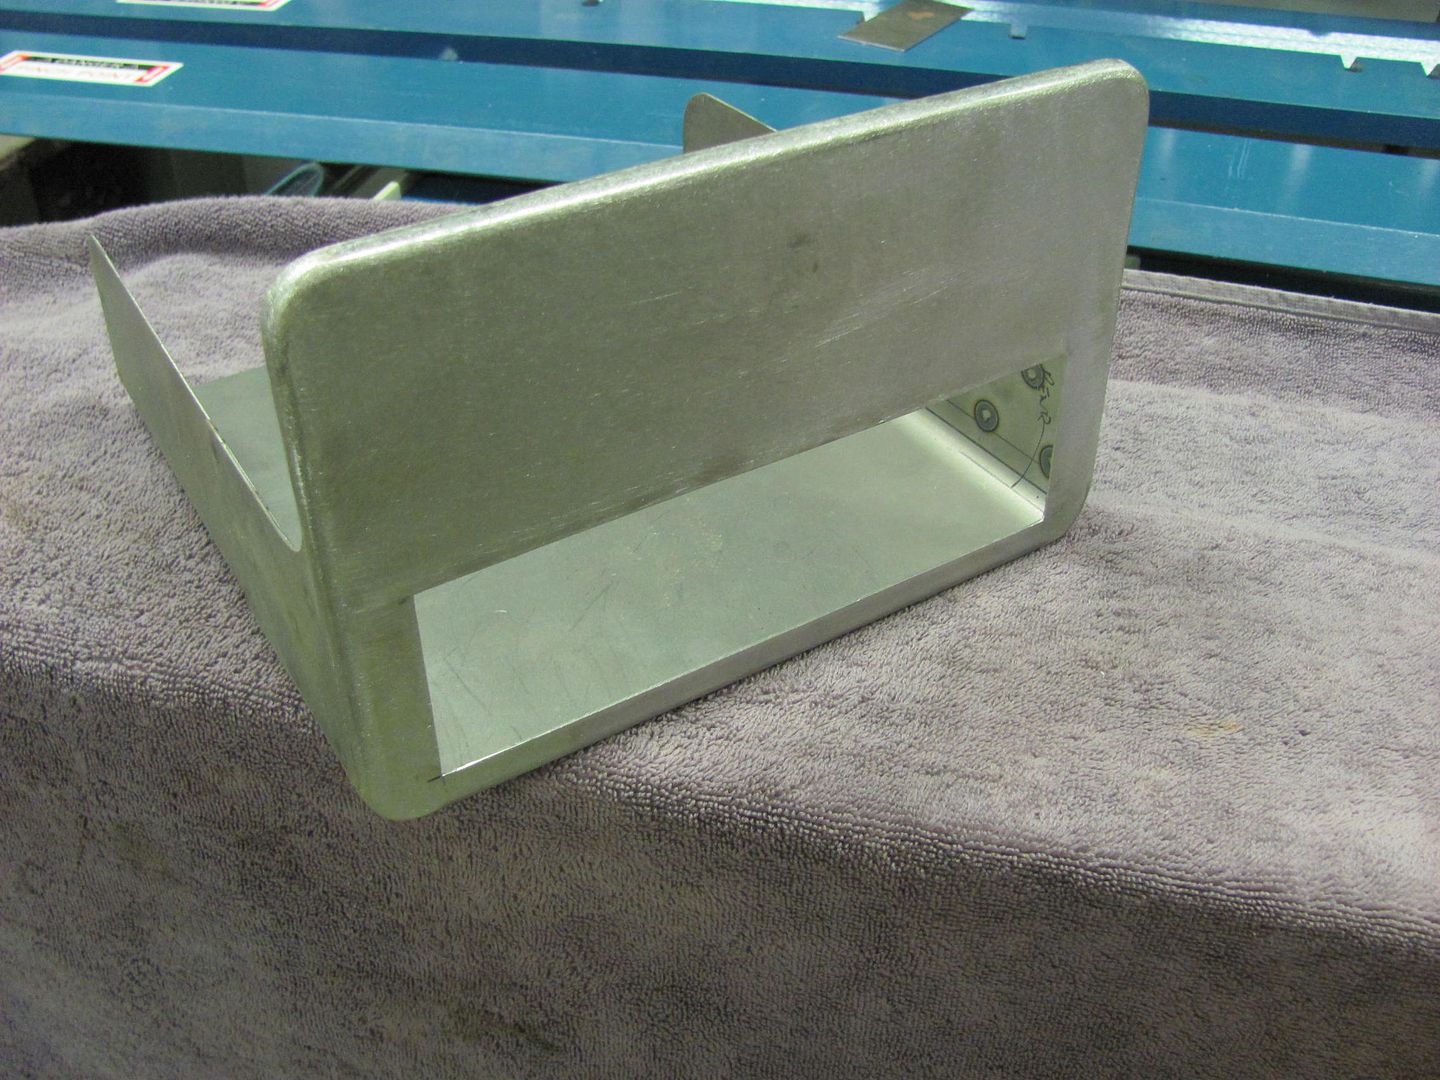
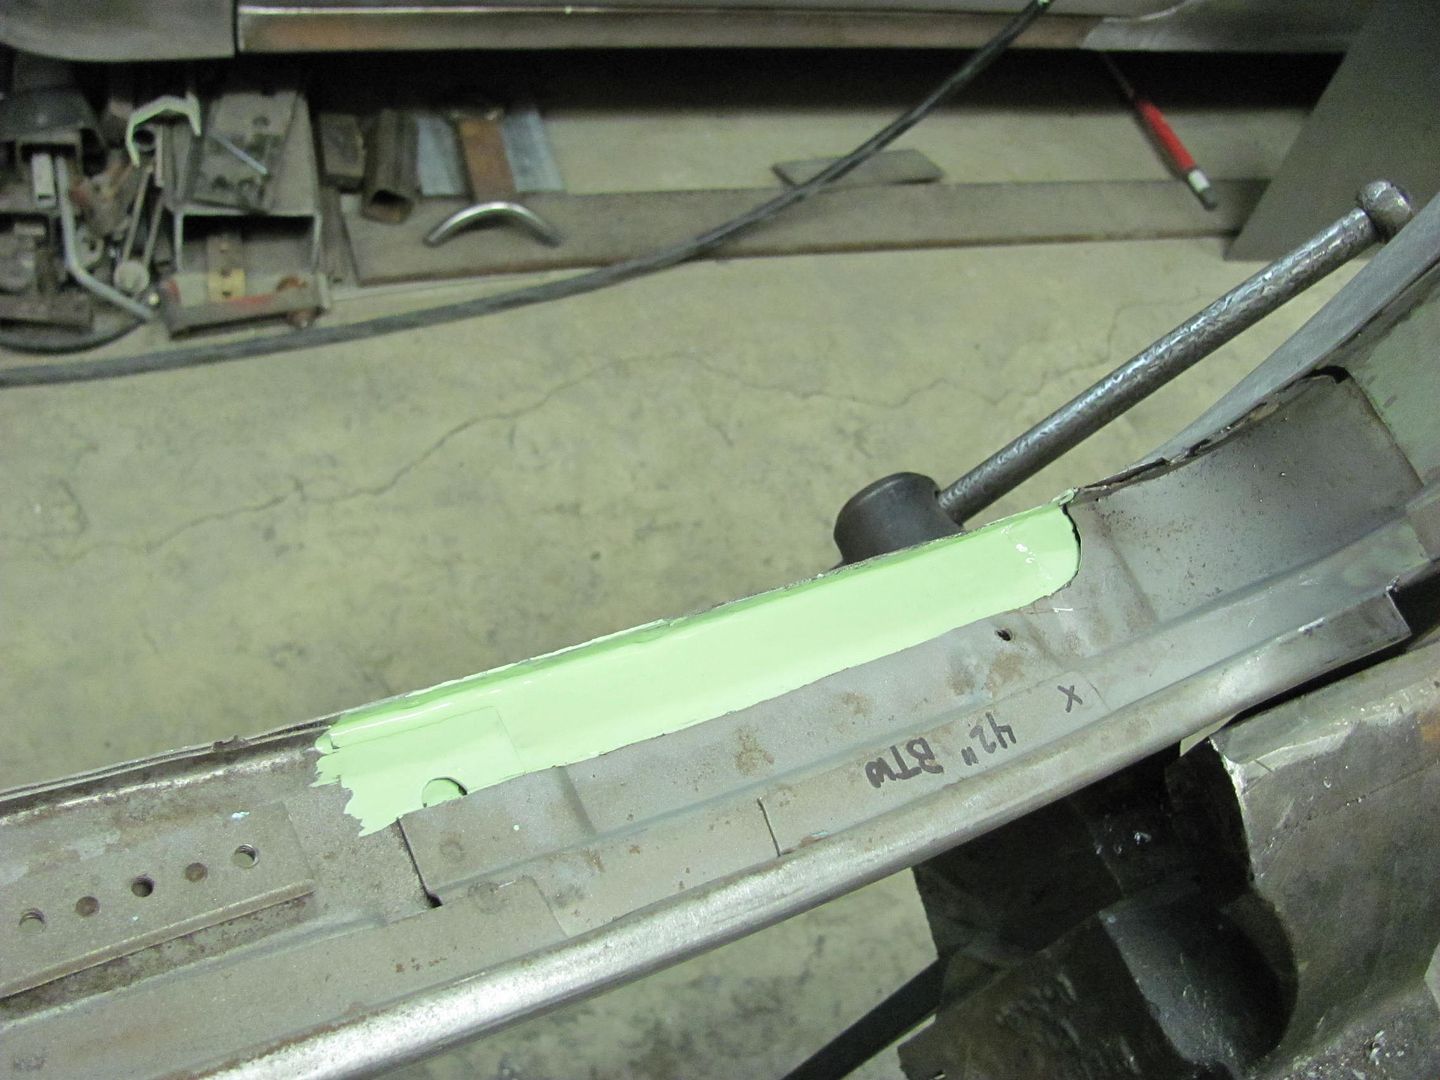
Then we'll clean up the plug welds on the flange, media blast the inside for good paint adhesion and some epoxy primer before closing it up..
Looking at the back side, these should hold well.
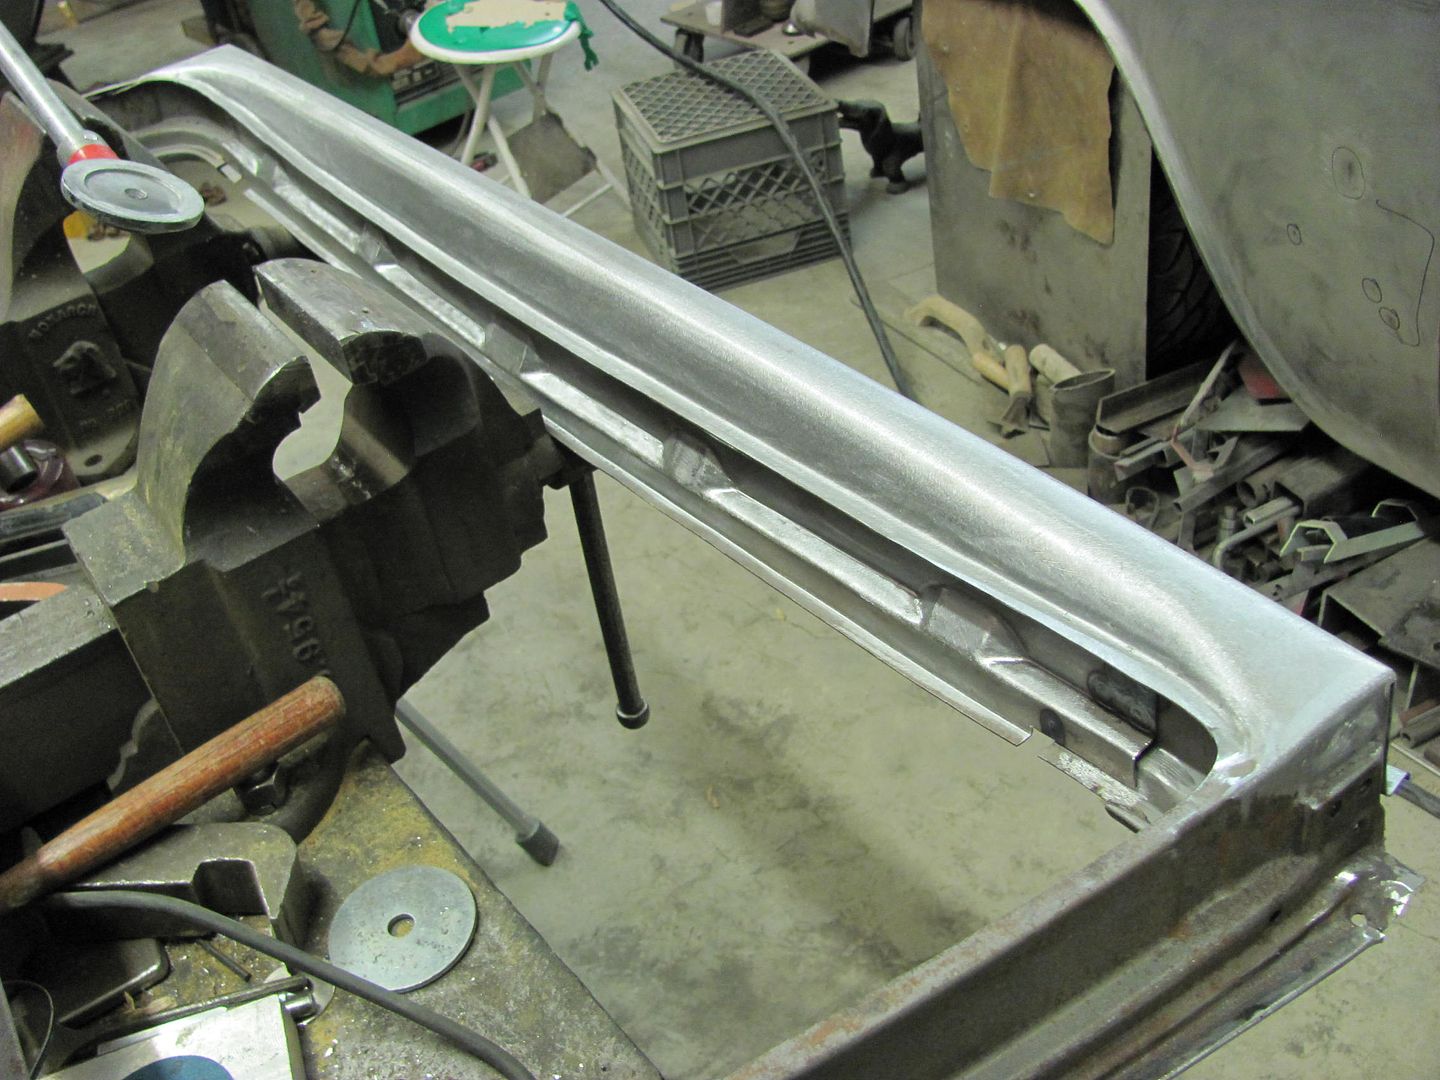
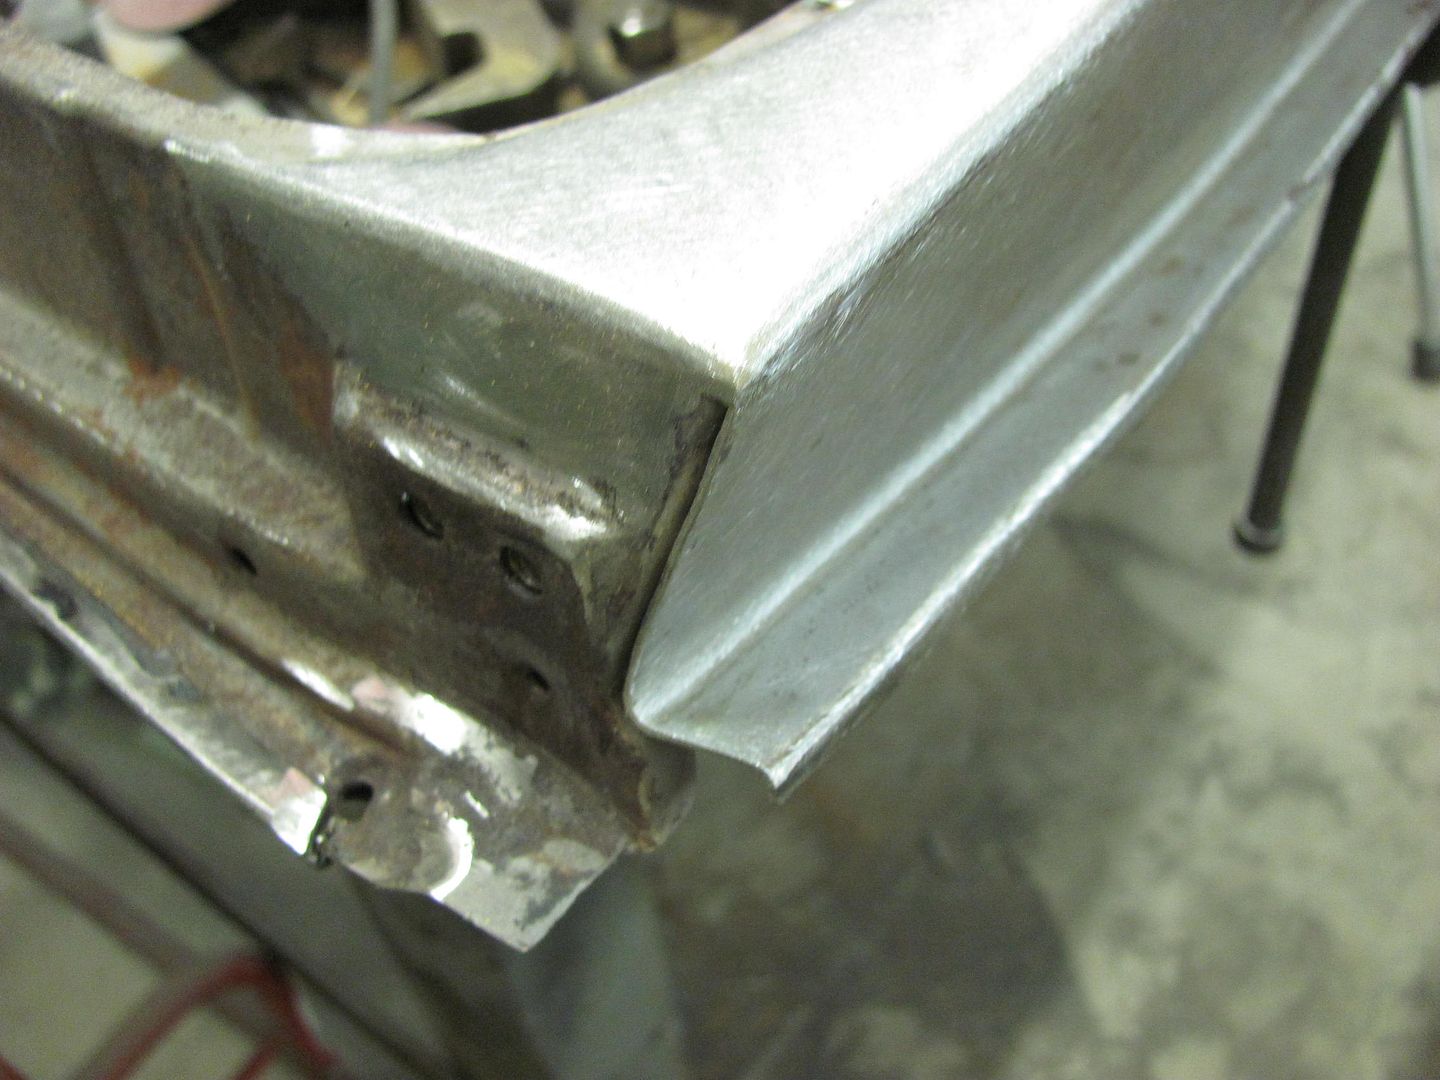
All the plug welds done, then on to the corner seams.....
and after cleaning up the welds.....
Then we'll clean up the plug welds on the flange, media blast the inside for good paint adhesion and some epoxy primer before closing it up..