I can fix anything
Well-known member
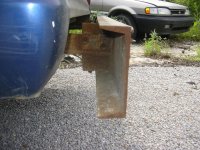
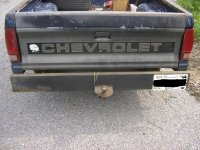
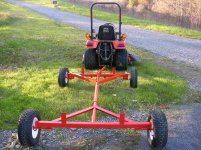
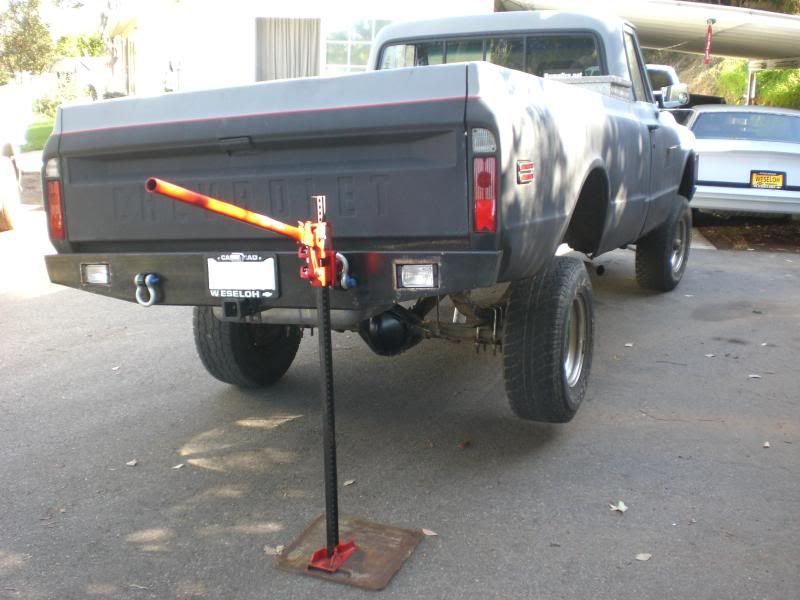
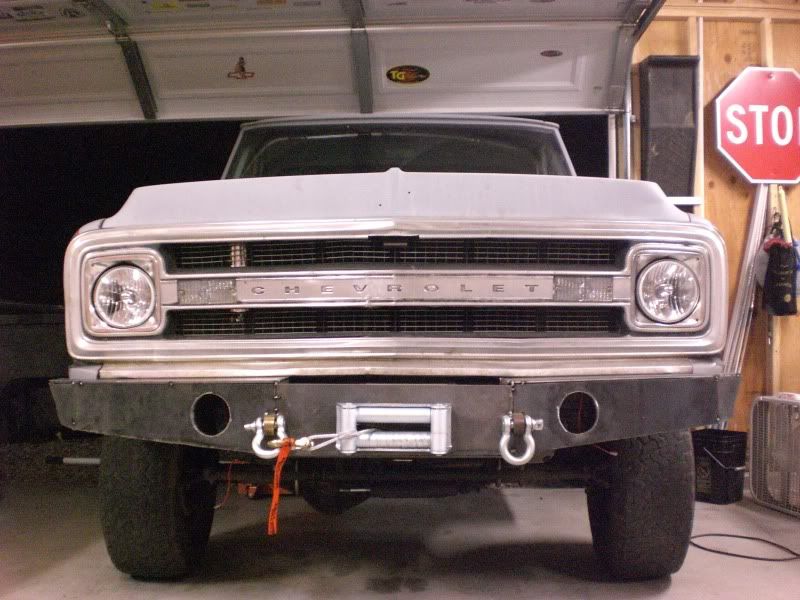
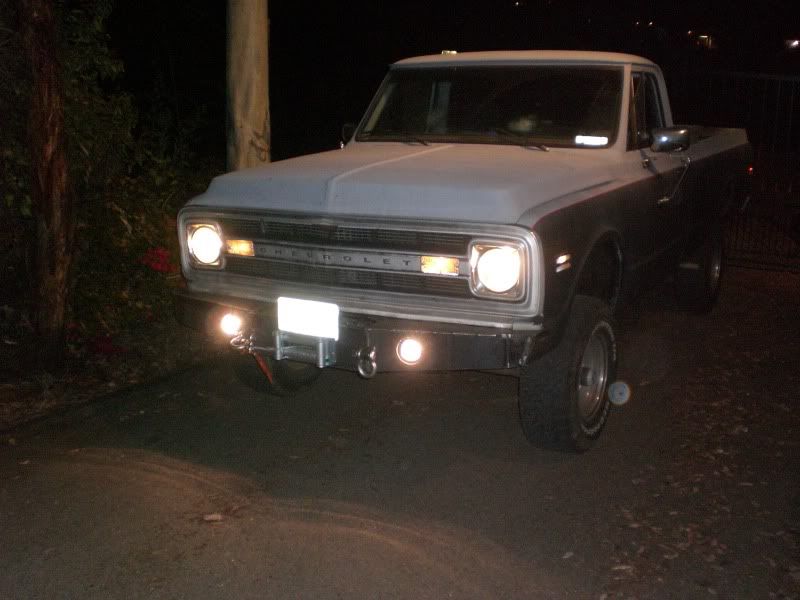
I just got a welder recently. Here is my first learning experience project.

Uploaded with ImageShack.us

Uploaded with ImageShack.us

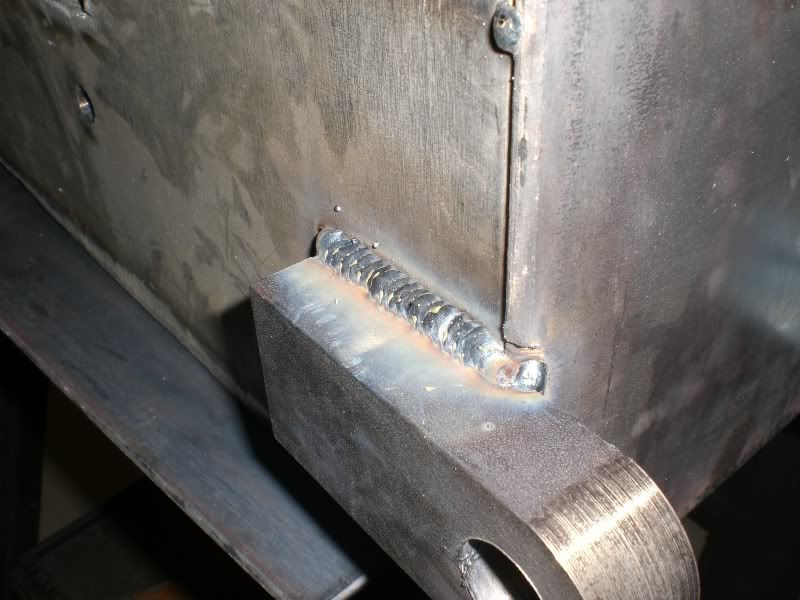
Pieces all cut to length with my HF grinder.
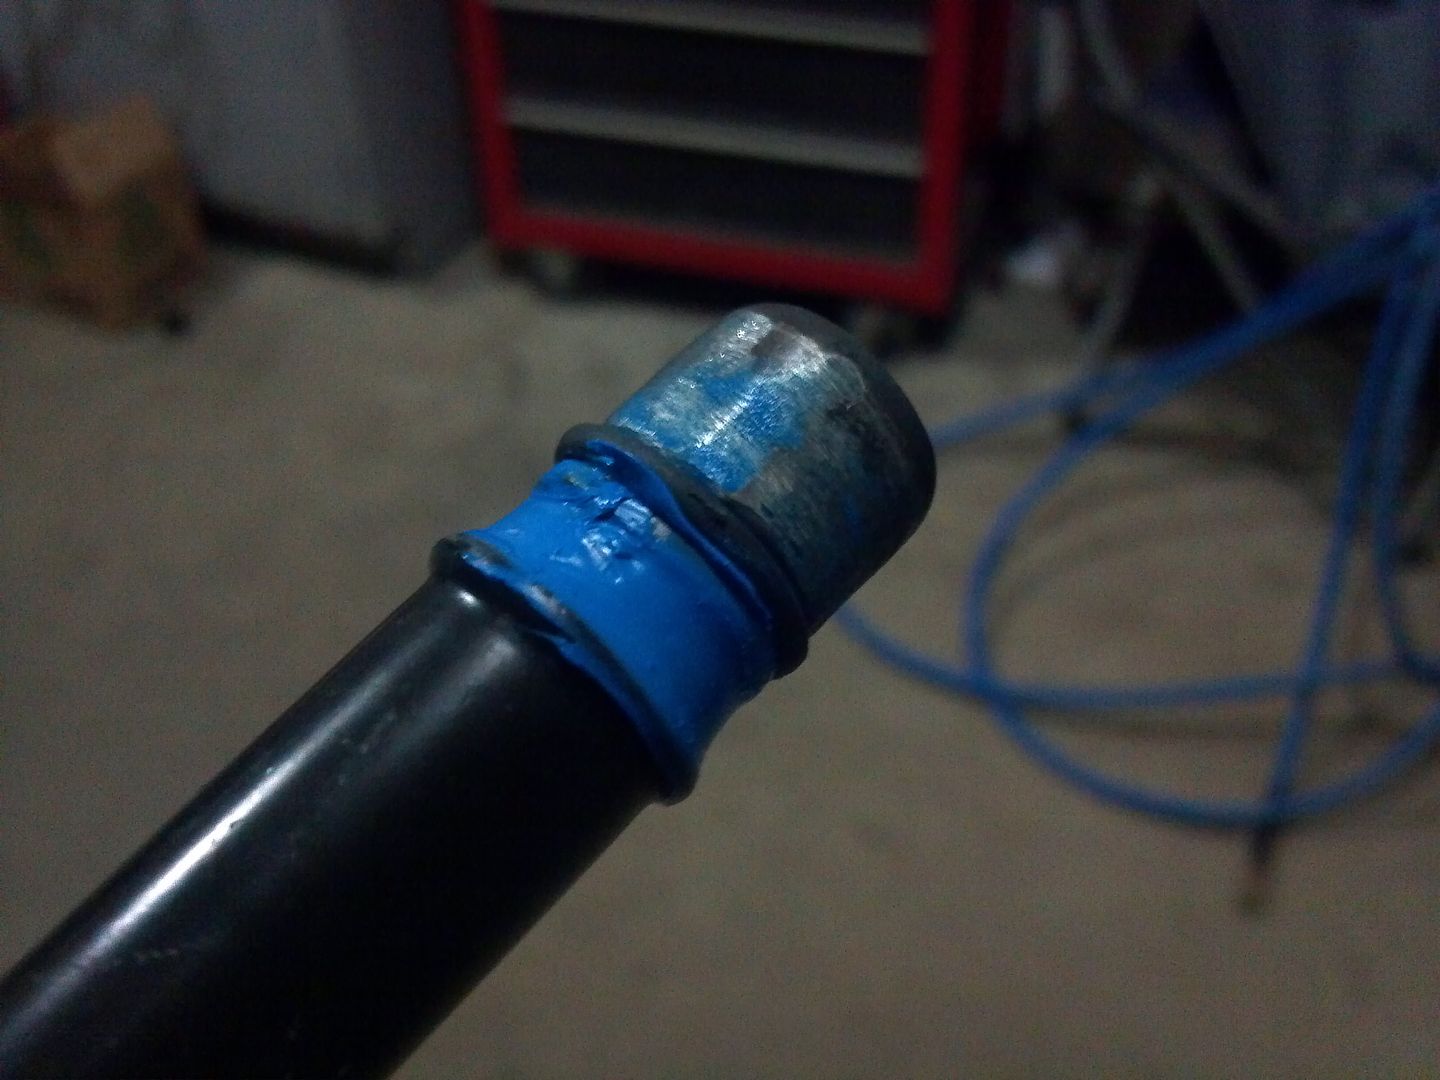
 and no they still arn't on..........
All these nice welding carts....mine is an old TJ Max shopping cart with the sides cut out of it and a bottle bracket welded to the back. Lol.
Can't beat free, but Northern tool has a nice cart I would not mind having that has drawers for the weld stuff. They also have a bigger cart that I could have both the welder and plasma cutter on.


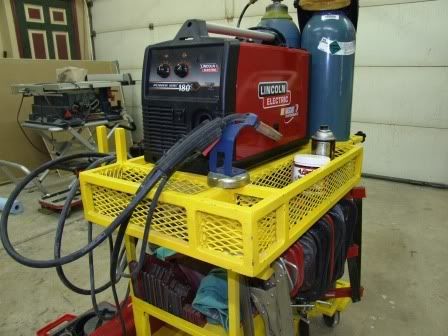
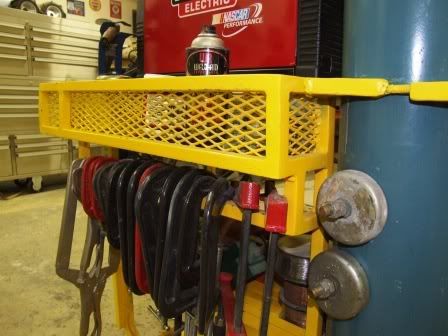
this is the cart I made for my welder at work, Miller Shopmaster with wire feeder and spool gun, machine works good for stick, the spool gun works ok, but the wire feeder has not fed smooth from day one, not very happy with it at all.....
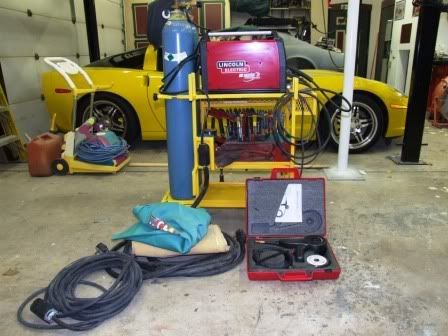
Lovely cart. I'm going to steal some of your storage ideas to add to my cart. Great job!Here is my cart.

Ok I'll play too.
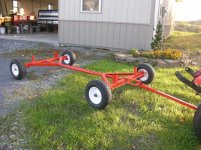
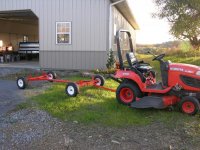
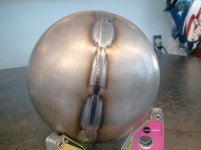
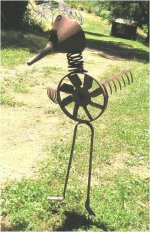
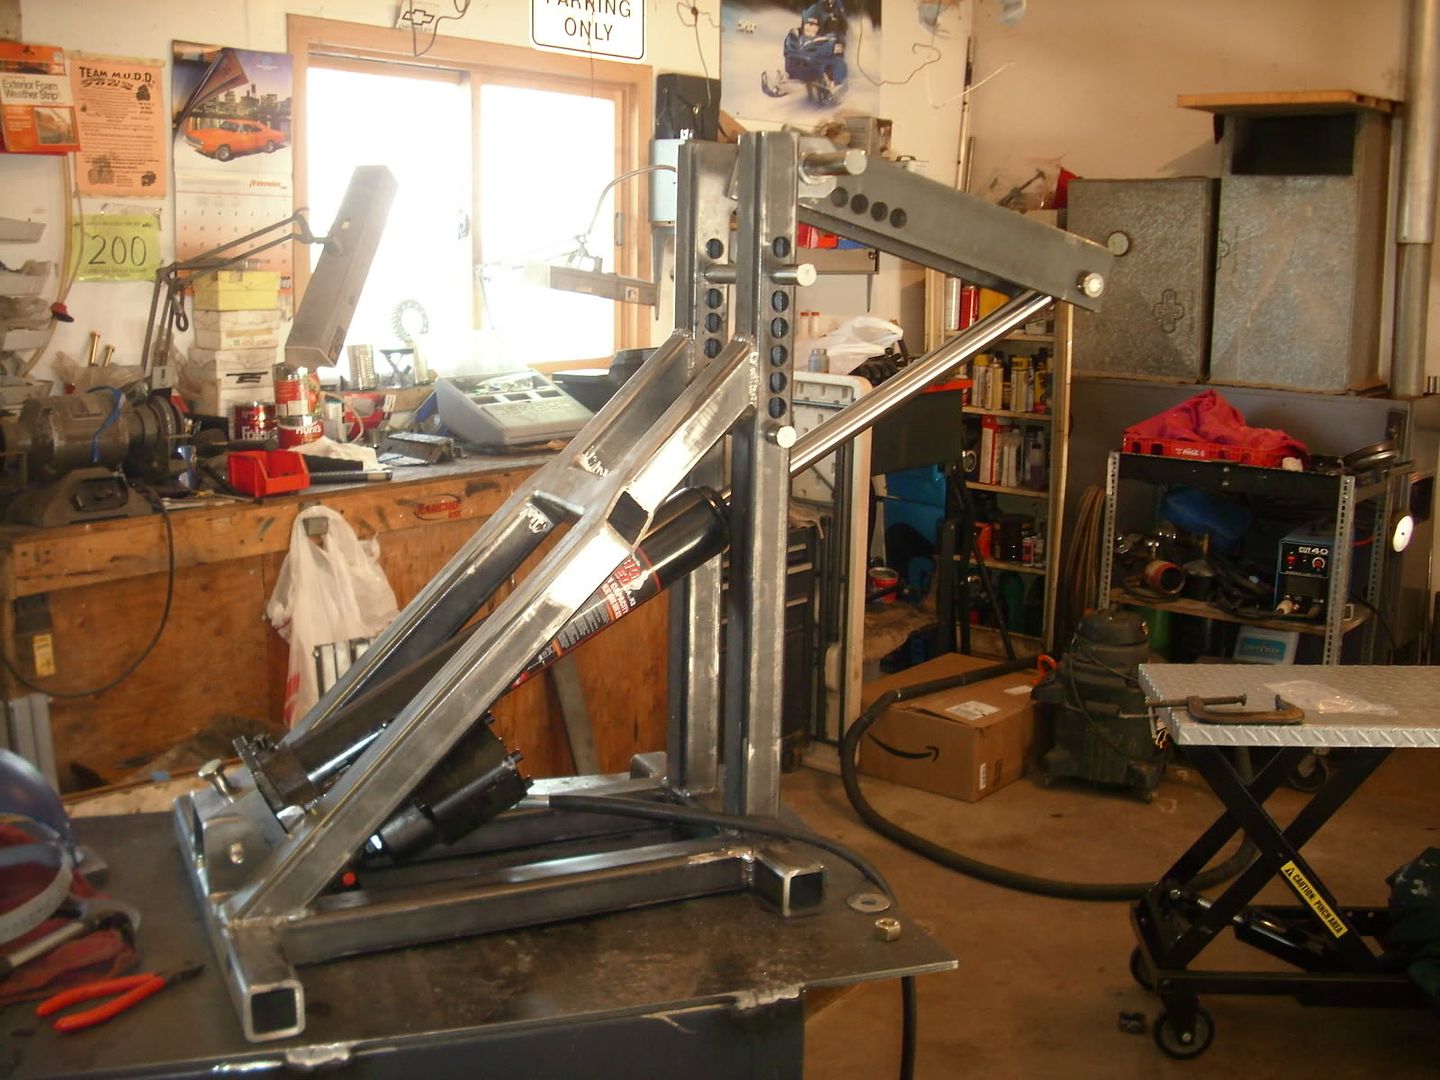
A few things I've made for myself.

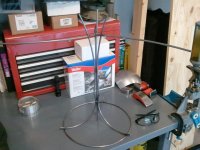
I was bored, needed a lamp and had plenty of scrap.


Any more pics of the blast cabinet (inside and out)? I have a fuel tank in the basement that I'm going to do the same with.


Here you go.

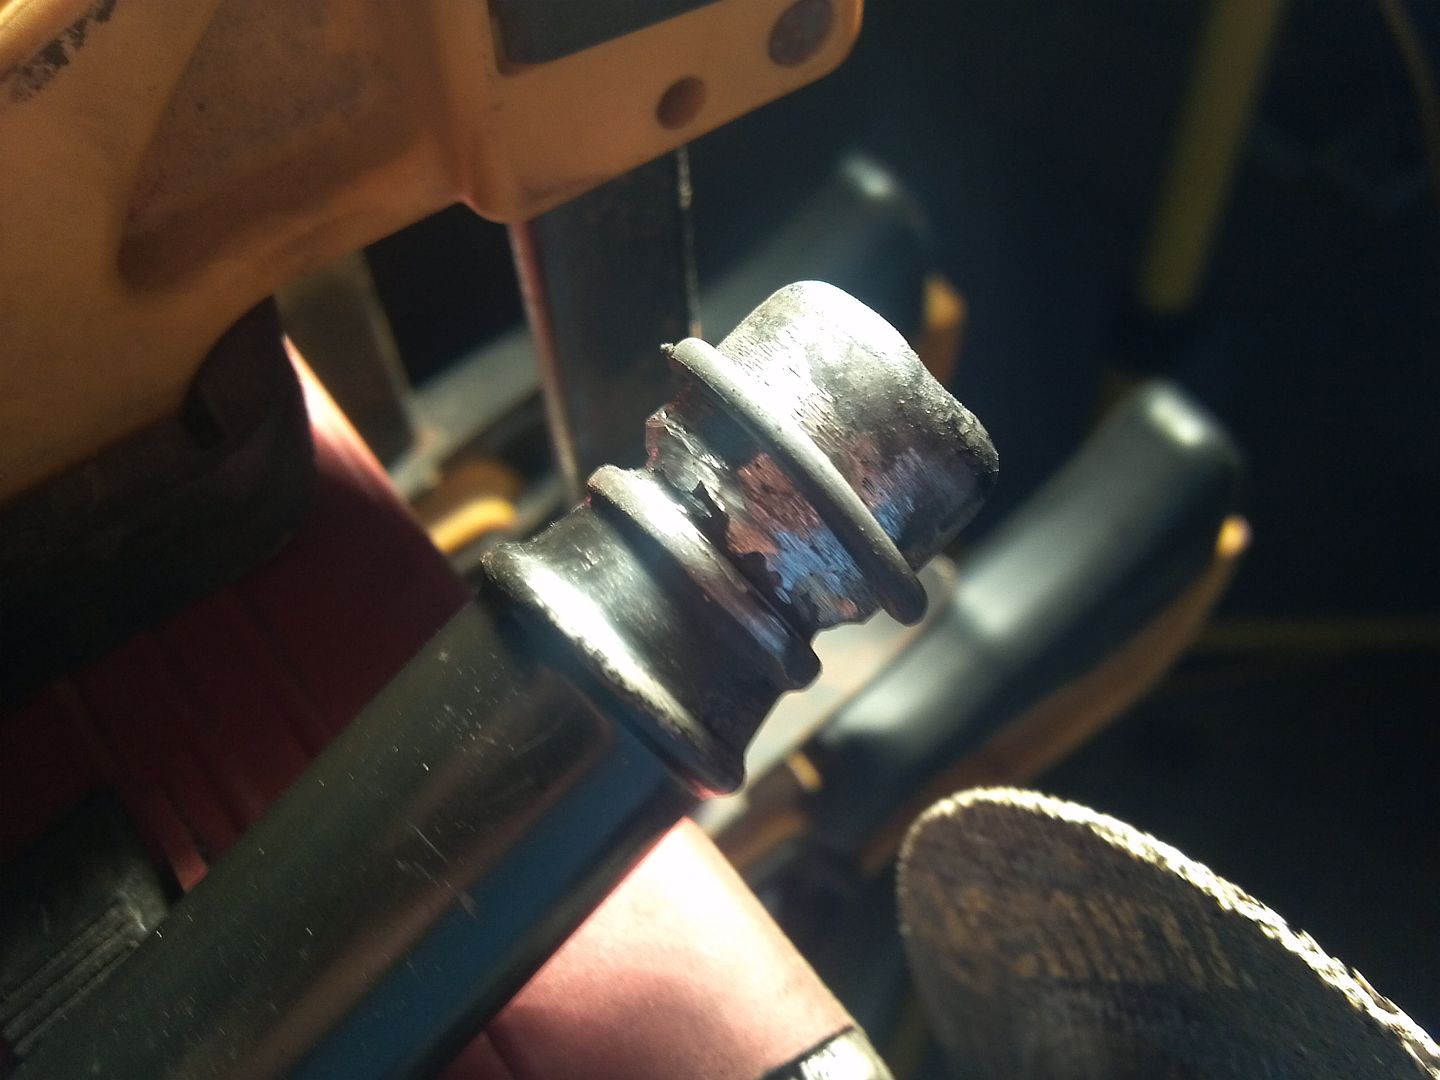


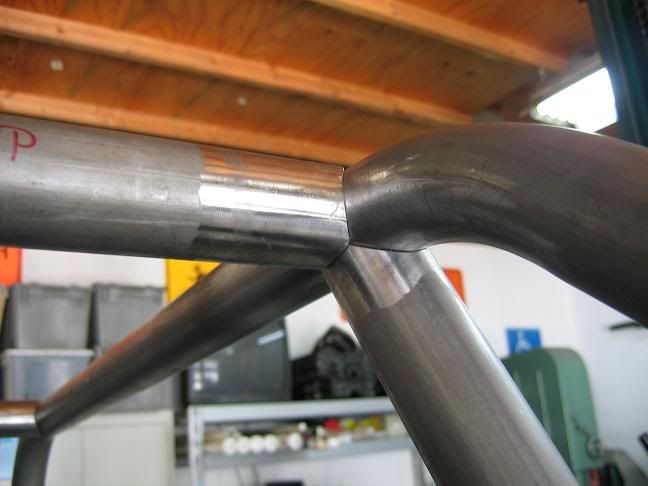
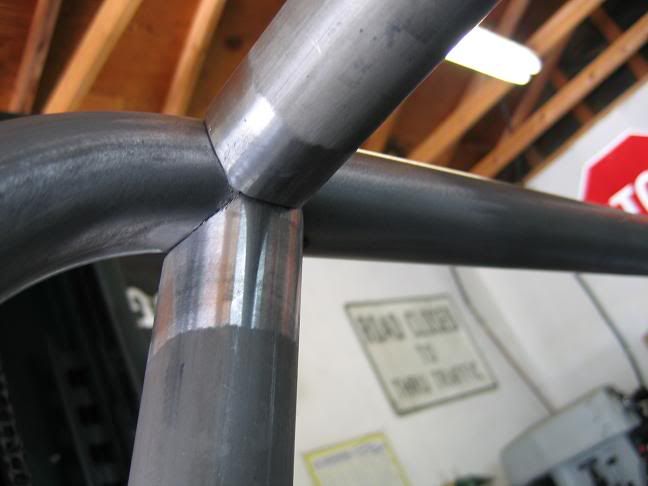
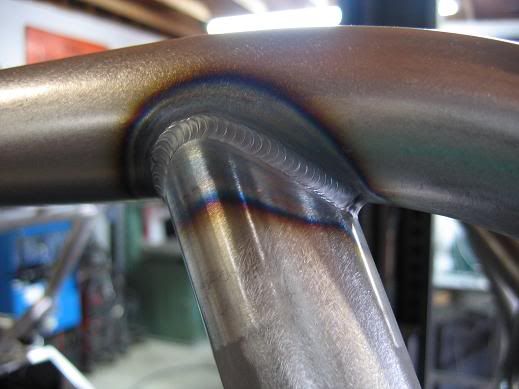
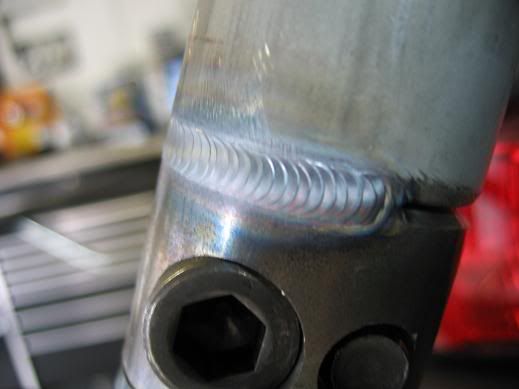
Tight fit-up doesn't just help...it is crucial for consistent welds.
Here are some pics of how tight I make my tube junctions on roll cages.
Hey! I recognize that craftsmanship. Nice to see your work/art again.
Hey! I recognize that craftsmanship. Nice to see your work/art again.